WEEK THREE: Computer-controlled cutting
VINYL CUTTING
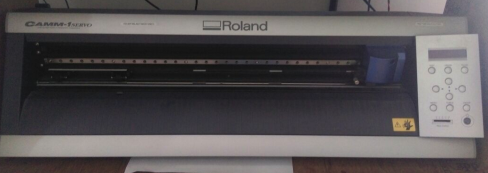
Using the vinyl cutter we can do decals,stickers,flexible circuit boards etc,this week i will be designing something for my project, our lab posses roland GX-24,Its charecterstics are as follows:-

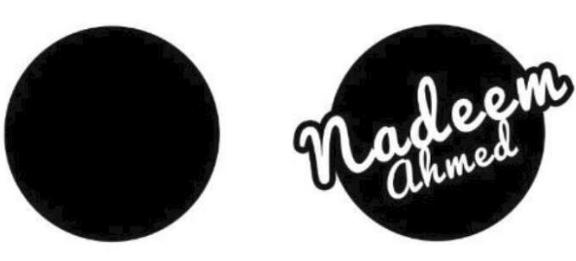
I planned to make a sticker with name printed in it so i designed the same which is shown below.
Second thought
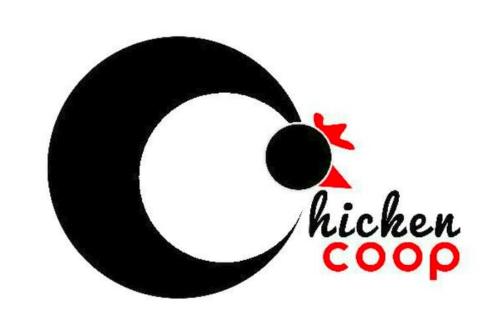
Thought of making somthing useful for my final project, what i am goin to make is a chicken coop so decided to make a logo for the same so that i can paste on it once i am done so i need not to make a design that time.
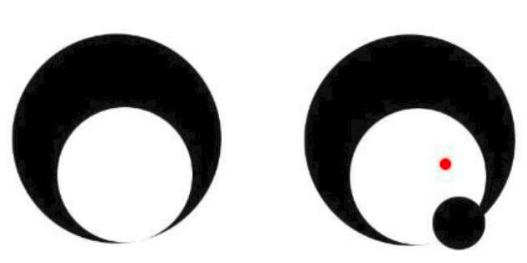
what my challenge is that i need the wording chicken coop in it also i want to somehow visualize a chicken in it
I have made these after a bit of iteration. and i put it in 2 layers so i am planning to make a multicolour vinyl, this is what it looked like:-
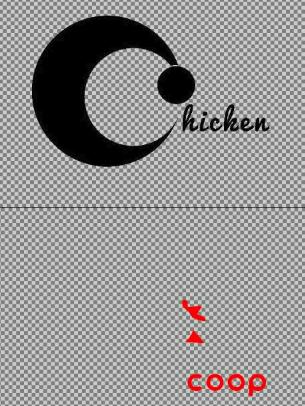
i managed to draw a design like This
Working with roland cutter
After the design part when started working with roland vinyl cutter for the first time when i loaded the piece of vinyl it was fine but for the second time it was displayed as bad position so corrected the error by taking the vinyl piece back and placed it correctly so that it covers the sensor and also it can fit my design well,Things to keep in mind
- blade length
- pen force
- vinyl placement

This image below shows the holder of the blade in vinyl cutter,

as seen this blade along with plastic case is holded in the previous holder with the help of screw as depicted in the image,
as its clear on the image the half of the screw can be rotated and the blade lenth can be adjusted such a way,blade length defines the depth of the cut on the vinyl sheet.
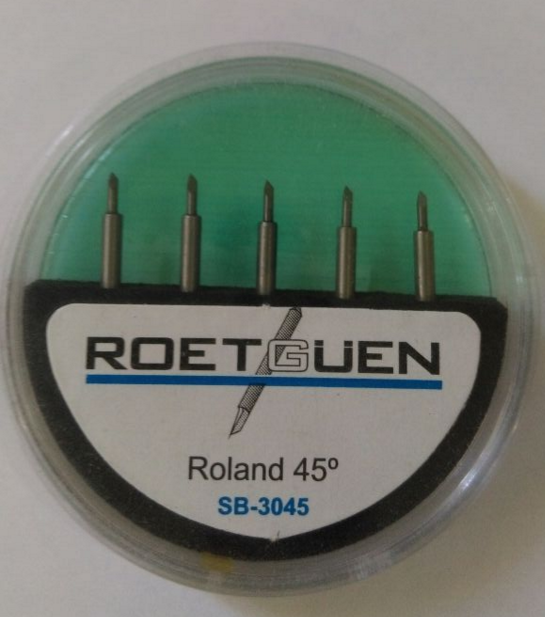
these are the blades we use for cutting,once broken just have to replace the blade with another into the case.,
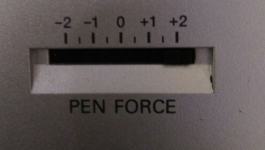
This slider is used to fine tune the blade force we operate this when we need to make blade force slightly larger or smaller than the previous setting made.
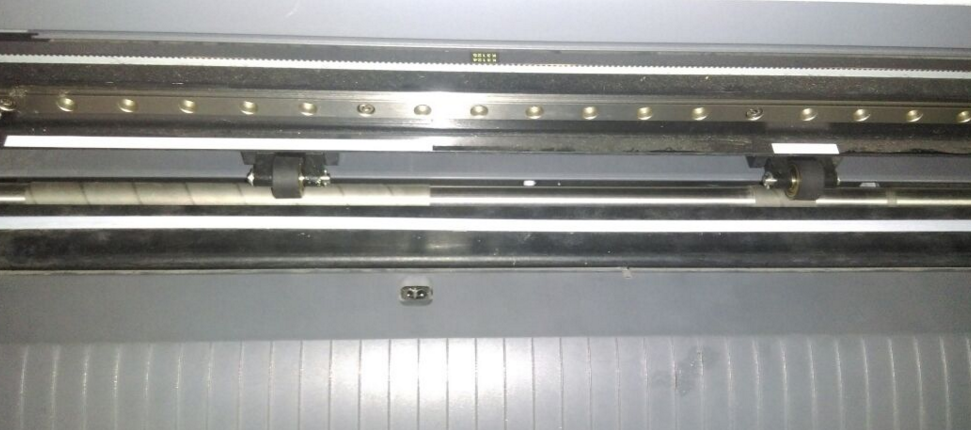
while placing the vinyl on the machine we have to make sure of certain things otherwise it will show the message "BAD POSITION" on the screen , things to get noted are that we have to place vinyl such a way that it covers the sensor as depicted in the image and also as the minimum constarint the 2 rollers should have a minimum width so that it touches between the two white marks.
Setting up printer and fabmodules
First of all we need to Add printer to CUPS,we have to choose printer as roland GX-24 in which the system is connected to
CUPS (an acronym for Common Unix Printing System) is a modular printing system for Unix-like computer operating systems which allows a computer to act as a print server. A computer running CUPS is a host that can accept print jobs from client computers, process them, and send them to the appropriate printer.
once all done with the set-up part load the vinyl by keeping in mind of all above mentioned conditions and before printing give a test cut which will help let us know how easily we can takeout the workpiece

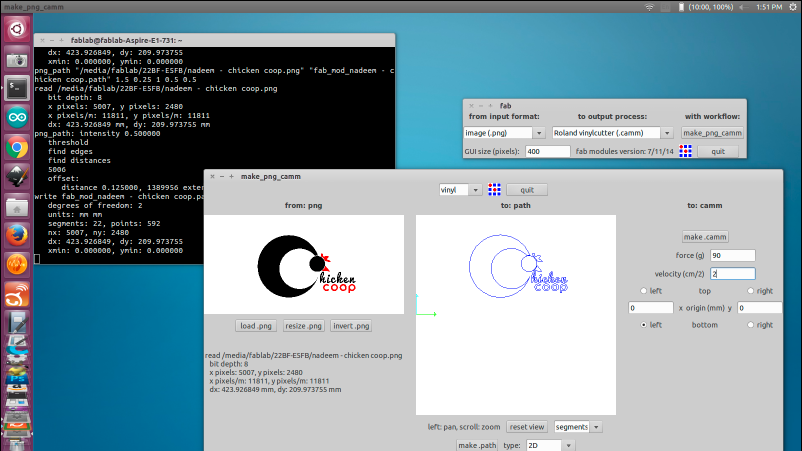
load the image in fabmodules,select vinyl->make path -> make camm -> send it
Mistakes made:-
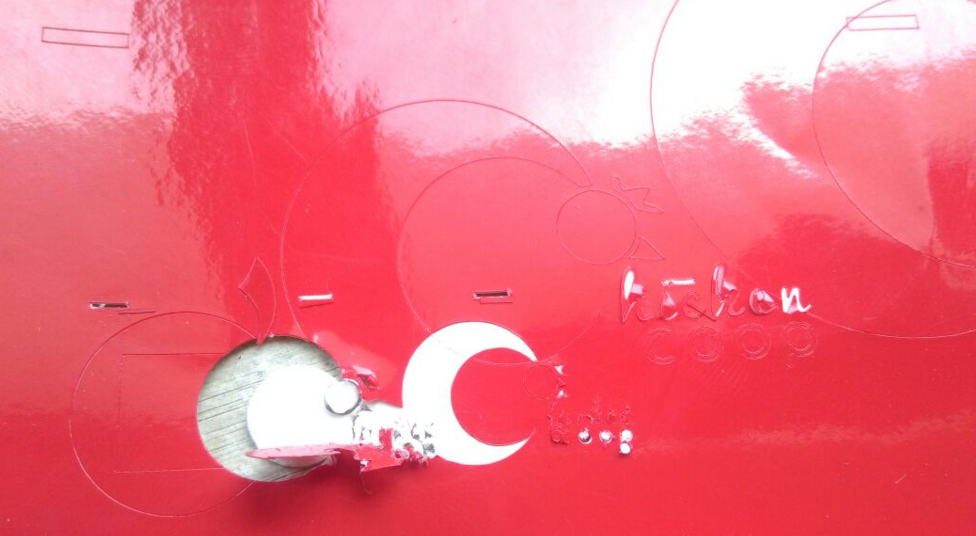
First i did it with the force 90gf and velocity 5, then i obtained what the below image shows,i have scaled the velocity to 2m/s to obtain the clear sticker.
Since i have multi coloured design i have to print the entire sticker in both colour with a added marker in it other than the design(the rectangular block in the upper corners)

removed the unwanted sticker such a way that how i needed the colors to the design,now i wanted to overlap carefully so that two marker exactly overlapped each other

once done using a masking tape kept it with me so that later i can use that
A DECAL FOR MY LAP
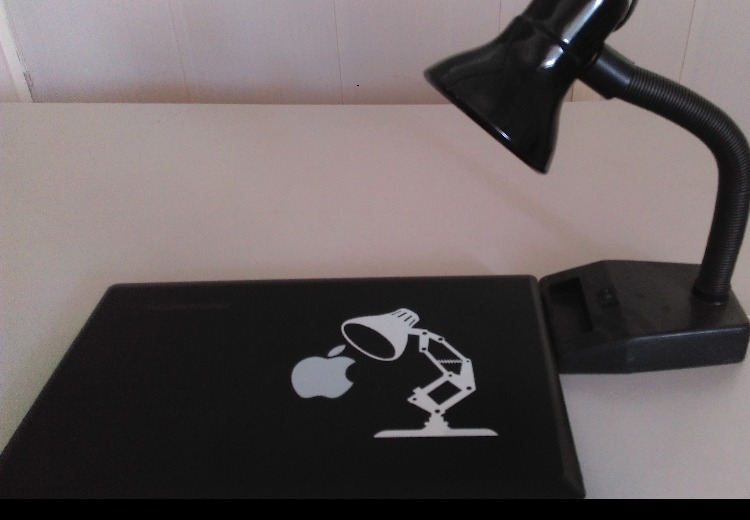
I have apple sticker on my lap, so always wanted to make a sticker such a way that the pixar logo(the lamp) lights the apple,so i downloaded the same from thingverse and printed

This is what it looked like:-
You can download all my design files HERE..!
LASER CUTTING
The Second assignment of this week is with my personal favorite machine ' The Laser Cutter ' i just love laser cutter , the best part is there is prettier output we can see which will be better than we planned while designing (It happened!!)
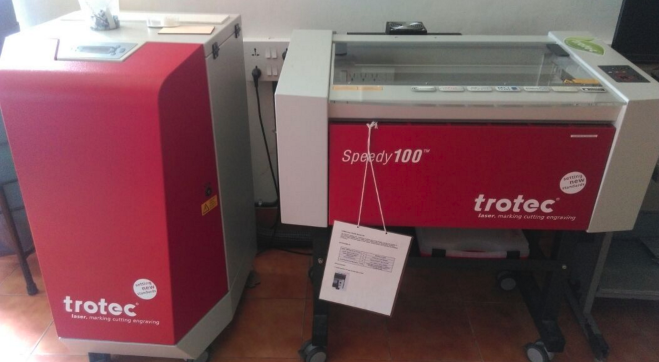
for laser cutter i have prior use experience with the same machine which i am currently working on "TROTEC SPEEDY 100" as we have strict instruction from our instructor "NEVER KEEP LASER CUTTER UN ATTENDED EVEN IF YOU WANT TO PEE" So first thing safety. For design i was scribbling something on my paper , i had a plan before that to make something that can be joined together and make big things.So i searched Internet for something similar like my design.

Design
First i started designing with blender and since i am new to blender i have faced some difficulty in the creation of design and for now i have done it in rhino.this curved line will be highlight in my design
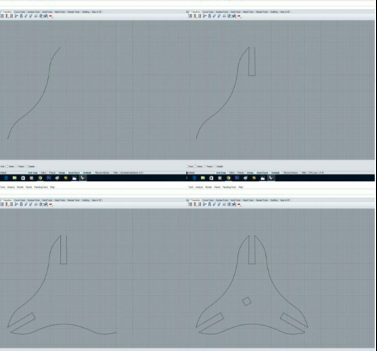
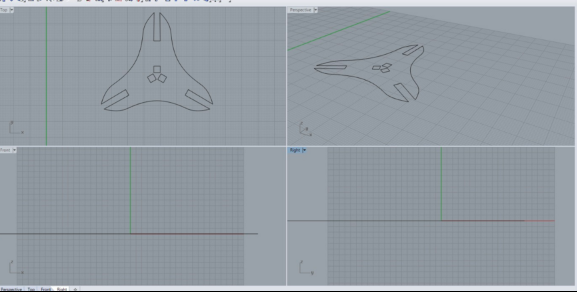
this is the final design of the single node
for the first single curve i have made all these mess.,
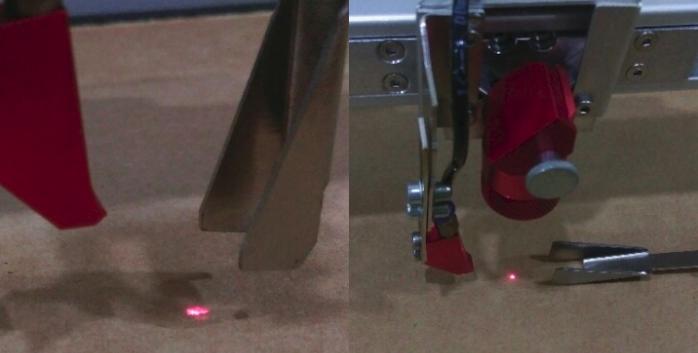
using a vernier calliper i measured the thickness of the cardboard so as to set the power and speed of the laser for the smooth cut

I am doing it in cardboard,so cut the board and placed it in the machine

The image shows the process of caliberation, the pin is placed and adjust the base such way that it just touches the pin,once its done means the z-axis is caliberated then x and y axes can be easily caliberated using the direction pads in the machine itself
when i did it for the first time i got burned shapes. When i checked for the cause i have found power set as high,
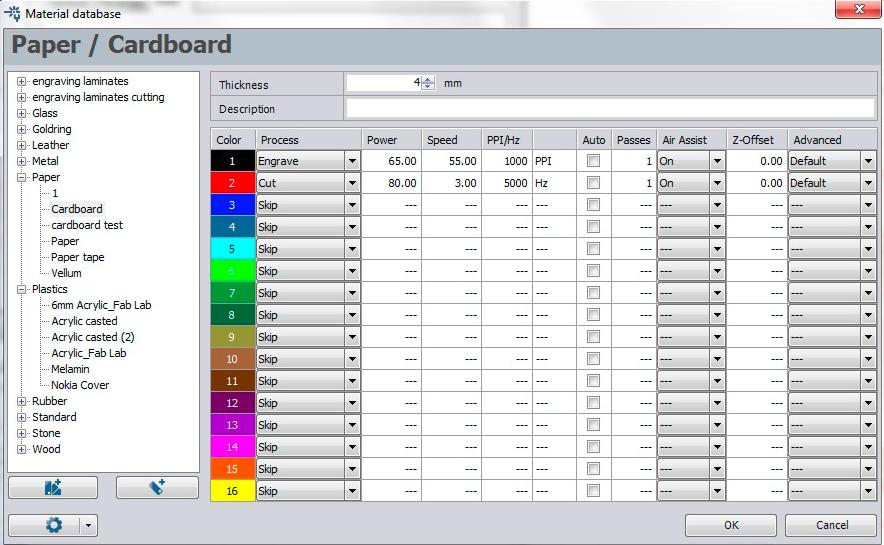
This is a snapshot of the printer preferance setup i have given, in design any black coloured shape means engrave and red means to cut and we can adjust the power and velocitty based on materials we use
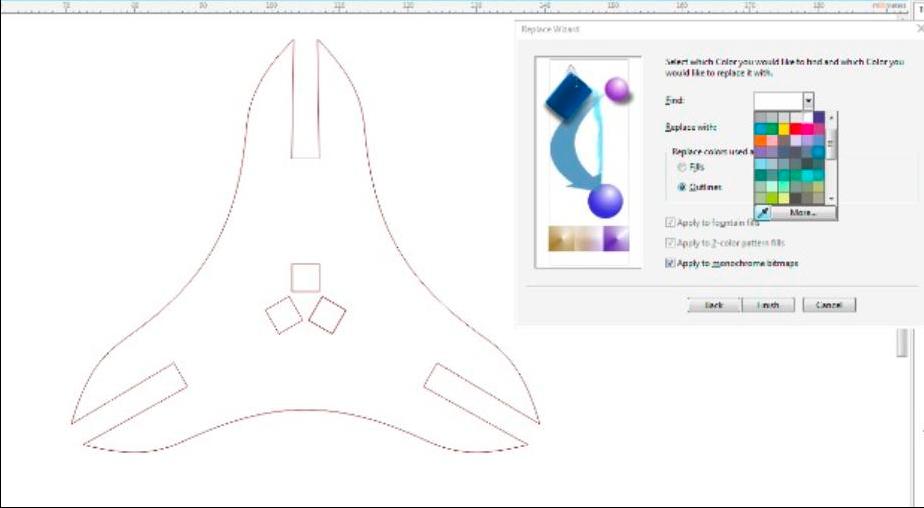
i have exported to .dxf in rhino and opened in coral draw inorder to adjust the page layout and also to change the colour to red
Edit -> Replace colour -> choose colour (select colour picker and choose the colour in design) -> Tick outlines -> Replace it to red
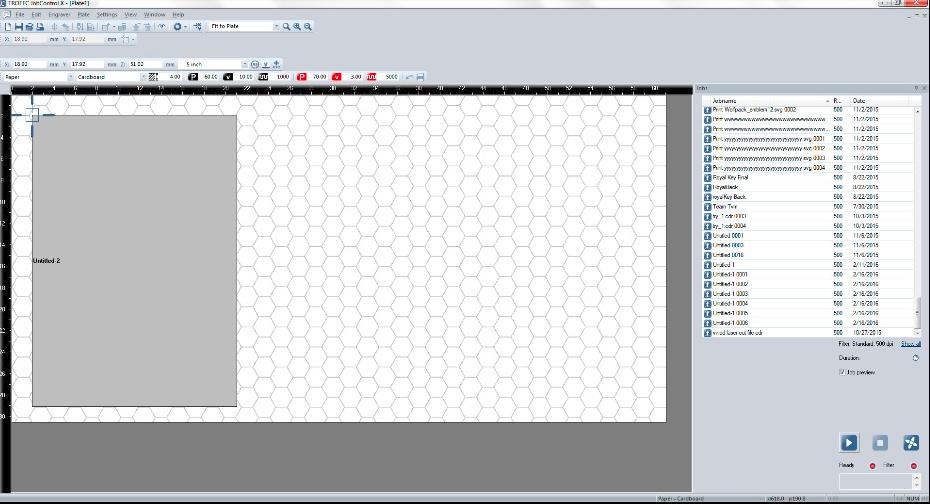
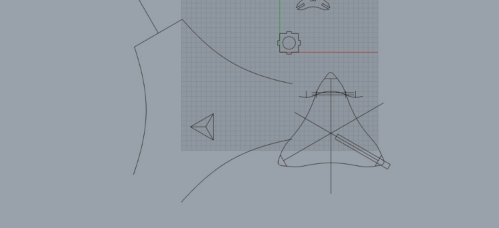
placed the job likewise in the image,where the marker shows the orgin in XY- plane

managed to cut as seen, the rightside image is a comparison of size with one rupee indian conditions and started making patterns as images below,it was fun to make random things

Putting it to a application

Hot air placed in the design i have made.
The Design Files are here..!!
laser cutter
Archives
- Week 01.Principles and practices ,Project management
- Week 02: Computer-aided design
- Week 03: Computer-controlled Cutting
- Week 04: Electronics production
- Week 05: 3D scanning and printing
- Week 06: Electronics design
- Week 07: Computer-controlled machining
- Week 08: Embedded programming
- Week 09 & 10: Mechanical design, machine design
- Week 11: Input devices
- Week 12: Molding and casting
- Week 13: Output devices
- Week 14: Composites
- Week 15: Networking and communications
- Week 16: Interface and application programming
- Week 17: Applications and implications
- Week 18: Invention, intellectual property, and income
- Week 19: Project development
- Week 20:PROJECT