


W1 - PRINCIPLES AND PRACTICES, PROJECT MANAGEMENT
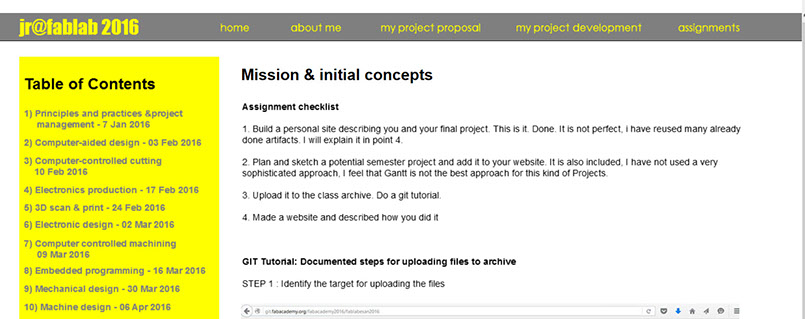
Mission & initial concepts
Assignment checklist
1. Build a personal site describing you and your final project. This is it. Done. It is not perfect, i have reused many already done artifacts. I will explain it in point 4.
2. Plan and sketch a potential semester project and add it to your website. It is also included, I have not used a very sophisticated approach, I feel that Gantt is not the best approach for this kind of Projects.
3. Upload it to the class archive. Do a git tutorial.
4. Made a website and described how you did it
GIT Tutorial: Documented steps for uploading files to archive
STEP 1 : Identify the target for uploading the files
Files i used in this assignment:
Web page (draft version)
ADOBE MUSE FILES
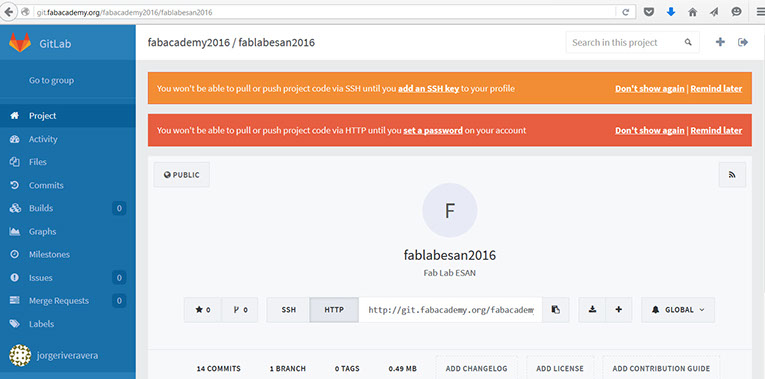
http://git.fabacademy.org/faacademy2016/fablabesan2016
http://archive.fabacademy.org/archives/2016/fablabesan2016/
In my case i have been asigned the ./70 subdirectory.
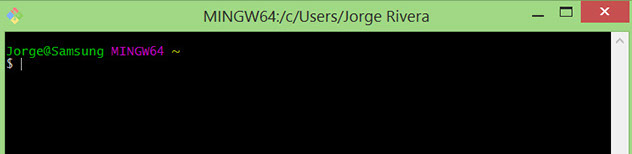
STEP 2: Installing the git for Windows after downloading from https://git-scm.com/
Configuring git
Then i wrote:
$ git config --global user.name "Jorge Rivera"
$ git config --global user.email jorge.rivera@univertia.com
(helped by https://git-scm.com/book/en/v2/Customizing-Git-Git-Configuration)
Then i cloned the repository http://git.fabacademy.org/faacademy2016/fablabesan2016
After the cloning i realized that following subdirectory was created
Right Click and “Git Bash here”
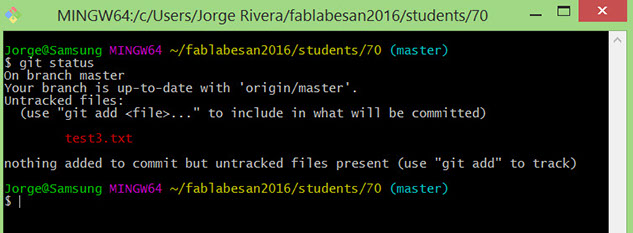
$ git status
$ git pull
$ git add -A
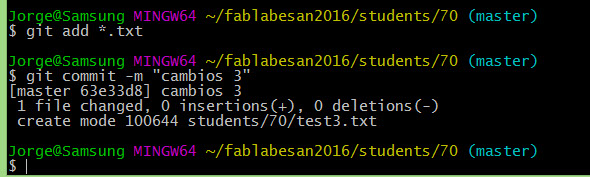
$ git commit -m "Update on Date ..."
It detect the new file
$ git push
It will ask for user and password (each one in one window)
Thats all.
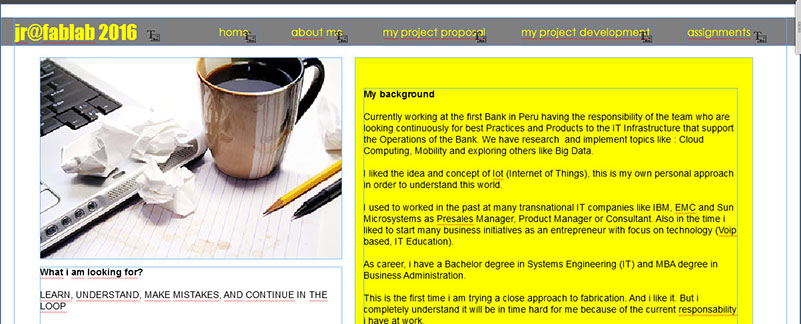
HOW did i created my web page
Honestly i was difficult for me. In the past i never learned how to code in html but i learned how to use different programs to have the same effect :
- Start from a template, i found good ones here: http://www.freewebsitetemplates.com
- Modify with any html editor: I tried composer, Libre Office, Web Generator and finally decide by Dreamweaver after downloading the trial version. I am expecting to get better skills in the time becaus even now it is very difficult for me to do better designs.
- It is not perfect nor completed. Some links or functionalities could be not working at this point (1st week February)
- For moments i got some panic because i felt that i dedicate many time to start understanding each editor i tried, finally i understood that with so short time the only possible way is to reuse and think it as not to be the perfect one at this moment.
Update : 09/02
I recreate my web page using 2 software programs : Fireworks and Kompozer.
The first one is very useful for creating the initial banner and sizing the whole dimensions and the second one for updating the assignments as you were on a word processor program.
Make a website and describe how you did it
I heard from another person in class that the software Muse from Autodesk was very friendly to use, so i decided to use it.
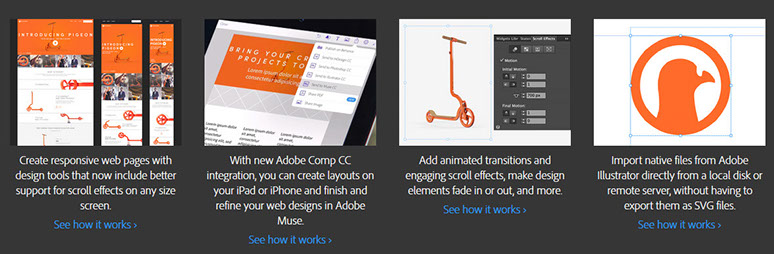
Adobe Muse is a product by Adobe Systems. The software is focused on allowing designers to create websites without having to write any code.[3] This application is available through Adobe Creative Cloud.
How it works
Muse has 4 different tools that help to create a web site

Plan : In order to define which ones are going to be the menus, which ones are the templates for other pages an in general the rules of the structure you are going to create
Design: Here you have the capability to design each one of the pages with drag and drop options you can change the types of letters and include any images you need
Preview: Yo can simulate here your final product having the capabiity to change at any time your design
Publish : When you decide thta your final product is ready, from here you will publish in the Internet
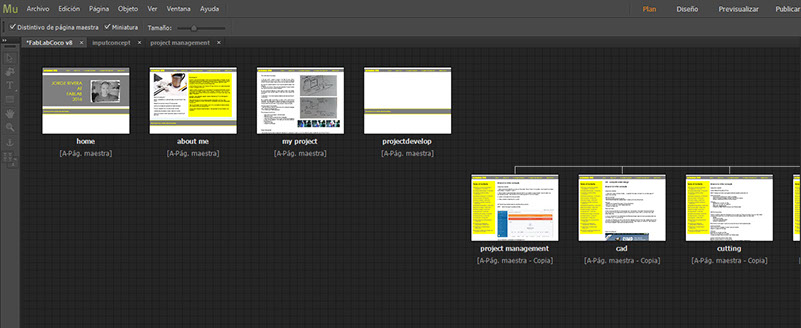
Here is the structure of my web page, you can see from a high view each one of the pages that are included, if you need you will change the order, erase or add any page at any time.
In the other hand this is an example of the Design View, from here i changed the different components i need : images, fonts, structures, frames and colors
At the preview option you can see as it will be publish
Adobe Muse has a lot of options and tools, however you can create interesting things with just knowing the basic of copy and paste, like me.
