


W5 - 3D SCANNING AND PRINTING
Mission & initial concepts
Assignment
- Design and 3D print an object (small, few cm) that could not be made subtractively
- 3D scan an object (and optionally print it) (extra credit: make your own scanner)
- Test the design rules for your printer(s) (group project)
Files i used in this assignment:
INKSCAPE FILES
Link to 123d catch SCAN
http://archive.fabacademy.org/archives/2016/fablabesan2016/students/70/projectfiles/w5/scan00001.jpg
Link to Sketchup design (Inka Kola Bottle)
Concepts and Best Practices Learned
When i read the Stratasy course i didnt understand the concept until i printed my design
In my case , i used a Felix 3.0 Printer with FDM technology

STL File
A file format (Standard Tessellation Language) commonly used as input for additive
manufacturing systems. This file describes only the surface geometry of a three-dimensional
object without any representation of color, texture or other common CAD model attributes. Also
represented as “.stl” file. The surface geometry is defined as triangles consisting of a unit normal
vector and three vertices. Adjacent facets must have common vertices. Data can be stored in
either ASCII code or binary format.
http://www.tested.com/tech/3d-printing/460456-bits-atoms-3d-modeling-best-practices-3d-printing/
3D Design Software
Rhino
Overview
(http://www.rhino3d.com/en/features)
Rhino can create, edit, analyze, document, render, animate, and translate NURBS* curves, surfaces, and solids, point clouds, and polygon meshes. There are no limits on complexity, degree, or size beyond those of your hardware.
Special features include:
- Uninhibited free-form 3-D modeling tools like those found only in products costing 20 to 50 times more. Model any shape you can imagine.
- Accuracy needed to design, prototype, engineer, analyze, and manufacture anything from an airplane to jewelry.
- Compatibility with all your other design, drafting, CAM, engineering, analysis, rendering, animation, and illustration software.
- Read and repair meshes and extremely challenging IGES files.
- Accessible. So easy to learn and use that you can focus on design and visualization without being distracted by the software.
- Fast, even on an ordinary laptop computer. No special hardware is needed.
- Development platform for hundreds of speciality modeling products. (Windows only)
- Affordable. Ordinary hardware. Short learning curve. Affordable purchase price. No maintenance fees.
Exploring Rhino 3D
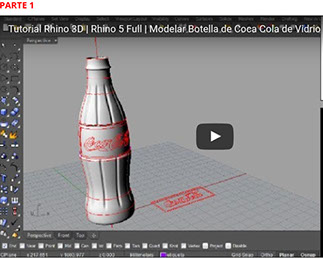
I found a very good tutorials for Rhino in spanish that explain how to create a Coca Cola bottle and that could be an inspiration:
After some time (5 hours of exploration i liked the way how Rhino works but it would take for me too much time to completely understand
So i decided to switch to a more intuitive tool like Sketchup.
Sketchup
Overview
(https://en.wikipedia.org/wiki/SketchUp)
- SketchUp (formerly Google Sketchup) is a 3D modeling computer program for a wide range of drawing applications such as architectural, interior design, civil and mechanical engineering, film, and video game design—and available in a freeware version, SketchUp Make, and a paid version with additional functionality, SketchUp Pro.
Sketchup has many tutorials for making bottles, the best one i found is the following.
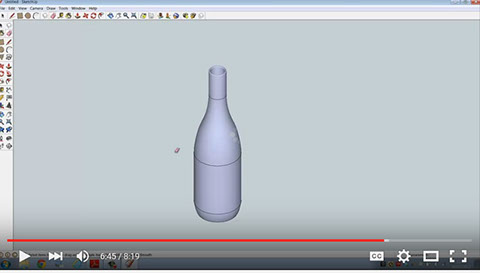
https://www.youtube.com/watch?v=pPRD7Mx3w5s
3D Printer Hardware
Felix Printers 3.0
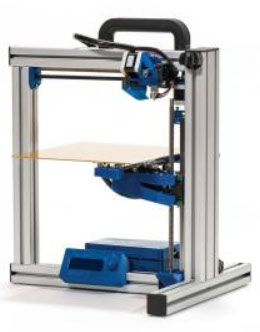
Notice the type of printer: FDM

3D Printer Software (compatible with Felix 3.0)
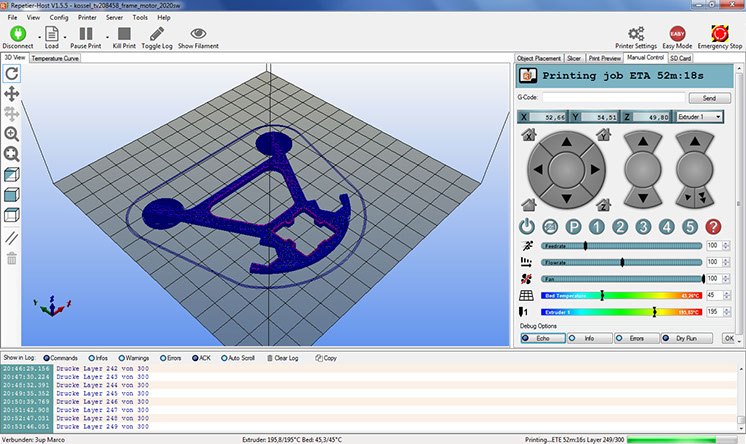
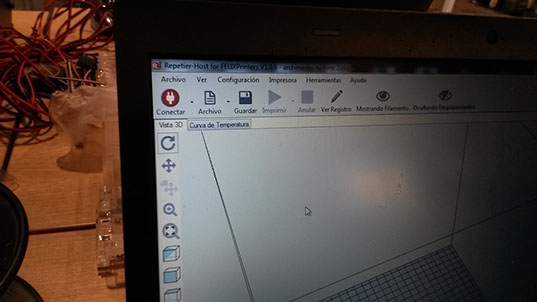
Repetier Host
(http://reprap.org/wiki/Repetier-Host)
The Repetier-Host is a simple to use host software, which is be compatible with most firmwares around. You can add and position your STL files on the simulated printbed and slice them all together. For slicing you can use the built-in Slic3r slicer or use the well-known Skeinforge. Just call "Slice & Load" and the job gets delegated to the current slicer, showing its output in the log window. For a full description please visit the homepage url (Download).
In the G-Code editor you can change or analyze your code. To help you a short description of the current code is shown below the editor.
The host runs on Windows XP or higher, Linux, and Mac OS X.
Features
- Easy to use GUI.
- Easy to use Windows, Linux or Mac OS X installation.
- Communicates in classic ASCII mode or using binary Repetier-Protocol.
- Includes the fast Slic3r slicer.
- Alternatively integrates Skeinforge as second slicer.
- STL composer - place, rotate and scale your STL files on your printbed and store or slice it.
- STL files are automatically converted to G-Code.
- Visual preview of G-Code. You can even change the code and see the difference.
- Syntax highlighting and code explanation.
- Visualizes the G-Code sent to the printer.
- Shows estimated print time.
- Supports SD cards.
- Simple control panel for tests.
- Jobs can be changed in internal editor before being sent to the printer.
- Supports multiple 3D printers.
- Logs commands and responses.
- Test generator for printer calibration.
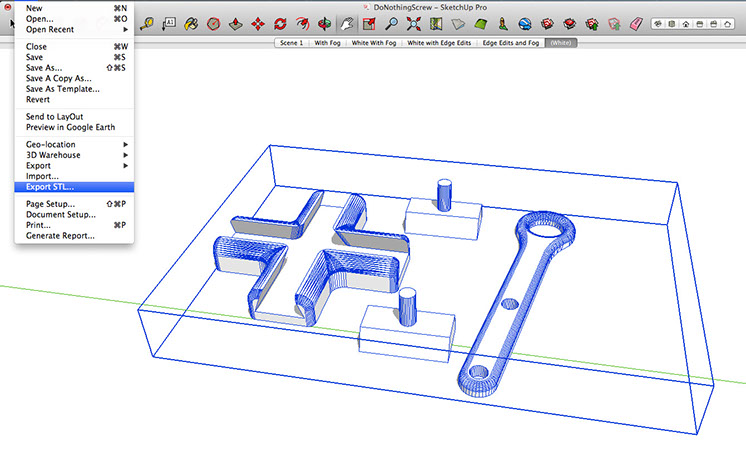
Notice that Repetier Host work with STL files. And i have used Sketchup, which does not have a native STL export option.
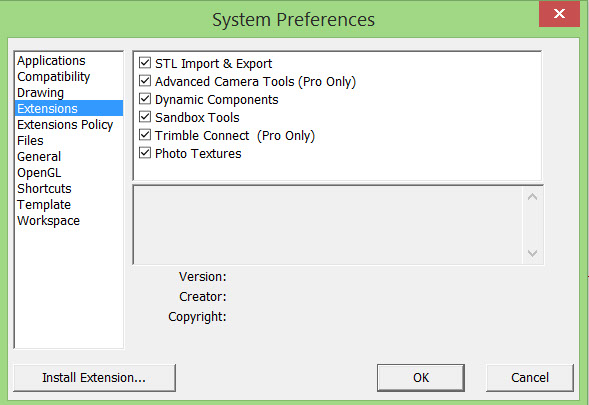
SketchUp STL (extension)
https://extensions.sketchup.com/es/content/sketchup-stl
Import and Export STL files for 3D printing
SketchUp STL
The STL file format is widely used across different 3D printing and modeling interfaces. For instance, many of the models you might find on Thingiverse.com are available in STL format, and several popular 3D printers accept STL files to prepare models for fabrication. This extension provides import/export functionality for STL files to and from SketchUp, so you can easily export SketchUp groups to STL, or import an STL design and manipulate it within SketchUp.
Once you install the extension, you’ll find two new options under the File menu:
Export STL: This function requires you to select one or more groups for export (so you’ll need to group your geometry before using this).
Import... (STL): With this plugin, you’ll find STL as a supported format within SketchUp’s Import command. STL files will be imported to SketchUp as a group.
3D Scanning
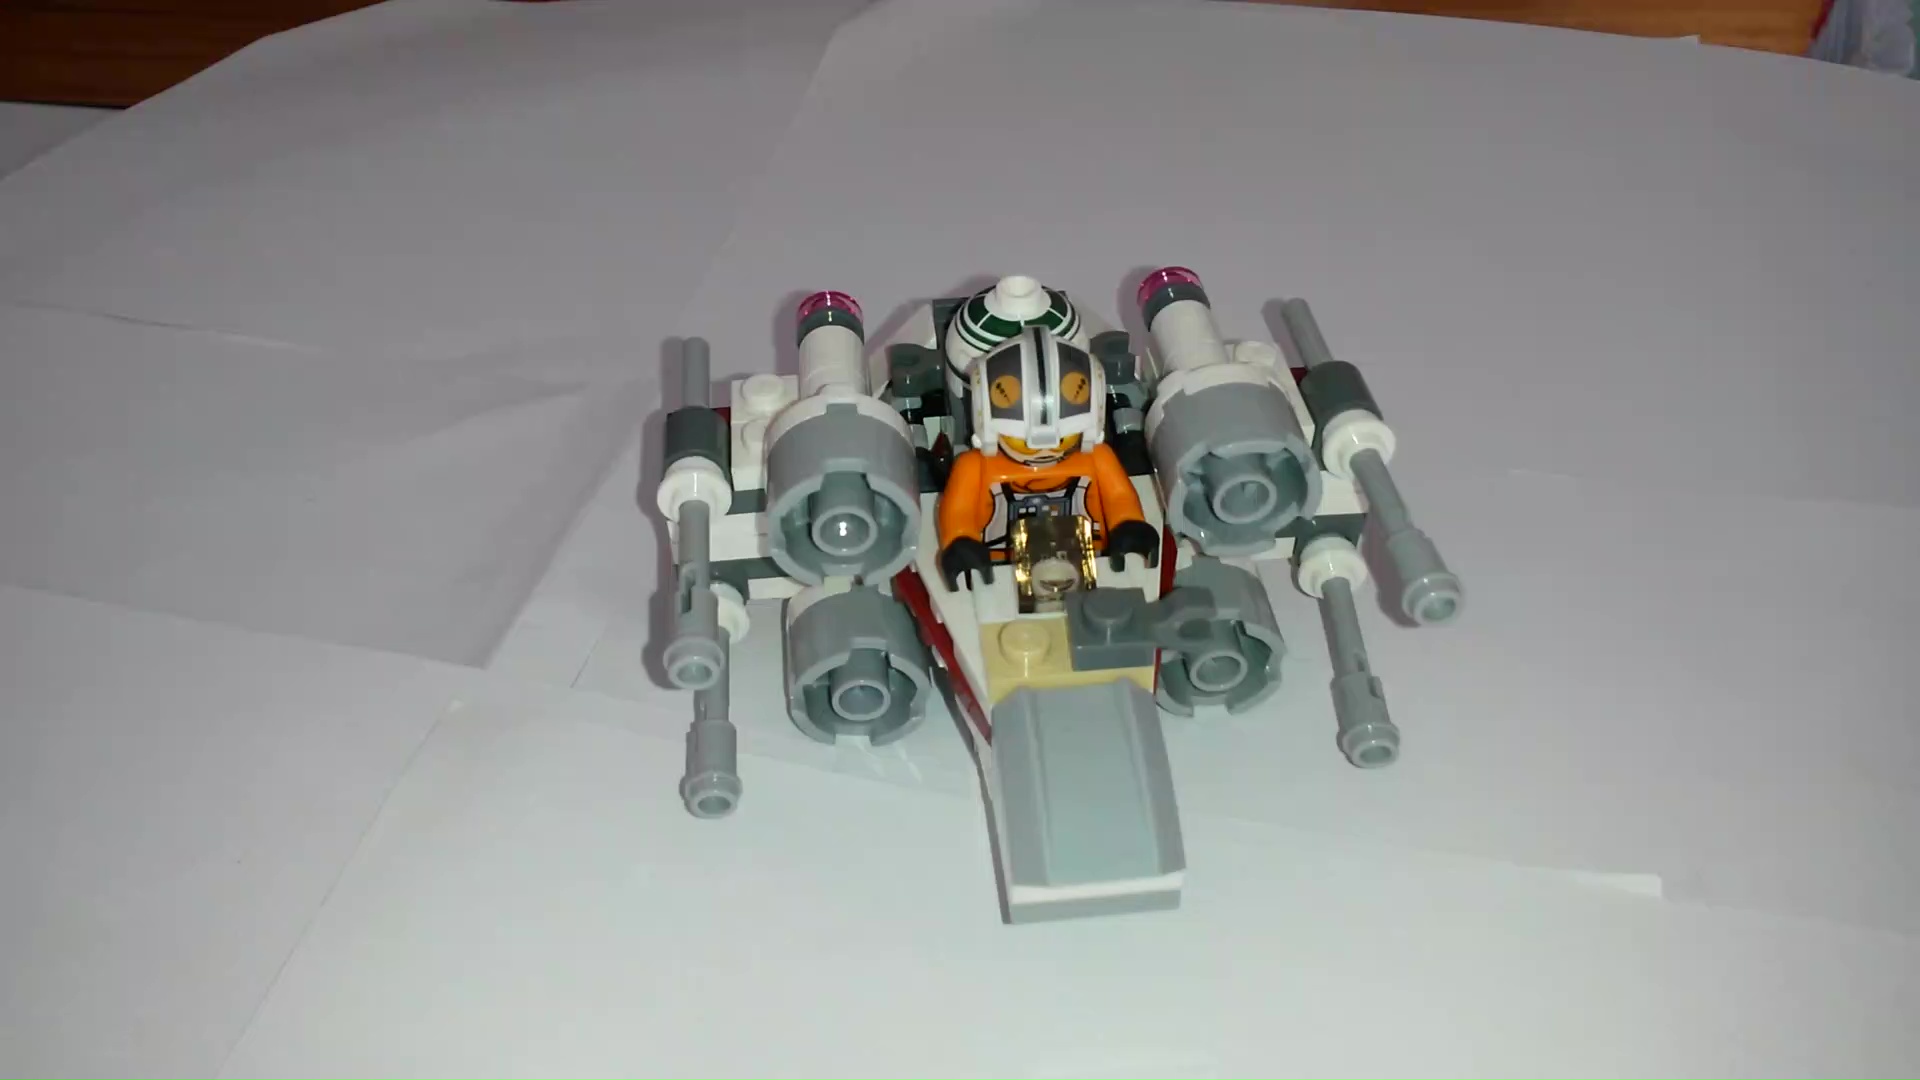
Hardware : My Samsung recording a video
Mechanism: Photogrammetry
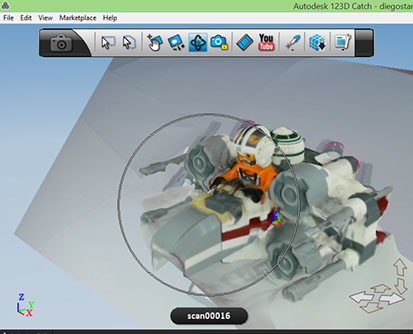
123D Catch
www.123dapp.com/catch
123D Catch is an app that can turn a smartphone into an accurate 3D scanner. The point of using Catch on Android and iOS or Windows devices is that the camera is already there. The software simply guides you while taking each individual shot, ensuring that your position is the right one. The PC version of Catch allows users to upload their digital photos, to edit/refine the resulting models and to turn them into animations. All editions are free to download and use, but that does not mean they are low-quality products.
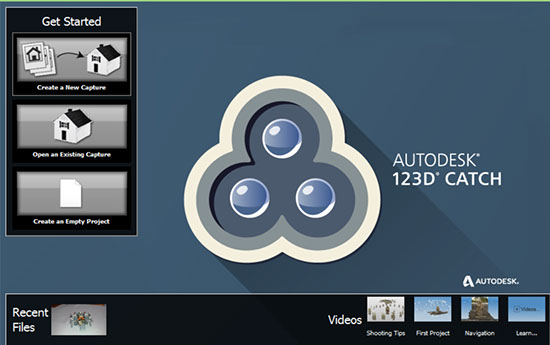
The 123D Catch software is based on the simple premise of taking multiple photographs of the same object from various different angles, however getting a perfect 3D “scan” that way is not that simple.
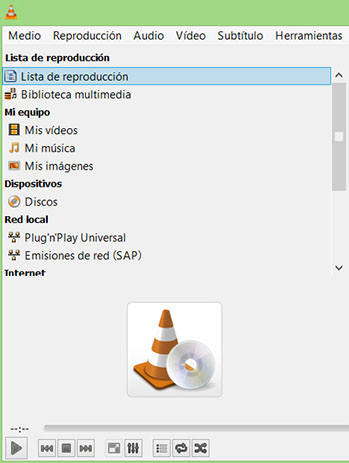
VLC
http://www.videolan.org/vlc/
VLC is a free and open source cross-platform multimedia player and framework that plays most multimedia files as well as DVDs, Audio CDs, VCDs, and various streaming protocols.
VLC can export jpg files from a recorder video
3D Design
As documented previously i decided to design with Sketchup for this assignment.
All the tutorials iof bottle making n the internet started with the same approach. Always download a picture of the thing you will recreate.
Using Sketchup
Because of the size of the future bottle (70 mm) i have to define my start template in Sketchup
Menu - Windows - Preferences

This is the bottle of Inka Kola. It is a special version called "La Gordita", The Fat One". Locally it is produced by Coca Cola company and it is originally from Peru, my country. So i like the idea
I would like to have a little bottle of 7cm, 70 mm. and with yellow color.
So, let's go.
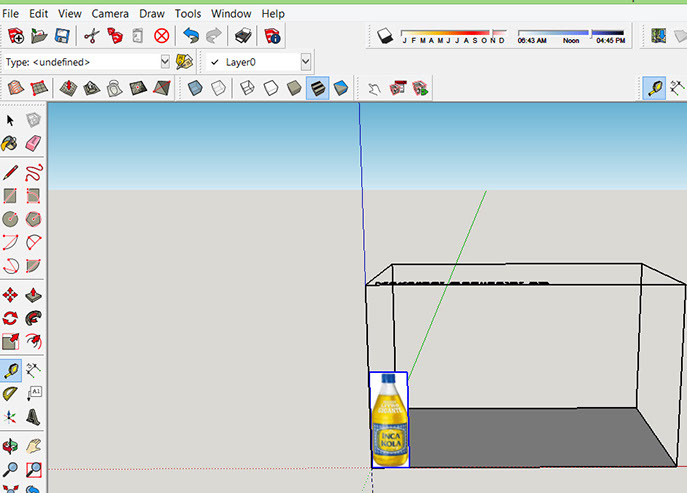
Now i have to import the image of the original bottle and insert it into the point (0,0,0) (x,y,z). Its height is 80 mm and seems to be very near to what i am expecting
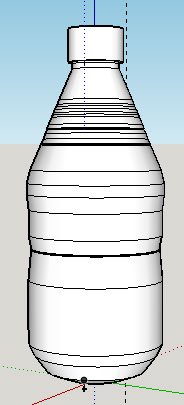
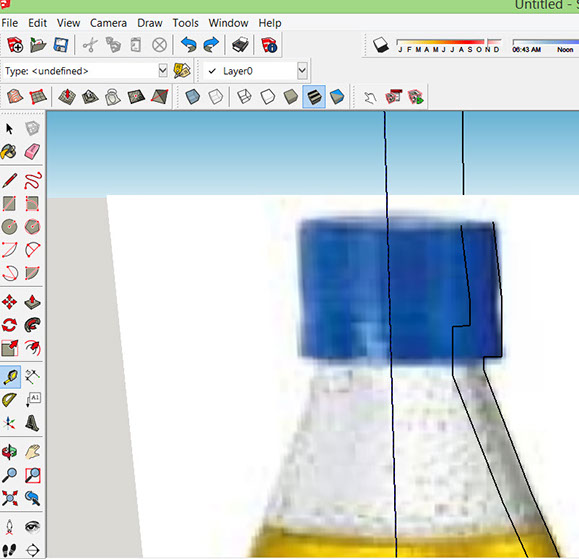
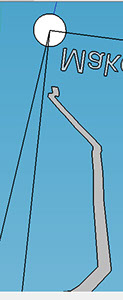
The next step is to draw short lines that cover just half side of the bottle

After the Slices process the design seems to be ready for printing
Then i used the tool offset in order to create a second line (1.7 mm) beside the first one.
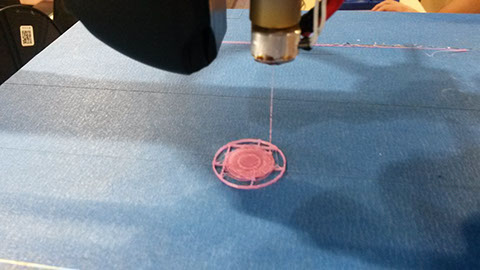
In the first attempt to print, the angle of the base of the bottle was more of 45 degrees so the gravity does not support it and everything goes down.
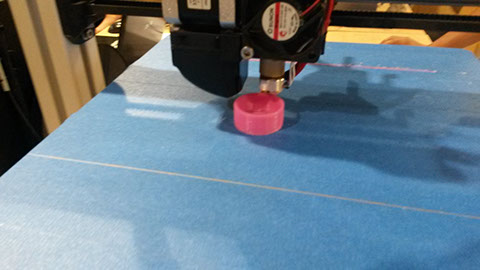
I had to regenerate the bottle but with a flat base
Then i completed the shape and erase the original image.

And here comes the best part of all.
Create a circle in the Z axis just on top of the draw.
At this moment the:
- Circle will be the PATH
- My lines will be the SHAPE
Now select the the PATH, then the tool
Follow Me and finally the SHAPE
The last picture is the result
Now the bottle start printing good.
The next step was the 3D printing, so in order to import my design into the 3D software (Repetier Host), i exported the design in OBJ format.
Repetier Host does not work with OBJ files and it searches for STL files. At this time i started search for a tool that make the conversion. I found the extension called "Sketchup STL extension", the way you can install it is follwing:
1. Download from the site:
https://extensions.sketchup.com/es/content/sketchup-stl
2. Open the Menu Window option
3. Use the option Extensions and install the downloaded file. You will be capable to export to STL format
With STL format i used the 3D Software in order to import the design
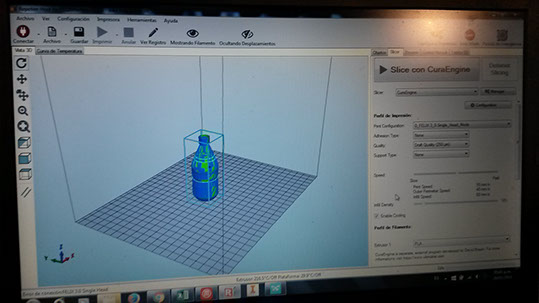
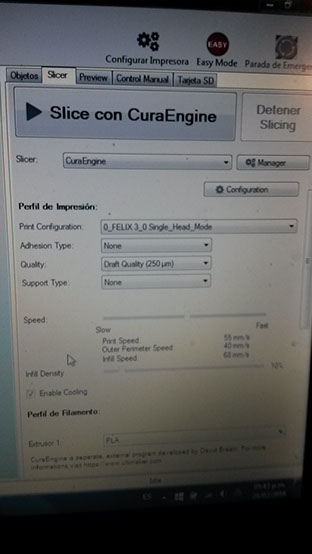
Selected parameters
Finally i got the design printed

3d Scanning
I decided to use my smartphone to record a video, then convert the video into jpg files and the upload to 123D catch.
In order to convert my video to jpg files i used VLC Open source tool which was previously documented.
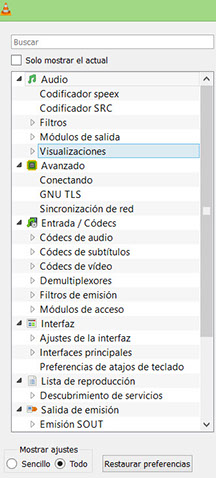
In VLC software i selected Advanced Preferences.
Then on video Option i selected jpg format. I previously selected png format but as a result i got two errors:
a) The images are not perfect
b) 123D catch program does not support png
Also i selected in rate recorder : 15

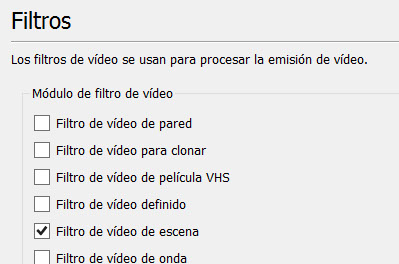
Also in the Filters options, i selected : Filter of Scene video, that will generate the jpg files
As a result it generates the jpgs files that i will use as input for 123d Catch.
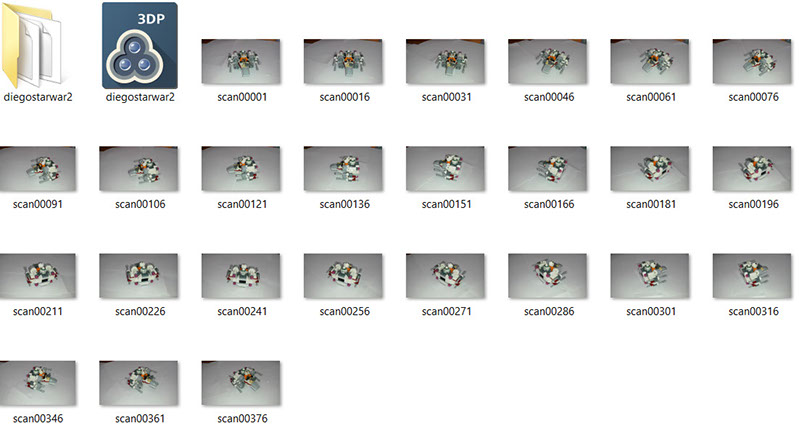
The final step was to upload to 123d catch. And here is the result.