


W16 - INTERFACE AND APPLICATION PROGRAMMING
Mission & initial concepts
Assignment
Write an application that interfaces with an input &/or output device that you made, comparing as many tool options as possible
I will select the combination of:
LabView --- Arduino ---- INPUT : UltrasonicSensor
Technology
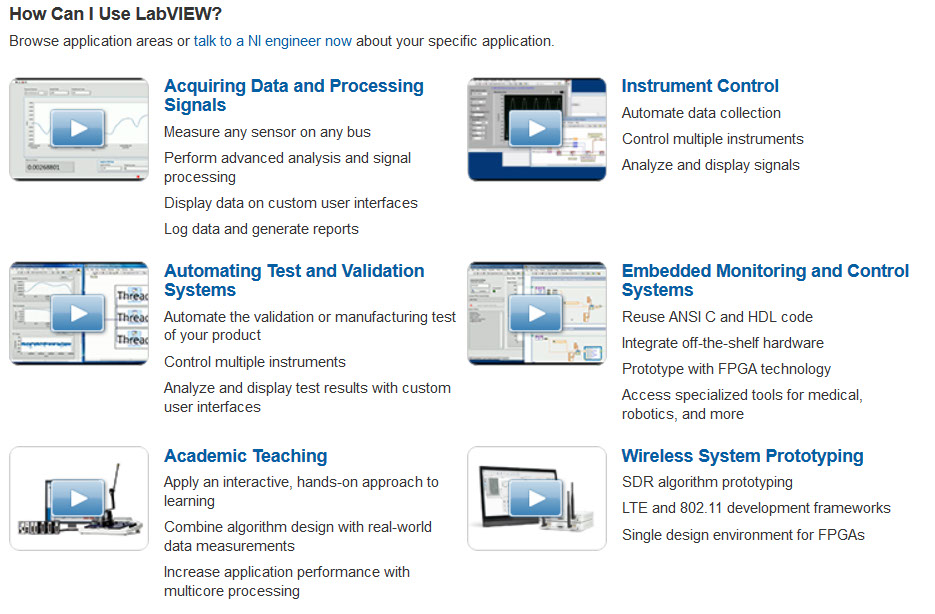
What Is LabVIEW?
LabVIEW is your tool to solve today’s problems faster and more effectively with the capacity to evolve to meet your future challenges. LabVIEW offers unprecedented integration with all measurement hardware, existing legacy software, and IP while capitalizing on the latest computing technologies.
Files i used in this assignment:
Link to Arduino file
Link to LabView file
http://archive.fabacademy.org/archives/2016/fablabesan2016/students/70/projectfiles/w16/testcoco.vi
Procedure
Install, LabView, there is an Trial Option for 7 days
Also you will need to install VISA (support for serial communication).
as a reference i use following tutorial
http://www.instructables.com/id/Arduino-and-LabVIEW/?ALLSTEPS
Procedure
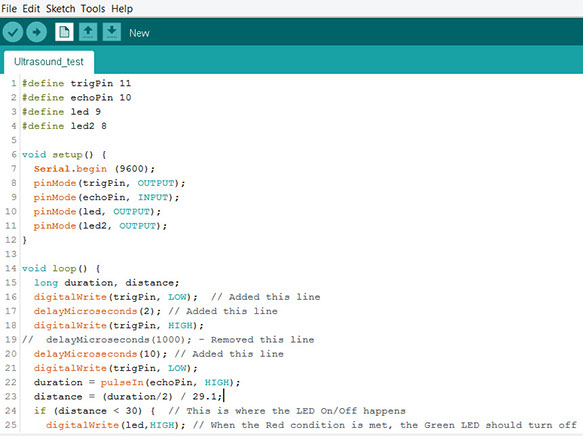
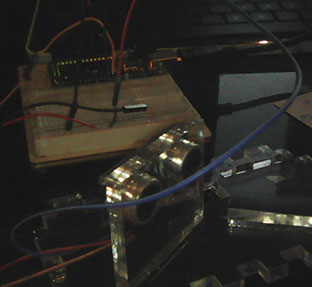
At first i had to recreate the conectiviy of an RC-HSR04 (untrasound sensor) with Arduino. In order to connect them i use Trigger on Pin 11 an Echo on Pin 10
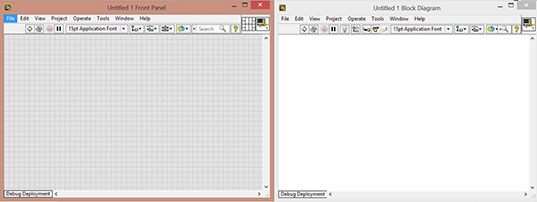
Before configuring LabView is important to document that Labview work with 2 screens:
- Front Panel : How will it look
- Block Diagram : How will it work
In order to have some kind of recipe i have documented each step of the conectivity via VISA between Labview and Arduino in order to capture serial output
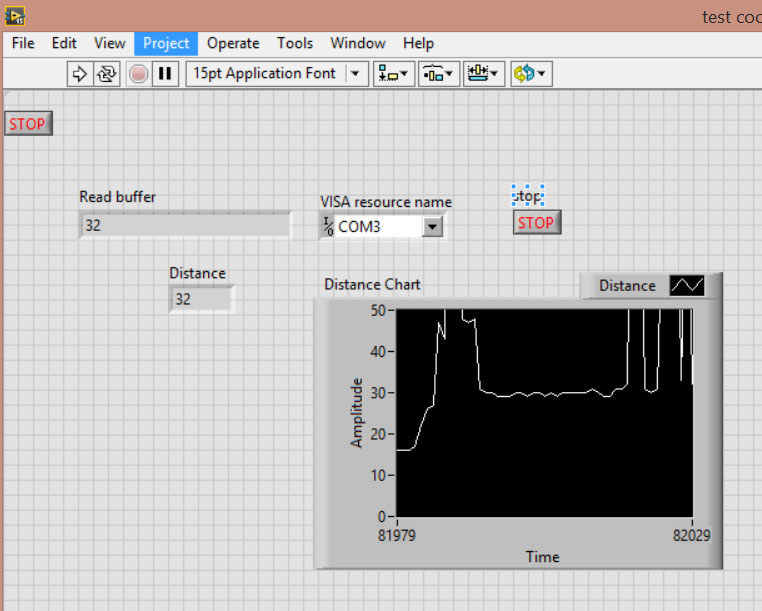
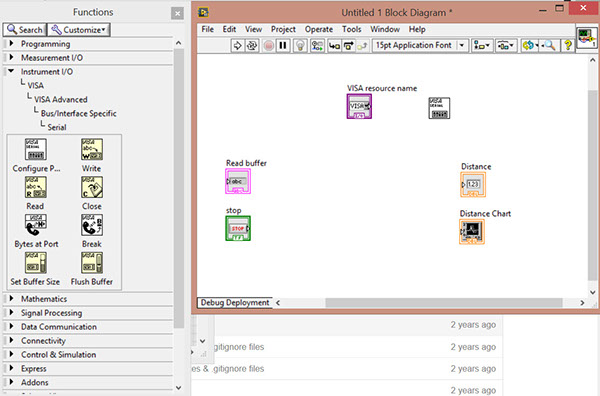
IN FRONT PANEL
Step 1:
- Right click
- Search
- VISA Resource Name
Step 2:
- Right click
- Search
- String indicator (label as Read Buffer)
Step 3:
- Right click
- Search
- Control numeric indicator (label as distance)
Step 4:
- Right click
- Search
- Control Stop Button (Boolean)
Step 5:
- Right click
- Search
- Control Waveform Chart (you can change for other if you prefer)
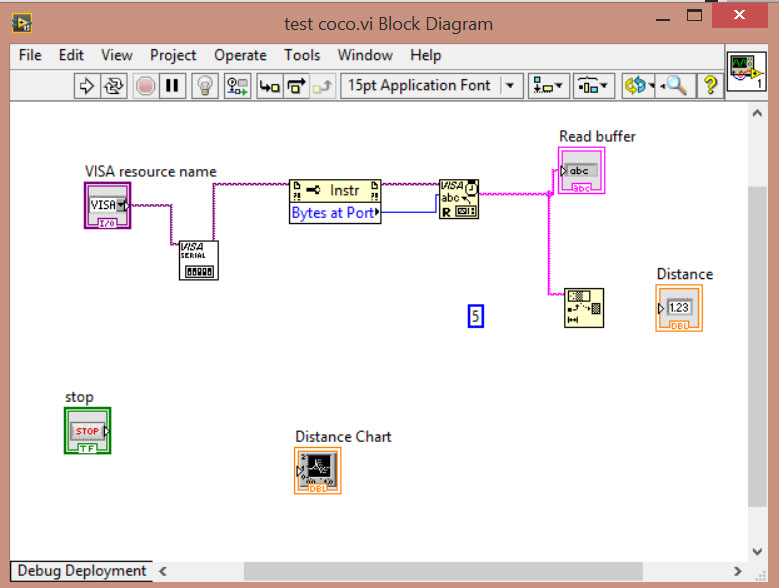
IN BLOCK DIAGRAM
Step 6:
- Right click
- Search
- VISA Configure Serial port
Step 7:
- Right click
- Search
- VISA properties node
- Right click - Serial settings - Number of bytes at serial port
Step 8:
- Right click
- Search
- VISA REad serial
Step 7:
- Right click
- Search
- String subset
Step 8:
- Right click
- Search
- Numeric constant
Step 8:
- Right click
- Search
- Fract/Exp String to number
Step 9:
- Right click
- Search
- While loop with button
Step 10:
- Right click
- Search
- VISA Close serial
Step 11:
- Right click
- Search
- Wait(ms)
Step 12:
- Right click
- Search
- Numeric constant, state as 2000
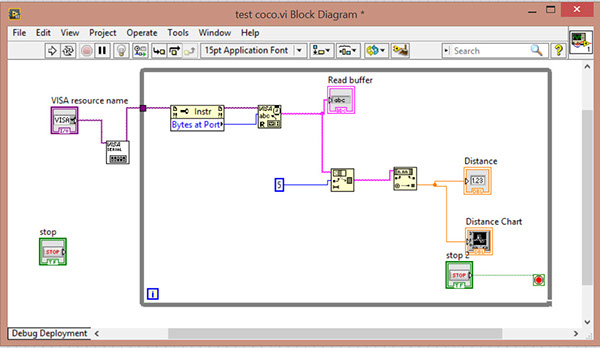
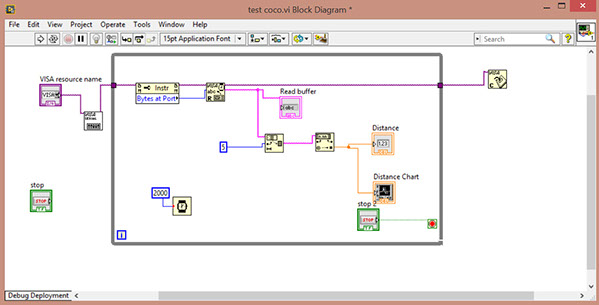
When you connect the wires as show, you can run the VI and the buffer will be readed and shown in the graph.