


W12 - MOLDING AND CASTING
Mission & initial concepts
Assignment
Design a 3D mold, machine it, and cast parts from it
Refererences to links i used
Files i used in this assignment
1st version of design
http://archive.fabacademy.org/archives/2016/fablabesan2016/students/70/projectfiles/w12/design2.jpg
2nd version of design
http://archive.fabacademy.org/archives/2016/fablabesan2016/students/70/projectfiles/w12/design2.jpg
Concepts and Inspiration
As documented before all my thoughts are focus on developing solutions for my new house in the field.
It is very common to have some kind of small banners at the door with messages related the family
So my intention is to create some banner that i could re-create later at a bigger scale and use in my house.
Is my intention to create an small banner for my house.
Technology
Hydrostone
http://plaster.com/HYDROSTONE.html
One of the hardest and strongest of all gypsum cements, USG Hydro-Stone® is recommended for producing high-quality novelty and statuary castings requiring extremely hard surfaces. This product is self-leveling when poured and not suitable for hollow cast applications. USG Hydro-Stone® must be mechanically mixed for best results.


Procedure
As explained before i wanted to create some kind of banner to use internally at home. I get inspiration on some signals i founded based on open source.
In parallel I decided to use as final material Hydrostone because of the connection it would stablish with my house in the field.

After some ideas i decided to use this image as my first design.
Getting feedback with my coach i understand that the thin lines couldnt be make.
This is the first symbol y choose for inspiration.
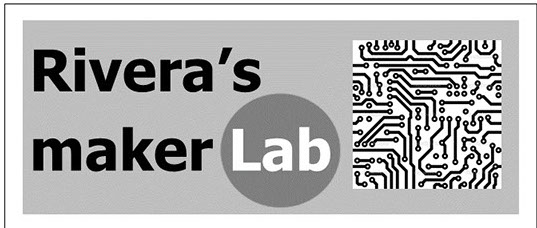
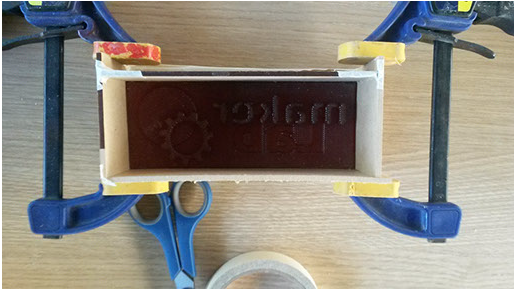
My next design was simple . I tried to use different levels of white, black and gray because i understood that that levels of colors would make the difference and create physicals levels on the wax.


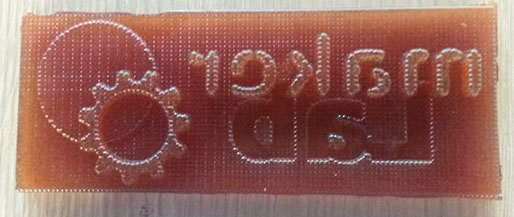
I use the Modela 20 in order to mill the image into the wax. It takes almost 40 minutes but i think the results were better than expected.
I used the 1/64 drill
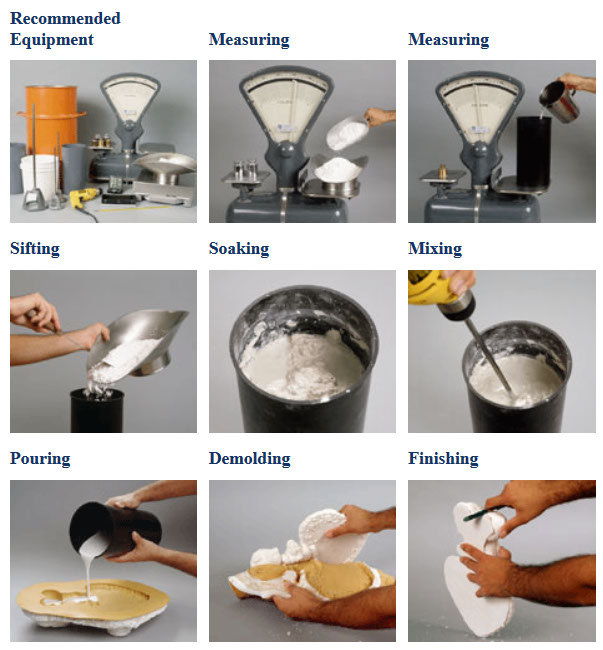
I use the XXX mixing half and a half to get my first mold.
I tried to move it slowly and for almost 10 minutes in order to avoild bubbles. Then i use an small piece of wood in order to put into the wax trying to fill at first all the wholes.
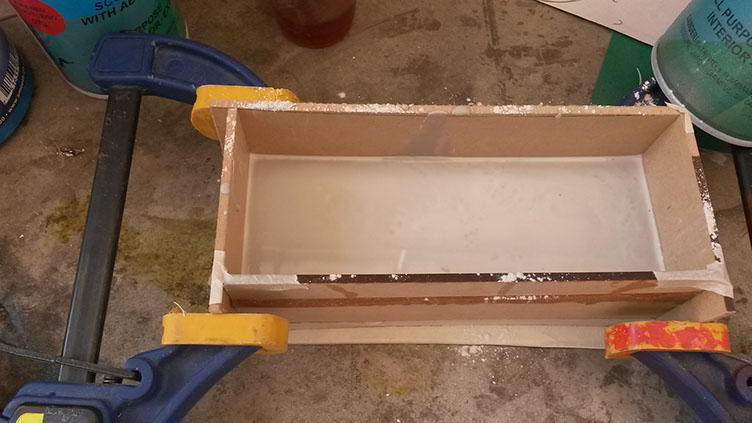
So with my first mold i made an small box to contain the next material i was going to use : Hydrostone.
When i mixed Hydrostone with water i used 1:5 proportions (1 - water, 5 hydrostone), but then it takes to solid to i added i proportion extra of water and finally 1 porportion extra of Hydrostone.
Seems like final proportion was 2/6 that is the same as 1/3.
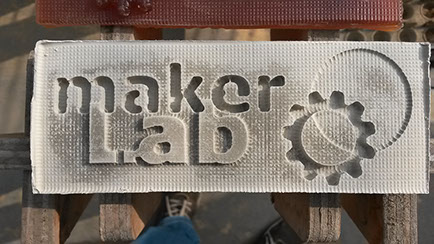
I waited 24 hours in order to open the box and saw the results. Seems to be fine but i noticed that some areas were still wet.
Notice the difference of colors of the drystone. The darkest ones are still wet.
So i put it under the sun and wait for 2 additional hours.
Also notice that the borders are not perfect no i was going to use some tool to give it a better final look
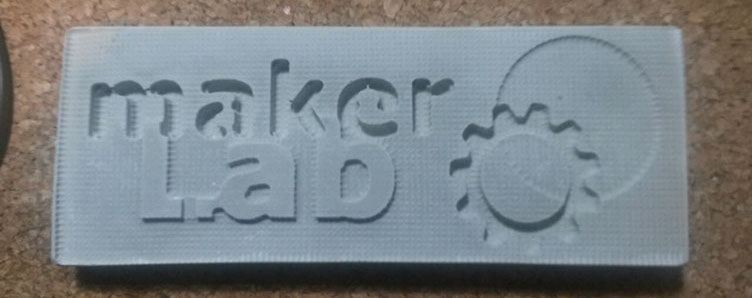
So, this is the final product. Notice how the color is more stable and the edges are better. It just needed more direct sunlight.
