Objectives:
Intro
The first step was to find / design a 3D model suitable to obtain a mold.
I found a model from a video game called League of Legends in particular it’s a vision ward.
The shape of the “Ward” is similar to a chess game piece so i had to split the model in two parts and generate two molds.
The block of was my instructor gave me size 100 x 150 x 30 mm so i had to resize the ward to fit the block.
Design the Mold
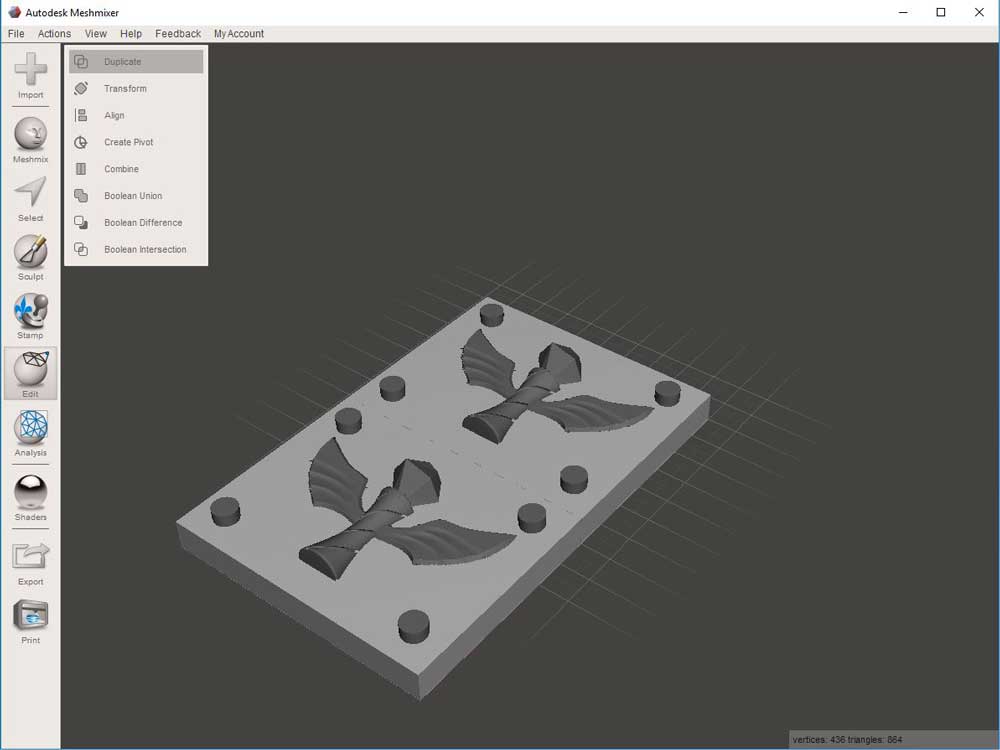
The program i used to create the mold is Autodesk Meshmixer:
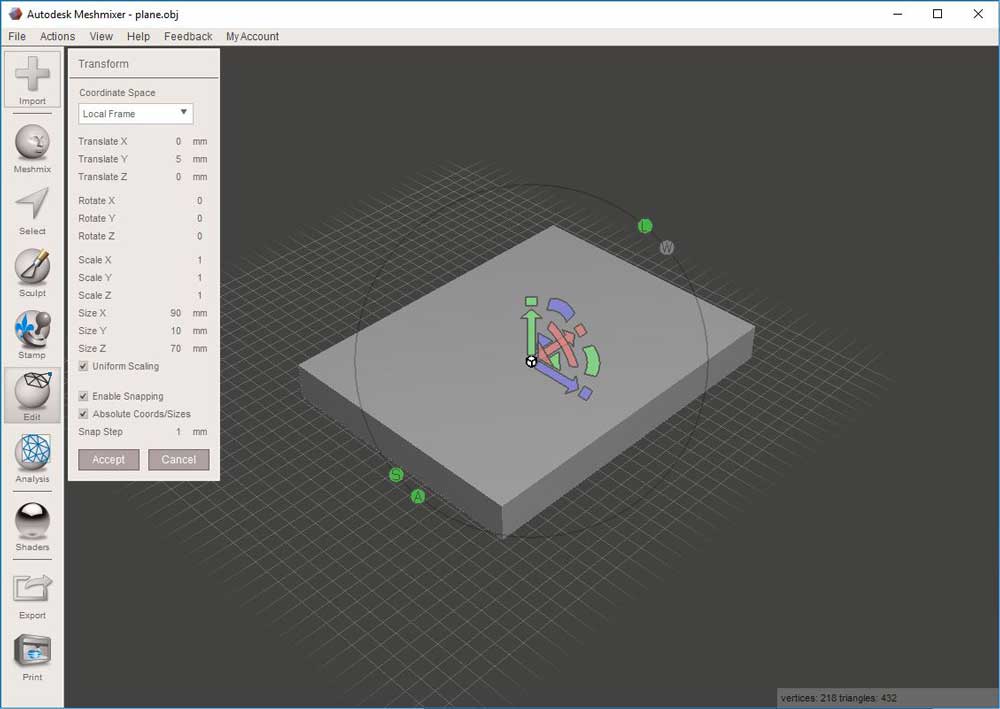
The first step was to create a box tall enough to house the “matching keys” of the mold, the box i designed has the following dimensions 90x70x10.
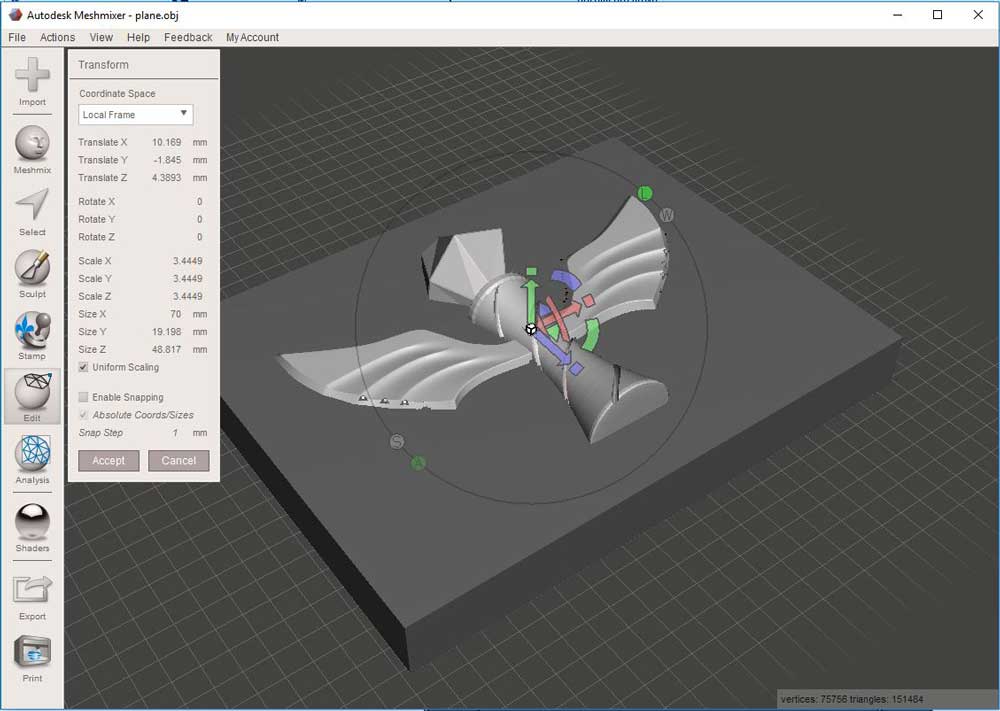
After i imported the Ward model, i resized it (max width 70mm) and i centered inside the block i created before. As you can see the model is cut horizontally in half by the box.
The next step was to create the “keys” which will make the two molds match when joined.
To do so i created 4 cylinders, diameter 8mm height 5 mm, in the corners of the model.
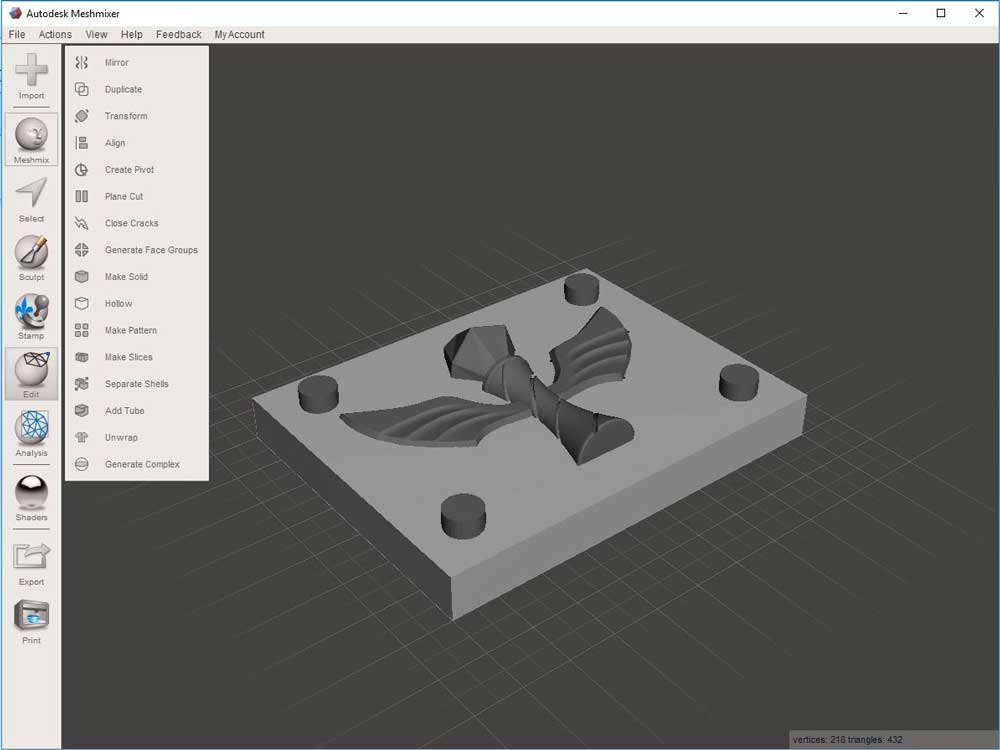
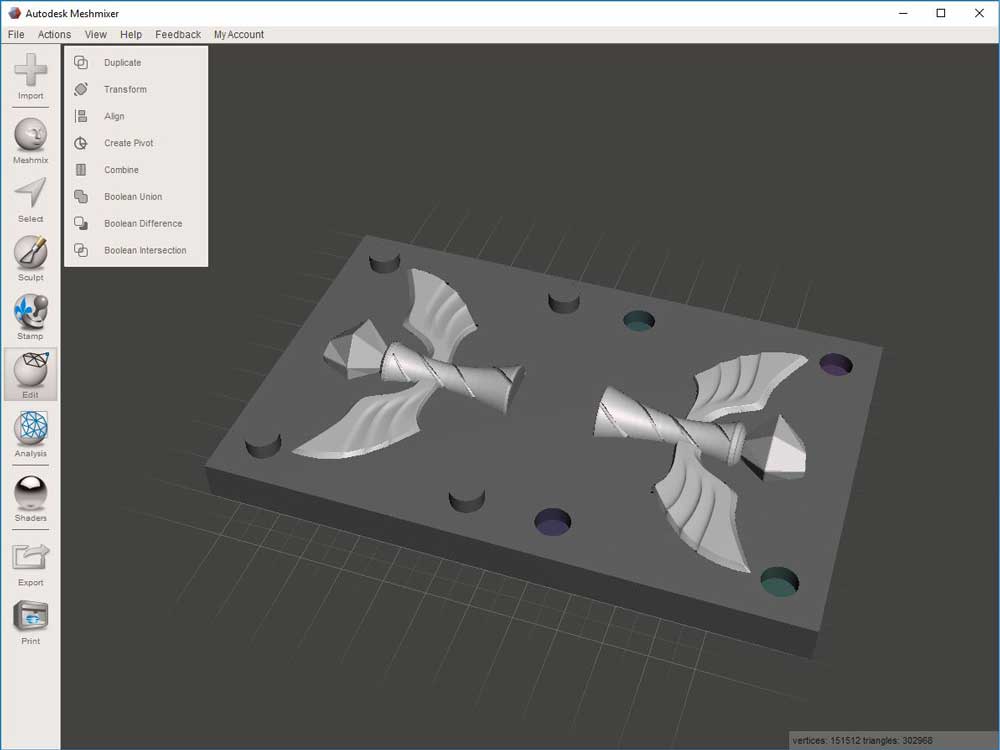
Then i duplicated all the things i created previously and moved them by 70mm to create an unique block with two molds.
The duplicated mold needs to be flipped otherwise the two molds doesn't match. I rotated by 180 degree the ward and subtracted the cylinders from the block to create the negative keys slots.
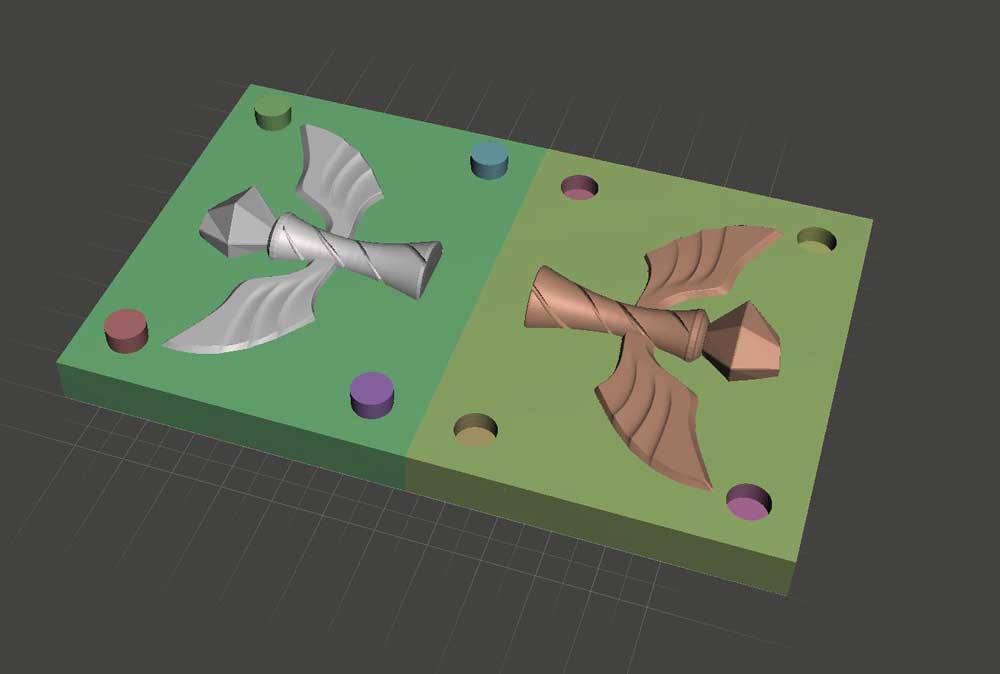
The last step was to combine all the mesh previously created into an unique model and export it in STL format.
Cut the positive mold
To cut the wax block we had two choices: to use the ShopBot or to use the Roland SRM-20.
I decided to use the Roland because the model i need to cut fits its table and can use smaller end mills to achieve better accuracy.
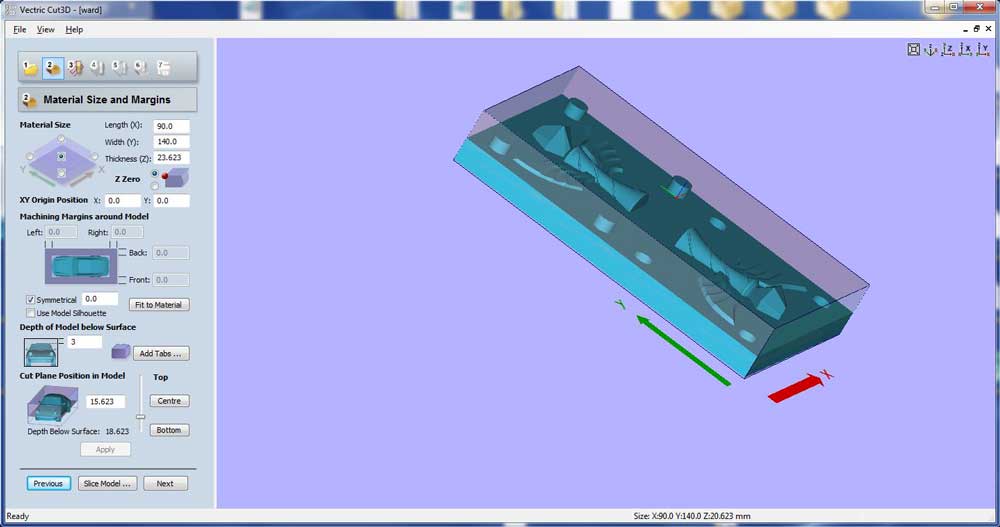
The program i used to generate the machine code is Vectric Cut3D.
The first step was to load the STL into the program which automatically recognize the model size and the side to machine.
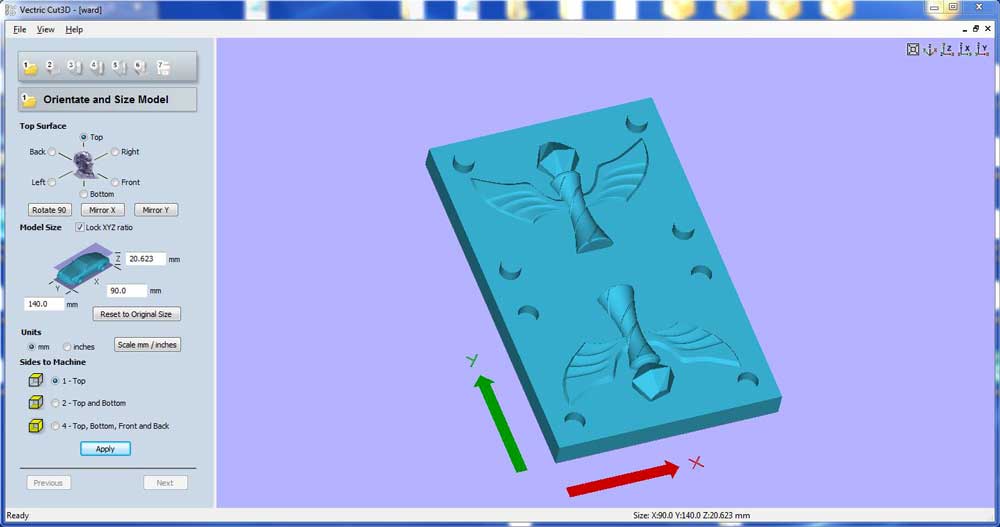
After i changed some values like the XY zero position ( to be at the left bottom corner ) and i pushed the model 3 mm deeper so when i pour the silicone it will be covered 100%.
The next step was to choose an end mill for the roughing toolpath and calculate the feed rate. I decided to use an 1/8 , 4 flute , flat end mill.
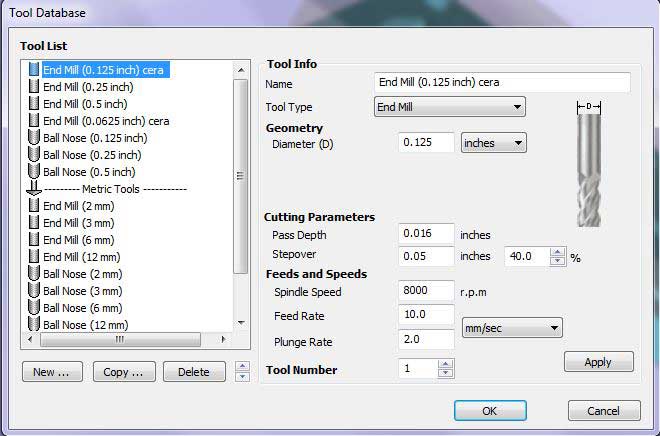
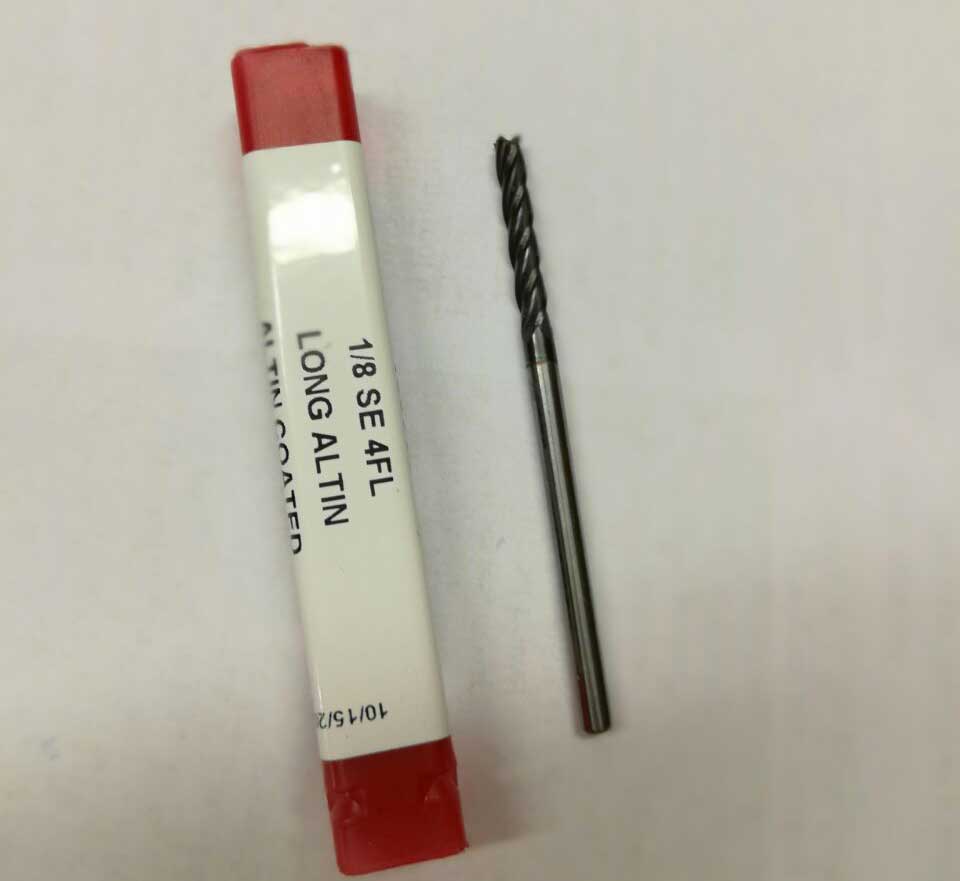
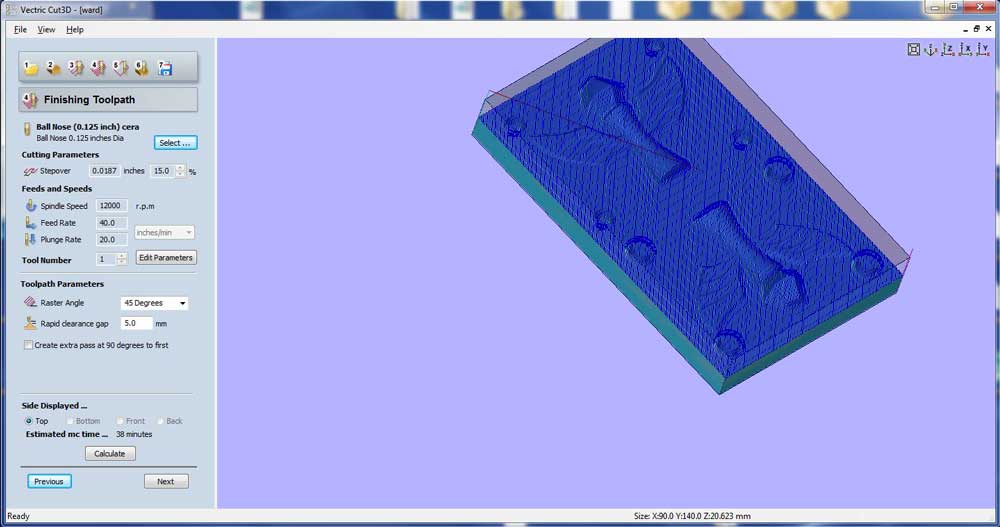
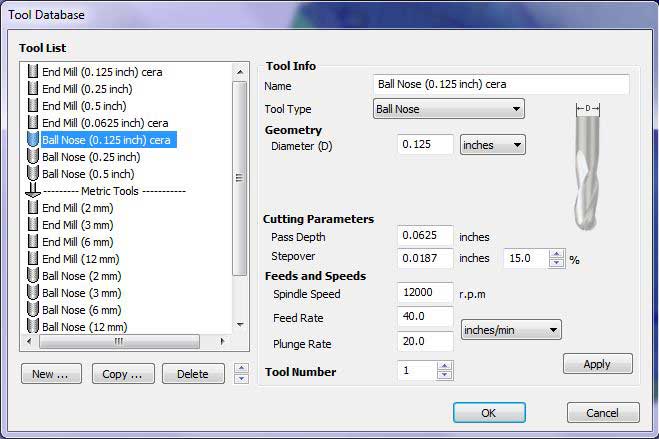
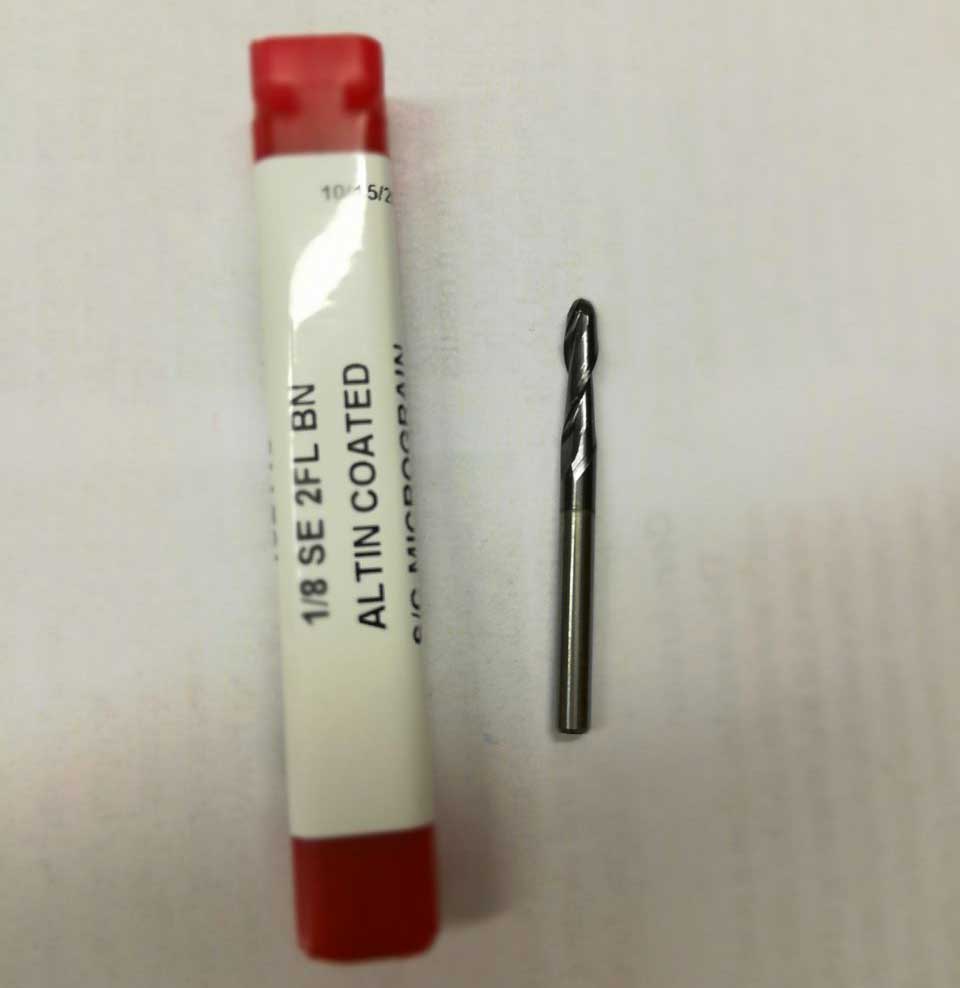
After i calculated the finishing toolpath keeping the 1/8 , 4 flute , flat end mill but i didn't like the result so i calculated another toolpath using an 1/8 2 flute ball nose end mill.
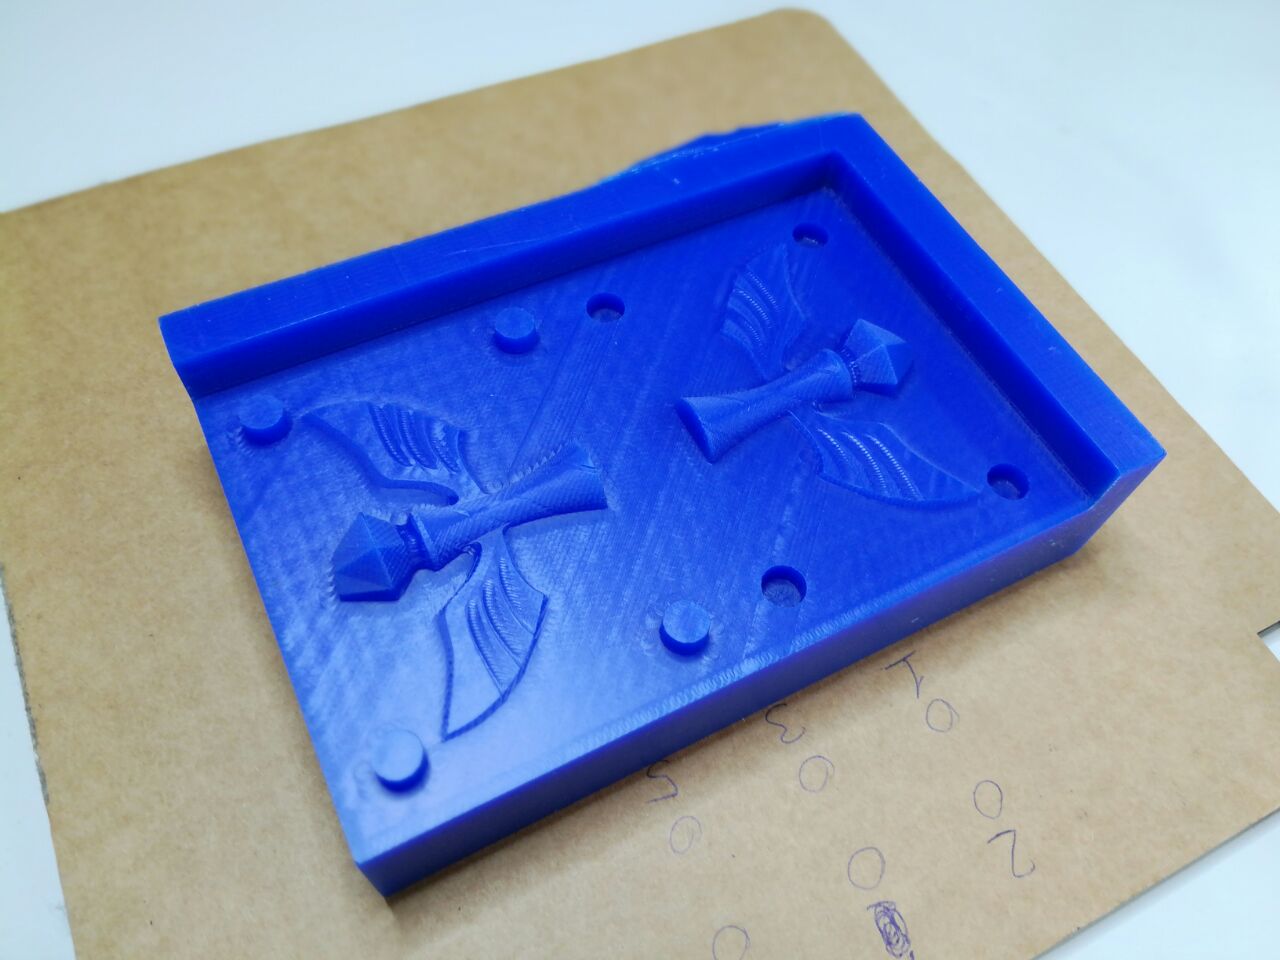
Next i fixed the wax block on the Roland table using double sided tape zeroed X, Y and Z and launched the roughing toolpath. Here’s the result:
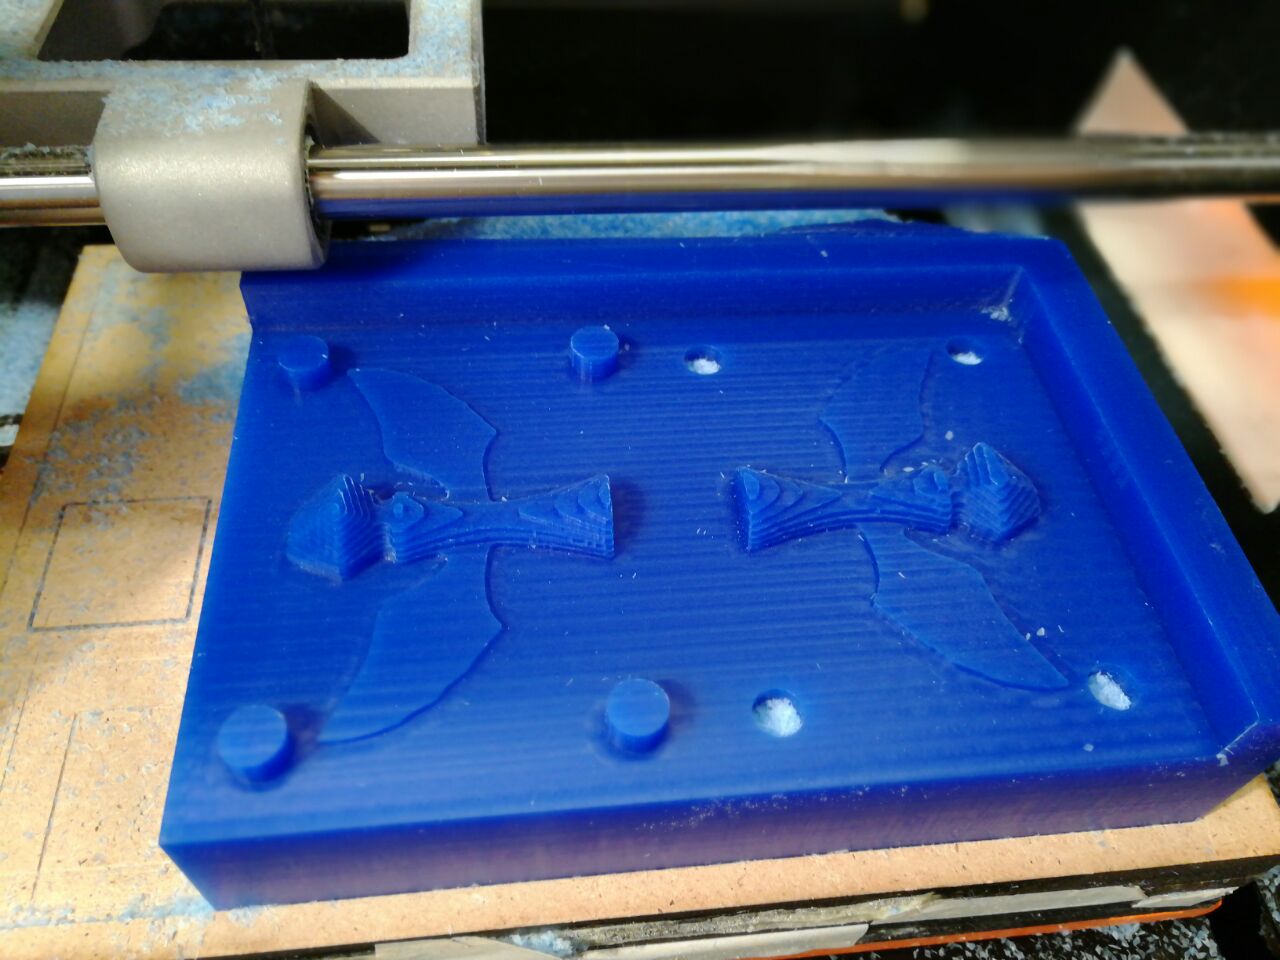
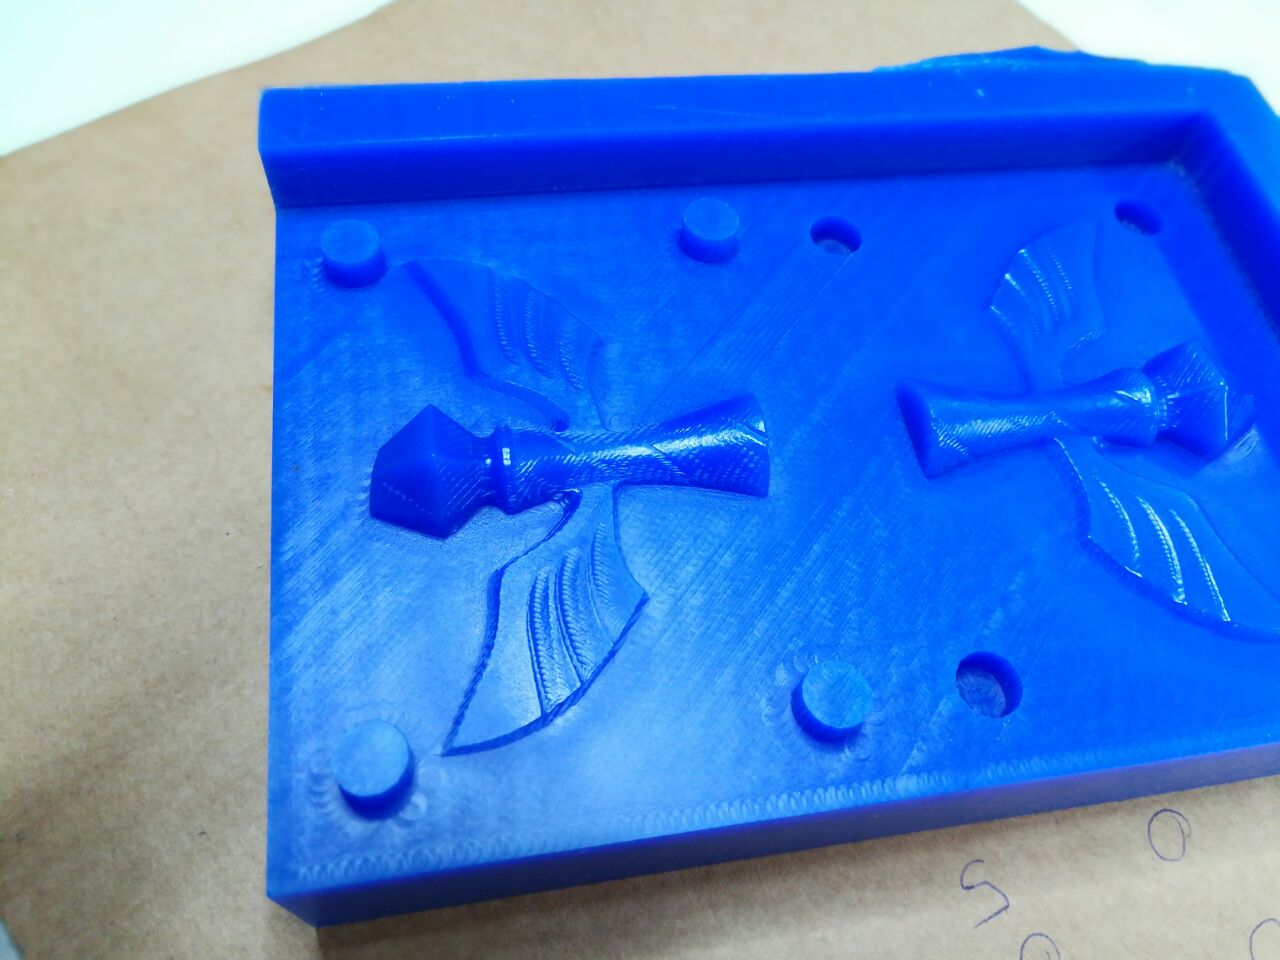
After i launched the finishing toolpath with the flat end mill and right after the one with the ball end mill. I couldn’t use only the ball end mill because it can’t do 90° angles.
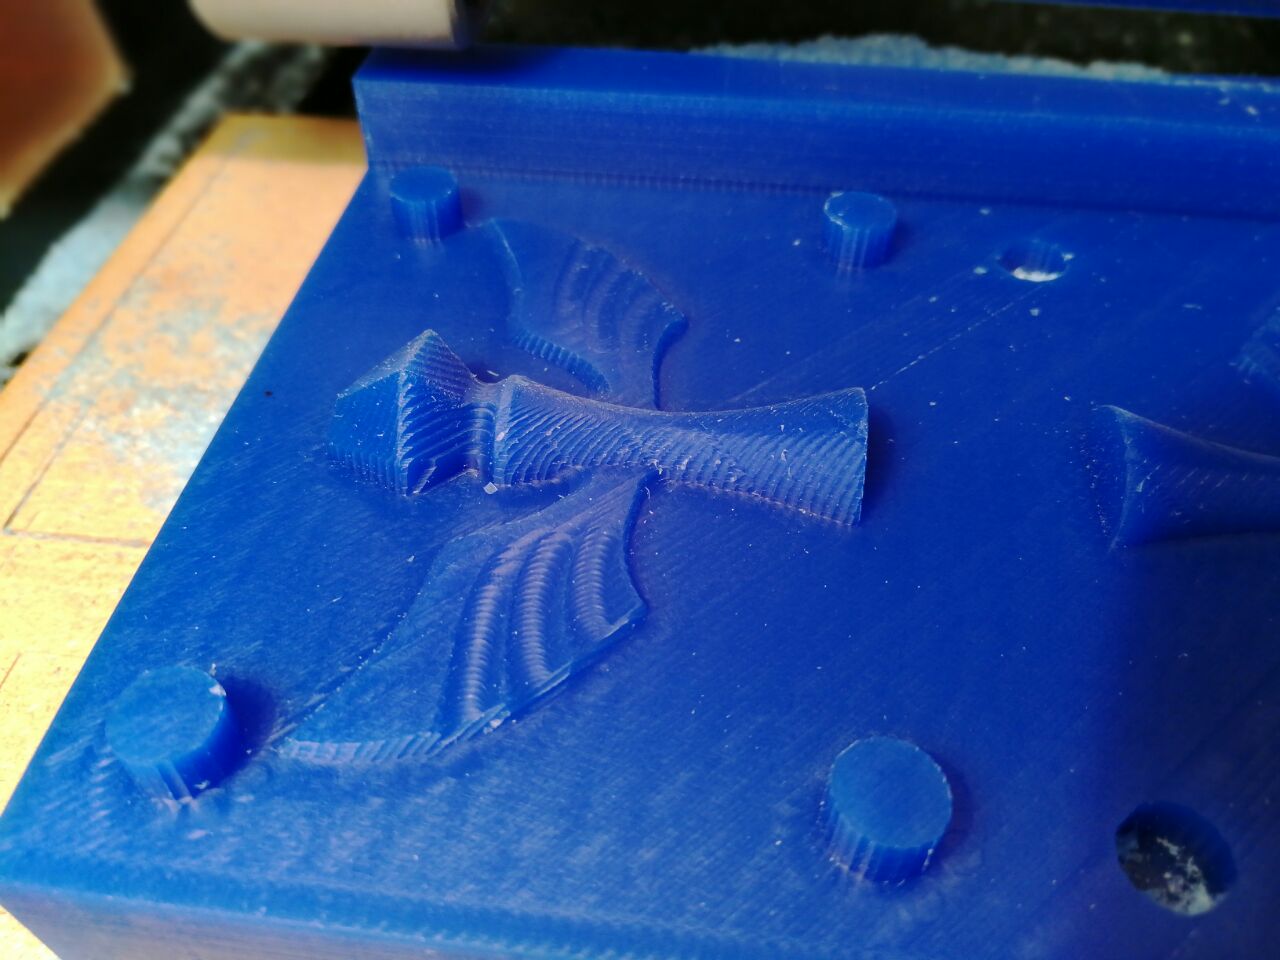
I tried to remove some imperfections using the hot air gun.
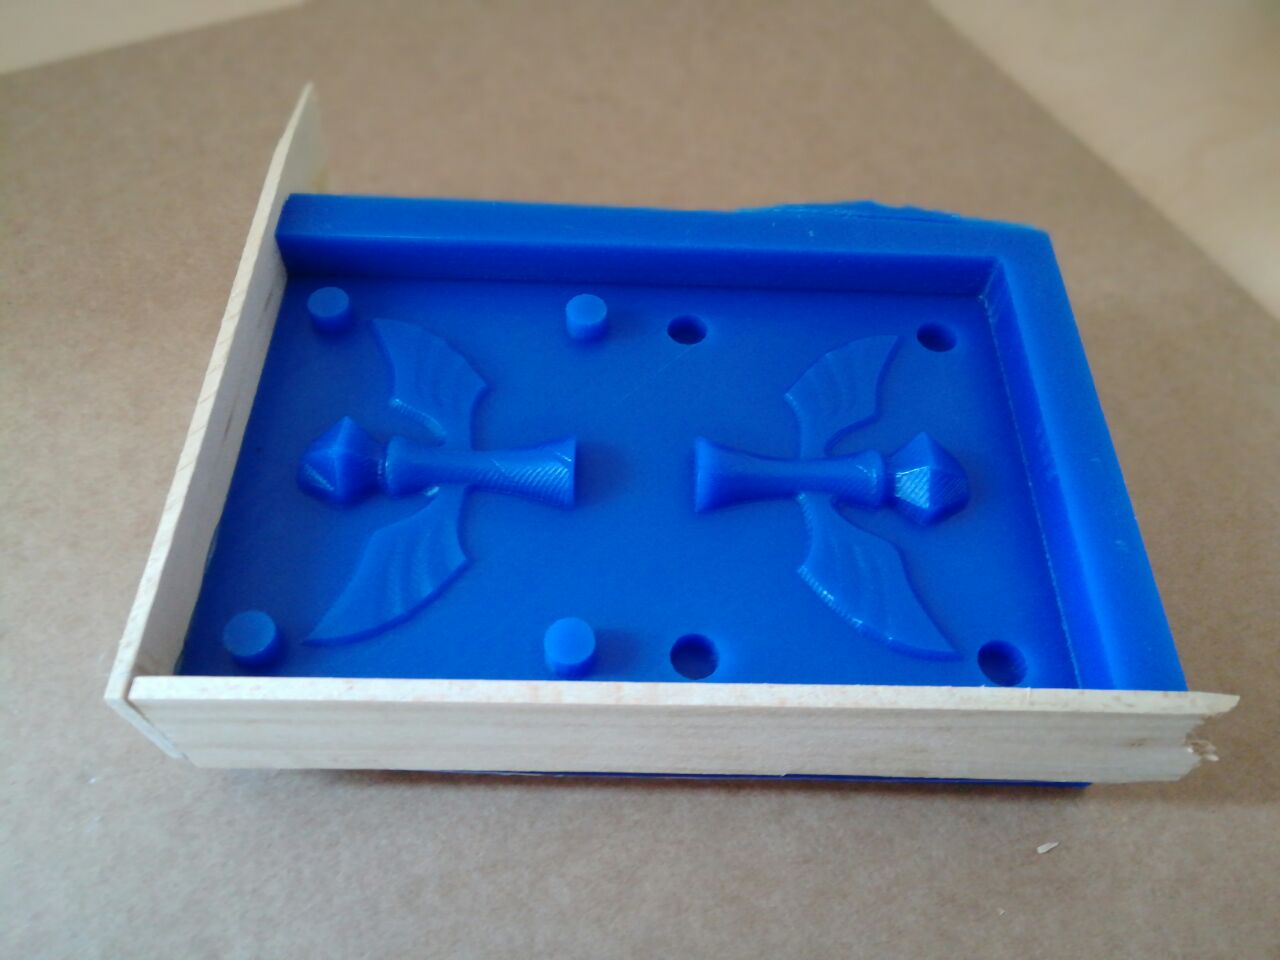
As you can see i zeroed the X and Y axis right on the margin of the block so i lost 2 of the 4 walls. To be able to pour the resin i had to glue, using the hot glue, some wood walls.
Silicone negative mold
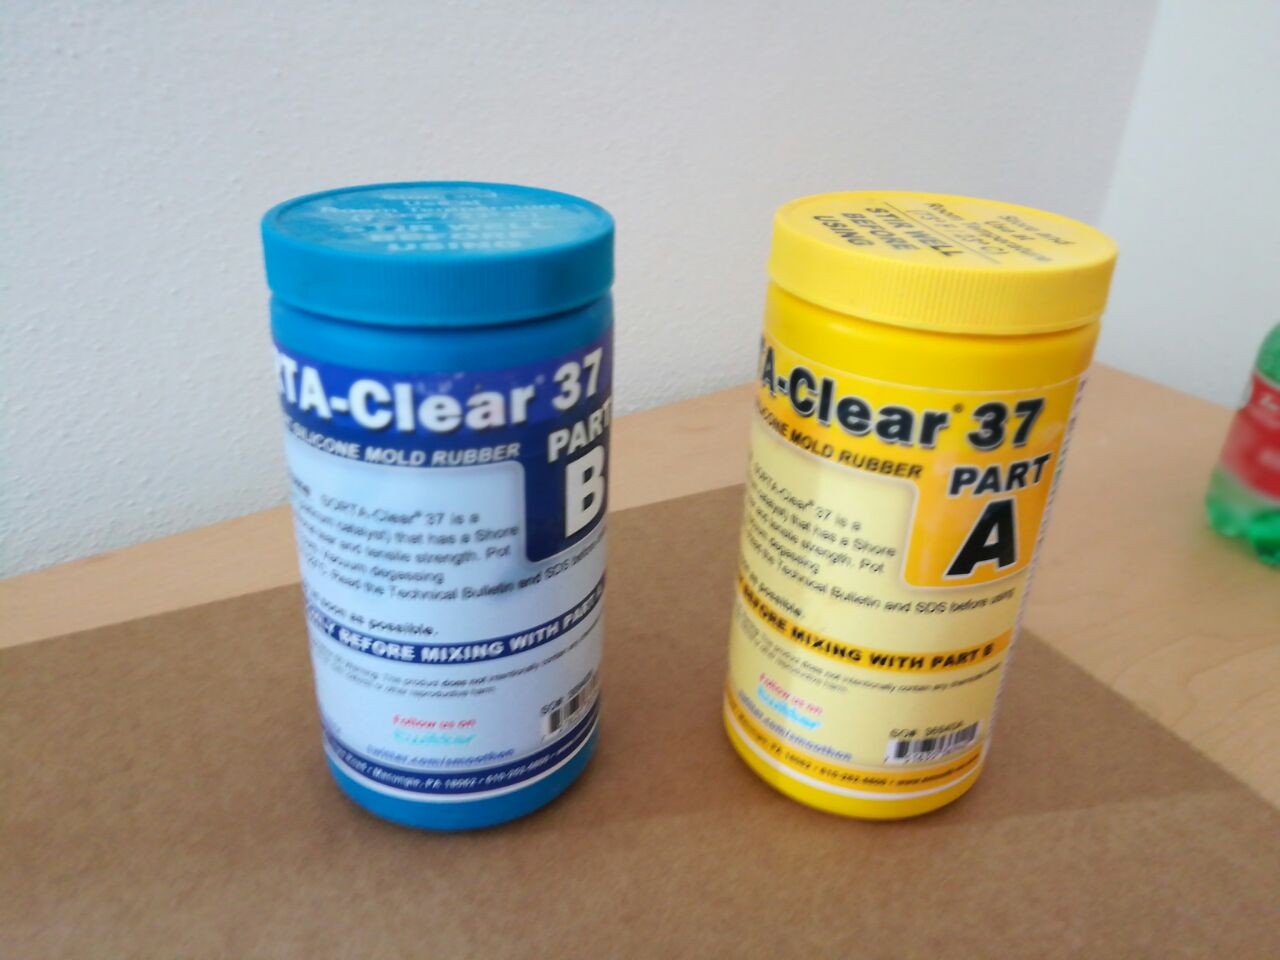
The silicone i used to create the negative mold is the SORTA-Clear 37 which cure in 4 hours.
I mixed the silicone with the hardener 1:1 trying to create as few air bubbles as possible.
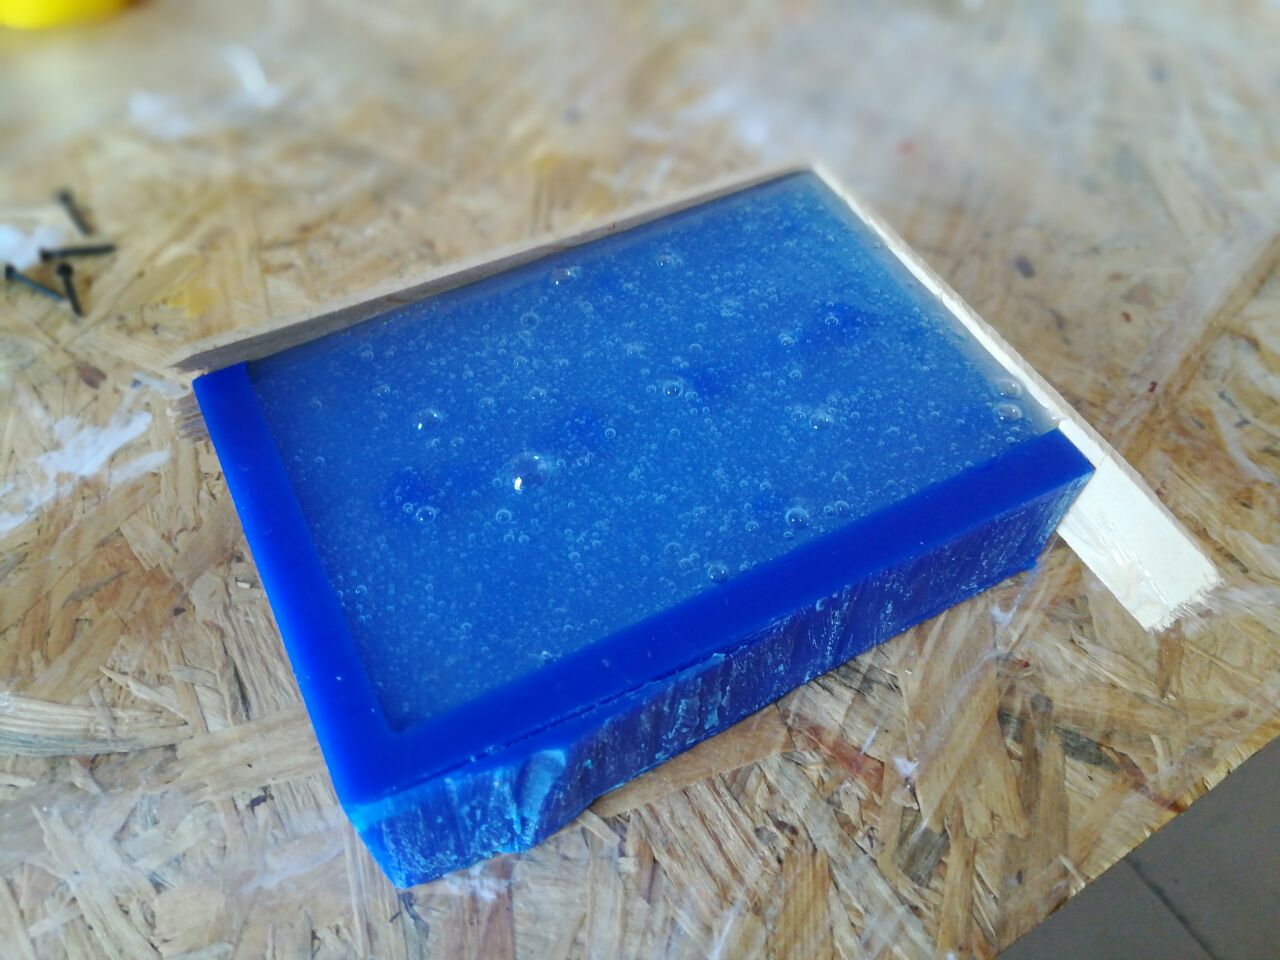
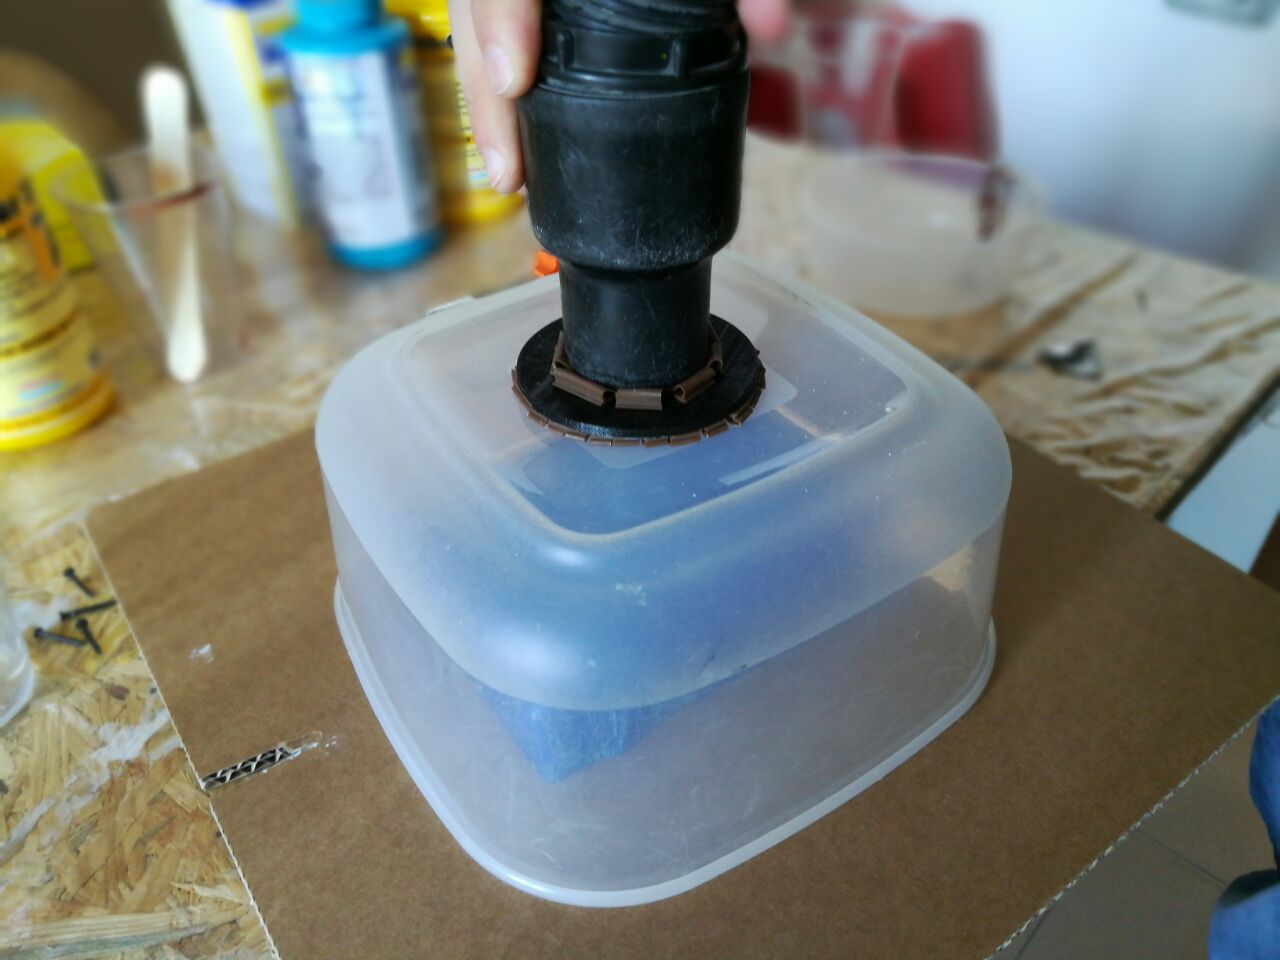
To remove some bubbles i tried to use a vacuum cleaner to create suction and “pull” the bubbles out. The big bubbles came out but the small ones didn't move at all.
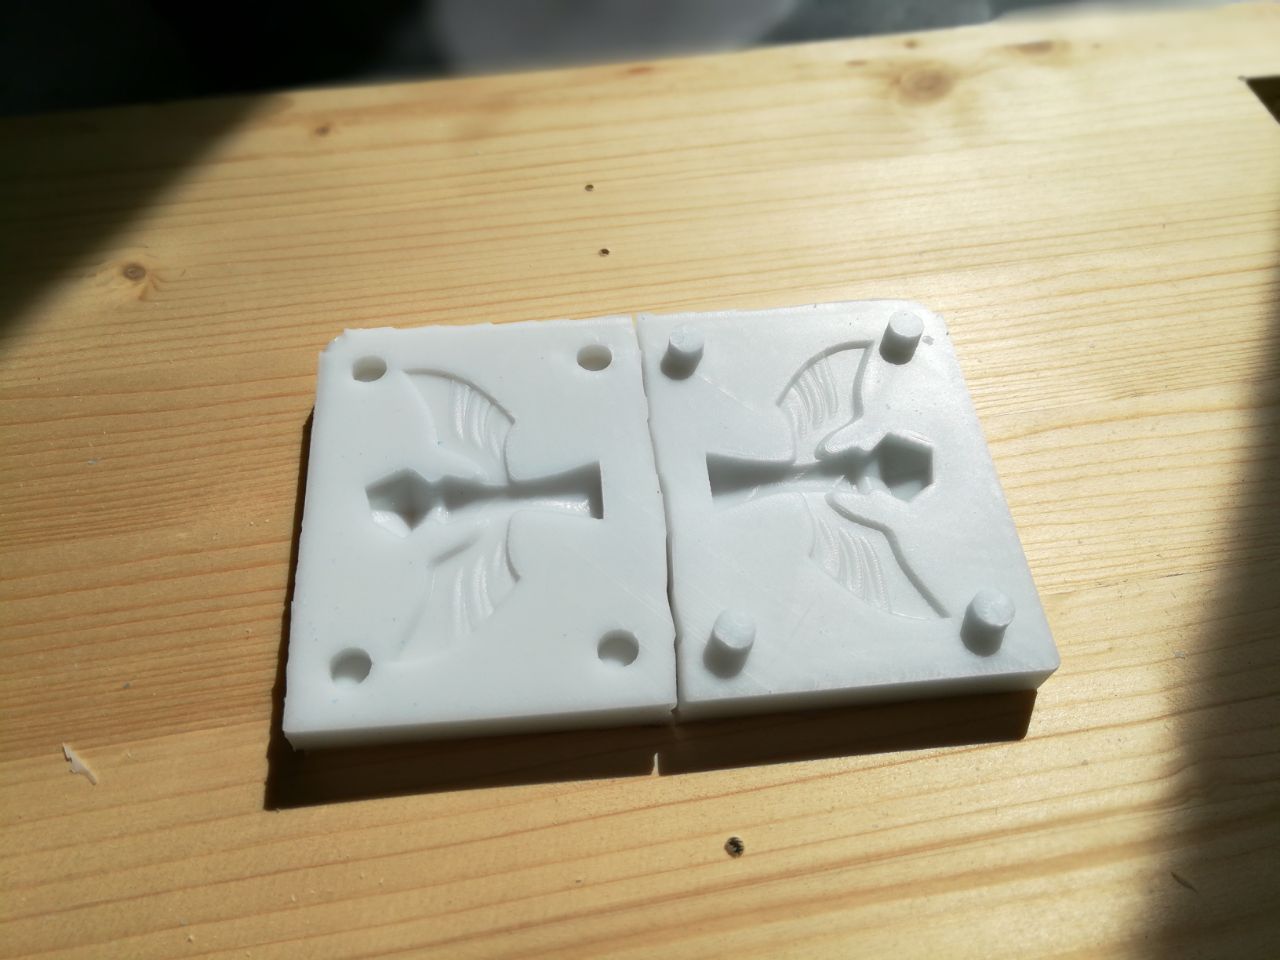
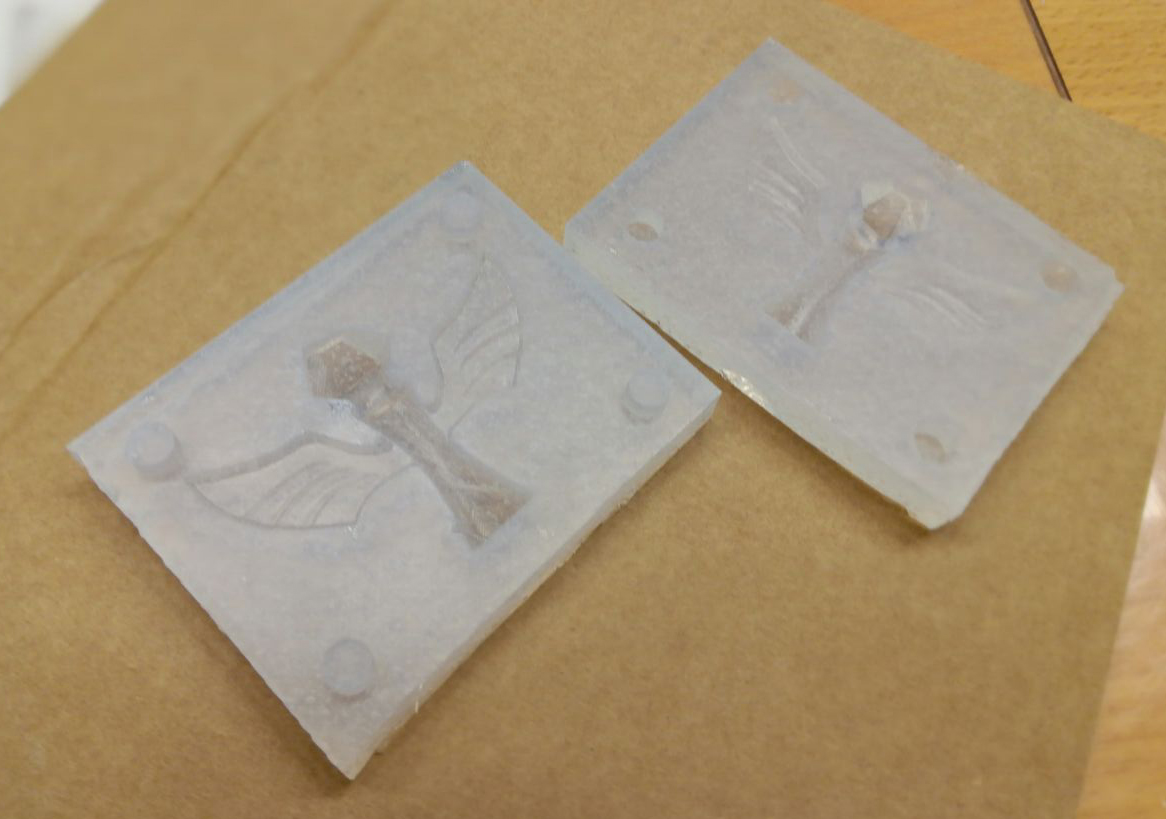
After 5 hours i pulled the silicone out and cut it in two pieces. There are only few little bubbles in the mold so i'm happy with the result.
Plastic positive
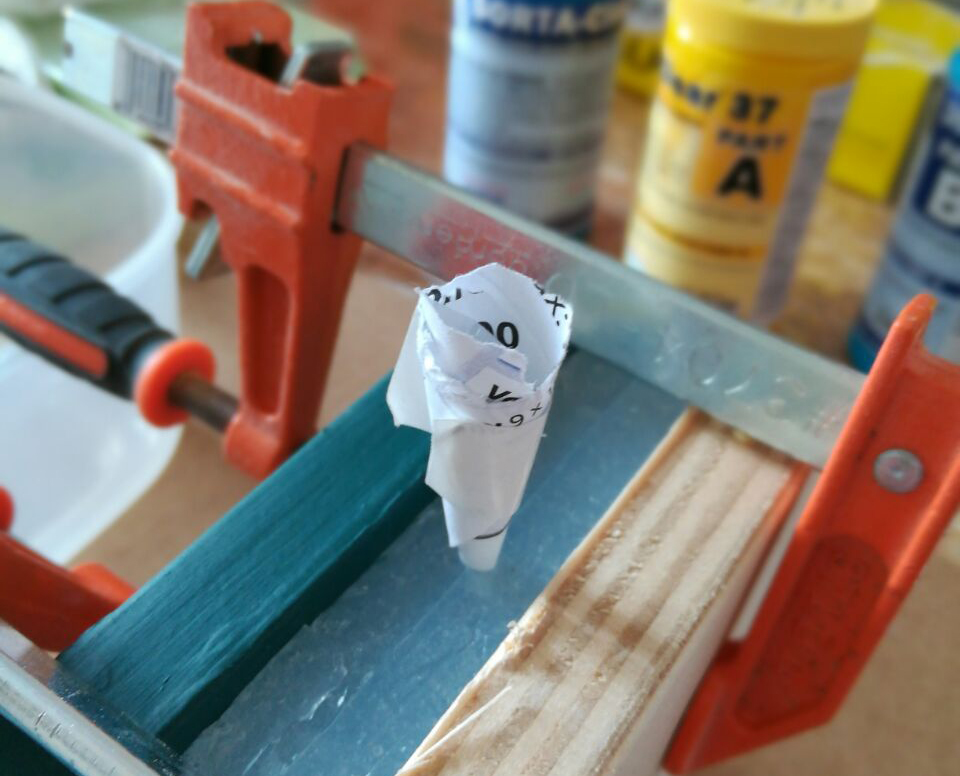
I had to cut a trace to pour the plastic into the silicone mold.
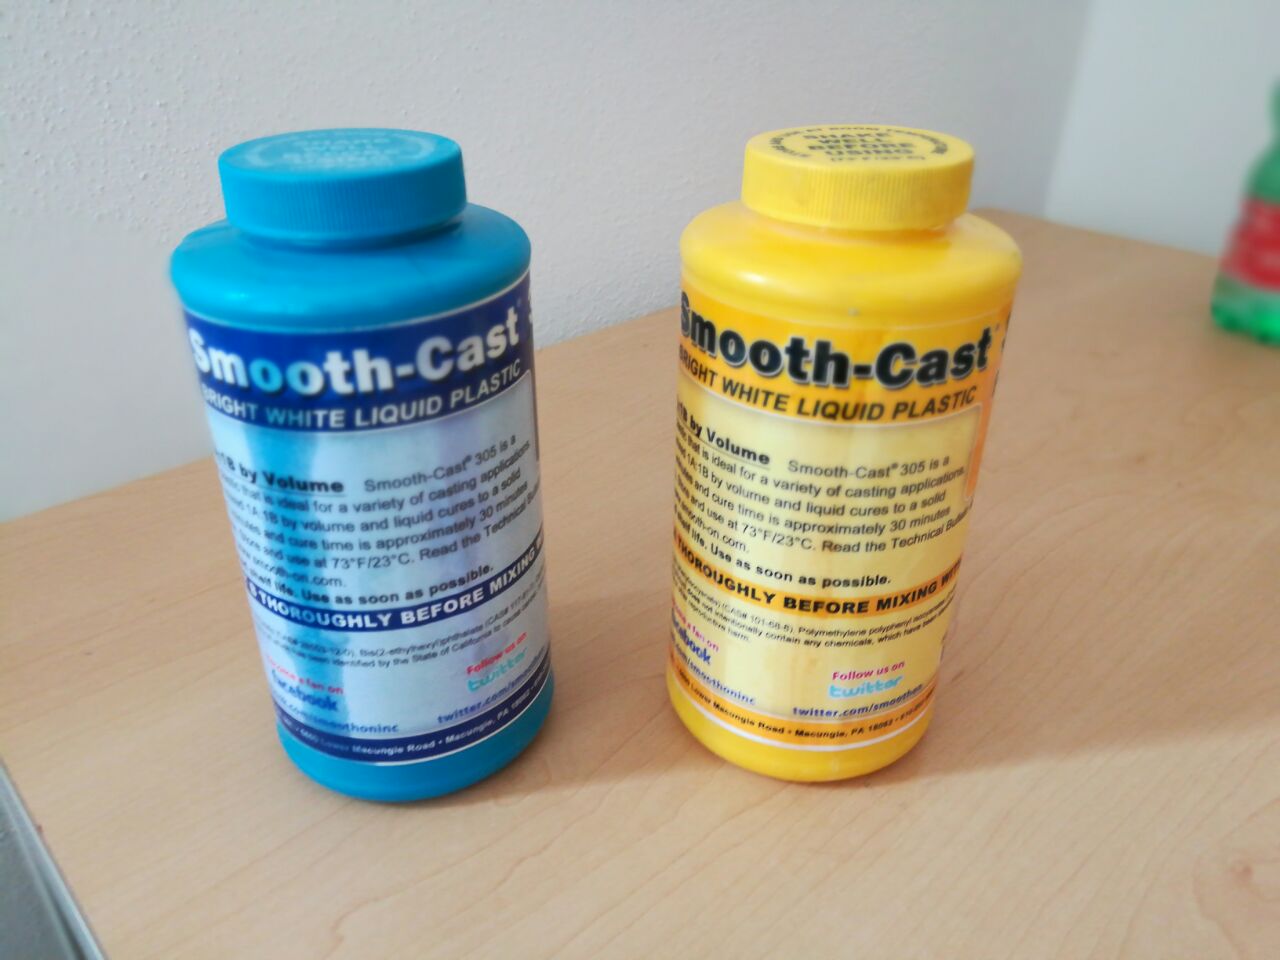
After i clamped the two silicone molds together. The plastic i used is Smooth-Cast 305 mixed 1:1.
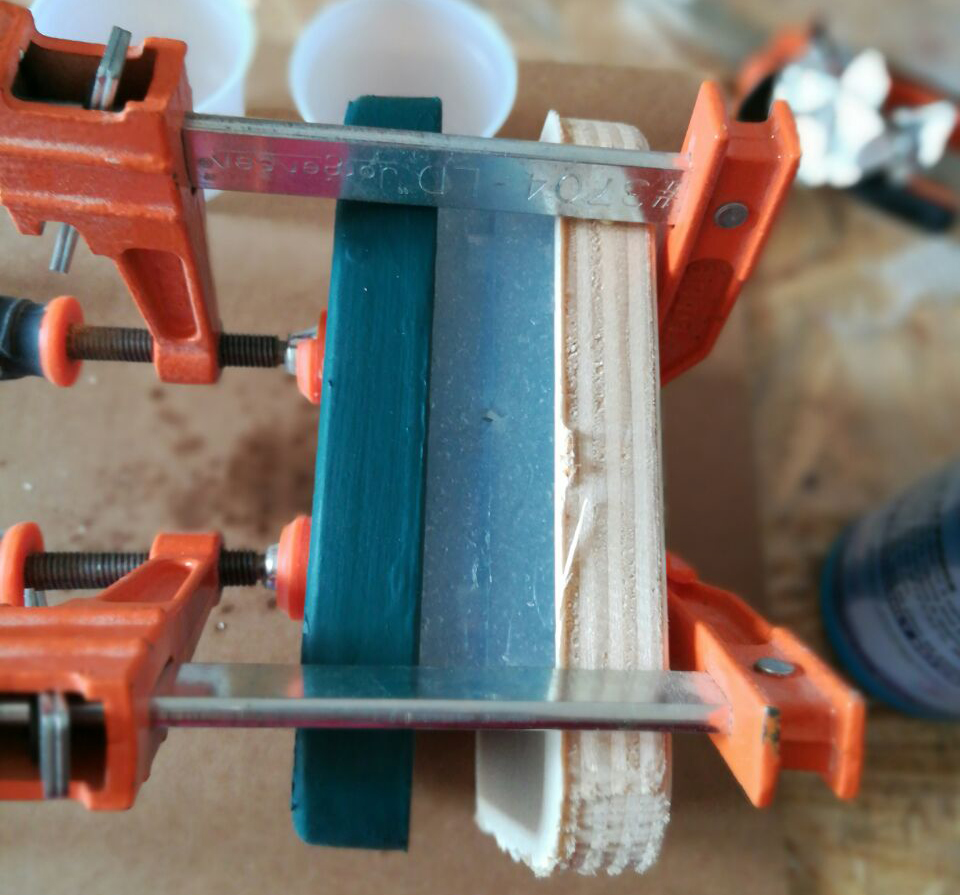
To be able to pour the plastic i had to make a paper funnel.
The plastic needs to be poured really slow otherwise it doesn't flow.
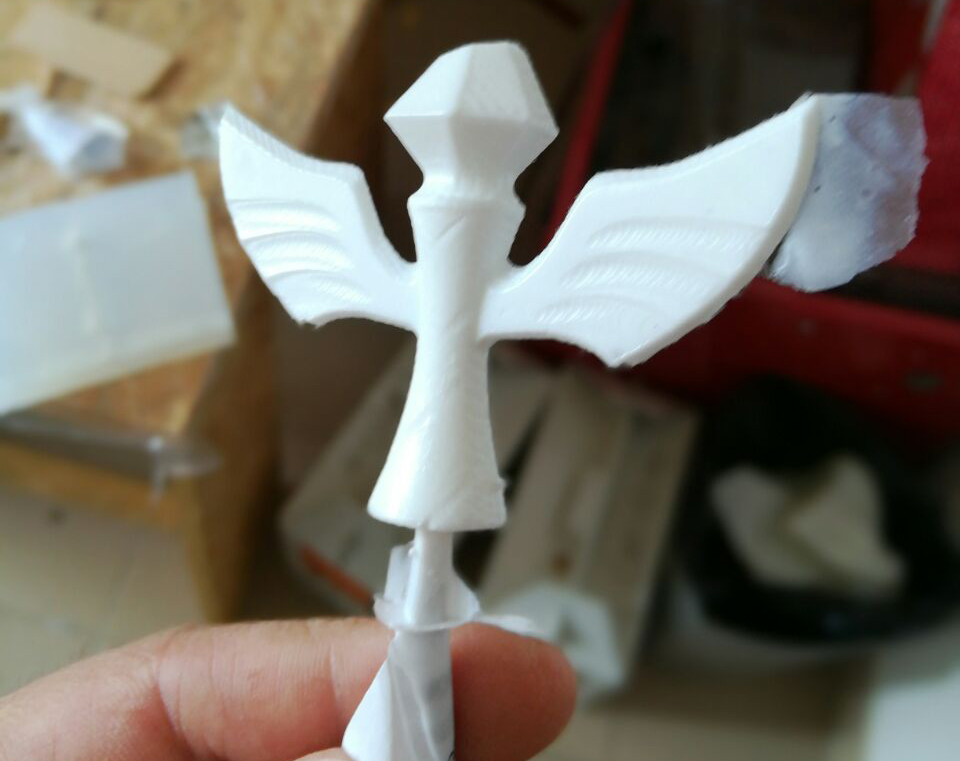
After more than an hour i opened the two silicone molds. The model came out really good i only had to manually remove some plastic excess and the paper funnel which got stuck with the plastic.
Update 25/04/2017: New negative mold silicone
The first silicone i used was the SORTA-Clear 37. After mixing the silicone with the hardener it was full of small air bubbles.
The new silicone i used is from an italian company and, when mixed, produce close to zero air bubbles.
http://www.antichitabelsito.it/gomma_siliconica_AL30.htm
The only downside is the cure time which require 24 hours.
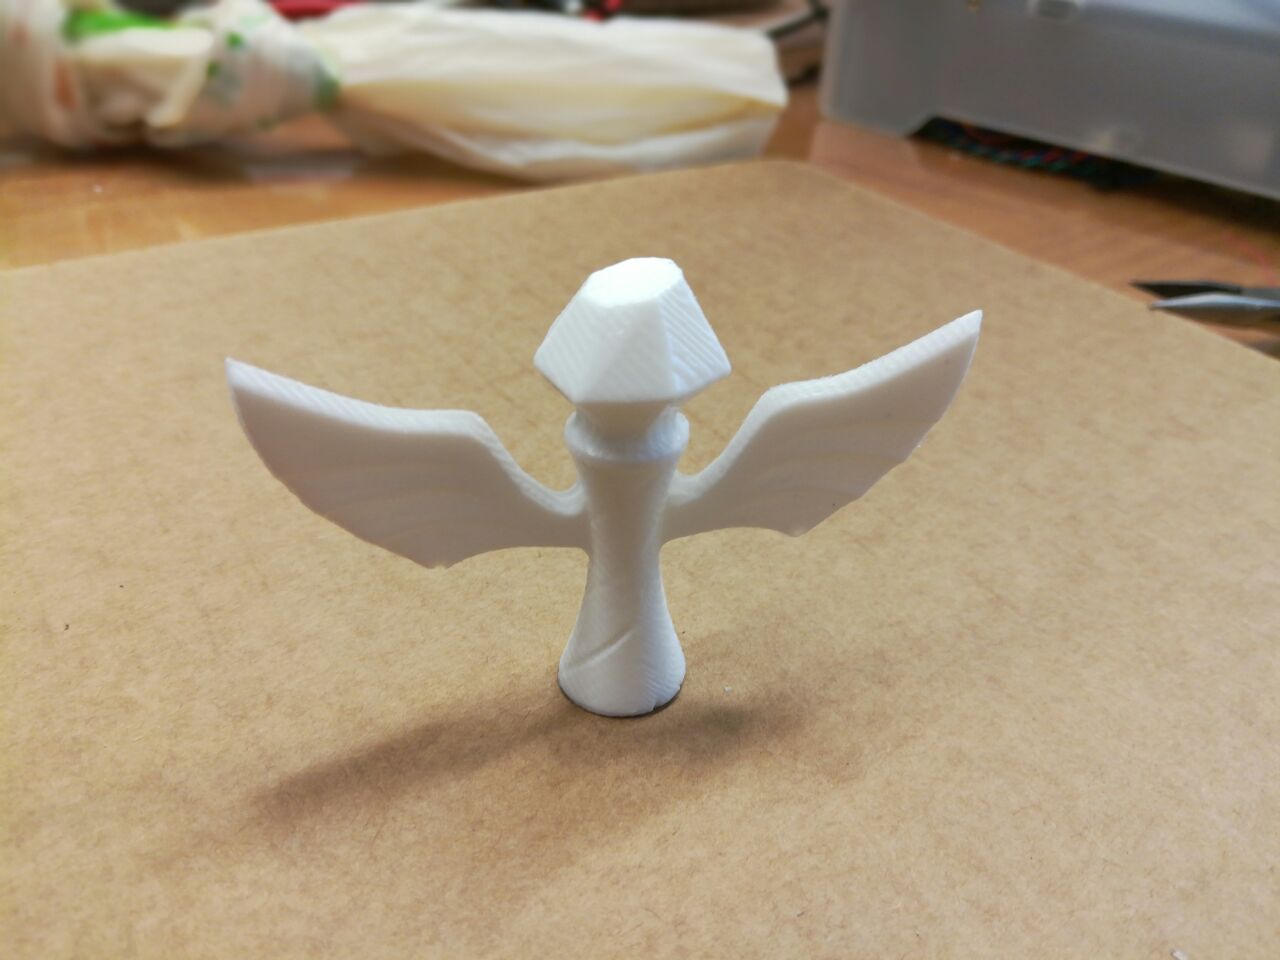
Result: