Objectives:
- Build a personal site describing you and your final project.
- Plan and sketch a potential semester project and add it to your website.
- Upload it to the class archive. Work through a git tutorial.
Final project ideas
I created a new page to explain what i will be doing (hope) during my final project. LINK
The Website
The CSS Framework
The first assignment of the week is to build a website which contain all the progress i’ll make during the Fab Academy. Before starting to code, i crawled the web looking for a nice and easy to use CSS framework. I knew from my previous experience the framework Bootstrap ( http://getbootstrap.com/ ) but i wasnt really excited to use it because isnt something new to me. The frameworks that attracted me the most are:
- Pure CSS ( http://purecss.io/ ) : pure is a lightweight framework made by Yahoo. The design is very clean and it’s modular: you can download only the parts you need. It lacks some basic components and a support platform.
- Skeleton UI ( http://getskeleton.com/ ) : Skeleton is a super lightweight boilerplate ( not a real framework ). The entire code is just 400 lines and doesn’t need to be compiled. There are few components and all of them are jQuery free. I think is a great choice for advanced users but a bit too empty for a newbie starting point.
- UIkit ( https://getuikit.com/ ) : Uikit is very similar to bootstrap it has a lot of components, most of them are responsive and it has a powerful online customizer for the styles. It has a lot of documentation but mostly from wordpress and joomla developers.
By the end of the day i was going to use UIkit but as soon as i started to write down the website wireframe i realized how identical to bootstrap UIkit is; and since i already knew the bootstrap components and how to use them i decided to give up on UIkit. I didn’t chose to use bootstrap instead of UIkit because i’m lazy but because i think it’s useless to learn the same things just with different class names.
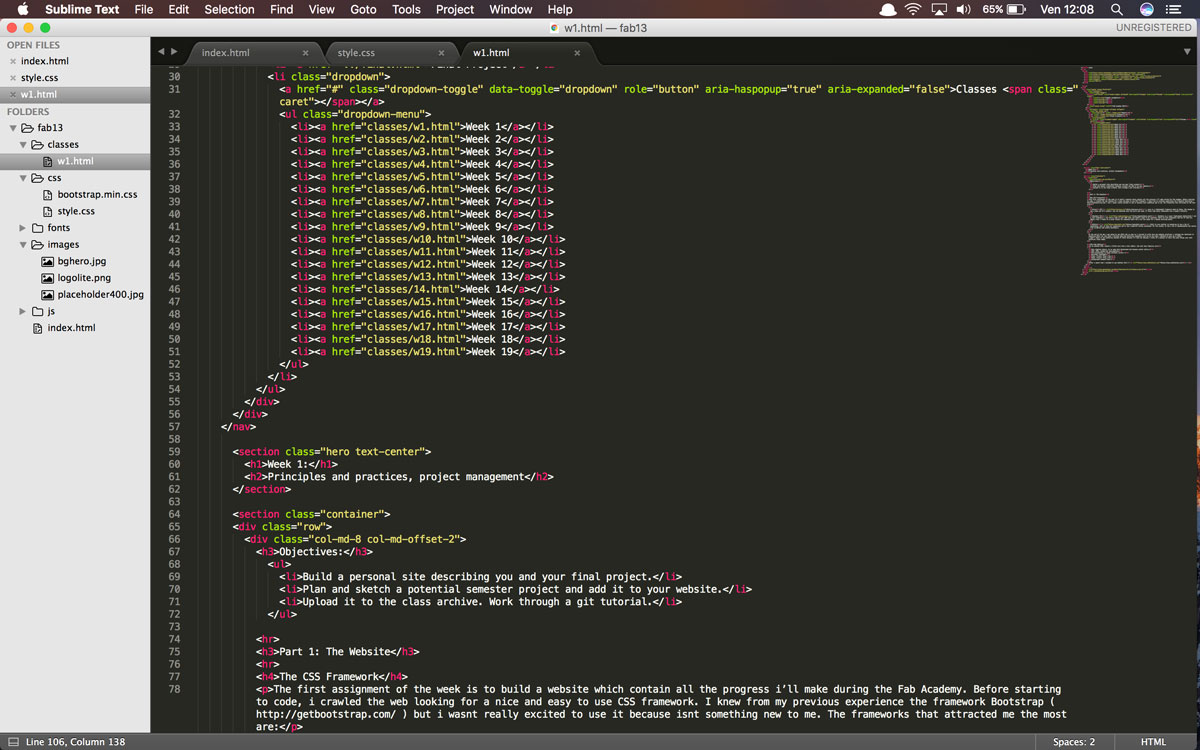
The Code Editor
In my opinion HTML require a little more than a text editor, the must have features are:
- Eye relaxing colors, in my case dark background and tenuous syntax colors.
- CSS, HTML, JavaScript autocomplete
- The possibility to place multiple cursors
- Brackets highlight
- Tabs, Project files tree.
- Tabs, Project files tree.
- Integrated command line.
After a quick look i decided to use Sublime Text 2 ( https://www.sublimetext.com/ )
Building the website
I downloaded from http://getbootstrap.com/ the compiled and minified CSS, JavaScript, and fonts.
I created an empty CSS file inside the css folder named style.css so that i can override the bootstrap css, without change the surce file, or add my own styles.
By default Bootstrap use the Helvetica Neue font. I prefer the Raleway font family ( https://fonts.google.com/specimen/Raleway ) to override the bootstrap default i included inside the <head> tags the font stylesheet <link href="https://fonts.googleapis.com/css?family=Raleway" rel="stylesheet"> and changed the font family of the typography inside the style.css:
h1,h2,h3,h4,h5,h6,p { font-family: 'Raleway', sans-serif; }
To add some color to the website i decided to insert a banner image on top of every page. To generate the image i used this website https://qrohlf.com/trianglify-generator/ it let you chose the image size, the color palette and the geometry shape.

Git and VCS
Versioning Control System
The second assignment of the week is to explore and understand the advantage of using a versioning control system (VCS).
I’m totally new to VCS but from what i’ve understood it helps tracking the changes on a project and avoid chaos. The only VCS like system i’ve used is the Laravel’s database migrations. ( https://laravel.com/docs/5.3/migrations )
VCS does the following:
- Backup and Restore. Files are saved as they are edited, and you can jump to any moment in time. Need that file as it was on Feb 23, 2007? No problem.
- Synchronization. Lets people share files and stay up-to-date with the latest version.
- Short-term undo. Monkeying with a file and messed it up? (That’s just like you, isn’t it?). Throw away your changes and go back to the “last known good” version in the database.
- Long-term undo. Sometimes we mess up bad. Suppose you made a change a year ago, and it had a bug. Jump back to the old version, and see what change was made that day.
- Track Changes. As files are updated, you can leave messages explaining why the change happened (stored in the VCS, not the file). This makes it easy to see how a file is evolving over time, and why.
- Track Ownership. A VCS tags every change with the name of the person who made it. Helpful for blamestorming giving credit.
- Sandboxing, or insurance against yourself. Making a big change? You can make temporary changes in an isolated area, test and work out the kinks before “checking in” your changes.
- Branching and merging. A larger sandbox. You can branch a copy of your code into a separate area and modify it in isolation (tracking changes separately). Later, you can merge your work back into the common area.
Shared folders are quick and simple, but can’t beat these features.
Surce: https://betterexplained.com/articles/a-visual-guide-to-version-control/
Therminology
Branch: is a parallel development of a repository. It’s stored inside the master repository but will not affect it. It’s mainly used to develop new features, as soon as everything work as expected they get merged into the master branch and pushed to production.
Clone: is the copy of a repository, not online but on your computer. You can keep tracks of the changes using the local Git system. You can synchronize it with le online version.
Commit: is when you edit one or more files and you save them. Git create a unique ID that allow us to keep track of the changes and who made them. Commits may contain a comment which explain what changes were made.
Diff: highlight the difference between two commits.
Fork: is a personal copy of another user repository, it’s online and stored on the personal account. Forks still remain attached to the original repo.
Merge: take the changes made on a branch and merge it with the master repo.
Let's get this website online
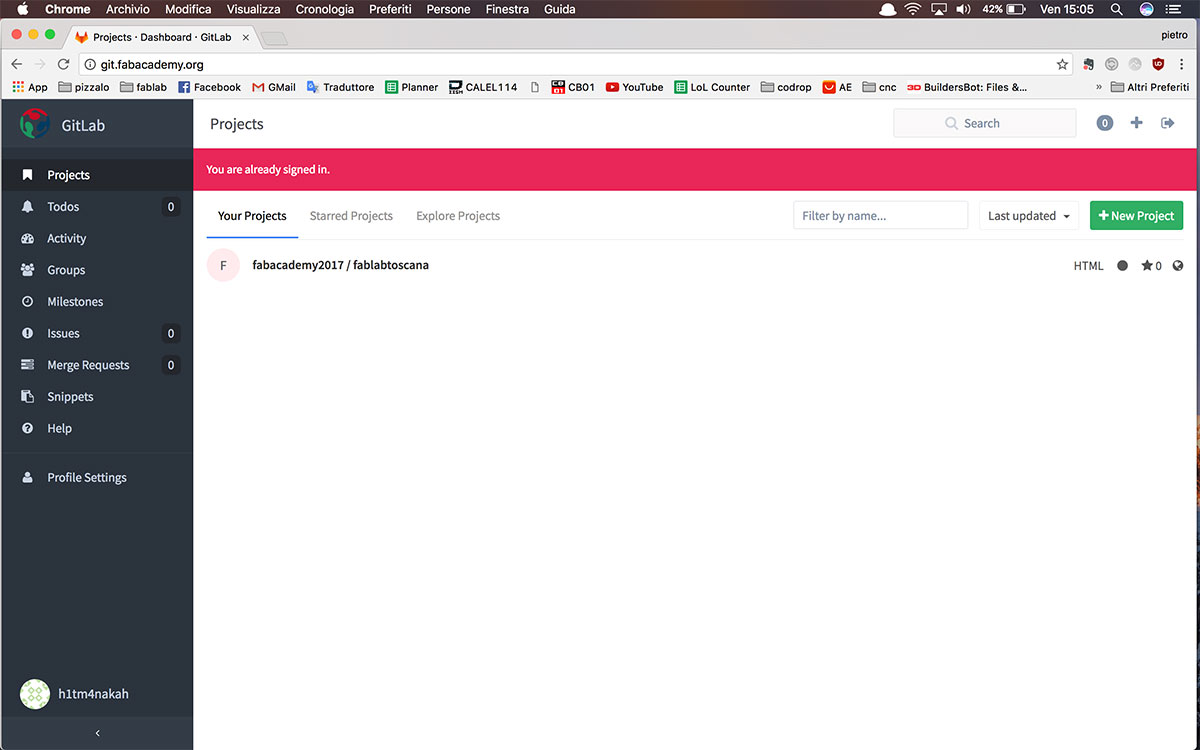
I create a https://www.fablabs.io/labs account.
I logged with the same user and password to the FabLabs Git system http://git.fabacademy.org/
Since im using macOS i already have the git package installed
            MacBook-Pro-di-Pietro:~ pietro$ git --version

            git version 2.9.3 (Apple Git-75)

            MacBook-Pro-di-Pietro:~ pietro$
The first step is to generate a new SSH key. To do so i used the following command:
ssh-keygen -t rsa -C "myemail@gmail.com"
I forgot to launch the code as super user
Saving key "/mydirectoryurl/mykeyname" failed: Permission denied
The new command:
sudo ssh-keygen -t rsa -C "myemail@gmail.com
After i copied the content of the .pub file in my gitlab profile. ( http://git.fabacademy.org/profile/keys )
By the time i tried to clone the lab repository i had git asking me the password. I had this problem because i generated the SSH key outside the .ssh folder. By default git clone look for the key inisde the .ssh folder, if you want to have the key on another folder you have to edit the git config.
            MacBook-Pro-di-Pietro:FabAcademy2017 pietro$ git clone git@git.fabacademy.org:fabacademy2017/fablabtoscana.git

            Cloning into 'fablabtoscana'...

            remote: Counting objects: 106, done.

            remote: Compressing objects: 100% (56/56), done.

            remote: Total 106 (delta 49), reused 96 (delta 44)

            Receiving objects: 100% (106/106), 12.11 KiB | 0 bytes/s, done.

            Resolving deltas: 100% (49/49), done.

            Checking connectivity... done.
I moved the website i created localy, inside my repository folder.
I checked with the git status command if my branch was up-to-date and added the files with git add . ( the dot include every folder and subfolder ).
With the command git commit -m 'test' i committed the files and pushed online with git push origin master
Update: 31/01/2017
Initially i started coding my website with plain HTML and CSS but by the time i had to modify a piece of code shared on every page ( for example the navbar or the footer ) the work was multiplied by the number of pages of the website. ( at the end of fab academy we will have around 25 pages , imagine changing the same piece of code on every page :| ).
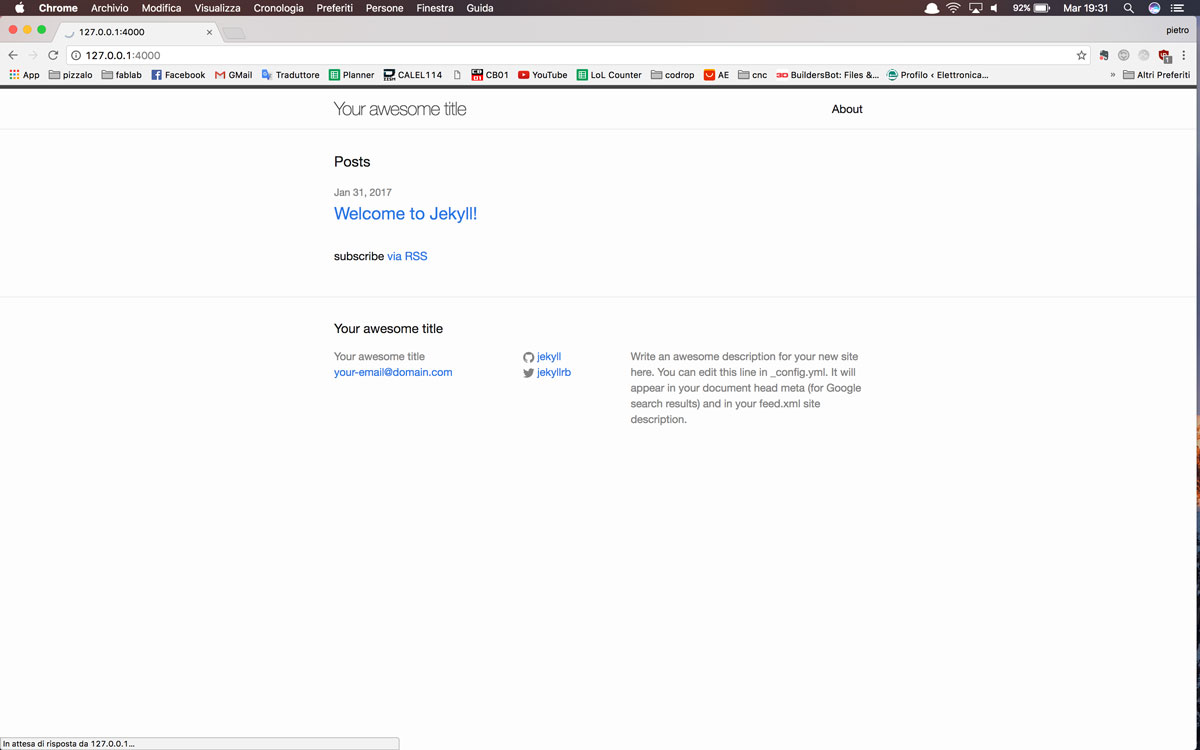
As my instructor suggested, i took a look at Jekyll.
Jekyll is a parsing engine bundled as a ruby gem used to build static websites from dynamic components such as templates. Awesome!

To setup the jekyll enviroiment i had to install:
Ruby
brew install ruby
RubyGems which is a package management framework for Ruby:
Download the zip from https://rubygems.org/pages/download#formats
Unzip it and copy the unzipped folder wherever you prefer.
Open the terminal and navigate to the rubygems folder:
ruby setup.rb
GCC and Make i already had them, you can check the availability with the commands gcc -v and make -v .
To install Jekyll run gem install jekyll
In order to use Jekyll you have to install another gem named bundler
gem install jekyll bundler

How does it work?!?!
I instanced a Jekyll website with the command:
jekyll new mywebsite
Now on the folder that Jekyll just created you can find a lot of weird files and subfolders… but whers the website?
Jekyll comes with a bundled web server, to launch it you can open another terminal window and run: jekyll serve , the address of the local server will be http://127.0.0.1:4000/ .
ACHTUNG !! if you want to stop the jekyll web server, you have to press CTRL-C
To understand how Jekyll works i found very helpful this tutorial : Link Here
And here the template i designed before, ported to the Jekyll templating system
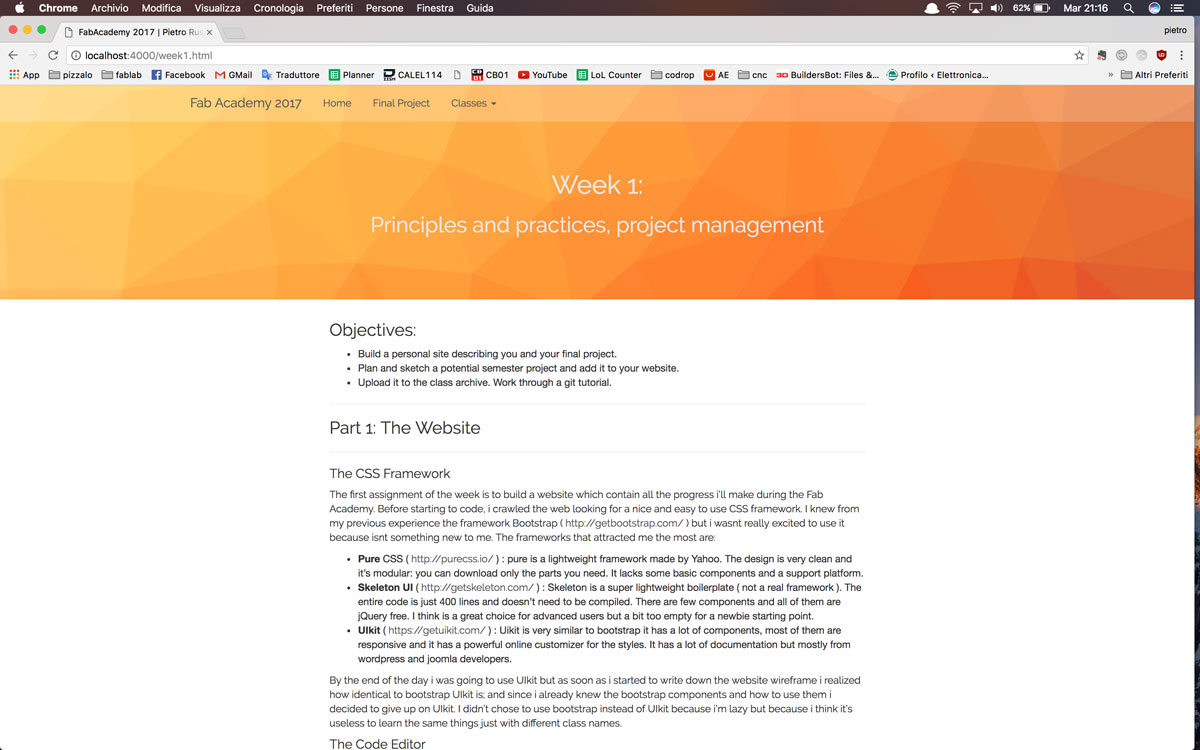
I generated the static html/css template with the command: jekyll build which converted all the weird file into a simple plain html website. The converterd files are found inside the folder _site.