Principles and Practices, and management
Jan. 31 2017The homework for this week is composed by three topics. These are describing in the following subsections.
Sections
- Git tutorial
- Web Tutorial
- Project idea
Git tutorial
- Open a prompt
- Paste /usr/bin/ruby -e "$(curl -fsSL https://raw.githubusercontent.com/Homebrew/install/master/install)" At prompt
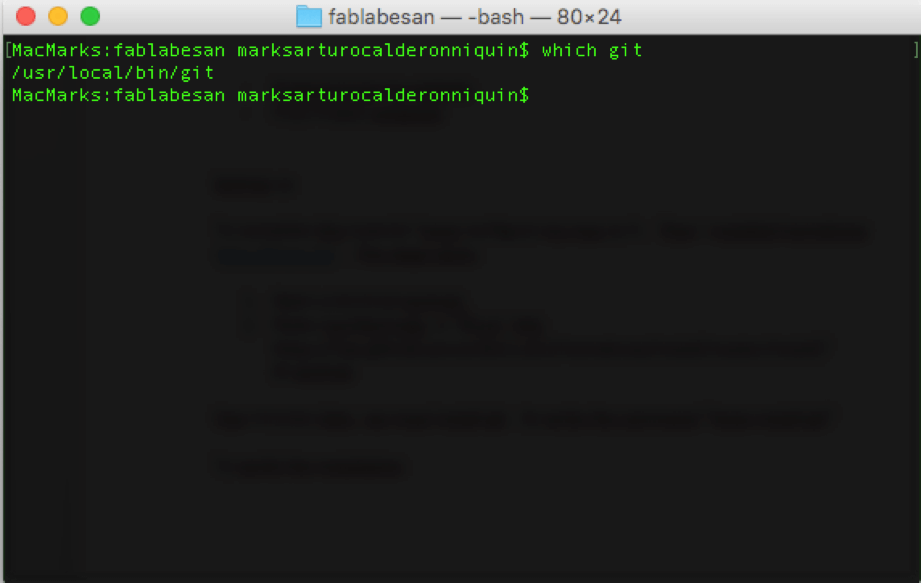
Use of git
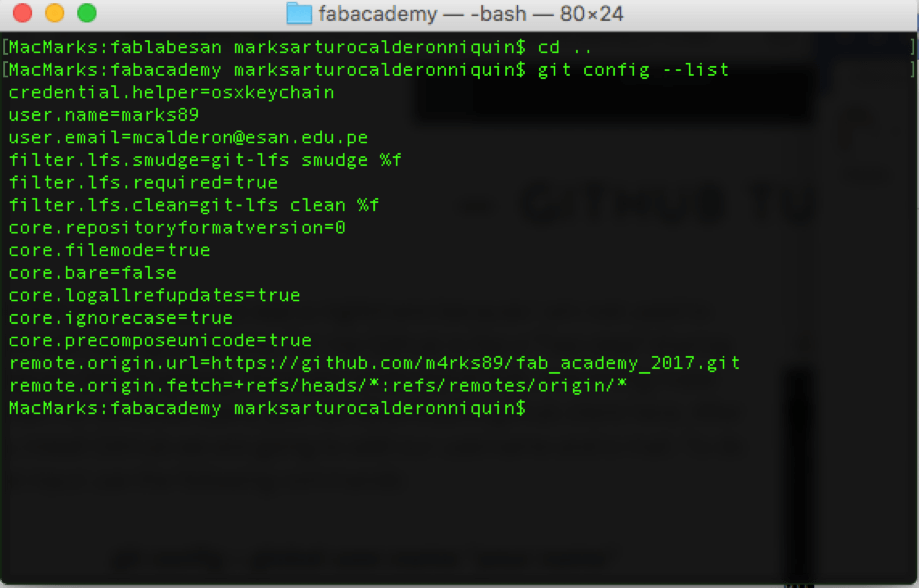
The first thing that we do , it is configure git with my account with the next commands at terminal:- git config –global user.name "marks89"
- git config –global user.email "mcalderon@esan.edu.pe"
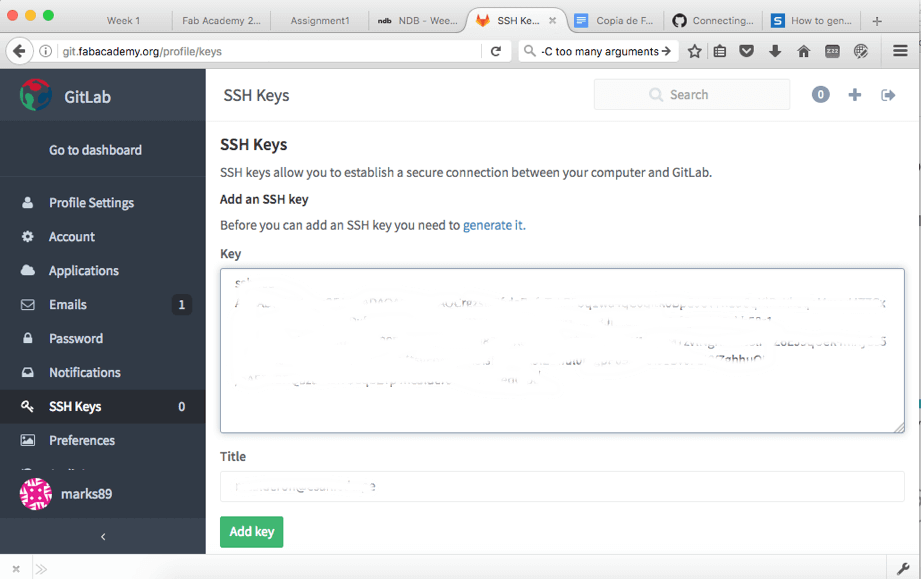
After verifying the username and email. We proceed to generate a new SSH key through the command ssh-keygen –t rsa –C mcalderon@esan.edu.pe
Setting up your SSH key
Use the command below to show your public key, for e.g: cat ~/.ssh/id_rsa.pub Copy the message generated by the last command. With the message copied, you should add your public key to your profile.Submit changes in html page
After the last step you should clone your lab repo with git clone git@git.fabacademy.org:fabacademy2017/repository_name.git If you edit, add or remove some file and you want to submit the changes, you will use the following commands: git add . This command is to add all files to gitlab repository. If you want to submit an specific file you should write the command git add filename git commit –m "mesagge" It uses to confirm the file adding a message git push origin master This command synchronize your files with github. If you are part of the project where it has many developers. You use the command git pull which download the last version after cloning the repository.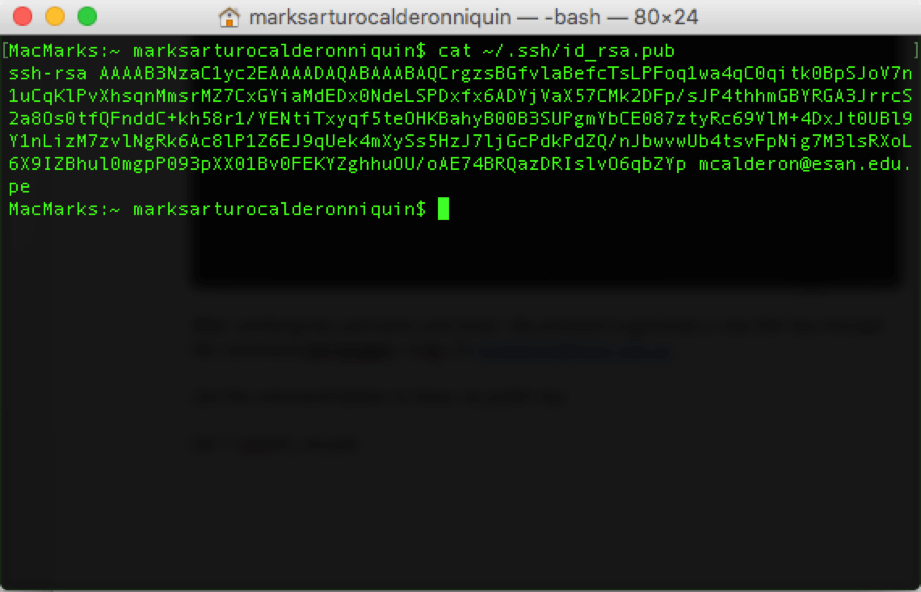

Website tutorial
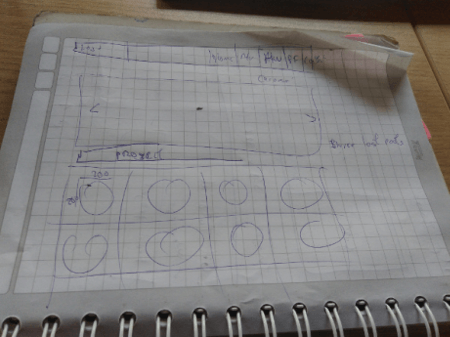
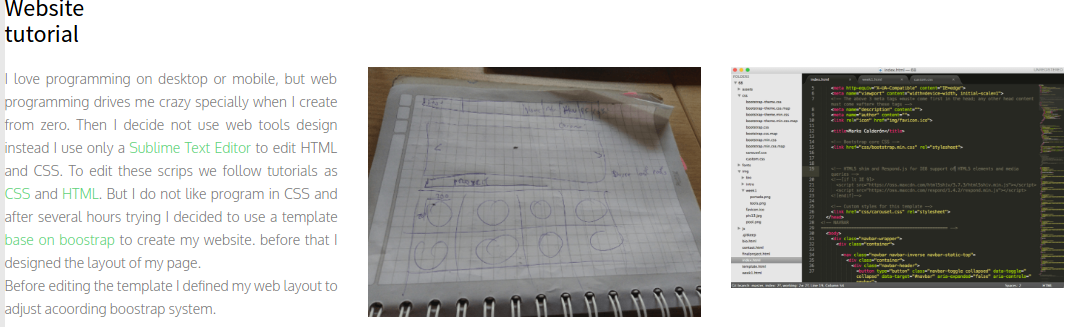
I love programming on desktop or mobile, but web programming drives me crazy specially when I create from zero. Then I decide not use web tools design instead I use only a Sublime Text Editor to edit HTML and CSS. To edit these scrips we follow tutorials as CSS and HTML. But I do not like program in CSS and after several hours trying I decided to use a template base on boostrap to create my website. before that I designed the layout of my page. Before editing the template I defined my web layout to adjust acoording boostrap system.

Boostrap editing
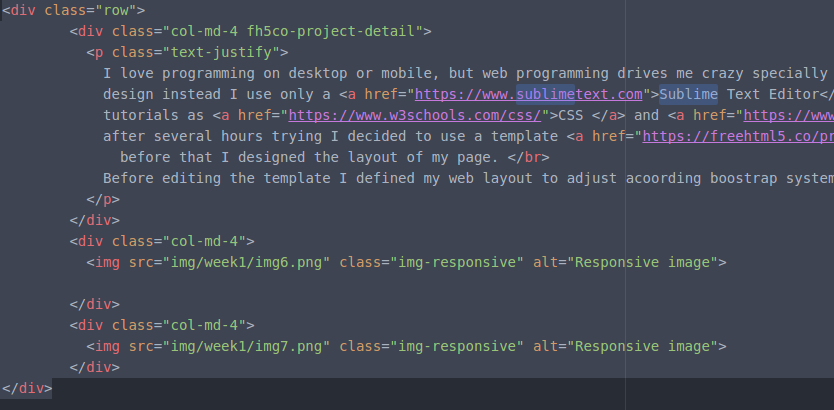
The main idea in boostrap is buiding layouts with blocks where each block is responsive. Each one is associated a CSS class, the width boostrap page associate to class .row , for each row we can combinate with differents columns for example: .col-md-6 .col-md-6 . Both sum colummn with 12 units. Boostrap have differente sizes for columns as 1,2,4, 6, 8 and 12. The right image shows the columns representation and images belong show the code in boostrap and its visualization.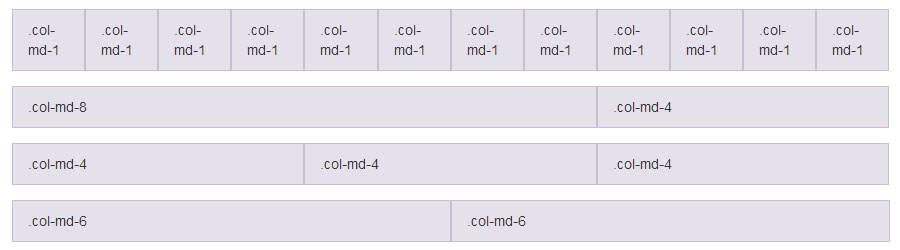
Project idea
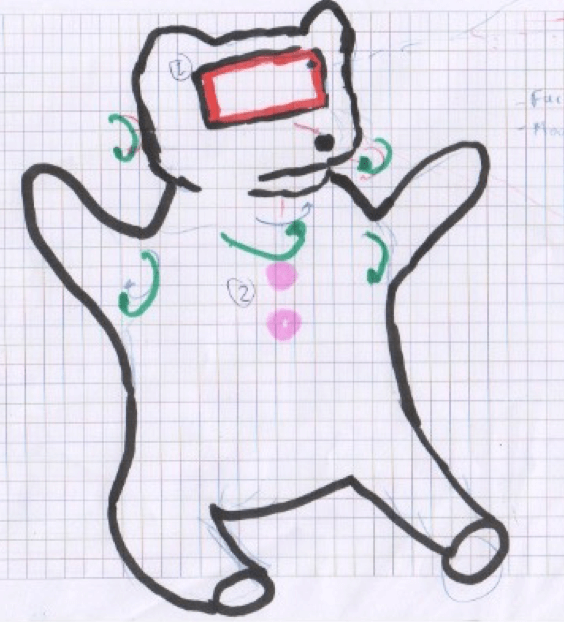
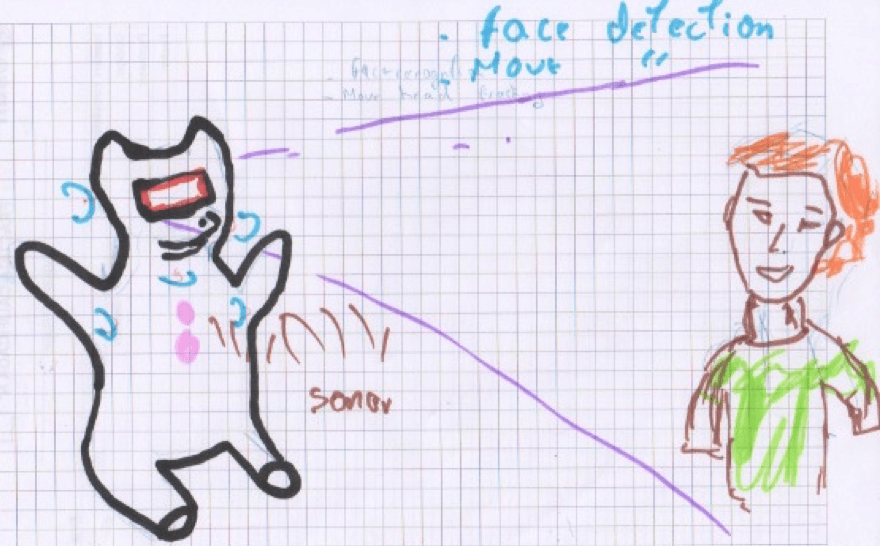
My initial idea is to develop a social robot that can reply few human movements from images capture by mobile camera phone. Some people think that robots are cold to interact with humans, so my target is linking robotics and cool design to improve the interaction. Therefore, I imagine a bear robot like Teddy. This project has special considerations as Andean bear from South America because it looks as bear with glasses. This natural feature can use to make our project why we can replace its eyes zone by a mobile phone.
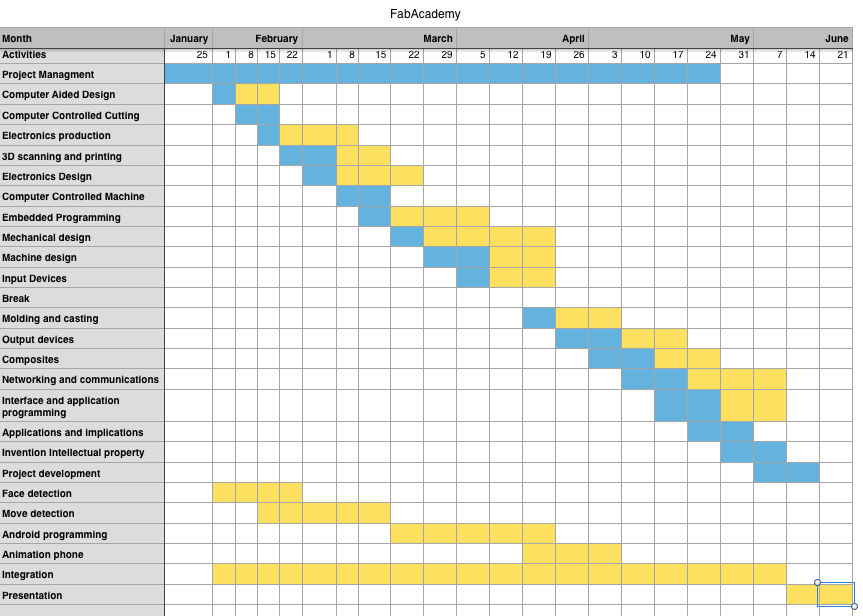
 To concrete my project I plan to develop each part of the robot accordly the schedule of FabAcademy lectures. Also, I plan to programm other weeks to create algorithms of computer vision to run on android. This my gantt project.