EMBEDDED PROGRAMMING
WEEK 8
- Read a microcontroller data sheet
- Program your board to do something, with as many different programming languages and programming environments as possible
*extra credit: experiment with other architectures
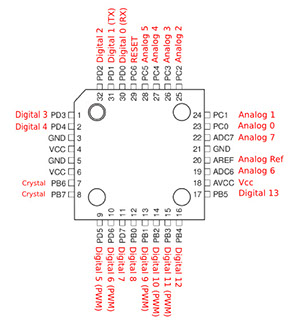
ATMEGA 328 microcontroller data sheet
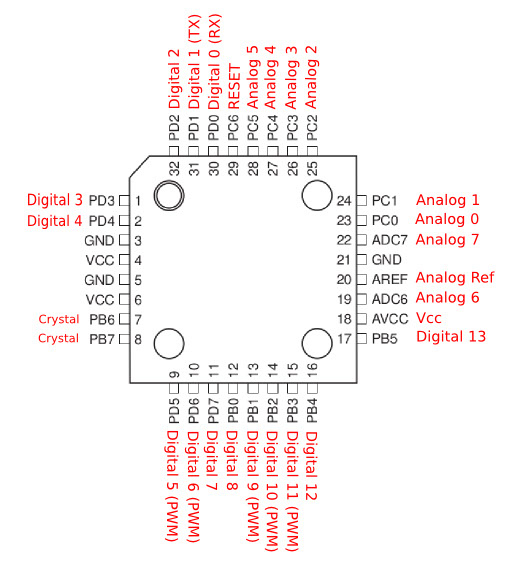
Since I was going to use fabkit version 2, I choose the ATMega's datasheet. The ATMega 328 is a 8 bit microcontroller with 32 pins. It has three GND pins (3,5,21); two VCC pins (4, 6); B port pins 0-7 (pin 7, 8, 12-17) are 8-bit bi-directional I/O port; C port pins 0-5 (pins 23-29) are 7-bit bi-directional I/O port, of them PC06 is used as a Reset input; D port pins 0-7 (pin 1,2,9-11,30-32) are 8-bit bi-directional I/O port; AVcc (pin18) is the supply voltage pin for the A/D Converter; AREF (pin20) is the analog reference pin for the A/D Converter; ADC pins 6-7 (pins 19 and 22) they serve as analog inputs to the A/D converter.
- DOWNLOAD LINK
It is a microcontroller that works very well with the arduino environment and since the Fabkit is an FAB version of an arduino, it is perfect to personalize a PCB. Below is the equivalence table between the ATMega and the Arduino.

BOARD PROGRAMMING
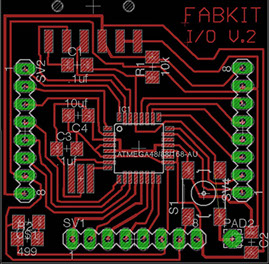
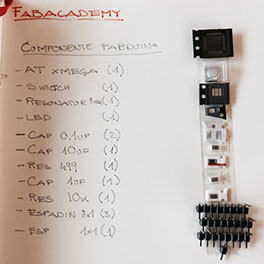
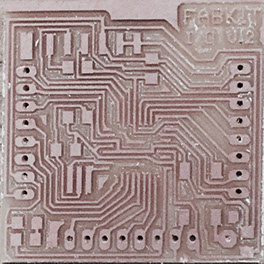
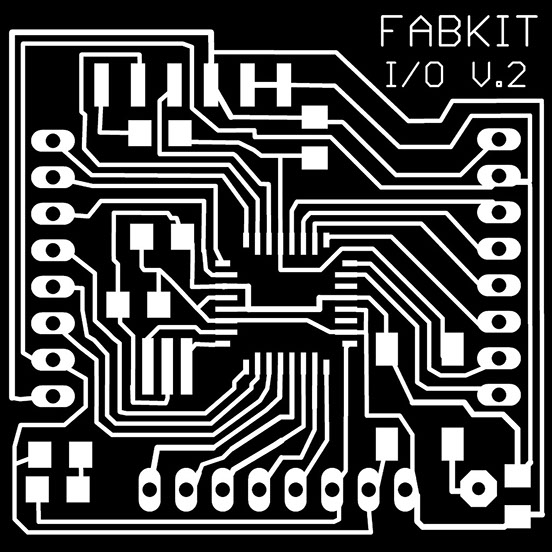
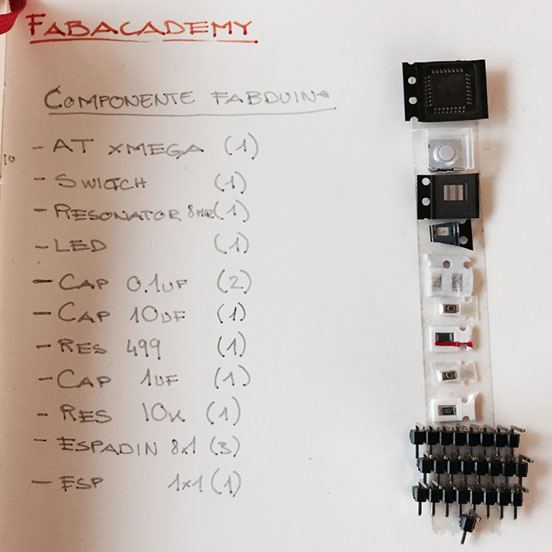
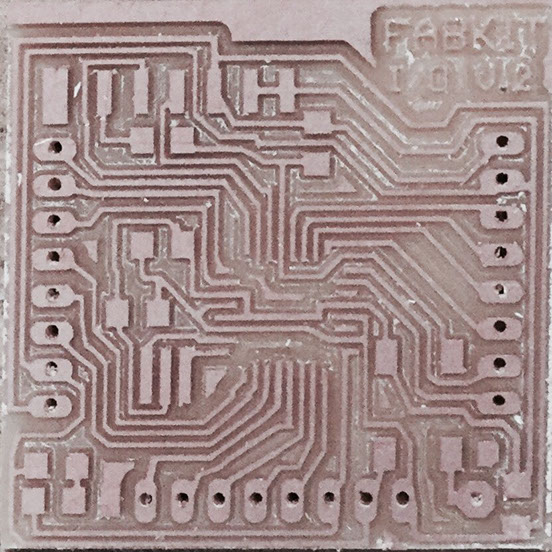
The first thing to do was to mill the FABKIT's PCB so I downloaded the png images for the MDX milling machine. I mill the PCB and requested the components to solder.
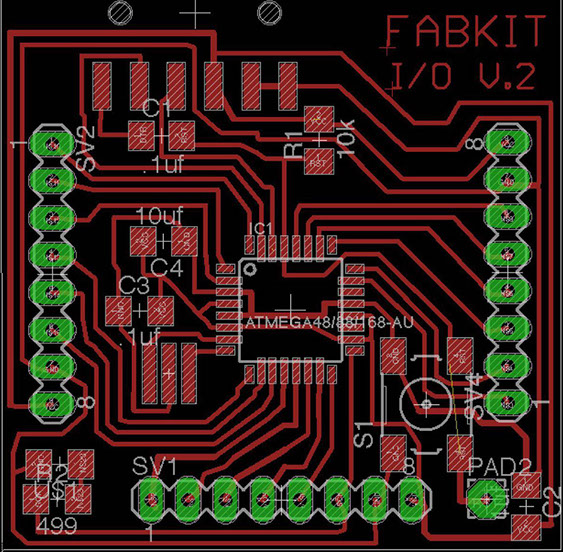


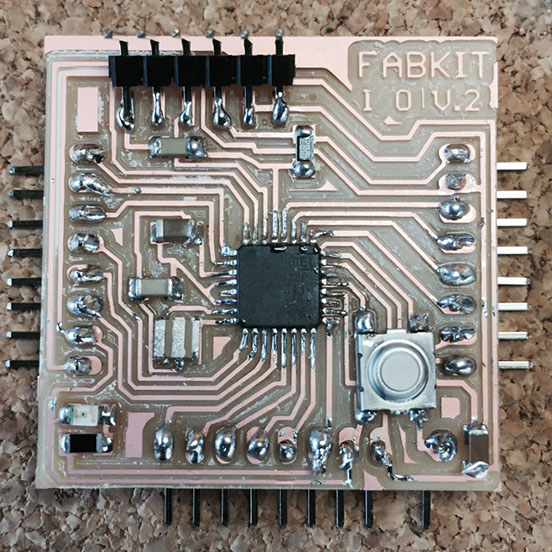
When I finished soldering the FABKIT, I proceeded to conect the FTDI cable (3.3v) with the ISP board made on fourth week following the order below. I tried to burn the Bootloader with the ISP board with a windows PC, but for some reason it gave me error. Finally I tested the burn with Linux and worked.
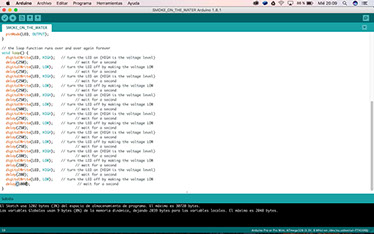
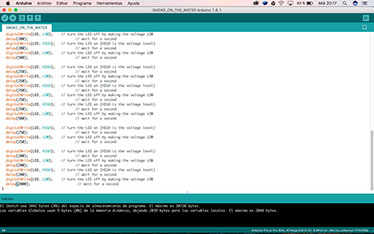
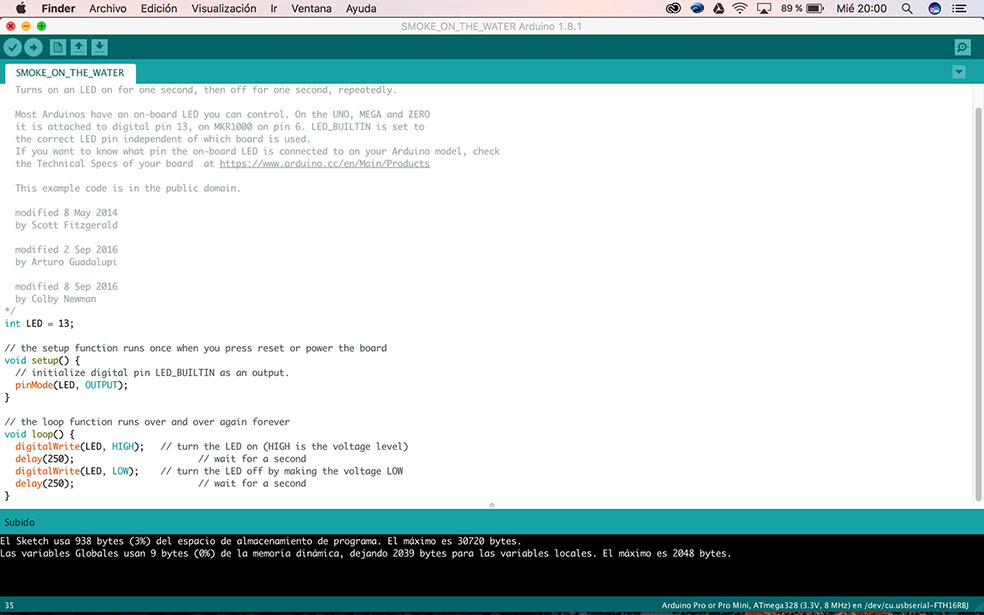
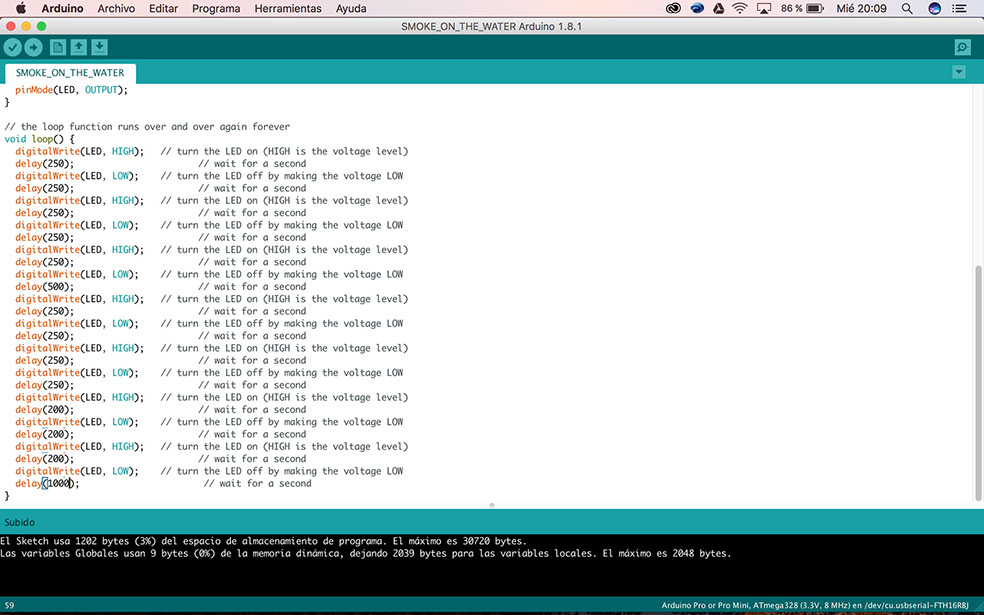
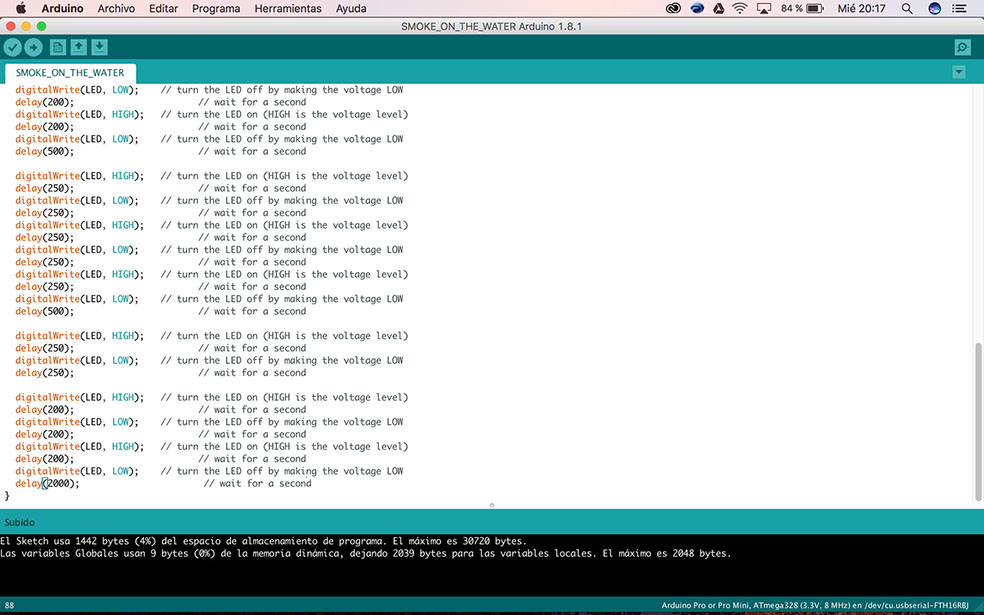
To burn the bootloader you must select the type of board, the processor, the clock, the port and the programmer. As a board I had to choose Arduino Pro or Pro Mini, it was the only one that allowed me to burn. For the processor I chose the Atmega328P from the Fabduino. For the clock, I initially chose 20mhz, however this did not work and I had to change it by 8mhz. For port use the COM5 and as programmer the manufactured FabISP the fourth week. After burning the Bootloader, the board was ready to program. The programming language I tried was Arduino, made on the Arduino IDE software. In the beginning I didn't know what to do, or what to program, so I came with the idea of programming something simple, the blink of a LED. So I decided for this task, to blink at the rhythm of a song, it was not so easy because I had to regulate the delay of the blink with the song's rythm, but at least it was funny.
- ARDUINO FILES
xmottex@gmail.com