3D SCANNING AND PRINTING
WEEK 5
- Test the design rules for your printer(s) (group)
- Design and 3D print an object (small, few cm) that could not be made subtractively
- 3D scan an object (and optionally print it) (extra credit: make your own scanner)
DESIGN RULES TESTS
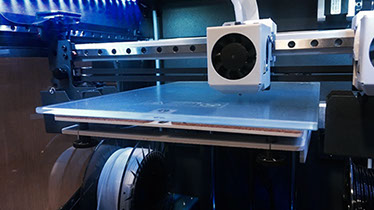
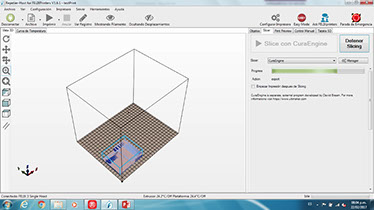
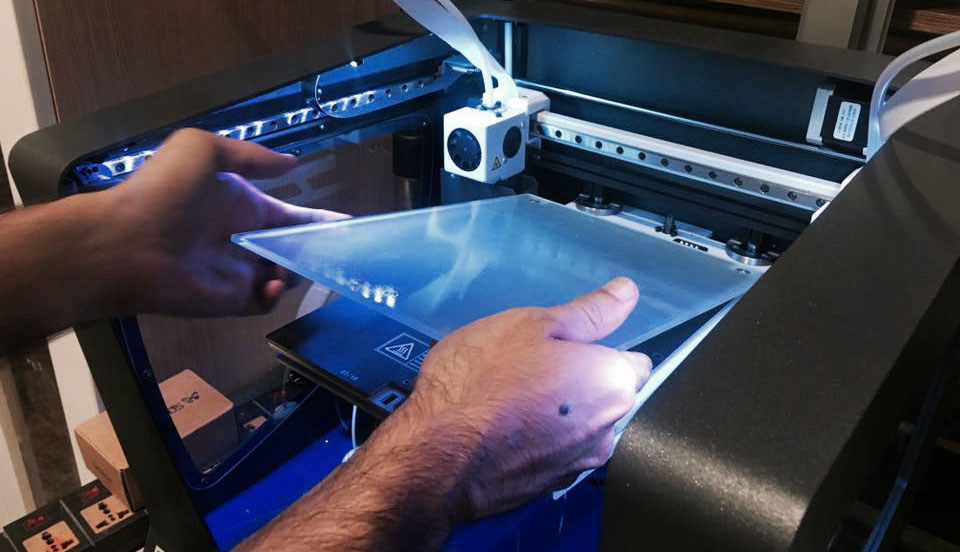
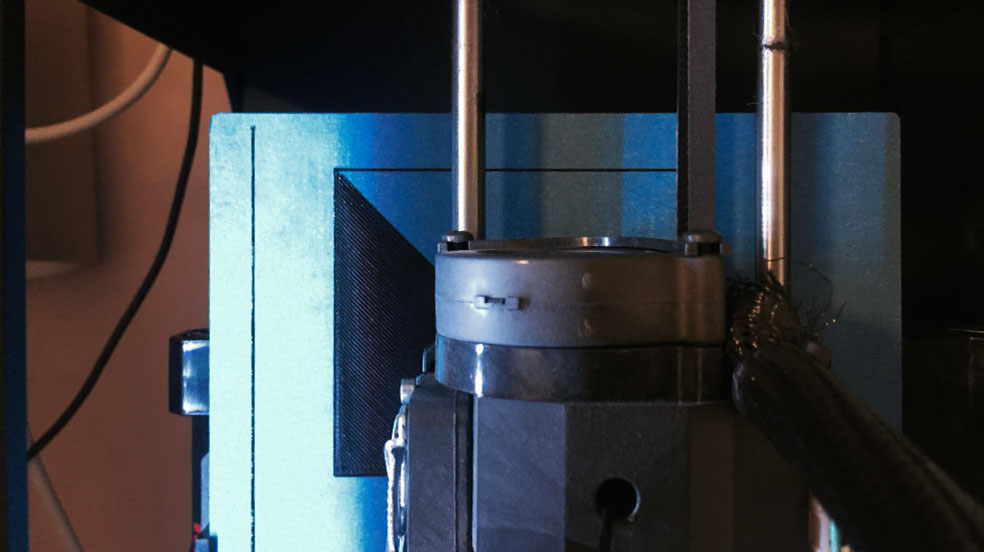
As a second group task, we tested the design rules for our printers. In the lab we have three printers, BCN3D, FELIX3 and MAKERBOT Replicator 2. We set the same printing parameters for all three, so we can learn about the printing difference between them. The first test was with BCN3D, which is also the newest printer.
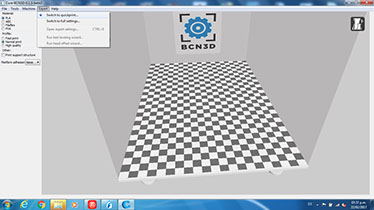
BCN3D
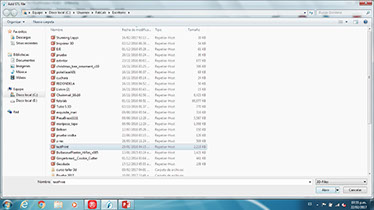
- FILES
- THINGIVERSE LINK_01
- THINGIVERSE LINK_02
- THINGIVERSE LINK_03
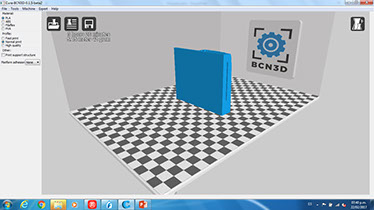
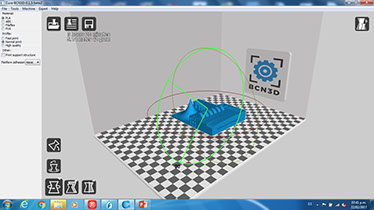
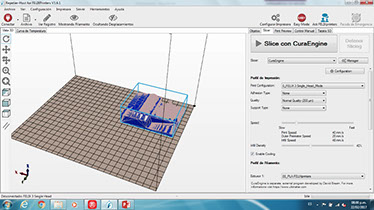
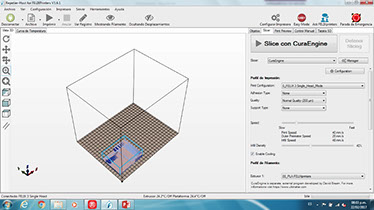
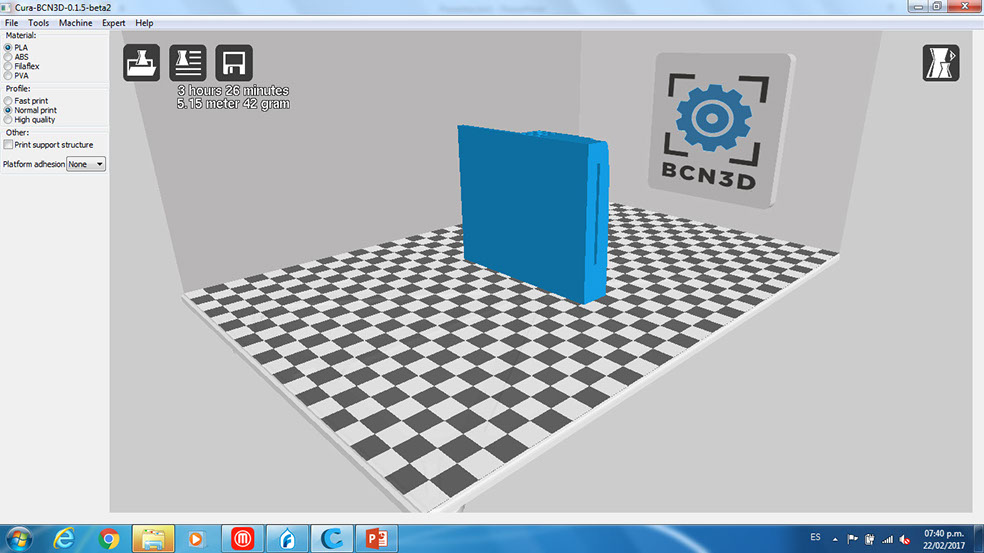
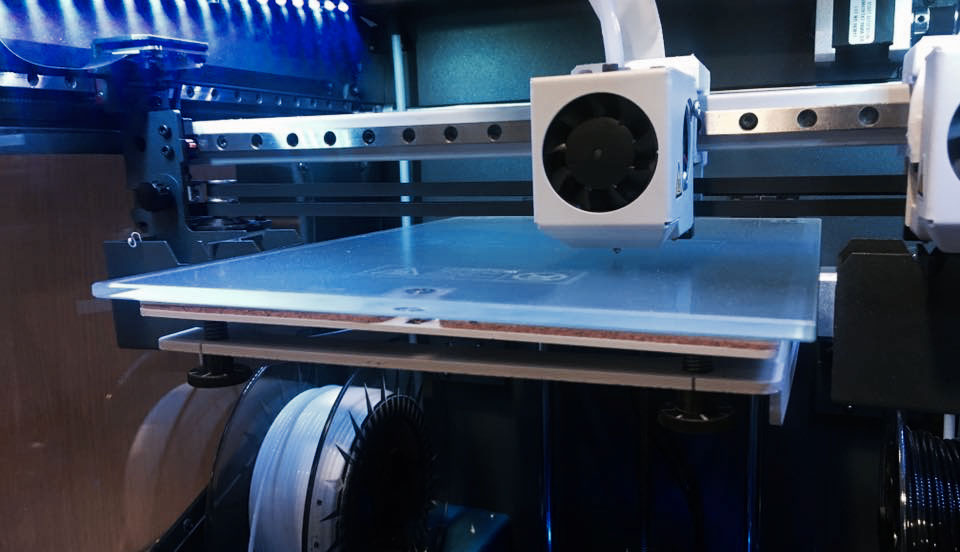
The BCN3D printer, runs with a program named CURA. First we import the .stl file to the program, then we set the material type (PLA) and the quality (Normal Print). The next thing was to place the model in a way that the printer would be able to print it without raft or supports.


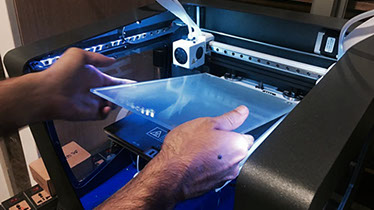
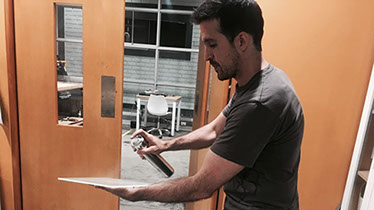
To begin printing we needed also to prepare the printer. We removed the build plate and apply lacquer so that the filament easily adheres to it. After the preparation, we give the order to print.

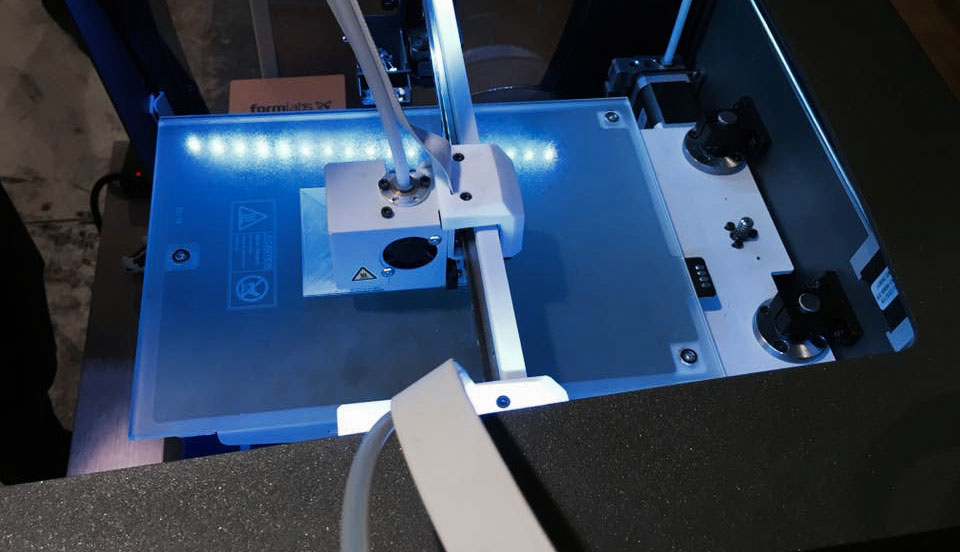
FELIX
With the FELIX, we made the same procedure, import the .stl file to the program, set the material type (PLA) and the quality (Normal Print), place the model in a way that the printer would be able to print it without raft or supports, but there an extra step to do, wich was to give the order to slice the virtual model in order to print.


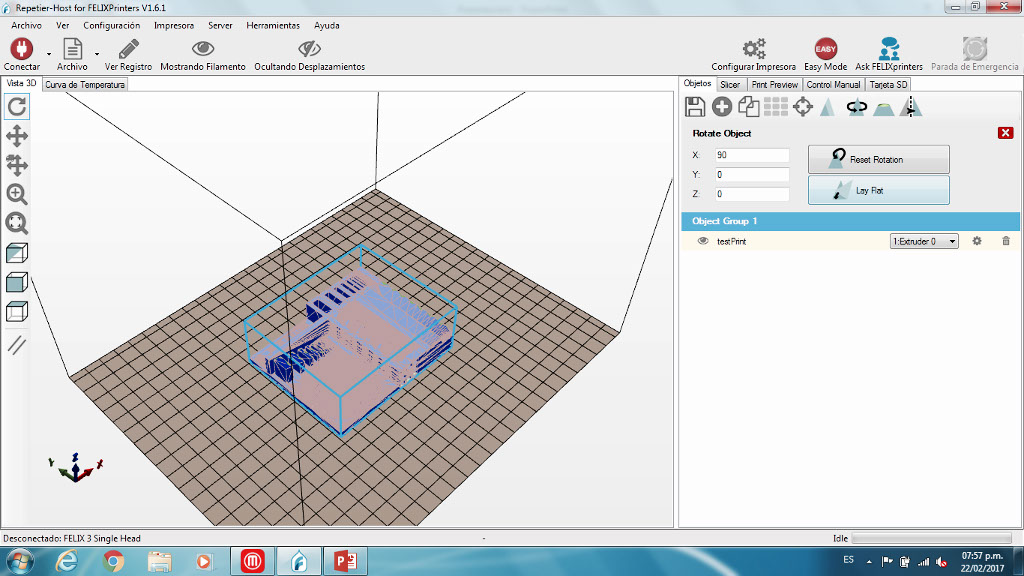
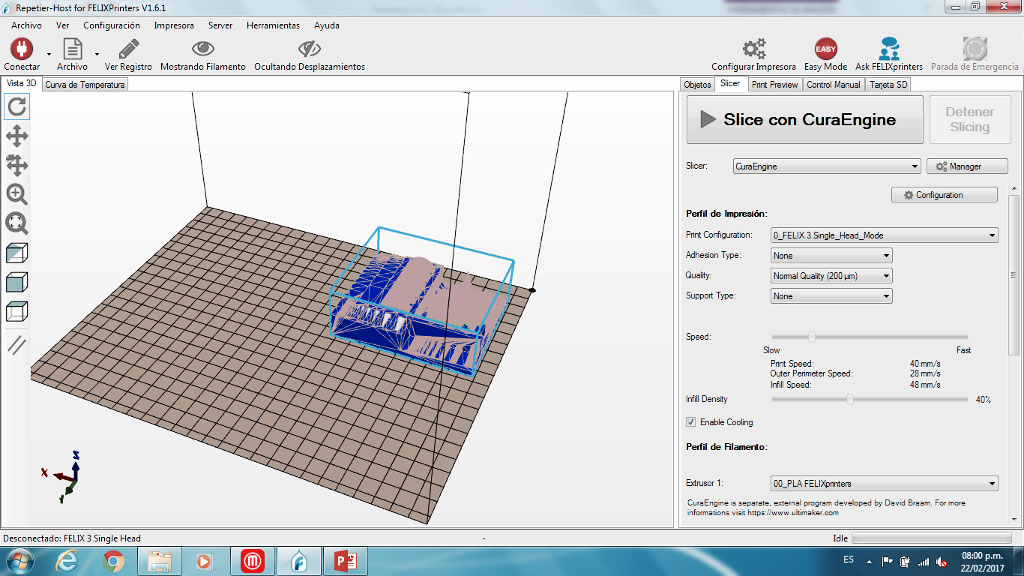


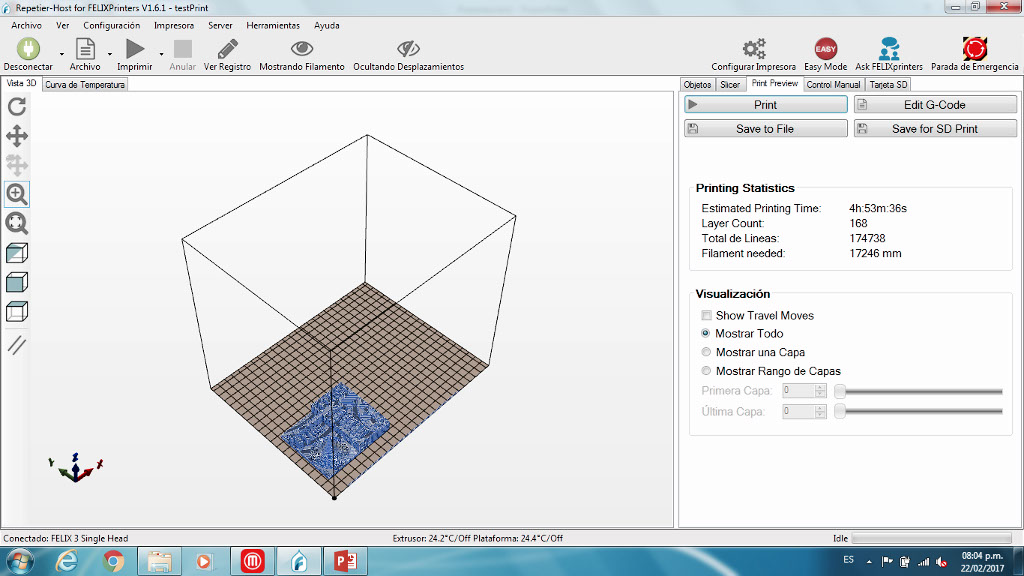
In this case there was no need to prepare the printer. So we begin to print.
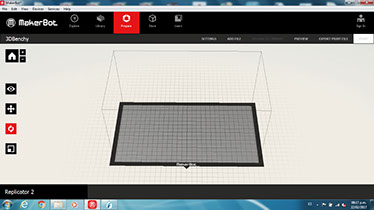
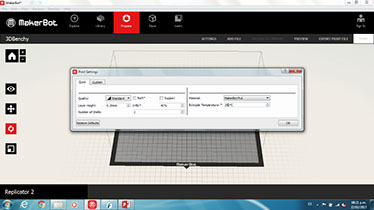
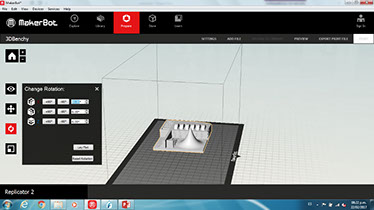
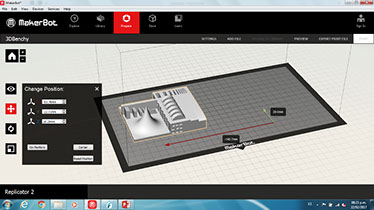
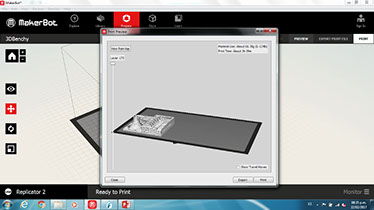
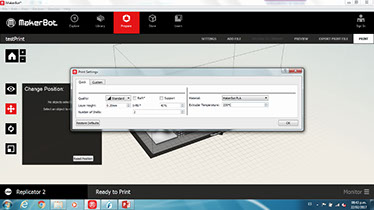
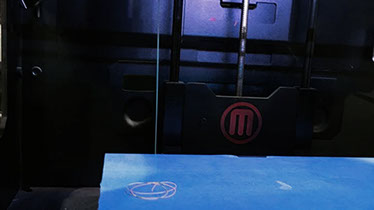
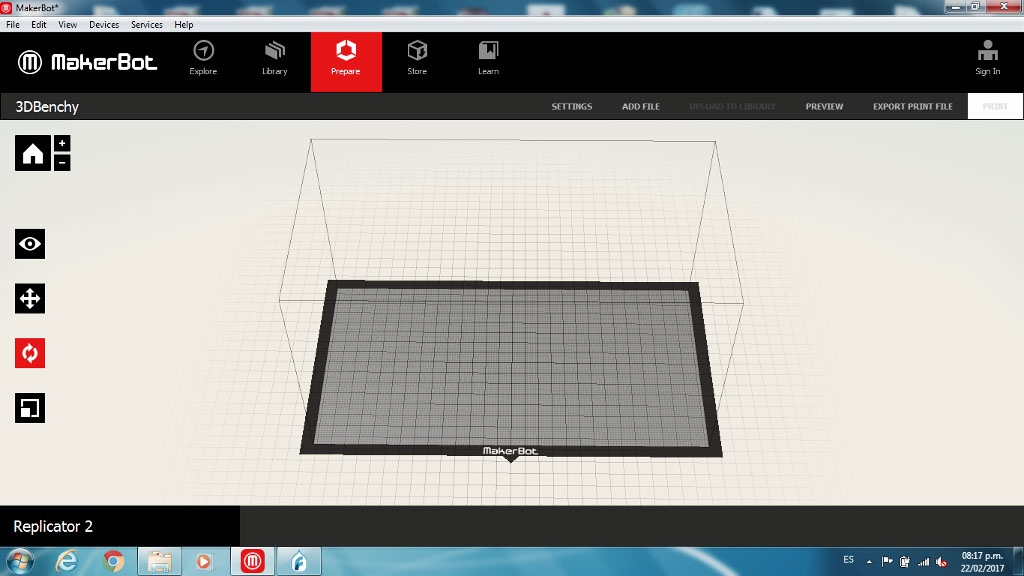
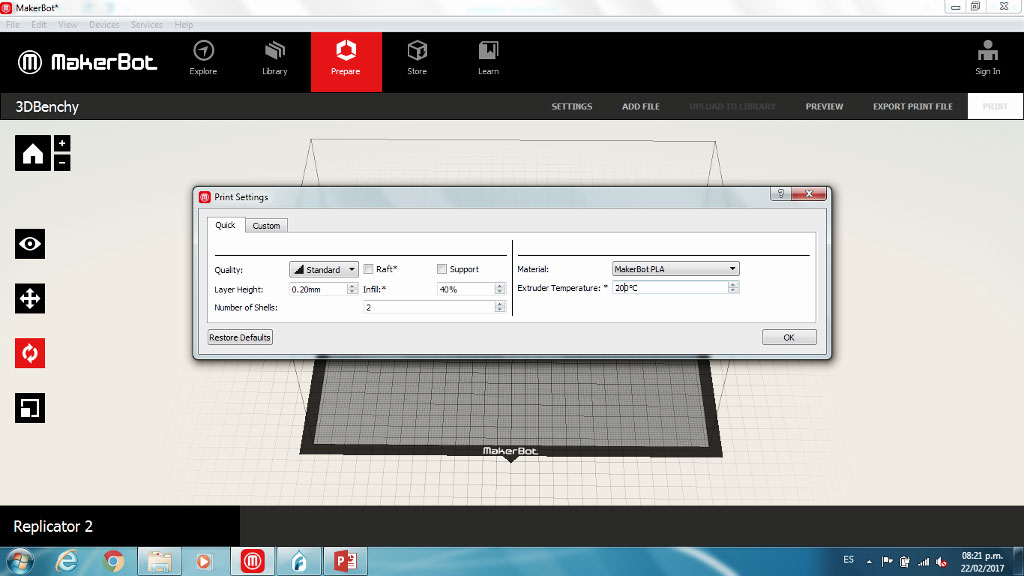
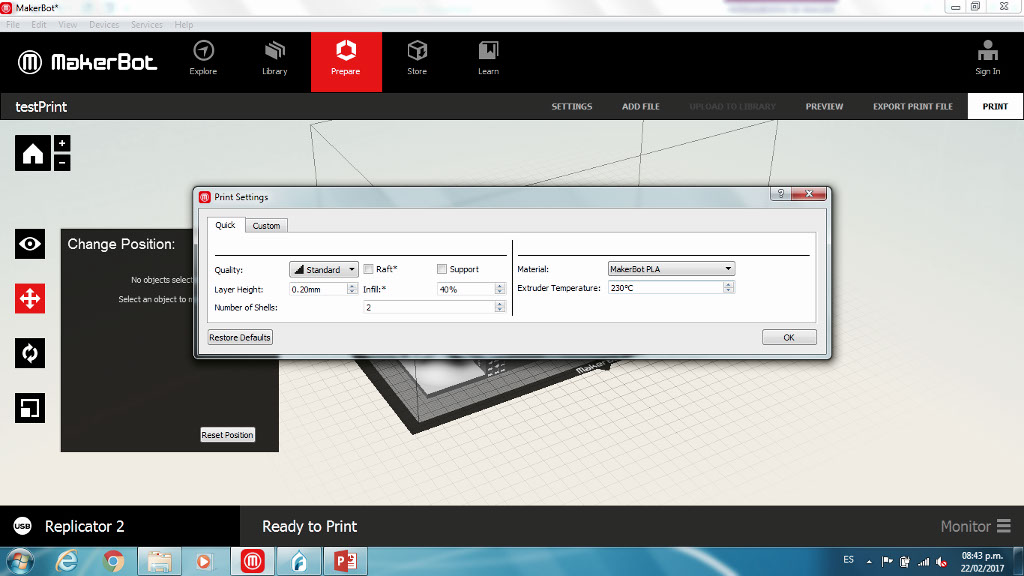
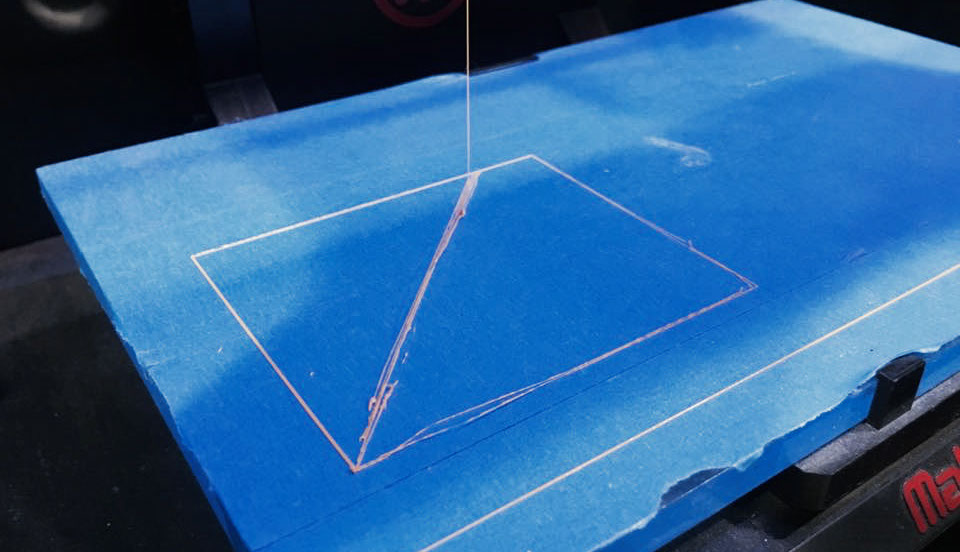
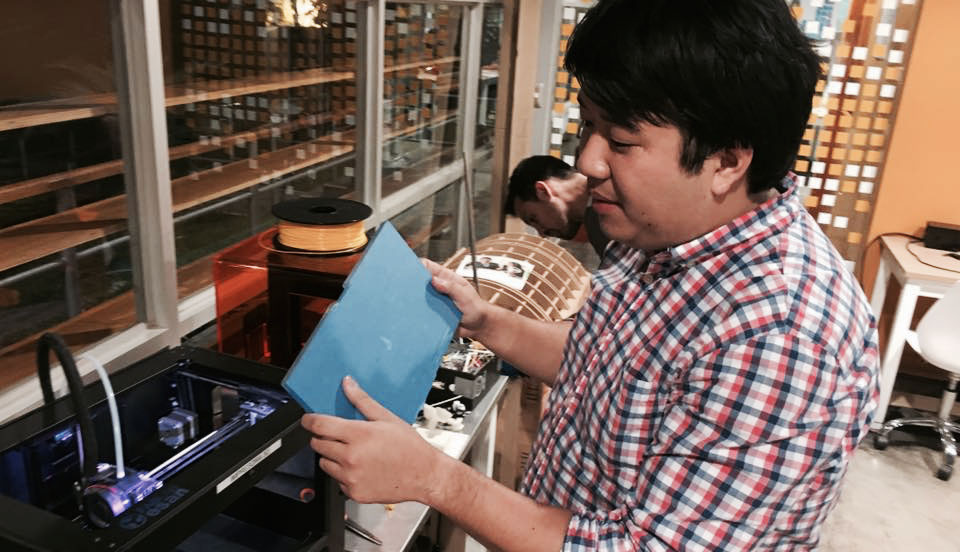
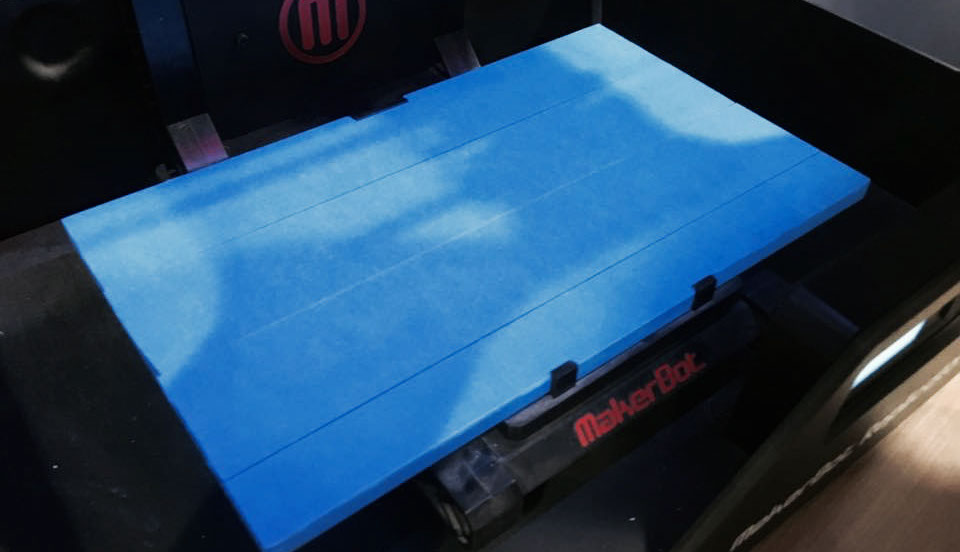
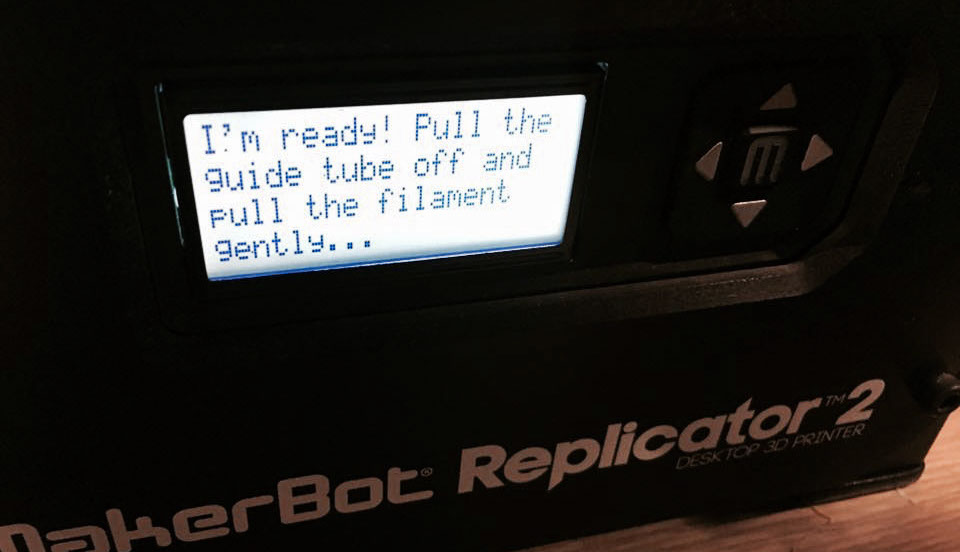
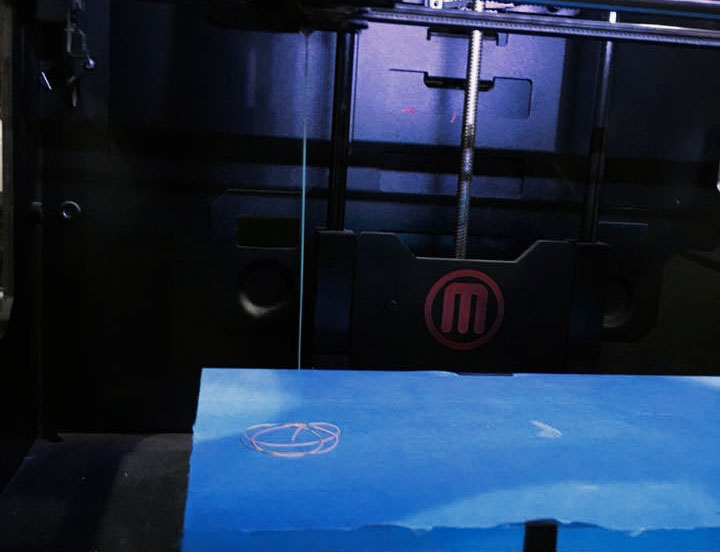
MAKERBOT Replicator 2
With this printer we have a few problems, it start not wel, the makerbot even stop printing (just moving). Then we change the tape and level the build plate, we even change the PLA filament and rise the printing temperature from 200º to 230º. The printing settings were set like the other two, but because of the printing error we change the temperature.


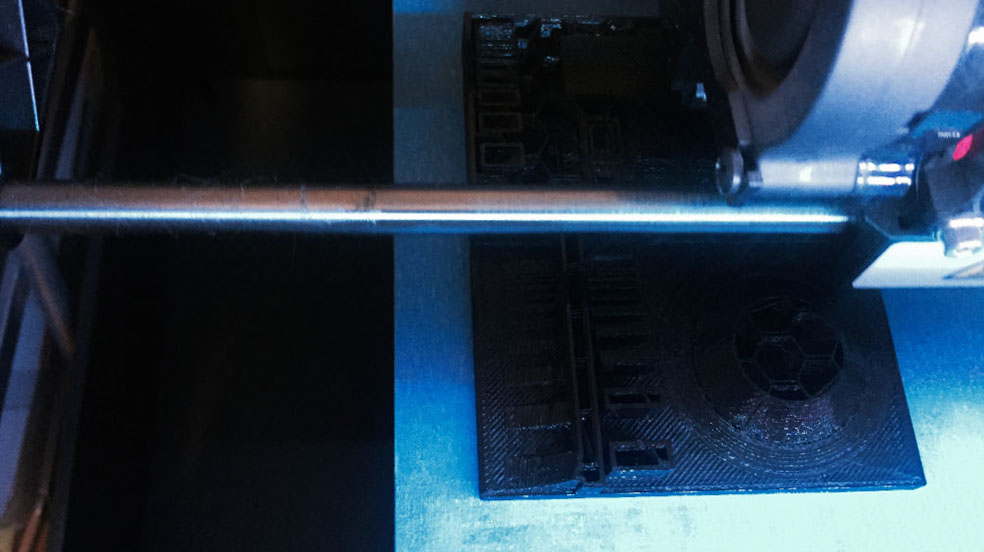
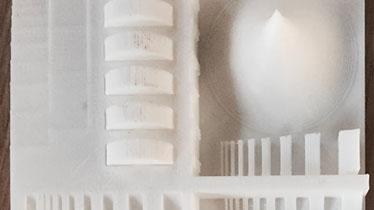
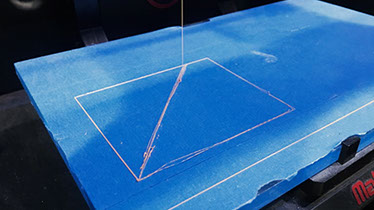
To establish the design rules for the printers, we print a tolerance test that we find in thingiverse, we print the one the academy puts as an example and design one, just like when we tested the lasercutter, we even find out tolerances for a 3D print pressfit. We print one test for each one of the three printers.
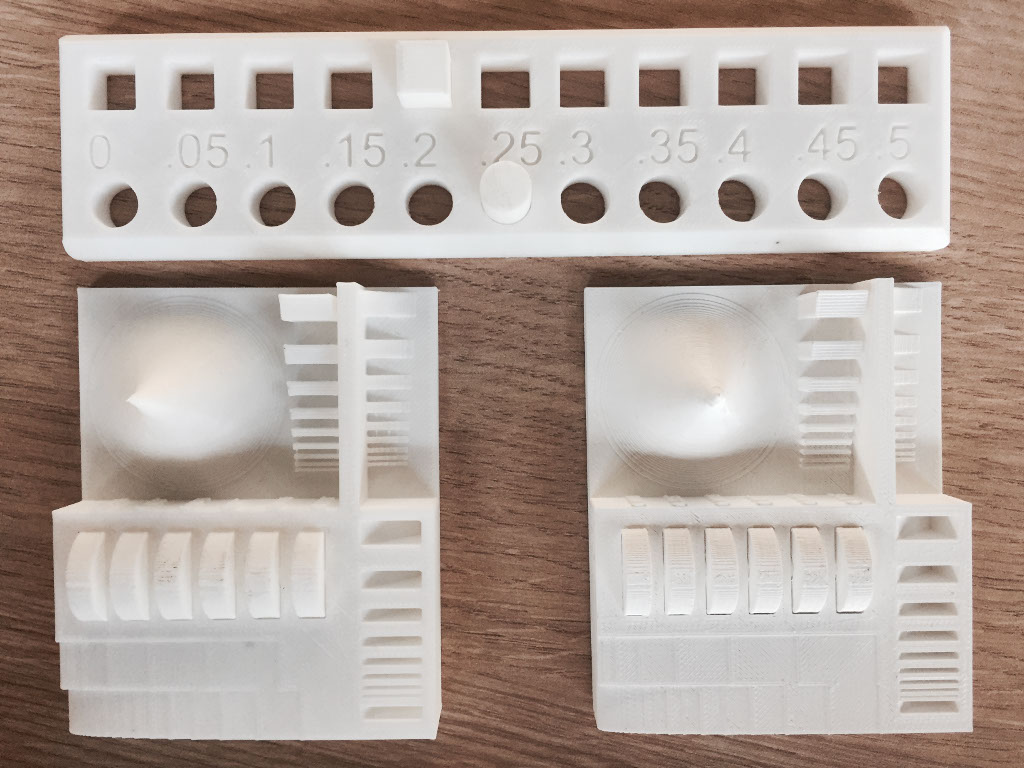
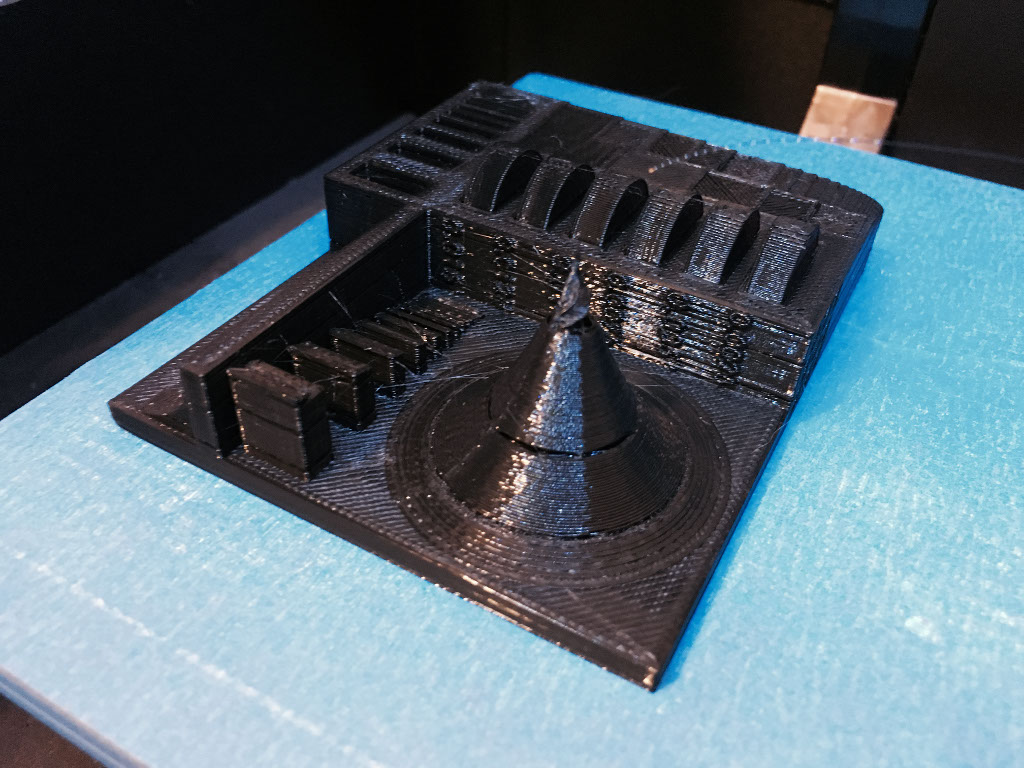

We notice that after all BCN3D was the printer with better resolution, but it is also the newest one in a lab that uses 3d printers all the time. we discover too, that the tolerance for pressfitting where for round shape 0.25mm and for square shape 0.2mm, the other tests will serve us as a guide for design.
DESIGN AND 3D PRINT AN OBJECT
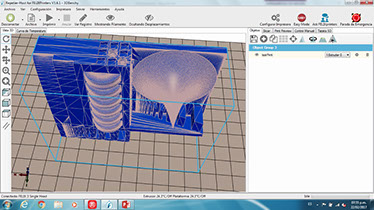
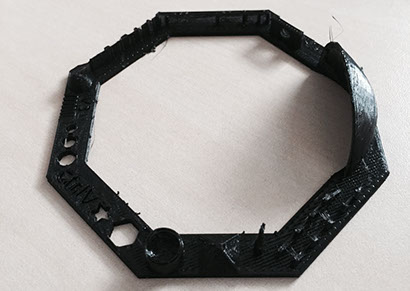
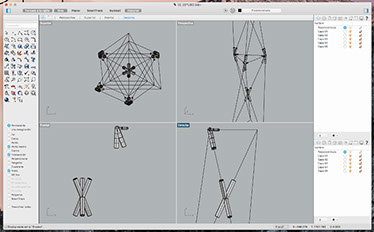
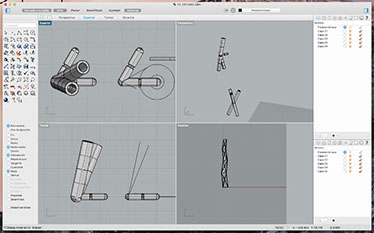
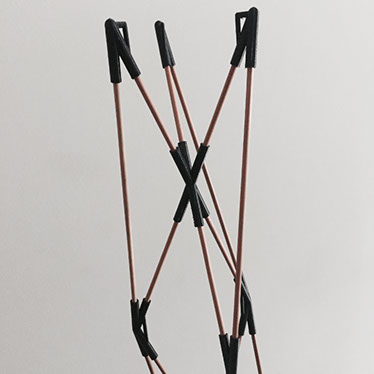
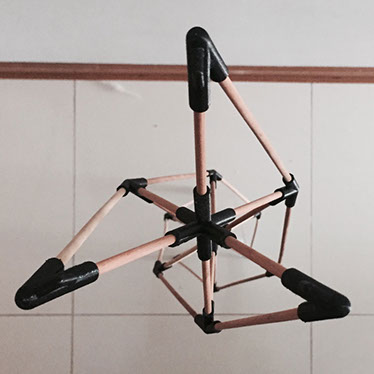
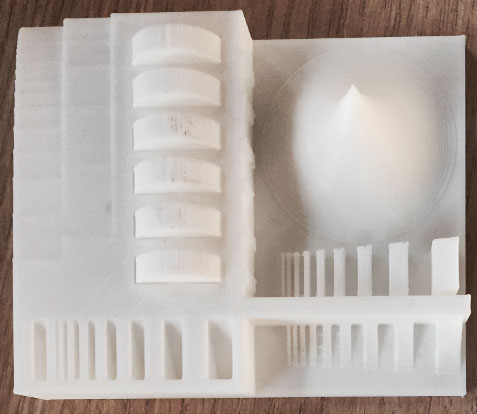
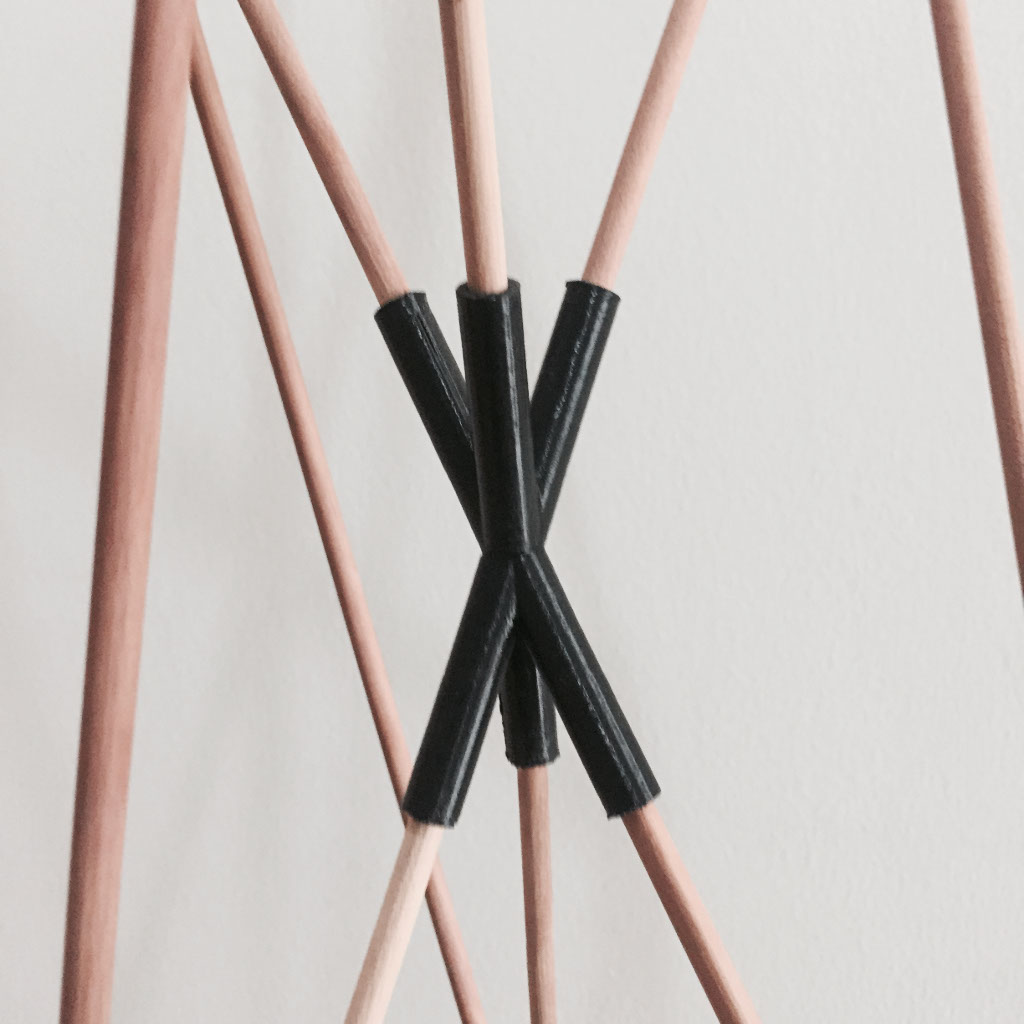
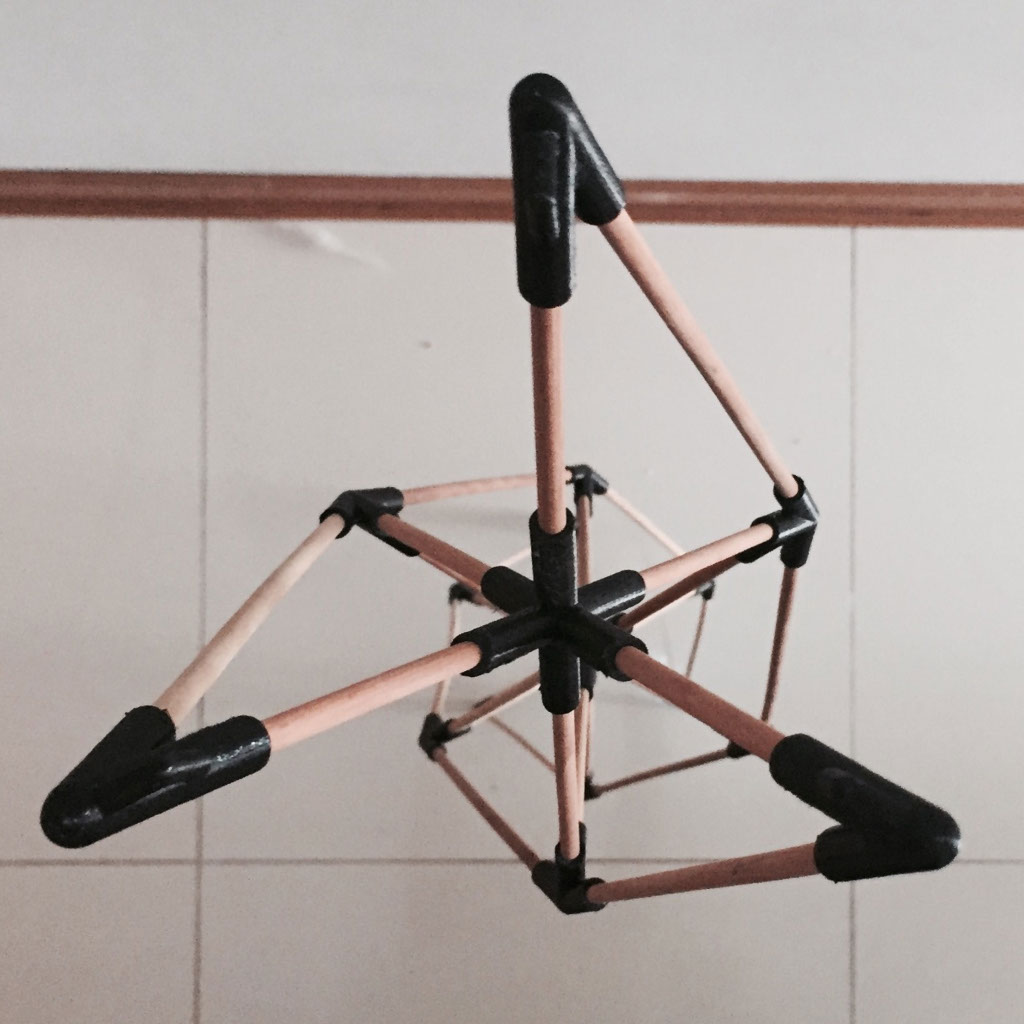
In this case we had to design and print a small object (a few centimeters) that could not be done subtractively. Here I came up with an interesting idea. Four years ago I participated (with a few friends) in a sculpture contest organized by the Hobart Foundation in Lima, I wanted to reproduce the sculpture I presented for the competition, with 3D printing technology. The next one was the project I presented.
As finalists, we had to make a scale model for an exhibition, which we craft by hand.
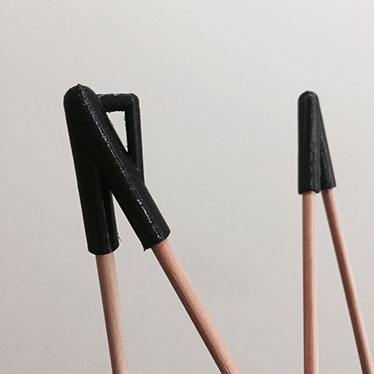
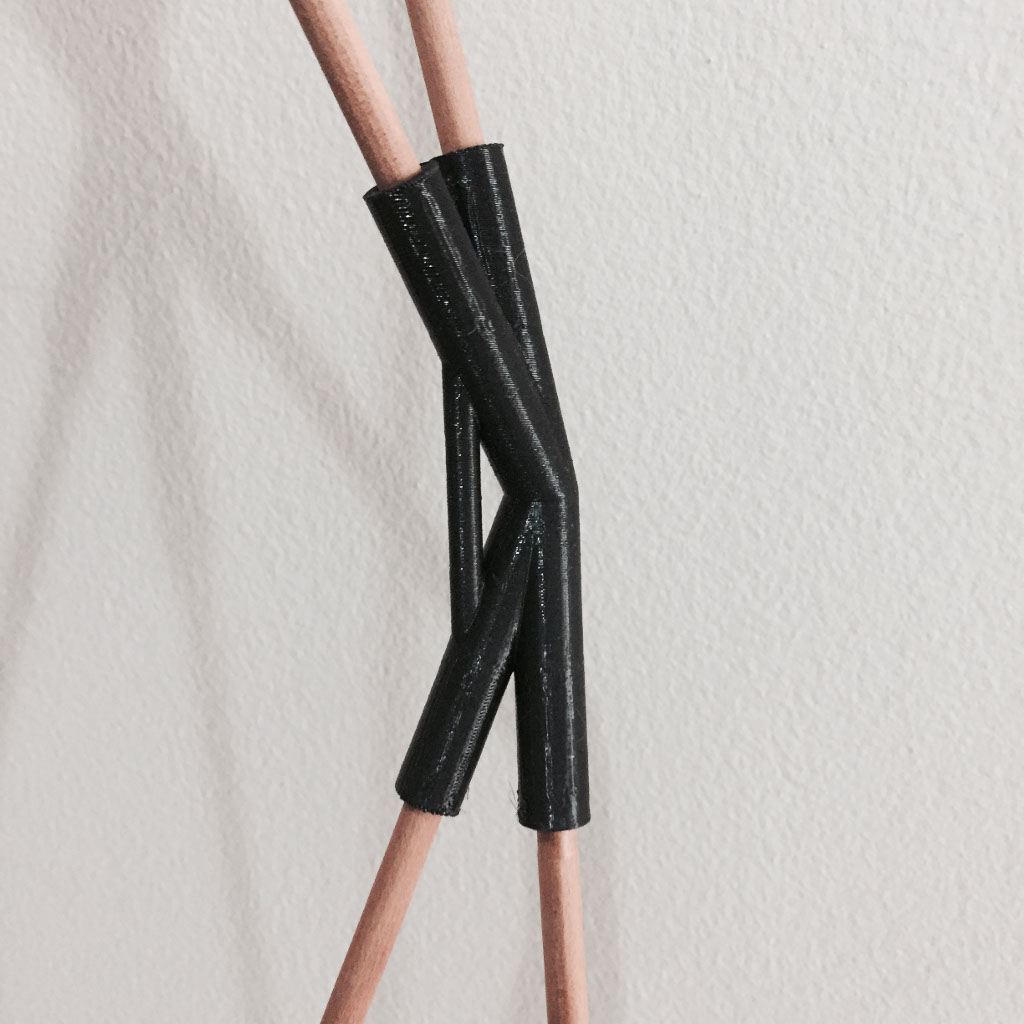
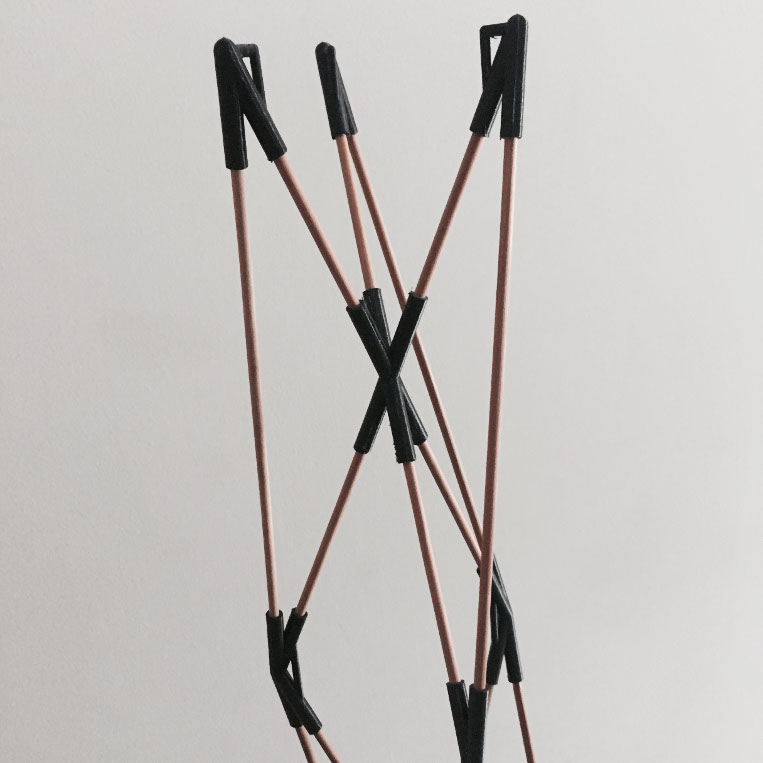
I knew that the impression of the whole sculpture would take too long, even printing it in parts. I also knew that the most difficult thing to do was the joints. So I decided to model only the joints in Rhino to print in 3D and for the rest of the sculpture, 4mm diameter round section wood profiles. On the first try, I did not consider the tolerance between wood and joint. This was the reason why I could not make much progress with these parameters.


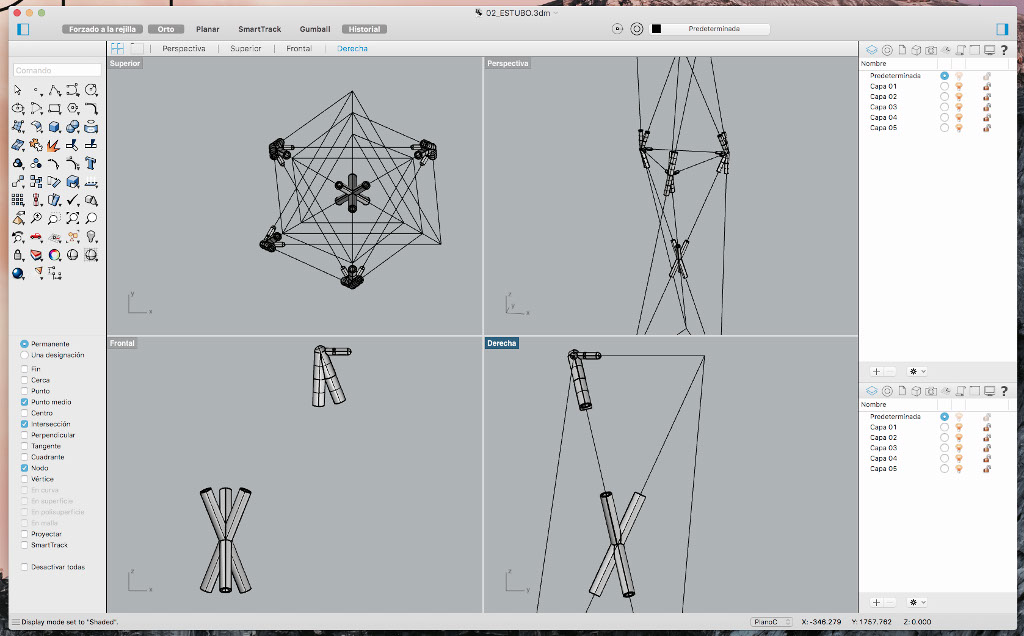
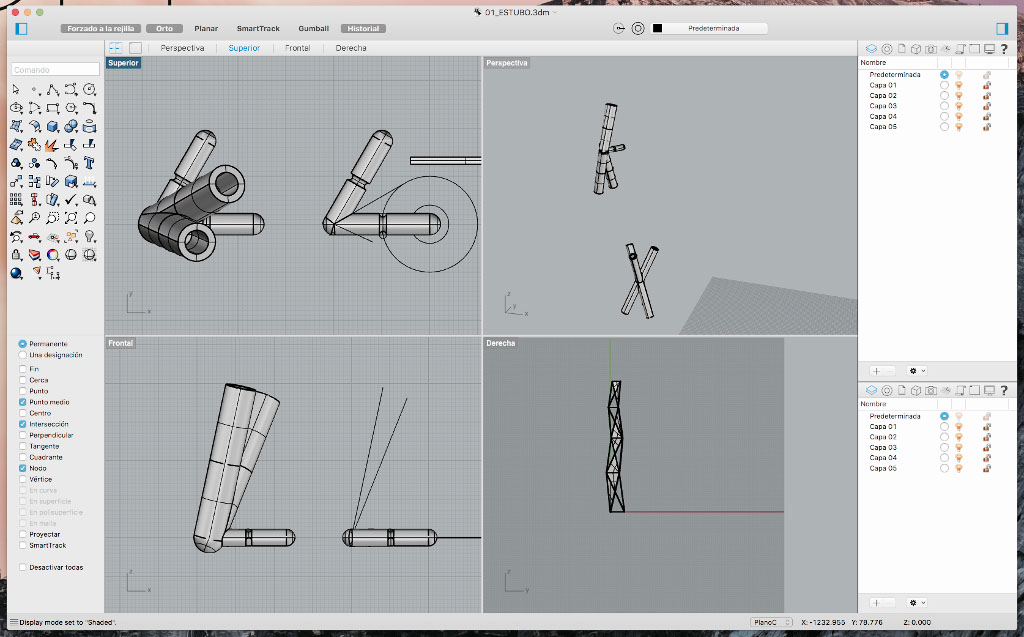
On the second try, I got a 0.6mm tolerance that worked perfect. The problem at this time is that because of the design of the pieces, they were very fragile and easily broken.
Finally, I corrected and redesigned the joints, printed them and built the structure of the sculpture.
- FILES

3D PRINTING ADVANTAGES
- Could be used for a large variety of projects
- Fast prototyping, allows you to create a quick prototype
- Low cost, it can be done in by house.
- Personalization, you can make your own desire product
- It`s a new market that generate new forms of business, thingiverse, Shapeways
- Interdisciplinarity, 3D printing can be applied in various fields
3D PRINTING LIMITATIONS
- Elaboration of own products, leads to fewer jobs.
- For copyright its difficul to control replicating products
- It could also be used for weapons.
- 3d printing takes to much time yet, for mass production.
- Always have to monitor the prints, to avoid problems and delay in printing time.
- There is still very little possibility of good maintenance in Peru
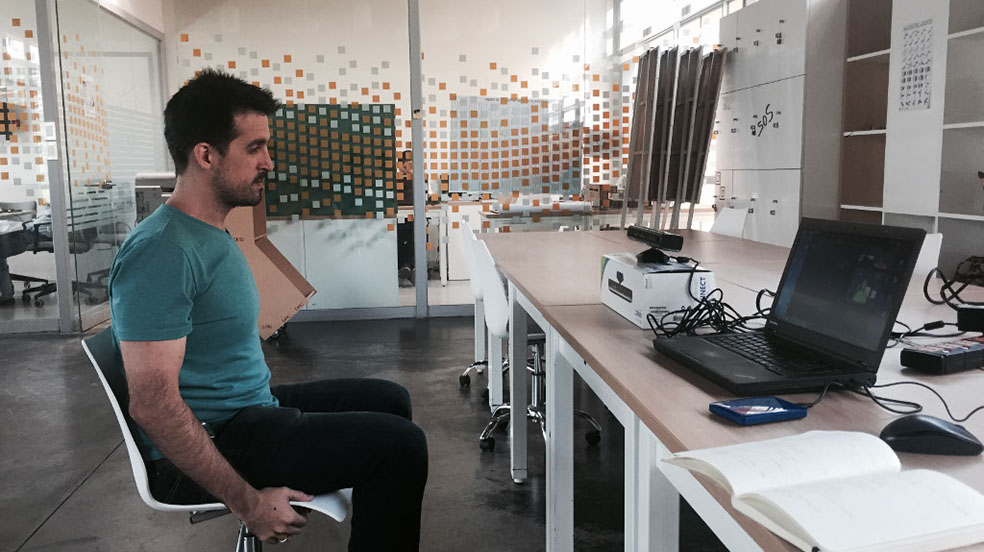
3D SCAN AN OBJECT
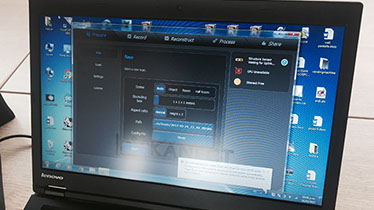
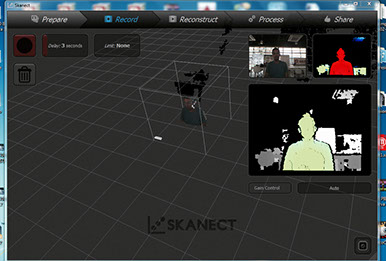
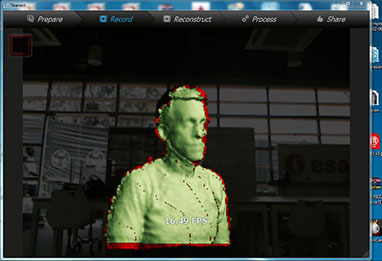
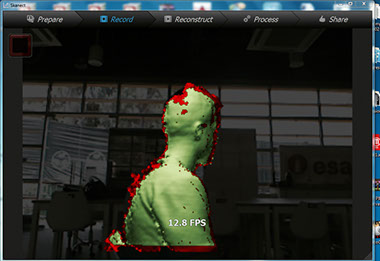
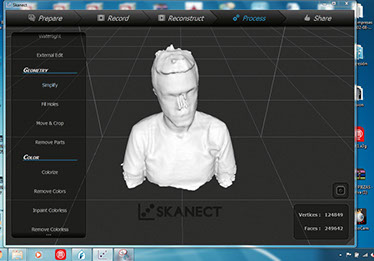
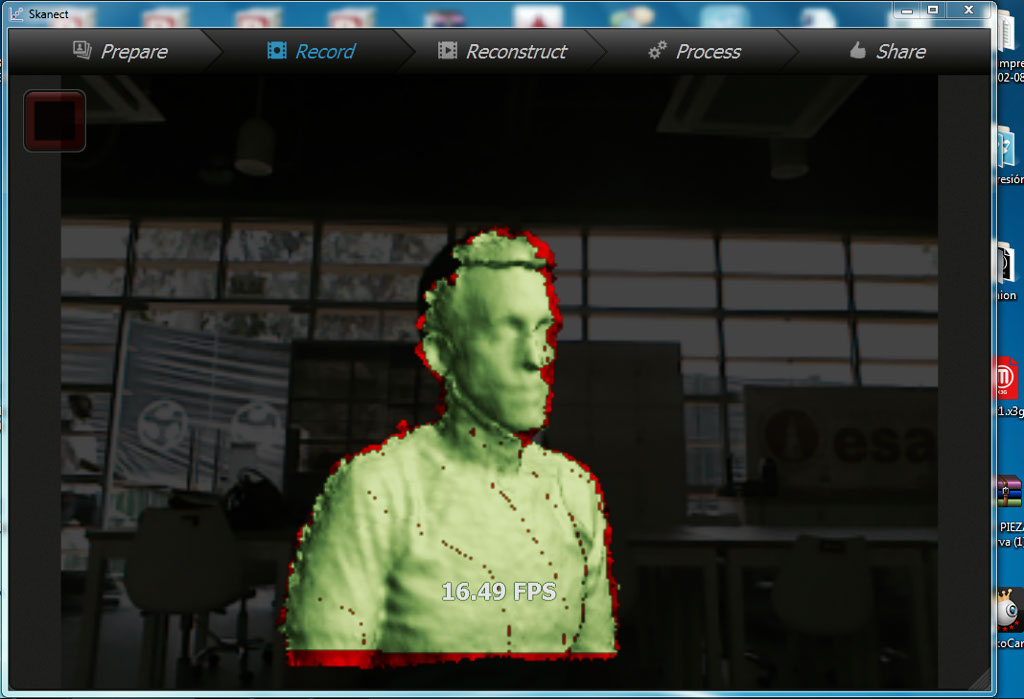
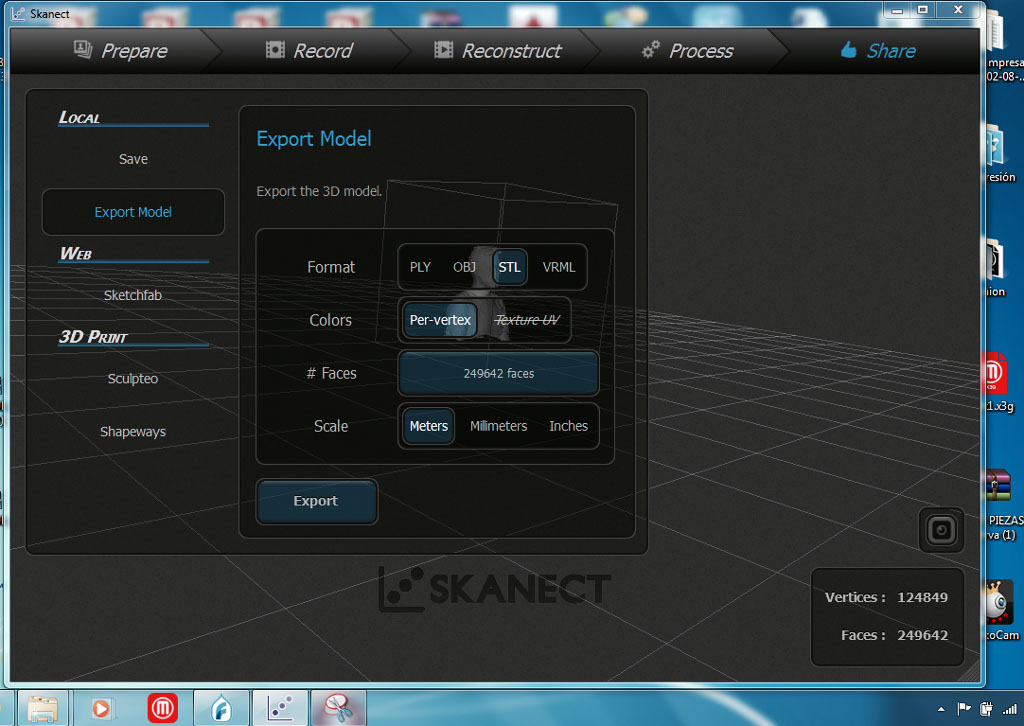
The final task for this week assignment was to scan an object, task I did not achieve, because I scanned myself and not an object. I use the Kinect device and Skanect software. I sit in front of the Kinect device on a chair with casters, and turn slowly to left to perform the scanning.
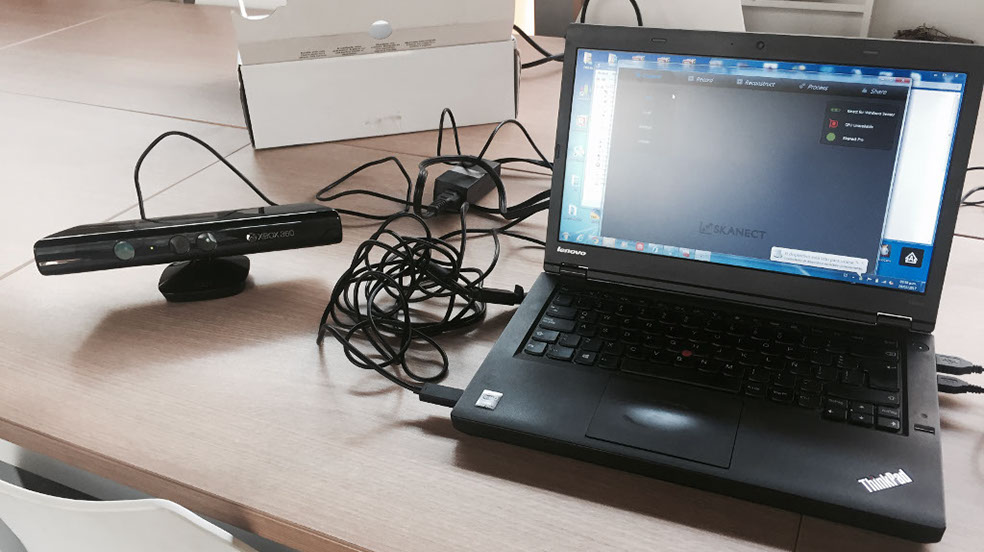
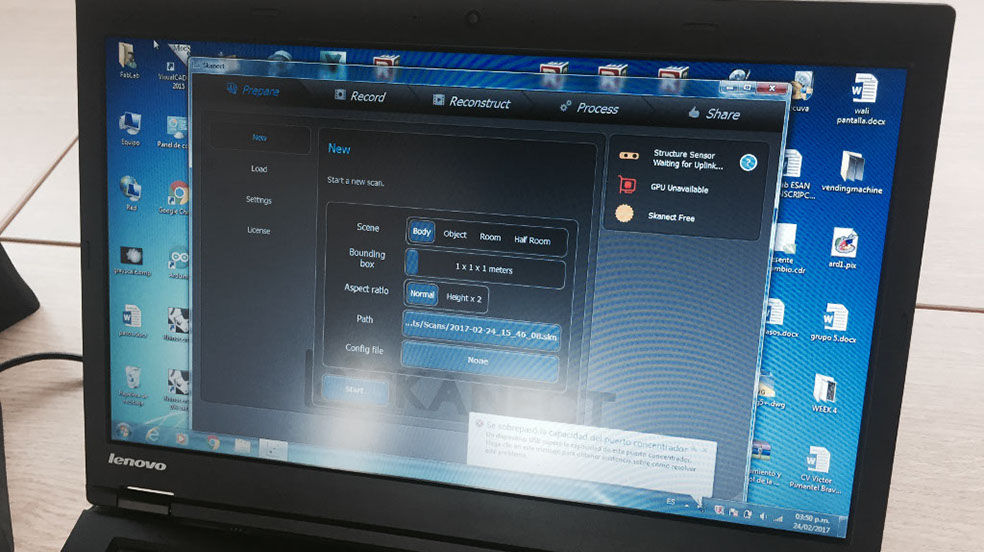
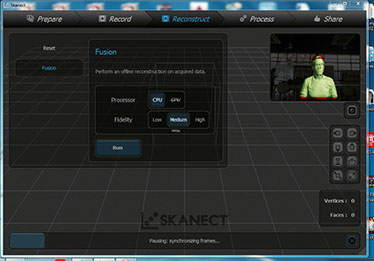
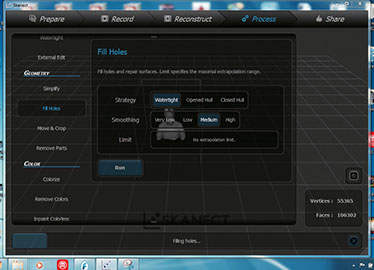
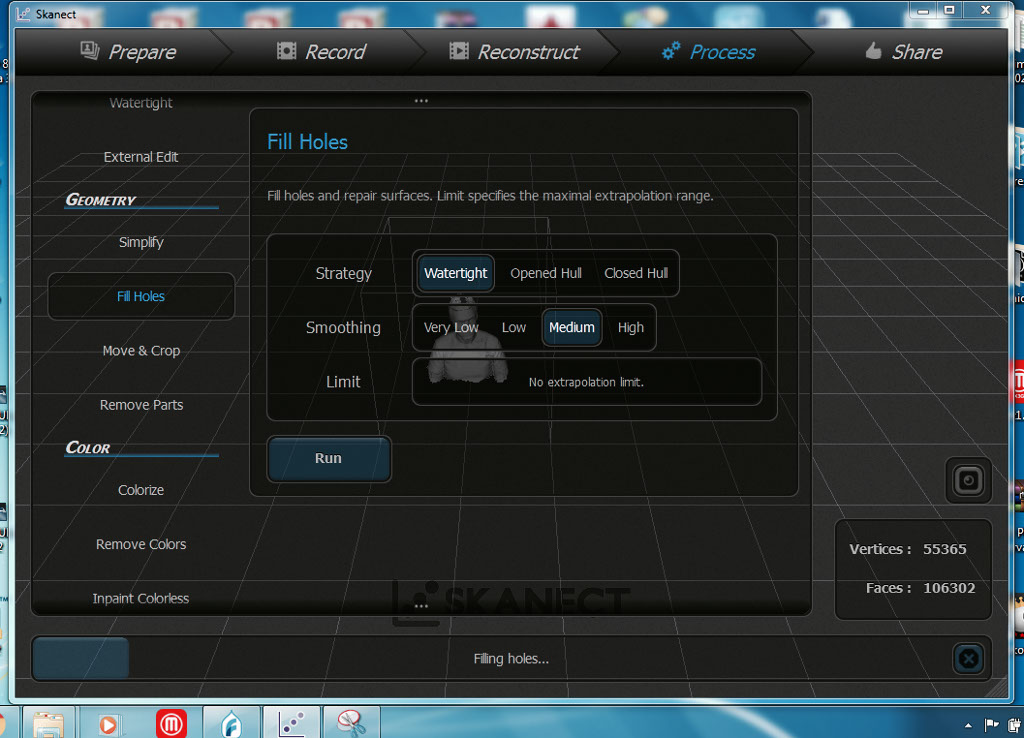
At first, the device take the point cloud information for each position, for the whole tourn. Then the software make fusion, wich is an offline reconstruction on acquired data. The next thing that the program do, is to fill the holes of information (complete the 3D image). Finally, I exported the 3D reconstructed image to an .stl file so I can 3D print myself.
- SCANNING FILES


SACNNING ADVANTAGES
- It can help you quickly to register or inventory
- Easy to use, you don't need more than a digital camera and a free software
- Parts wil fit together on the first try
- Save Time in desgn work
- It gives quick results
SCANNING LIMITATIONS
- Very precise 3D scanner are expensive
- Clarity of image may not be a good one
- With a standard scanner you have to edit the model in another software to get a good 3D definition.
- Works better for small objects yet
xmottex@gmail.com