First of all ,thanks our Gurus Ted for giving me more help on
how to use git and Gitlab.
Note: It is very important to read through all the doucuments provided
by the FabAcademy. Some of them are listed below.
Those doucuments are:
Git-Book
GitLab Doucument
Fab Academy 2016 Archive Instructions
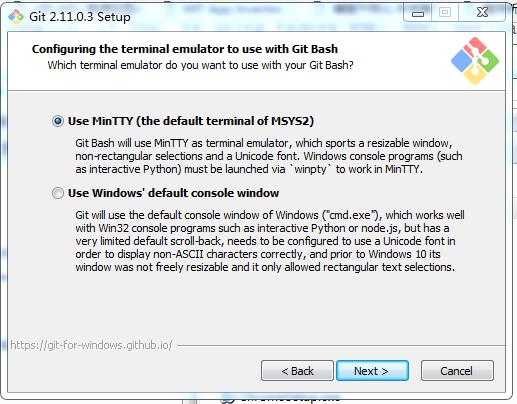
Step 1: Download and install Git
Download Git for Windows : Click here to download
Install Git for Windows.
When Git setup has been completed,three icons will be added to you desktop.
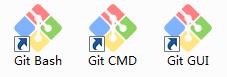
Here I use Git CMD console shell, which share the same function with Git Bash. The difference between them is their commands.
Sign in on git.fabacademy.org with your fablabs.io ID.
Double click the Git CMD icon to launch Git CMD to generate SSH key. An SSH key allows
you to establish a secure connection between your computer and GitLab.
Type the following command in Git CMD shell.
type ~\ssh\id_rsa.pub
If you see a long string starting with ssh-rsa, you can skip the next ssh-keygen step.
To generate a new SSH key, you can use the following command in Git CMD shell:
ssh-keygen -t rsa -C "$your_email"
This command will prompt you for a location and filename to store the key pair and for a password.
When prompted for the location and filename, just press enter to use the default.
If you use a different name, the key will not be used automatically.
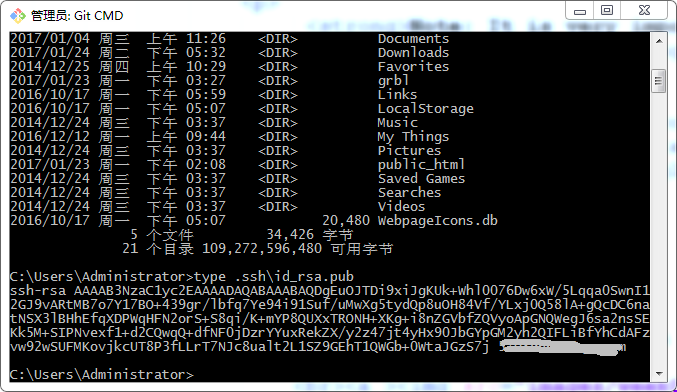
Use the command below to show your public key in Git CMD shell:
type ~\ssh\id_rsa.pub
Use the command below to copy the key to the clipboard.
clip ~\ssh\id_rsa.pub
Step 3: Set up your SSH Keys on Gitlab
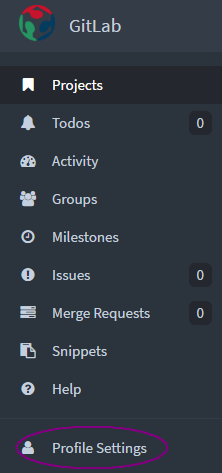
Click git.fabacademy.org to enter GitLab for fabacademy.
Click the Profile Setting item which is located on the left side of the windows.
 Click the SSH Keys item which is located on the left side of the windows.
In the text-field named "Key", right click your mouse and select paste, then
the SSH Keys can be copied to the text-field. Waiting for a moment, your e-mail address will appear below the Title box.
Set up your SSH Keys on Gitlab sucessfully.
Click the SSH Keys item which is located on the left side of the windows.
In the text-field named "Key", right click your mouse and select paste, then
the SSH Keys can be copied to the text-field. Waiting for a moment, your e-mail address will appear below the Title box.
Set up your SSH Keys on Gitlab sucessfully.
Step 4: Clone you Website to Gitlab
Select and enter the folder to store the repository page.
Use the command below in Git CMD shell to clone your repository :
git clone git@git.fabacademy.org:fabacademy< year > /< reponame > .git
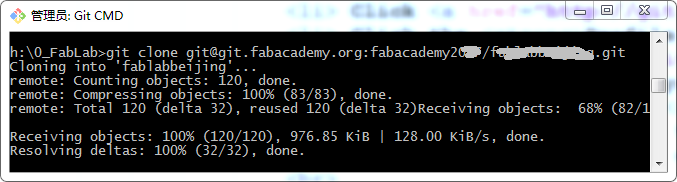 You will find a new folder whose name is the same as your Fablab group name and it
is the copied repo.
Use the command below in Git CMD shell to enter the local repository :
You will find a new folder whose name is the same as your Fablab group name and it
is the copied repo.
Use the command below in Git CMD shell to enter the local repository :
cd "your lab group name"
In the local repo, there is a subdirectory named students . Inside its
students folder, you can find folders named by each student's id (student_id). Copy your web files to
your own student_id folder. You can use windows explorer to copy your web files.
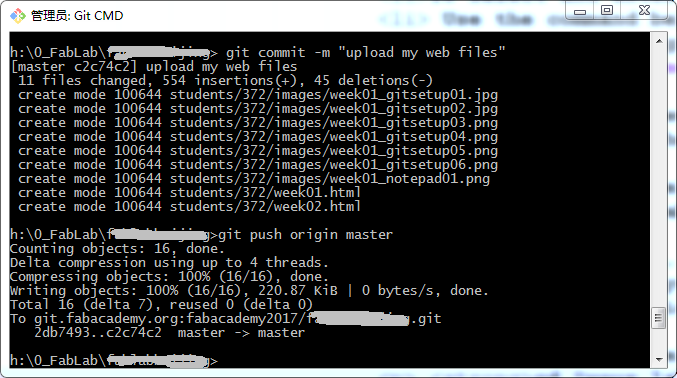
Use the command below in Git CMD shell to push your web files to Gitlab repository :
cd "your lab group name"
git config --global user.email "your email"
git config --global user.name "your name"
git add .
git commit -m "upload my web files"
git push origin master
 You make it!!! You can go to The Fab Academy to visit your own repo .