Assignment:

  • Milling the PCB on Roland MDX-40A
  • Soldering the componets
  • Programing the FabISP with USBTiny
  • Programing the FabISP with Arduino UNO

    Step1: Preparing the MDX-40A

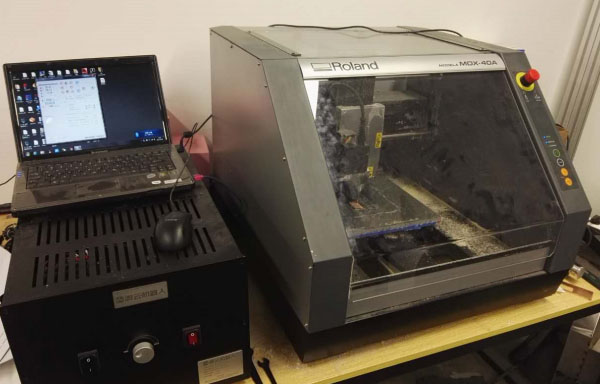
    Our milling machine is the Roland MDX-40A. At first, I study the user's manual and software to know how to operate the machine. Prepare a sacrificial board so the PCB to be cut is placed to top of it. Cutting the PCB into parts.


    Step2: Convert PNG to rml file

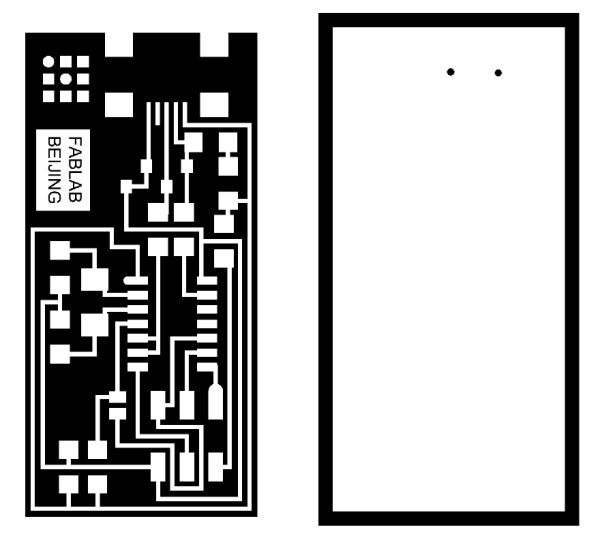
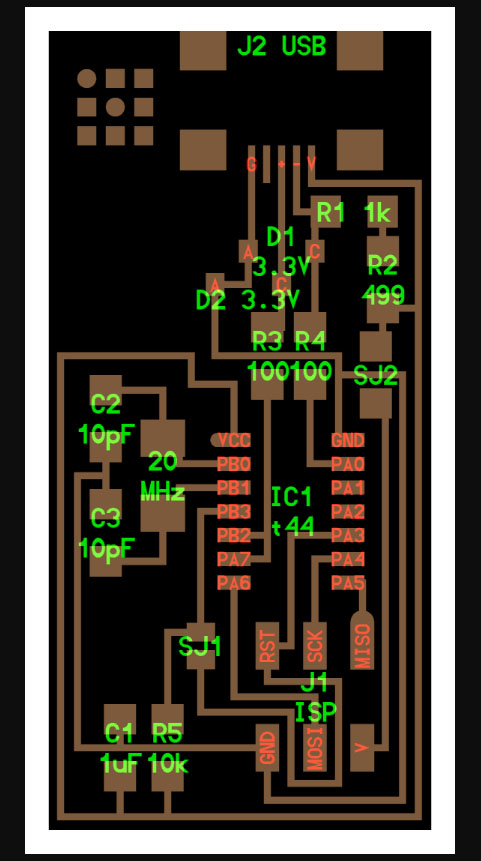
    Download the Board File: Circuit Board Traces file
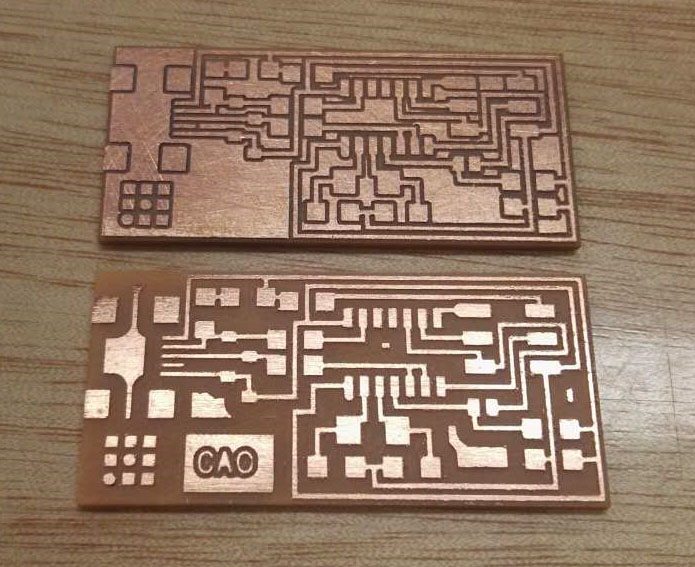
 and Board Outline file.

    I tried to modify the file,to add two position hole for mini USB, but I failed at last ,and I also added some words on the PCB, failed again, because of the limited space.

    I used the online FabModules to convert the png file to rml milling file. Open the fabmodules.org in the explorer. Click the input format and choose the png file format, then open the trace file. Click the output format, choose the Roland mill(.rml).

    On the Output Opitions, choose the machine type MDX-40, set the coordinate as the following.

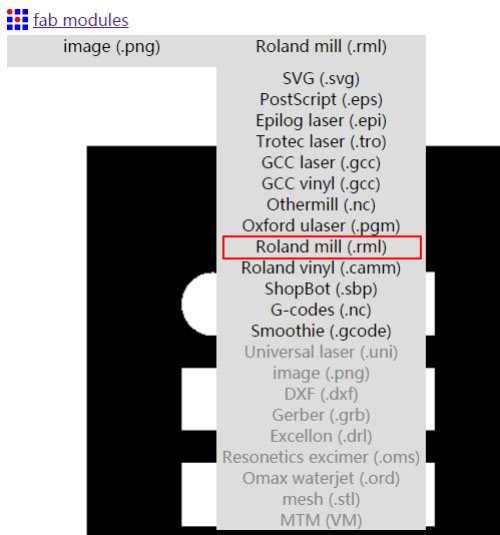
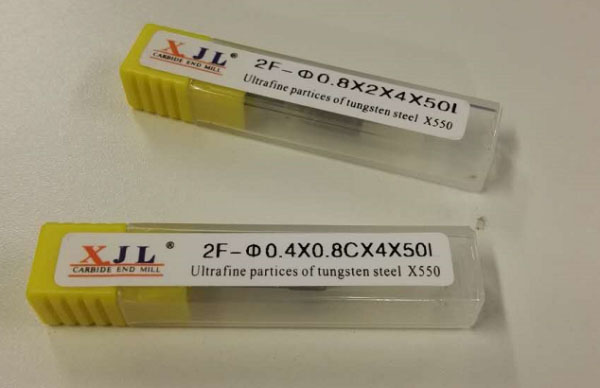
    click Process, choose 1/64"mill. On the right part of the screen, choose the right parameter, then click calculate button.

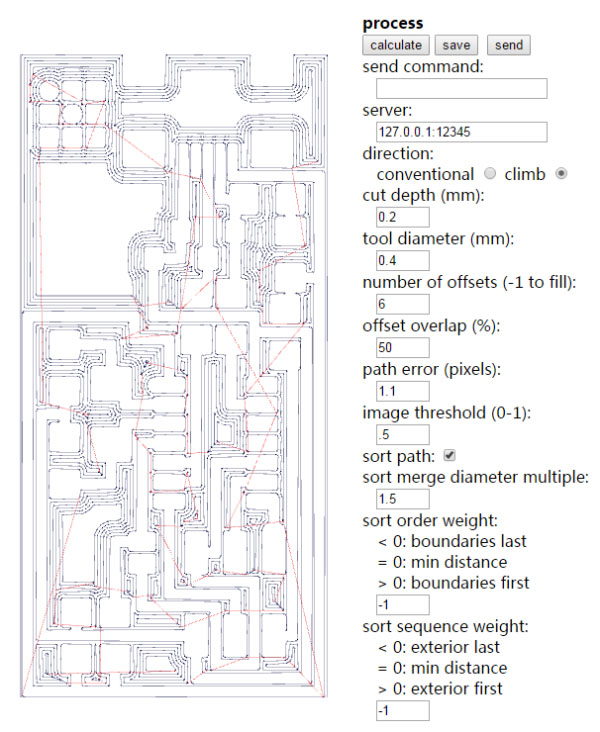
    After calculating completely, click the Save button to export and save the rml milling file .

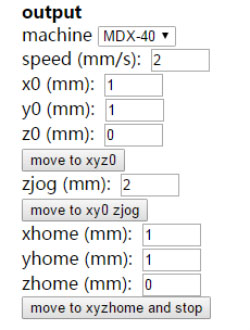
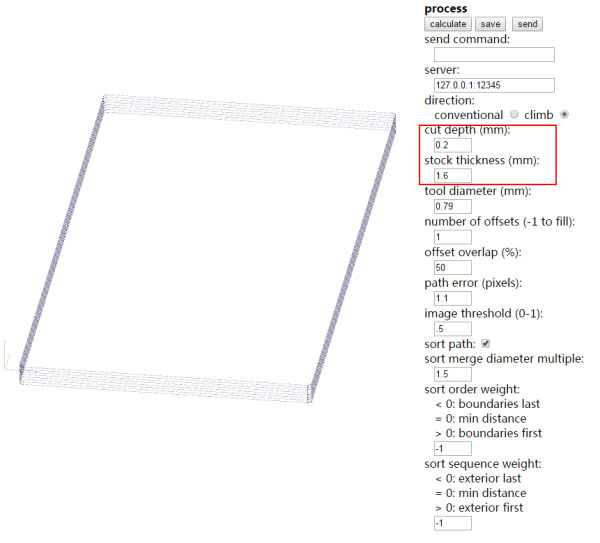
    Perform the same operation, open the outline png file. Choose the 1/32 endmill, to calculate and save the rml milling file. During operation, set the cut depth parameter.

    Step3: Milling the PCB

    Stick the PCB to the top of the sacrificial board with 3M tape. Place the endmill(1/64) into the hole,then tighten it.

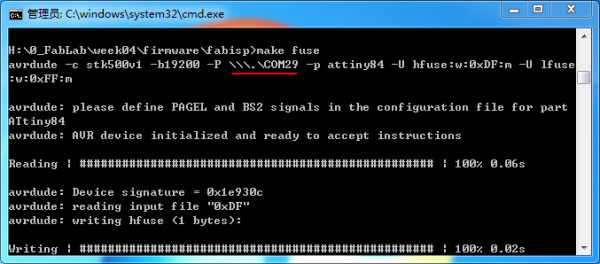
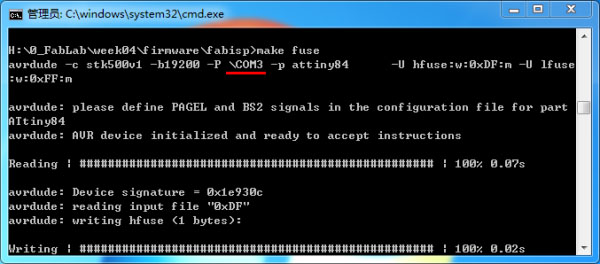
    Open the Vpanel software. Click the arrow button to move the miller to the right position, then set the origin position of X and Y axis and click apply button.

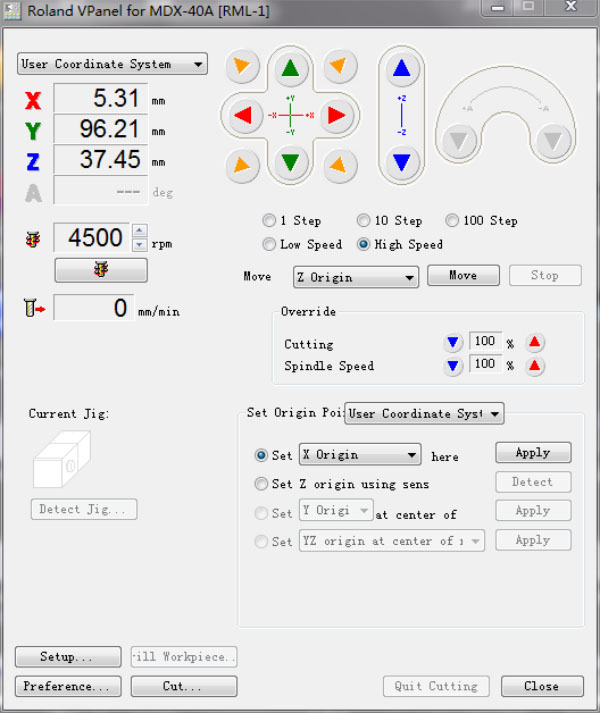
    Use the Z0 sensor to setting the Z origin position again, Add the board outline file, mill the outline.

    Then click cut button, add the trace files, click the Output button, start milling .

    Milling completely, press the view button on the machine, open the font cover, change the endmill to 1/32, reset the Z origin position, import the board outline file.

    I milled twice, the first time,the parameter of number of offsets was set to 1, the seconde time,changed the number to 6.


    Home
    Home

    Failed Test

    According to the tutorial, I know the AvrDude and GCC are necessary for programming the FabISP. But if I install the software in windows, it may destroy system path variable, so I find a method to avoid this.

    In my computer, the Arduino software was installed, the AvrDude was included in the Arduino software. So I want to use it to program firmware to FabISP.

    The Avrdude software in the Arduino system, can compling the main.c program file to main.hex. But it can not set the fuse and can not program the board,the error message display as the following. I spend a whole day in testing it. I tried various method, using usbtiny,using Arduino UNO as an ISP, tried to use avrdude command directly, at last failed. A whole day was wasted.The reason is AvrDude software in Arduino is a little different from the original version, when I install the AvrDude software, everything is OK.

    During the test, I mistakenly think that my board is bad, so I mill and solder a new board again.

    Step1:Install Software and Drivers

  • Download WinAVR
  • Install WinAVR -- Before installation, I save the path variable first, use command path > path.txt
  • After installing check the systems path variable, if it only contains the path to the winavr installation:
  • Download the drivers for your version of Windows and install the Drivers
  • Download the FabISP Firmware and unzip it, the firmware in fabISP_mac.0.8.2_firmware folder is for Windows.
  • Step2: Edit the Makefile

    The makefile in the fabISP_mac.0.8.2_firmware folder, open it with Notepad++, because I use USBTiny to progrm the firmware and use attiny84 processor, so I change the makefile as following.


    Step3: Compile C to HEX

    Open Dos command windows, enter the firmare folder.

  • make clean
  • make hex

    Step4: Set the fuses

    Connect the FabISP board to the USBTiny, and connect USBTiny to the computer.

    In the Dos command window, enter

  • make fuse

    Step5: Program the board

  • make program

    Step6: Verify the FabISP

    Connect the FabISP to the computer, you will find the FabISP was in the device list.


    Step7: Remove the jumpers

    Remove 0ohm resistor and solder bridge,connect the FabISP to the computer, now you can use it as a programmer to program other boards.

  • Home
    Home