Mechanical design
Group Assignment
- Make a machine, including the end effector
- Build the passive parts and operate it manually.
- Document the group project and your individual contribution
Machine week is a group project and as a group we needed to work as a team to finish our goals for this week. We started the work looking at Nadya's
machine kit from Fab Academy page. In the kit we got stepper motors, cables, aluminum bars, and the Fab Lab Gestalt boards to run the machine.
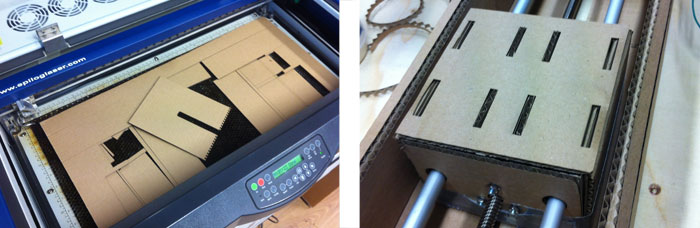
We brainstormed about what we wanted to build but we did not get a clear picture of it in the beginning. Therefor we started to cut out carton and assemble the first SCIENCE box that was applied in the kit.
We ran into few problems with the design, first problem was the Grasshopper/Rhino files were made for bigger laser than we had in the lab. We found another documents that had been sliced down to fit 600x300 mm laser bed. We had some issues exporting the Rhino file into Inkscape. The size of the files were smaller when imported in Inkscape. We fixed that by setting the Rhino default units in millimeters and export the data as DXF.
We had to make separate PDF files for cutting and another for folding. The folding went well but we had a thicker cardboard material then were used in the original drawings. That was not good for accuracy and gave us problems later in the process.
We finished the first SCIENCE box and then we decided to make another one to attach to the one we already made, for another axis. At that stage we were forming the idea of what we wanted to make. We wanted to design some kind of drawing machine.
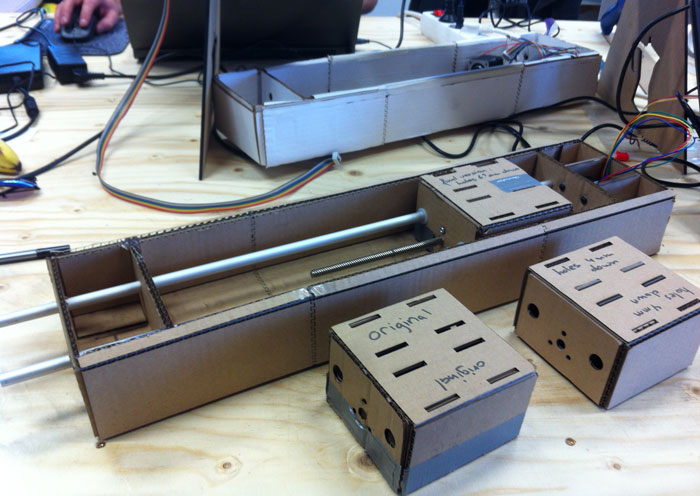
We had trouble with the inside box (stage part) that runs on the aluminum slide bars. The holes were to low and the motor could not move it freely inside the frame.
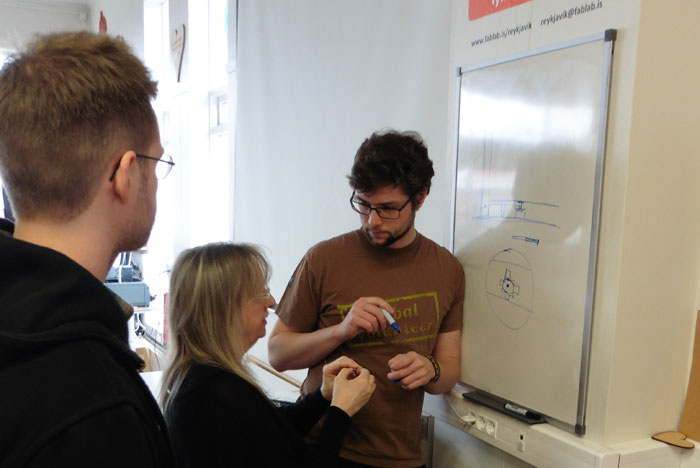
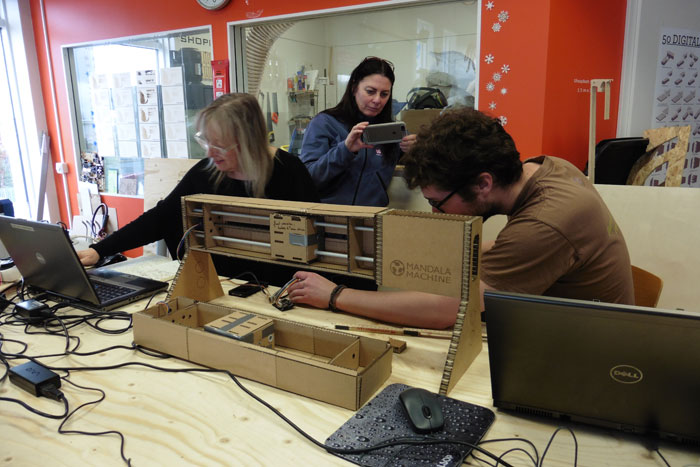
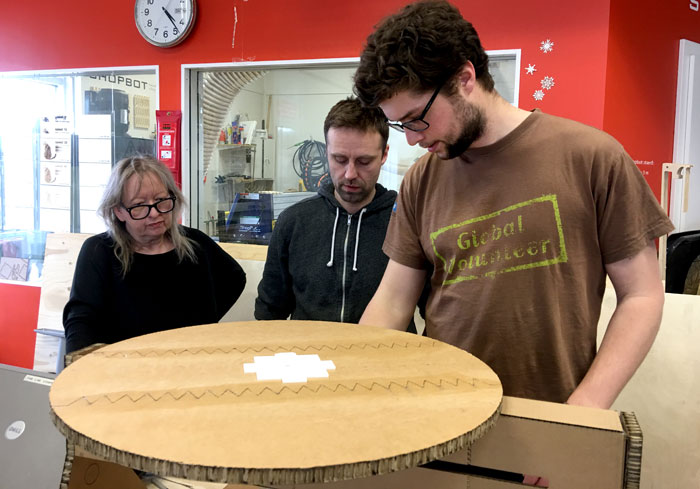
When we got a clear picture of what we wanted to do we started to work as a unit. We talked about all kinds of functions and how to get that goal, how we could share projects.(Picture: Thorbjor, Inger and Haflidi)
What we needed to do:
1) Sketch up the machine on paper/white board
2) Draw up the machine in 3D in right measurements.
3) Make laser cut tests on the 14.8 mm thick cardboard.
4) Cut out legs and connect them with the SCIENCE box.
5) Draw and cut out the base plate
6) Draw and cut out the rotation plate.
7) Find belts, design and laser cut gears.
8) Assemble the machine.
9) Wiring and programming (Just a peek how to operate the machine).
10) Document the whole process
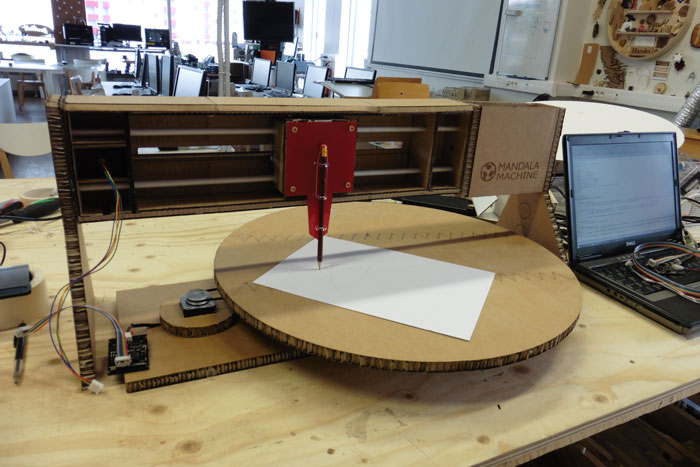
In the end we decided to use one of the SCIENCE box we made and build a rotation plate under it in the purpose to build a machine that can draw up MANDALA forms. So the project got the name "The Mandala Machine". We sketched the machine on a whiteboard and talked about various ways to build it.
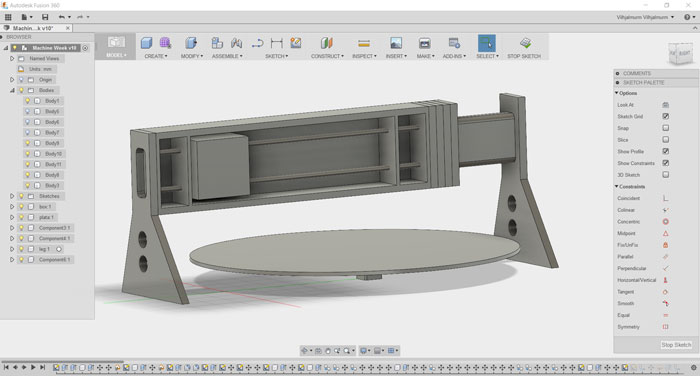
My first part in the group work was to draw up the machine in 3D. I used Fusion 360 for the job. It took me quite some time to get all measurements right. The card box is not the sturdiest material and we had been making changes from the original drawings. When I had made the 3D drawing I shared it and other group members started to work on the base and the rotation plate.
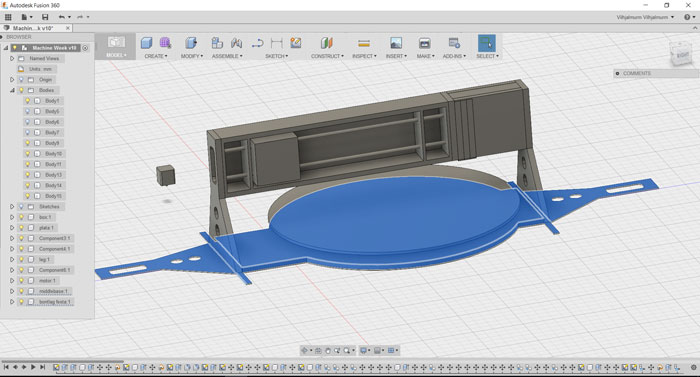
Soon after the file sharing one member in the group drew up the support structure for the machine. It´s easy to share files in Fusion 360, just add email and click OK. The same person that worked on the base plate also worked on the rotation plate. His idea was to connect the base to the main structure of the machine, for more sturdiness.
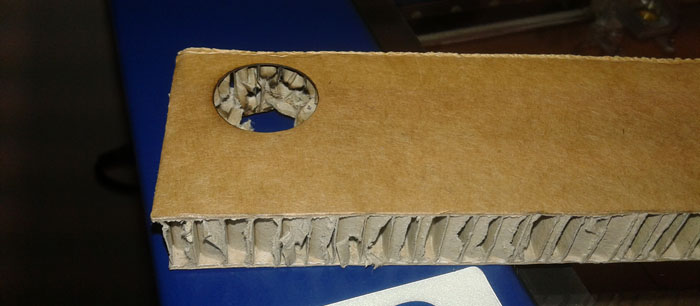
When we started to test the 14.8 mm thick cardboard we noticed it did not cut through but we could make it better with new settings: Speed: 10, Power: 100, Freq: 500. Because the laser did not cut through we had to use knives to free the forms from each sheet.

Then we cut out the frame for the machine in this thick material. The final cut out lines were adjusted in Inkscape and exported as PDF.

This thick cardboard is very strong and light weighted material. We glued the parts together with heat gun.
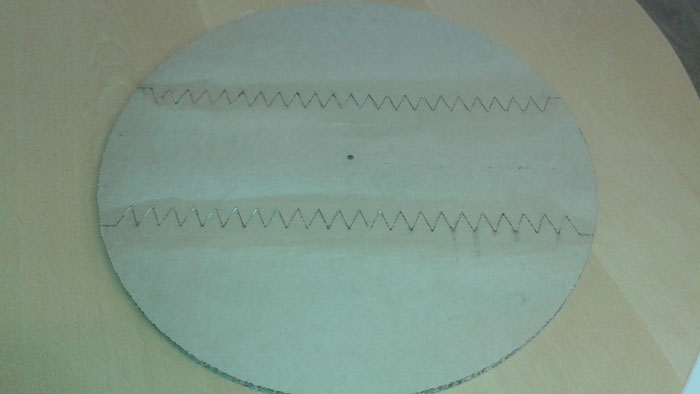
A fellow member in the group (Arni) drew the rotation plate in three pieces and we cut it out in the laser. It took some time to make it ready for gluing. It came out beautifully, strong and sturdy.
The machine coming together. (Picture: Inger, Sigurbjorg and Haflidi). We had to try the movement of the motors.
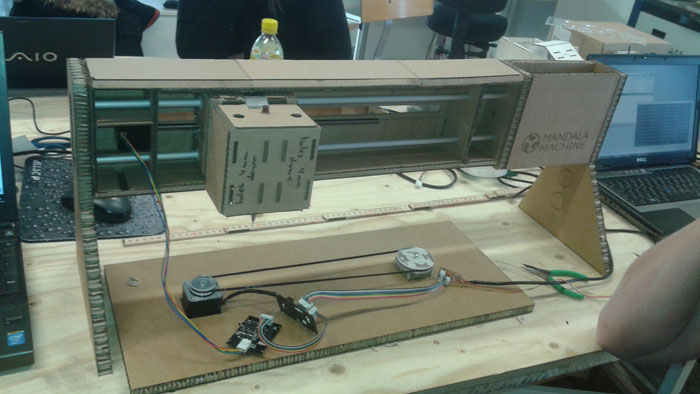
Thorbjorn worked on the base for the motors. We decided not to attach it to the legs of the machine in first attempt. We also prepared for making support for the rotation disk. Everything was working fine.
Haflidi, myself and Inger working on the gears. Haflidi did lead that work.
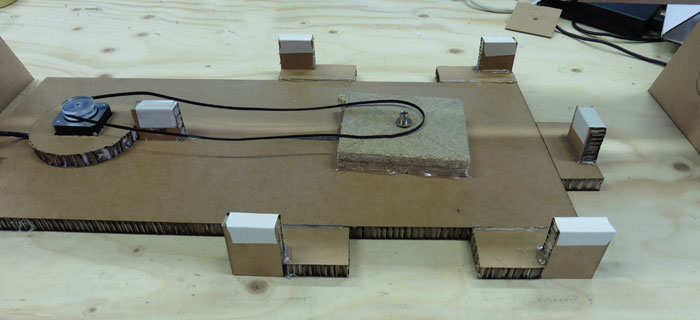
On Sunday I finished the support for the rotation plate. It was necessary for the plate to be stable when rotating.
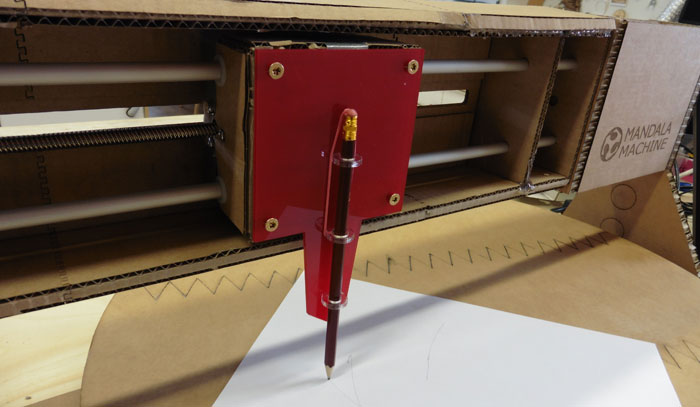
I also designed the mount for the pencil and cut it out in red plexi. The pencil is pushed down to the rotation plate with a rubber stretch. Very simple design that will do the job for the Mandala Machine.
The Mandala Machine ready for programming. I would like to thank the Fab Lab Reykjavik Academy team for good cooperation and I look forward to work with them on the programming part.