Week 1 principles and practices...
First assignment
- Build a web site in the class archive describing you and your final project.
- Learn about Git and install the software.
- Plan and sketch a final project and put on the web.
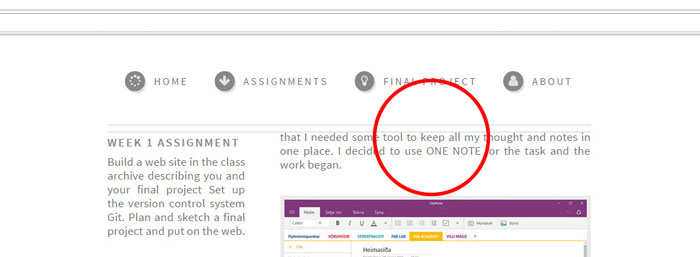
Since I already had an idea what could be my final project I started planning and organizing. I found out that I needed some tool to keep all my thought and notes in one place. I decided to use ONE NOTE for the task and the work began.

Making a homepage
I had no experience working in HTML so I started watching few videos on YouTube: HTML5 LESSON. I took a look at home pages from former Fab academy students and tried to find out what would be a good editor for a beginner. After few hours I downloaded the software BRACKETS and started to take lessons related to that program. I soon found out that I needed a template for a starting point.
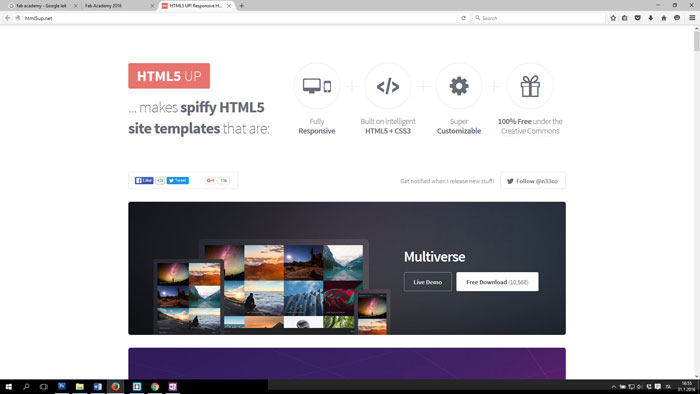
After a good hint from a colleague I found a template from this website: HTML5up.net. I knew I wanted a simple layout but that was hard to find. I found one template called Strongly Typed that could fit my needs. I was on the right track but I knew I needed to change the template and redesign the look of it. After a long period of love and hate relationship with the software Brackets and the borrowed template I finally could start filling in the information about myself and my final project.
My biggest problem with Brackets was spacing around pictures and text and to realize the role of padding, border and margin. It´s not easy to find where you control these elements when you are new in HTML and CSS code. I could find useful lessons on the home page W3School explaining the role of these tools in the software. w3schools.com
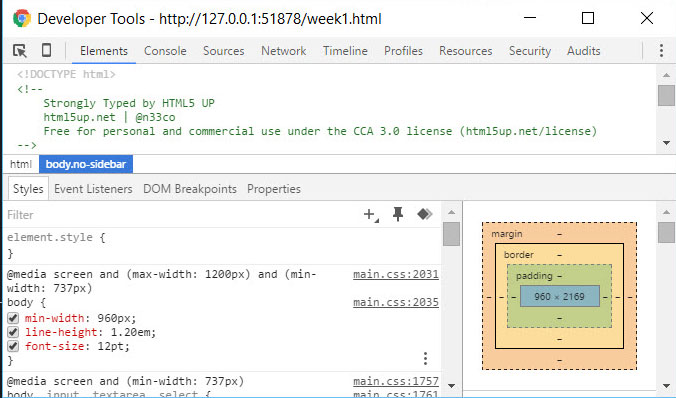
I also got a hint on the Inspect/Developer tool and it turned out to be quite useful to find commands. To access that tool I have to right click on the home page area I am focusing on and take a closer look at the code. It´s also quite helpful to brows for HTML / CSS cheat sheet, download and print out to have on your desk. I got mine from a former Fab Academy student, originally from this location. HTML Reference sheet.
Git - Version Control Management (VCS)
I did not know anything about Git so my first reaction was to look at Git YouTube videos: GIT LESSON. Next task was to go through "The getting started and install lesson" on the Git home page. I downloaded the Git from this page Download Git and ran the install.
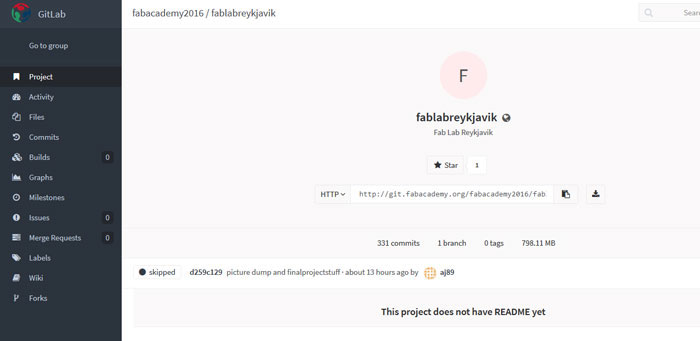
After created my website, it was time to push it to GitLabs repositories. I signed-up to fablabs.io, and then I did the set up at gitlab, at the git.fabacademy.org repository. To be able to use Git I needed to add SSH key into fabacademy2016/fablabreykjavik repository. I cloned the files to my computer using Git clone command.
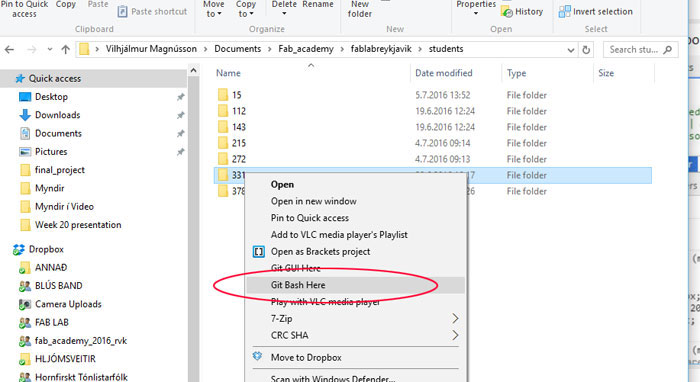
When I uploaded my homepage for the first time I right clicked on my folder (331) the file number I was given on the repository and clicked on Git Bash Here. Then a command window opens.
Important commands I used:
Git pull - Updates your files, from the repository to your computer.
Git status - Shows what’s files you have been changing.
Git add file.name - Adds the file you changed.
Git add . - Adds all files.
Git commit -m "here you write your commit message" - Must do before Push.
Git push - Pushes your files to the archive.
In the installation process I had a problem with the User account setup in my laptop or contact IT. My user profile is on a domain server that I need to log into when I start my computer. This was a problem for Git but Bas my fab guru helped me by setting the HOME variable in my user profile. After that fix and using Git command above my home page was pushed to the archive and I was up and running.
Git data transport commands
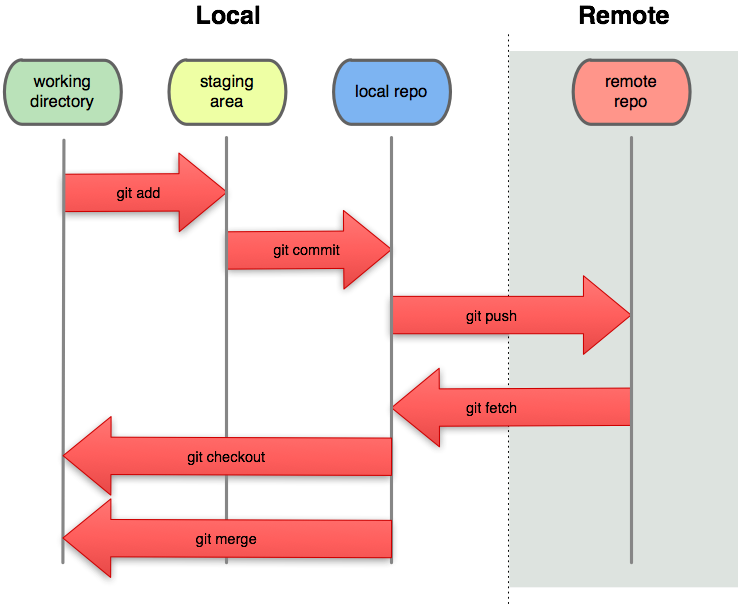
Here is a great image of the Git workflow from the page http://documentup.com/skwp/git-workflows-book. Everything was running smooth so I was ready for next week assignments.
Related links
Getting started installing Git HTML Introduction
Quick coding with Bracket