Composites
Assignment
- Design and make a 3D mold
- Produce a fiber composite part in the mold
This week is exiting especially for an old art student, so many possibilities. I was quite sure about giving my final project a vacation this week. In 3D Scanning and Printing Week I 3D scanned a manikin, a human form that I wanted to work with. At that time I did not have any idea what to make of it.
Even though I was excited to begin I was also worried because our resins had not arrived to Fab Lab Reykjavik and I was little empty handed. In our small town we don´t have many options but I found a good foam for the milling in our local hardware store. I ordered some vacuum bags from Ikea and bought Epoxy from another store in Reykjavik called Slippfelagid. Only thing missing was the fibers, I would have to deal with that later in the process.
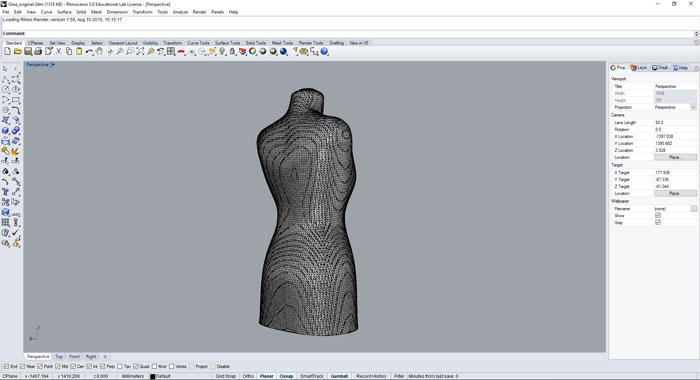
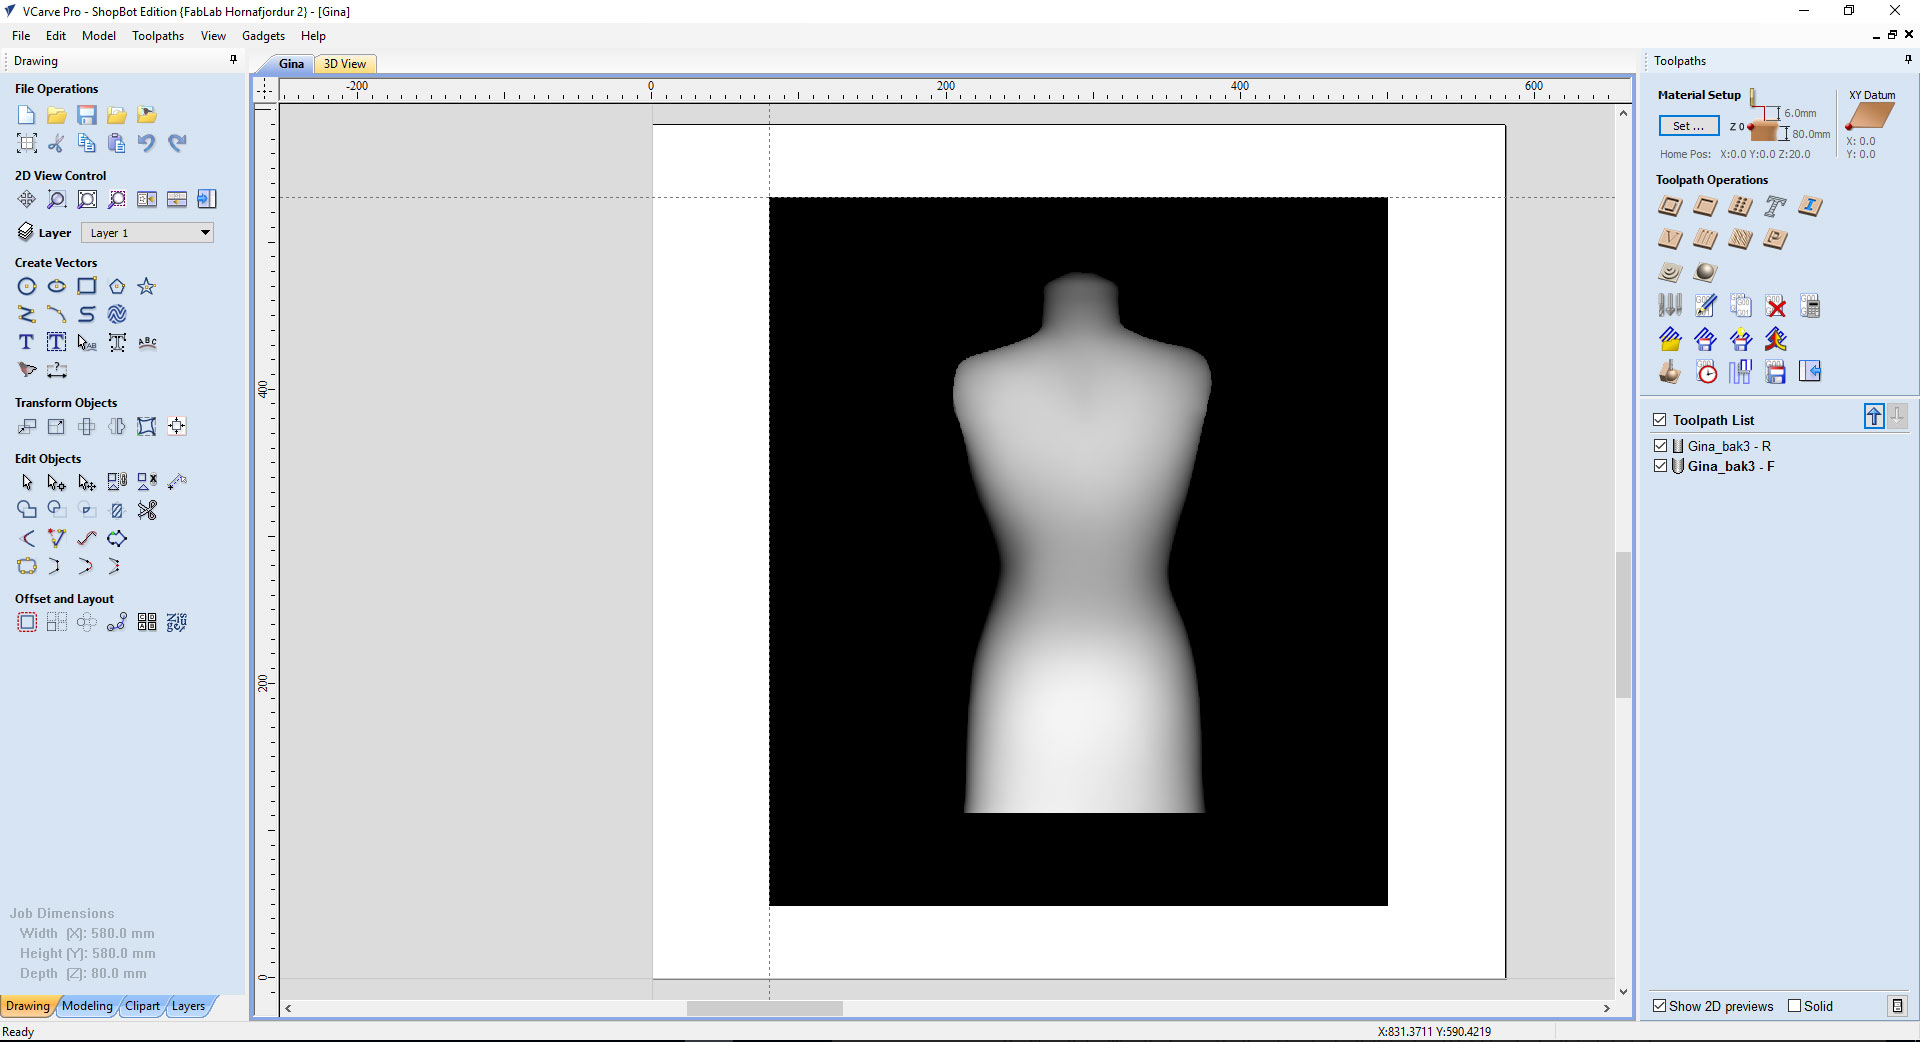
I found the STL file and opened it in Rhino. I was not sure what to do at first, after few moments I decided to use the back side of the manikin.
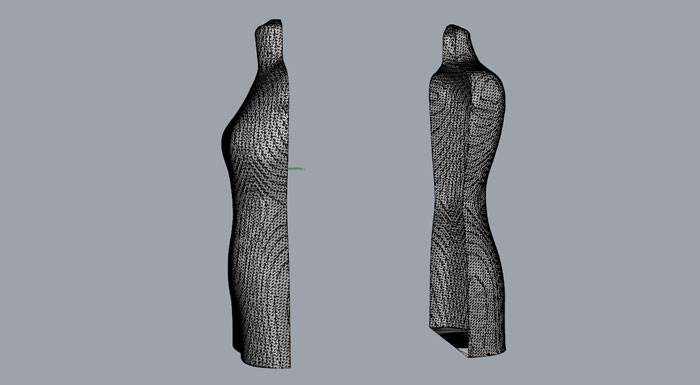
I split the drawing in half using Mesh/Mesh Boolean/Difference. I had to make a box to be the cutting object.

I made a surface that would fit the foam that I was going to mill the mold in. I resized the 3D drawing and centered it on the surface. Next move was to export the drawing as STL and open it in PartWorks 3D.
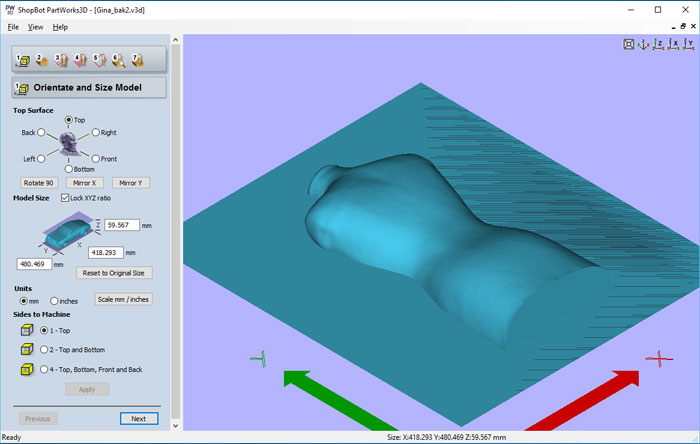
In PartWorks 3D I imported the STL file and started to do the steps required to mill out the mold. The deepest part of the mold was around 60mm and I had a milling bit that could handle that, a long Ball Nose (Onsrud 52-280BL)
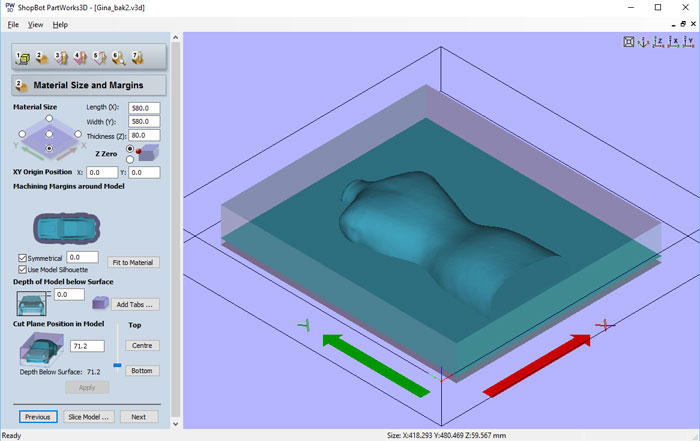
I had 80 mm thick foam and I set the material size to 580x580mm. I set the Cut Plane Position in Model almost to bottom. I was actually not using a cut plane because this was only a one side milling.
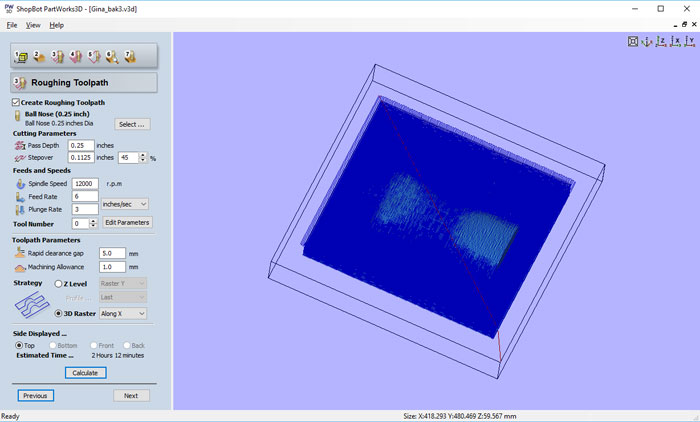
In Roughing Toolpath I picked 0.25 inch End Mill and I wanted a fast Feet Rate and Plunge Rate. When I started to mill I decided to use end mill for Roughing Tool Path I used the Ball Nose mentioned above because of its length. The Foam is far from being hard material and it´s easy for Ball Nose to mill in it.
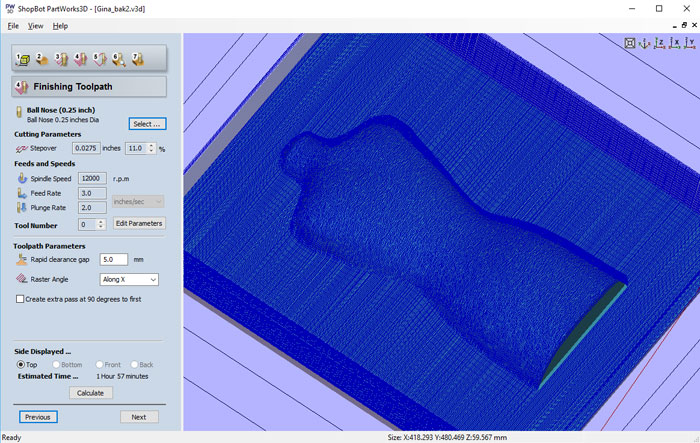
For Finishing Toolpath I used the same 0.25 Ball Nose and high feed- and Plunge Rate.
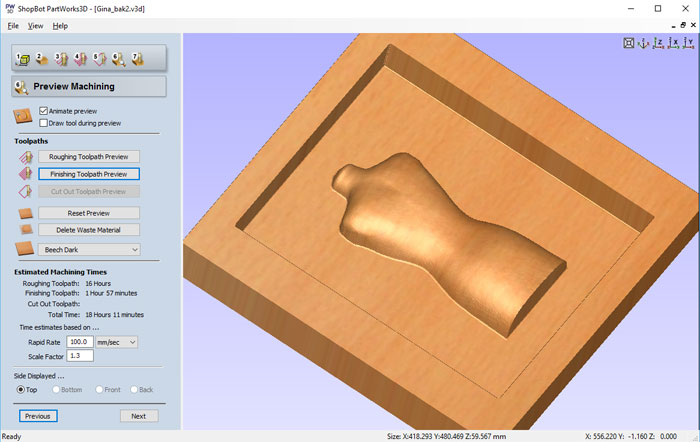
Here is a preview of both Roughing and Finishing Toolpath. It was looking good and next move was to save the file as a PartWorks 3D file and open in V-Carve Pro.
In V-Carve Pro I opened the PartWorks 3D file and saved out one Roughing Toolpath file and one Finishing Toolpath file. That´s it, I was ready to mill.
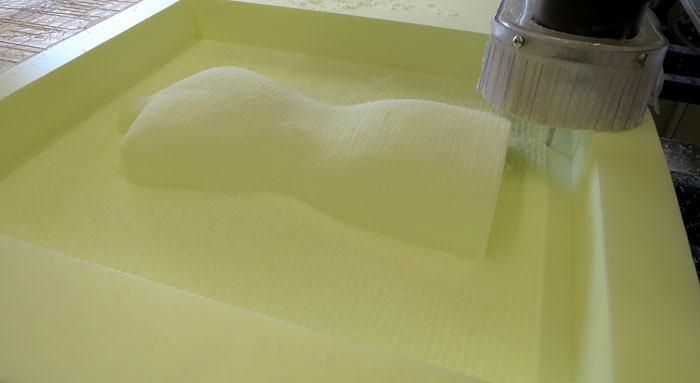
Here is our Shop Bot milling the Foam. The Roughing Toolpath finished and Finishing Toolpath just started. Now I can only wait for the resin to arrive so I can take the next step making the composite.
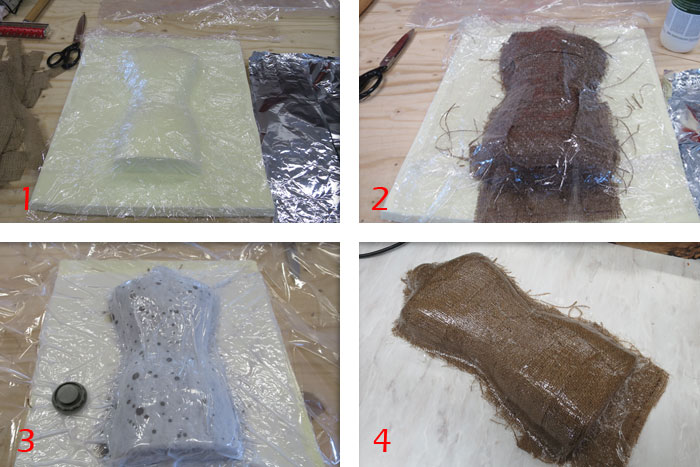
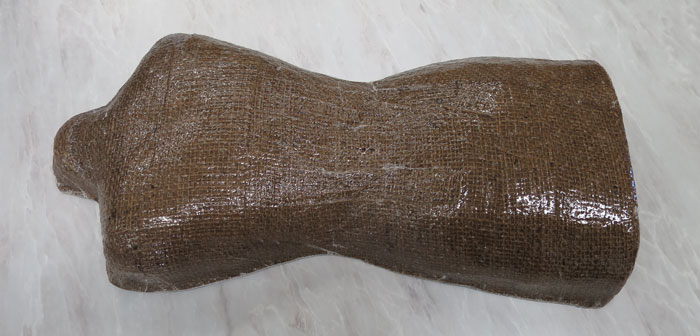
I needed two kinds of foils for the project. A Aluminum cooking foil for protecting the table from the Epoxy and also a Wrapping foil for protecting the mold from melting. I used two layers of wrapping foil (Picture 1) on top of the mold. For fibers I used burlap. I started by cutting the burlap down and tailor it to fit the mold. After that I mixed the Epoxy resin by mixing two components in a ratio of 1 (part B) to 2 (part A).
When the mixture was ready I poured the Epoxy into the burlap fibers and used spade to spread it equally. When I had finished that process I added one layer of wrapping foil on top of epoxy soaked burlap. But it was needed to make many air holes first into the foil and I used this strange looking roll tool with spikes to do that (See picture below). After that layer I added filter material on top and put the mold into the vacuum bag. Then it was time for vacuuming. This method will not be mastered in a short period and it´s quite messy and you get a feeling you don´t have any control.
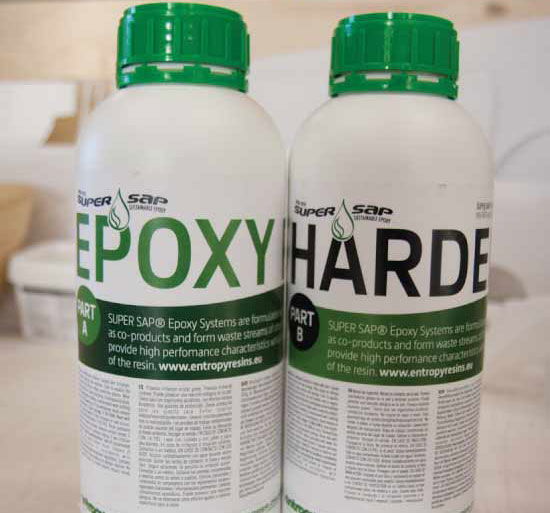
The Super Sap 100 Epoxy resin was used. Part A Epoxy and part B is the hardener. (Picture borrowed from Sigridur Helga Hauksdottir because I forgot to take A picture of the resin when I was doing the composites in Fab Lab Reykjavik).
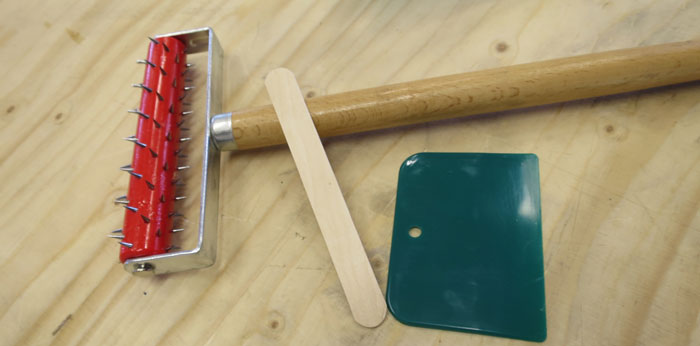
Tools used for the for the final stages of the project
After cutting the edges with a scroll saw I was quite happy with the outcome! If I have time I want to do tests using wool for fibers.