3D scanning and printing
Assignment
- Test the design rules for your printer
- Design and 3D print an object (small, few cm) that could not be made subtractively.
- 3D scan an object (and optionally print it) (extra credit: make your own scanner)
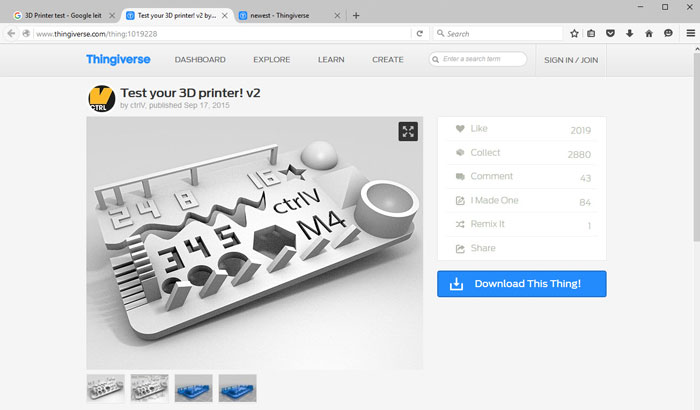
For testing the design rules of our Ultimaker 2 printer I found this test document on Thingivers.com. I downloaded the STL file and started to prepare it for printing. Here are the specks for this test plate:
Size: the object is 2x50x30mm (baseplate)Hole size: 3 holes (3/4/5mm)
Nut size: M4 Nut should fit perfectly
Fine details: pyramid, cone, all numbers
Rounded print: wave, half sphere
Minimum distance and walls: 0.1/0.2/0.3/0.4/0.5/0.6/0.7mm
Overhang: 25°/30°/35°/40°/45°
Bridge print: 2/4/8/16/mm
Surface: all the flat parts
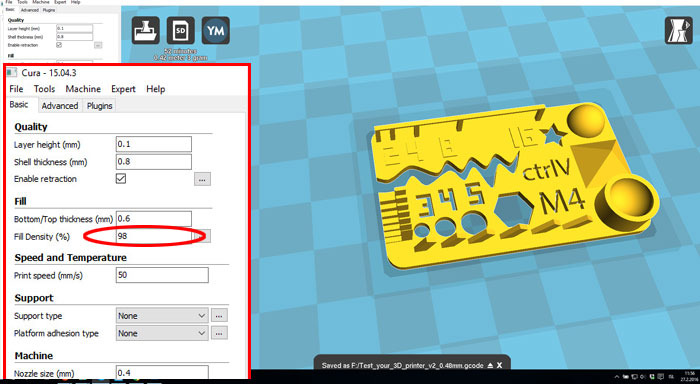
I imported the file into CURA and I "Switch to full Settings" in the "Expert" Tap. I did change the "Fill Density (%)" to 98 %. Then the object was filled with plastic and no air left inside. CURA indicated me that this test model would take 51 minute in printing, Thingivers home page said the printing process would be around 30 minutes (Depending on printer and settings).

The 3D printer test turned out great as you can see. The Ultimaker 2 had problem with wall thickness under 0.4 mm, see picture. I guess I could improve that with new settings or smaller extruder.
Designing and 3D Printing an object
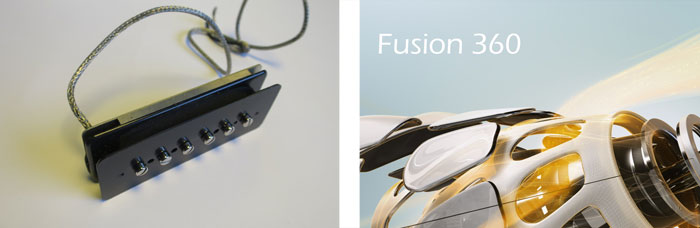
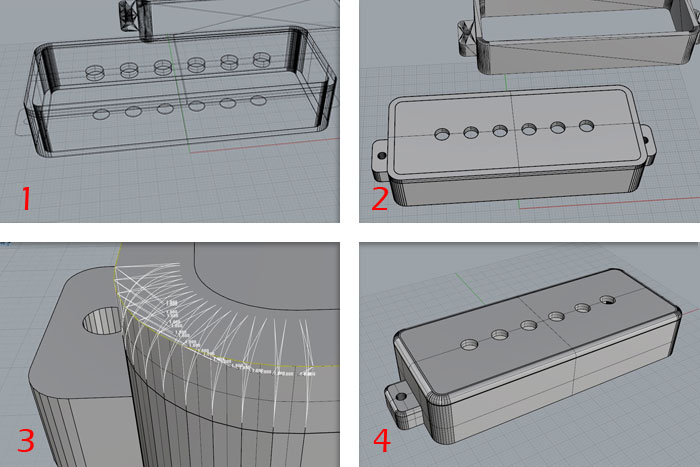
This weeks’ assignment I will connect it to my final project. The Slide Theremin Guitar (my final project) has one P90 pick-up and I needed to design a plastic casing (cover) over that pick-up, plus something to amount it to the instrument. I am going to use Fusion 360 but this was my first time using that program.
Fusion 360 is a cloud based, free form, 3D design tool that is free for a specific time. Since the data is stored in the cloud, users can share data with anyone at any time. Users can share data, design information, announcements, wikis, blogs, calendars, surveys, and more. Users can invite as many people to their design site (Fusion projects are called Sites) as they want or need and users can join as many sites as they need.
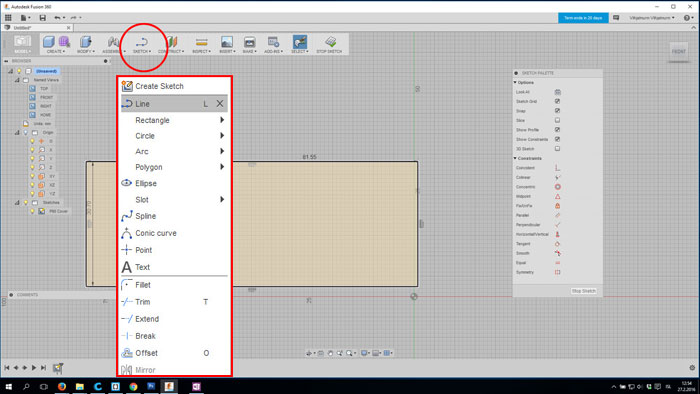
After making a new file I could start to design in Sketch mode. I clicked on "Sketch" in the top bar and then clicked on "Create Sketch". Then I used the "Rectangle" tool to draw up the first rectangle.
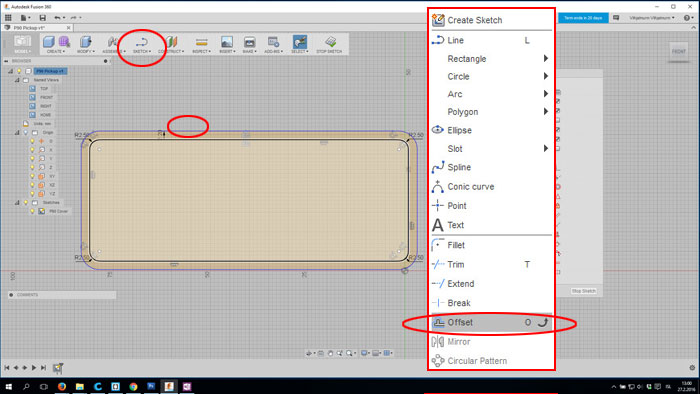
I made an offset by clicking on "Sketch" and selected "Offset". I had no problem with that part and Fusion 360 was starting to impress me.
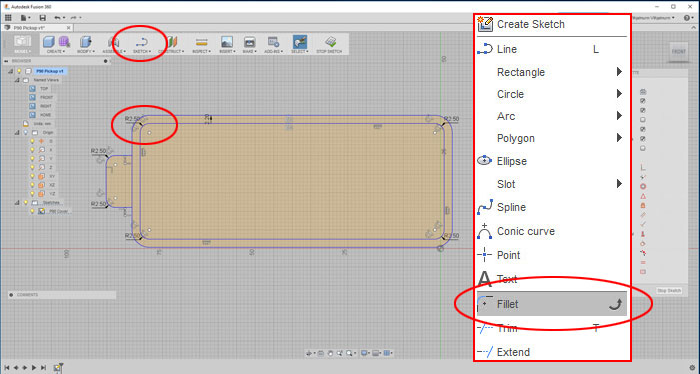
As with the offset the process of making fillet corners is made by clicking "Sketch" and "Fillet". I dialed in 2.9 mm radius, but the new outline is an offset line so I did not dial in that radius. It´s really easy to work with offsets in 2D and 3D in this program and you can always change the fillets even if you have made a 3D body. Just go to your 2d sketch and change the lines and 3D gets updated.
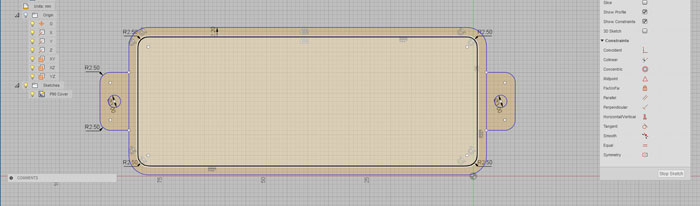
I needed to draw up two mounts on the casing to screw it down to the guitar body.
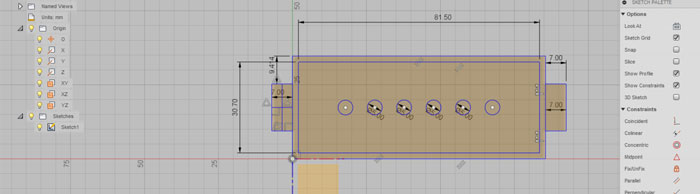
Then I wanted to extrude the walls of the case and the mounts. I clicked on "Create" in the top bar and selected "Extrude" and without a problem I could set the height to 16.2mm. Then I wanted to cap the top part of the casing. Somehow I spent way too much time trying to close it and yes it´s a rookie mistake.

I decided to export what I had done in Fusin 360 and open it in Rhino. Then I spent a large amount of time getting my Fusion file right sized into Rhino. I tried DXF and DWG but the files turned out way to small when imported. I imported a STL format of the file and that did work. The file was in a right size but I needed to redraw it up again because STL only gives you a Mesh to work with.
I finished the drawing process fast in Rhino but I was not happy with my first attempt to draw in Fusion. So I decided to start from scratch and be more patient this time.

Here we go again, I drew it up again with different method. I did not use any fillet on the sketch file, I decided to do that on the 3D body. This time I decided to use lines to find the middle of the rectangle to help me locate the holes on the top of the casing.
It turned out to be quite hard to align the holes, I guess that will come later when I start to use Fusion more often.
I did extrude the main body of the casing with Create/ Extrude as I did earlier in the process with the same height of 16.2mm.
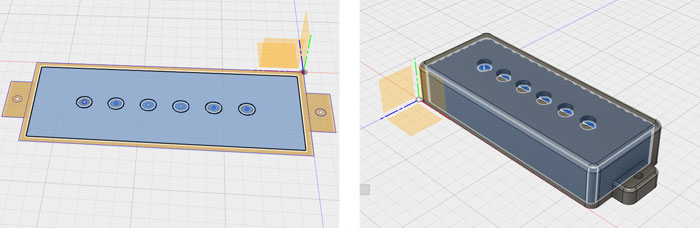
Then I also extruded the inside part to boolean that part from the main body. I extruded with height of 14.2mm so I would leave 2mm thick wall (roof) on the top of the casing. Then I clicked on "Modify" in the top bar and selected "Combine". Then I got a COMBINE window and started to select Operation which in this case was "Cut" (Boolean). Then I selected Target body and Tool Body in this same window and clicked OK.
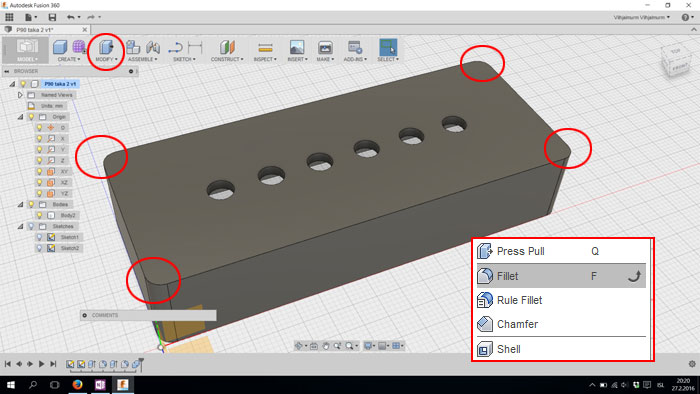
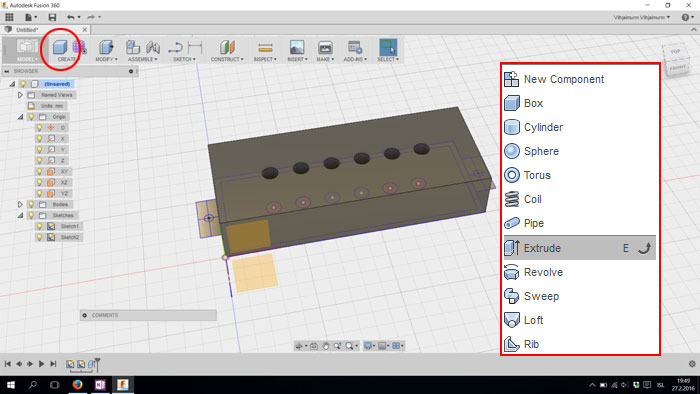
Before I made the extrude and boolean I had already put Fillet on the all the corners with the "Fillet" from "Modify" tap
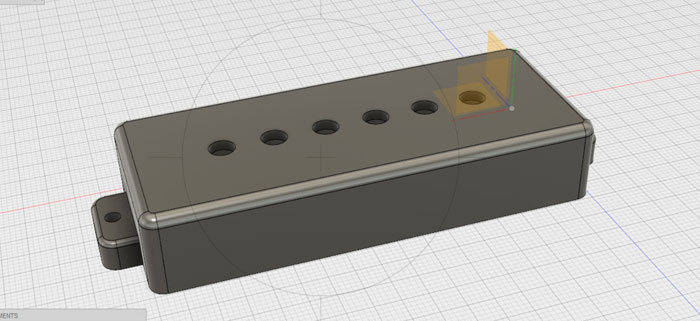
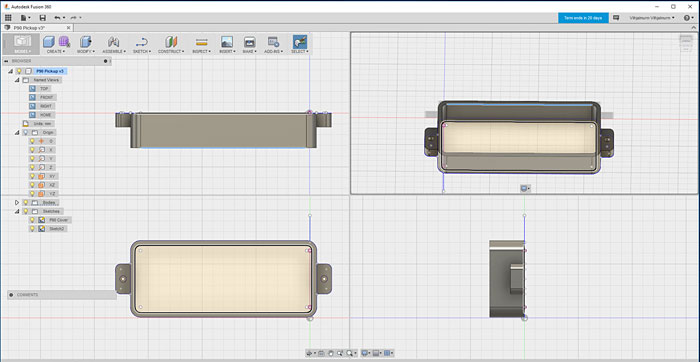
So the patience paid off and I did finish my first project in Fusion 360.
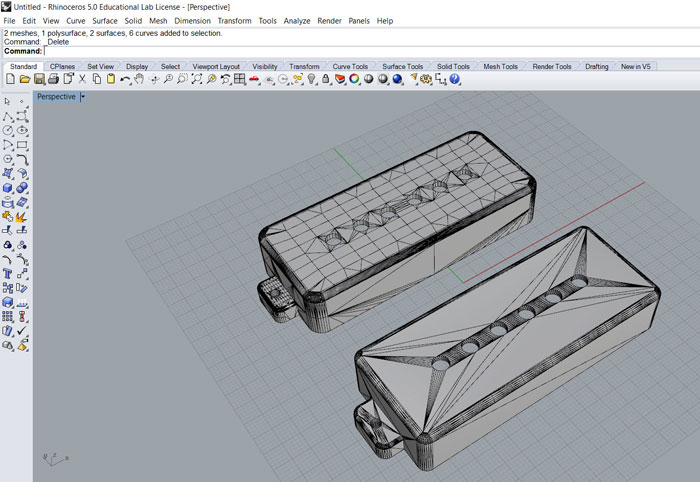
I exported a STL file of the 3D model and imported it into Rhino. I already had the version that I made in Rhino so I decided to print out both versions. So I made another STL file to send to CURA.
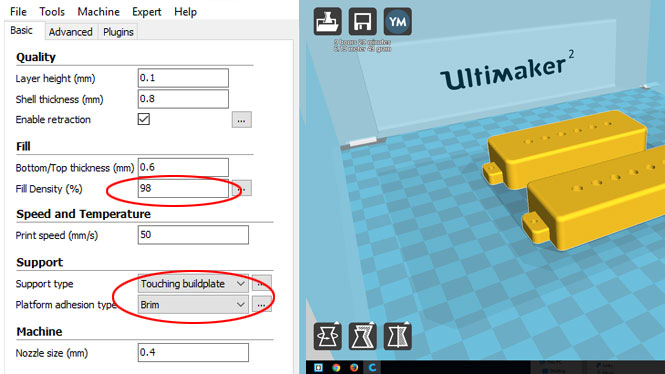
It was no problem to import the STL file into CURA and I changed three things: Fill Density (%) set to 98%. For Support type I picked Touching Buildplate and for Platform adhesion type I picked Brim.
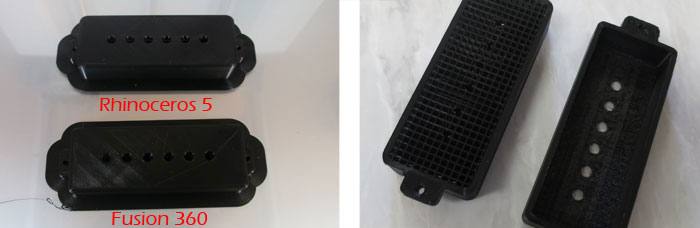
Here are both Fusion and Rhino versions printed out. On picture to the right you can see the support structure inside the left casing. I had already scraped the support away on the casing to the right. The support came of easily without no force.
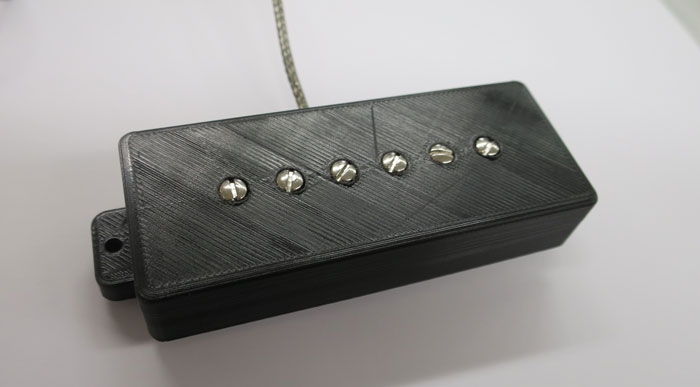
Here is the final product attached on the P90 guitar pick-up. I need to find a method to make the surface more smooth and shiny. For fitting I needed to make the holes little bigger for the 6 screws, I used 5mm drill and the problem was solved in few minutes. This is not a complex 3D drawing but I was happy to get good fit in one attempt.
Guitar Slight Light
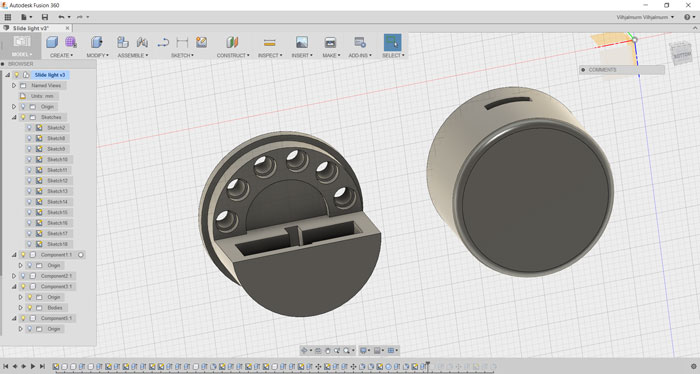
To let the guitar slide light up with a Led I needed something to hold the Led and two 3 Volt batteries. It will need to be small and light weighted. I needed to design a box around the whole thing that holds the Led and the batteries. I also wanted to have on/off switch to turn off the light led when I am not using the equipment.

The small 9 Volt batteries are retained by the cover. The small Led go through the little holes on the cover. Next move is to 3D print these two items.
This item is very small and it's designed that way that it´s impossible to mill out in our CNC machine or to reach with normal tooling.
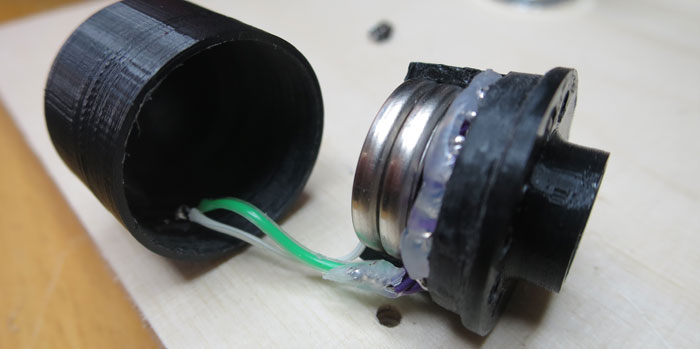
After the 3D printing I needed to remove all support and sand the cover for better fit. I was going to add six Led to the device but there was so little space for wirers so I could not add more than four. When I had soldered all the Led and the on/off switch I added hot glue for isolation.
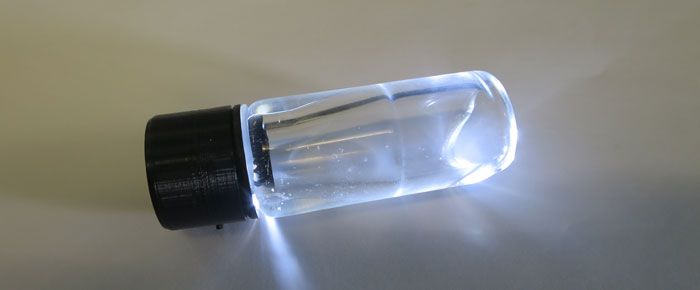
When the light was ready I hot glued it to the glass guitar slide. It looks amazing when you hit the ON button. In the near future I want to do a smaller version with only one 3 Volt lithium battery.
3D Scanning
I have made many scans with our Asus Xtion scanning tool. We use the Scanect software by Occipital. It works OK on people and object similar in size as humans. For smaller sizes object it gives poor quality.
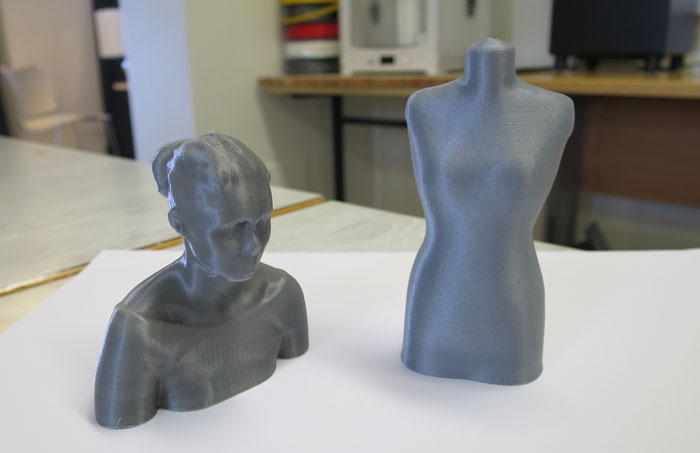
The manikin turned out quite nice because it has no sharp lines in it. That is easy for both the scanning tool and the 3D Printer.
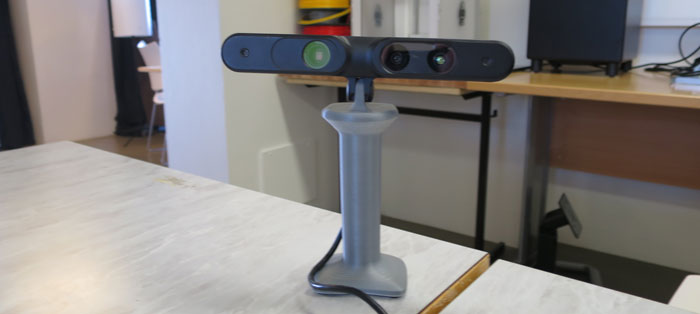
Asus Xtion Pro Live scanning tool. The Asus Xtion did not come with a handle so I found one on Thingiverse and printed it out. Handle for Asus Xtion Pro.
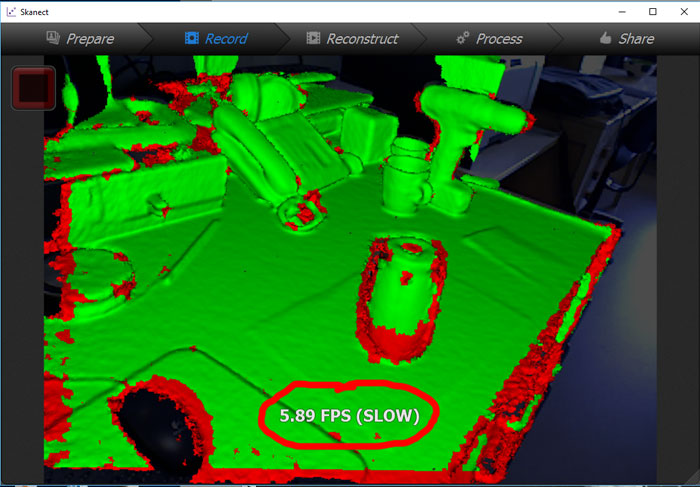
I only connect the scan tool to my Dell laptop (Core i7) so I can move around with it. My lap top is powerful but the scan speed is slow, only around6 FPS. There is something wrong and because of that it's very hard to perform a scan. I need to take a better look at the drivers I am using and hopefully I can fix that problem soon.
123D Catch
Since I had trouble with our Asus Xtion scanner and the Scanect software I wanted to test 123D Catch.
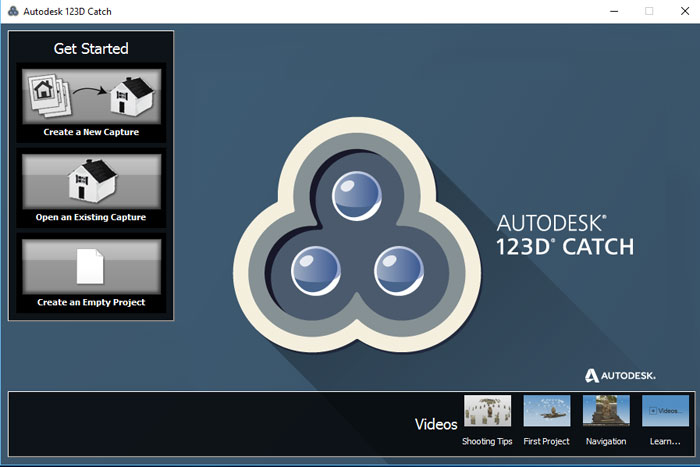
I downloaded the program from Autodesk homepage. 123D Catch . The instal whent good but I had to log-in and I did with my FB account..
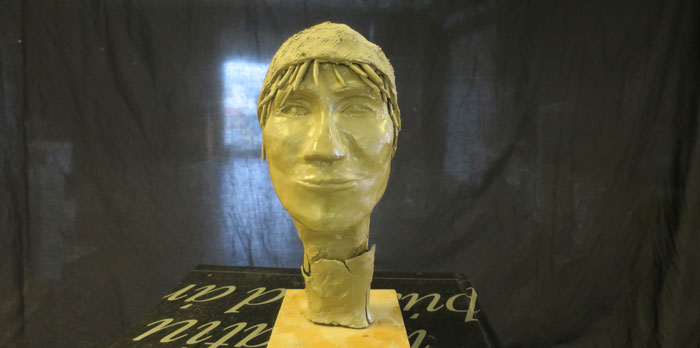
I found this clay head in the art department that seems to be good for scanning. The neck was little broken but that would only bring challenge in to the learning process.
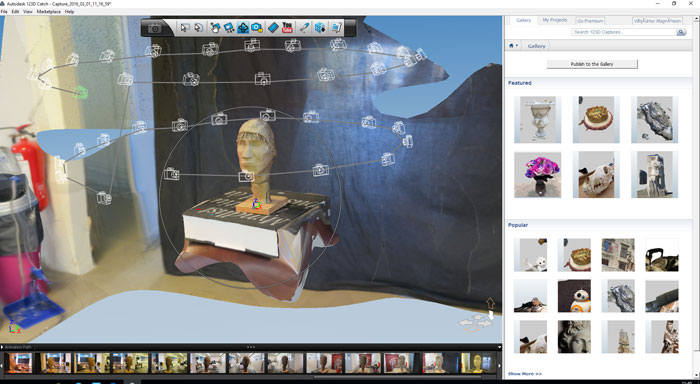
It did not take long time to take all the pictures, just about 10 minutes and also to upload them into 123D Catch. It took lot of time to "Create Capture" a very slow process! Finally the program finished the rendering and I could get a mesh to work with.
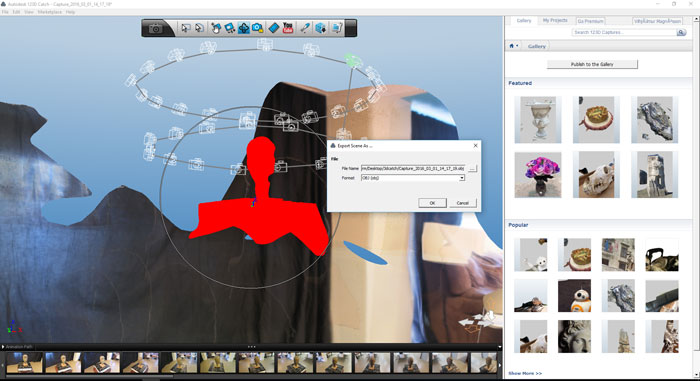
I exported the file as an OBJ file. File/Export Capture as/OBJ.
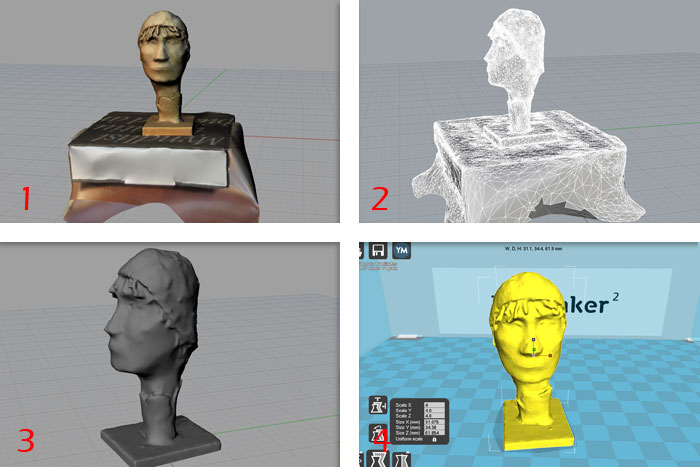
I could import the file into Rhino and did some boolean and exported it out as an STL file. Opened that file in Cura and sent it to the Ultimaker2 for printing.
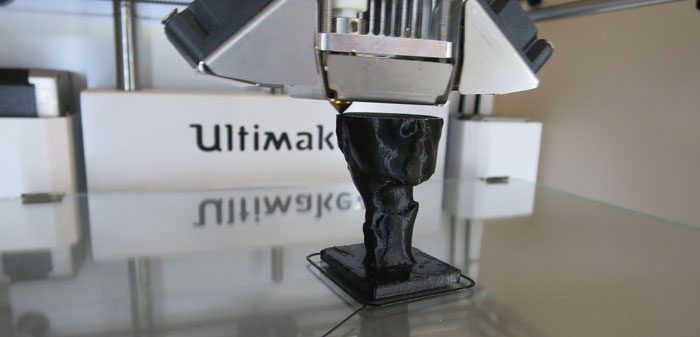
Here´s our Ultimaker printing the scanned head. I was surprised with the quality of the scan. I am sure that this is a better quality than our Asus Xtion 3D scanner can manage, especially because this clay head is quite small. I will definitely use 123D Catch again.
Related links
3D printingFusion Tutorals
Using Cura to 3D Print on the Ultimaker 3D Printers
Autodesk 123D Catch - Tutorial