Group Assignment
Make a machine, including the end effector build the passive parts and operate it manually. Automate it.
Document the group project together in one webpage and each individual of the group has to document his contribution to the project.
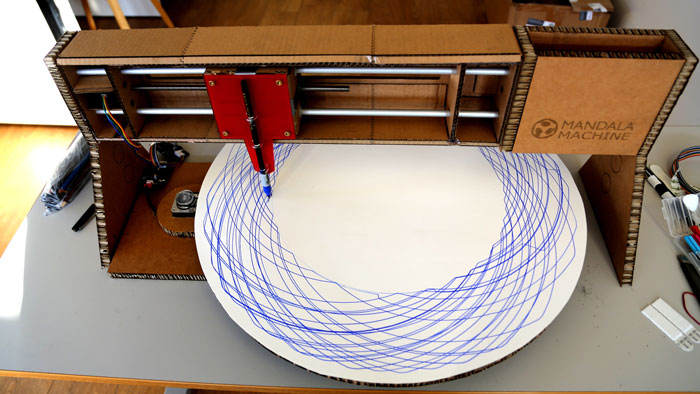
The Mandala Drawing Machine
Concept
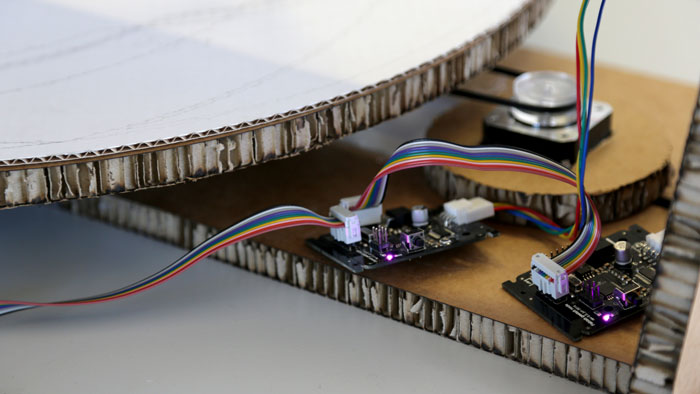
Our first taks for ths project was to sit down and write down ideas what we wanted to do. We started the work looking at Nadya's machine kit from Fab Academy page. In the kit we got stepper motors, cables, aluminum bars, and the Fab Lab Gestalt boards to run the machine. In our first brainstorme we could not find what we wanted to do.
Week 9
Step 1) Sketch up the machine on paper/white boardStep 2) Cut out Nadias Science box and assamble
Step 3) Draw up the machine in 3D
Step 4) Make laser cut tests
Step 5) Cut out legs and connect them with the SCIENCE
Step 6) Draw and cut out the base plate
Step 7) Draw and cut out the rotation plate
Step 8) Find belt, design and laser cut gears
Step 9) Assemble the machine
Week 10
Step 10) Programming PythonStep 11) Final outcome
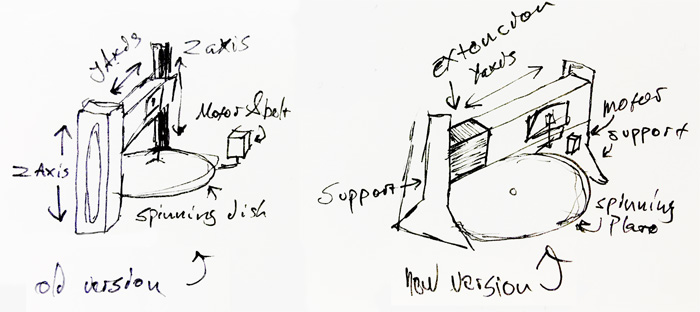
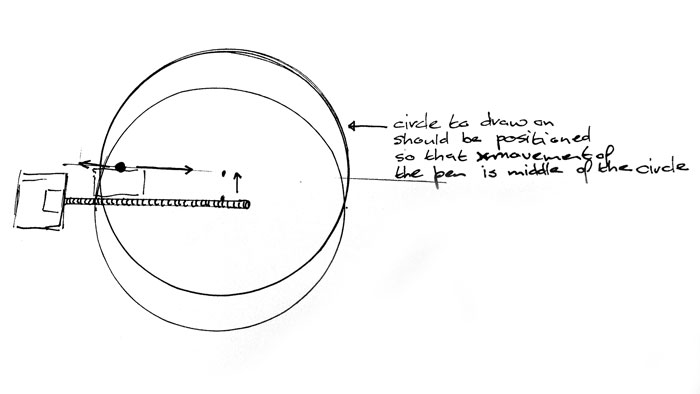
Step 1: Sketch up the machine on paper / white board
The group had long discussions about the way to go and finally we desided to make a drawing machine. A machine that can drow formes and shapes on a paper. This ideas did evolve in the process.

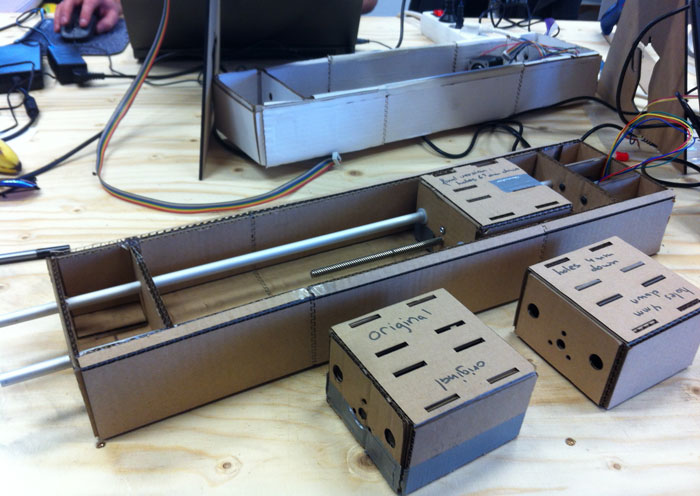
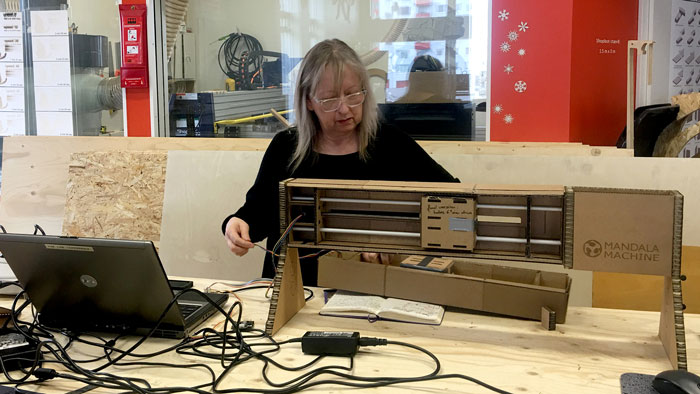
Step 2: Cut out Nadias Science box and assamble
In this step we started to cut out carton and assemble the first SCIENCE box that was applied in the kit.We ran into few problems with the design, first problem was the Grasshopper/Rhino files were made for bigger laser that we had in the lab. We found another documents that had been sliced down to fit 600x300 mm laser bed. We had some issues exporting the Rhino file into Inkscape. The size of the files were smaller when imported in Inkscape. We fixed that by setting the Rhino default units in millimeters and export the data as DXF.
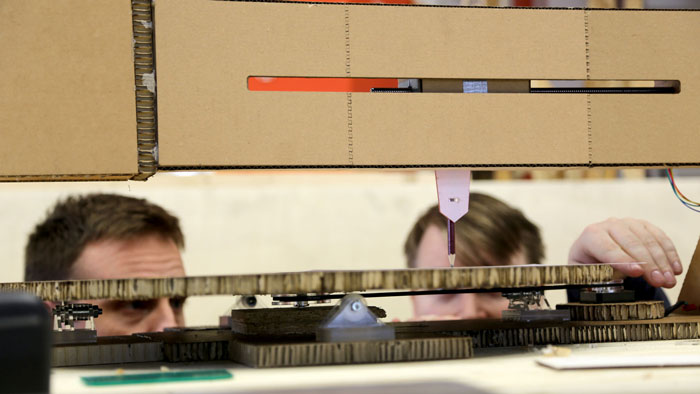
We had to make separate PDF files for cutting and another for folding. The folding went well but we had a thicker cardboard material then where used in the original drawings. That was not good for accuracy and gave us problems later in the process. This miscalculation with the inside box (stage part) that runs on the aluminum slide bars was time consuming. The holes were to low and the motor could not move it freely inside the frame. We made new drawing and fixed that problem.
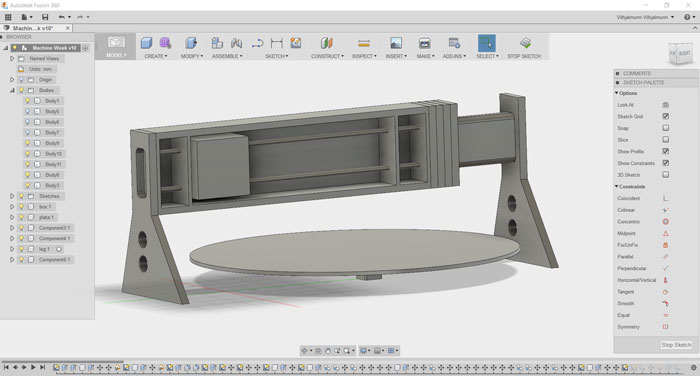
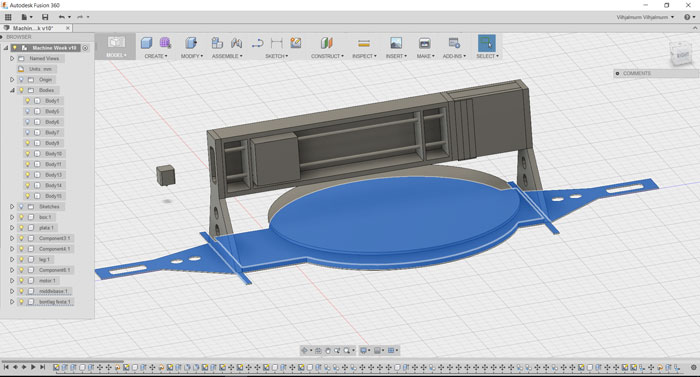
Step 3: Draw up the machine in 3D
We drew up the machine in 3D. We used Fusion 360 for the job. It took quite some time to get all measurements right, specially the measurements of the SCIENCE box. The card box is not the most sturdiest material and we had been making changes from the original drawings. Good thing about Fusion it easy to share files so more than one person could work on the project in the same time.
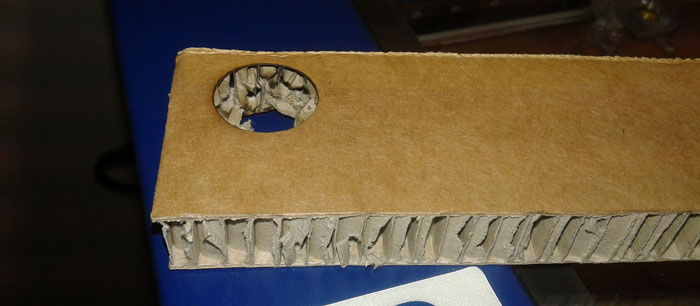
Step 4: Make laser cut tests
When we started to test the 14.8 mm thick cardboard we noticed it did not cut through but we could make it better with new settings: Speed: 10, Power: 100, Freq: 500. Because the laser did not cut through we had to use knives to free the forms from each sheet.
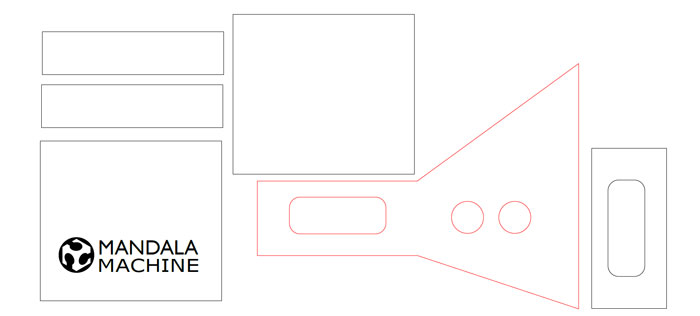
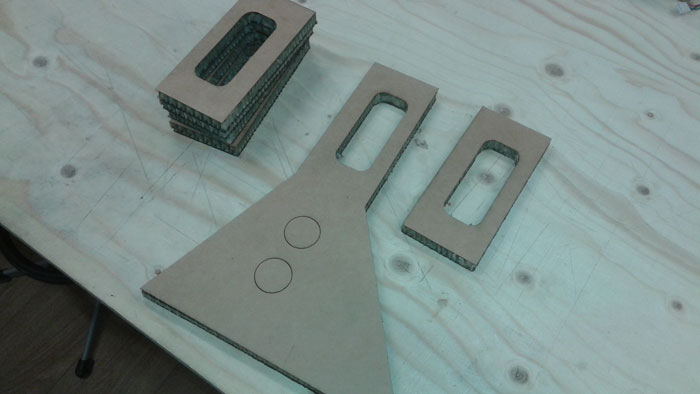
Step 5: Cut out legs and connect them with the SCIENCE box
Then we cut out the frame for the machine in this thick material. The final cut out lines were adjusted in Inkscape and exported as PDF.
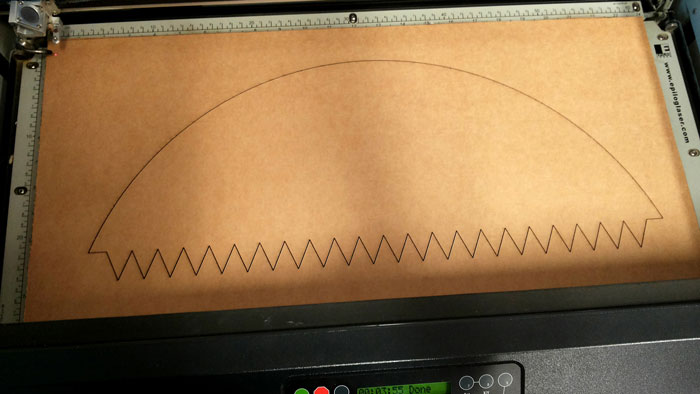
Step 6: Draw and cut out the base plate
We kept on designing the base plate The idea was to connect the base to the main structure of the machine, for more sturdiness. The Thinner stock cardboard under the main mounting base was to be folded up onto the struts of the machine then glued on. Árnis machine week page. The motor for the base plate should also be attached to the base plate. In the process we simplified the base plate and used the 14.8mm thick cardboard material.
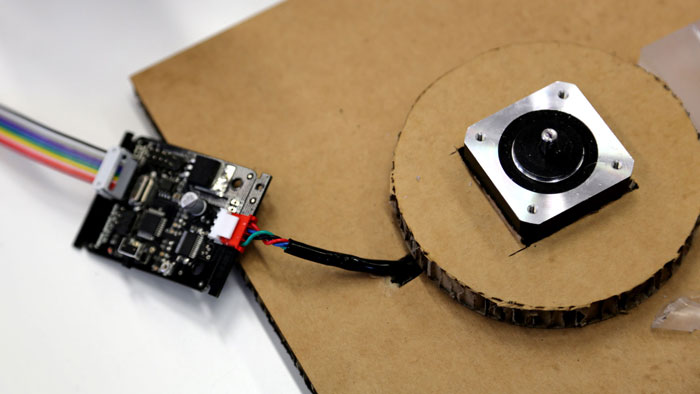
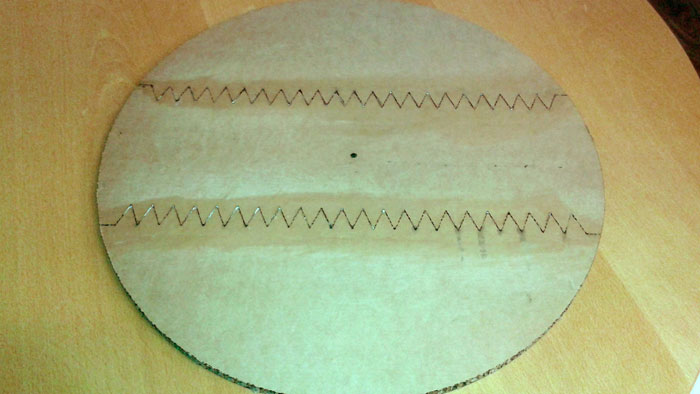
Step 7: Draw and cut out the rotation plate
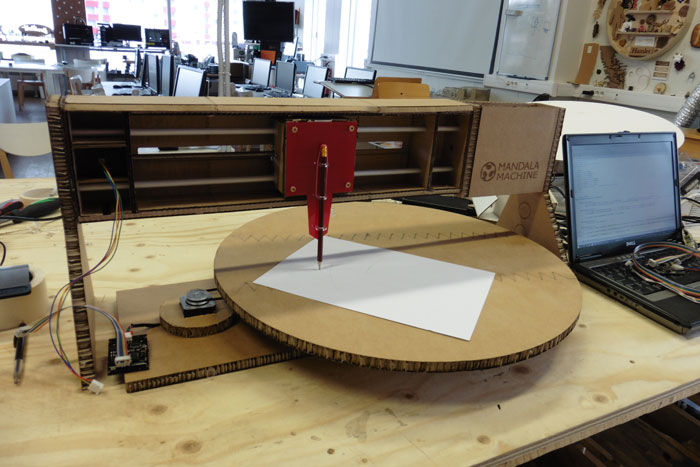
Árni designed the rotation plate and here is a link to his page. We cut it out in the laser, 14.8 mm cardboard. It took some time to make it ready for gluing. It came out beautifully, strong and sturdy. Árnis machine week page.
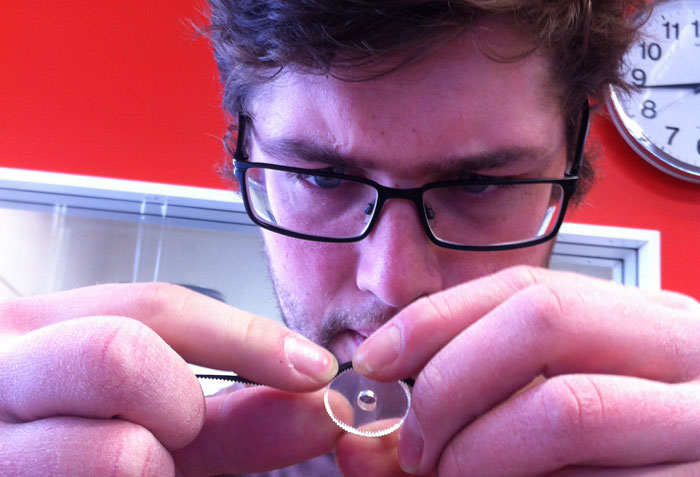
Step 8: Find belt, design and laser cut gears
The belt found was scavenged from an old printer. It has an angular pitch of 1mm and is long enough to be placed outside of the rotary bed. The gears were designed to have a 1:2 ratio, which in hindsight might have been more, but proved OK. They were then lasercut, and with them plates to hold the belt in place.
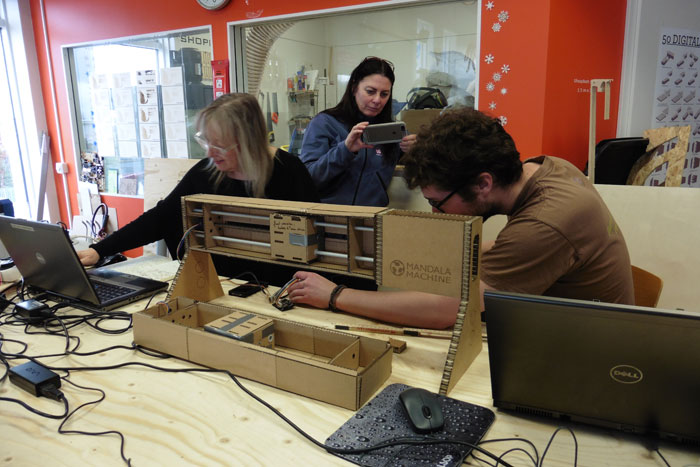
Step 9: Assemble the machine
Step 10. Programming Python
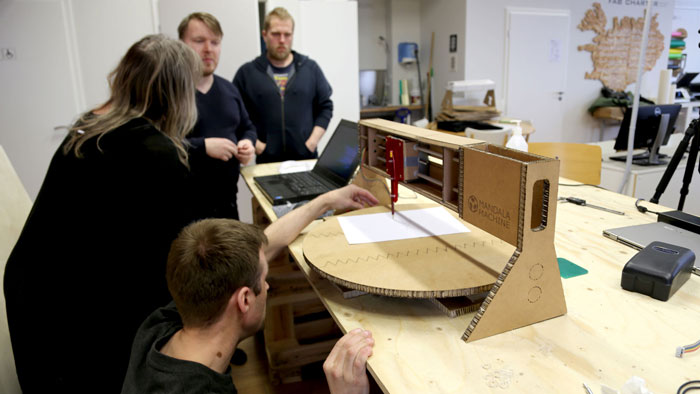
Nadyas files were gotten from github and cloned into an mtm folder using git bash. The files however were quite unusable without getting python. The file xy_plotter was modified to take a csv file - and the super coords hardcoded in excel. It would have been possible to acchive more complex functionality given more time, but a simple mandala was made.
Step 11. Final outcome

DOWNLOAD OUR FILES
Cad working files
Ulinecardboard (dxf) - test 1 (dwg) - test 2 (dxf) - test 3 (dwg)
Inkscape working files (svg)
Cut ballance - Cut 5A Dubble - Cut 5B new - Cut 6A - Cutting Machine - Final new size 2 - Final new size - Nytt - Pen unit
Cutting files (pdf)
Cut ballance - Cut 1A - Cut 2A - Cut 2B - Cut 3B - Cut 3A - Cut 3B - Cut 4A - Cut 4B - Cut 5A - Cut 5B - Cut 6A - Cut 6B - Pen unit - Pen unit 2 - Pen unit 3 - Pen unit 4 - The machine
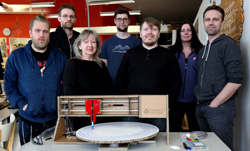
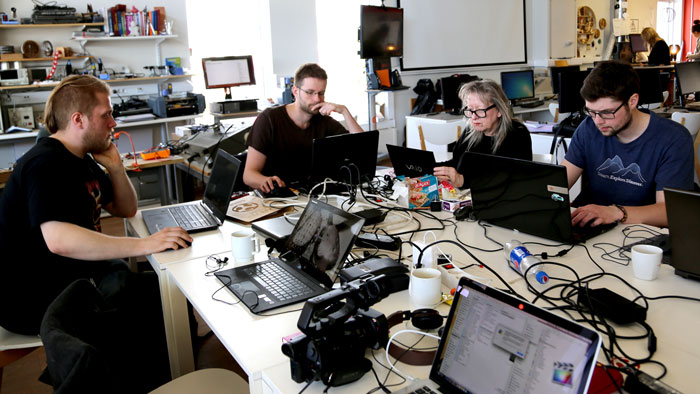
TEAM
Árni Jón Sigurjónsson - Þorbjörn Þorgeirsson - Inger Le Gué-Pelt - Hafliði Ásgeirsson - Halldór Berg Sæmundsson - Sigurbjörg Jóhannesdóttir - Vilhjálmur Magnússon
Videos from the process
Video playlist for all our videos from the Mandala Maching making
EVALUATION 2016
Learning outcomes:- Work and communicate effectively in a team and independently
- Design, plan and build a system
- Analyse and solve technical problems
- Recognise opportunities for improvements in the design
- Explained your individual contribution to this project on your own website
- Shown how your team planned and executed the project
- Described problems and how the team solved them
- Listed future development opportunities for this project
- Included your design files, ‘hero shot’ photos of the machine and a short video of it operating