FAB LAB
Puebla

INPUT DEVICES
WEEK ASSIGNMENT:
- Measure something: add a sensor to a microcontroller
board that you have designed and read it
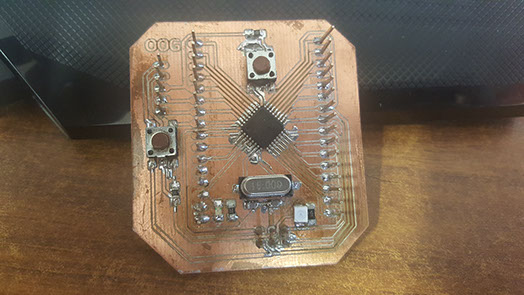
So for this weeks assignment I used my ATMEGA328P board i made during the electronics design assignment.
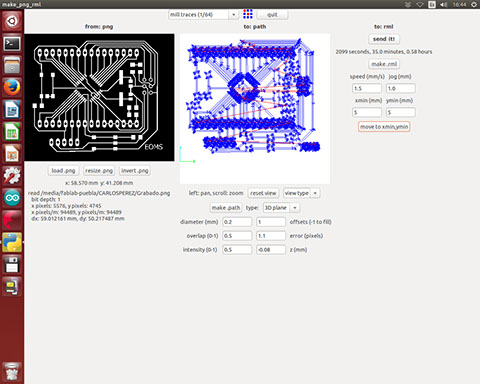
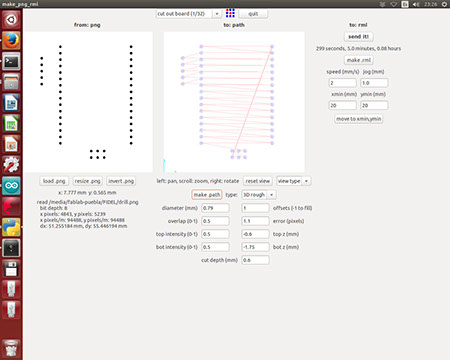
Milling process


<
>
Fab Academy 2016 • Oliver Ochoa Garcia • Fab Lab Puebla • Mexico • oliver8agar@gmail.com
I did three exercises for this weeks assignments with three sensors, the first one was a simple button which when pressed it would remember the state meaning that the led wouldn't turn off if you released the button.
The sensor for this excersise would be the button which detects when it's pressed the button, as both the button and the led are integrated into my board there isnt any extra hardware, however the way it would have to be connected would be the oneon the right.

Video of button sensor working.
Code

The next sensor was one of distance. in this one I used an ultrasonic sensor. The principle behind this sensor is that you send an audio signal which then bounces on an object and detects when the sound comes back. For this code to work I basically took the time from the moment I sent the pulse sound to the moment I got the pulse back. After that knowing the speed of sound and using

I can get the distance. To present the data I used an LCD display, the connection for this one is as follows

Code
Video of sensor working.

Finally as the other two sensor were digital inputs in this one I'm using an analog one in this case a potentiometer. The ADC from my avr is 8 bit this means that the voltage that enters is divided by 1024 which is the maximum number represented by the 8 bits from the adc. My program converts this into both voltage and into binary. To convert into voltage i just divided the data received by my avr by 1023(1024 counting 0) and then multiplied it by 5. For binary I made a loop that divided by 2 and looked for the remaining from the divisions.
Code
Video of sensor working.
