FAB LAB
Puebla

Principles and Practices
WEEK ASSIGNMENT:
Plan and sketch a potential final project
NOTE: THIS ISN'T MY FINAL PROJECT ANY LONGER IT WAS JUST A POTENTIAL PROJECT IF YOU WANT TO LOOK AT MY REAL FINAL PROJECT CLICK HERE
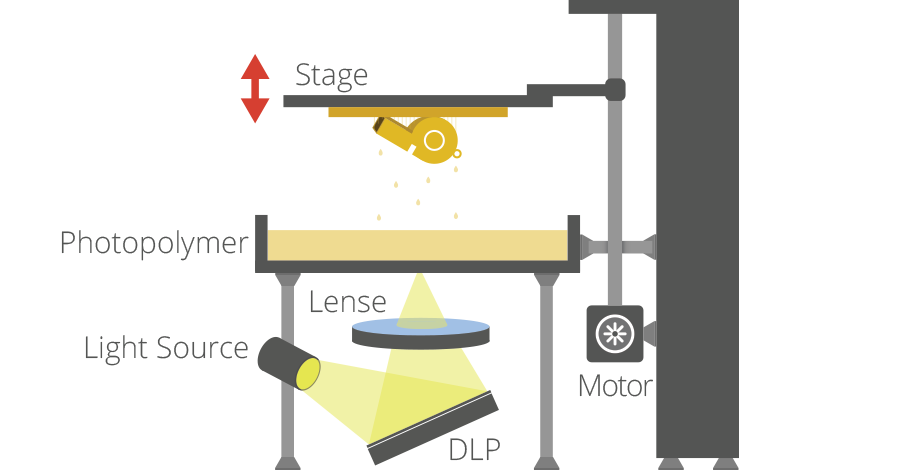
In Fablab Puebla we are focused on creating budget versions of existing machines so that technology can be used in different all socioeconomic sectors in Mexico, fighting that way the technological backwardness which is growing in the country. Our first project was an extruder 3D printer which in many aspects was quite the success, however in terms of resolution it isn't up to standard. Thats why I've decided building a photopolymerization 3D printer. Specifically a DLP (Digital light processing) printer because of its simpler design and faster printing speed.

The printer must be,not in any specific order:
- Affordable.
- Open source
- Compact.
- High resolution.
- Compatible with a wide range of materials.
- Easy to use.
- Fast
The steps to create this project are the following
- Finding a light source from which will be the base of the structure
- Designing the mirror and lense part of the structure
- Designing the Z axis movement part of the structure
- Designing the resin base
- Building the different components of the printer and assembling them
- Setting up the electronics
- Building an external box to protect from light
- Selecting and buying the resins
WEEK ASSIGNMENT:
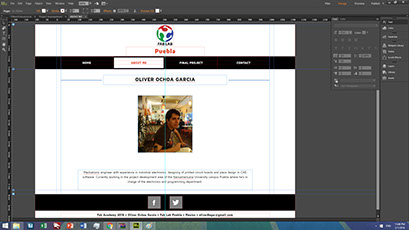
Build a personal site in the class archive describing you and your final project
For the development of Web page I used Adobe Muse software which can generate pages in HTML and CSS.

The program Adobe Muse allows you to design and develop Web pages in a friendly user environment, much like the Power Point or any text editor environment . Muse allows you to create Web page as if they were slides that are interconnected by hyperlinks, finally Muse allows you to export to a folder of HTML files to upload to the server.


To upload a file to archive we need to follow the next steps.
First time steps:
• First we register the email that will be doing all the updates for the FabAcademy archive in the case of this example we are using the email of our instructor Huber Giron

• After verifying that the email is correct the server will assign us a Keygen specific for our email

• Once you have set up your account, a local copy is made in our computer. Kind of like other cloud services such as dropbox.

Steps after first time set up
• Using the command line CD we move to the folder were we are updating all the details.
• We add our files

• We add our files

• And then we commit them to upload.

•• Finally we push our local files into the origin of the archives in this case the Fabacademy main servers.
