Tapan
Betai

2016
Week-5 3D scanning and printing
3D Printing with Ultimaker 2
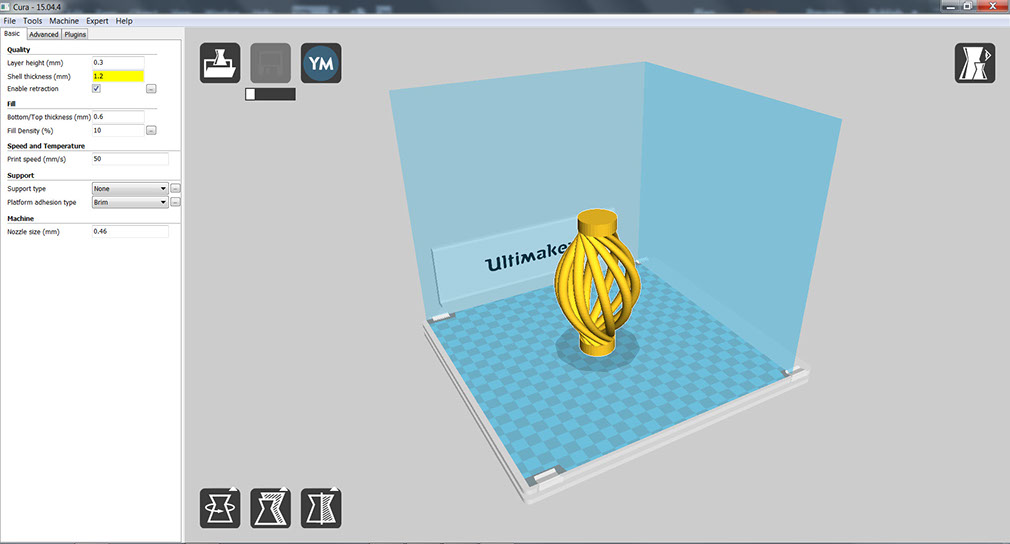
Starting with cura engine for Ultimaker 2.
Start Screen
it shows bed with full settings on left side of the screen.
you can drag and drop you .stl or .obj file or you can press load button to start with your objects.

Loading the object and setting up the properties:
After saving it as g-code in the memory card you just need to insert the memory card into the machine and start printing
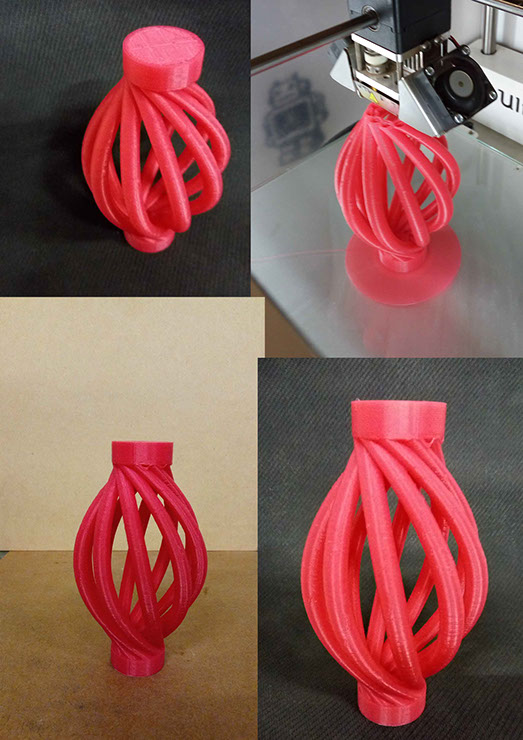
Printing Process of a spiral lamp which can not be made by milling, casting or cutting.
It's a single module printing.
Dimensions:
12 cm height * 7.5 cm diameter
Material Used: Nylon
Specifications in slicer cura:
Layer height: 0.3
speed: 50
material dia.: 2.85
Shell thickness: 1.2
bottom/top shell thickness: 0.6
infill density: 15%
no support
brim: yes (line amount: 35)
Bed temperature: 100 degree celsius
nozzle size: 0.46
nozzle temp: 240 degree celsius
fan speed: 50-90 %
To stick the material on the base plate, glue stick is used for nylon and ABS to overcome the problem of warping.
Process
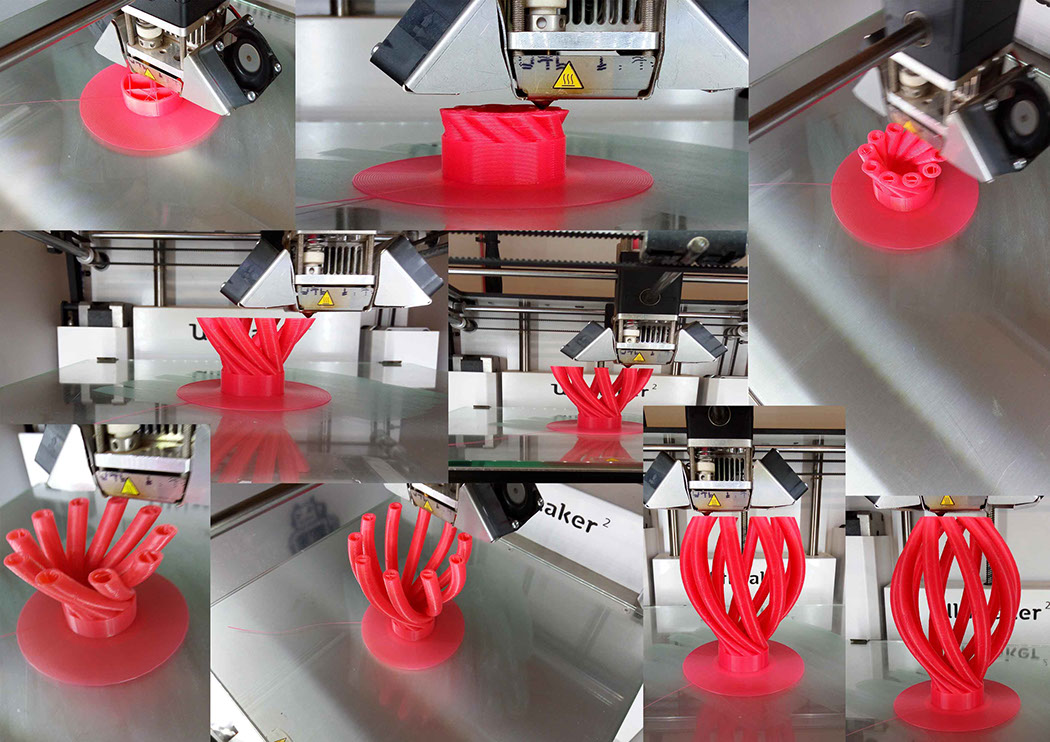
Group Activity Done by me and rudra, in which we tried to find out the capabilities of the machine
Printing the file containing different objects with different geometries.
File shows the settings that we used for the printing.
.jpg?crc=146284079)
.jpg?crc=3928727306)
.jpg?crc=148211626)
Following images shows you the result of the printing.


above photos shows the different geometries of the object.
It has hollow letters, extruded letters, pyramid at angle, spherical dome(inverted), etc.
Other object
.jpg?crc=4195710454)
2.jpg?crc=4000510223)
Above images shows object in cura engine in which properies are set for printing
This object ontains many objects at some angle, domes, overhanging parts, etc. We are checking printing of the object with this many thiings.
Following inage shows the printed part and it's quality.


3d scanning with Nextengine

Setting up the machine


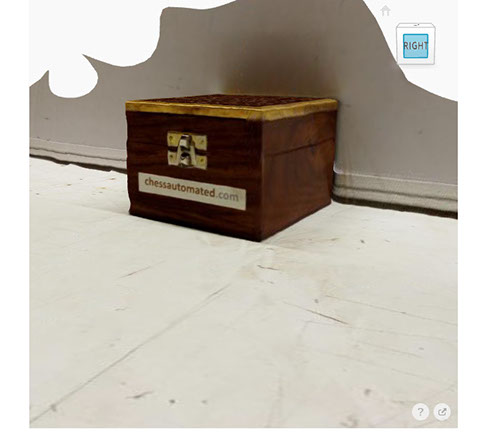
Consider images of scanning with Nextengine.
I started with the base object of the tree with given instruction, it went well but due to some errors and file that got was continuously showing some errors and i was not able to upload the scanned file.
Hence, i thought to go with some other process other than Nextengine.
I started with Autodesk 123D Catch which work in similar way like any other scanning tool.
Any scanning device takes specific number of photographs to generate the 3D file.
Nextengine rotates the object automatically and takes several photographs, while Autodesk 123D requires several photographs taken by the hand from your mobile application.
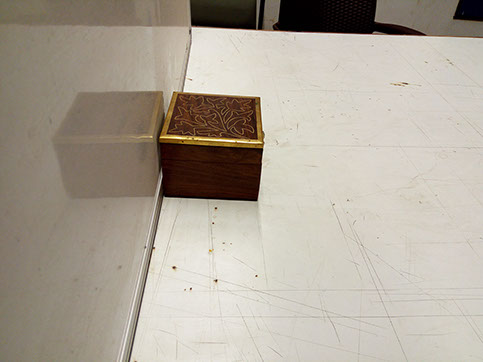
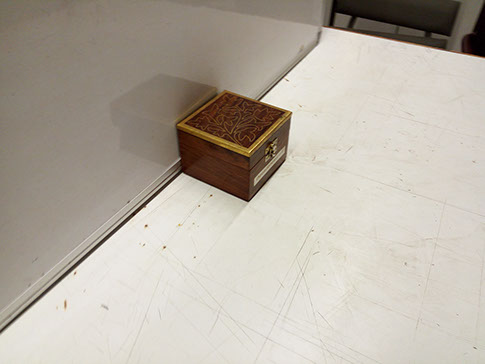
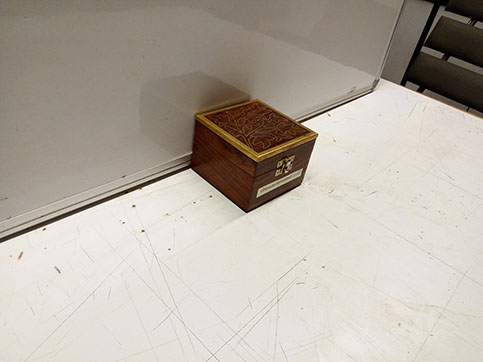
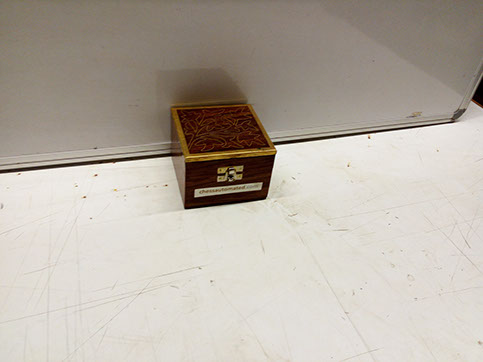
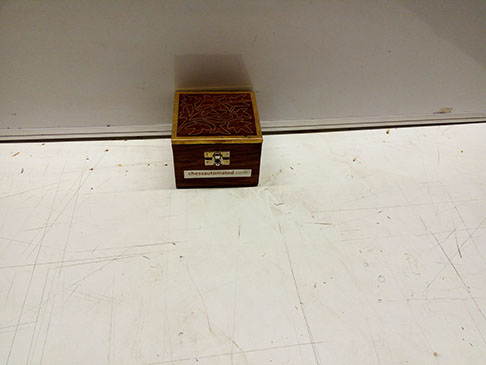
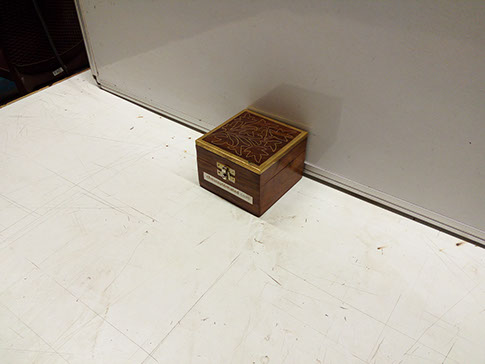
Images taken with 123D catch mobile application


After taking all the images, autodesk 123D catch automatically compiles and process the images and then it does processing online on the autodesk server and then it shows the 3D objects that we have made.
Following images shows the 3D image made with this.
It's a nice app that enables a person will no expensive machines to take 3D images and objects.
on the bottom of the page, you can download .stl and .obj file of this object.