Composites
1. Week Assignment
- read the material safety data sheet (MSDS) and technical data sheet (TDS) for the resins that you're using
- design and fabricate a 3D mold (~ft2) and produce a fiber composite part in it
2. Development Environment
This week I used Cut3d, Shopbot control panel and lot of manual work.
3. Composites!
This week workflow was a little bit long.
The first step is to design/choose a 3D model to make a mold.
I chose Captain America shield, downloading an .stl from thingverse.

Then, using Cut3D, i made the cut file for the ShopBot (for more info on how to use Cut3d, see Week 12, Molding and Casting).
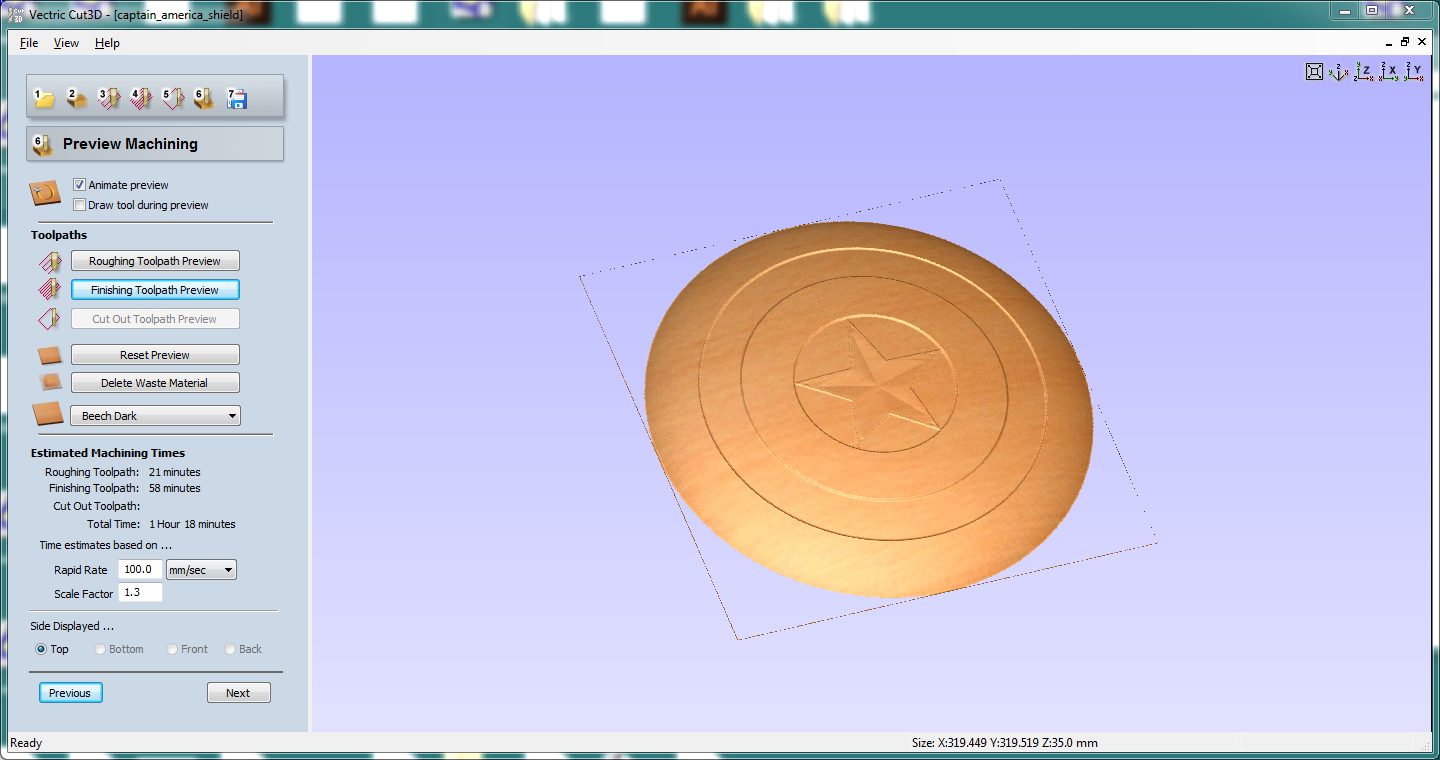
I used 1/4 inch end mill both for roughing and finishing (the end mill used for finishing is ball one), with a feed rate of 200 and a plunge rate of 100.
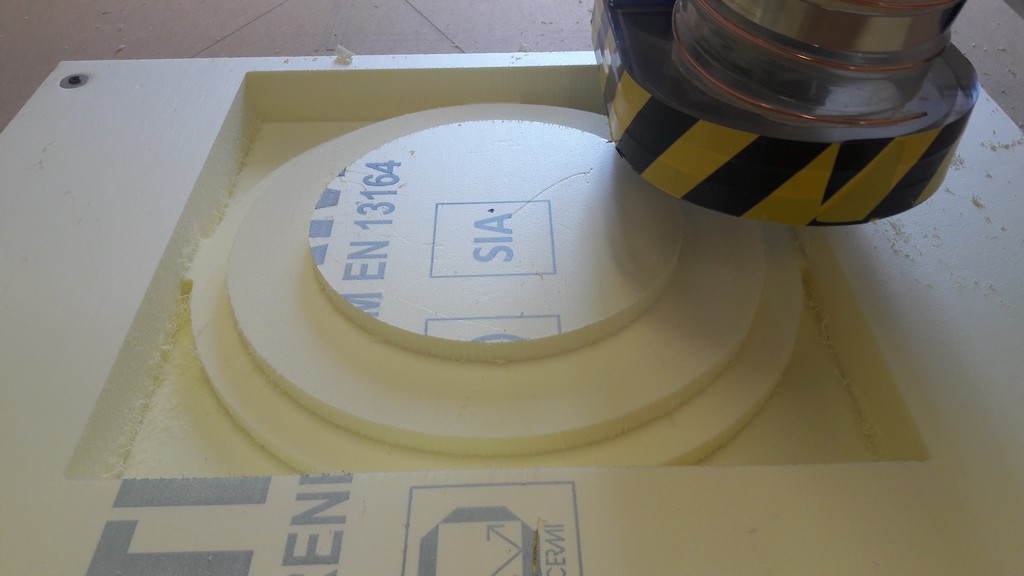
We used foam, the one used for building (especially the gap between walls), because it’s a cheap material.
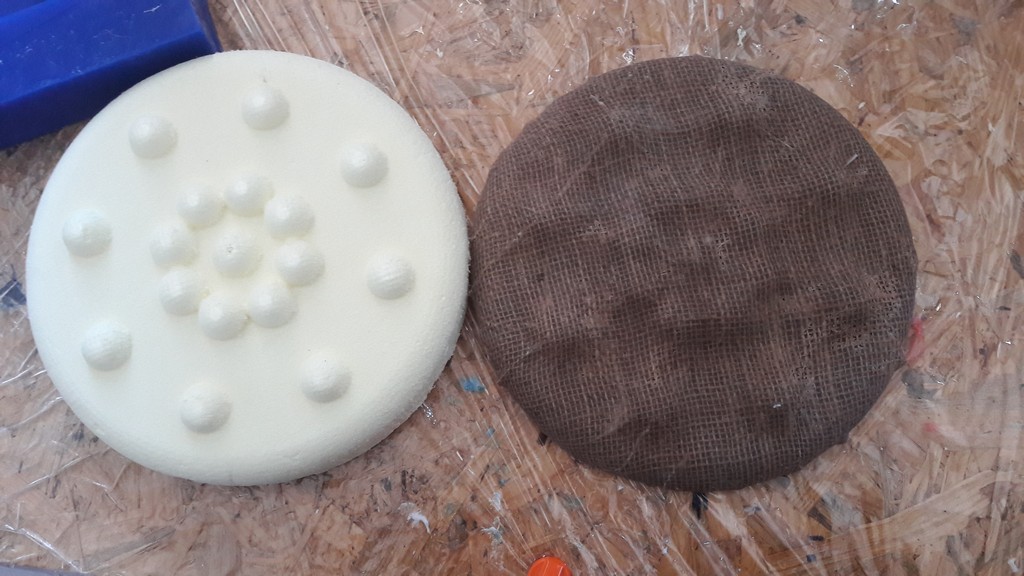
Here’s after the roughing toolpath finished:
And here after the finishing toolpath:
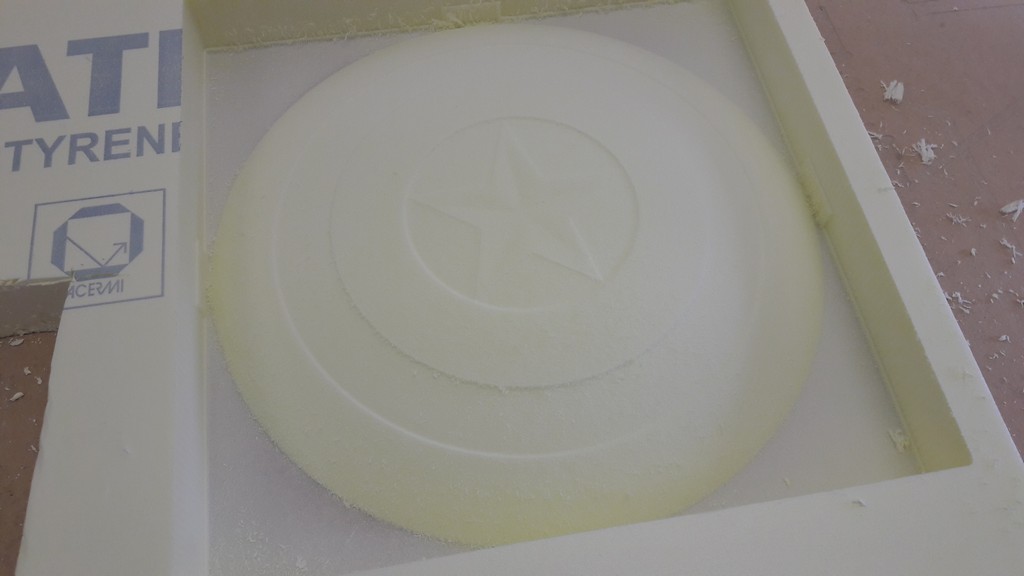
Then, using sandpaper I finished the mold, especially because I suspected that the details won’t come as expected.
I then followed this schema:

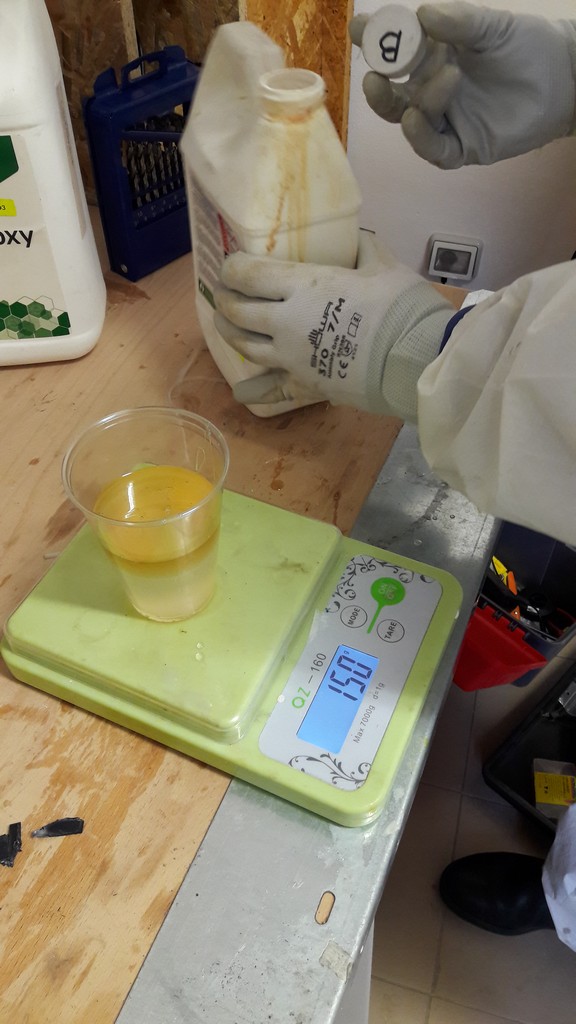
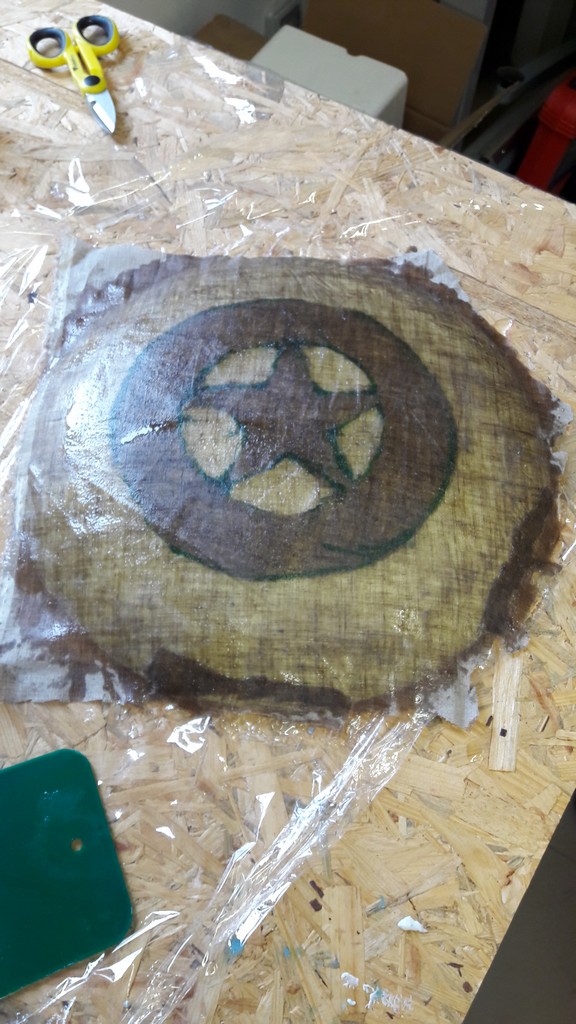
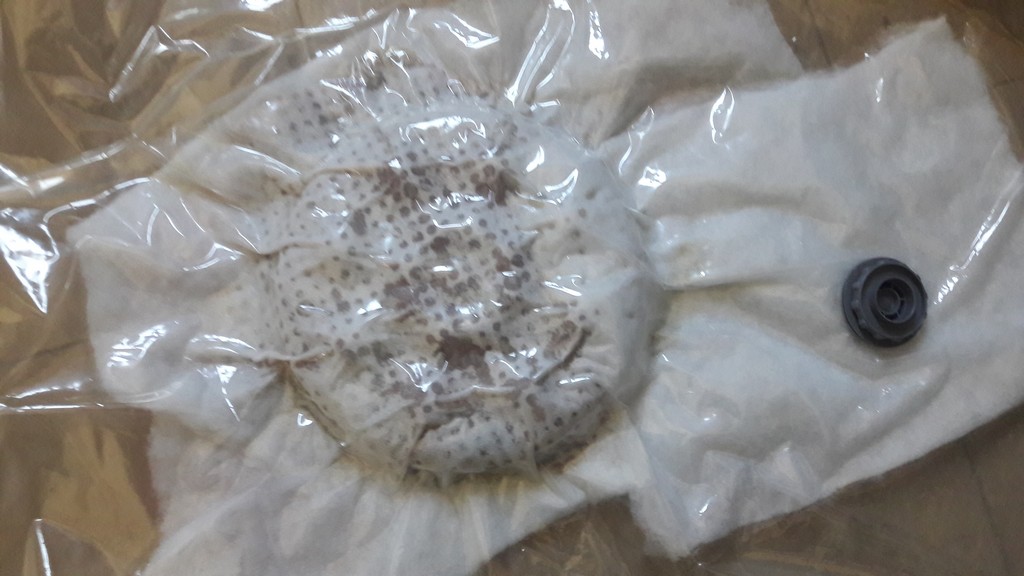
At first, I spread some epoxy resin on the mold as releaser; as the surface remained porous, I knew I would not have been able to remove the mold without destroying it.
So, I used some plastic film as releaser:
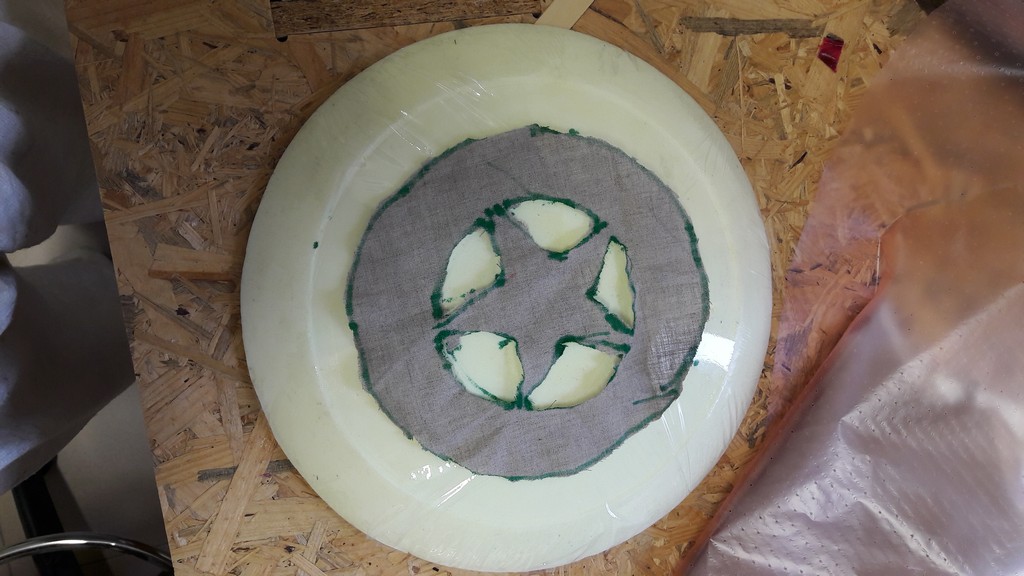
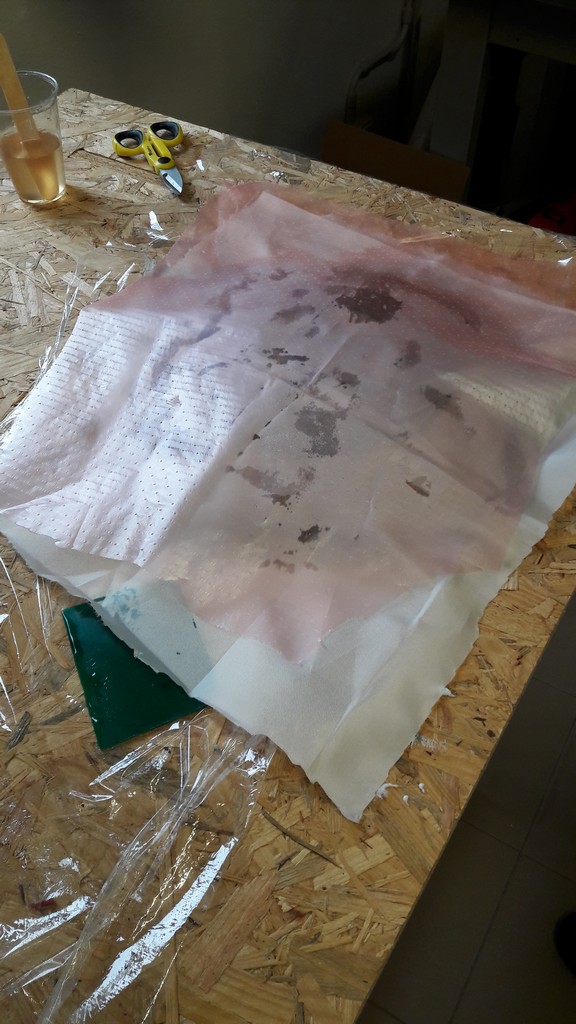
Then I made two layers of linen, with epoxy resin to give strength later.
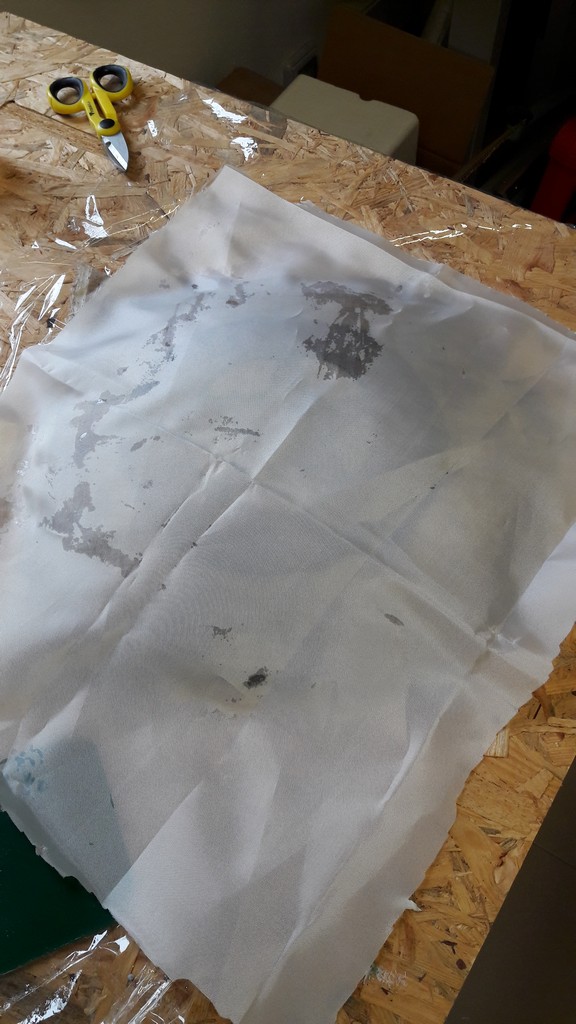
The release fabric:
The perforated film:
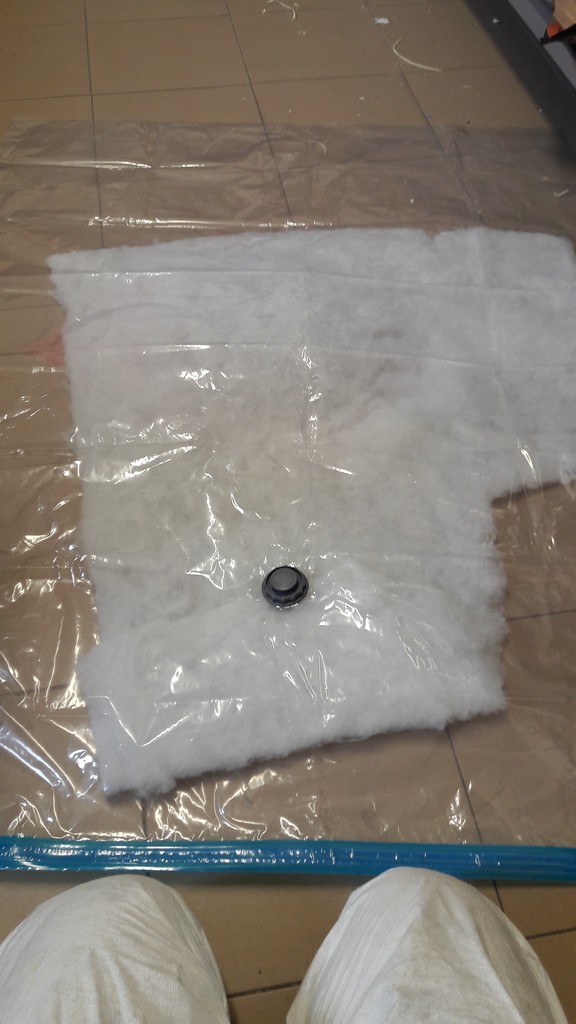
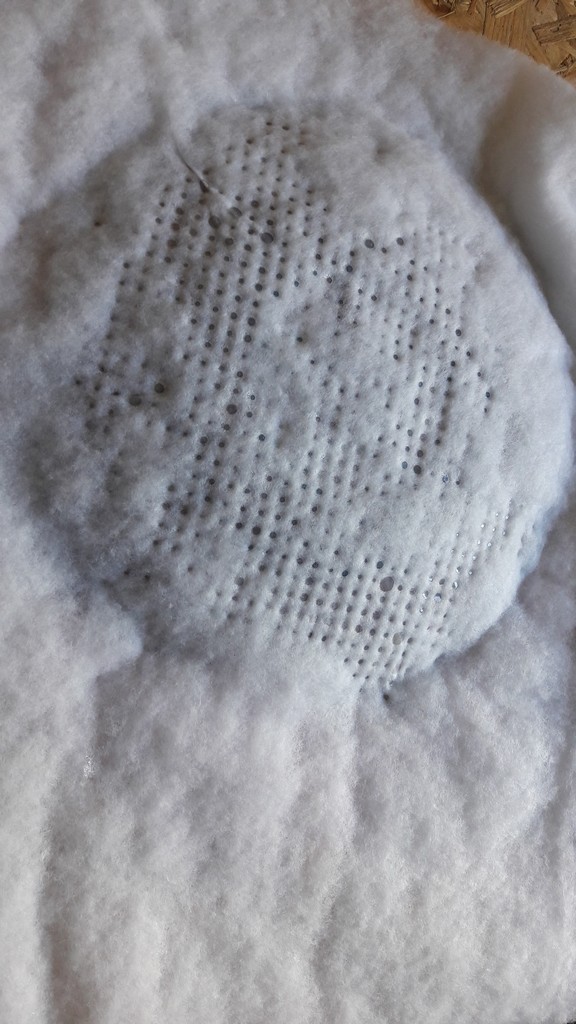
And finally the breather! I put all in a vacuum bag (remember that the breather must stay also under the gauge, to work better)

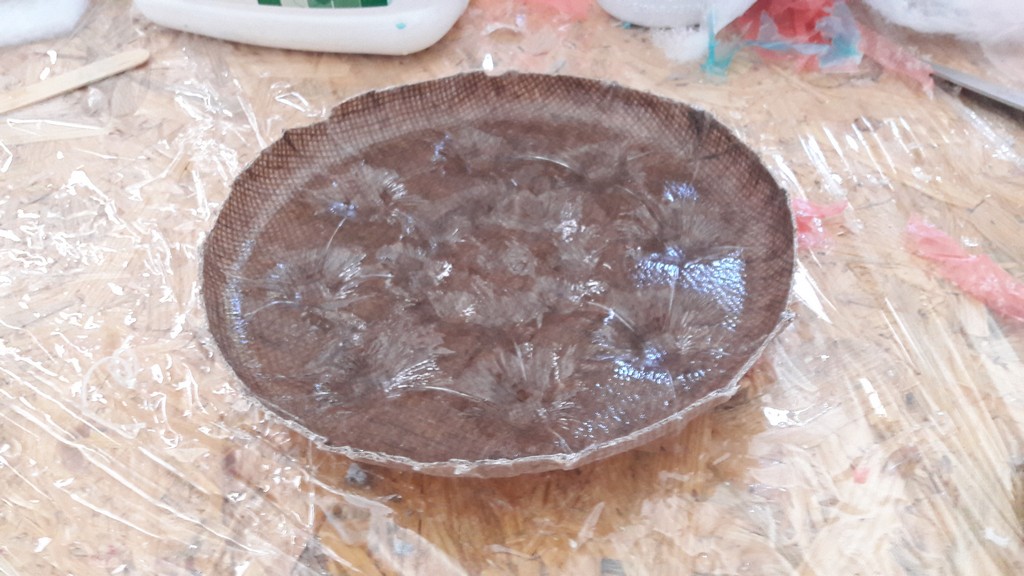
After a night of wait, I removed all.
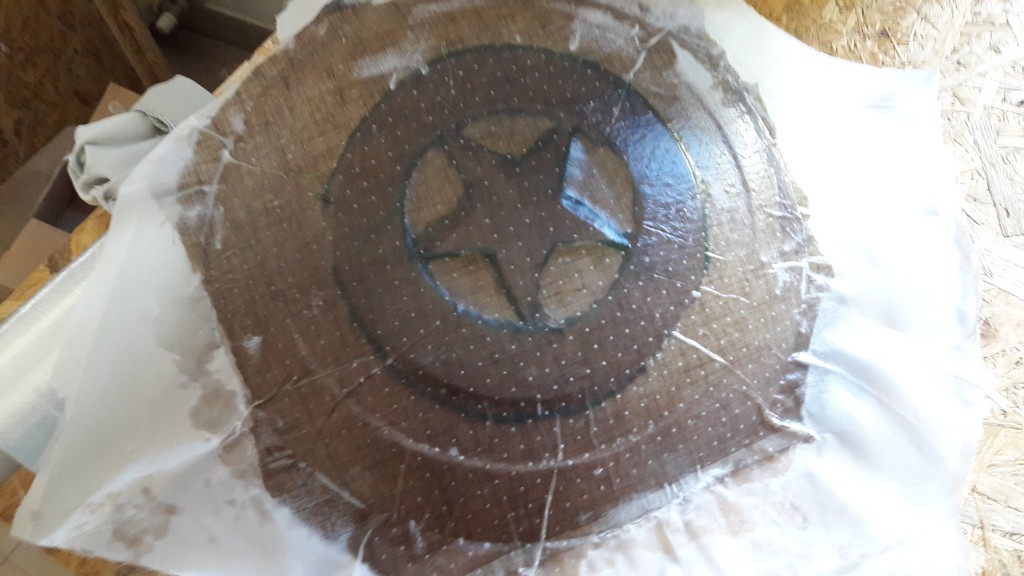
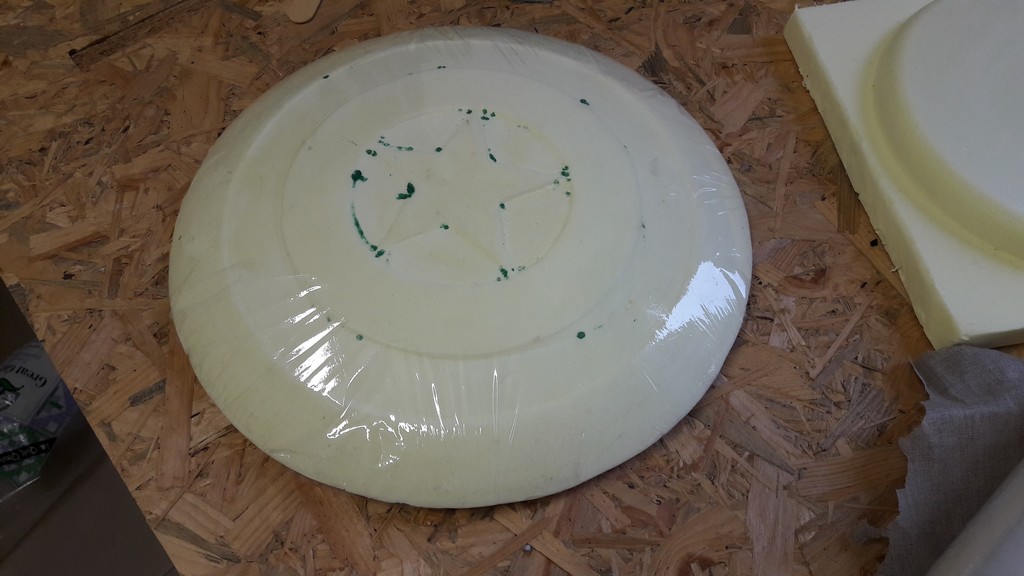
And here’s the finished work, polished and coloured (had to use markers)
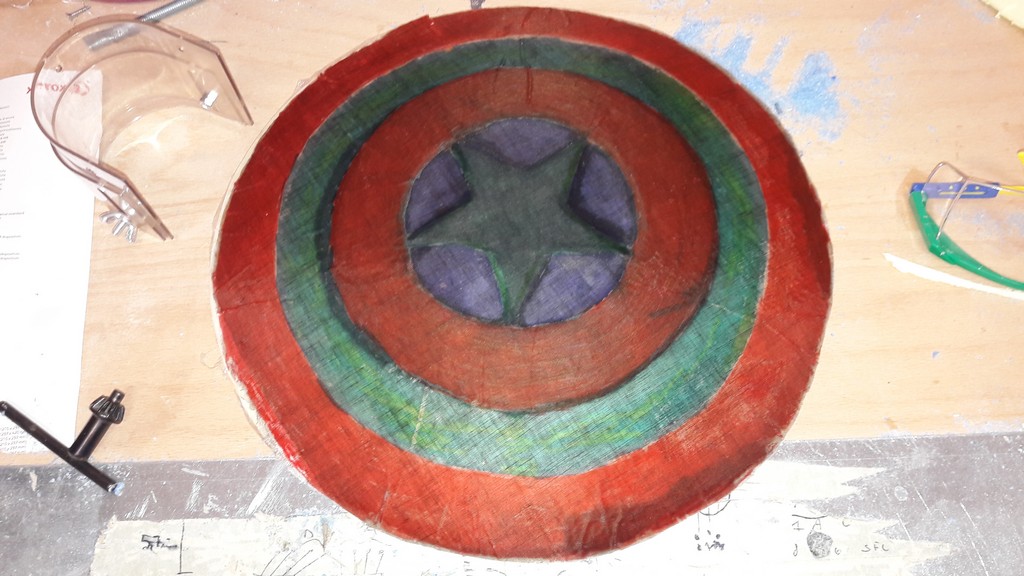
(The colours are wrong, hope no one will notice!)
Then, on my instructor hint, I put 2 extra layer of linen under the shield (with epoxy resin) keeping them under pressure to give more strength to the composite without losing any details.
4 - Files
3D model and shopbot cut file - .zip
5 - Update
I did another composite, this time by designing the object myself.
I designed an ashtray, or a plate that can be used to putting objects in it.
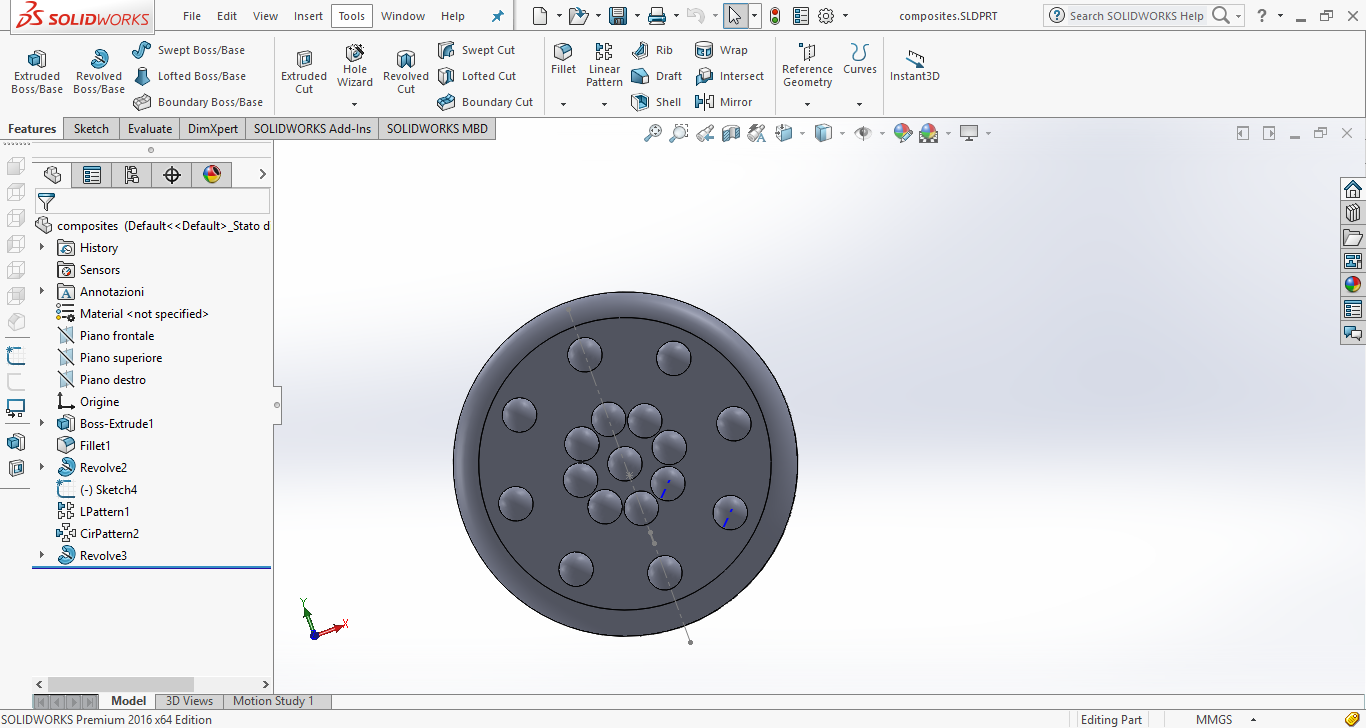
Bottom view, the half circles are supports for the plate.
I then milled (as above I used Cut3D to make the files) using the ShopBot the foam.
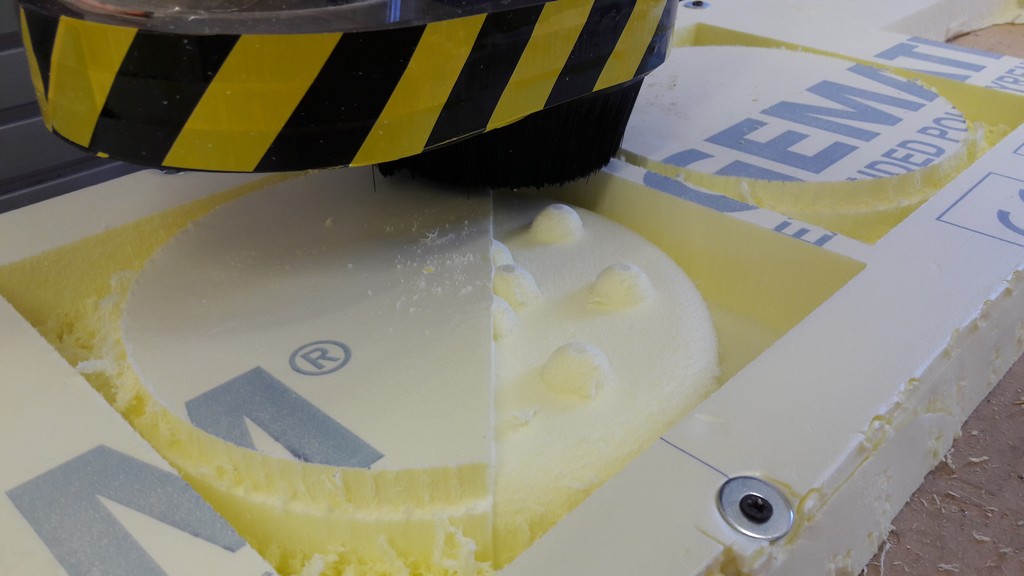
Milling in progress
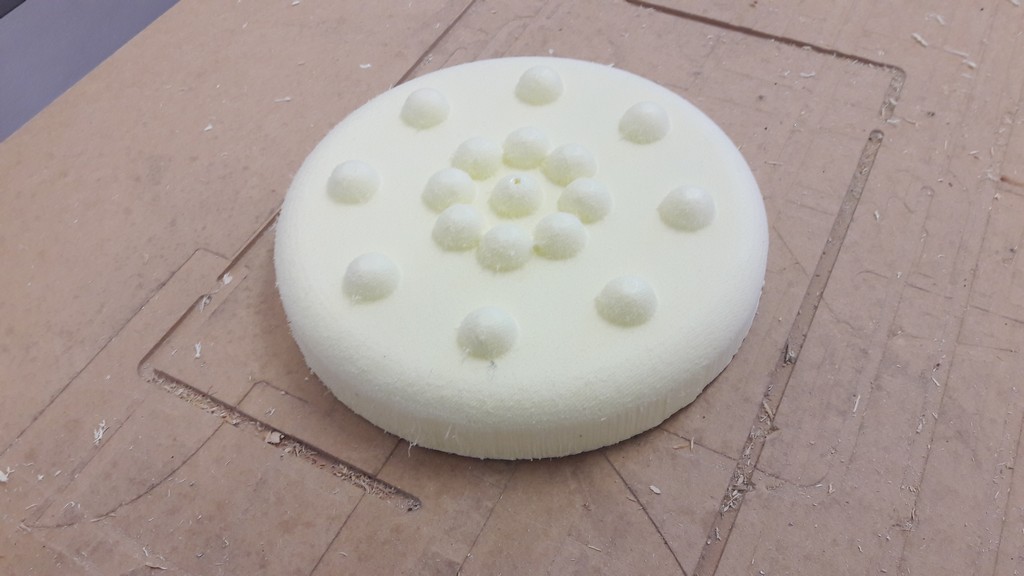
Milling finished
This time I decided to use also jute with linen.
Like above I put plastic film as releaser on the mold.
After making the epoxy resin, i put a layer of linen, a layer of jute, the release fabric, the perforated film and the breather; then I put all under vacuum.
Here’s the finished work:
The mold survived!
The edges did not come so sharp, but the object works as I designed!
Files - .zip