Molding and casting
1. Week Assignment
design a 3D mold, machine it, and use it to cast parts
2. Development Environment
This week I used mainly Cut3d and Roland SRM-20 control panel.
3. The design
I used a 3d model found on thinghiverse:
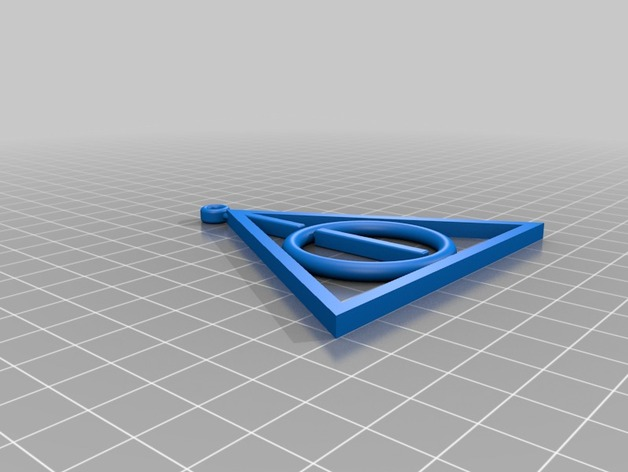
It’s the deathly hallows symbols from the Harry Potter saga.
I used a machinable wax block for doing the mold.
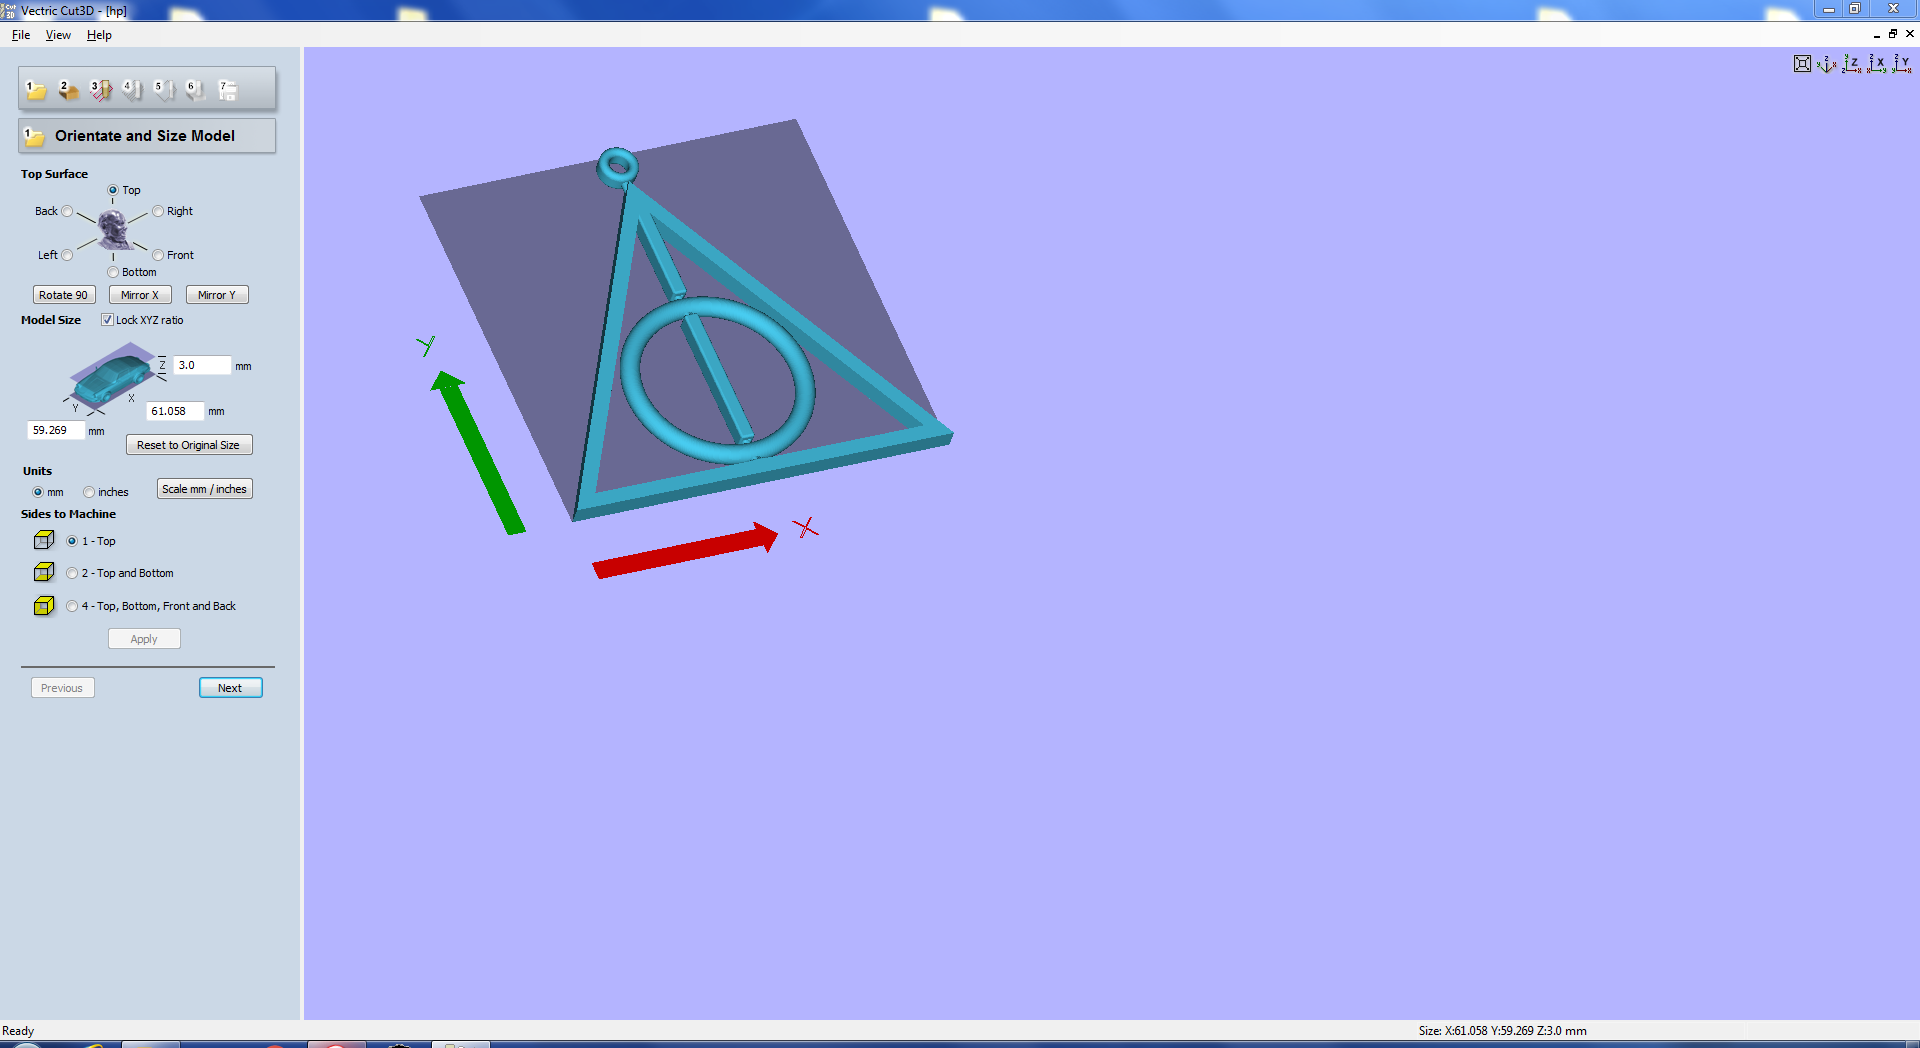
So, having the STL ready, I proceeded to make the file for the Roland CNC using CUT 3D.
First, you load the model and set the dimensions, and which side you want to machine:
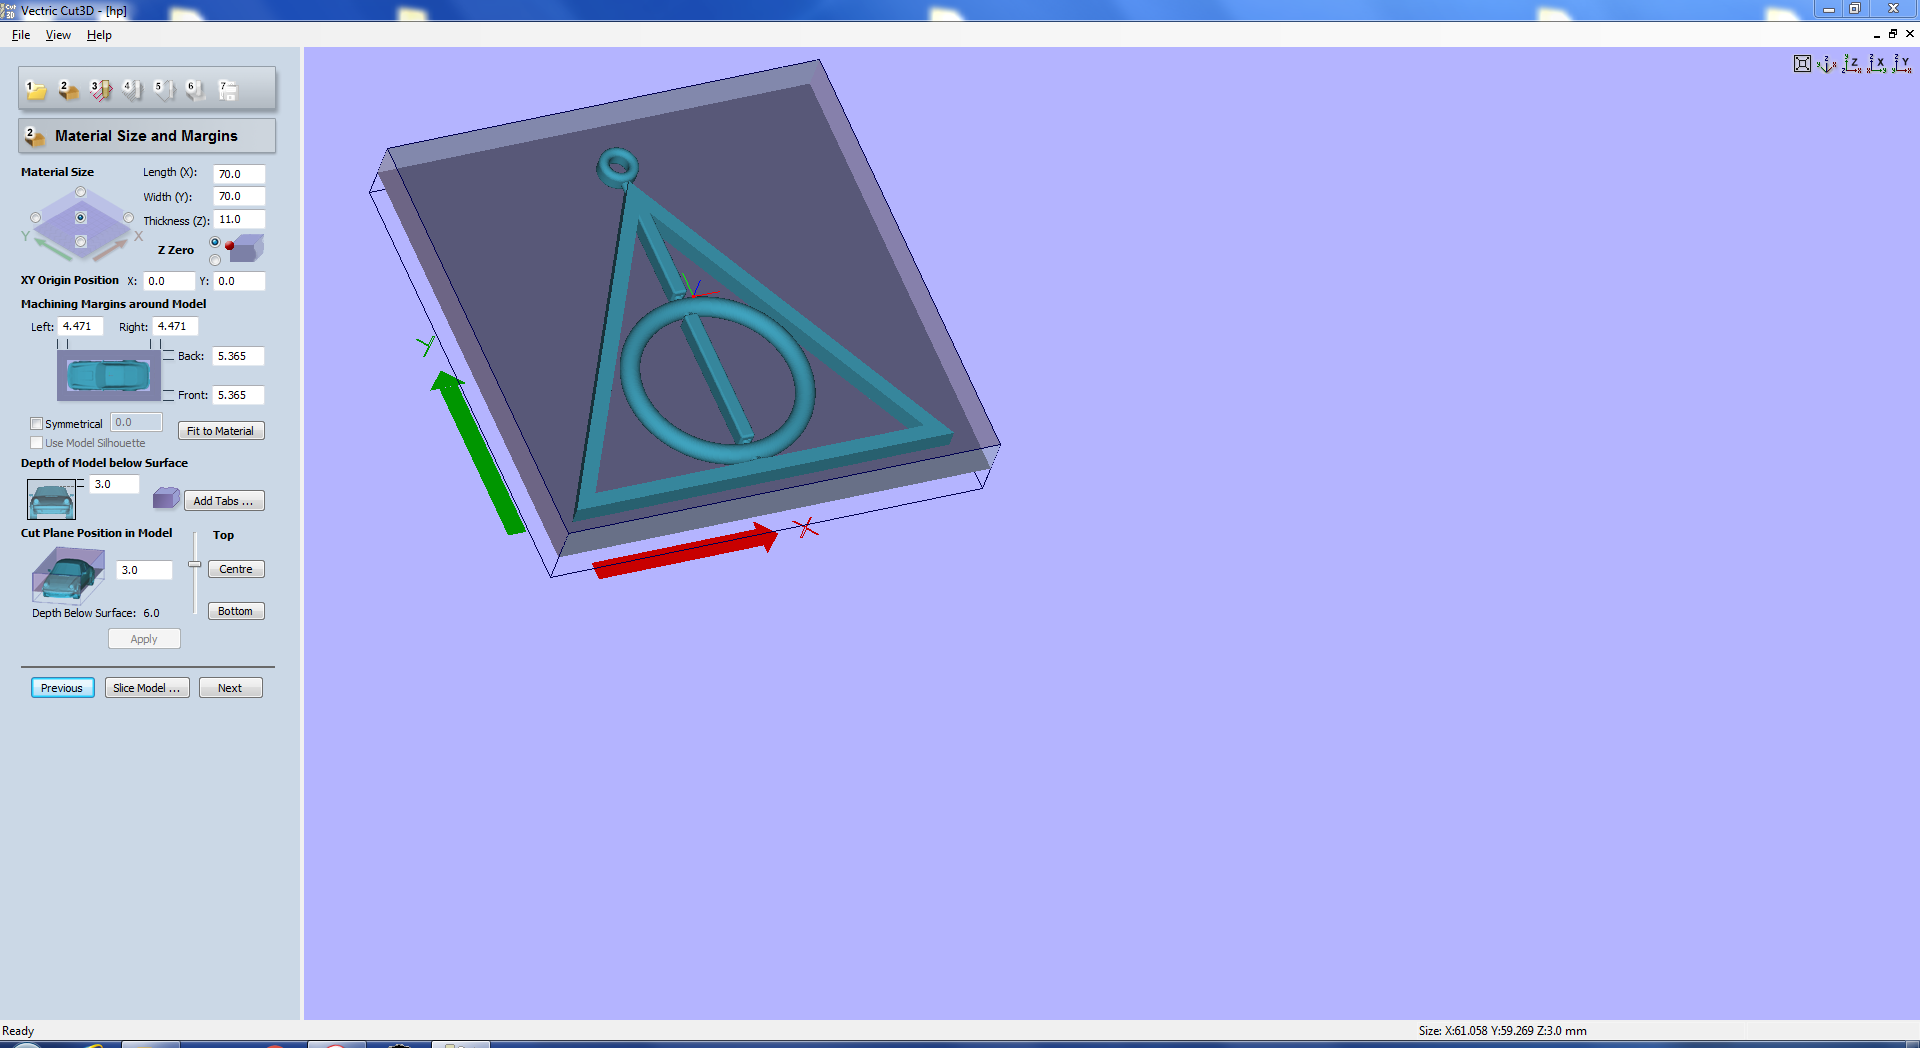
In the second step you set material dimension, depth below surface (where the machine will start cutting out the model), clearances and cut plane (the plane where the model will be set)
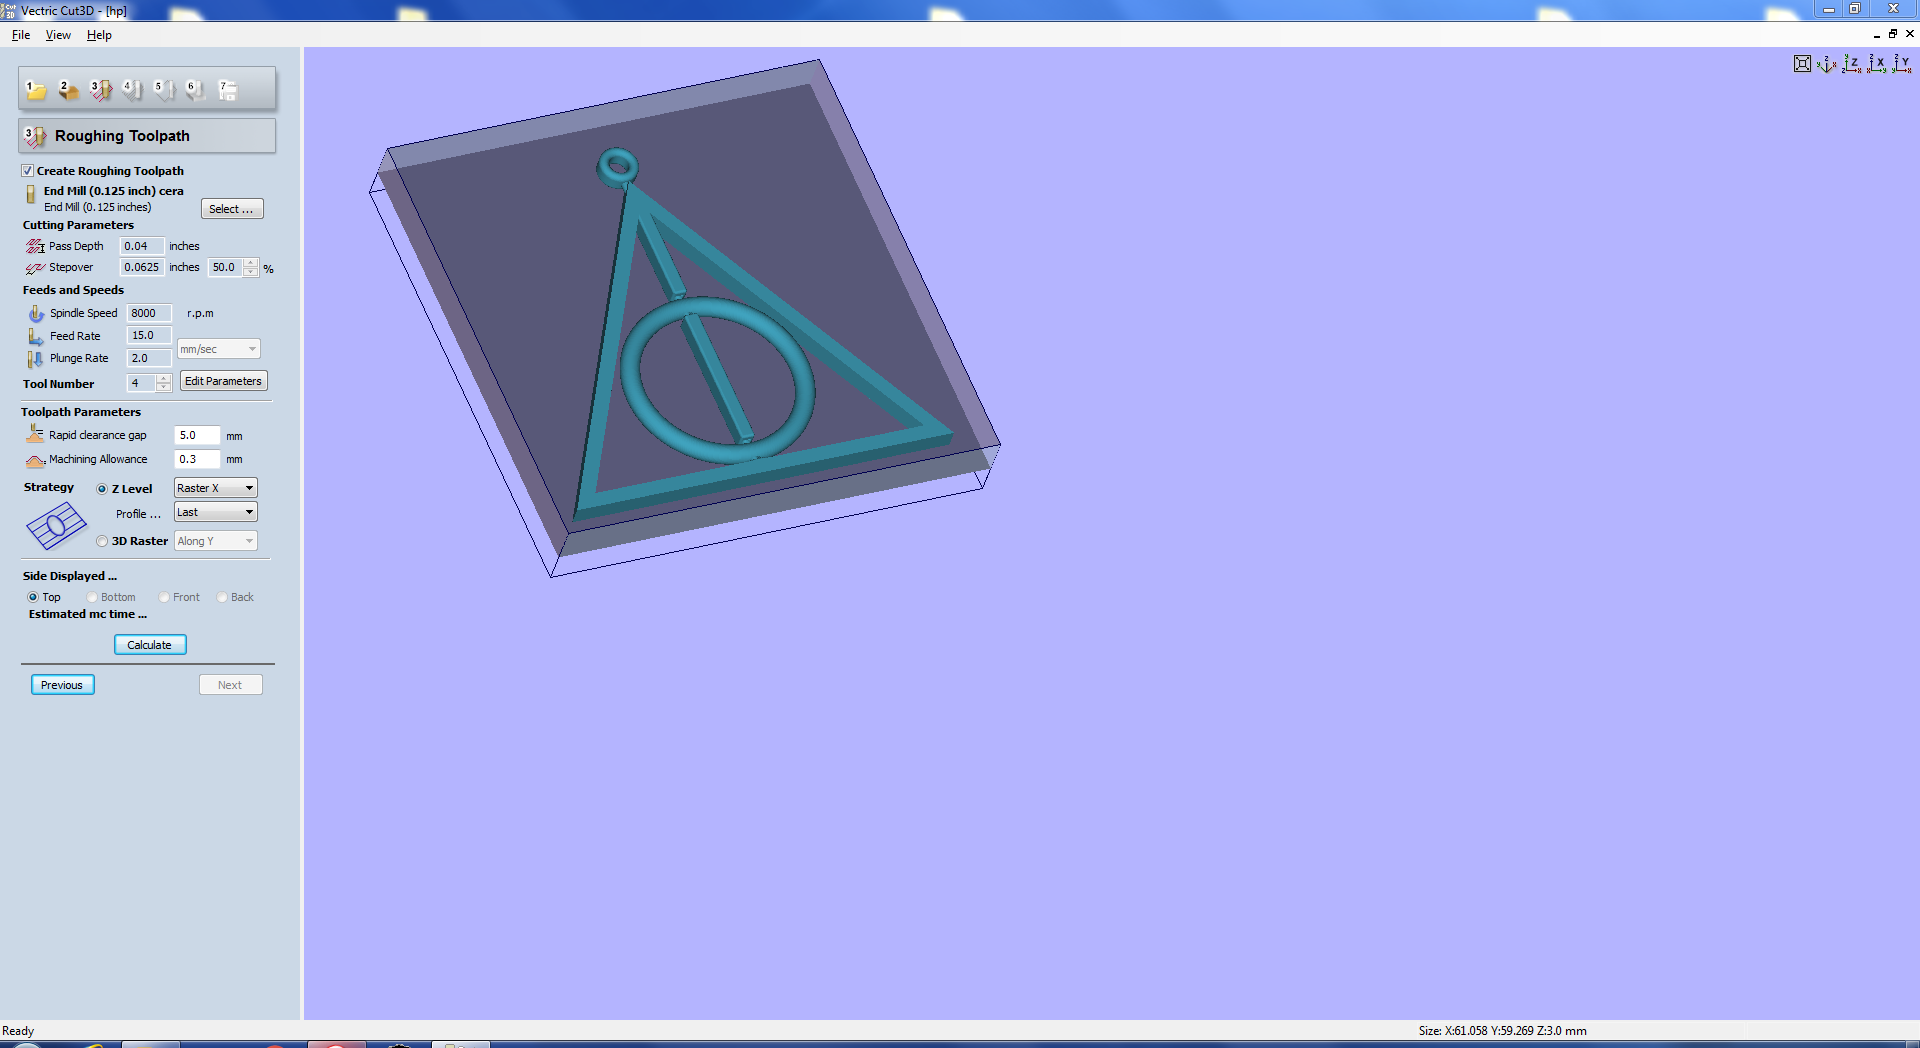
The working will be done in two passes: the roughing and the finishing.
In the third step you set the roughing path settings: I used the settings for the wax already in the program, with a 1/8 inch end mill.
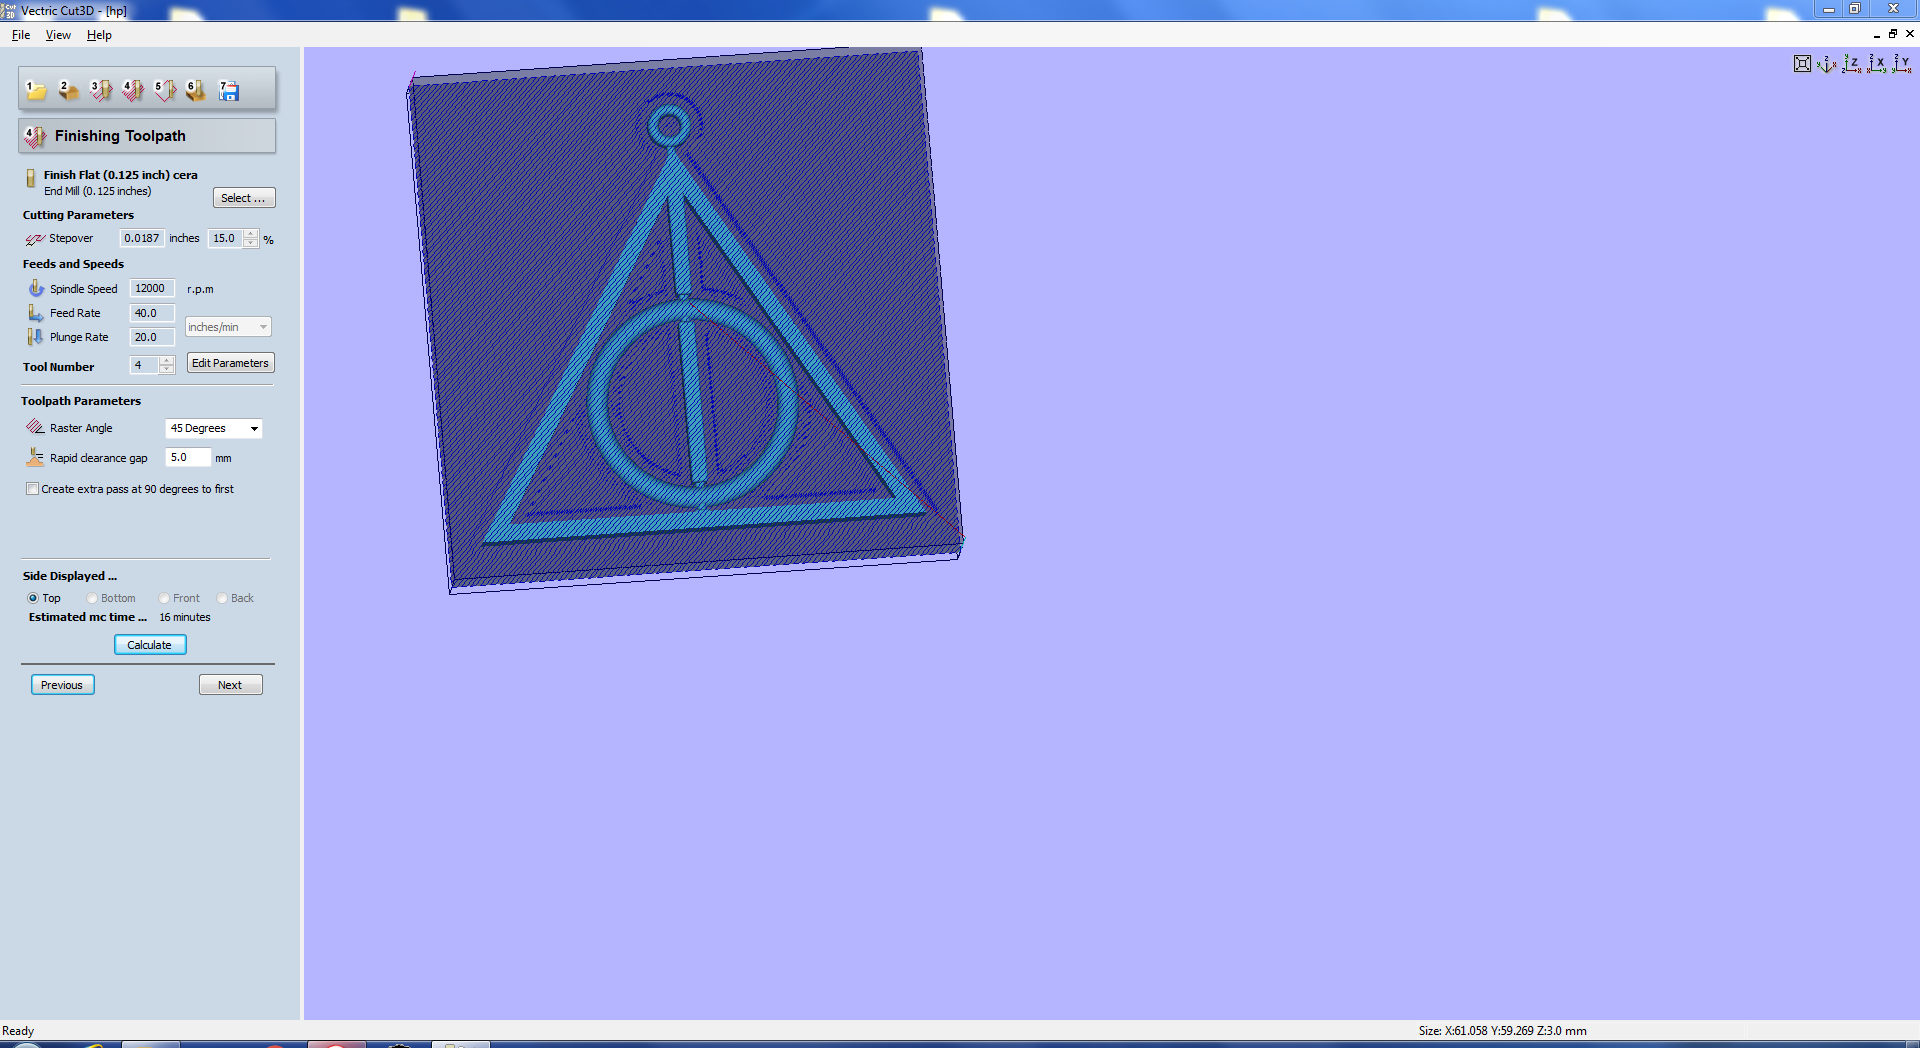
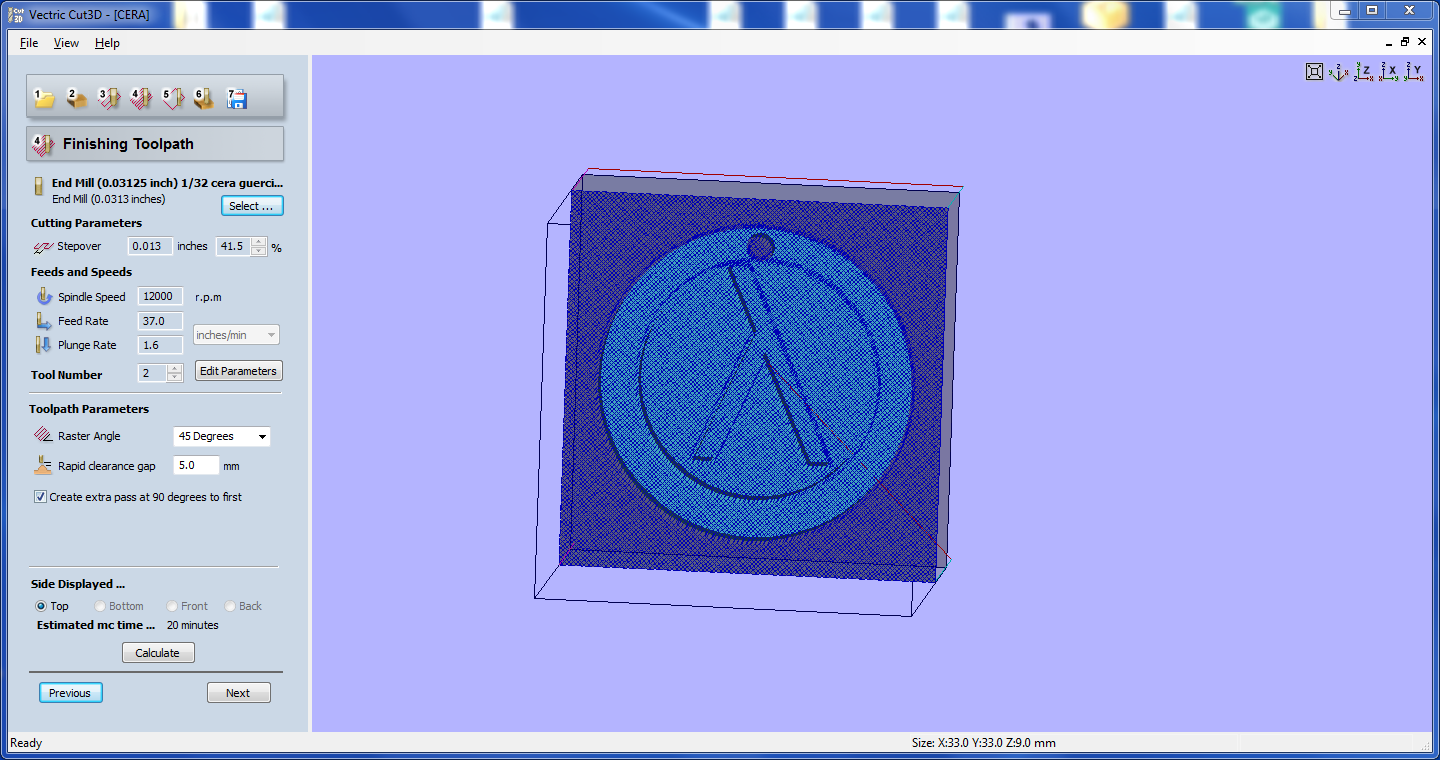
In the fourth step you set the finishing toolpath settings: as above, I used the same endmill and settings that were already there.
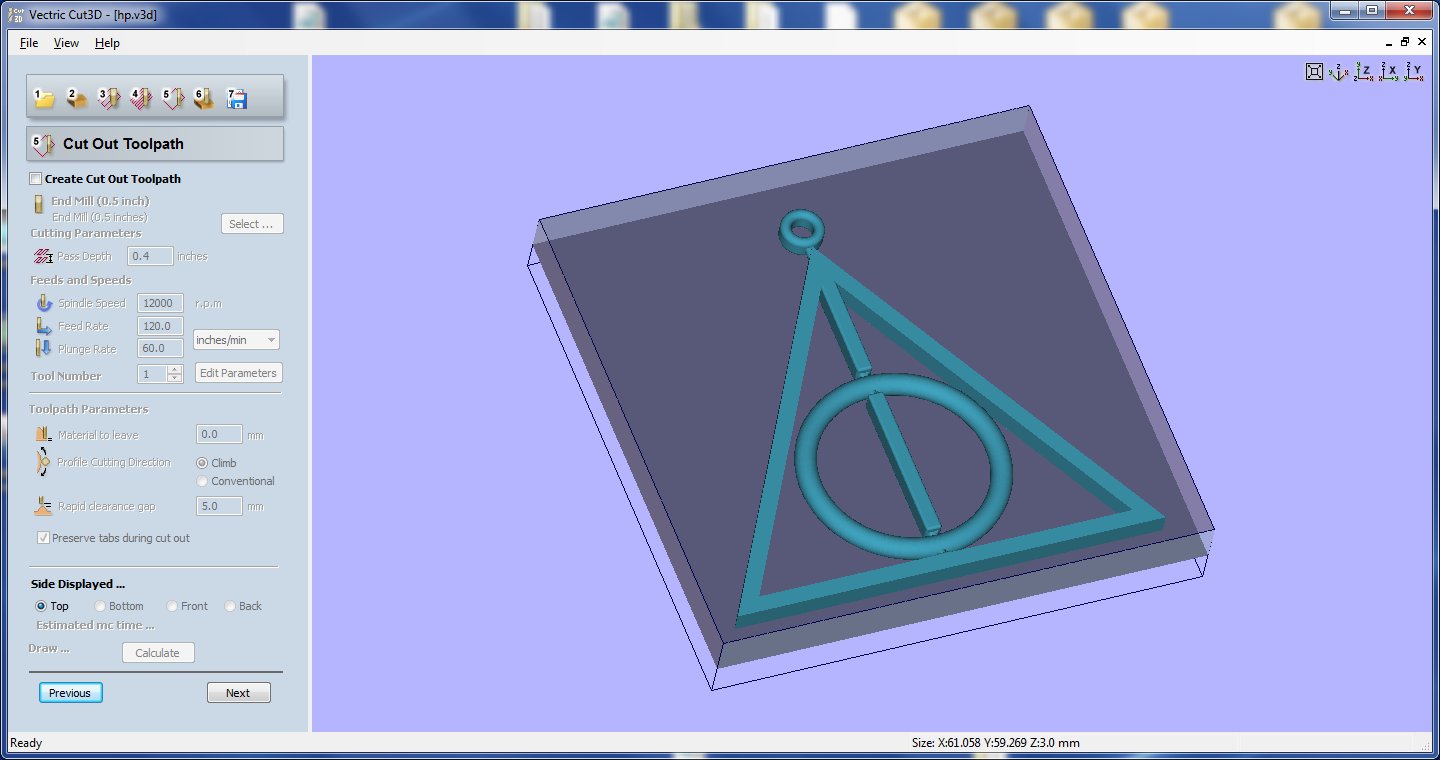
In the fifth step you set the cut-out toolpath: I did not need it, so I skipped this step
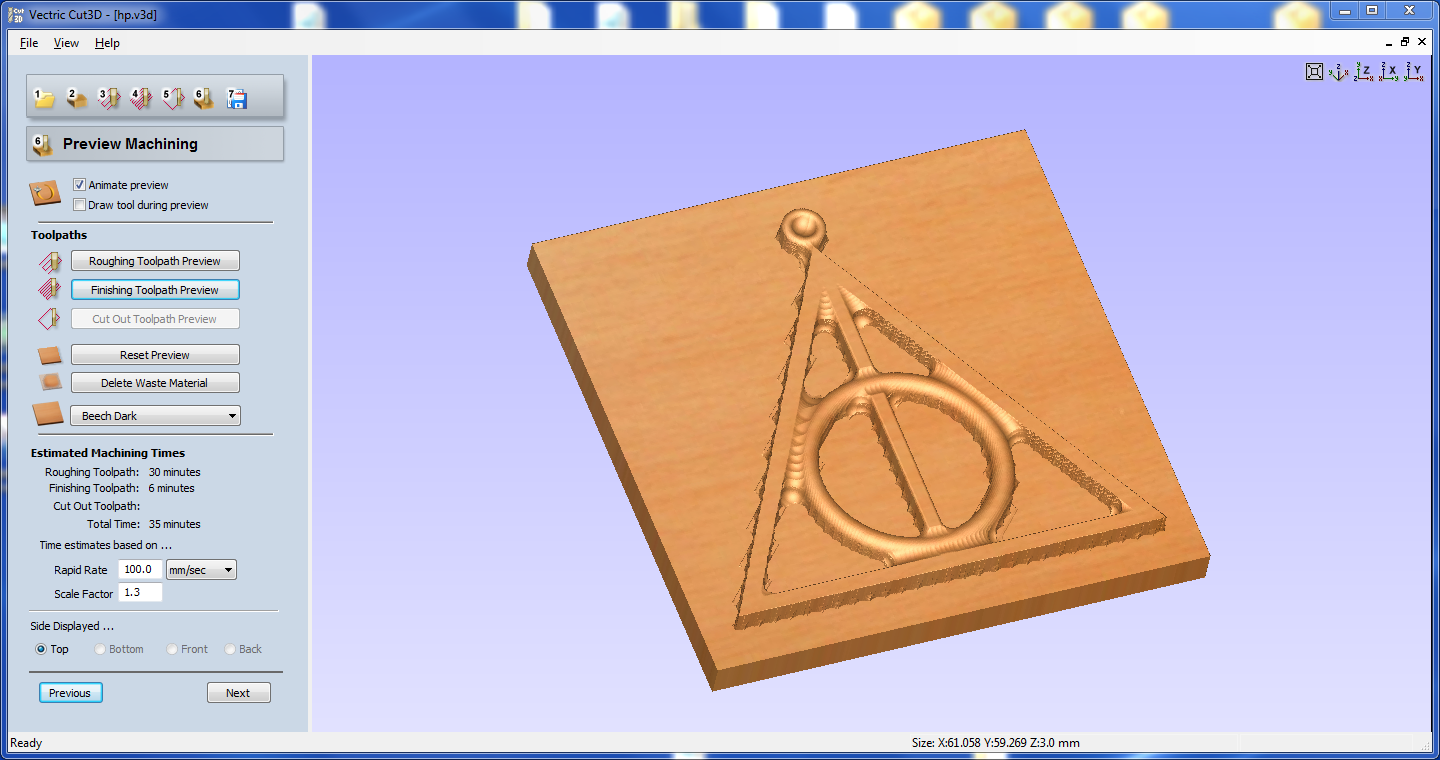
In the sixth step you can get a preview of the working, both for the roughing toolpath and for the finishing one.
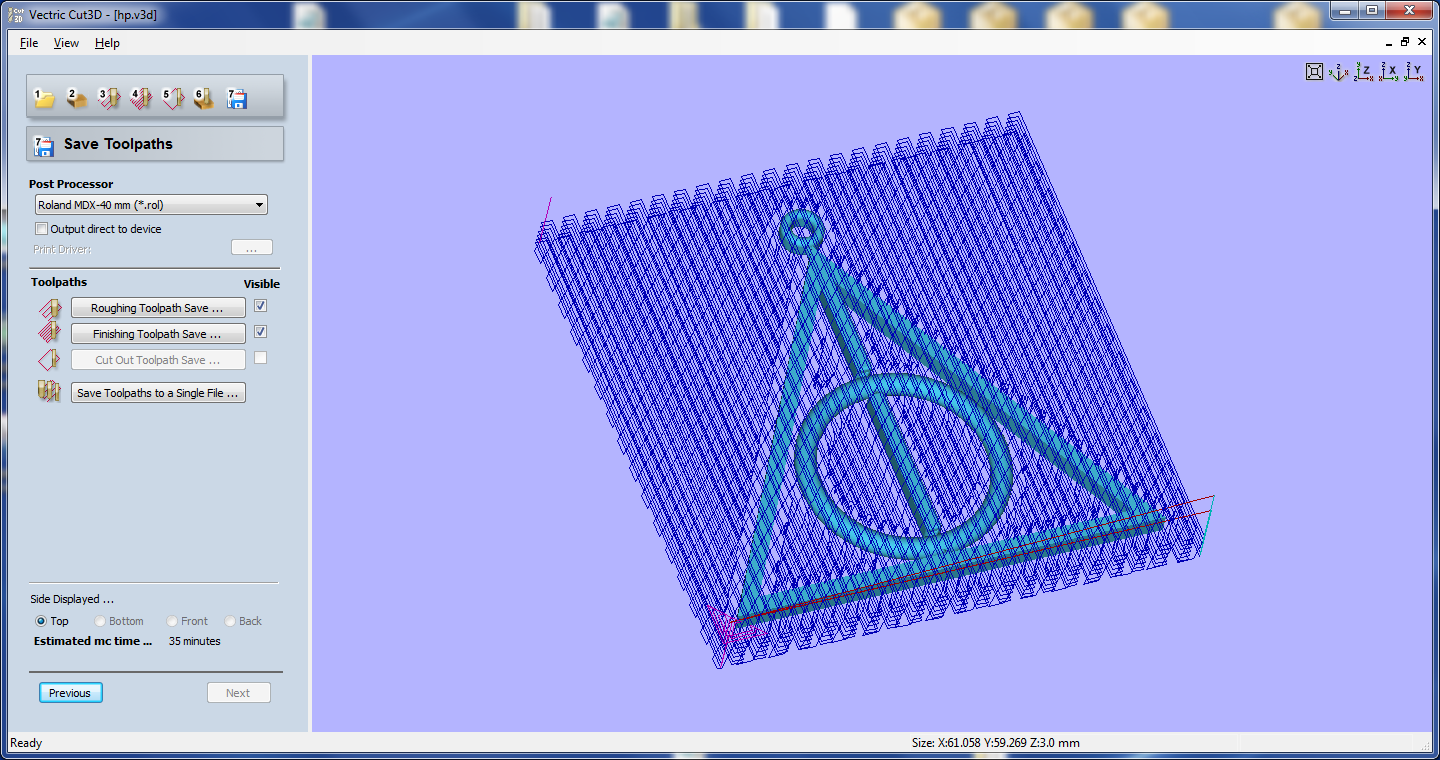
Then, in the last step you save the files. Not having to change endmill between roughing and finishing works, I saved both of them on a single file.
With Roland Control Panel, i send the gcode to the machine
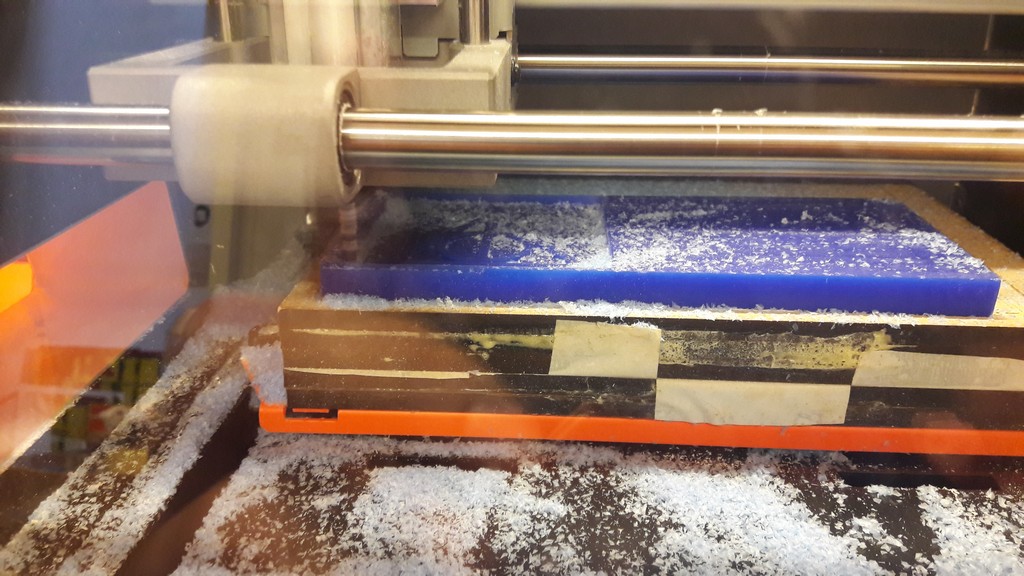
Work in progress
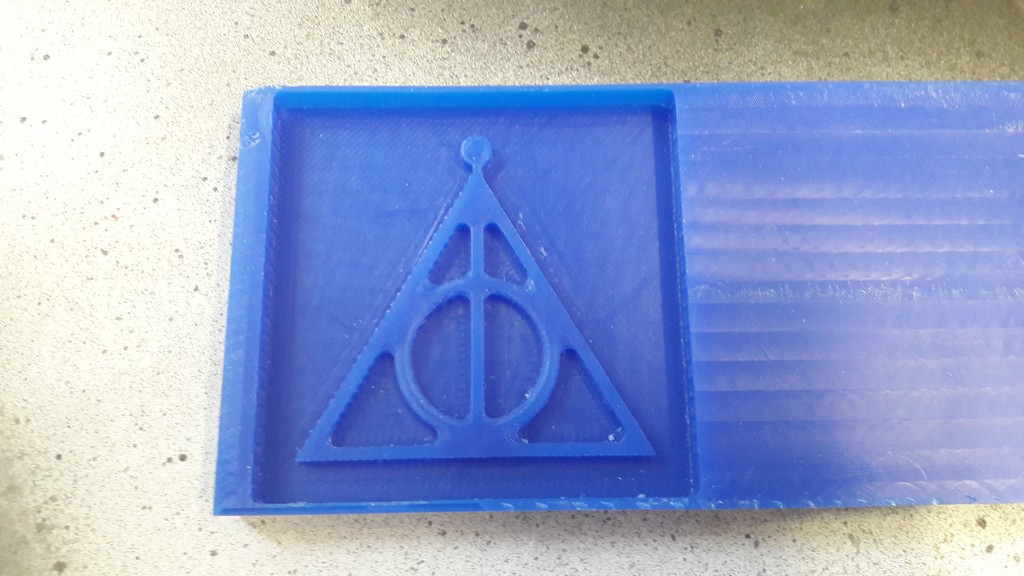
Finished work
I then used silicon for making the mold:
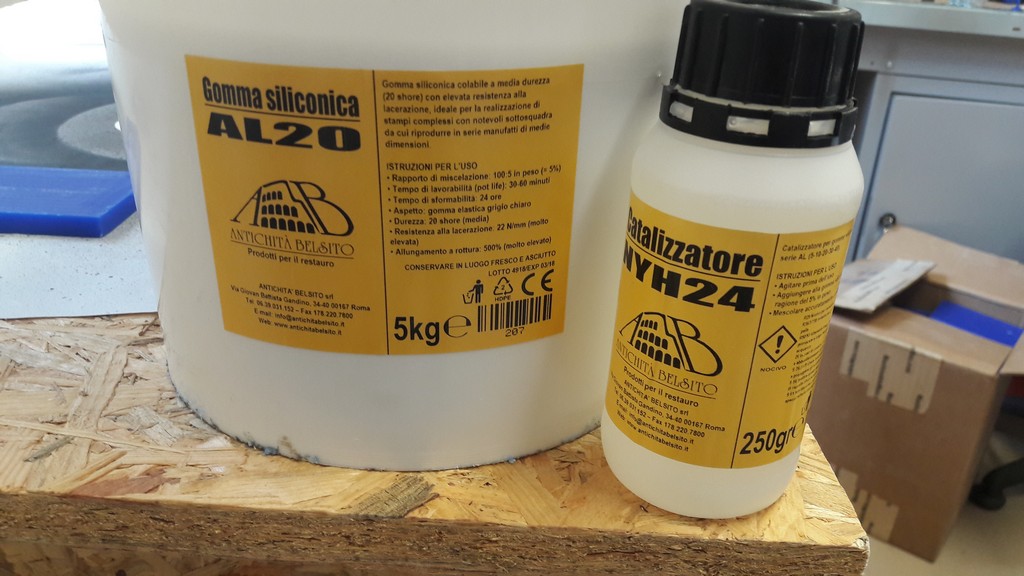
You need two parts: the silicon and the hardener, diluted at 5% of the silicon mass.
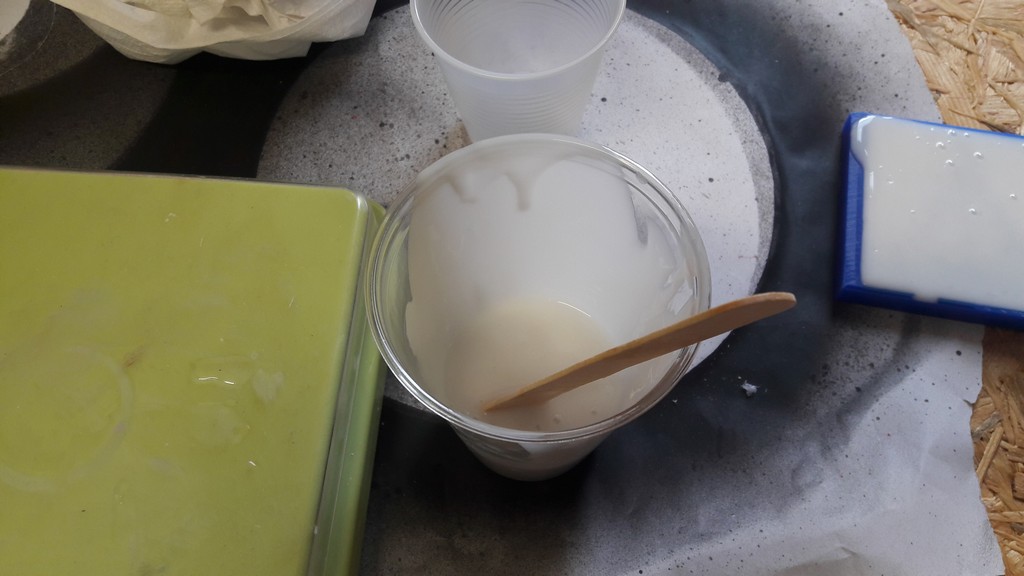
Using a plastic glass and a scale I poured down both of them (120 grams of silicon and 6 grams of hardener) and then mixed them
You can now pour the mix in the mold:
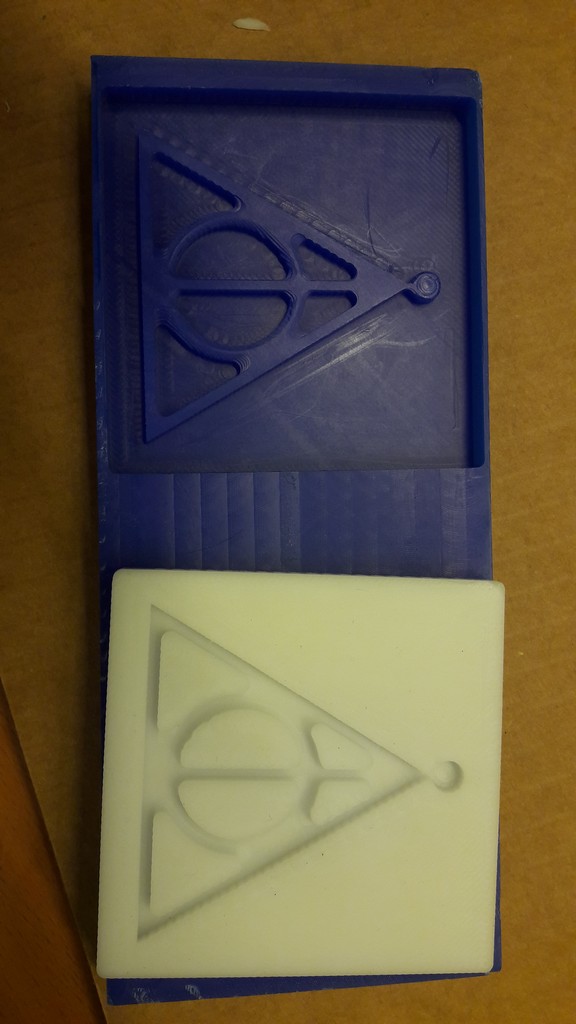
After a day it was hardened enough to being taken off the wax
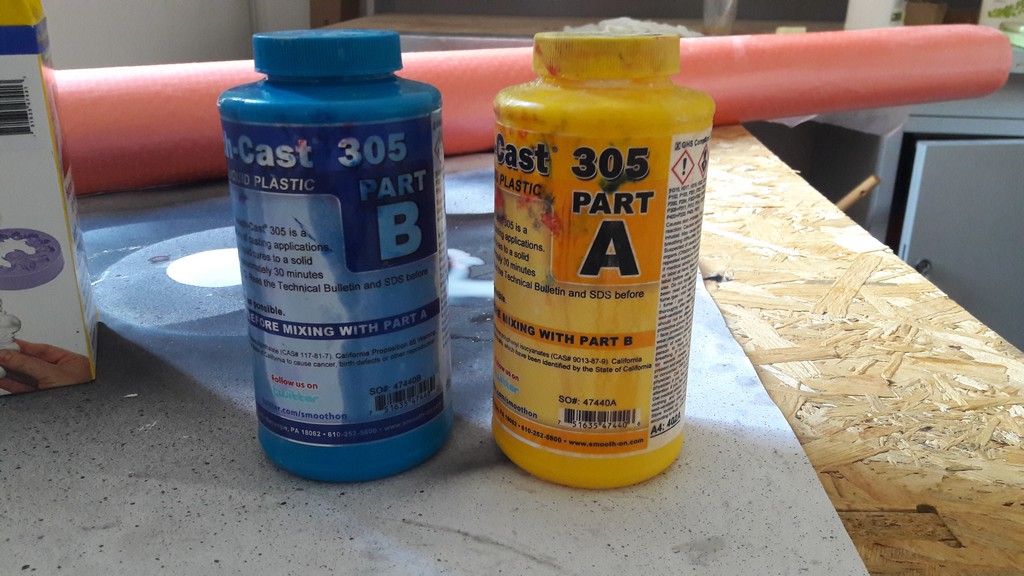
You can now make your model: I used liquid plastic.
Again, just like silicon, I mixed the two parts in a 1:1 ratio:
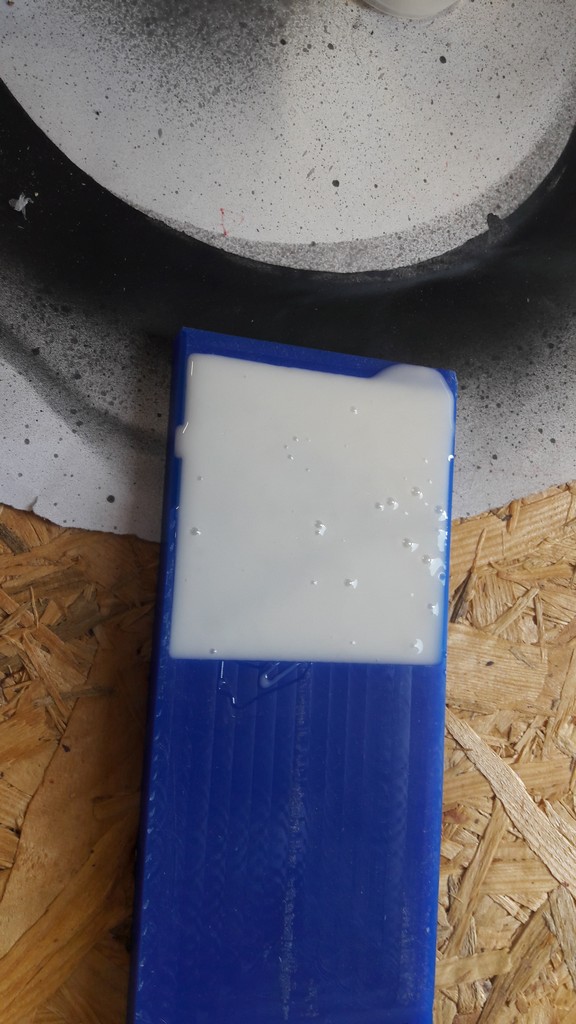
And poured them in the mold
Care doing this step: pour slowly from the same point to avoid air bubbles!
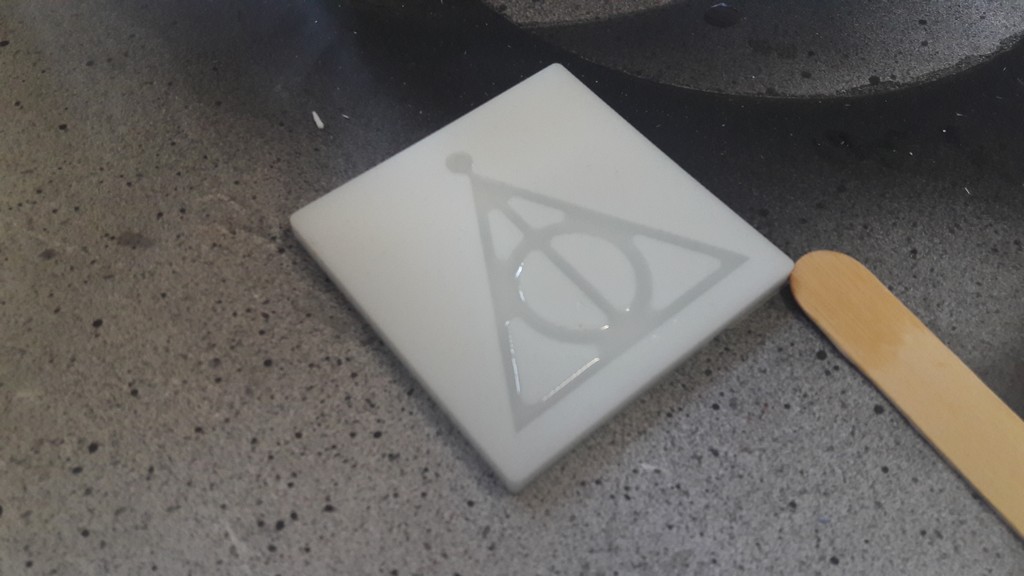
This is the final result, before and after the polishing:
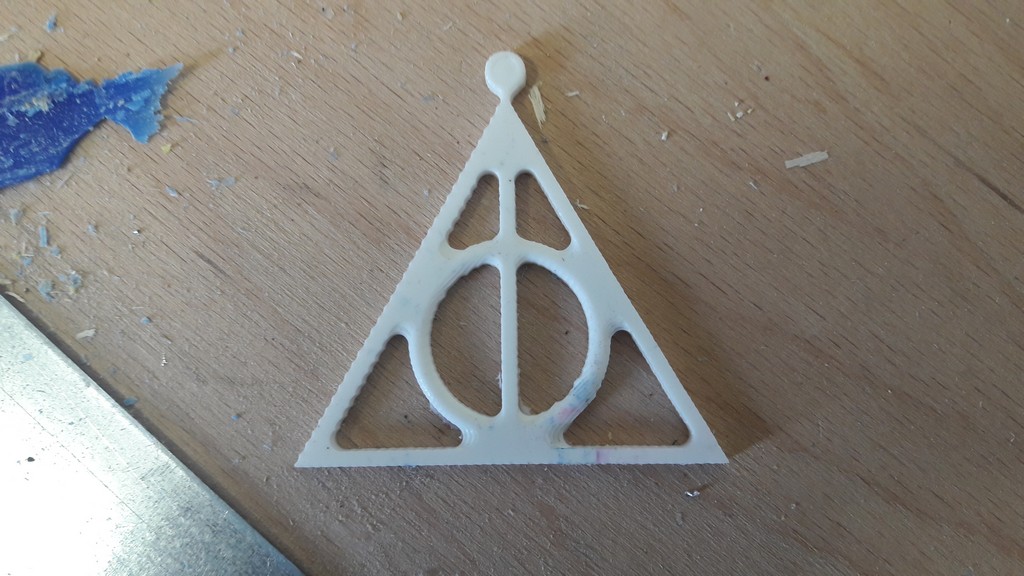
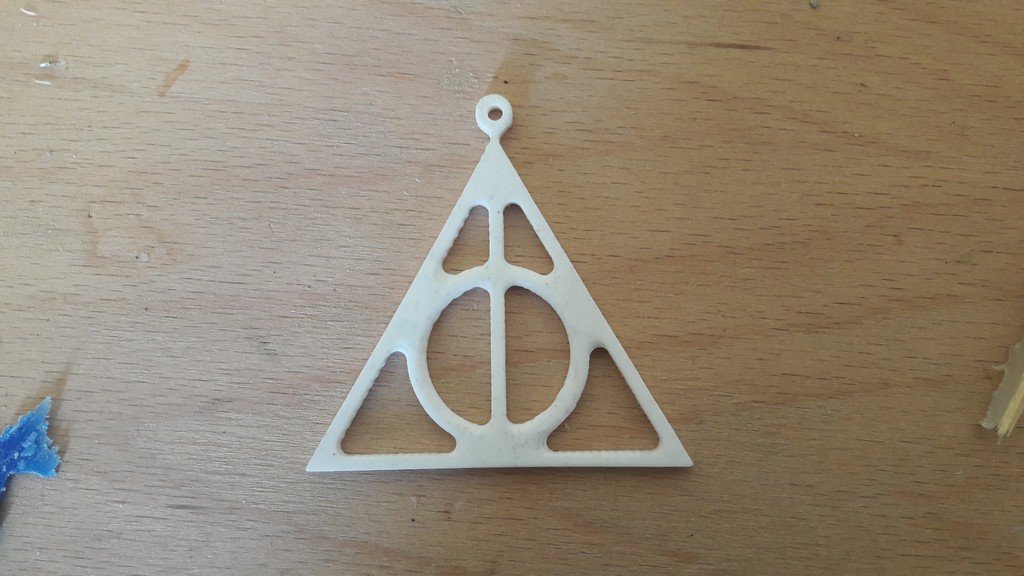
I had to drill a hole with a drill press because from Cut3D i did not notice i wasn’t being cut.
4 - Files
Cut3D files and Roland file - .zip
5 - Update
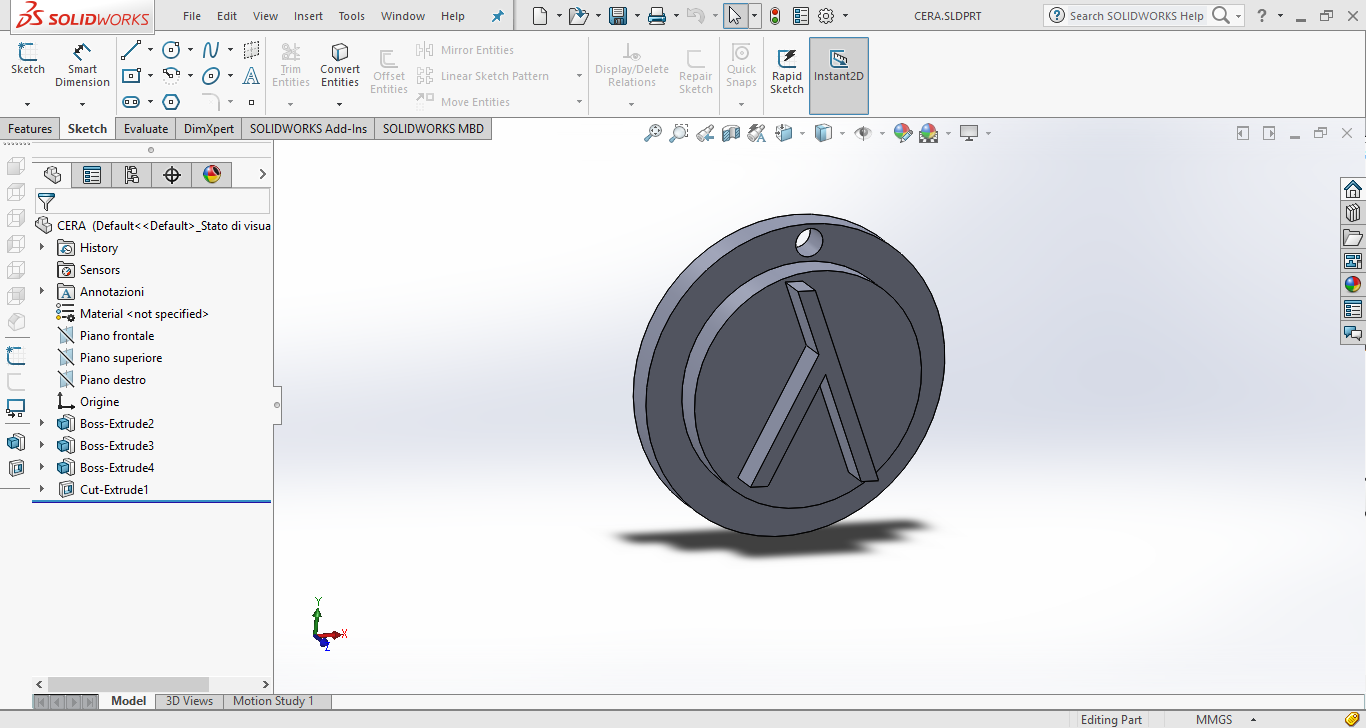
Not having designed the object, I did another mold, this time with an object I designed myself.
I followed the same procedure as above with Cut3D except that I checked the option “Create extra pass at 90 degrees to first” to get better results with the circle, because in the other milling the circular lines did not come so good.
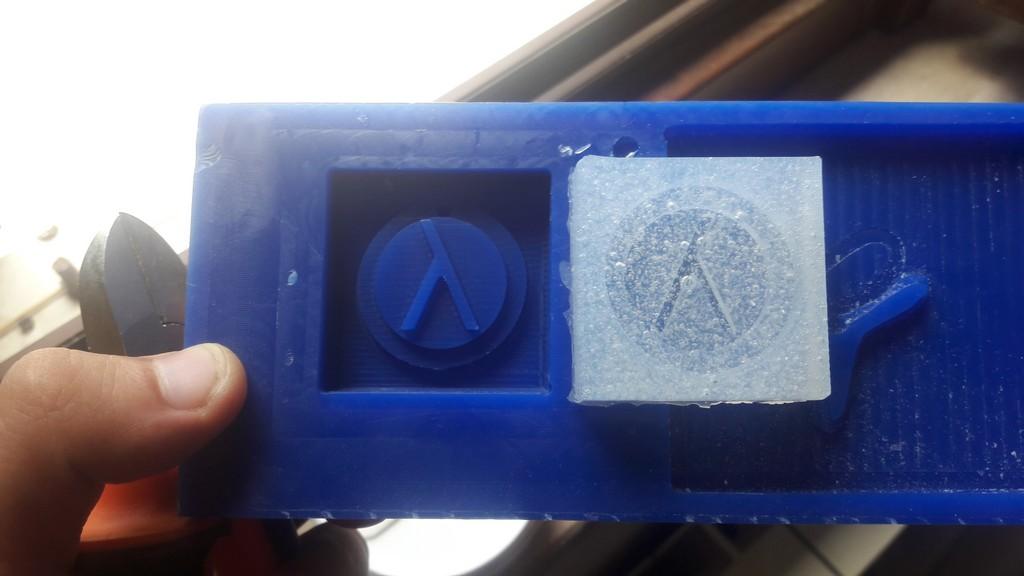
Here’s a photo of the mould:
And of the final result:
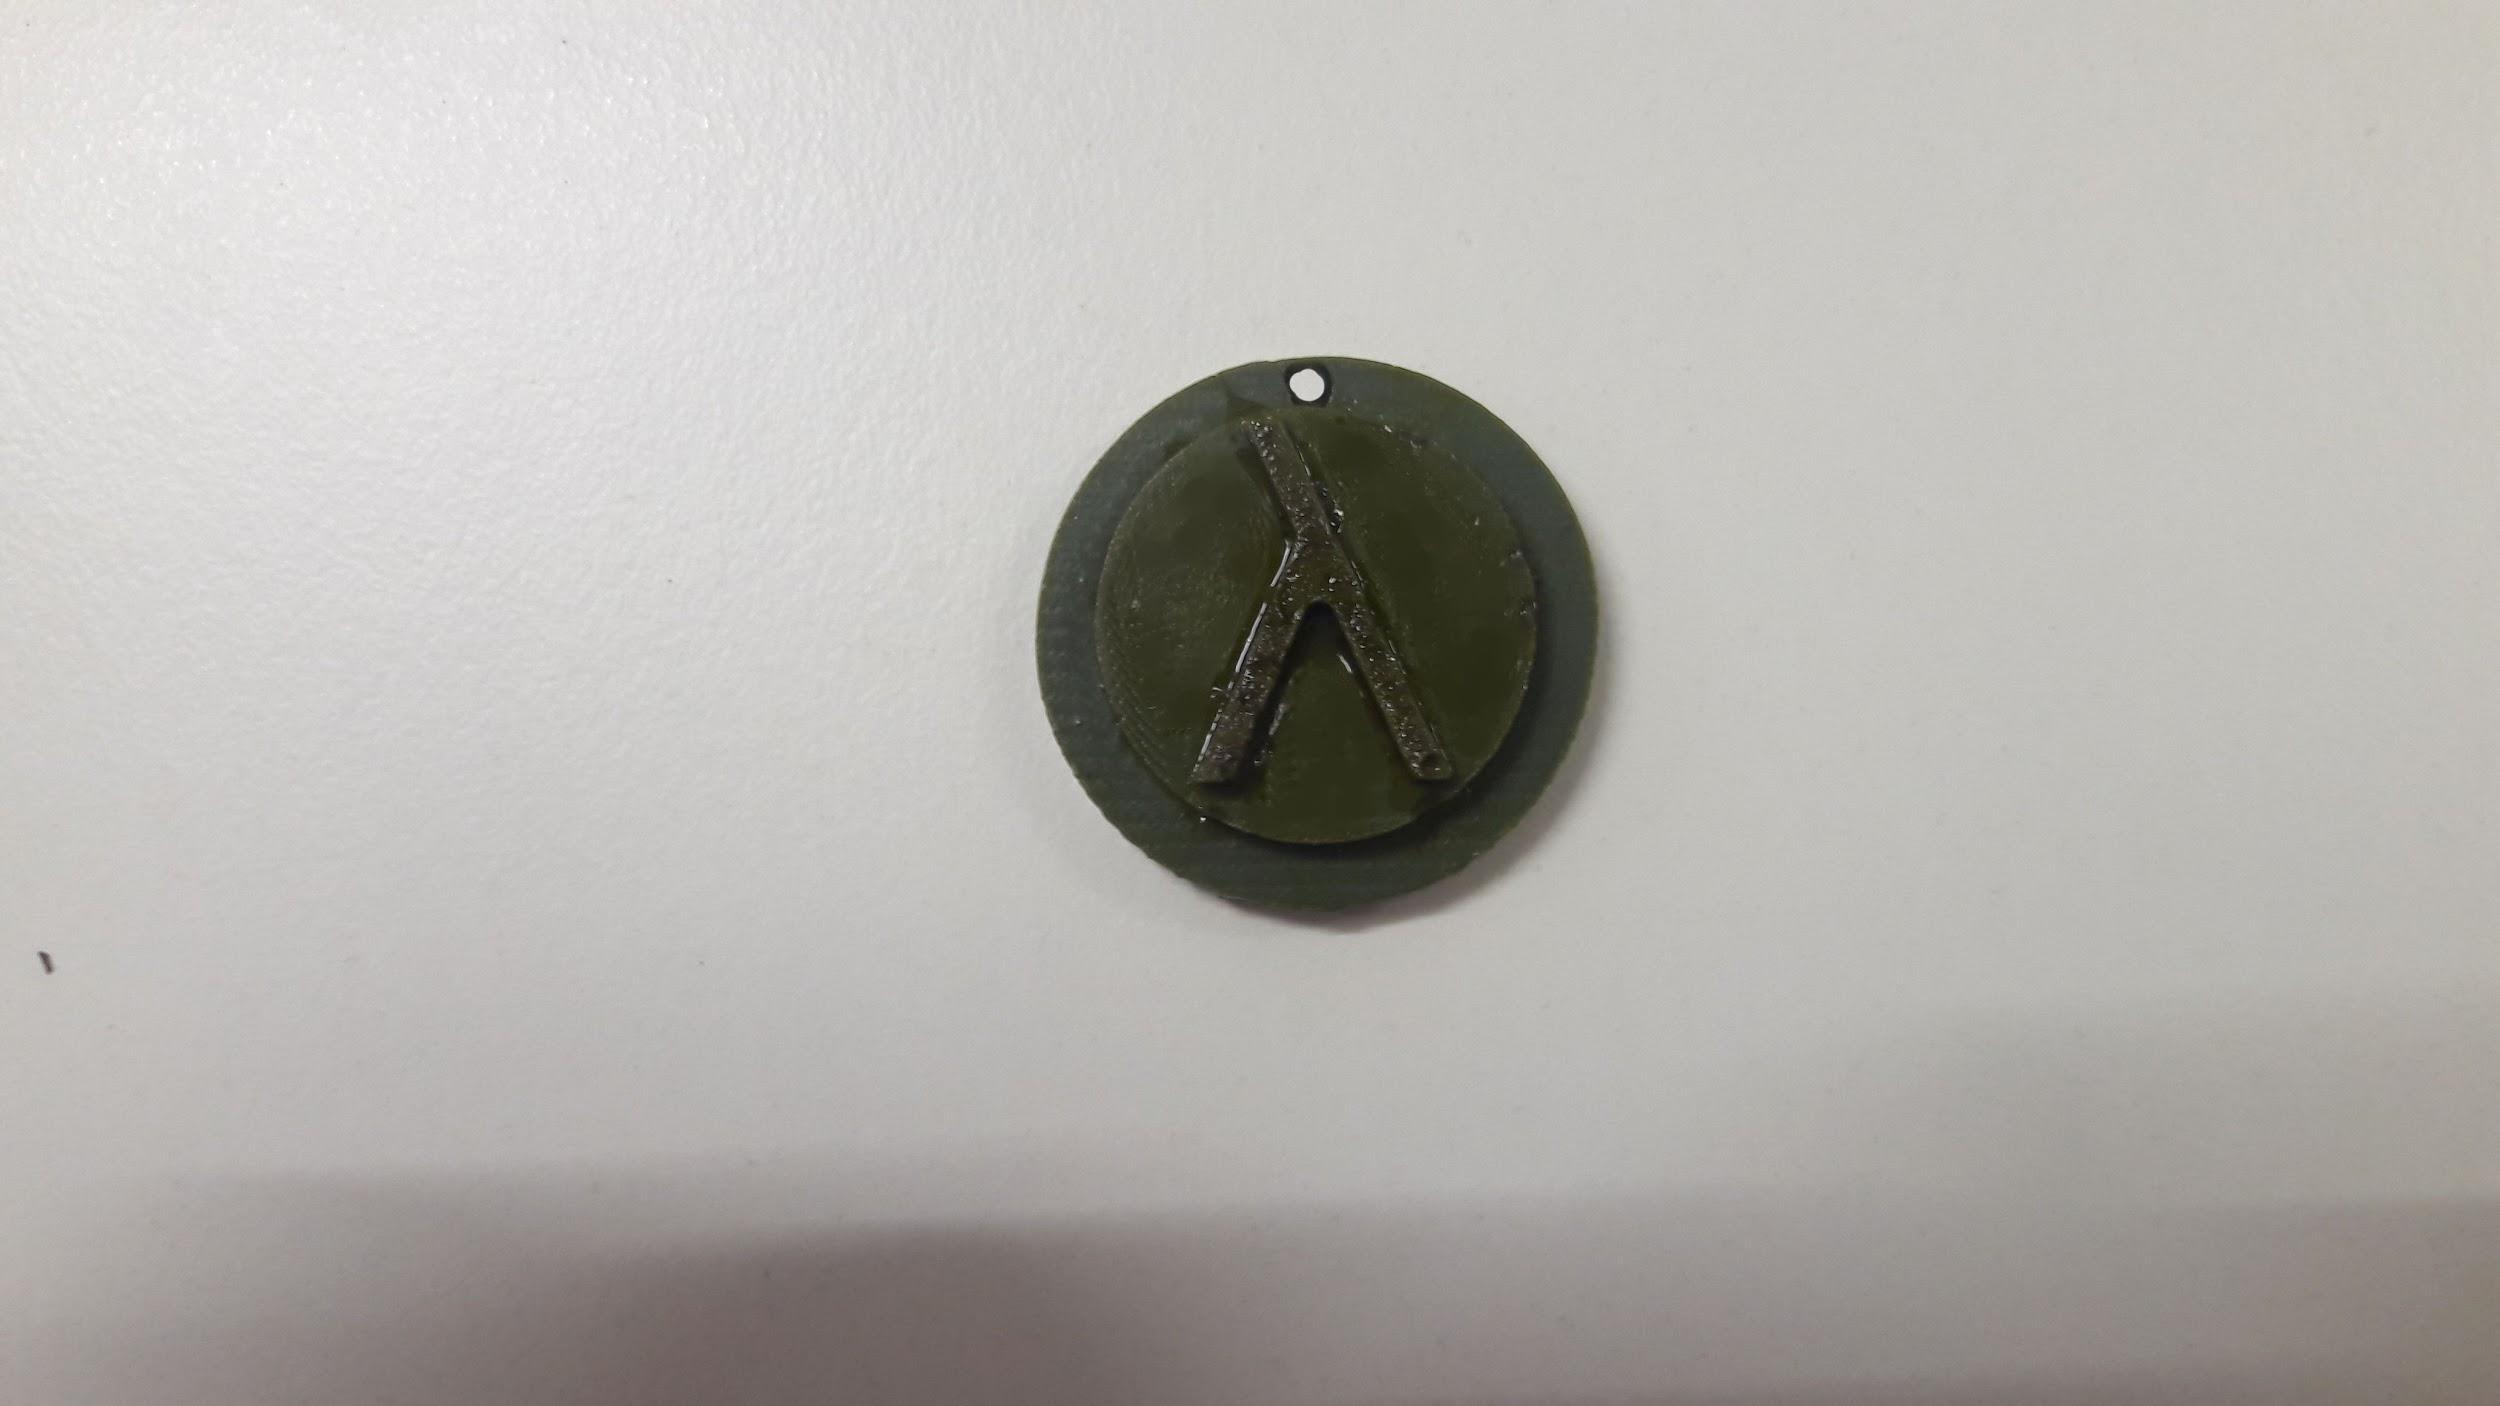
(the color did not come so good, I tried mixing yellow and black to get a brown-like colour, but the cast came perfect)