3. Computer -controlled cutting
 Feb 10, 2016
Press-fit Design
This week's assignment is to make a press fit construction.
In this assignment, I used 123D Make.
I would like to try every functions in 123D series.
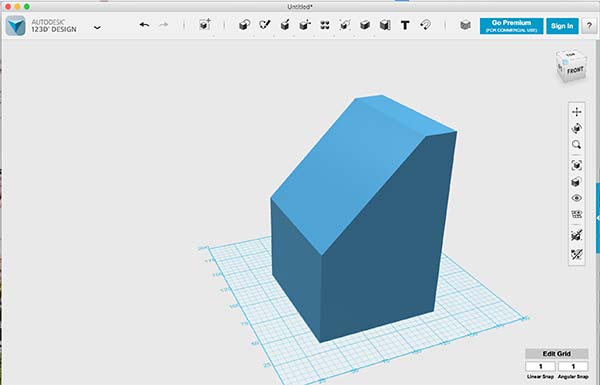
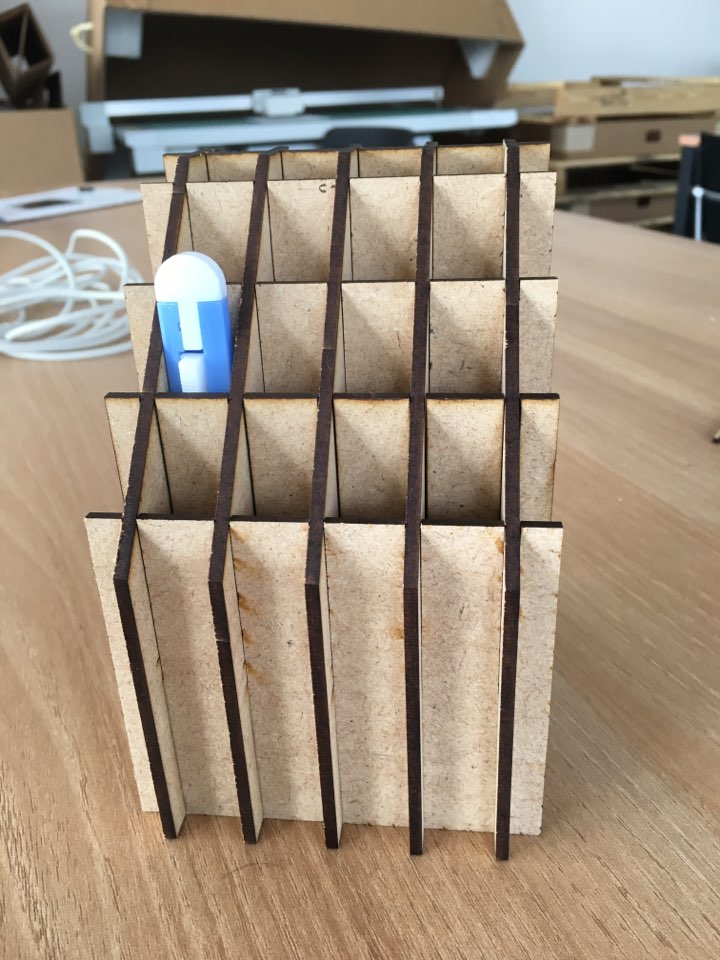
I intended to make a pencil case for my new office.
I had different length of pens and pencils, so I designed a case that I could easily find my pens.

Click the 123D logo than find 'Send To..'
Click it, than you will find 123D Make.
You can import stl or obj file or directly from 123D Design.
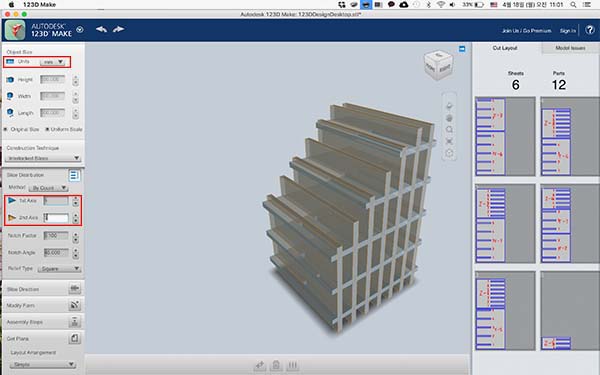
Set a object size and choose a construction technique
Stacked slices is not appropriate for press fit. It's more like 3D printer slice.
I chose "Interlocked Slices"."
Next is "Slice Distribution".
The good point of this program is that you can control slice direction easily and it shows which sliced part has an error.
I changed number of slices in each X and Y axis by calculating the size of the thing and the size of the holes to put pens in.
For me, 5 slices looked appropriate.
However, the holes were in the sides. I had to make vertical holes.
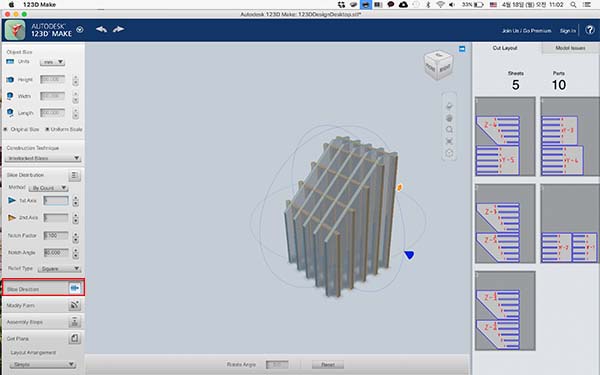
I changed slice direction to make the holes in Z axis.
By clicking a "Slice Direction" and moving 90 degree in X axis I could simply change it.
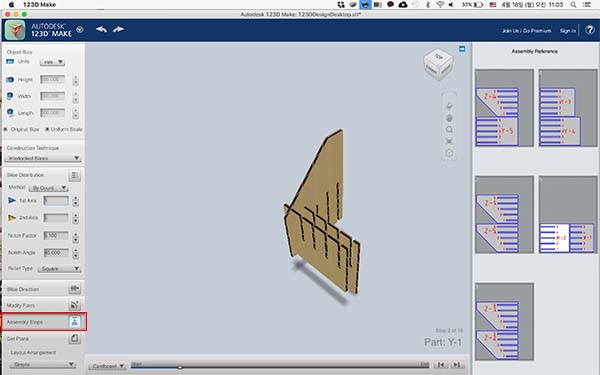
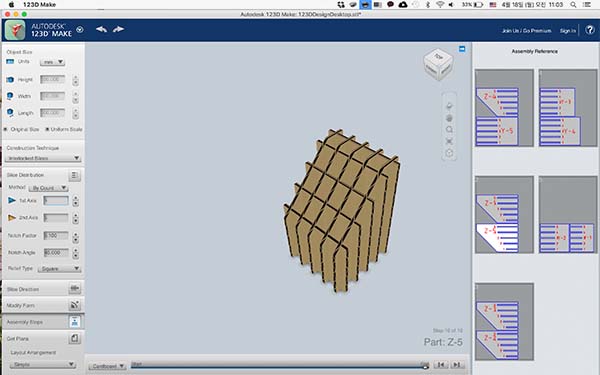
"Assembly Steps" showed how I could assemble the pieces.
In this step, I checked the design.
When there is a wrong piece, you can see it red colored on the designed plan.
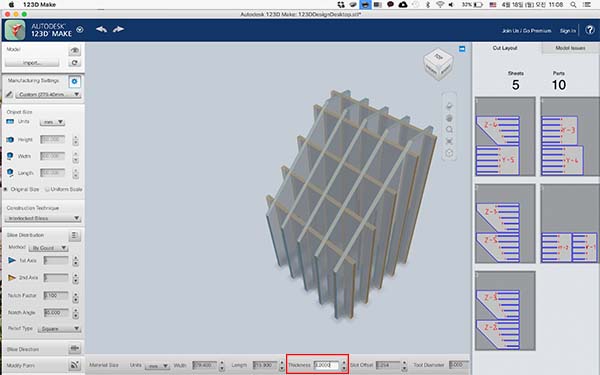
After checking all the steps done properly, I checked the material setting again.
I found that I didn't make the setting right.
Especially, setting a thickness correctly is very important, because the joinary part depends on the thickness of its' material.
I used 3T MDF, and set the thickness 3.2mm.
The reason why I added 0.2mm more to the thickness is that I measured the thickness in the center of the material and calculated the average.
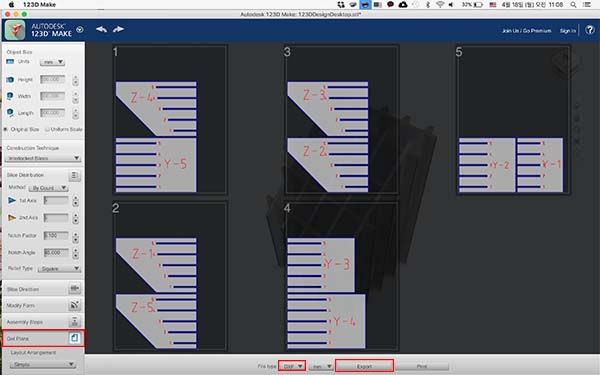
Last but not least, click on "Get Plans" and make dxf file.
On the picture above, I made a mistake on setting a material size.
I had to rearrange the design files on the lasercutter software.
Laser cutting
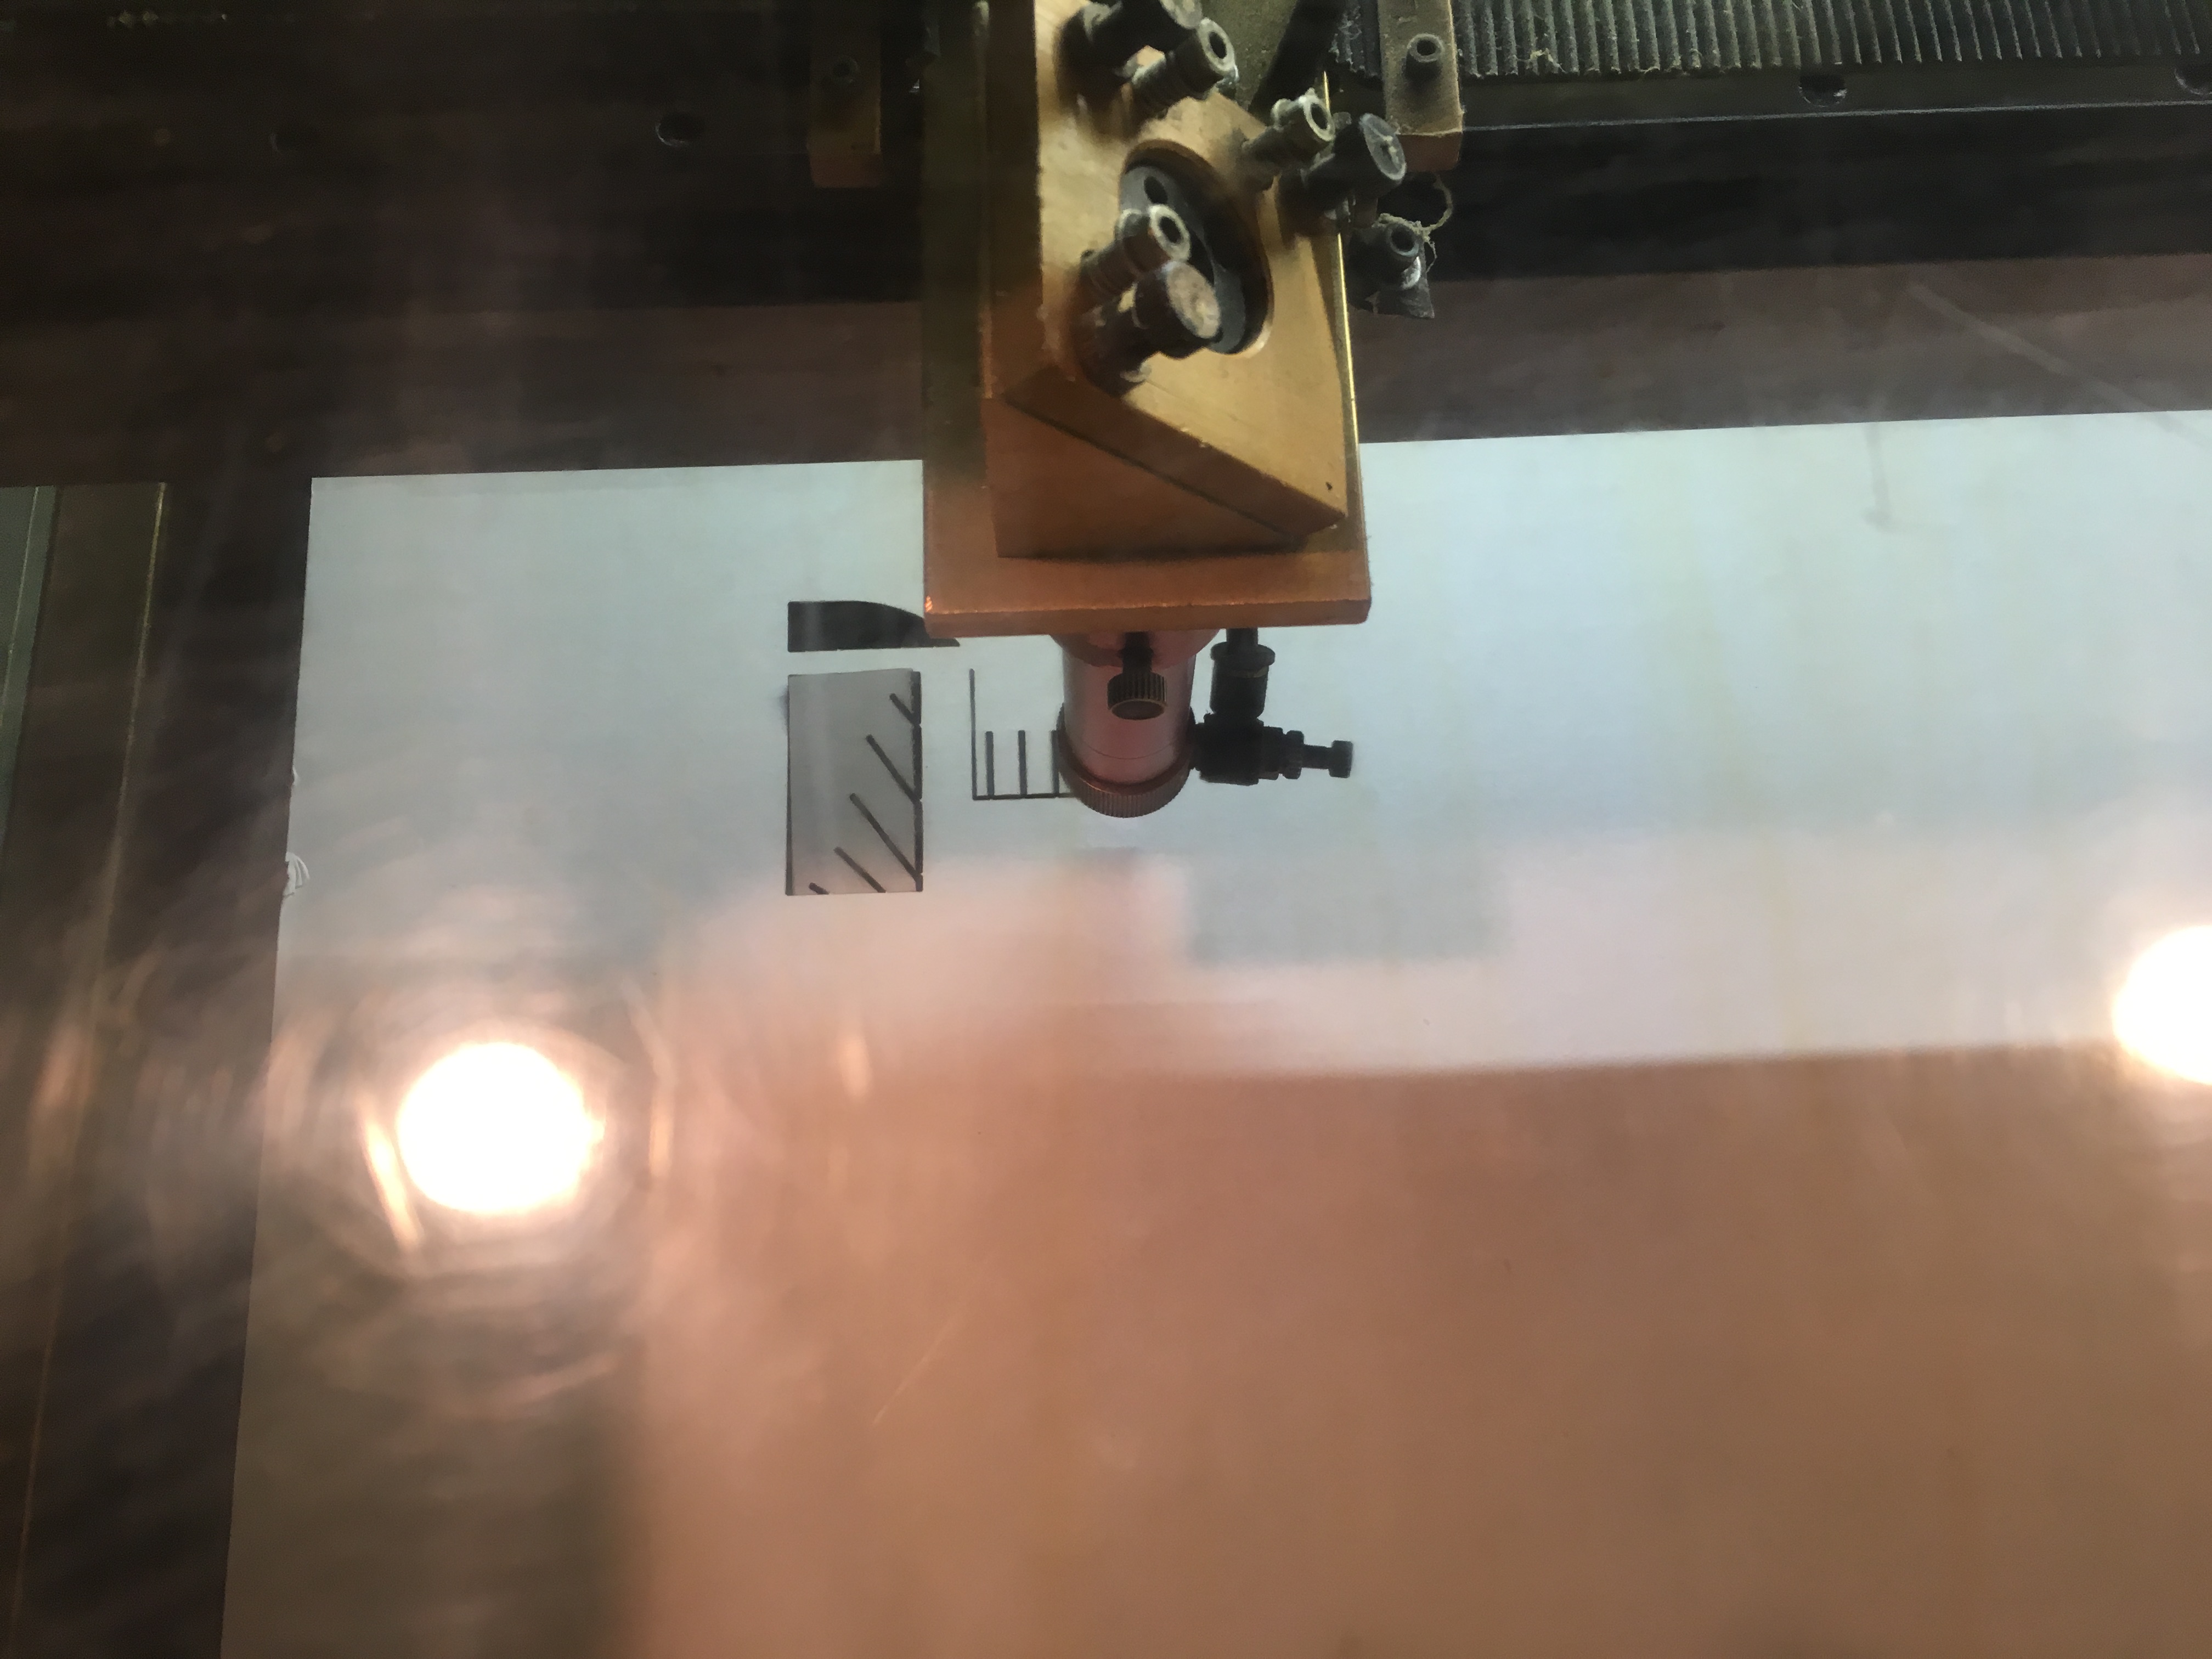
How laser cutting machine works is that the machine transmit lasers with a tube (the picture below) and it penetrates them through 3 mirrors (rear mirror, gantry mirror, head mirror) inside the machine. Last but not least, it goes through a focussing lens to work piece. Once, I've removed the focussing lens accidently and it had a problem to focus the lens into the middle of the work piece. The lens was very vunerable and easy to move.
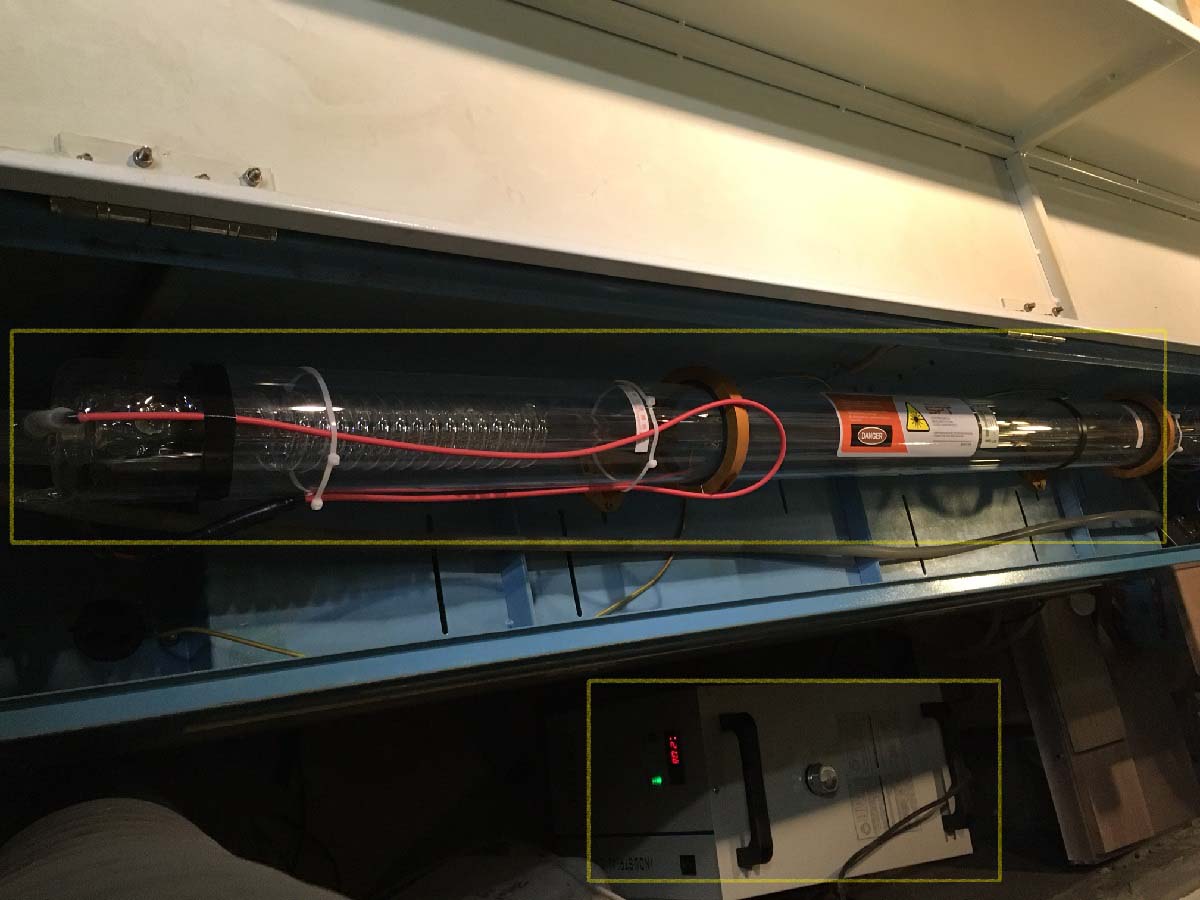
It is very dangerous if not noticed that the lasers are actually invisible but transmitted a mirror to mirror(or lens) in the air.
My instructor put a paper in the air, between the mirrors and turn the machine on. The paper soon got burned.
I changed the filename into .dxf and imported to the lasercutter software. For me, it was "HSG Laser"
Next, I had to know the bed size of the machine. It was 1100x900, so I put my drawings fit into the bed size.
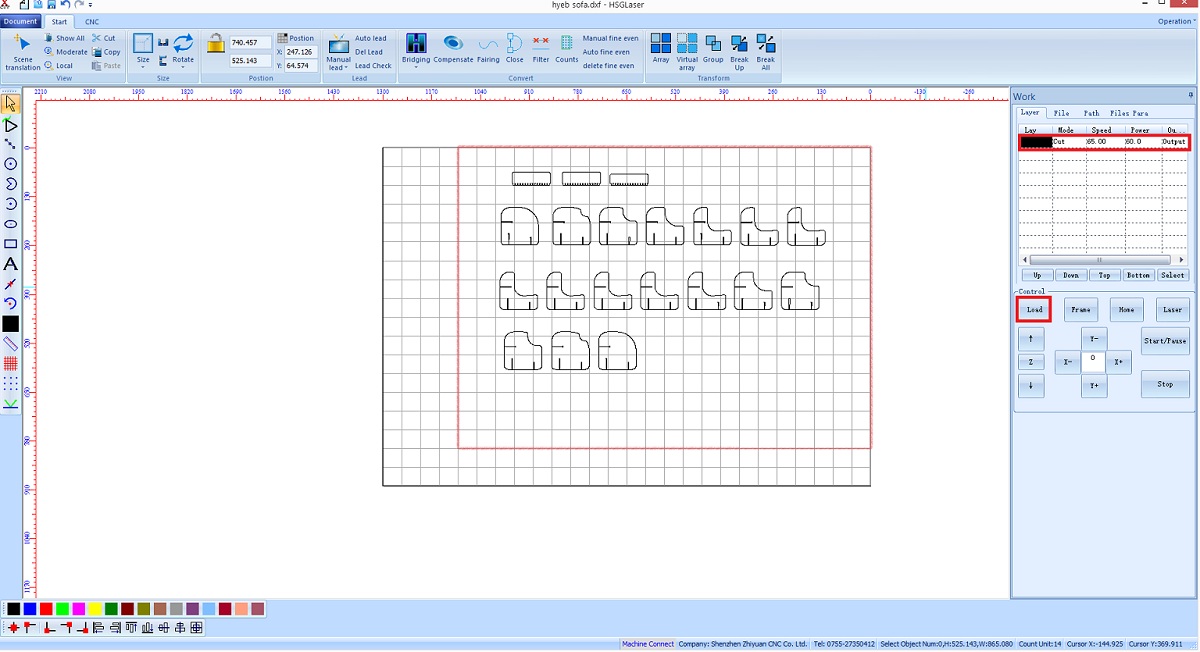
Next step is layer setting. Making a pressfit was not necessary to make more than one layer. I simply dragged all the drawings and made it to one layer.
Layers can be divided by colors you set.
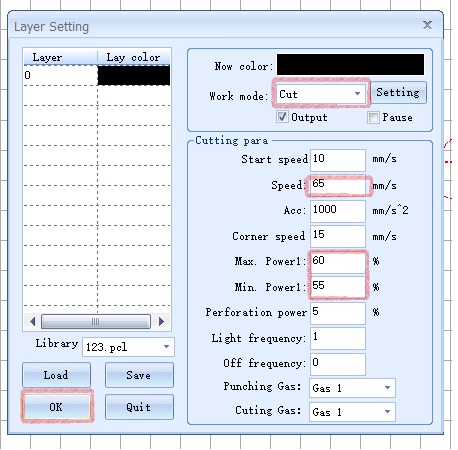
I used 3T MDF, and maximum 100%, minimum 80% of power with 65mm/s was just enough.
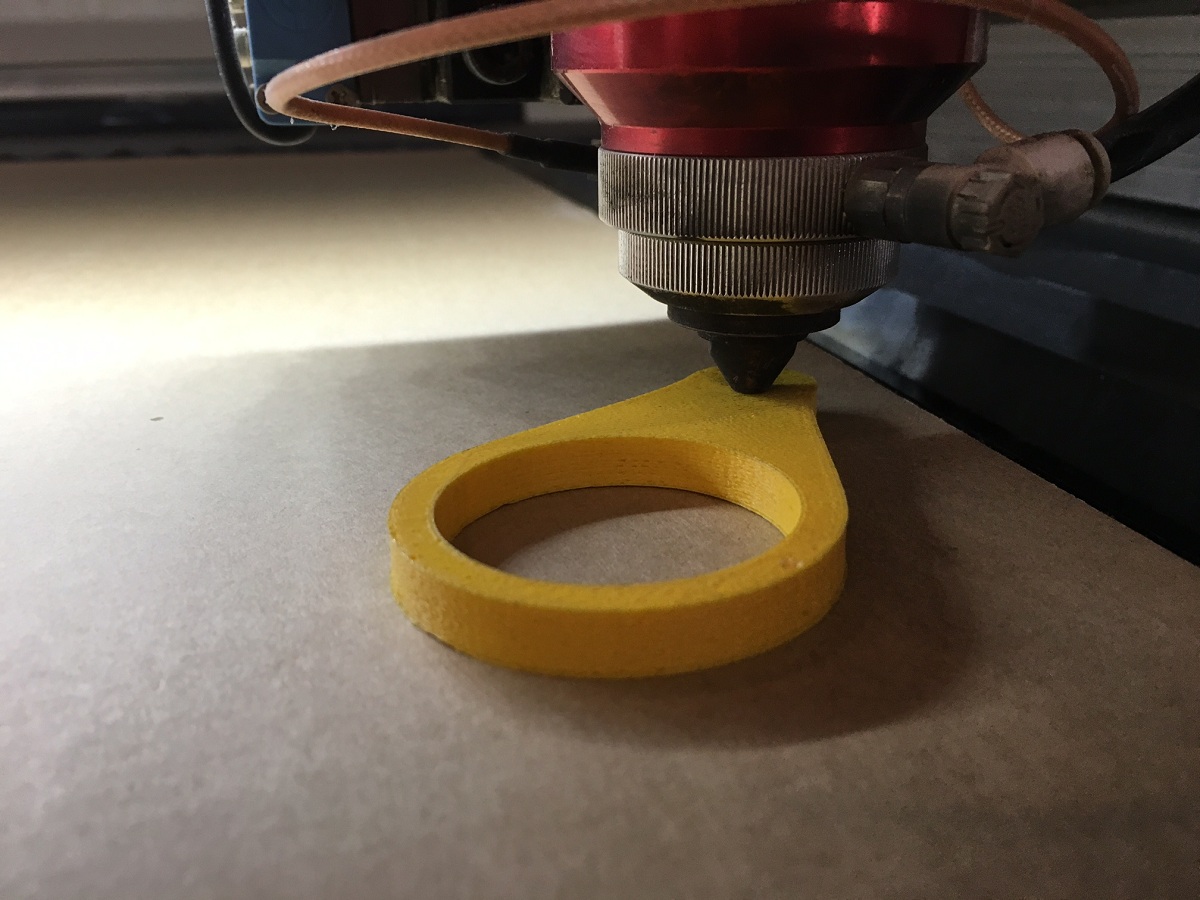
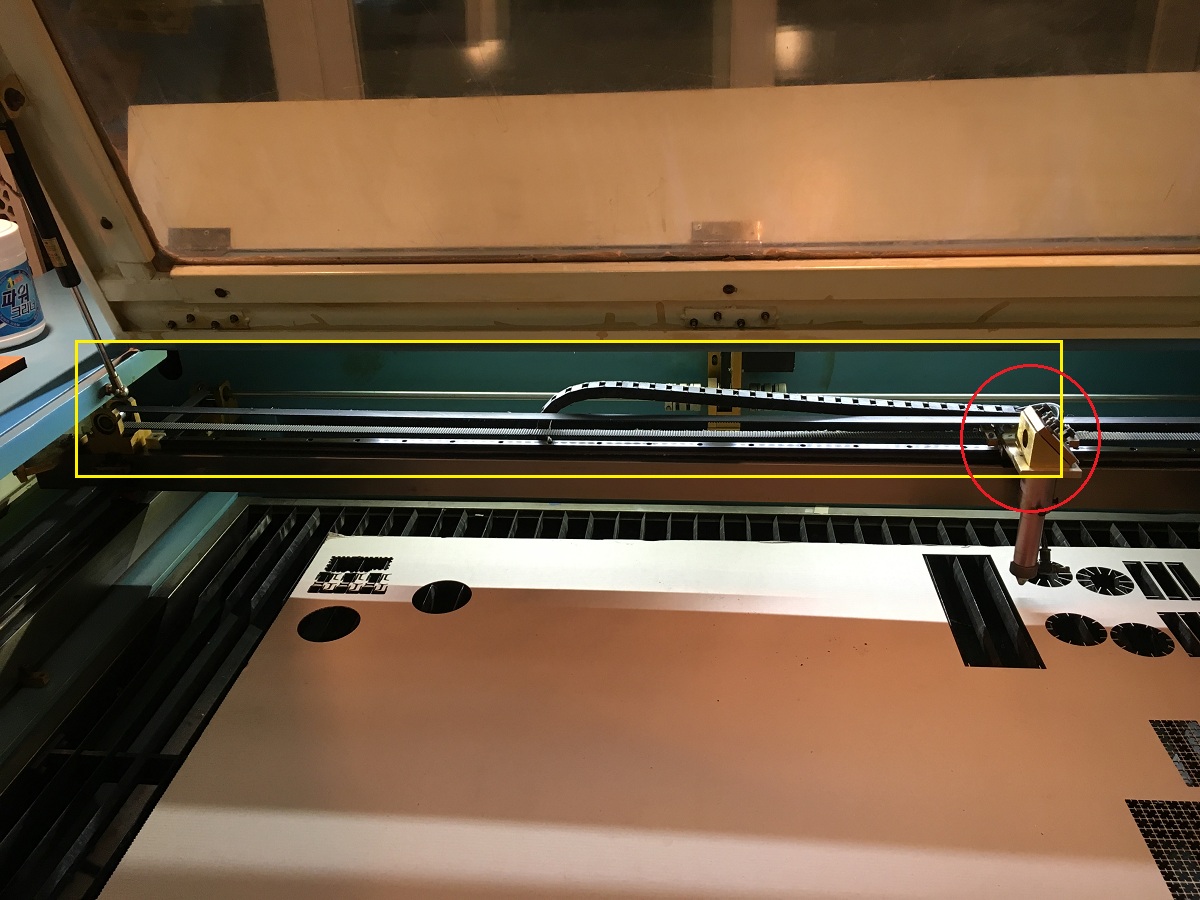
There should be a certain distance between the nozel and workpiece. the nozel can be moved in X,Y, and Z axis by a controller. (Some machines have to be moved z axis by hands)
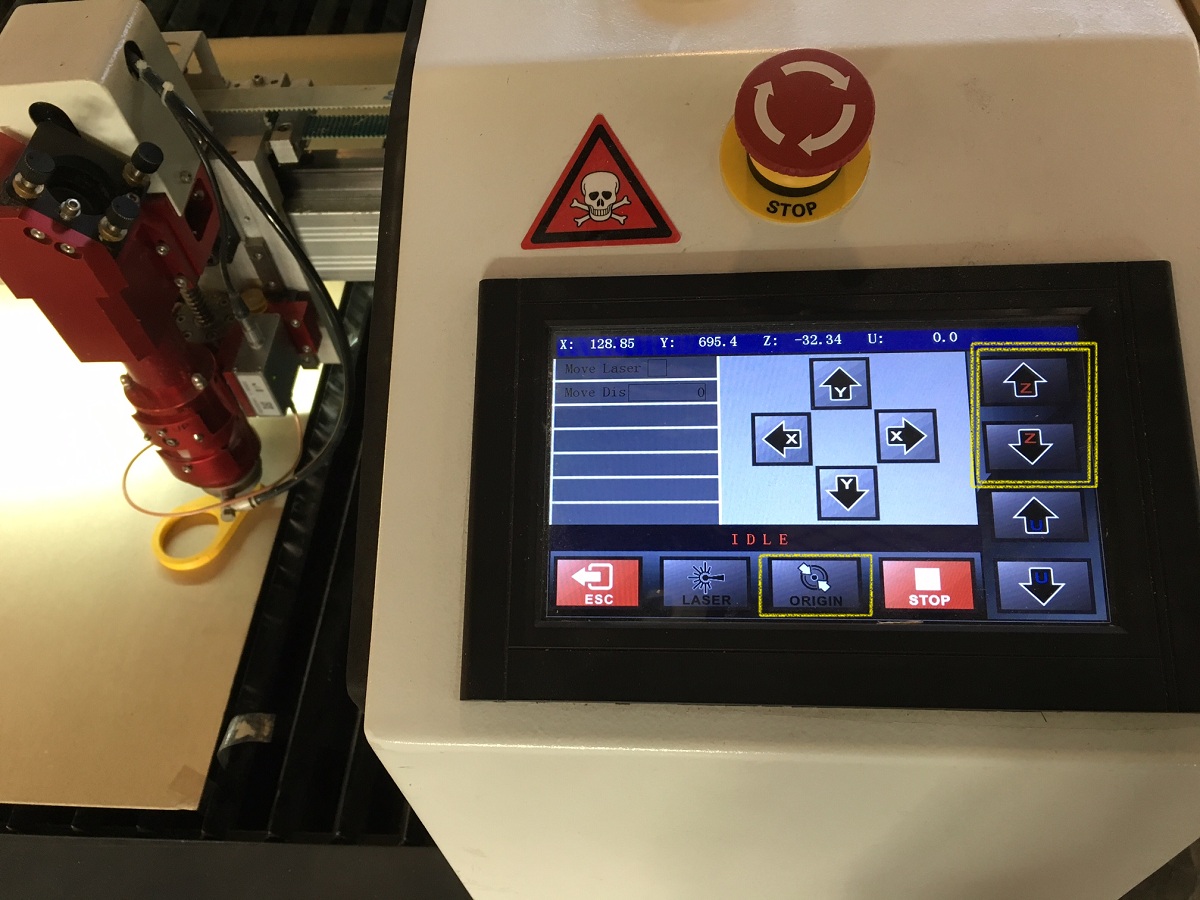
Lucky me, I did it with it's own controller. Next, I moved the nozel to a starting point and pressed origin button.
To make sure if there is no mistake, I pressed frame button and saw the total boundary of cutting is in the right area.
Done!
Vinyl Cutting
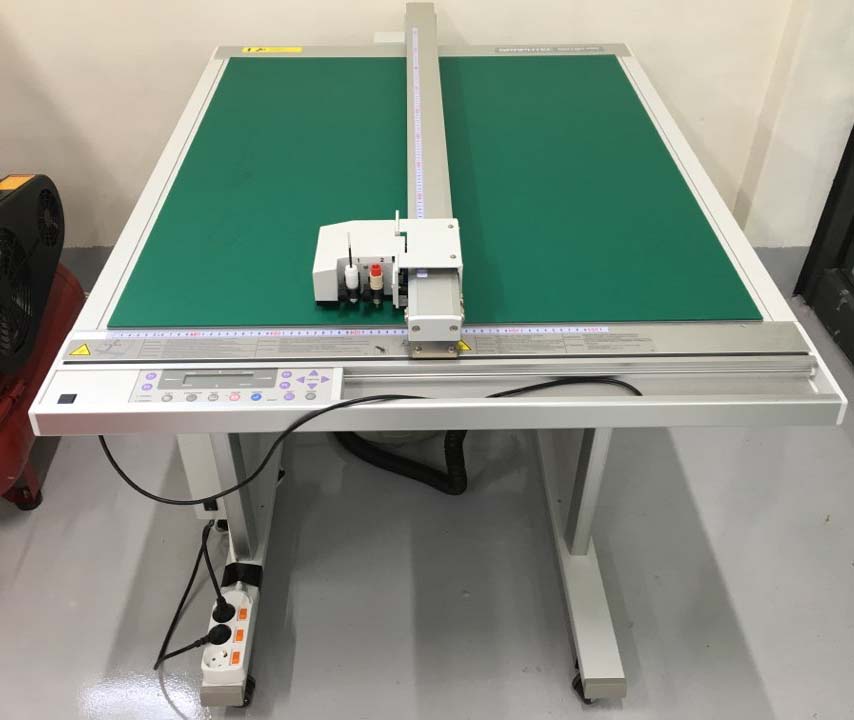
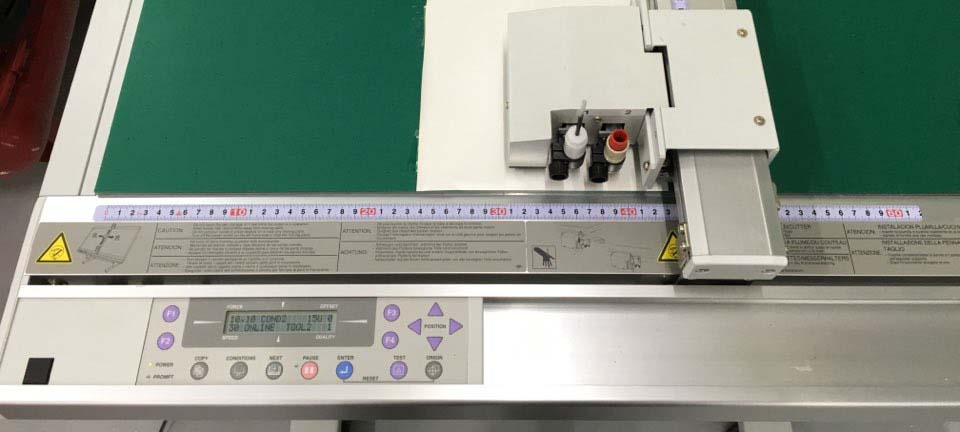
This vinyl cutter is what we have in Seoul Innovation Fab Lab.
It's FC2250 from Graphtec.
I've only tried "Cameo" before, and this was my first time using falt cutting bed.
This looks to have more possibilities of making.
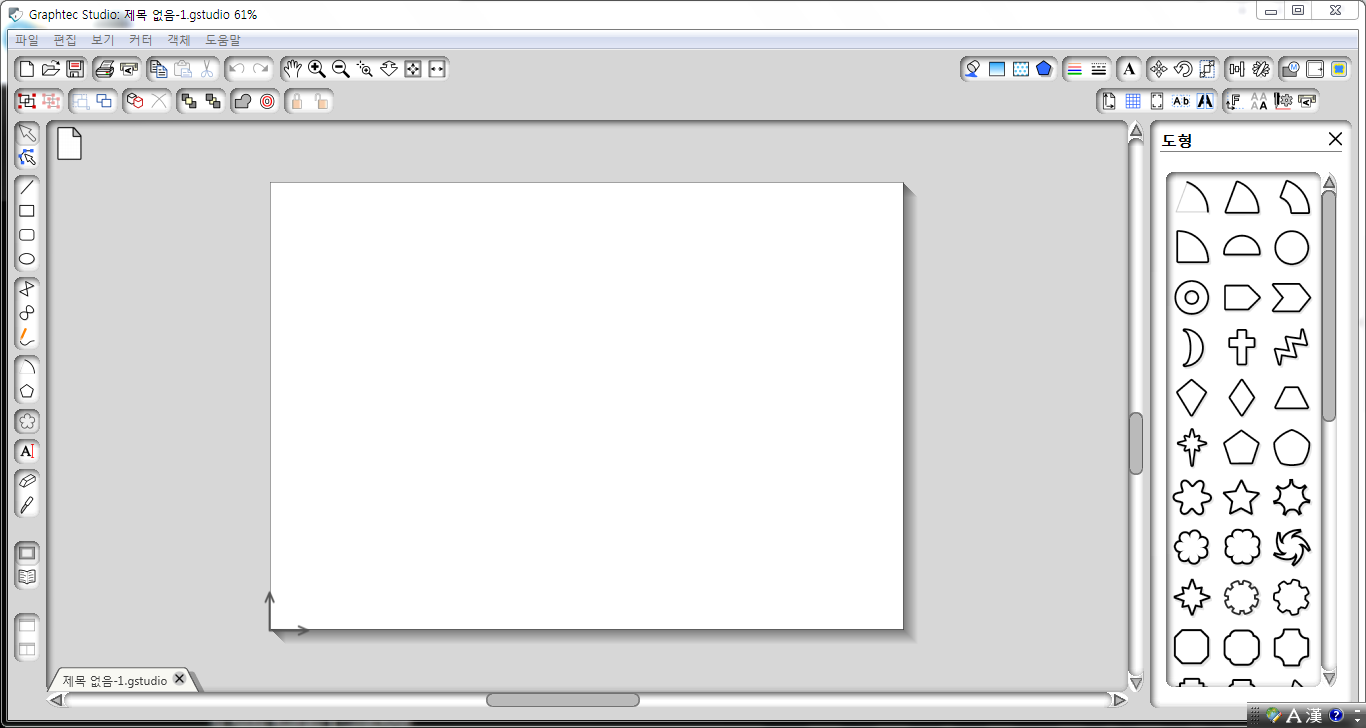
The software gives not only cut settings but also drawing tools.
There are lot of drawing tools that you don't have to teach illustrator to beginners.
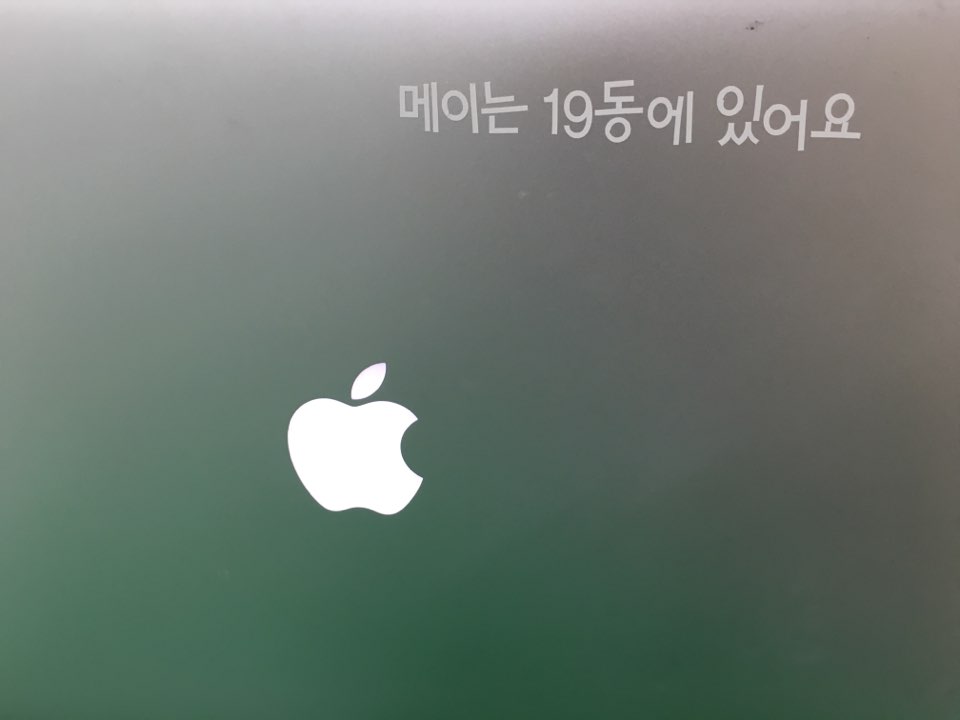
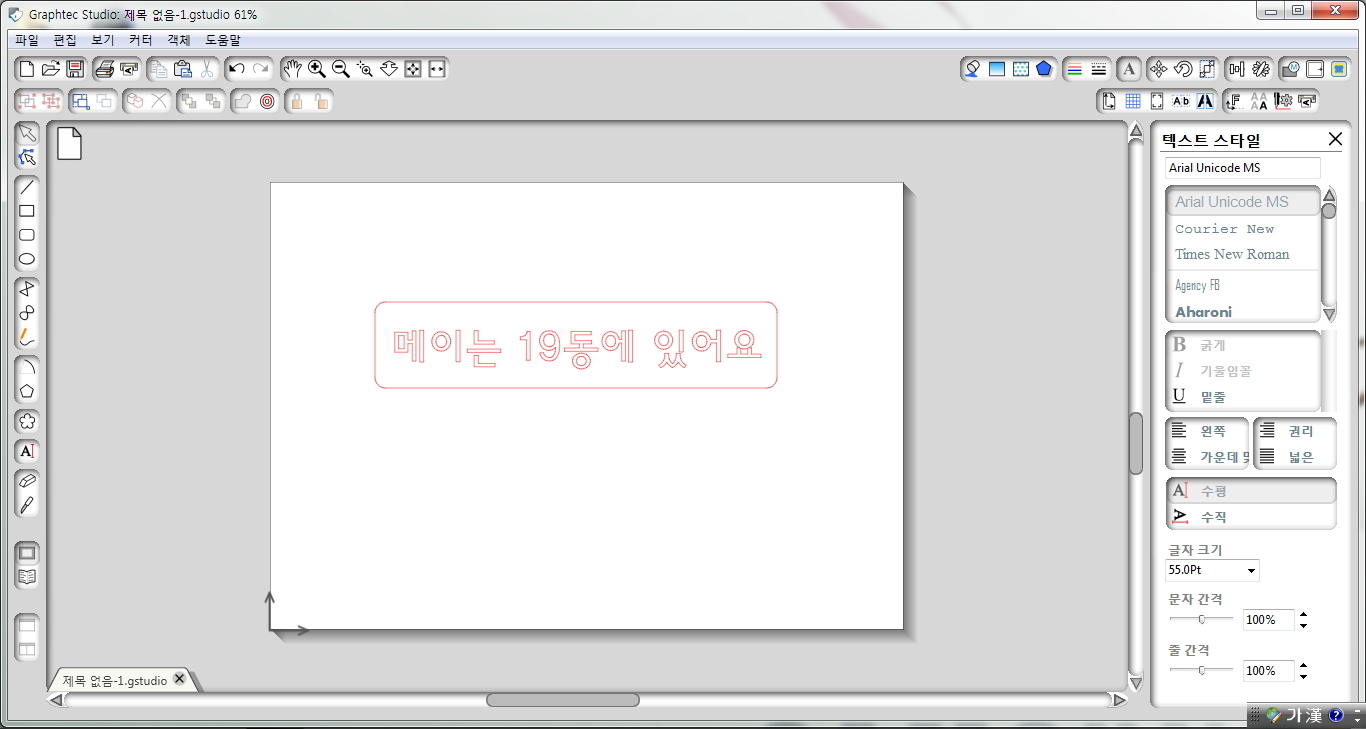
With the drawing tools, I designed a sticker for my notebook computer says "I stay in building #19"
Building #19 is where my fab lab is.
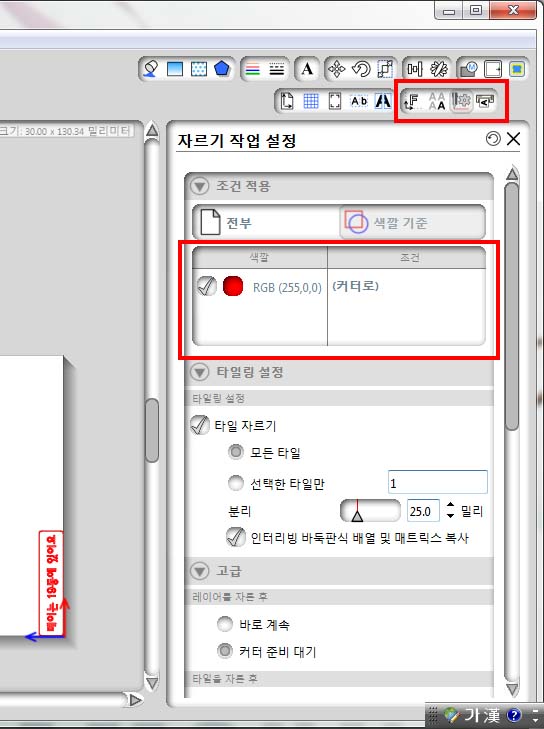
After loading a file or designing, go to the cut settings. They are in right side corner.
There are two knife holder. I put one pen and one cutting knife.
You have to select which knife holder you are going to use in which part.
It's very similar to laser cutting process, besides you have to select the knife and knife holder that you are going to use.
After finishing the settings, I sticked my paper on the bed with sticky tape, not to move when its cutting.
There is control panel on the machine but you can manupulate the machine with the software. The software shows you the process of its' work.
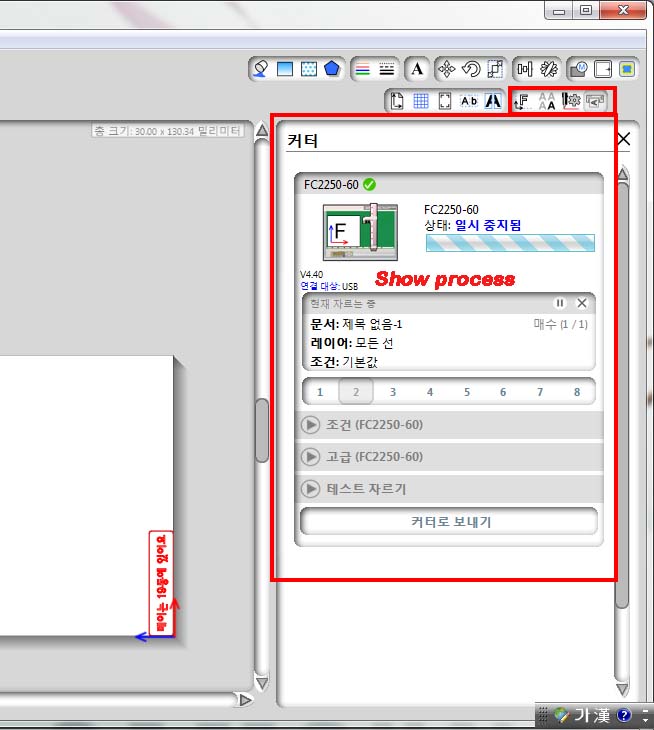
Done!