WEEK 4 / Feb 15
Electronics production
The assignment
- Make an in-circuit programmer by milling the PCB, then optionally trying other processes
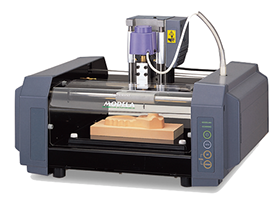
USING THE ROLAND MINI MILL MODELA
- We did a joint work first experimented with Roland MonoFab.
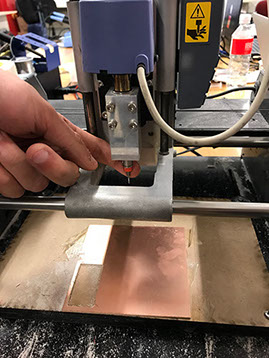
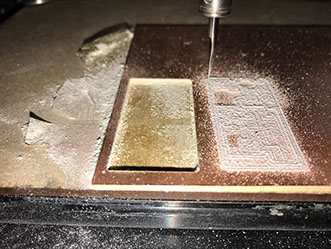
- We only had FR4 PCB material in stock. First we tested with outline routing with 1/64 in
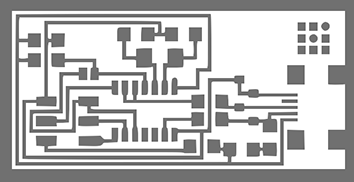
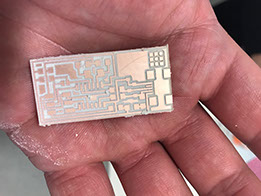
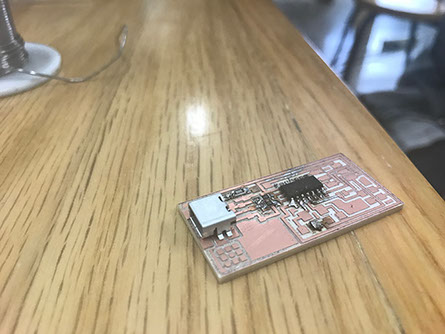
We made the Hello.isp PCB using the Roland modela.
%20174448.jpg?crc=302139175)
%20182827.jpg?crc=3966678035)
%20182817.jpg?crc=148037632)
the cutters that are used in the mini milling, the lower one is the conventional cutter we are going to use for this assignment, it is .4mm diameter end mill.
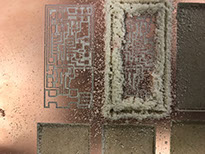
The copper was routed away with the selected routing depth. Once the depth was verified, routing of the traces was performed. The traces can be cleaned with some sanding.
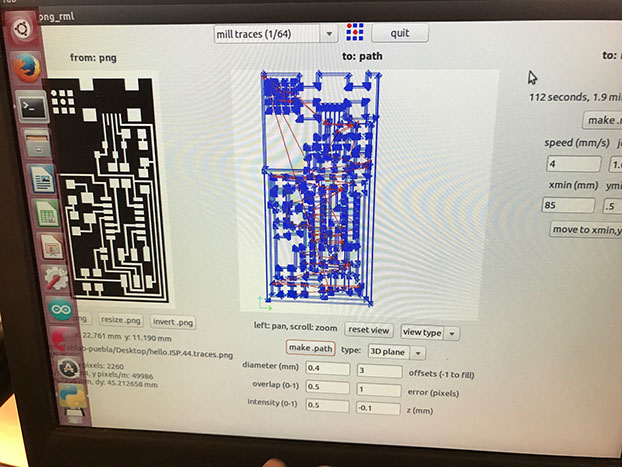
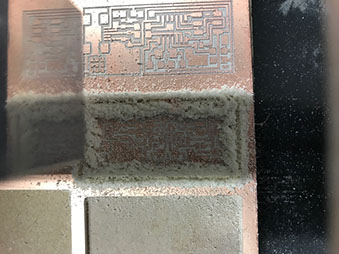
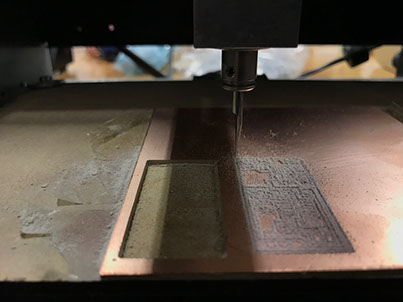
Once we place the PCB is mounted on the milling machine working space and the gerber program is loaded it begins to mill the copper out and draw the traces.
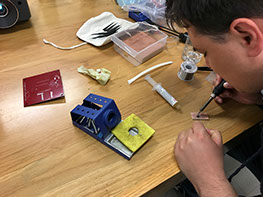
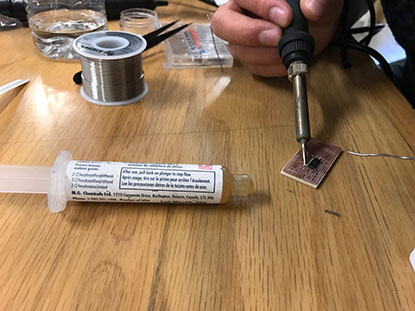
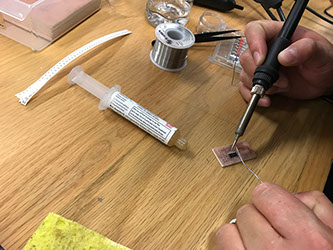
Placing electronic components
Testing the board
1. installing git
2. cloning fabmodules github folder
3. installing nodejs
4. installing Python, Python serial library and Python TKinter
5. running npm install
6. running npm start
Installing
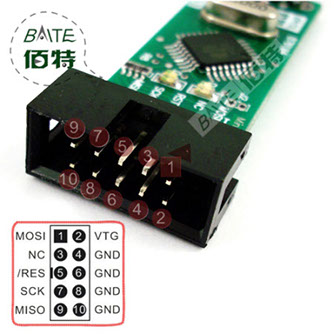
We uploaded the program with an Arduino programmer.
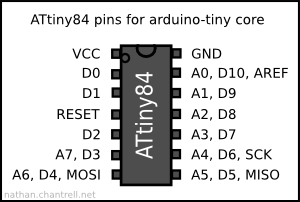
INSTALLING ATTINY84-44 ON ARDUINO
You need to go to “preferences” (Press CMD Space)
Go to: Additional boards Manager Url: http://drazzy.com/package_drazzy.com_index.json
ArduinoOnOtherAtmelChips: http://playground.arduino.cc/Main/ArduinoOnOtherAtmelChips
PROGRAMING WITH ARDUINO DESKTOP
BLINKING TEST @ 1000
void setup() {
pinMode (0, OUTPUT) ;
}
void loop() {
// put your main code here, to run repeatedly:
digitalWrite(0,HIGH) ,
delay(1000) ;
digitalWrite(0, LOW) ;
delay (100) ;
}
BUTTON TEST @ 1000
void setup() {
pinMode (0, OUTPUT) ;
}
void loop() {
// put your main code here, to run repeatedly:
if(digitalRead(1)==HIGH)
{
digitalWrite(0, HIGH) ;
}
else
{
digitalWrite(0, LOW) ;
}
}z
%20184258.jpg?crc=4012098485)
%20183237.jpg?crc=4123262986)
%20183232.jpg?crc=29260017)

This is the final result
%20173803.jpg?crc=799725)

Oscar Velázquez