
WEEK 2 / Feb 01
Computer-aided design
Assignment:
- Model a possible final project, and post it on your class page with the original 2D and 3D files.
- So this week we need to learn how to design using open and/or license software to design a concept for the final project of the Fab Academy.

The design concept
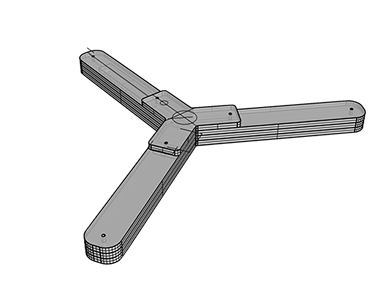
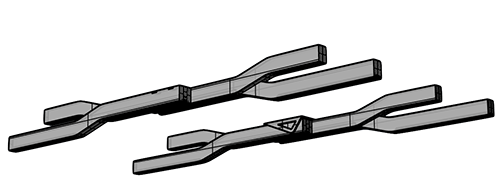
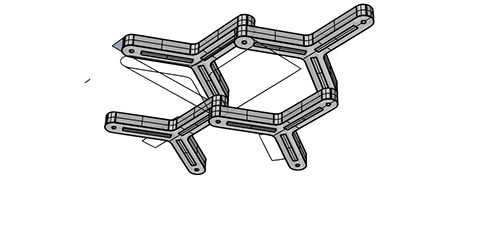
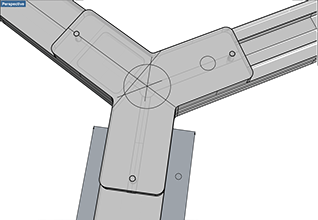
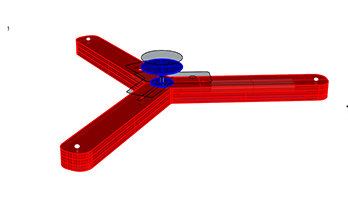
The first step was the concepting of the lamp, after some sketches, I made some 3D files on the software Rhinoceros, to see which one was the best for the space it was created for, which one was right for the technology to build it. First, some 2D lines were made, and after that, those lines were extruded to create solids.

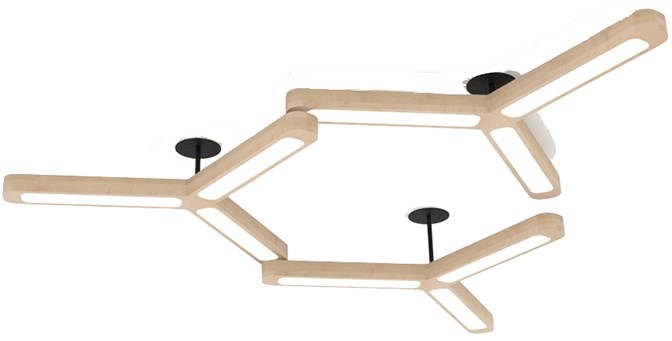
The Lamp´s wooden body design
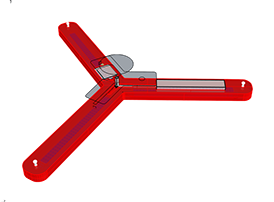
After the final concept was chose, for the develop of the lamp engineering. The circuits boards, electronic components, and other materials were measured to generate the space they needed into the lamp.
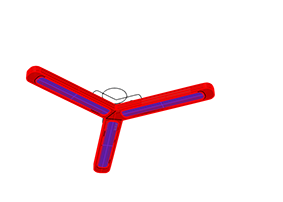
To make easier to understand the lamp parts, the lamp’s solid elements were separated in different layers:
- Red: Russian birch plywood
- Purple: Acrylic
- Blue: Metal
- Gray: circuit boards and electronic components.
- White: Screws.
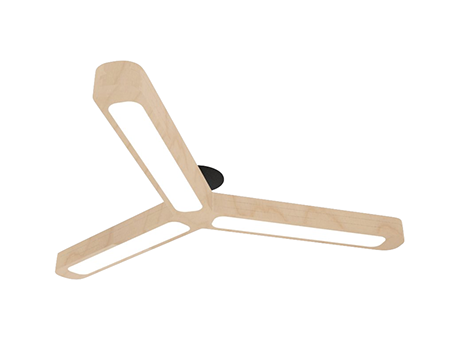
Lamp Body Rendering
Finally to approve the final design some renders were made to see how the lamp was going to look like. They were made with V-Ray plug in for Rhinoceros
Acrylic light diffuser design
To can cut the diffuser light, files must be done in Illustrator software. Those files must be imported into RDWorks, to can be cutted.
After the lamp’s develop, files for production were created. For CNC Router Machine, .dxf files were made, then those files were imported to VCarve software to make the final cut files.
%20231037.jpg?crc=145905777)
Laser cutting files were generated in Illustrator software, and then, those files were imported in RDWorks.
%20231044.jpg?crc=430430726)
Remote control interface case design
To protect all circuits boards and electronic components and hold the remote interface a 3d printed case was created. It was designed in Rhinoceros Software.
%20231636.jpg?crc=131450014)
Acrylic Interface Lit Design
The lit protects all electronics and helps the user understand the instructions for of how to use the system. I used know project to download icons and integrated them into adobe illustrator.
The first layer includes the instructions and is a file that will be laser engraved.
- On / Off
- Dimmer mode
- Eco Mode
The second layer has the design for laser cutting the screws and a middle opening for the gesture sensor.
%20231924.jpg?crc=3963960124)
Oscar Velázquez