
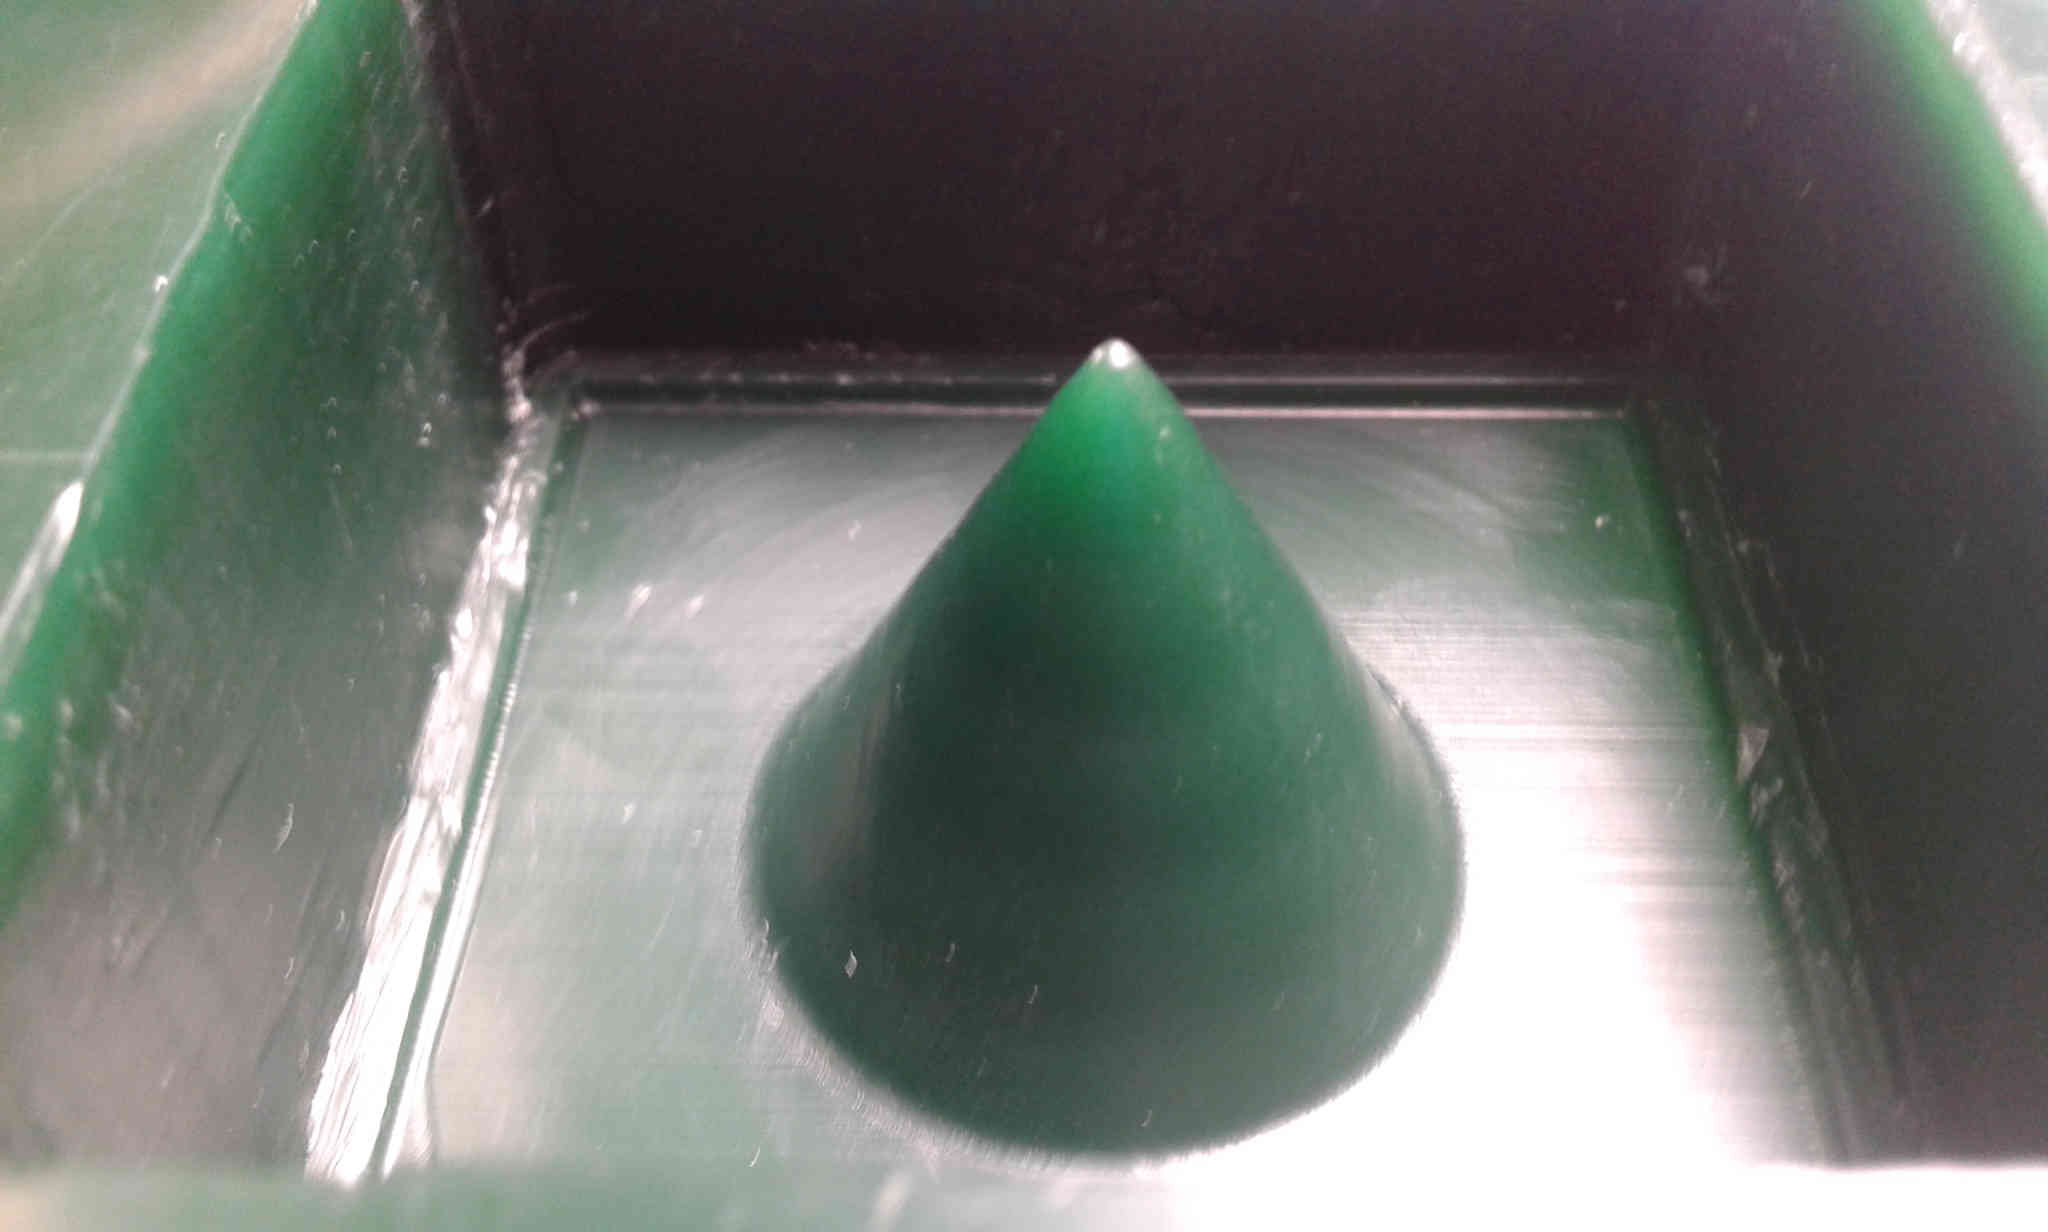
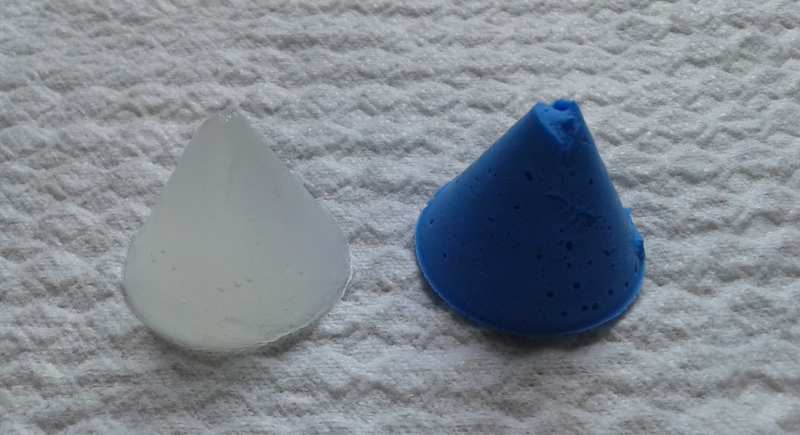
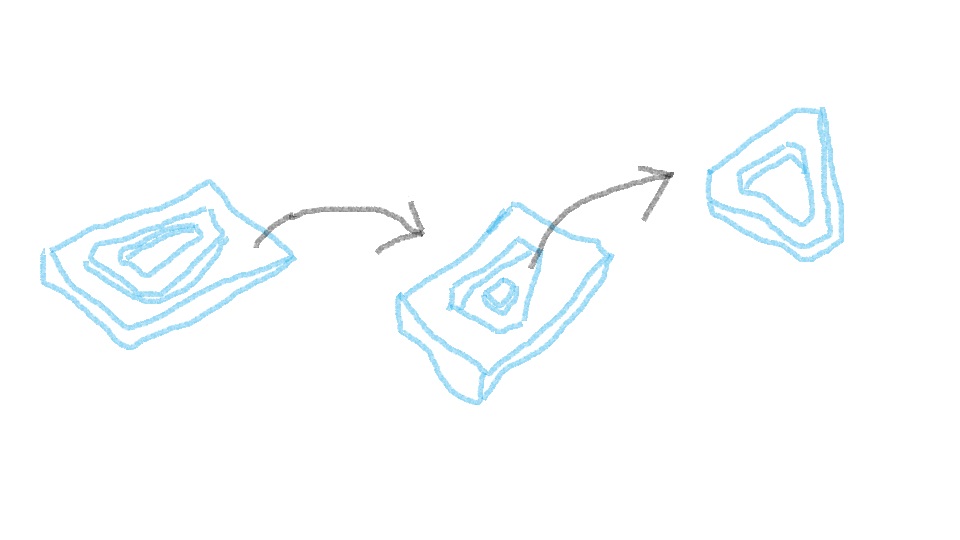
I chose to make a little cone to understand the process.
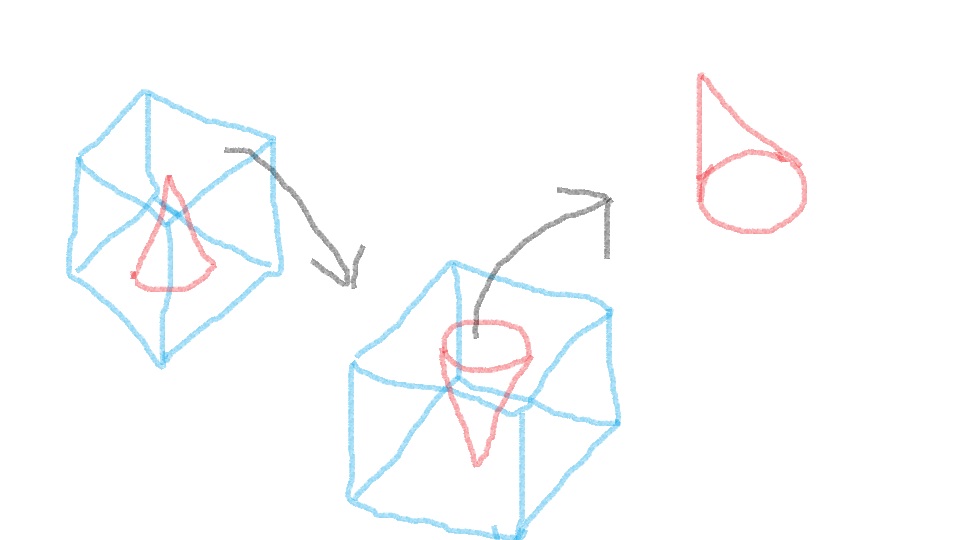
My initial process to molding and casting a little cone
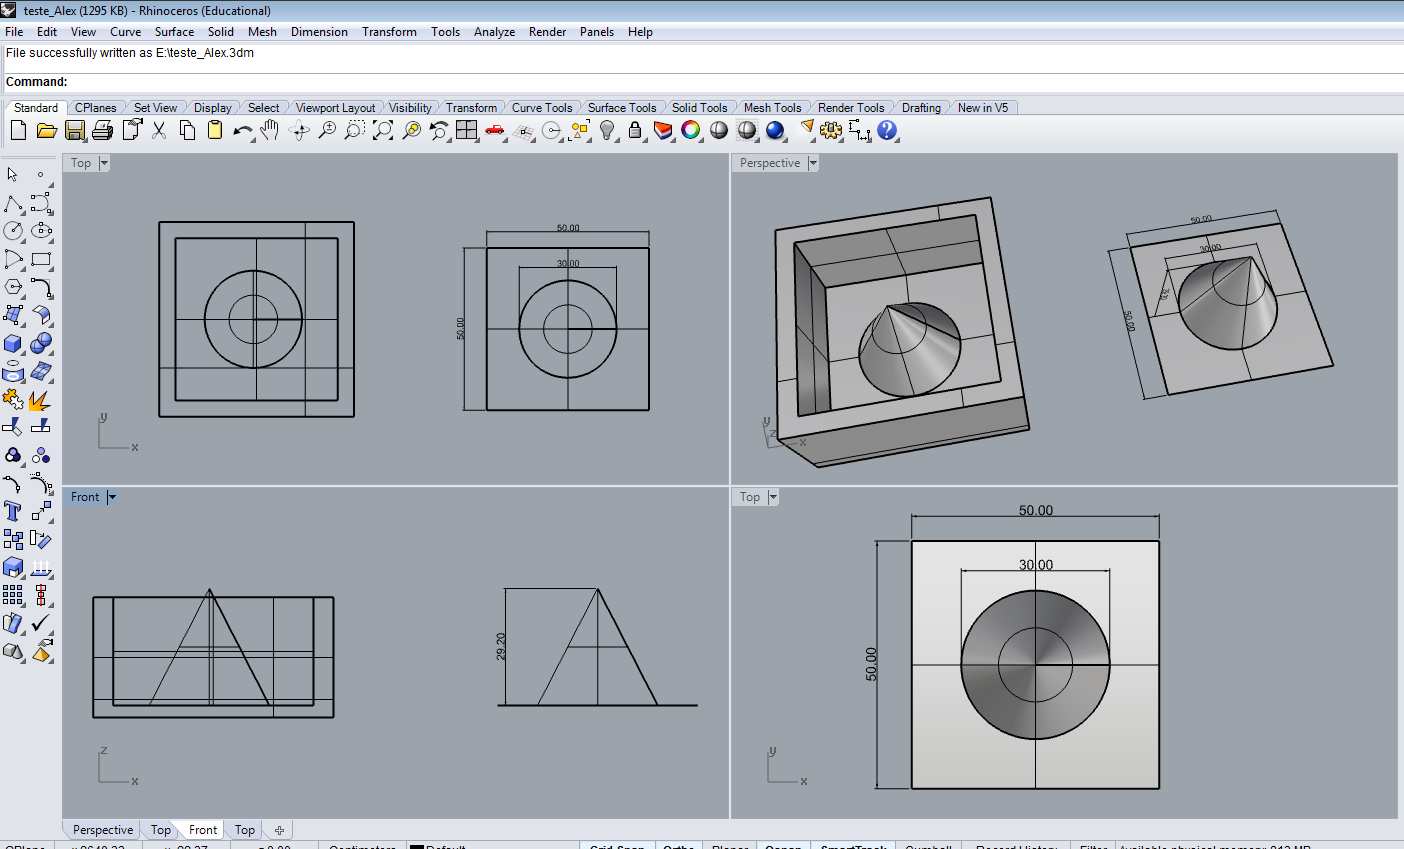
I used Rhinoceros 3D to make it
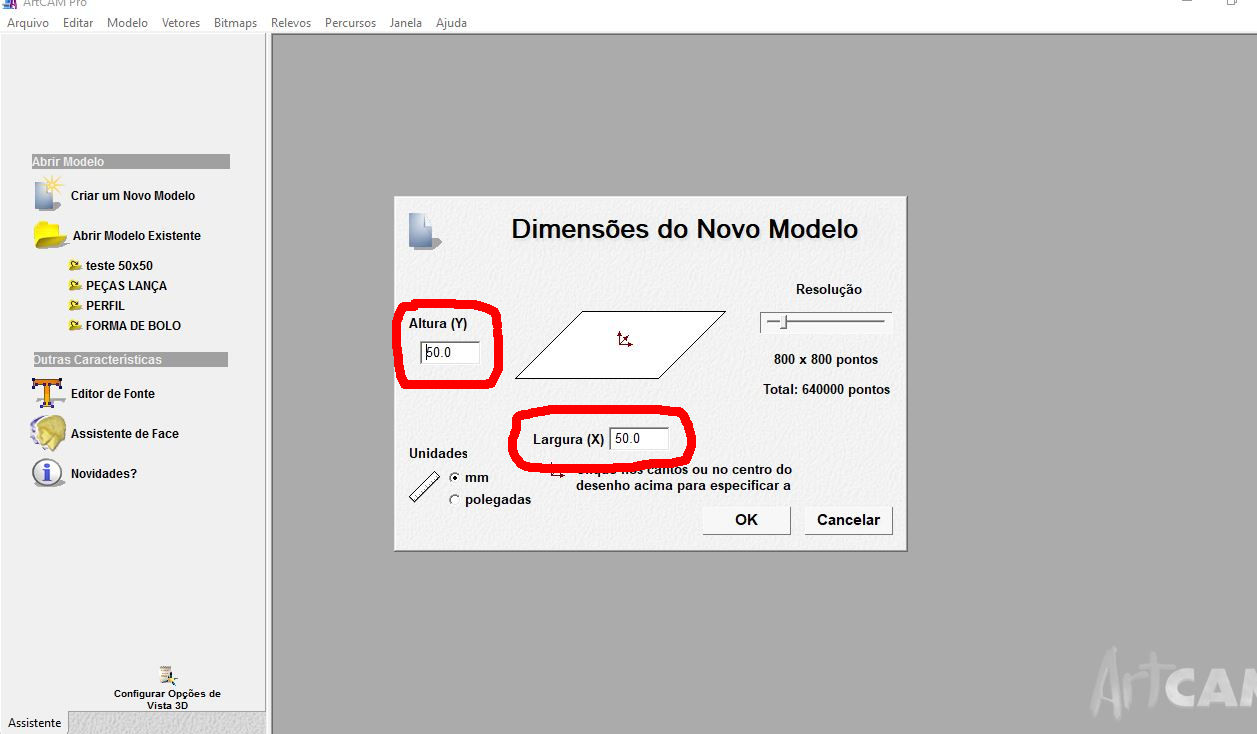
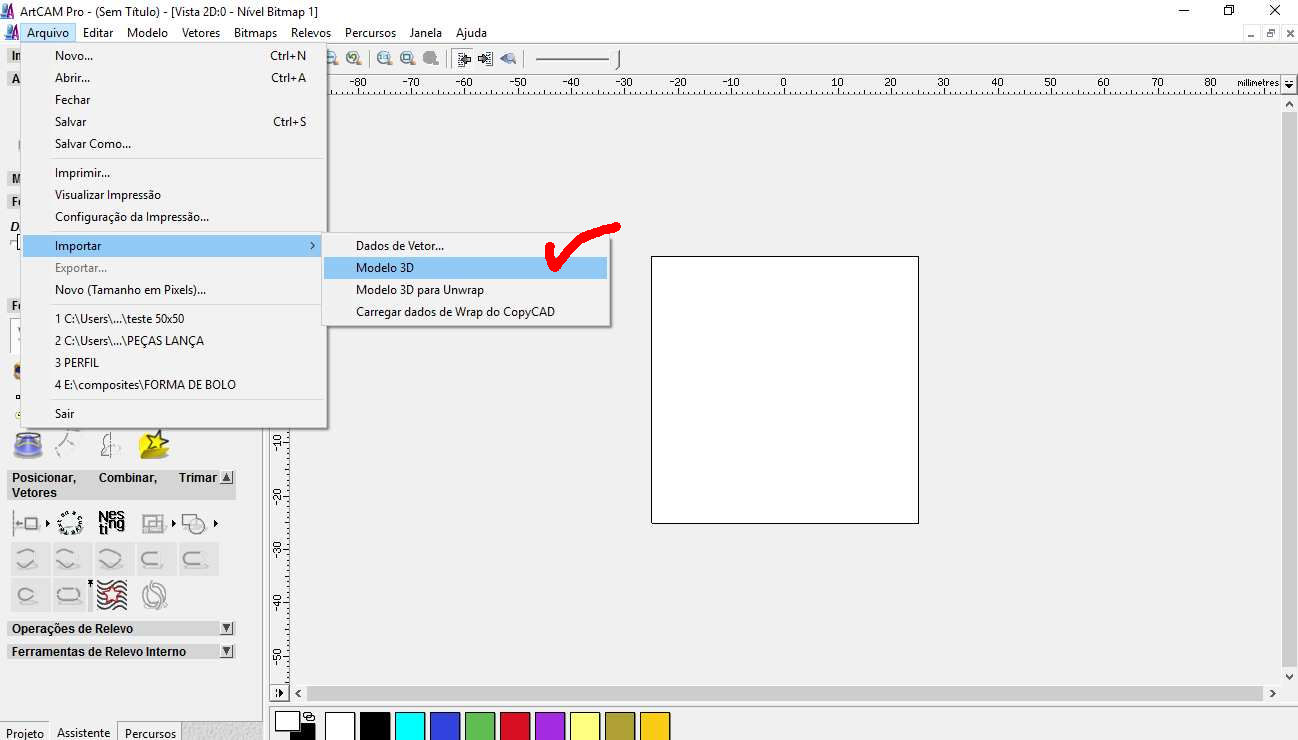
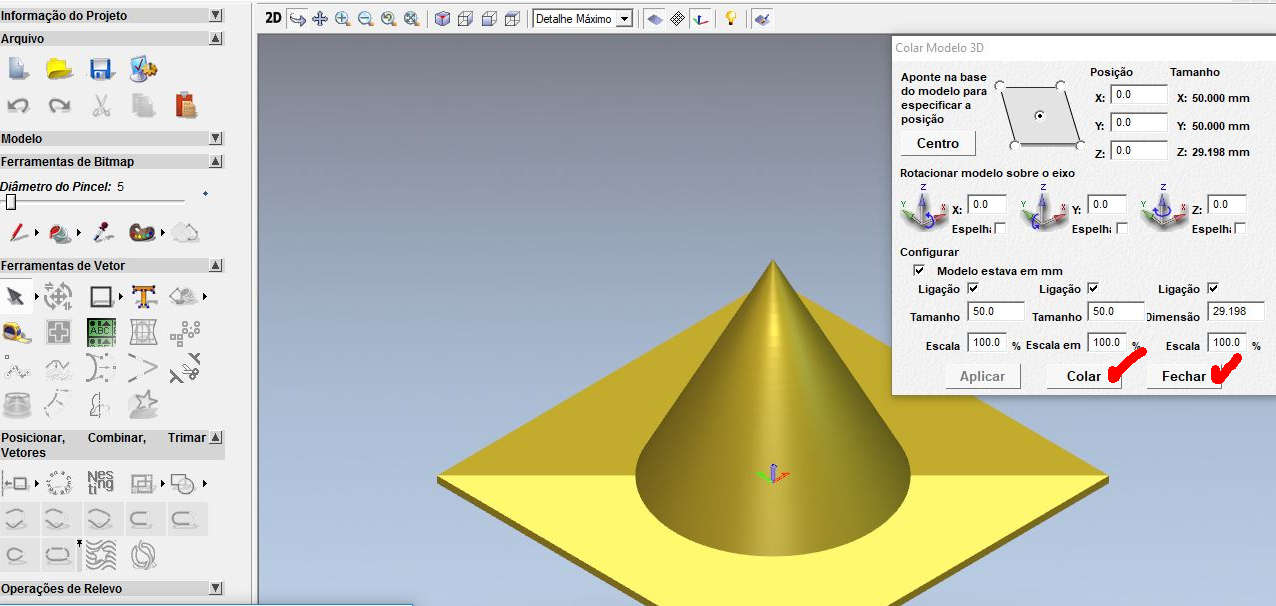
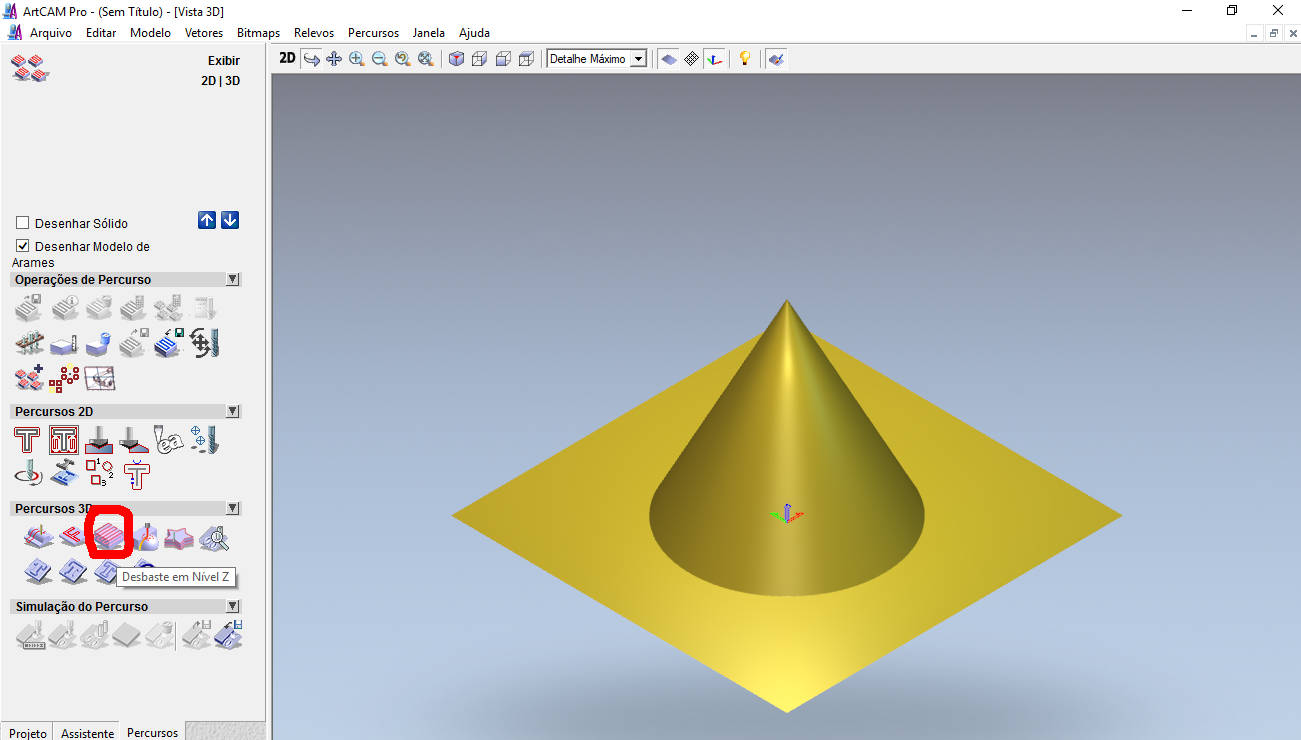
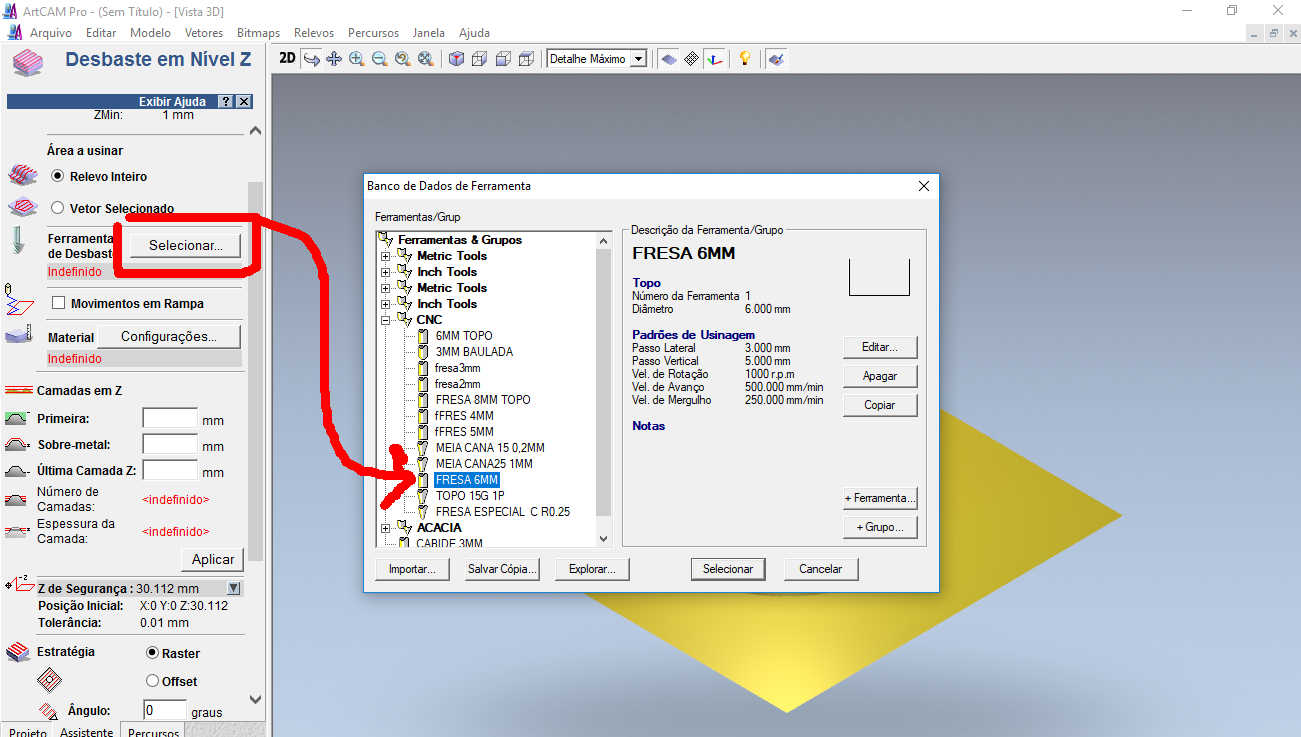
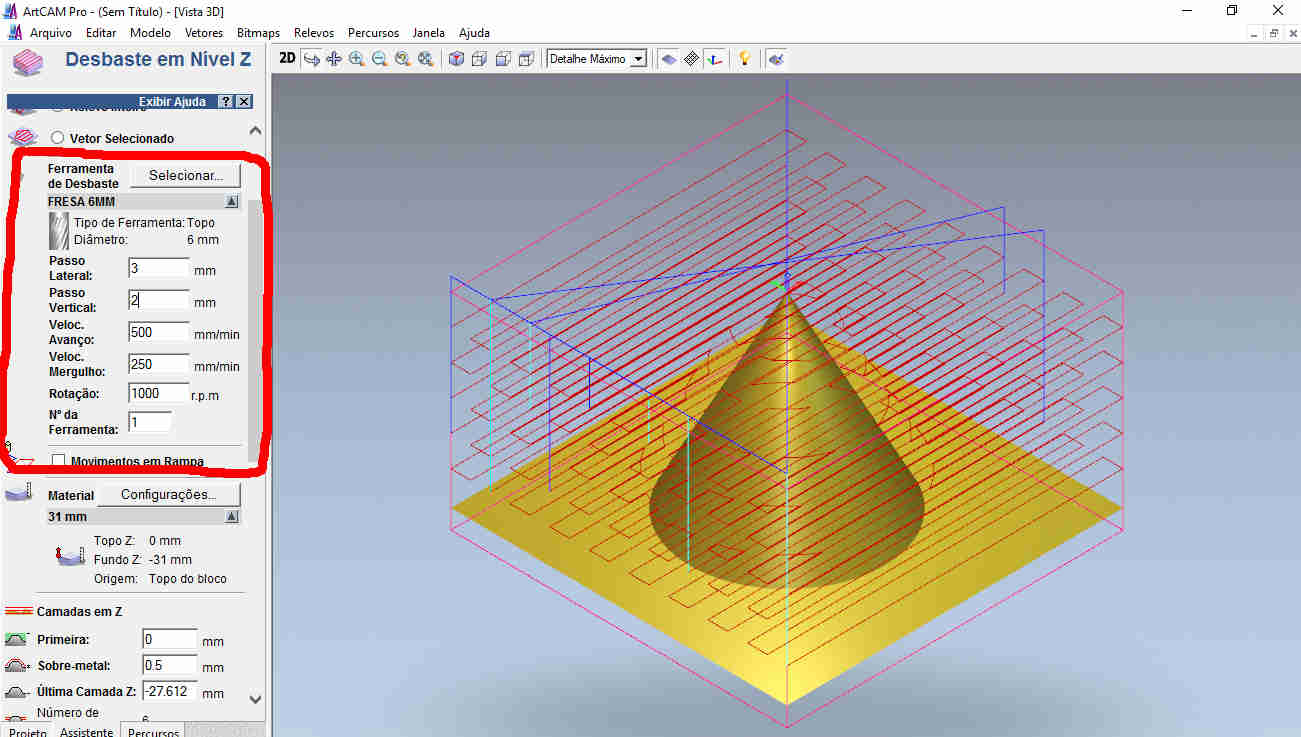
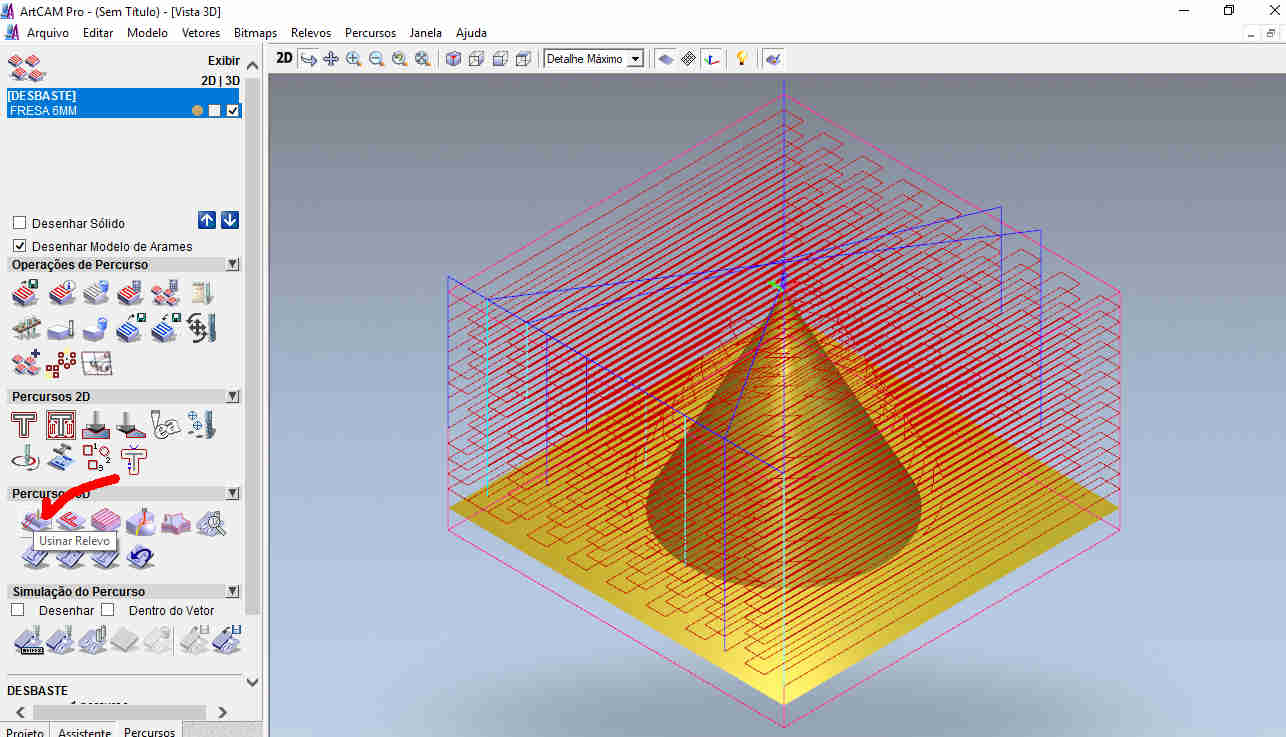
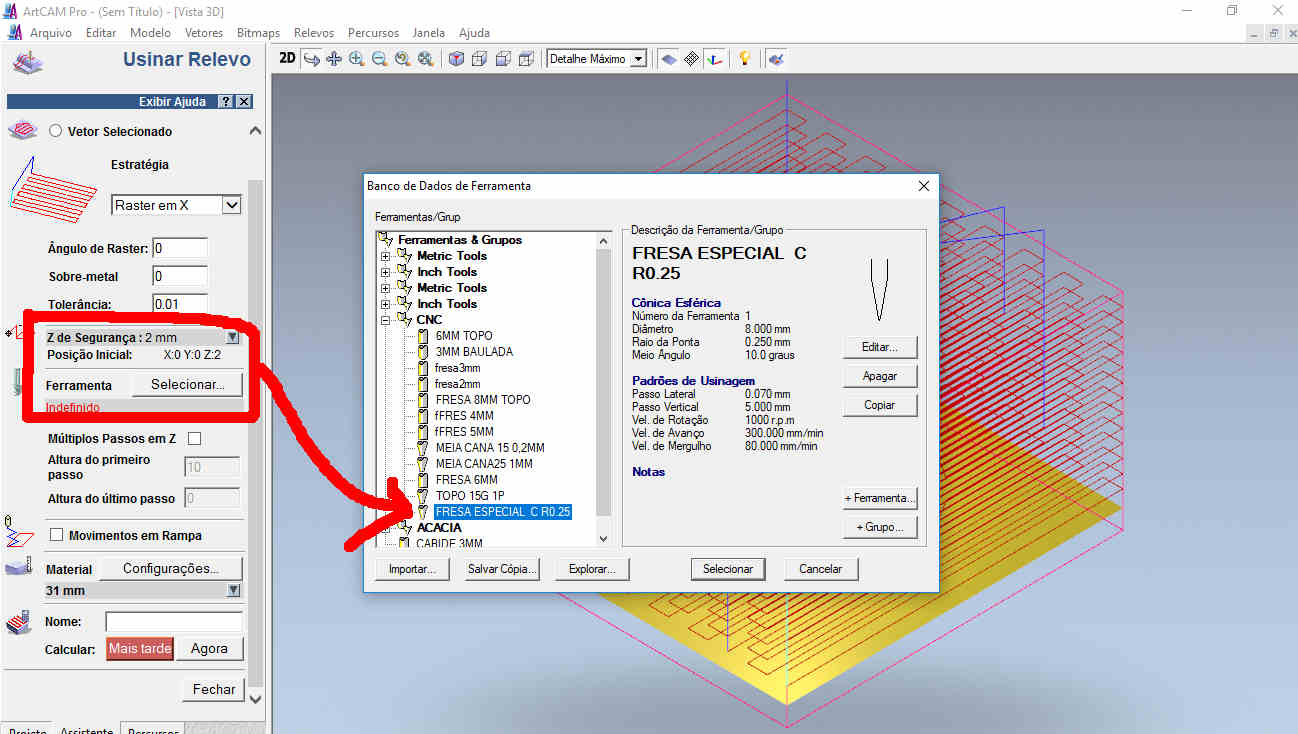
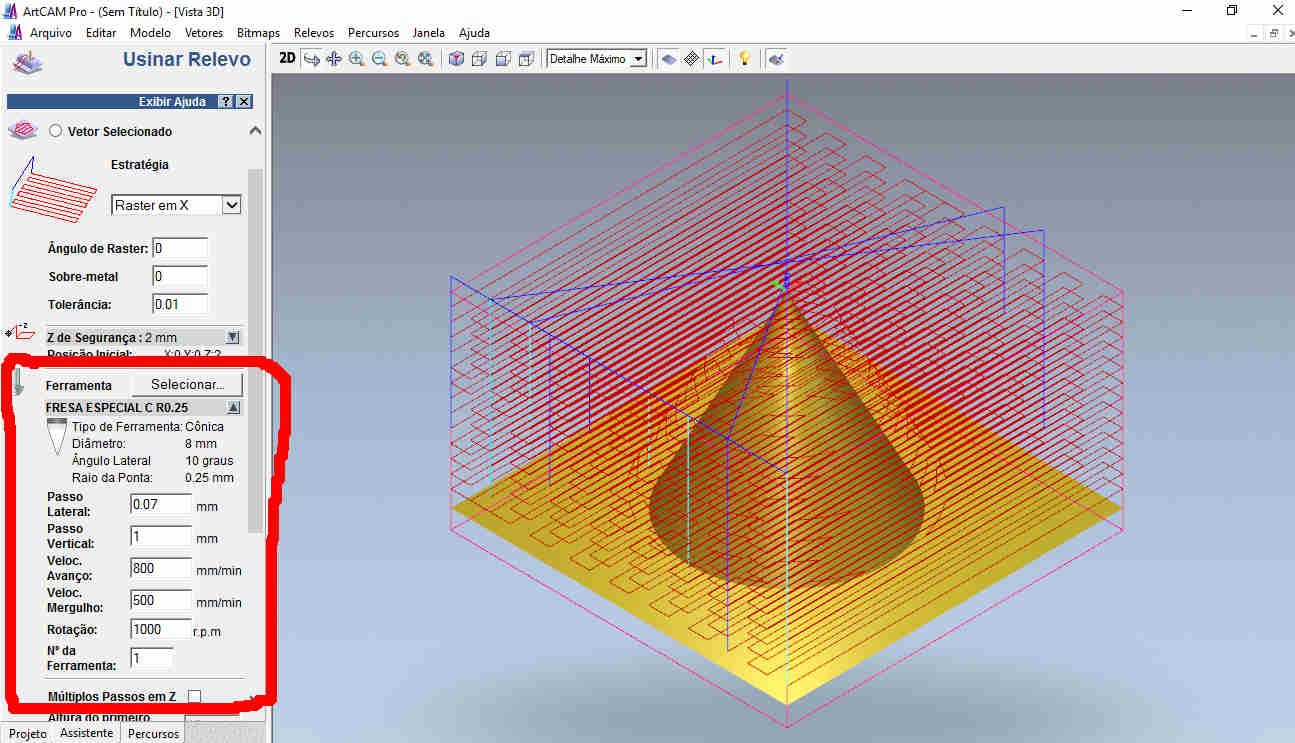
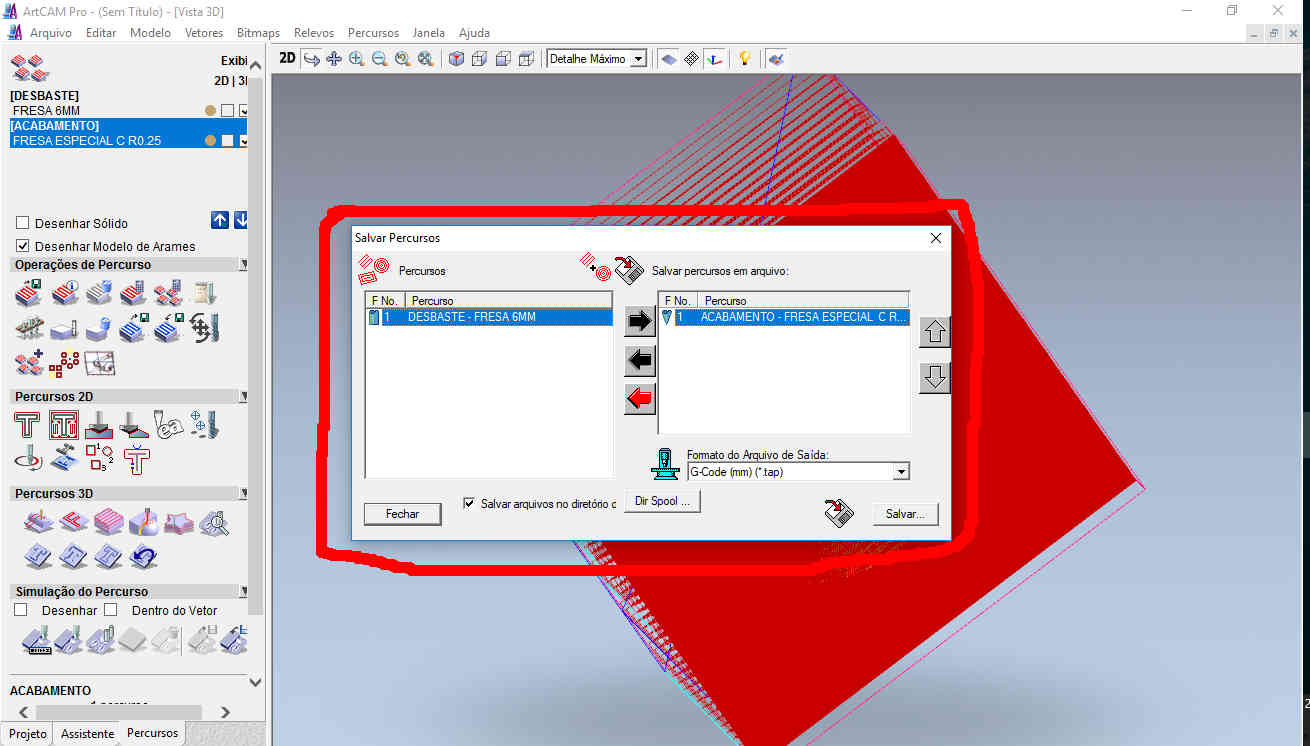
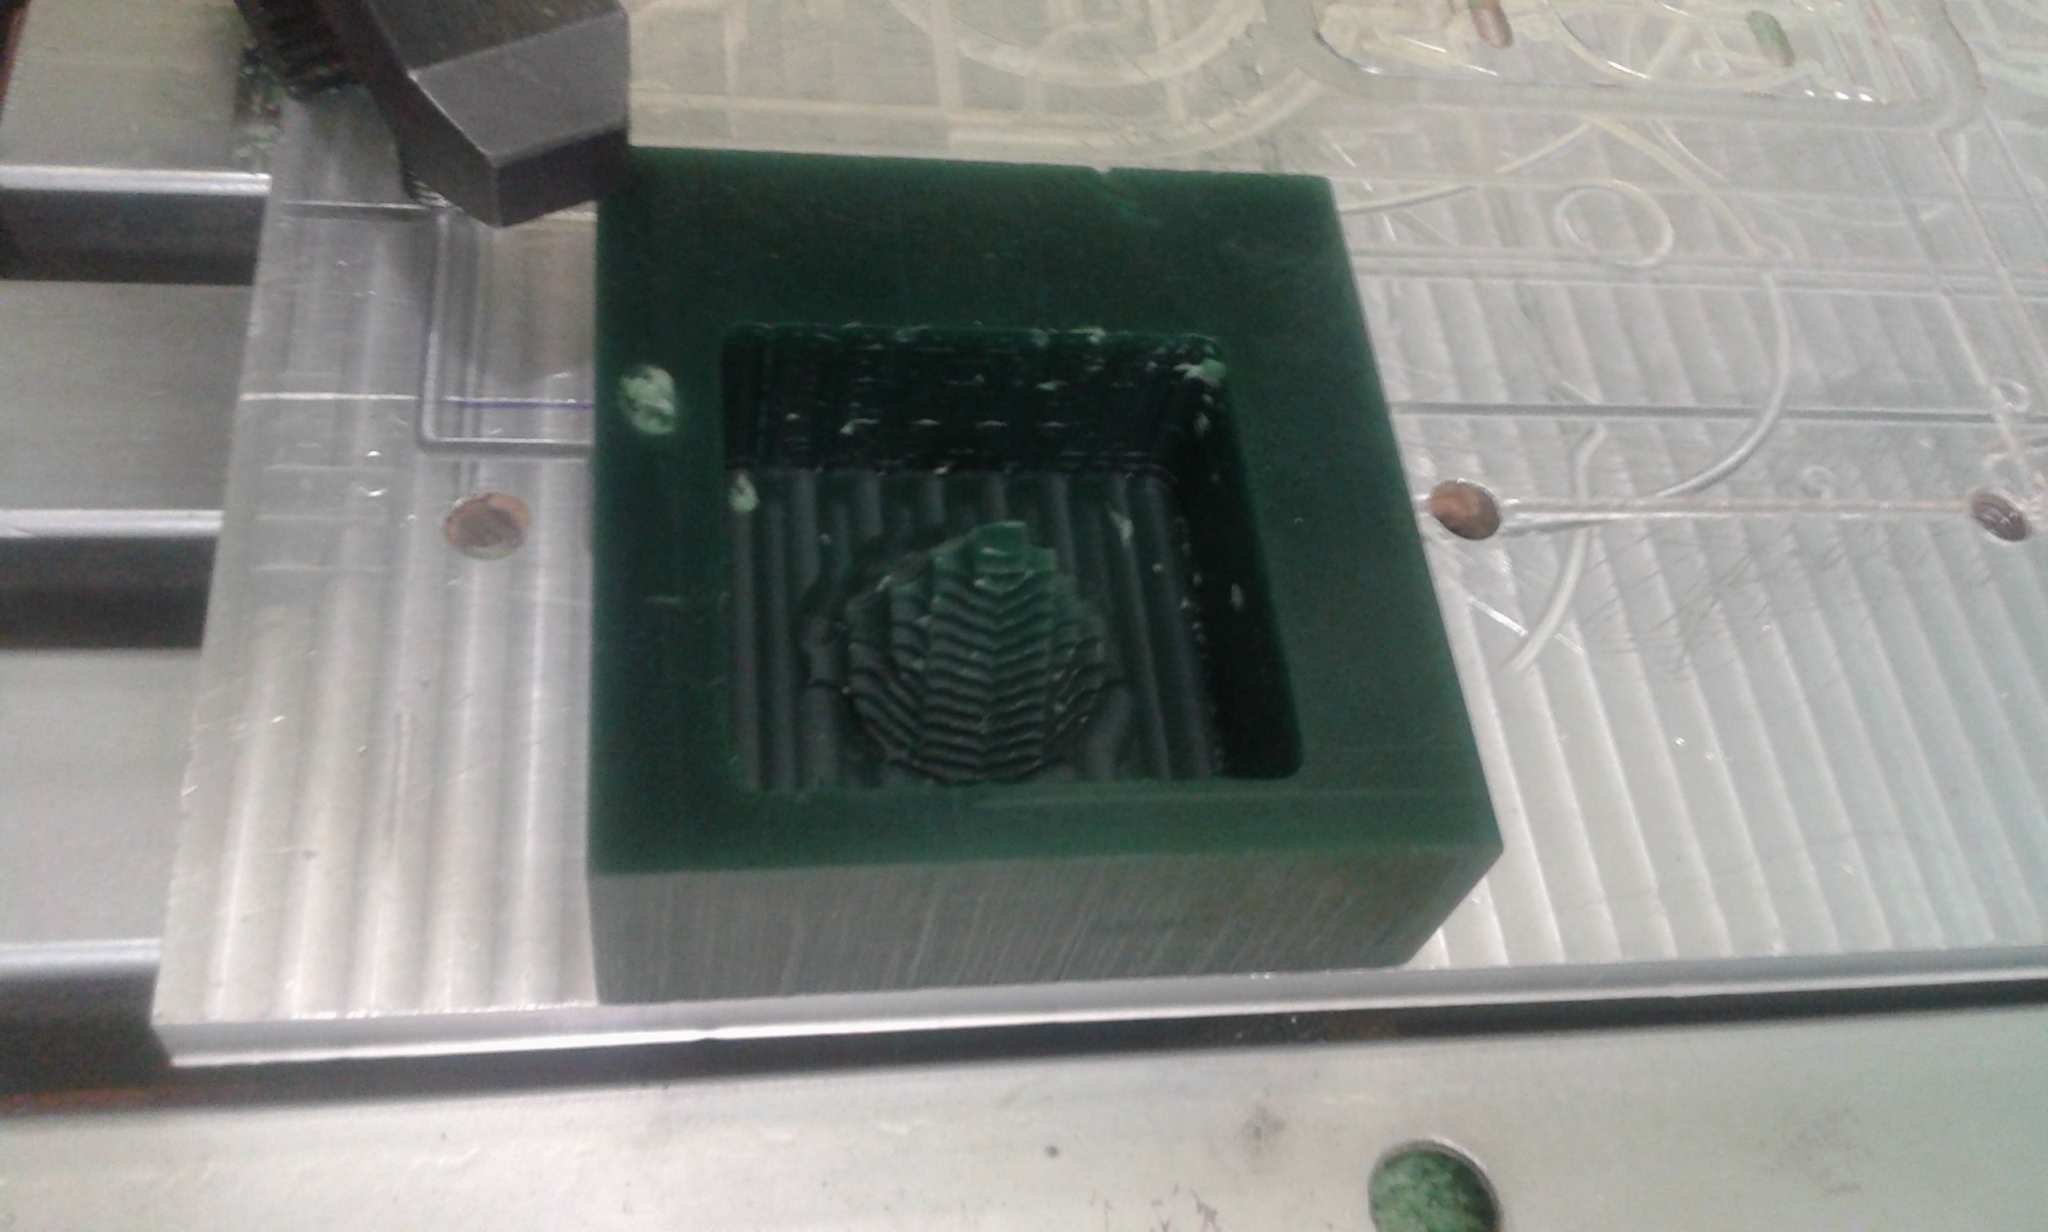
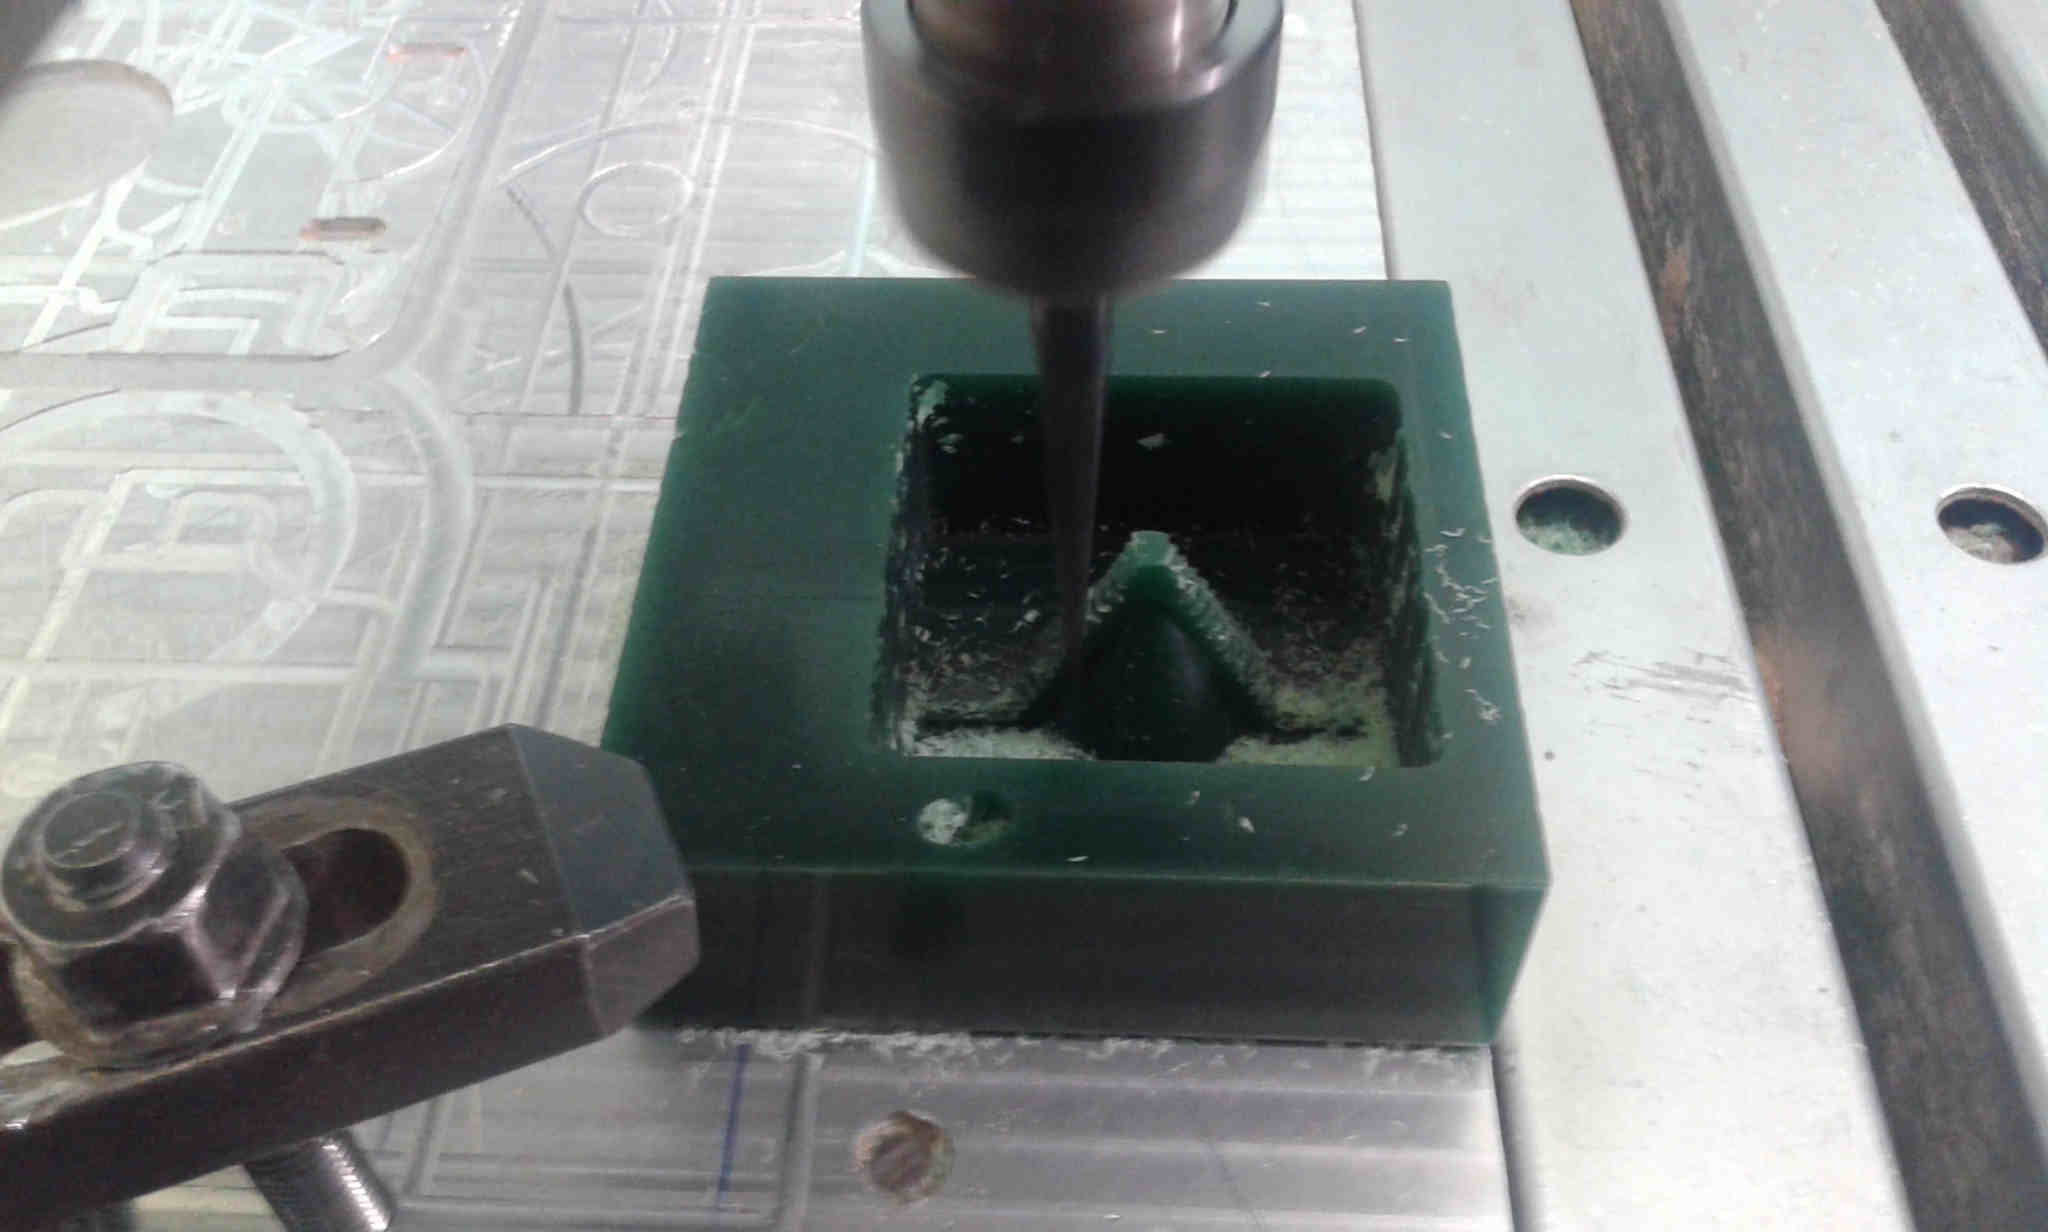
To do a better finishing I used two milling tools: end mill 6mm (to first step) and 1,5mm ( to finishing), and processed the stl (exported from Rhinoceros3D) to ArtCam.
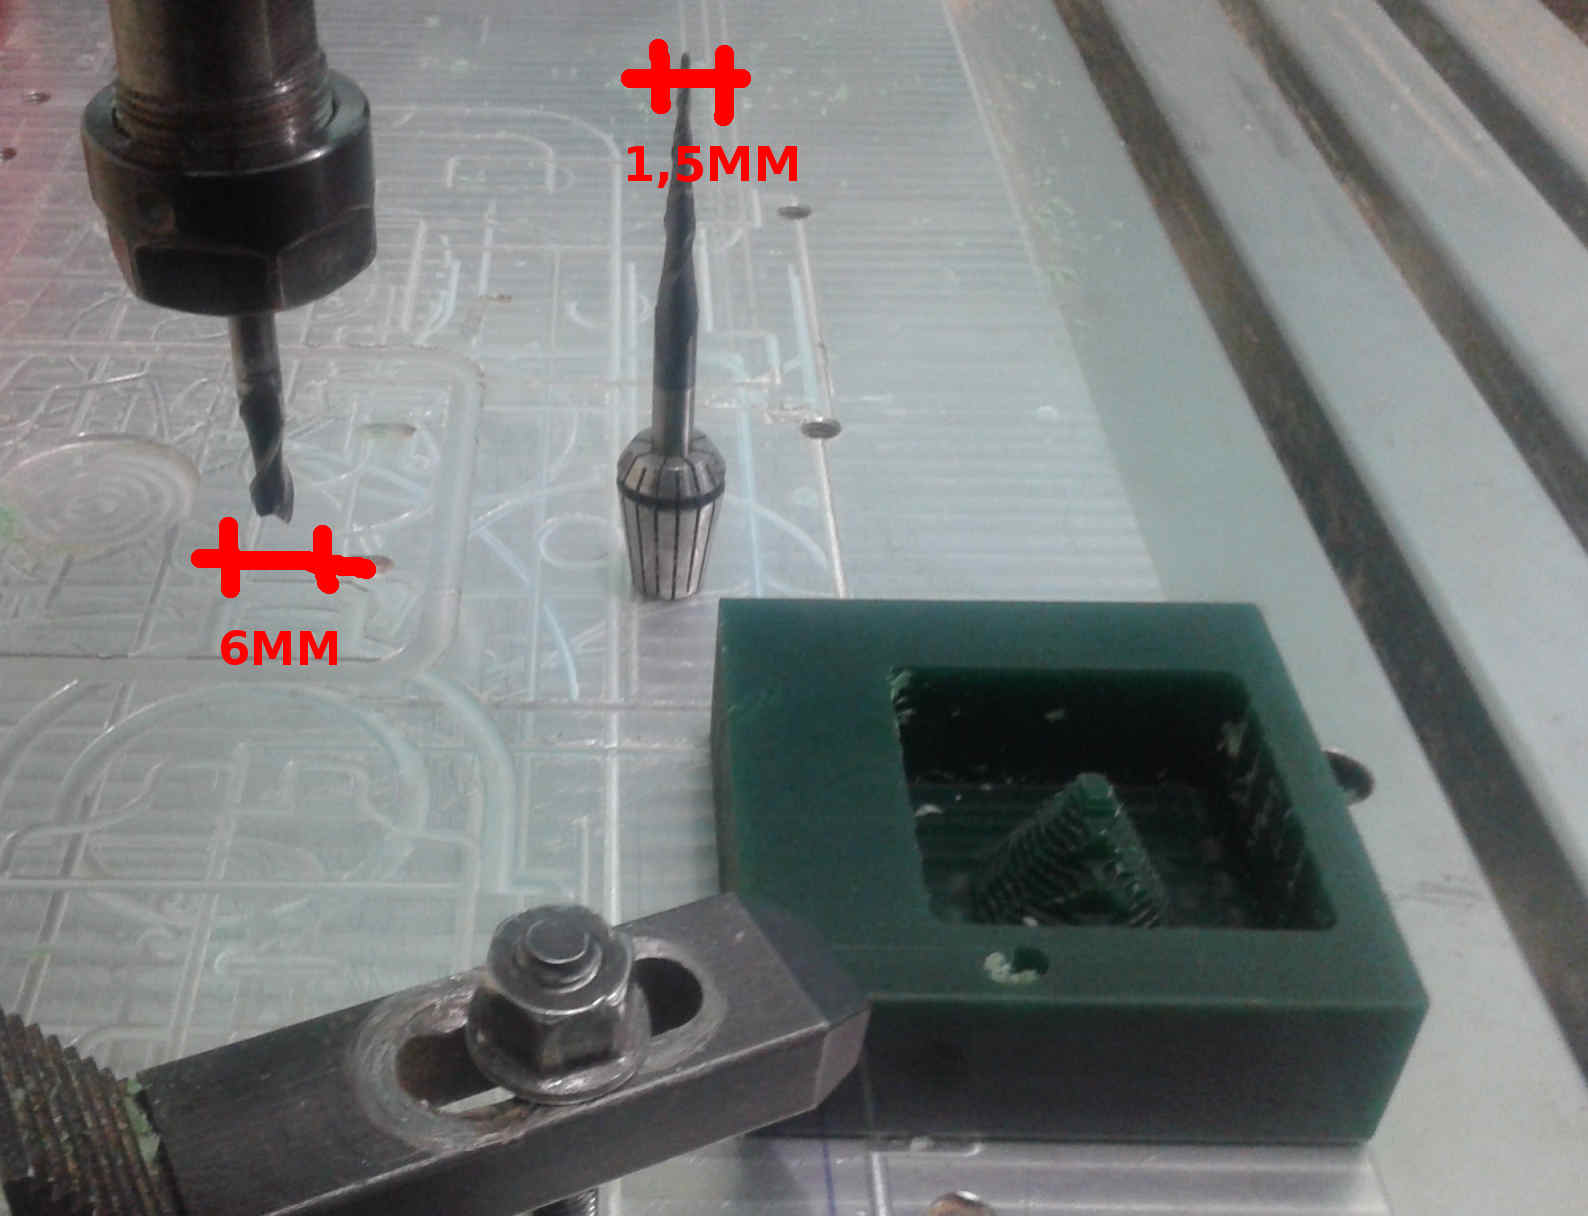
The Artcam process: end mill 6mm (first step) and 1,5mm (second step) G-codes .

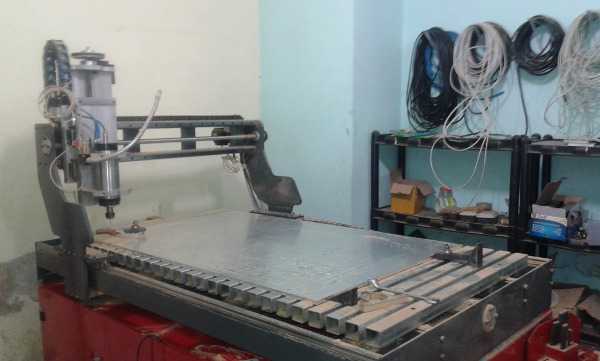
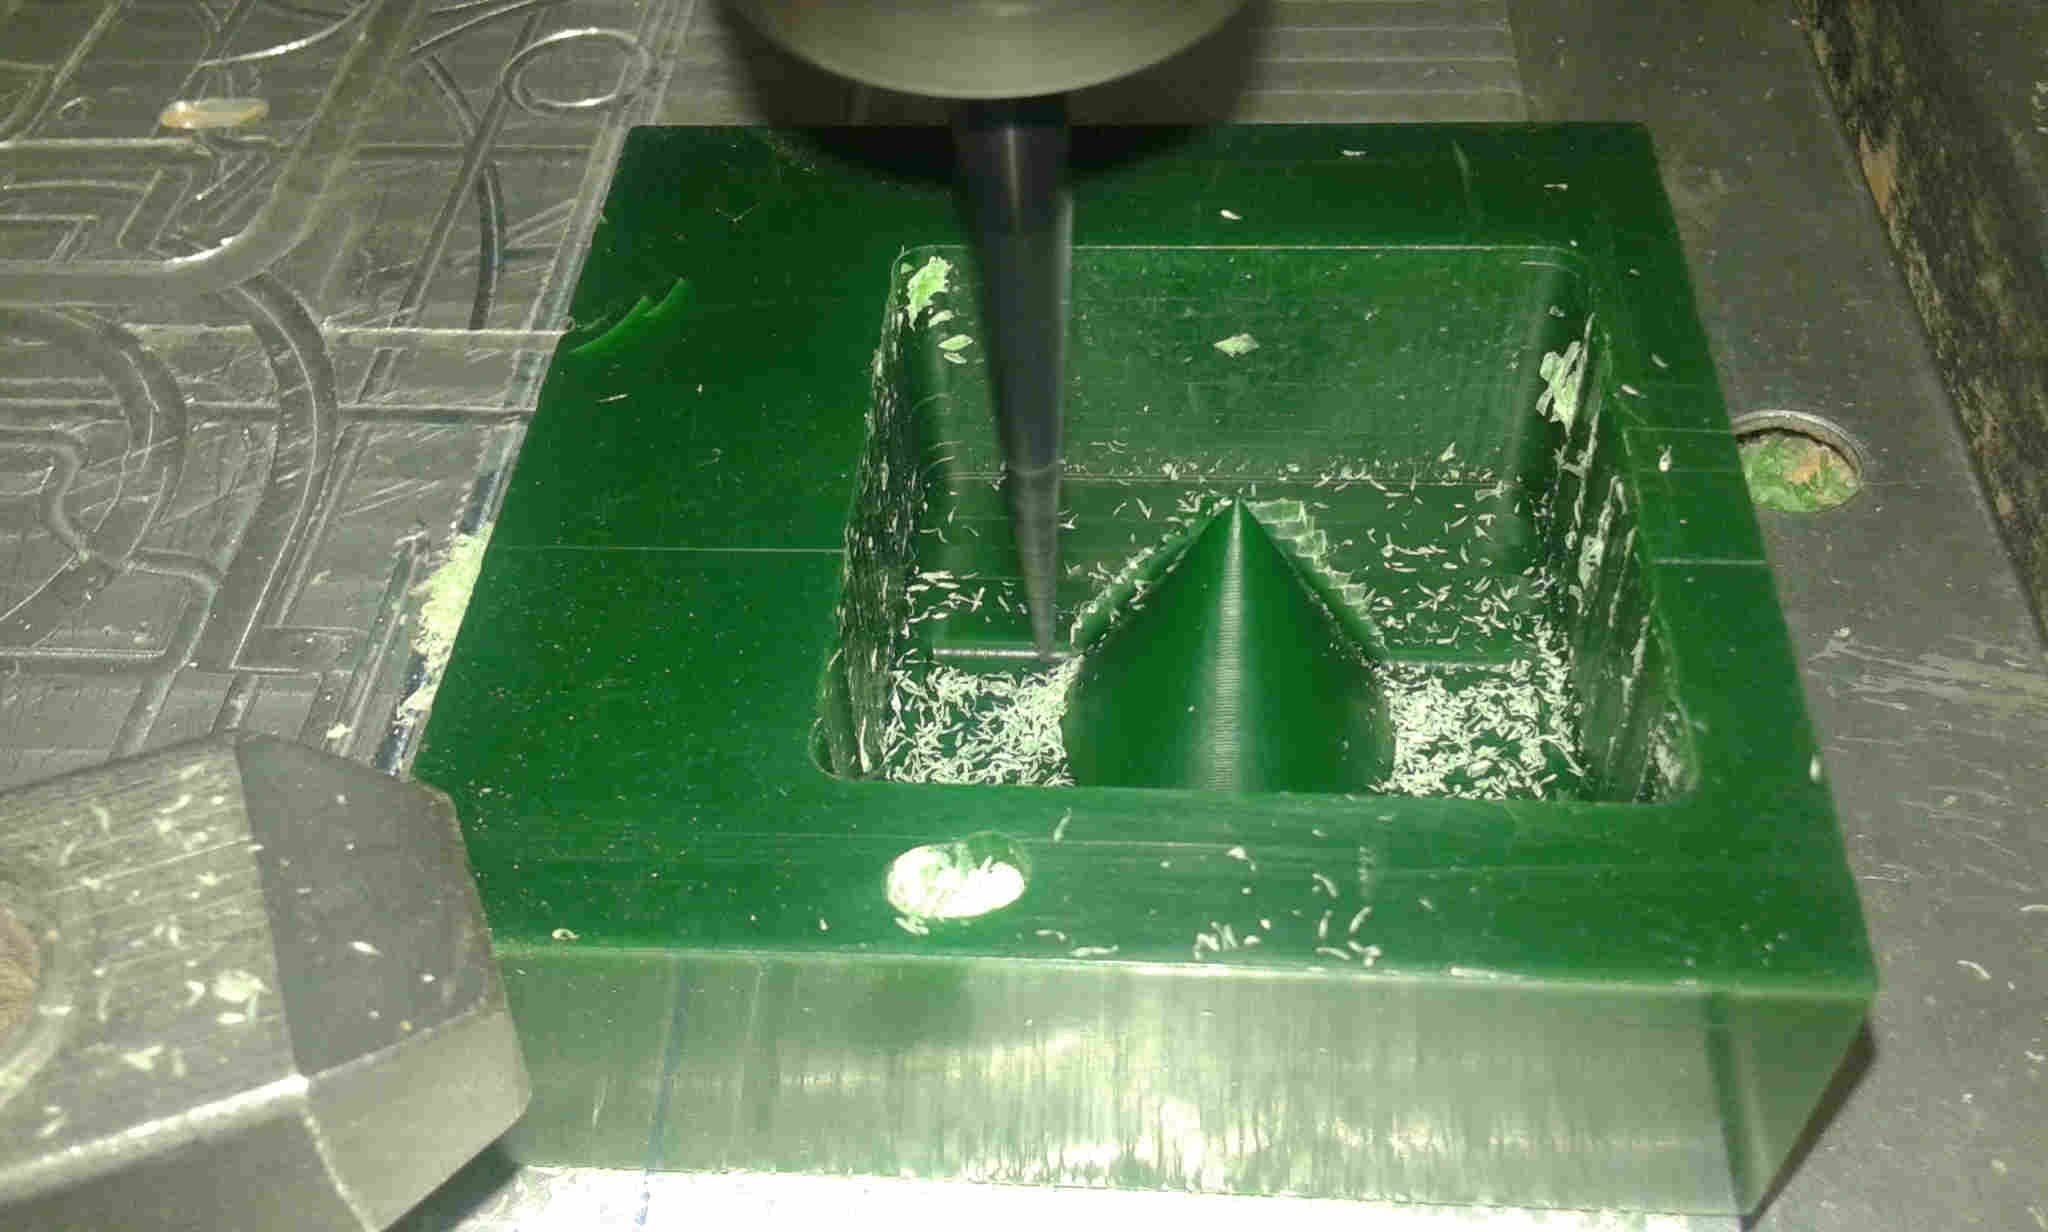
I used a CNC milling machine (TFX CNC 1.200 x 700mm) from a Rede Fab Lab Brasil´s partner: CNC Montion company.
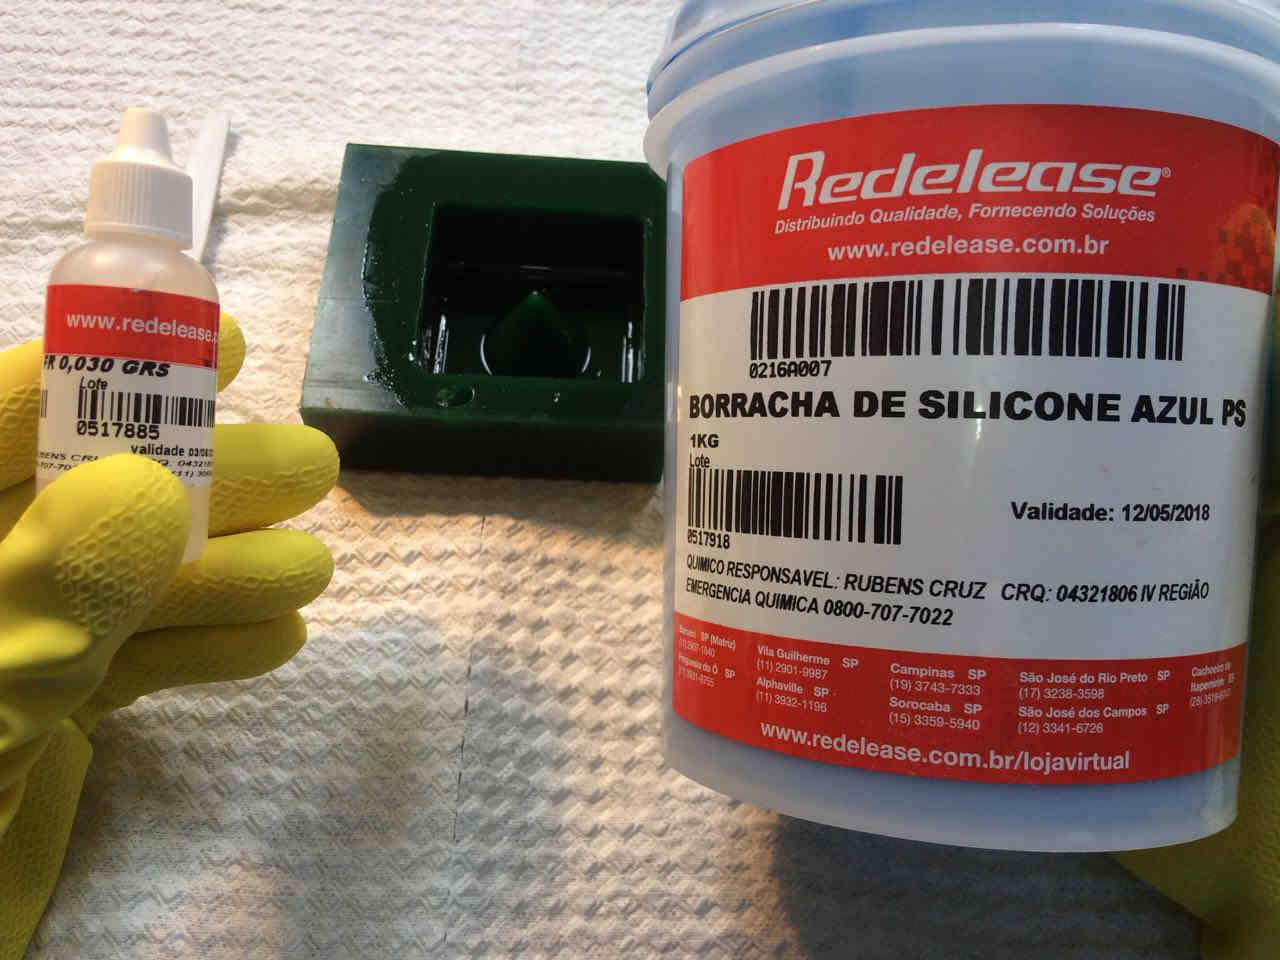
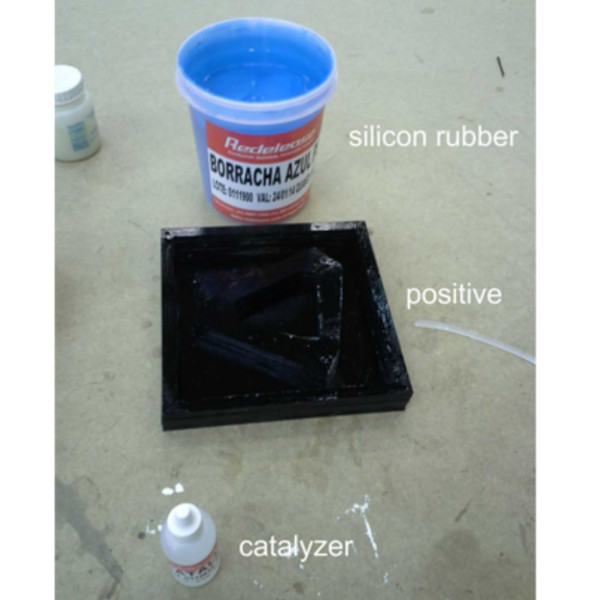
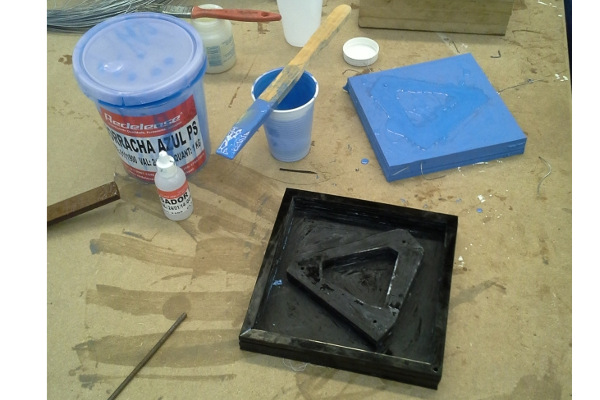
According the supplier "the Blue Adhesive is a bi-component vulcanizable elastomers which after the addition of catalyst, results in an elastic and resistant product." The proportion recommended by the technical data sheets (TDS) document is 3% catalyst from weight silicone (100%).
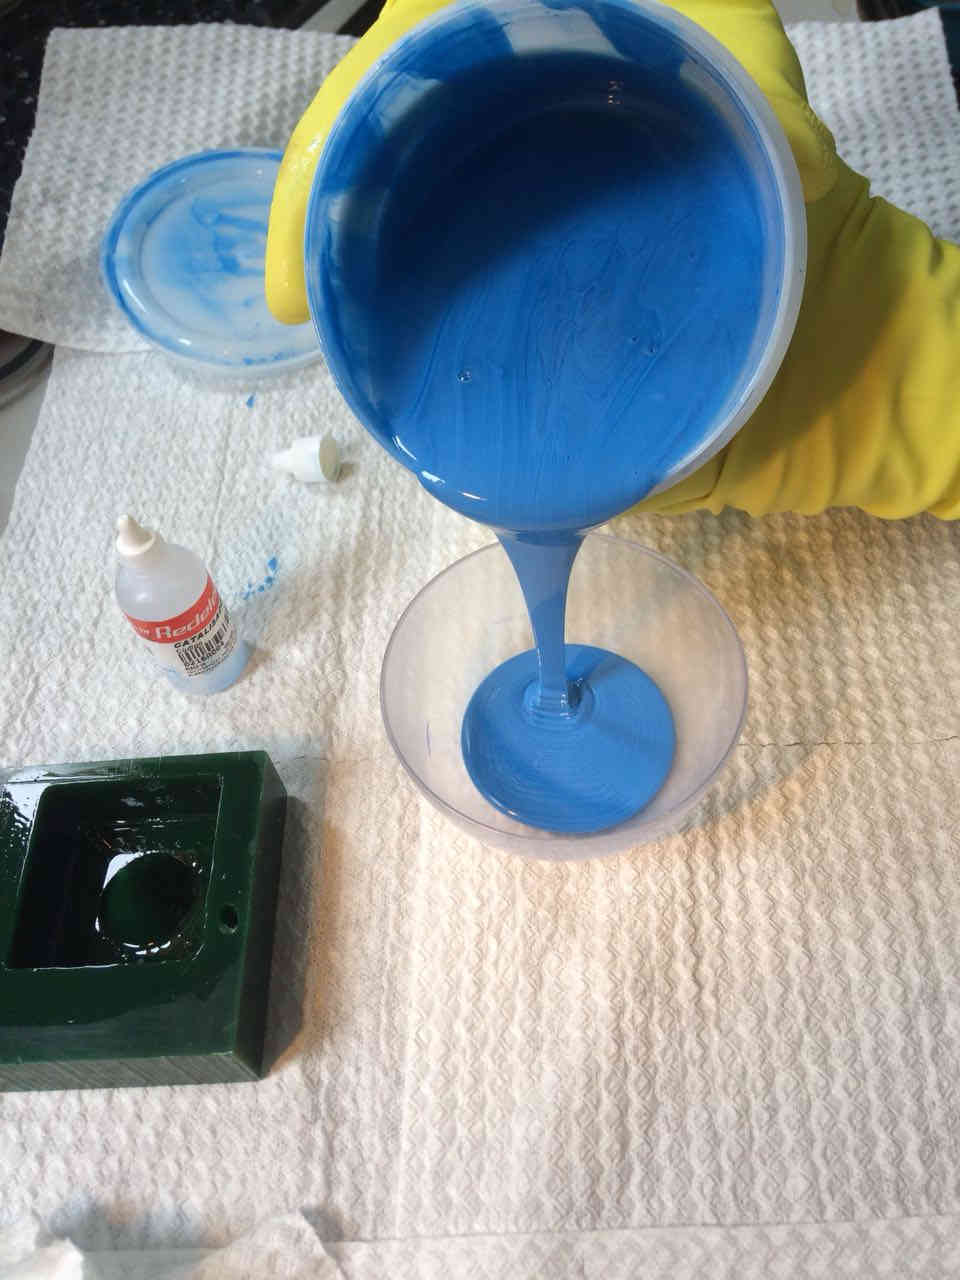
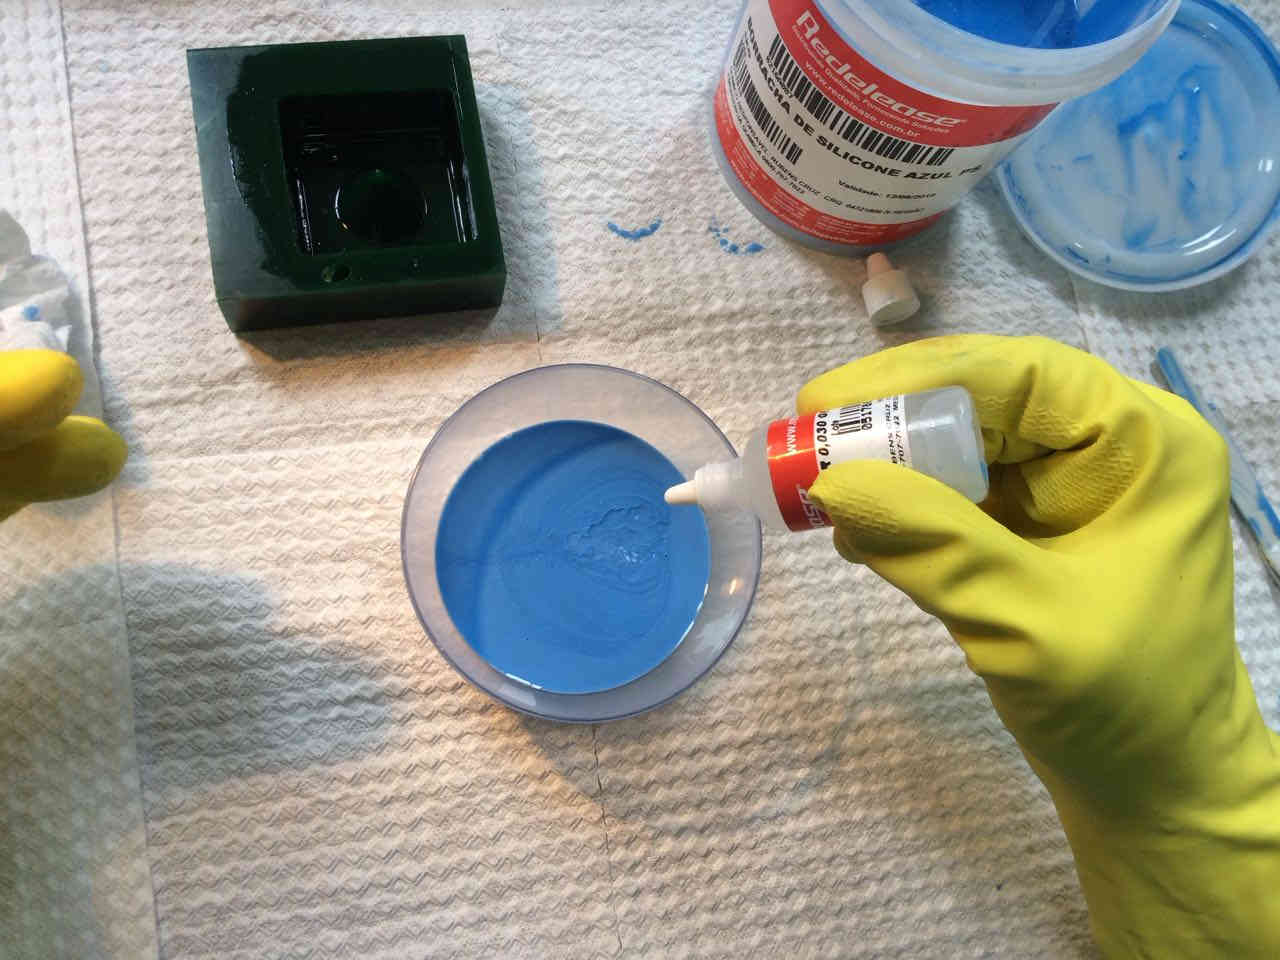
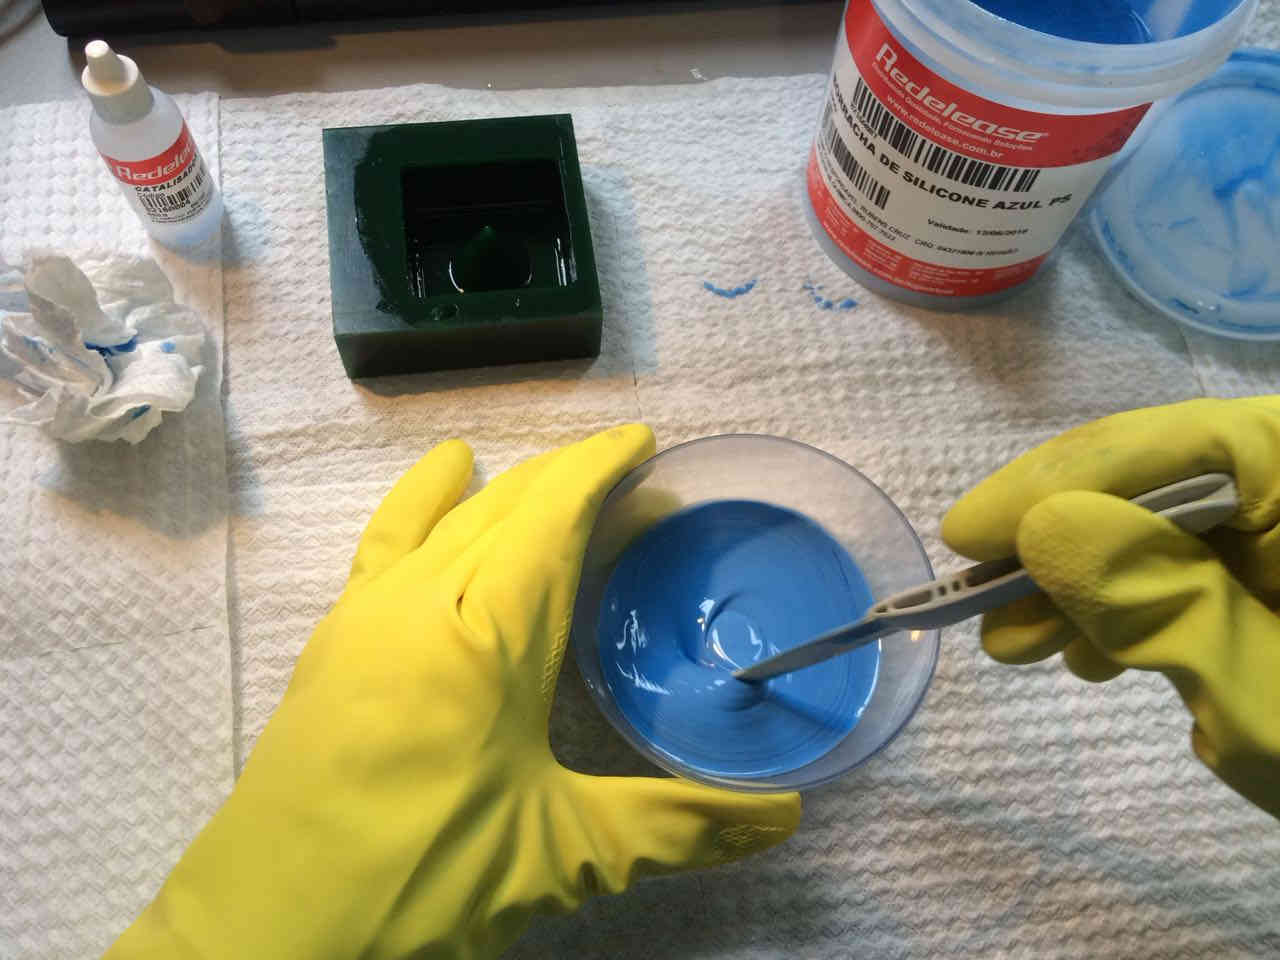
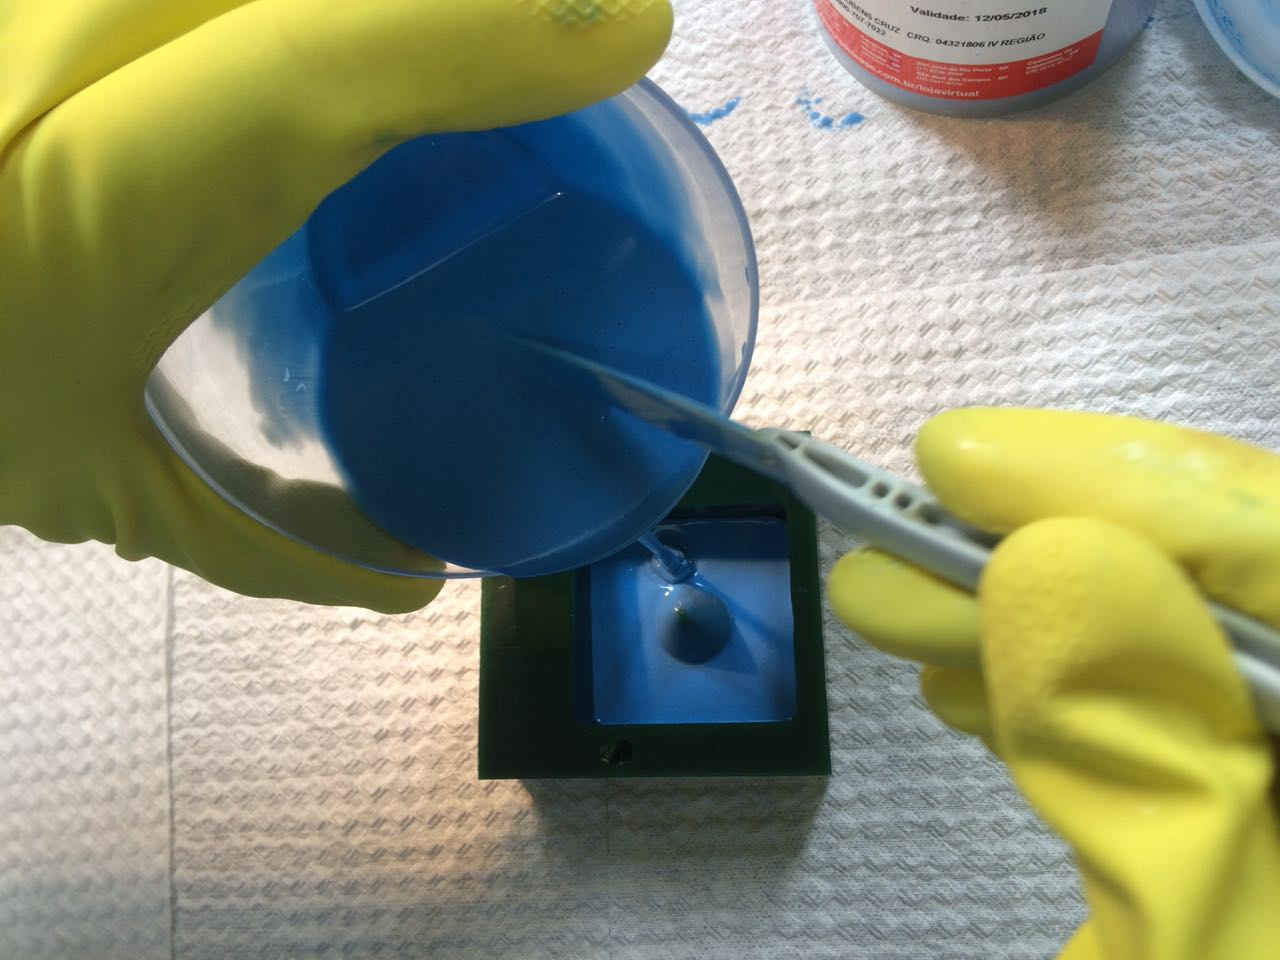
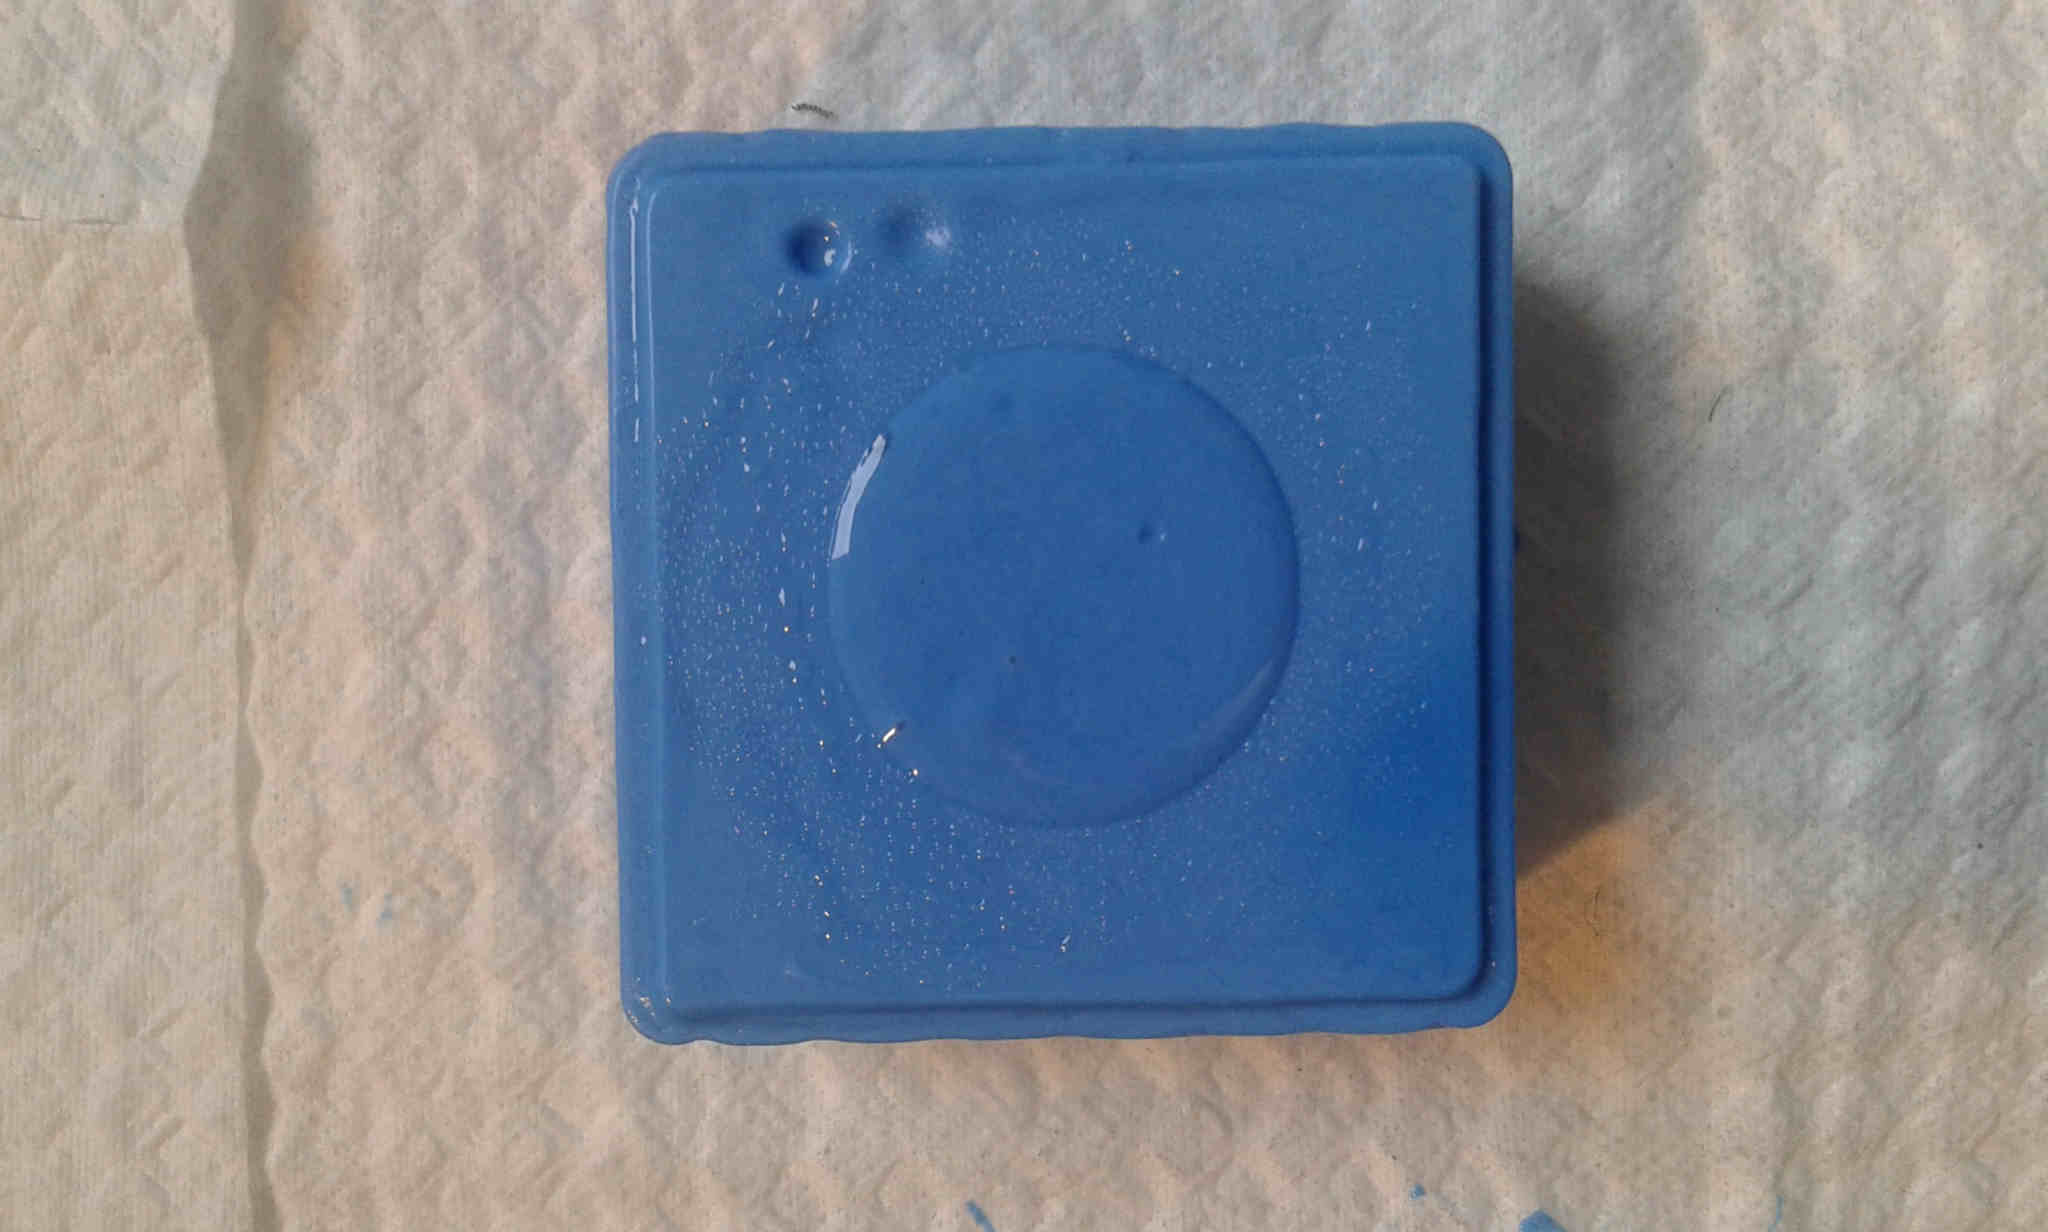
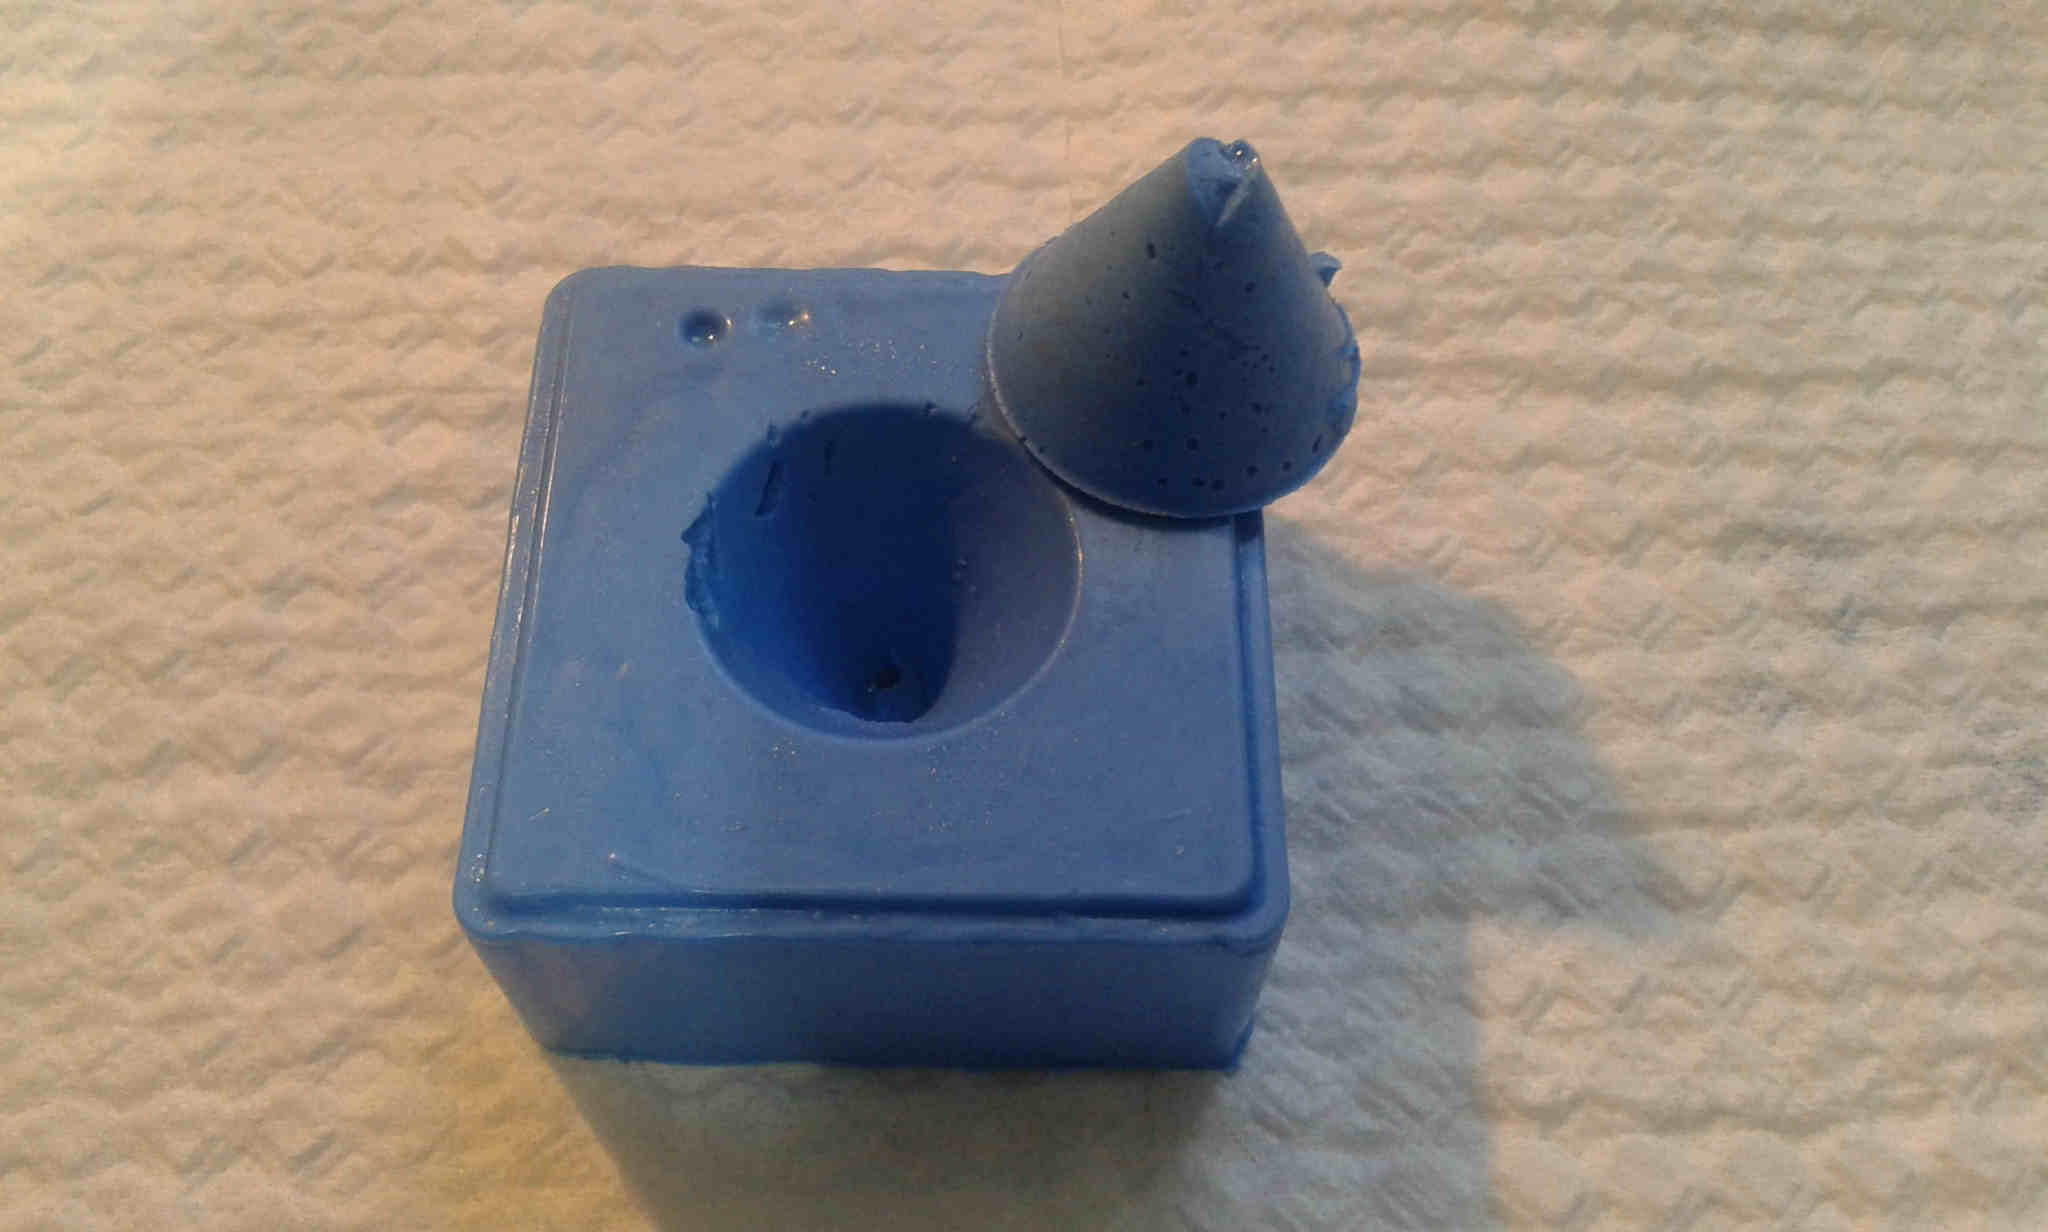
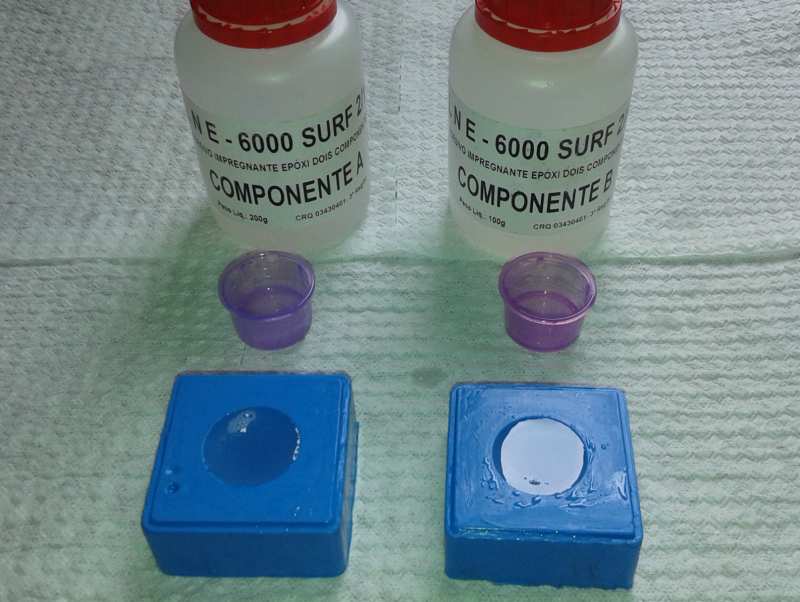
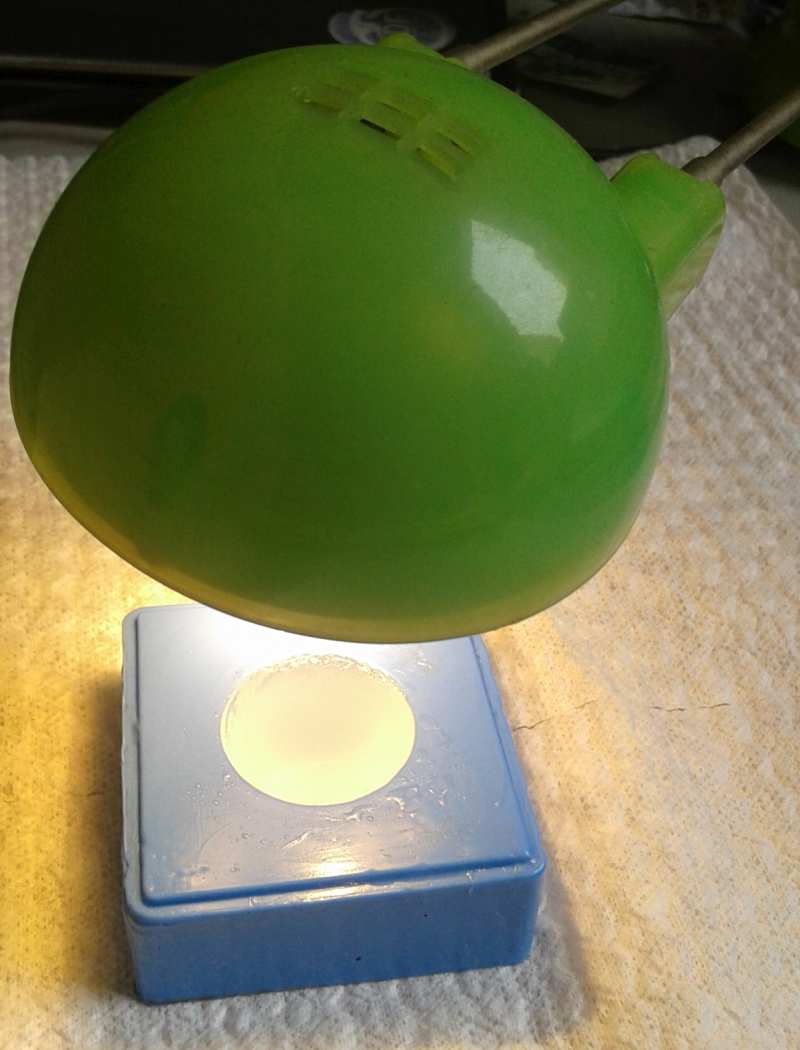
With the same process I mold a cone with silicone.
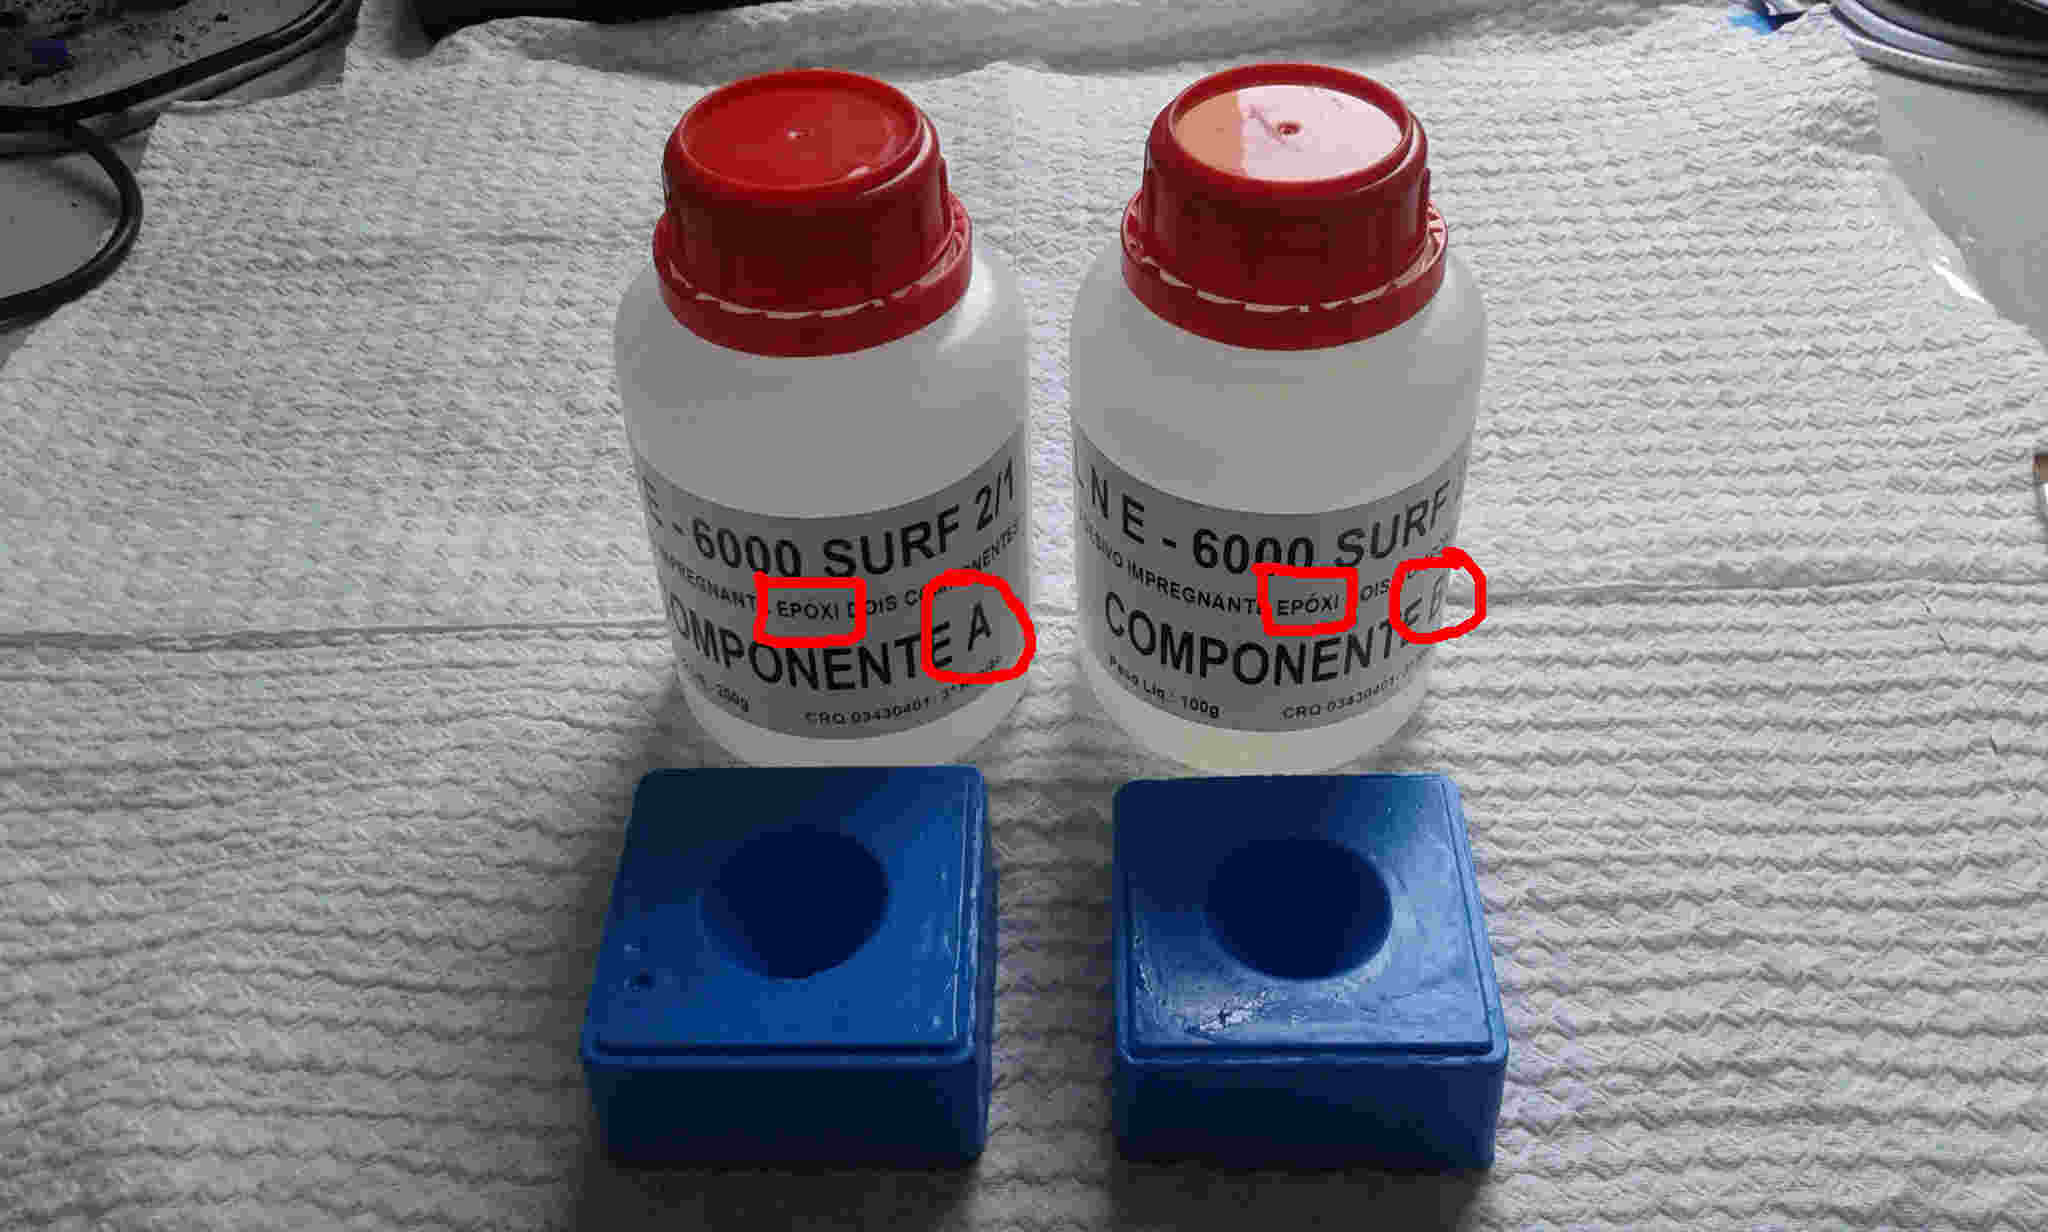
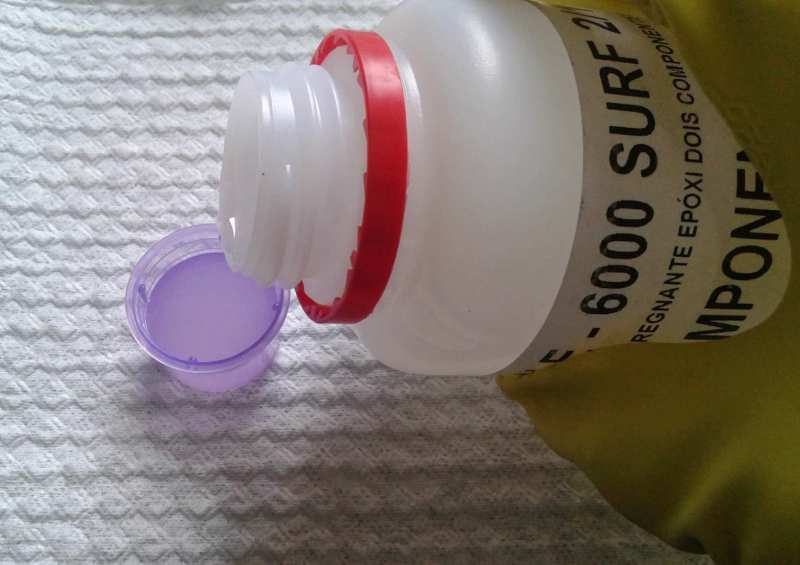
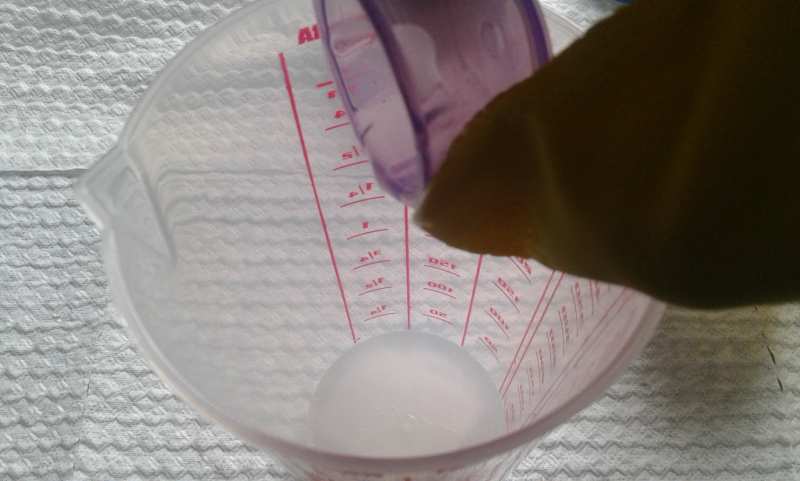
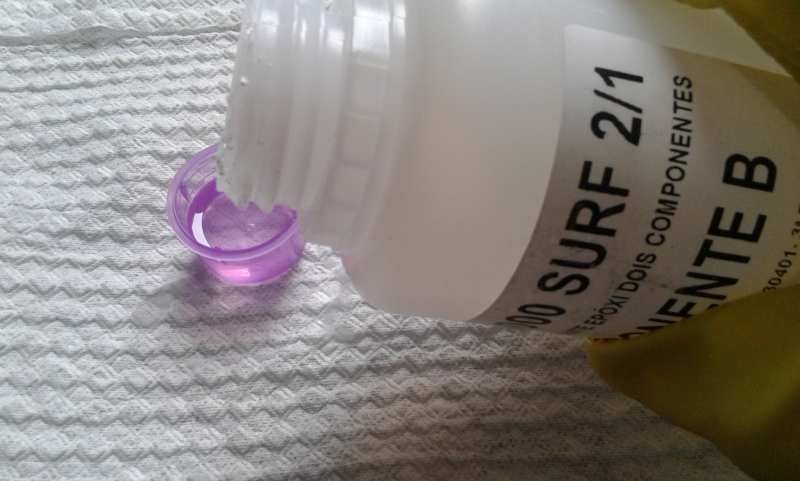
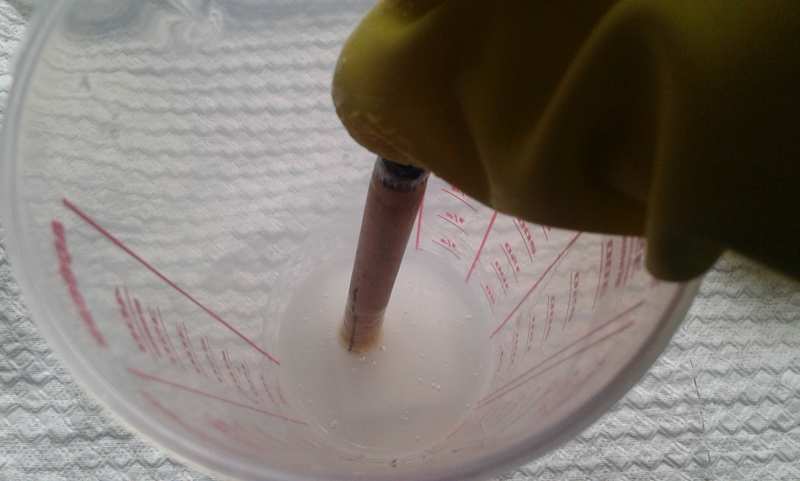
The epoxy resin and the catalyst proportion is 2:1 [epoxy:catalyst], according to the supplier.


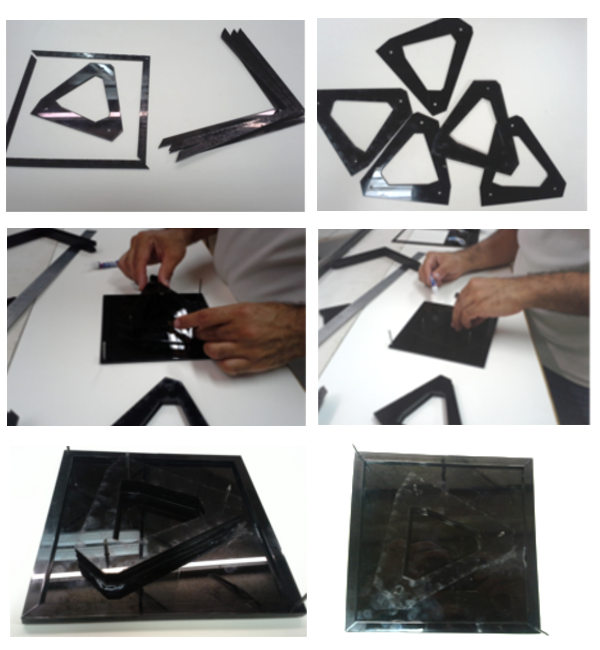
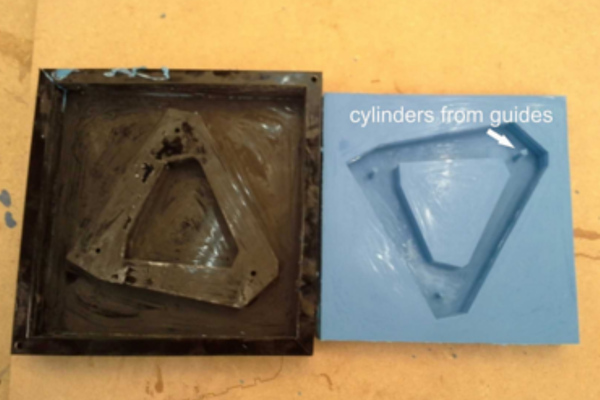
I did the mold with the Laser cutter and acrylic (3mm thickness). With the laser cutter I cut the acrylic to do the positive mold, the acrylic was glued piece by piece. To get a better result I did some guides (three holes in every piece and two in the base) Here the laser cut files.
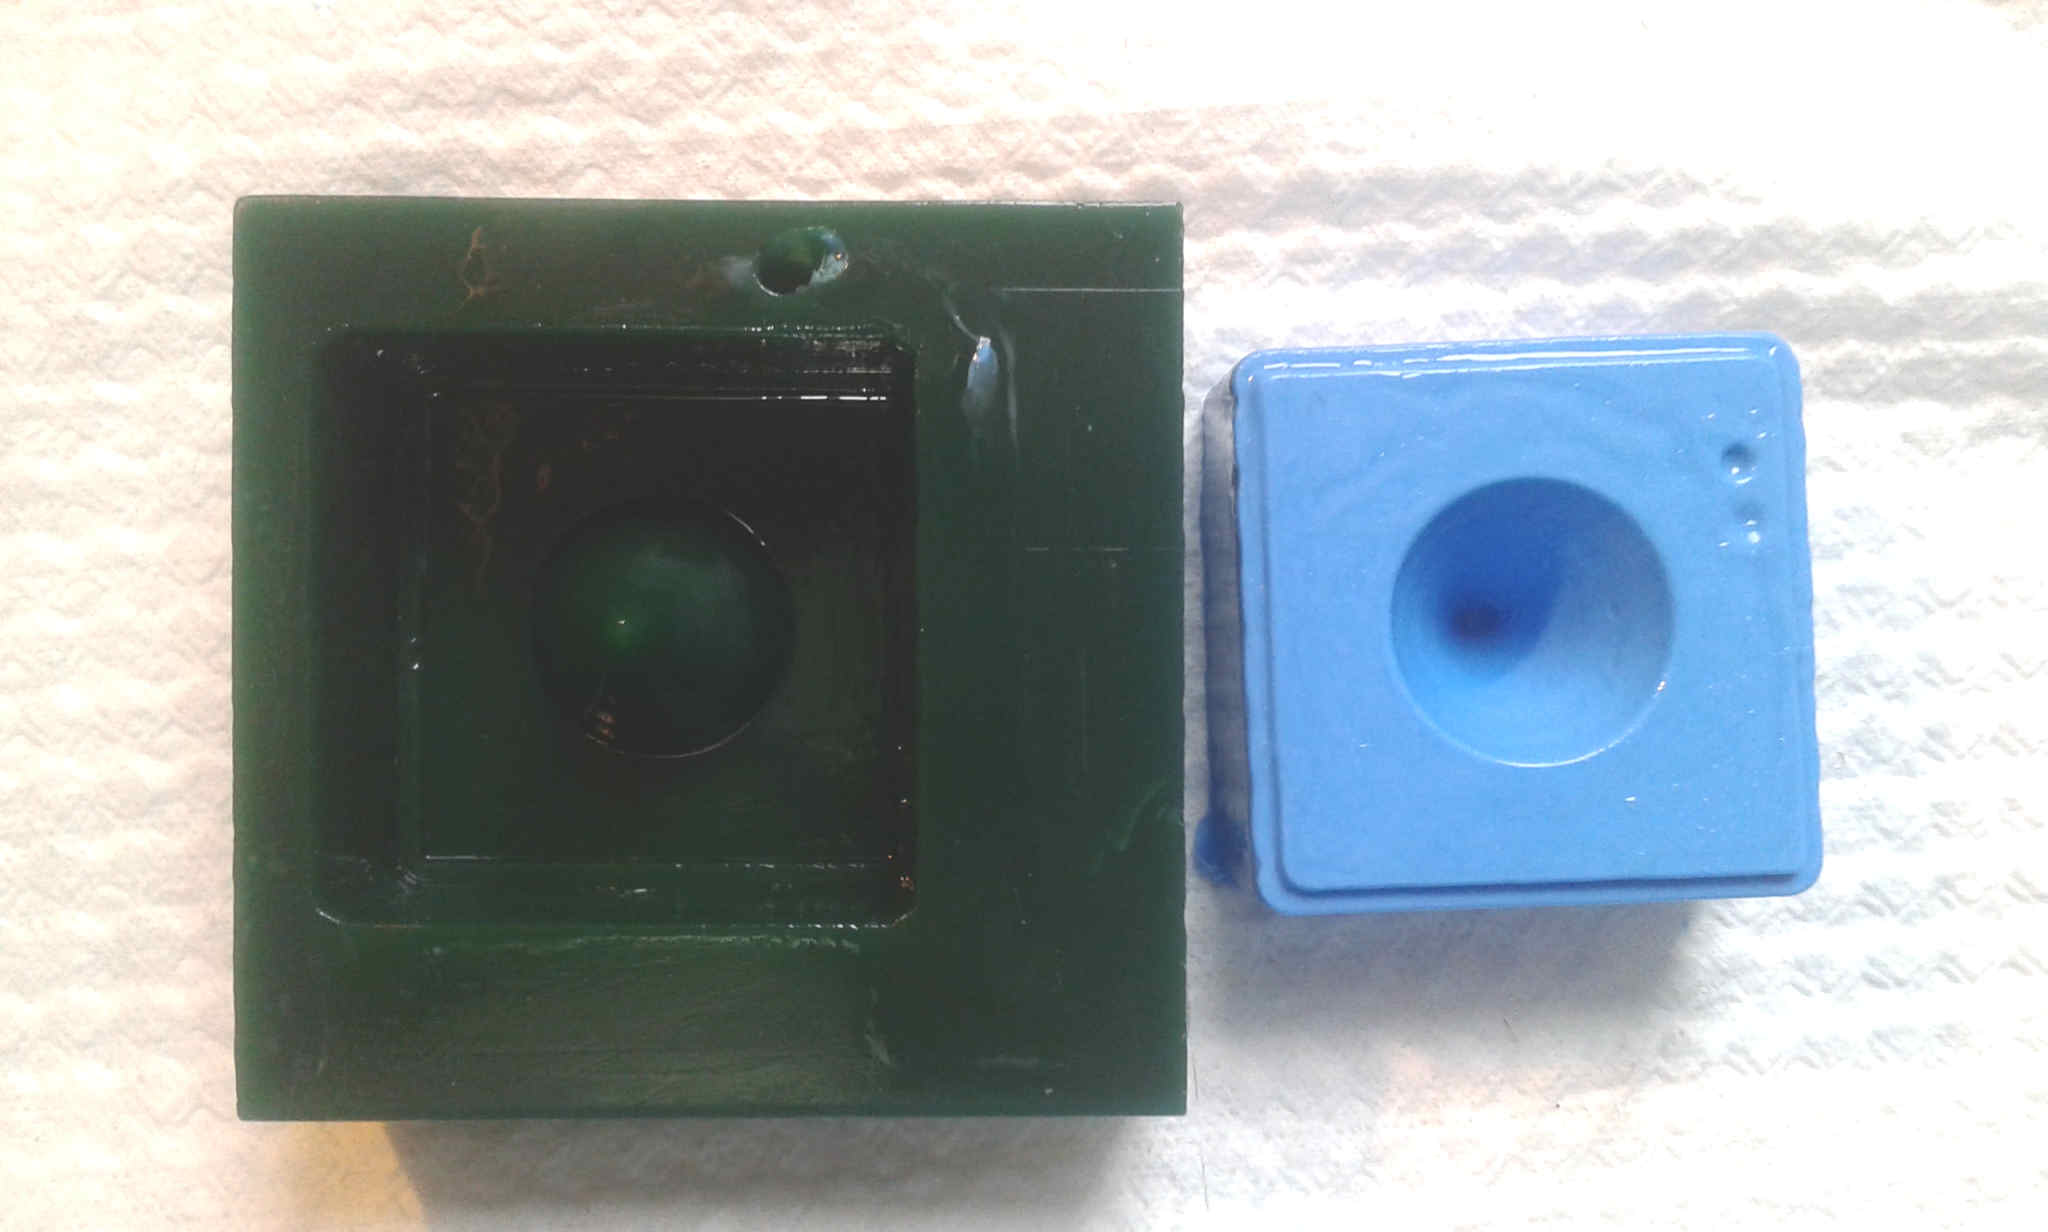
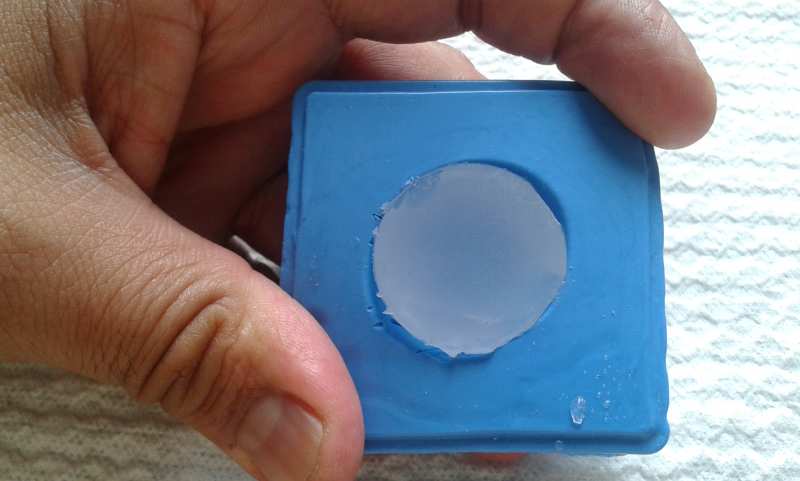
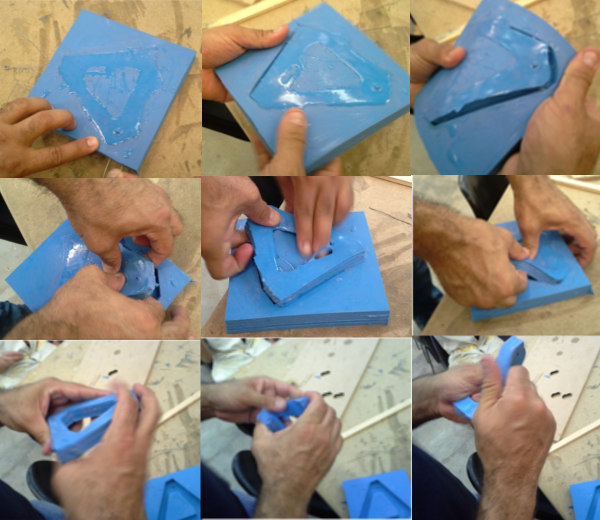
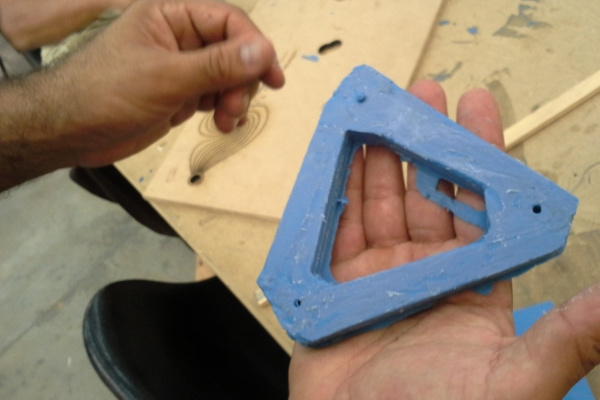
I used Silicon Rubber and a catalyzer that together finished the mold in 3 hours. In the mold appeared cylinders that were the "pins guides" that I removed from positive.
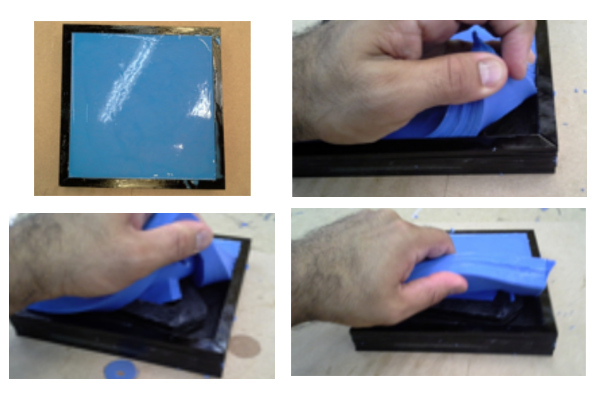
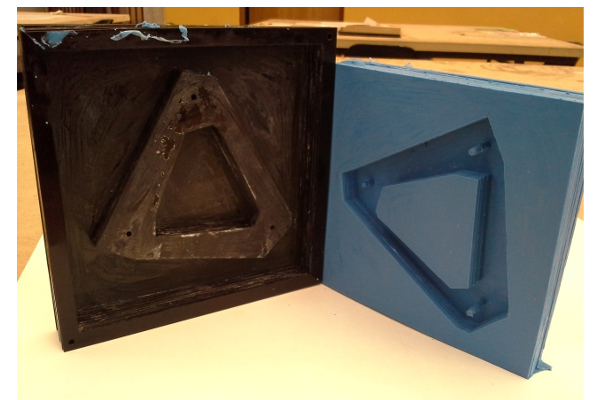
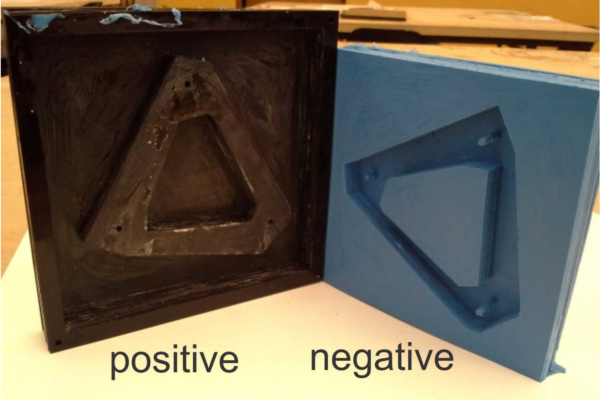
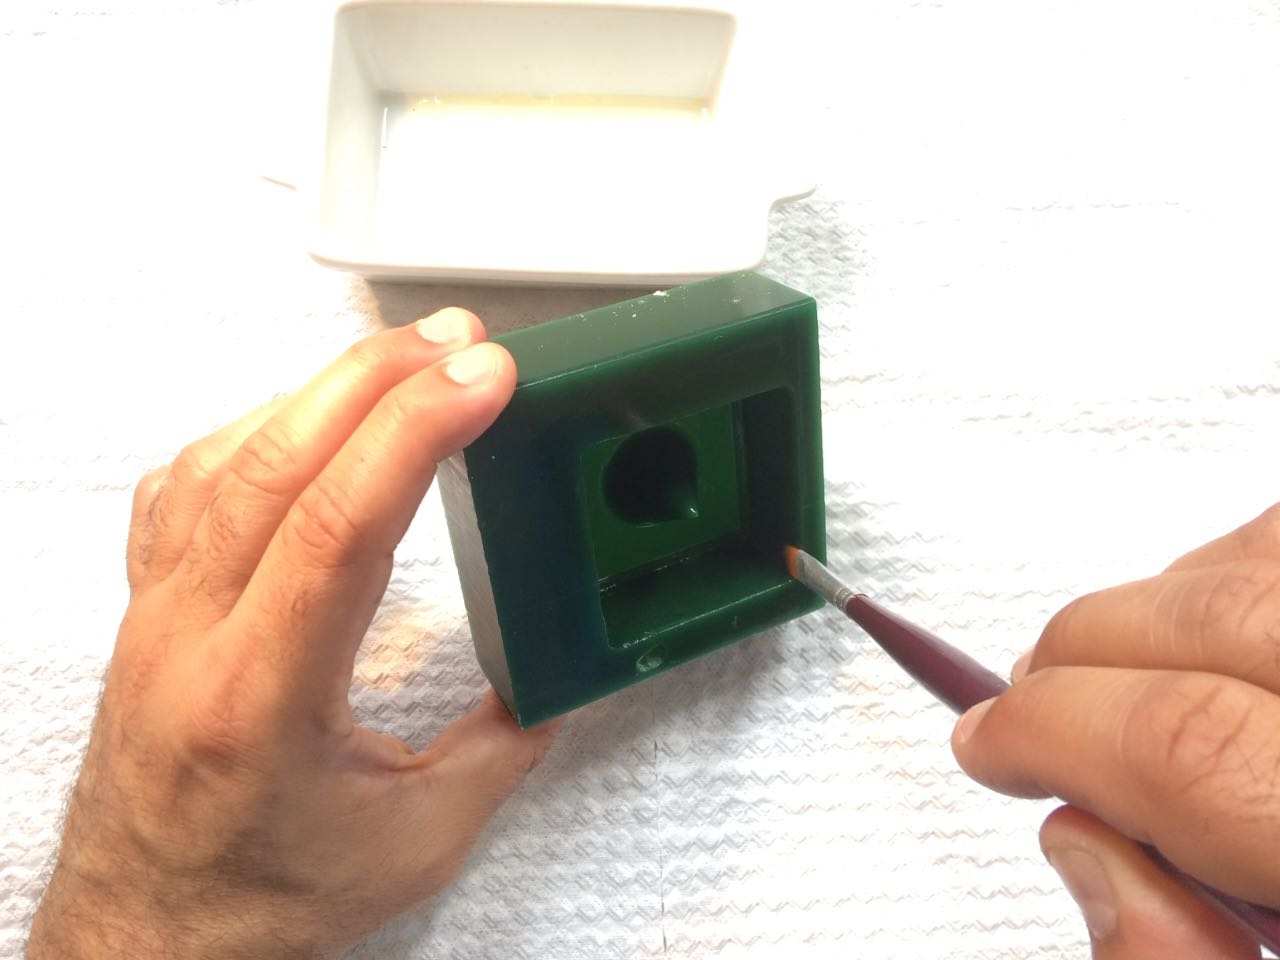
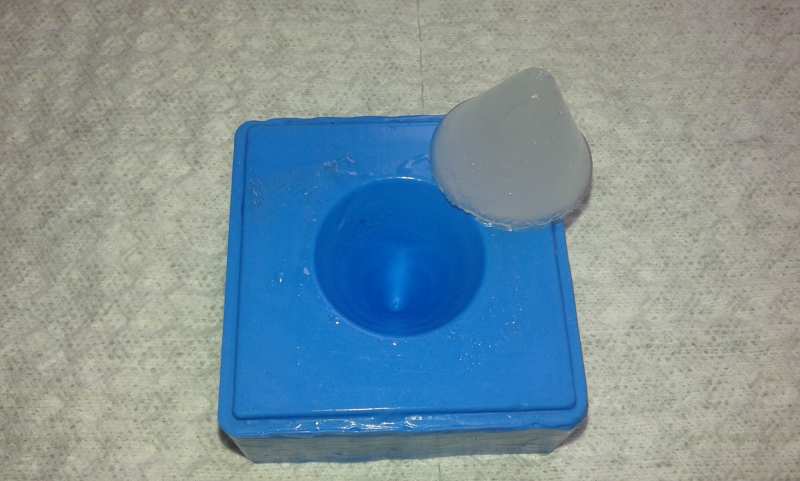
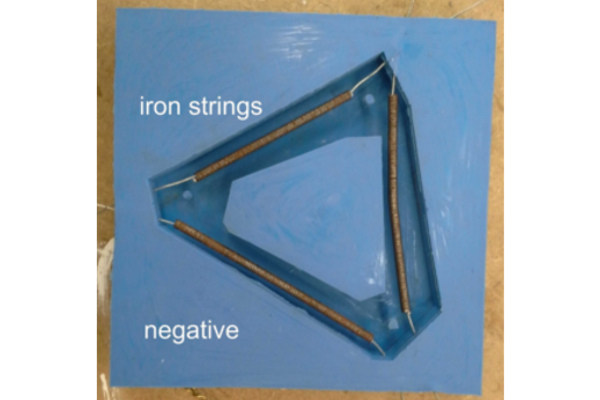
I used the same silicon rubber + catalyzer and vaseline to release the object. In order to construct with two different materials, I placed inside the negative spring´s devices to test an "elastic" final object.
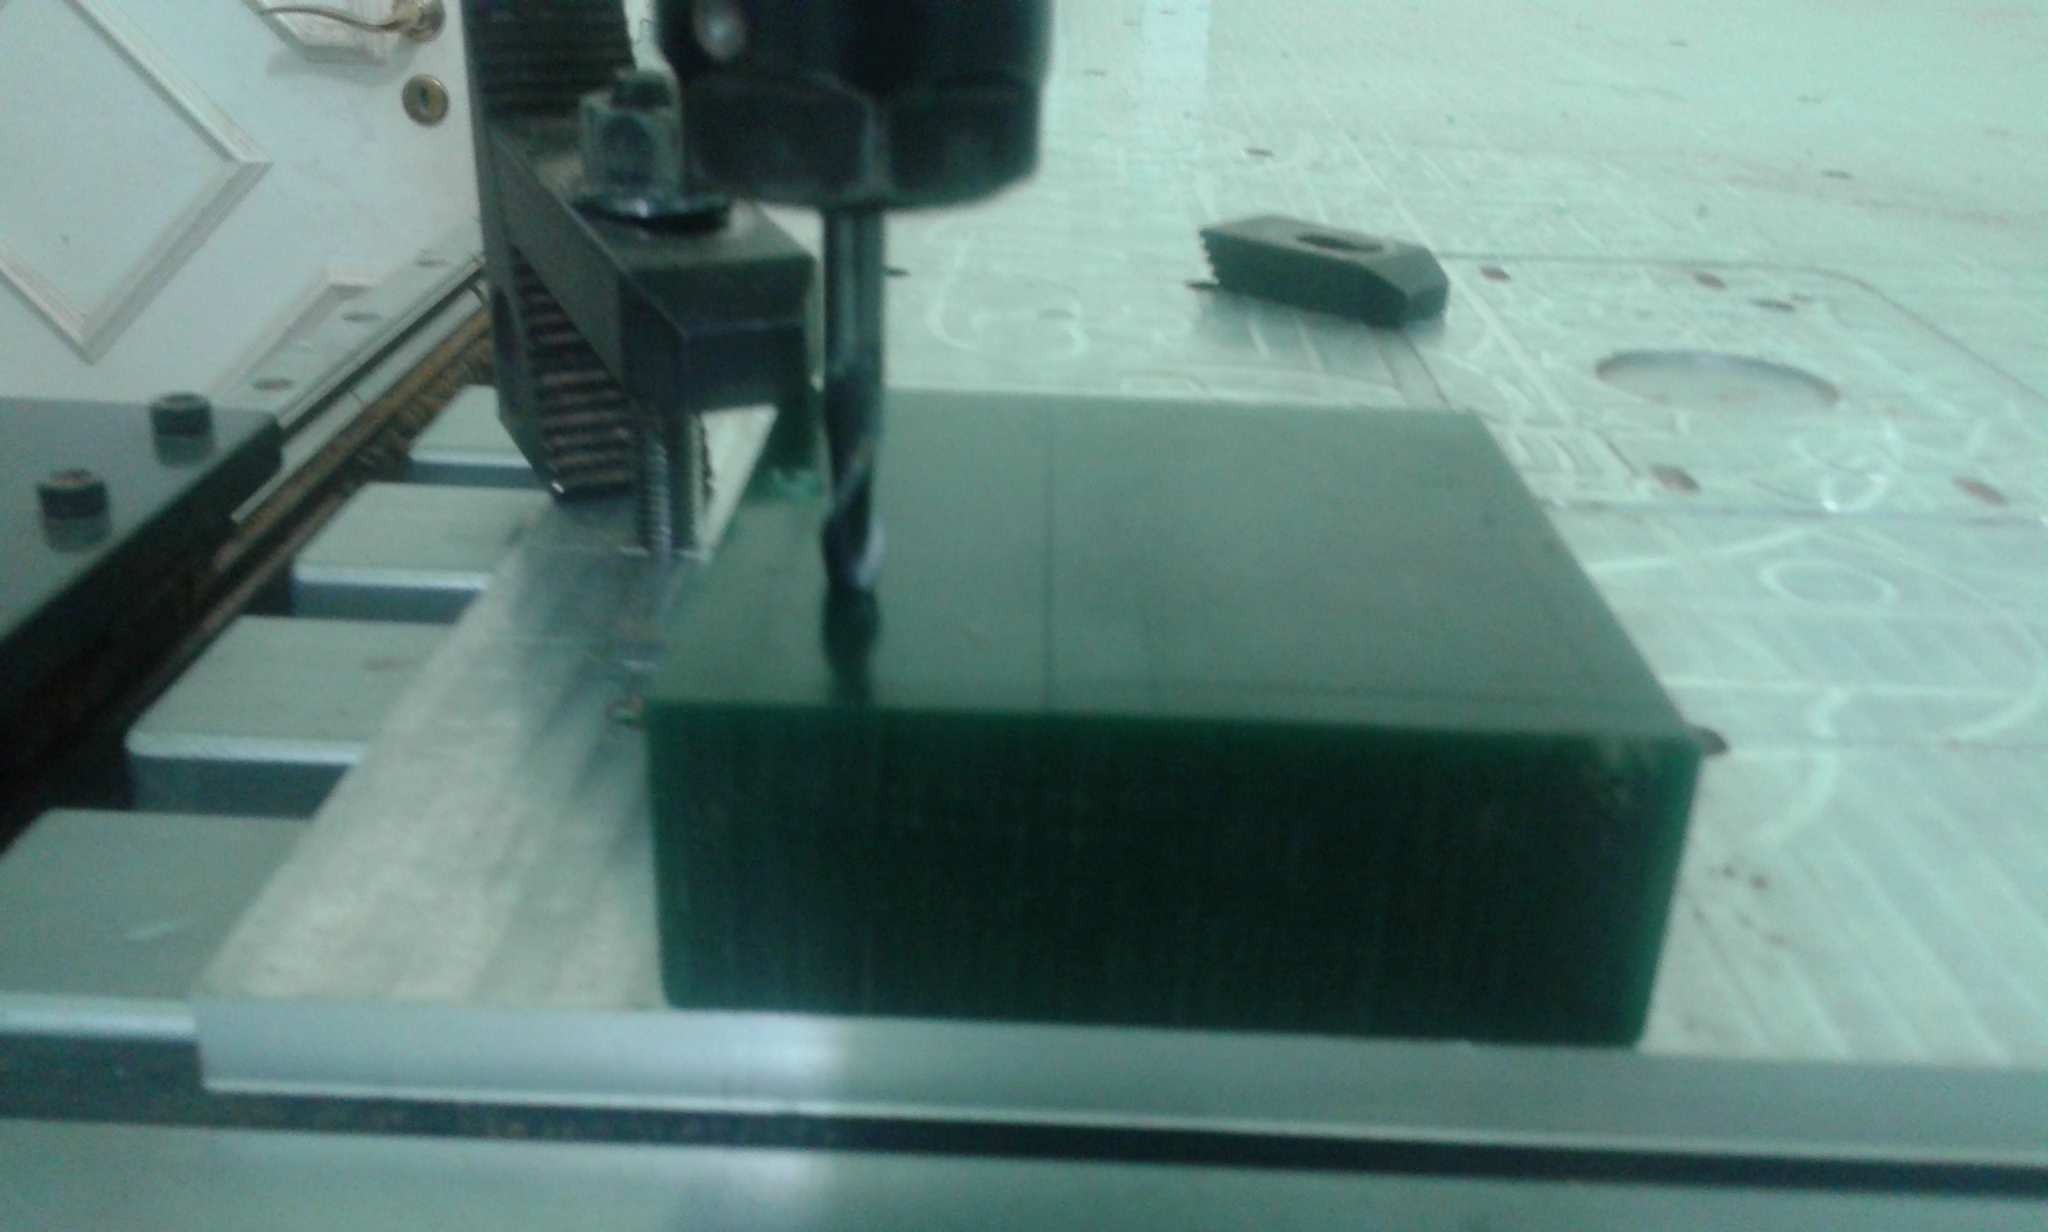
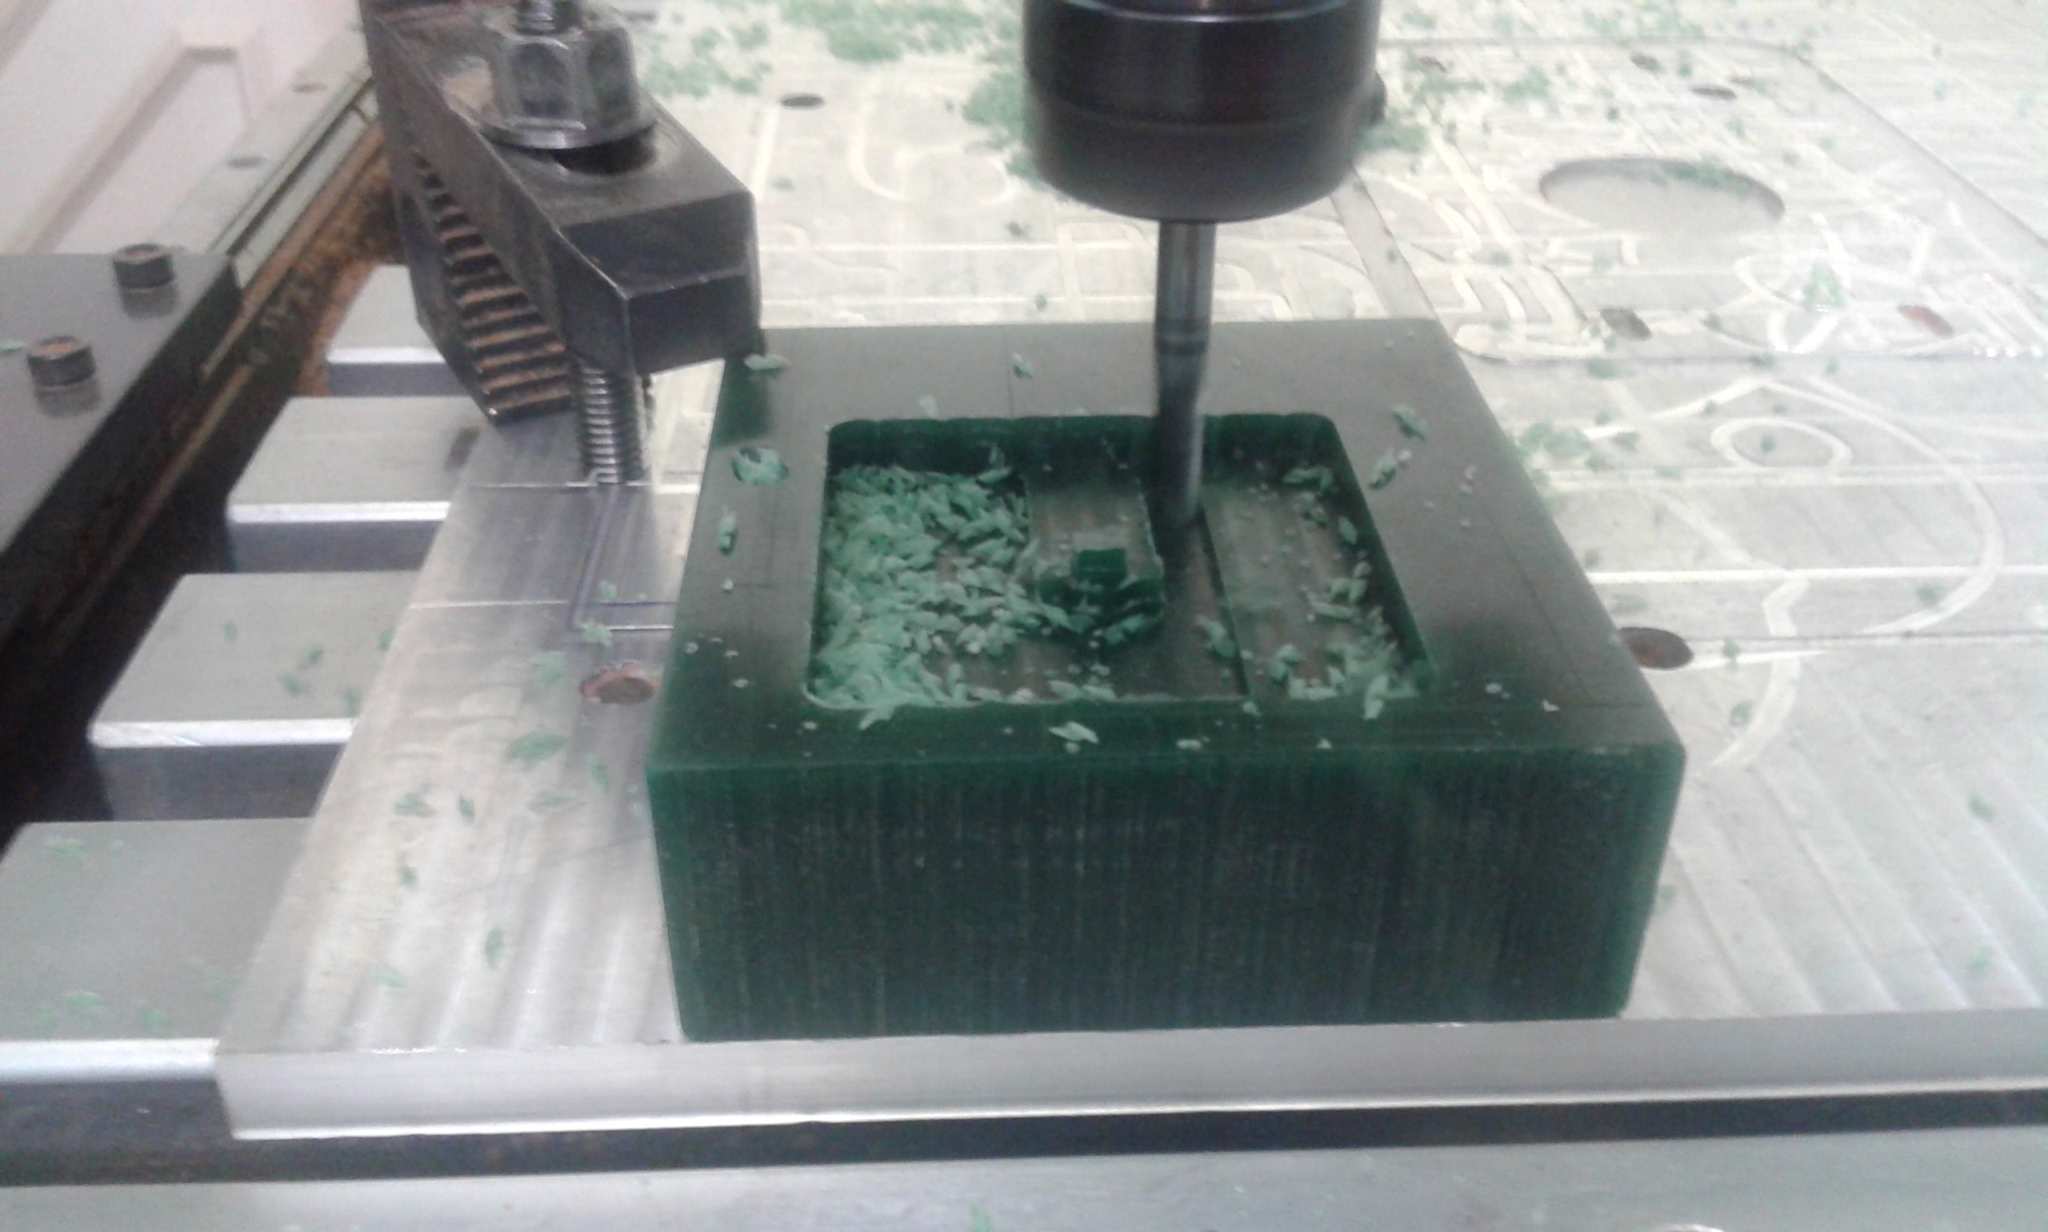
Mill the wax was nice and it was possible ( to do the best result) only with two steps and then two miller cutters. I had difficult to fix the wax at the table ´s machine, I needed to work with a tool to press it.
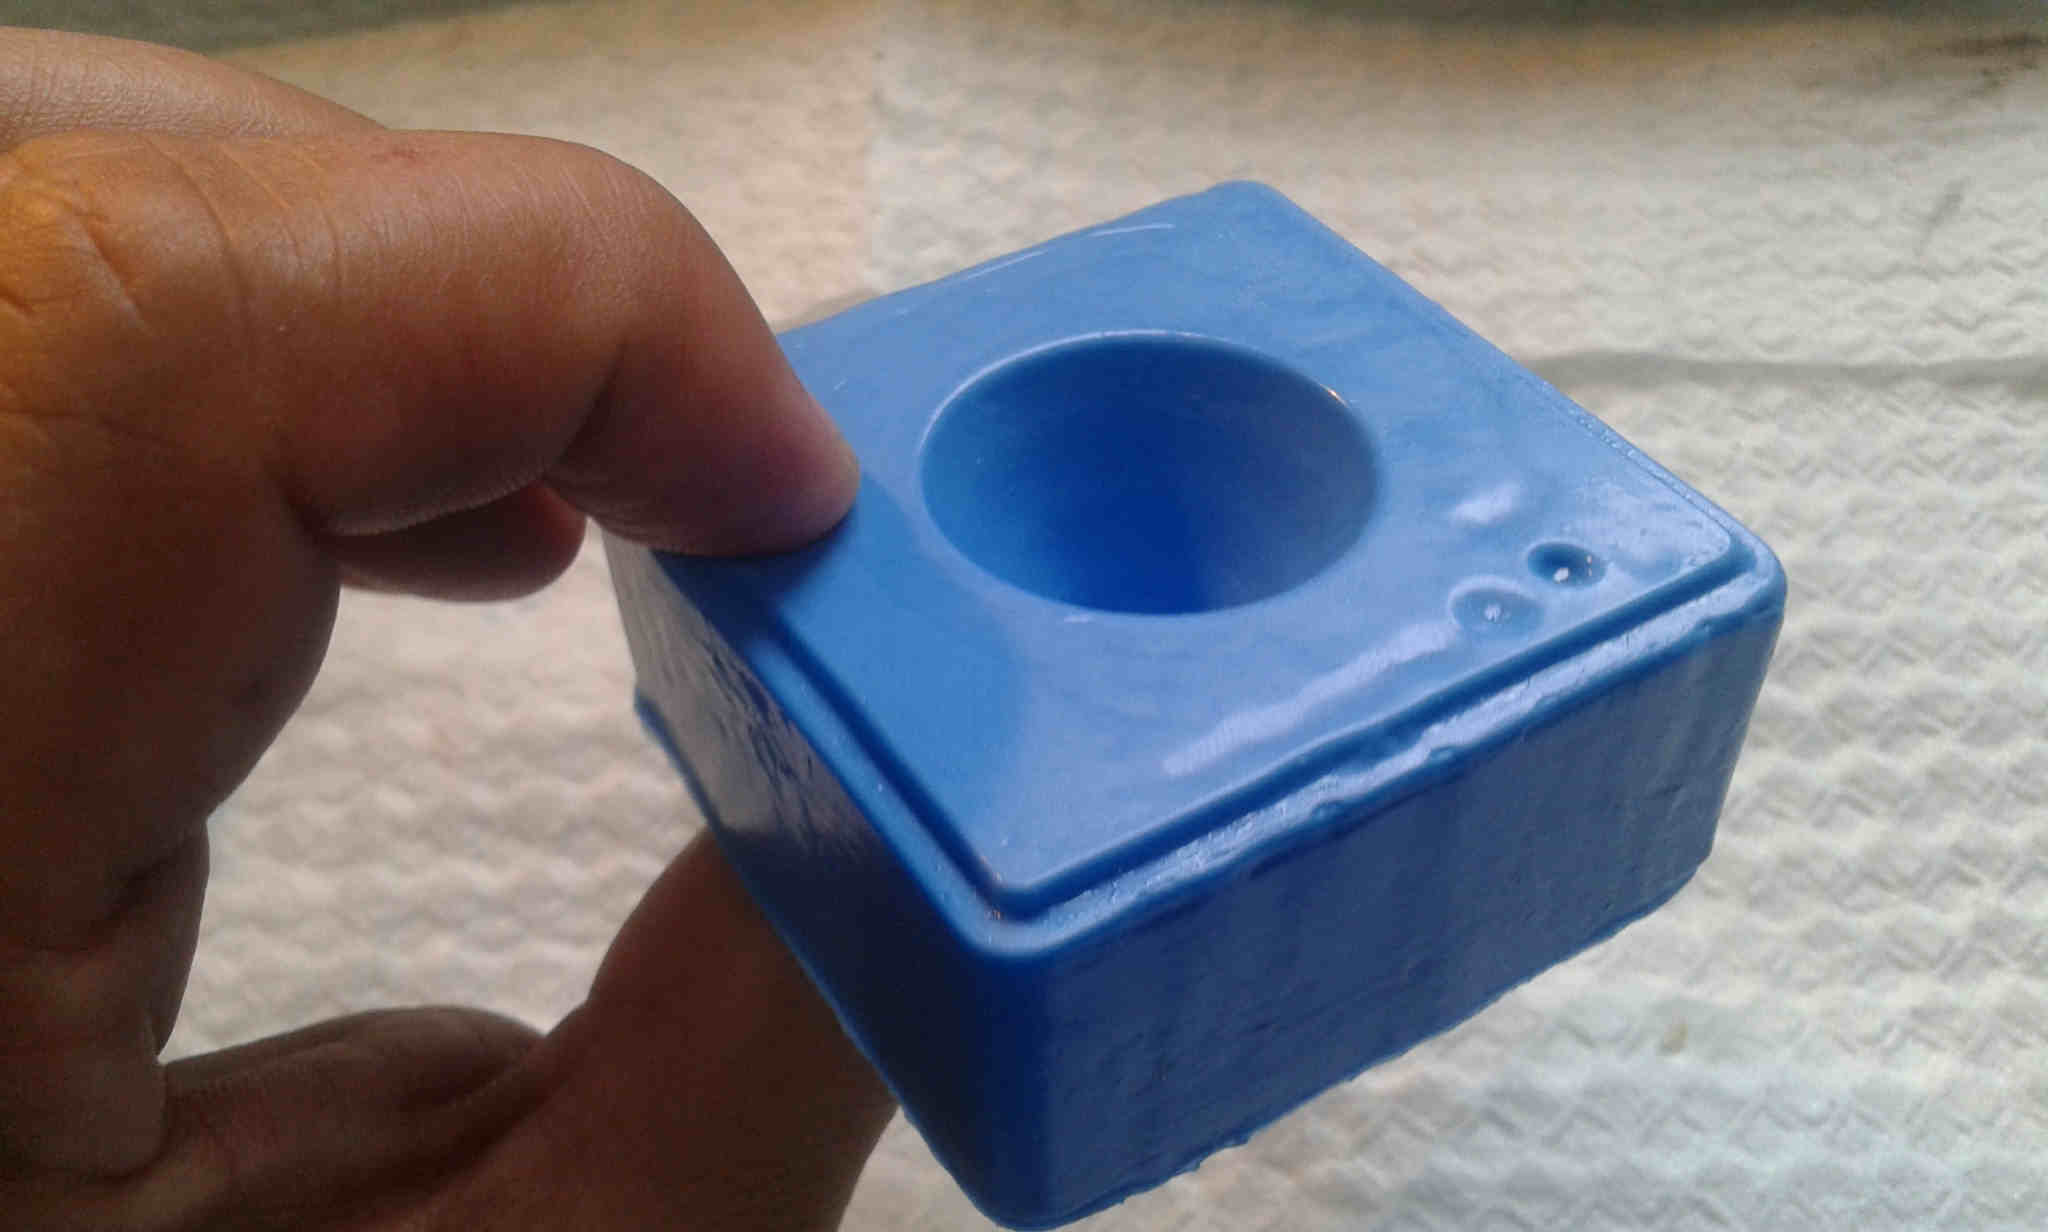
It is possible casting with silicone and epoxy with the same process, it was nice to make silicone cones!
To release the object I used oil and vaseline, but vaseline was much better than oil.