
- Design the object to test the parameters
Inspired by this printer ´s test I did one 3D object with Rhinoceros3D to test a 3D Machine Air: a modified prusa mendel .
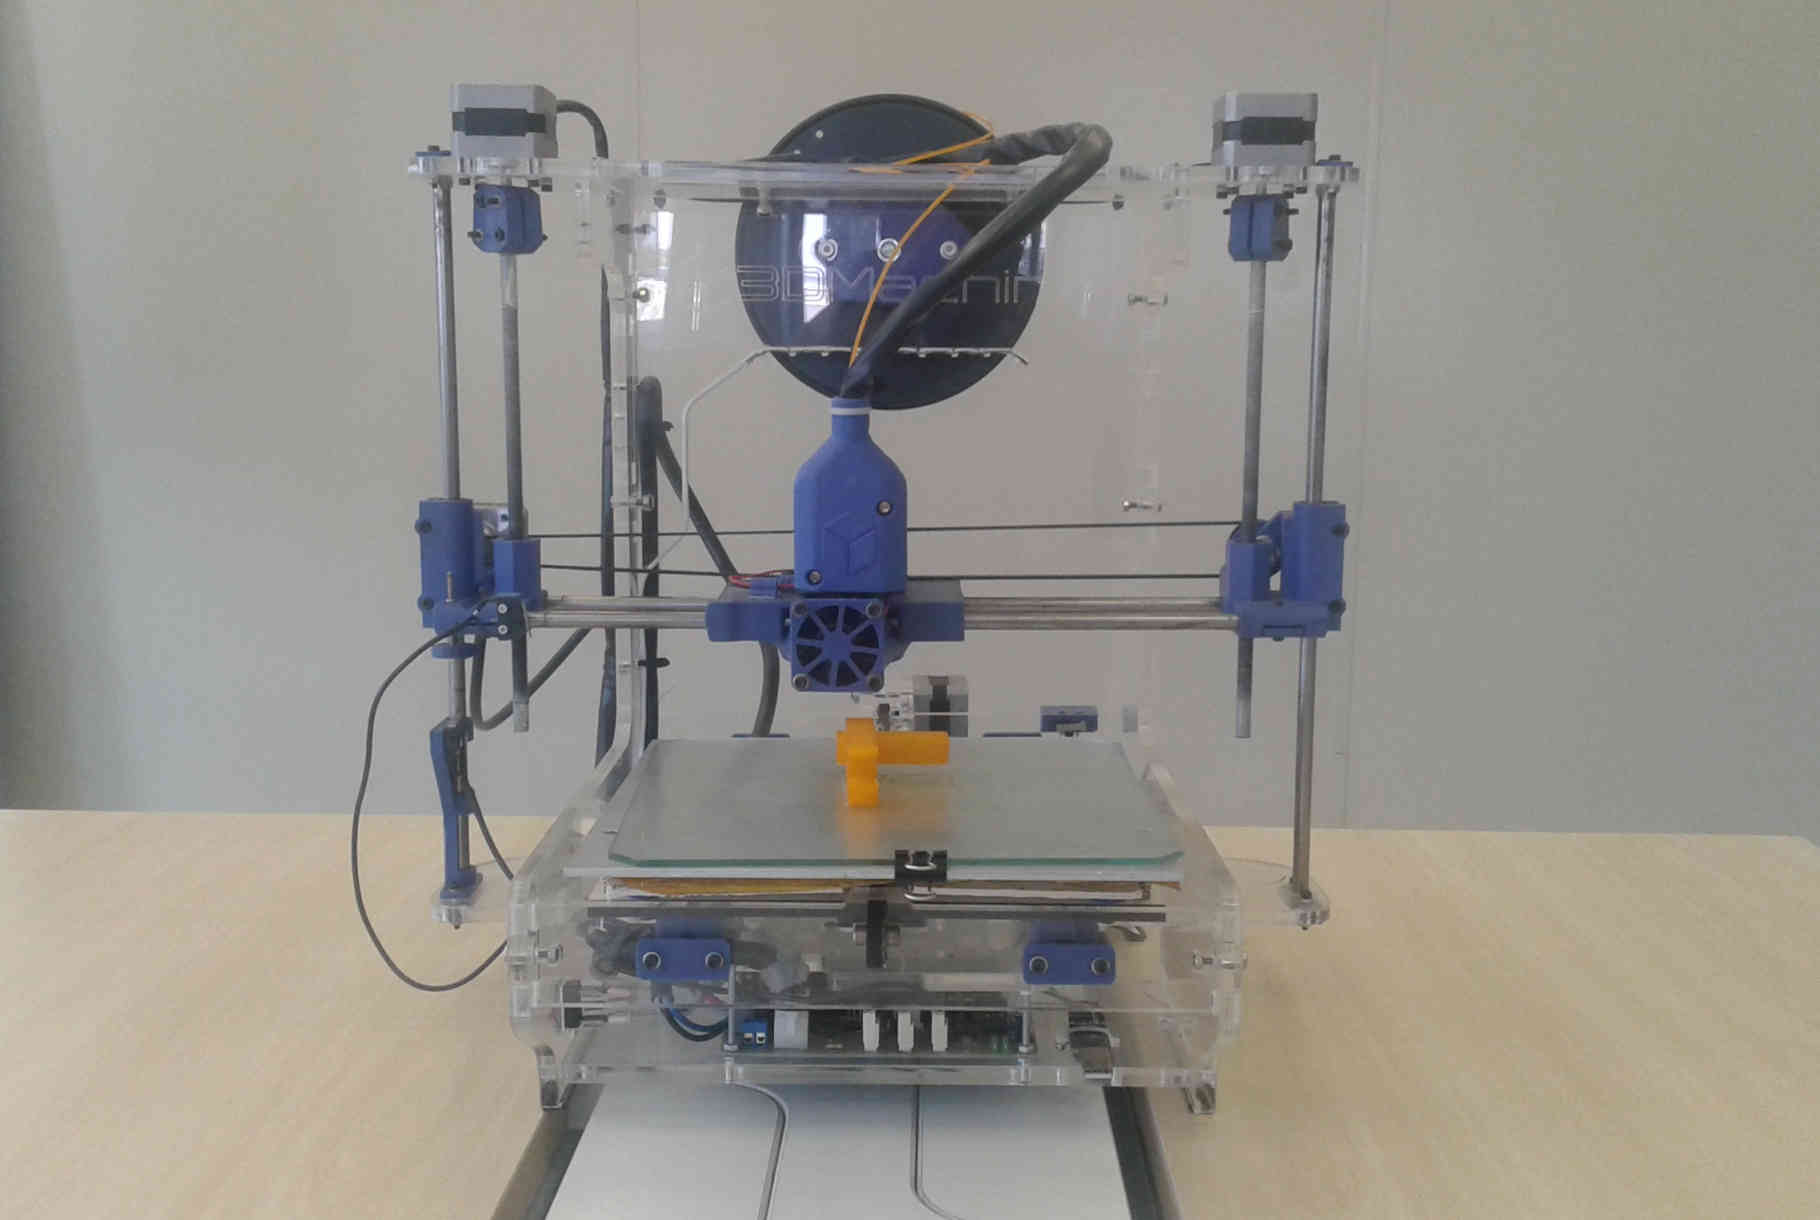
3D Machine Air
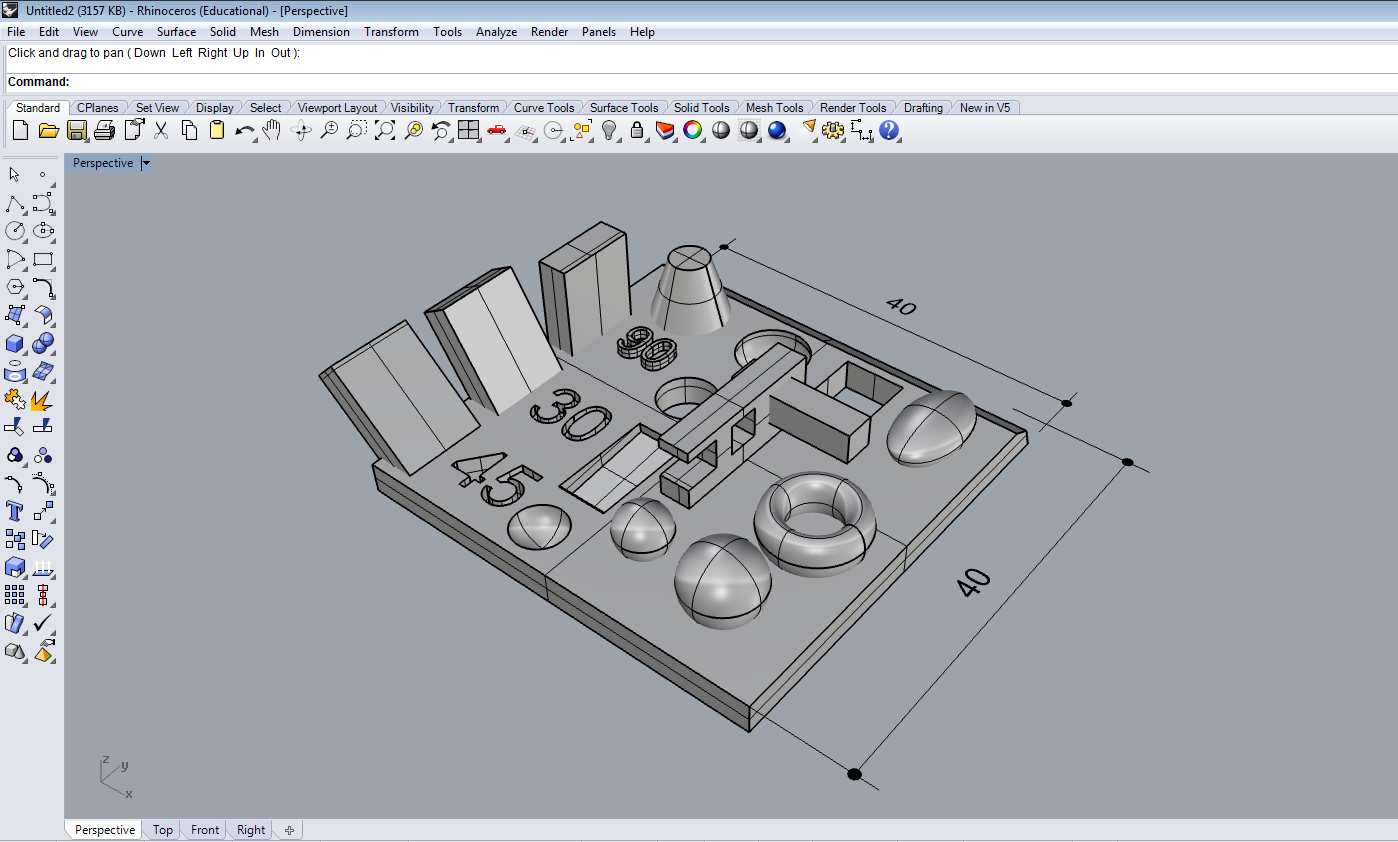
3D model Rhinoceros3D
- The Printer parameters
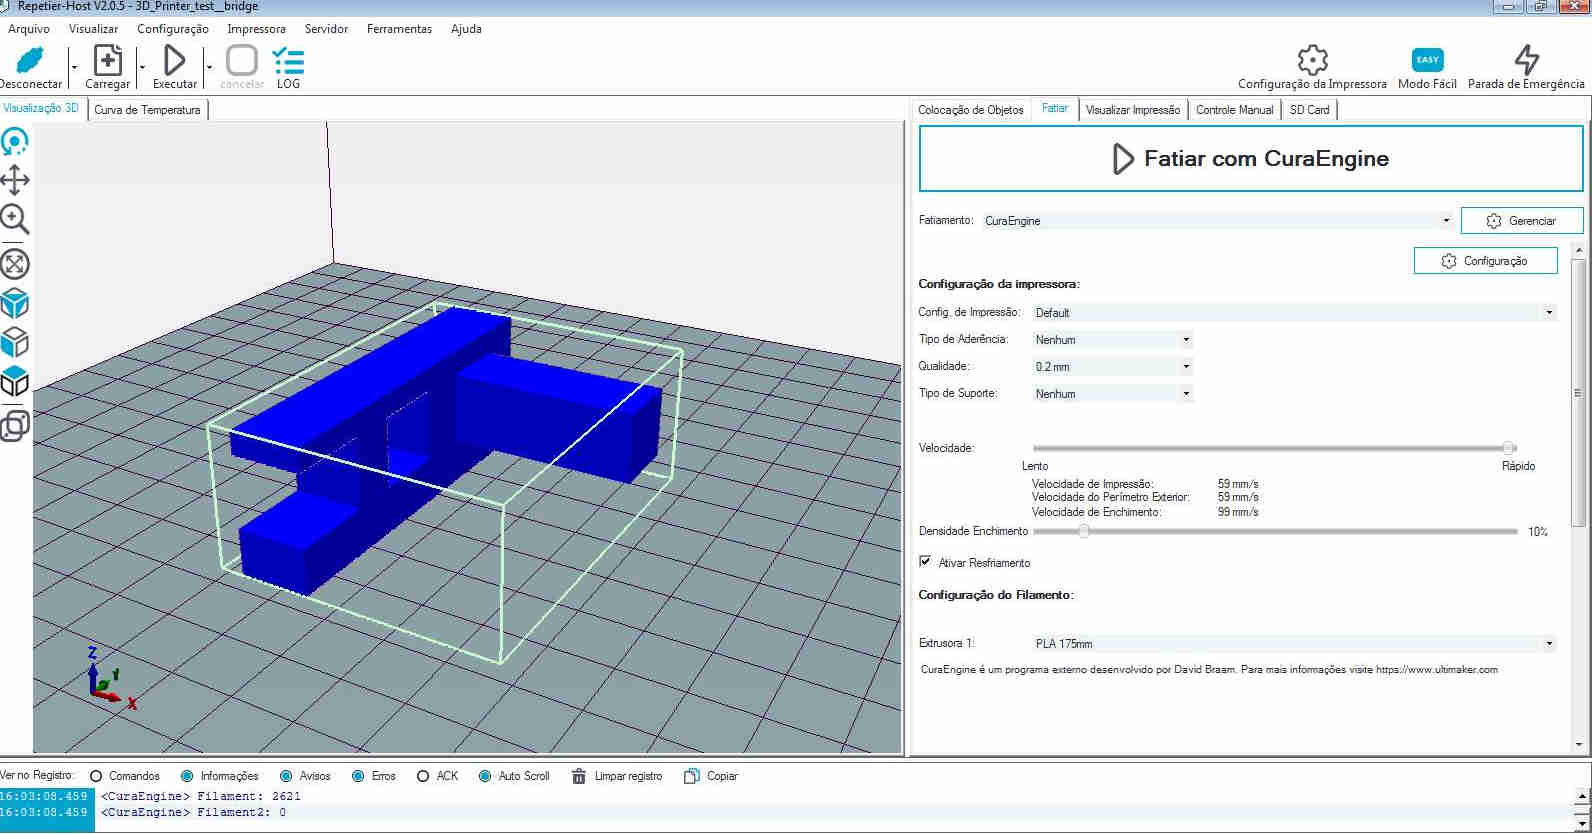
I worked with the Repetier host software to control the machine. I tested velocity and density together in my print test.
The Machine Parameters:
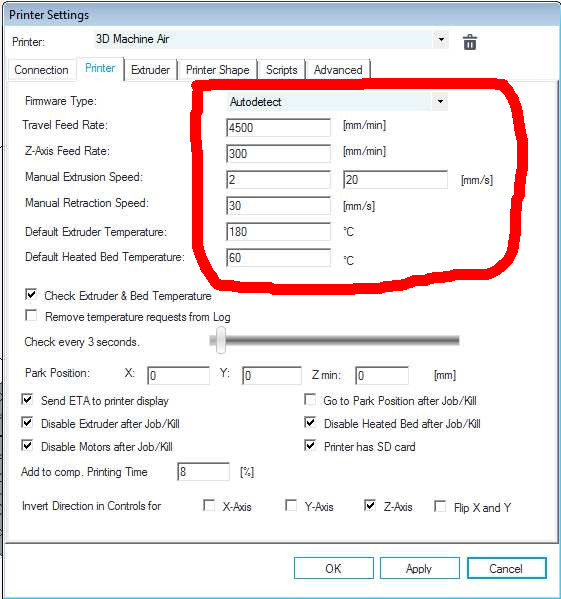
Parameters
The parameters - 180 ºC/Extruder temperature and 60 ºC/Bed is about the polylactic acid or PLA.
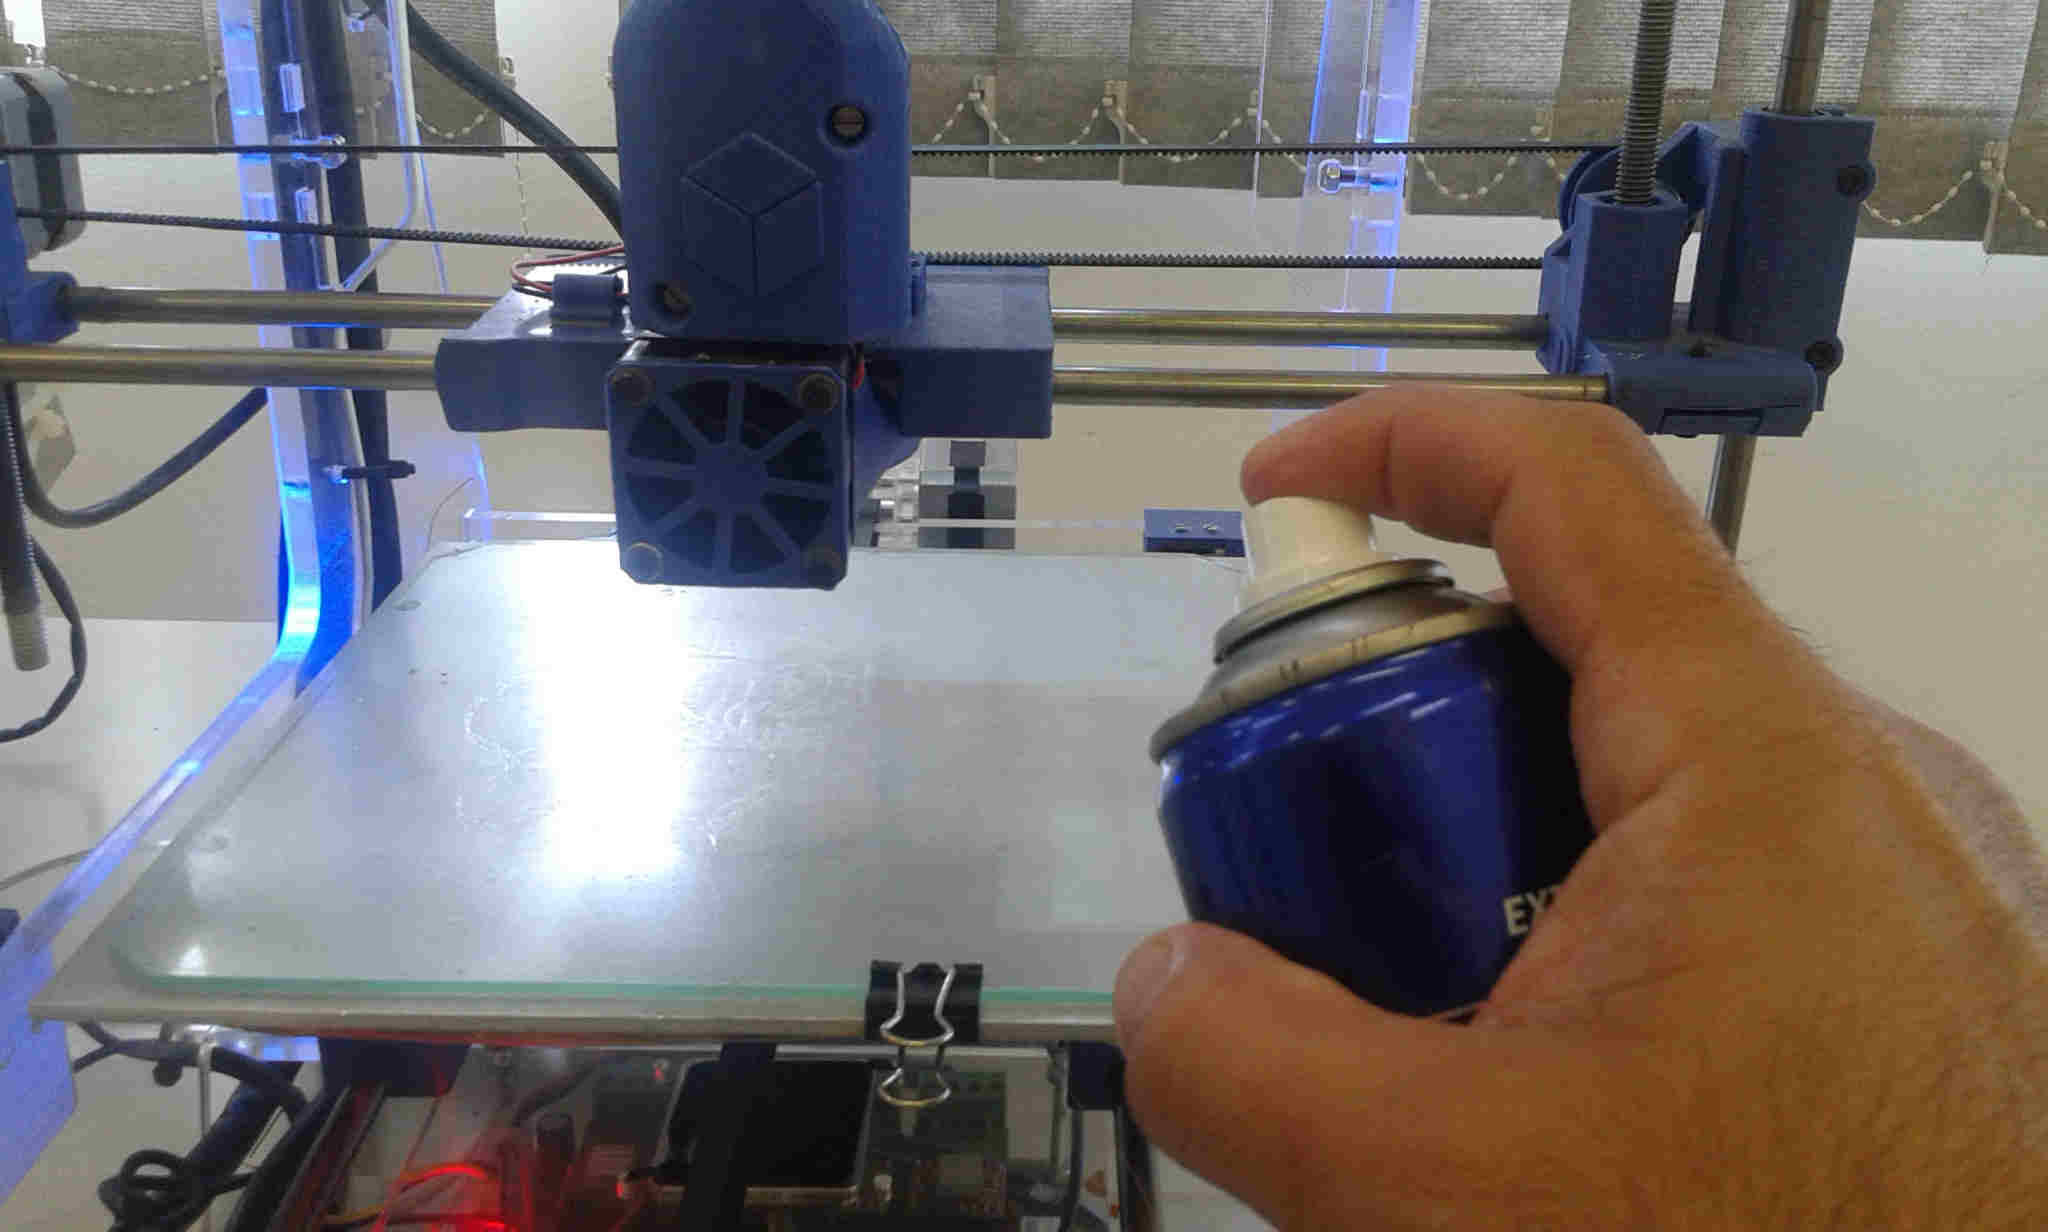
Preparing the bed with "Karina hair spray"
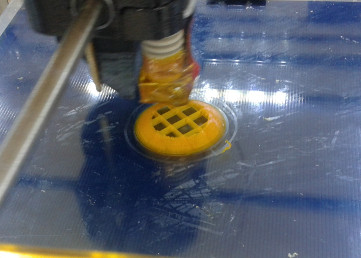
- First Test: velocity (59 mm/s) and density (10%)
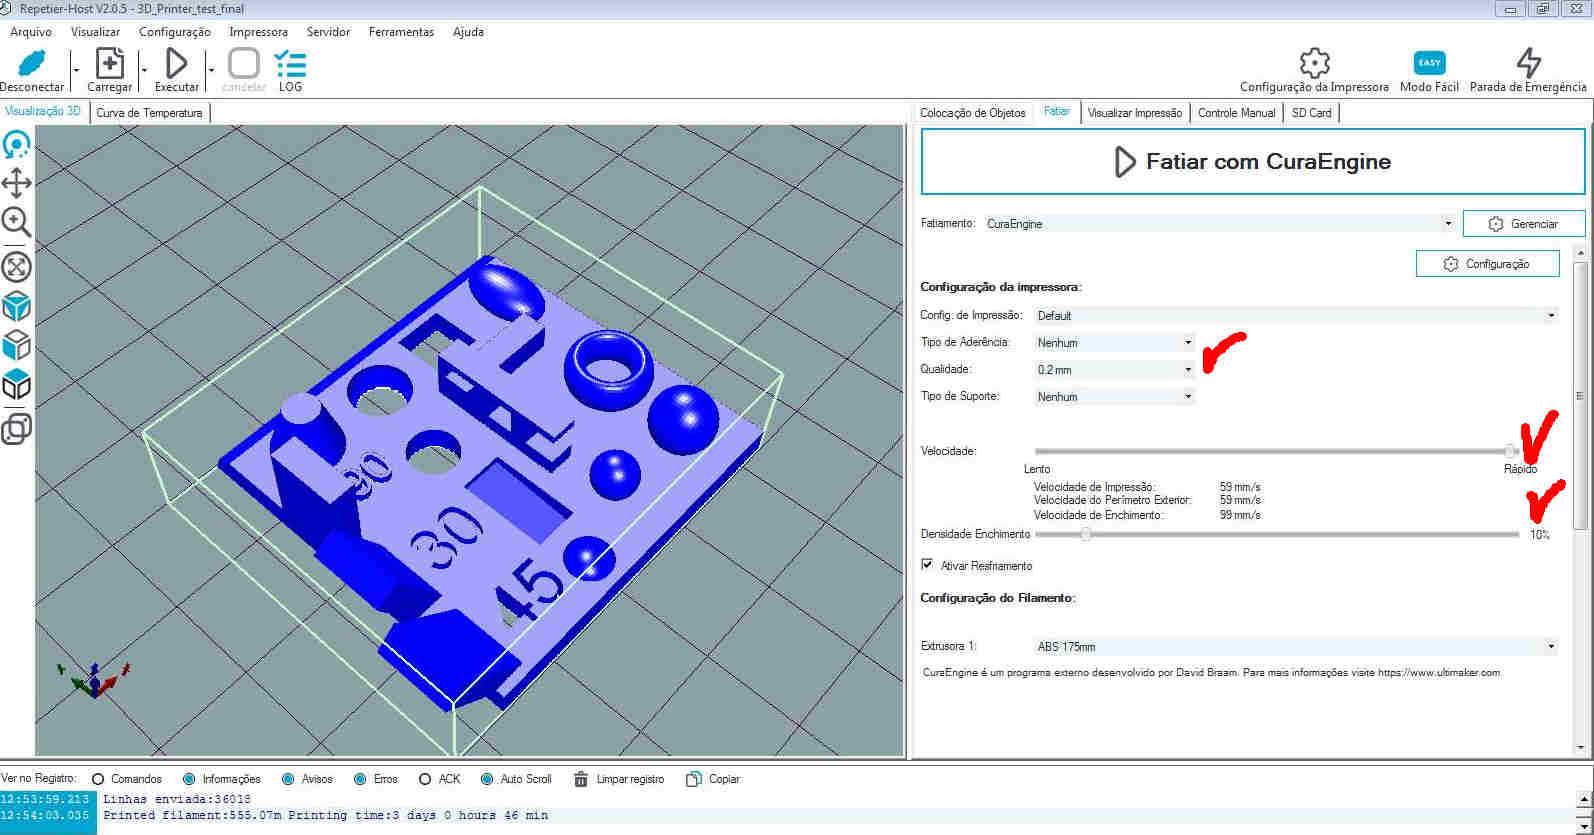
velocity (59 mm/s) and density (10%) / RepetierHost
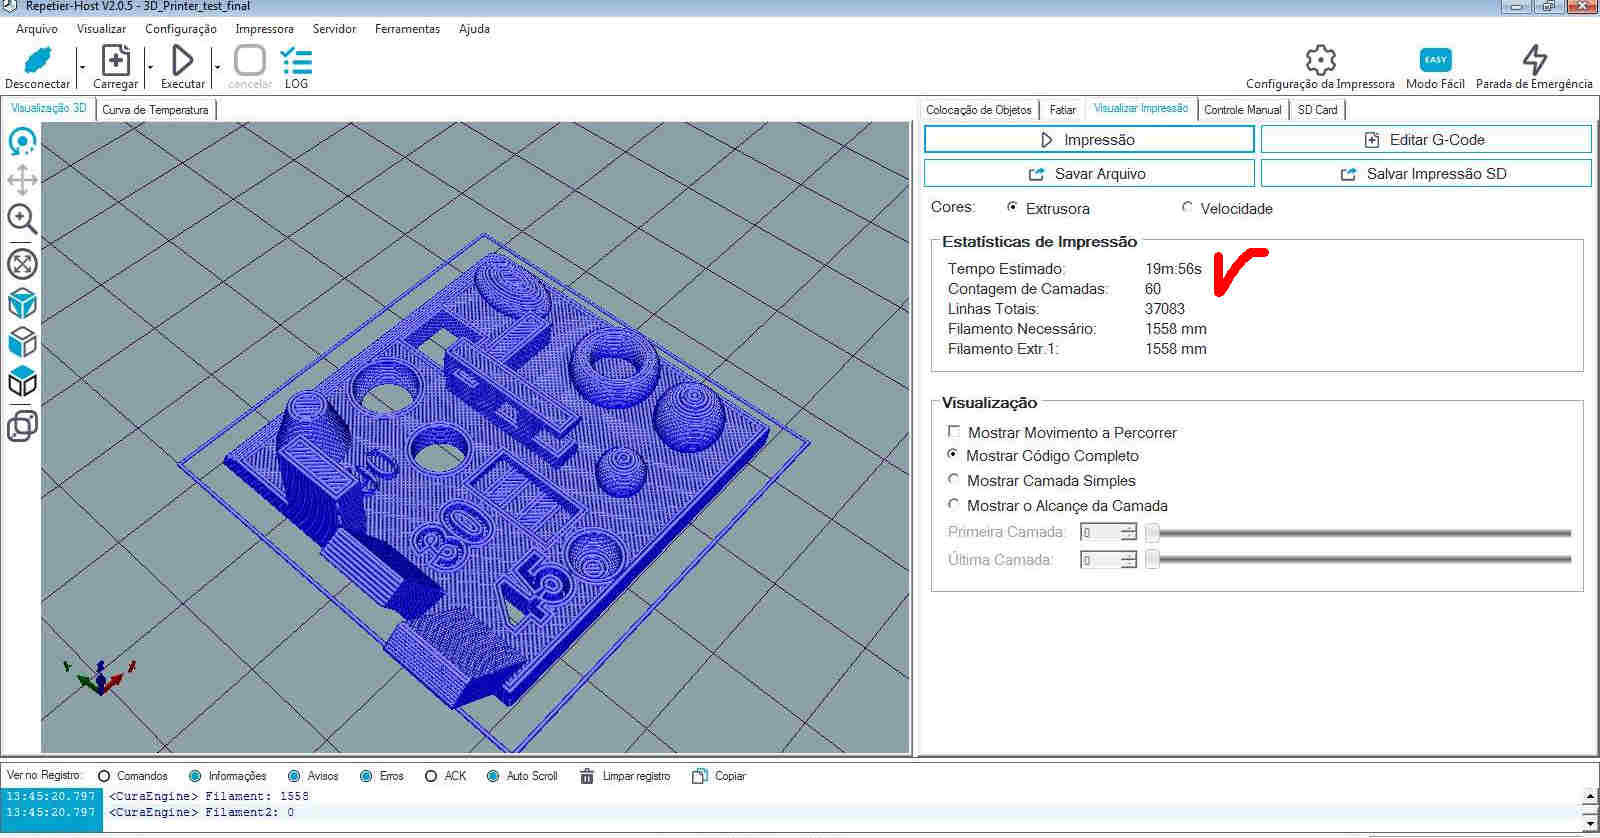
Print time: 19m56s / RepetierHost
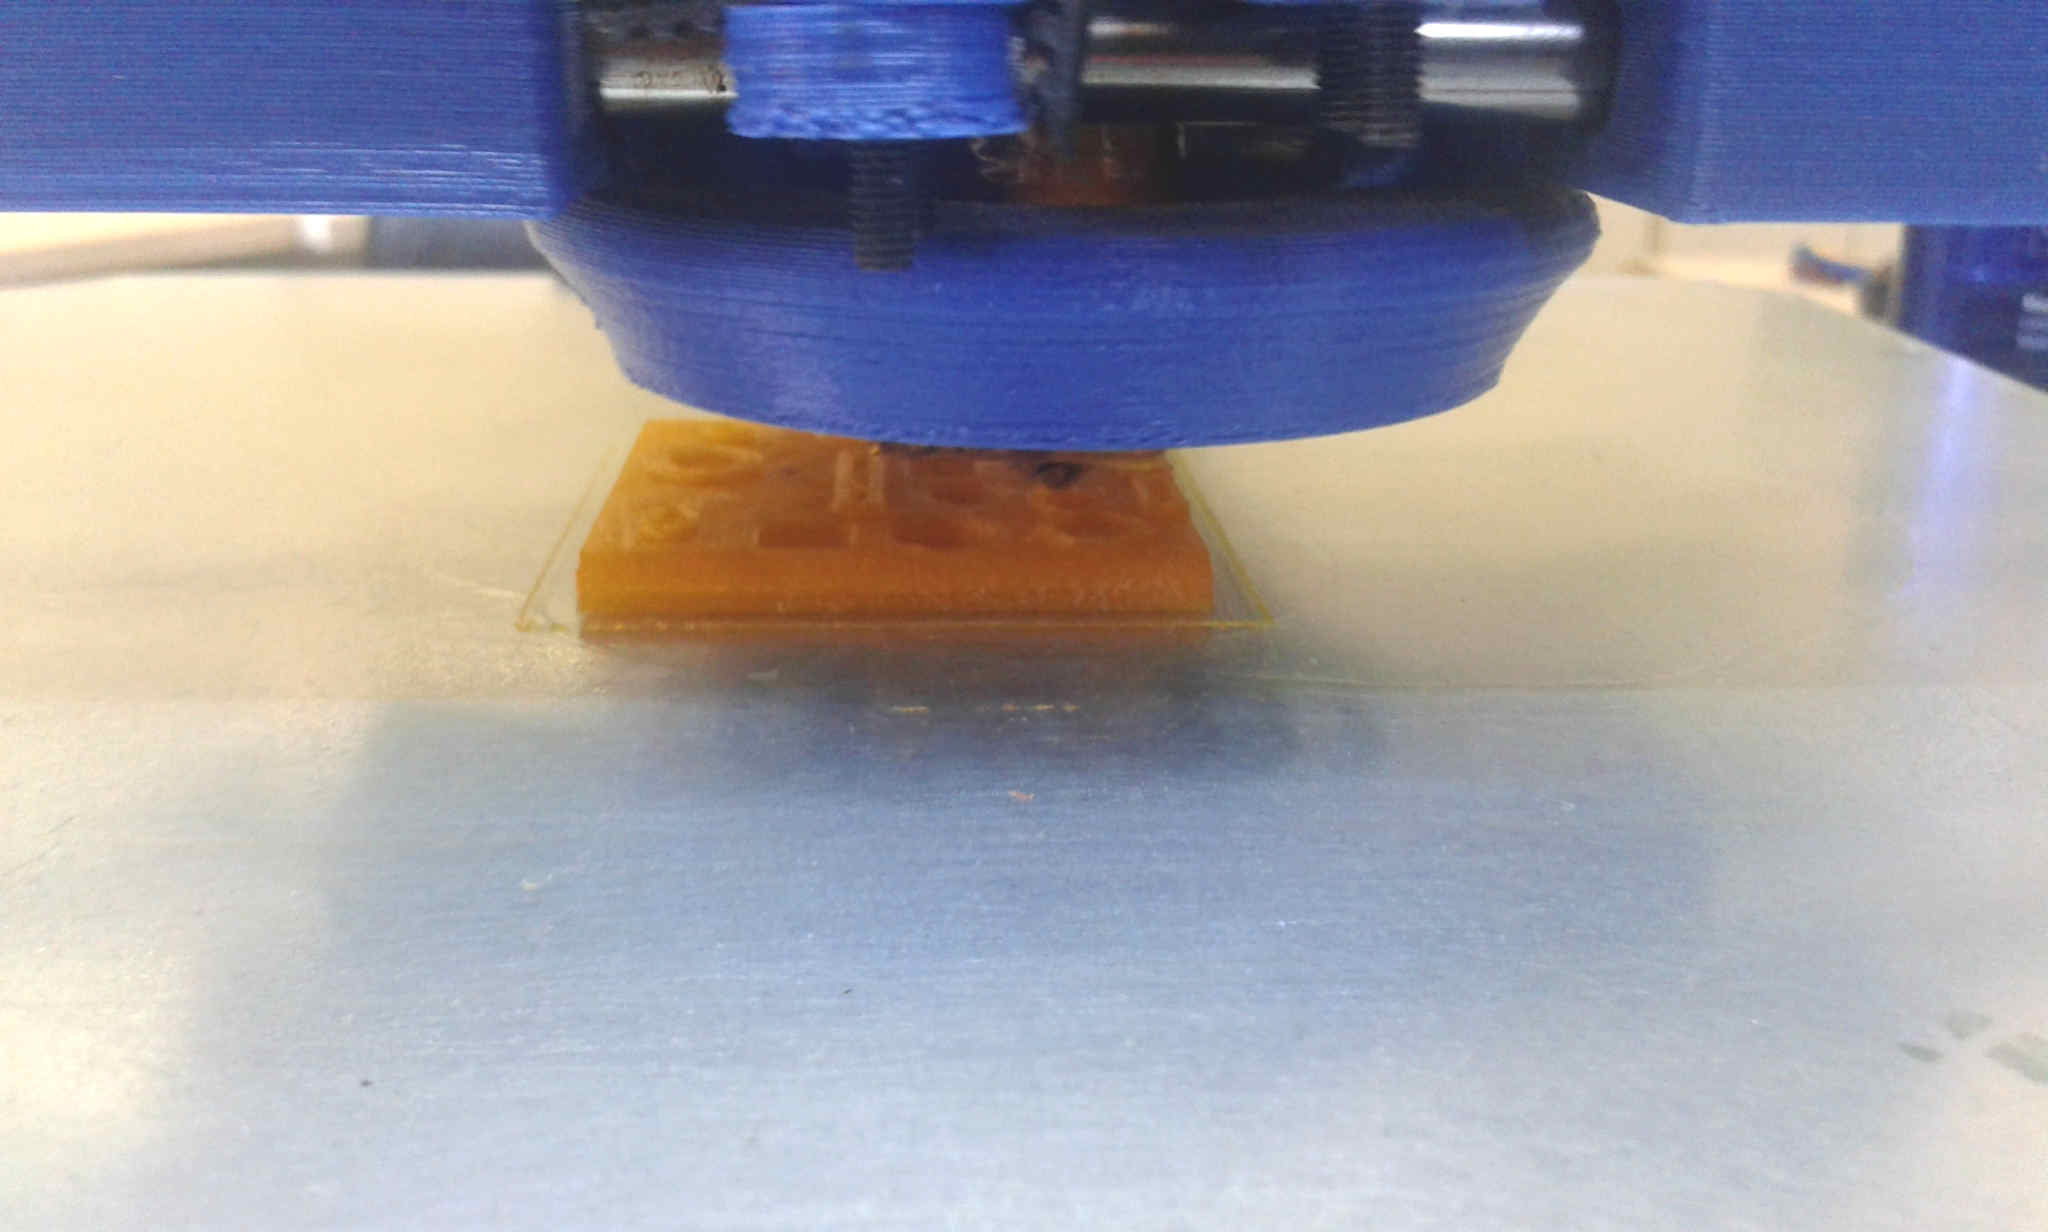
Printing
- Second Test: velocity (43 mm/s) and density (10%)
After the first test I tried to slow down with the same density to see what happens
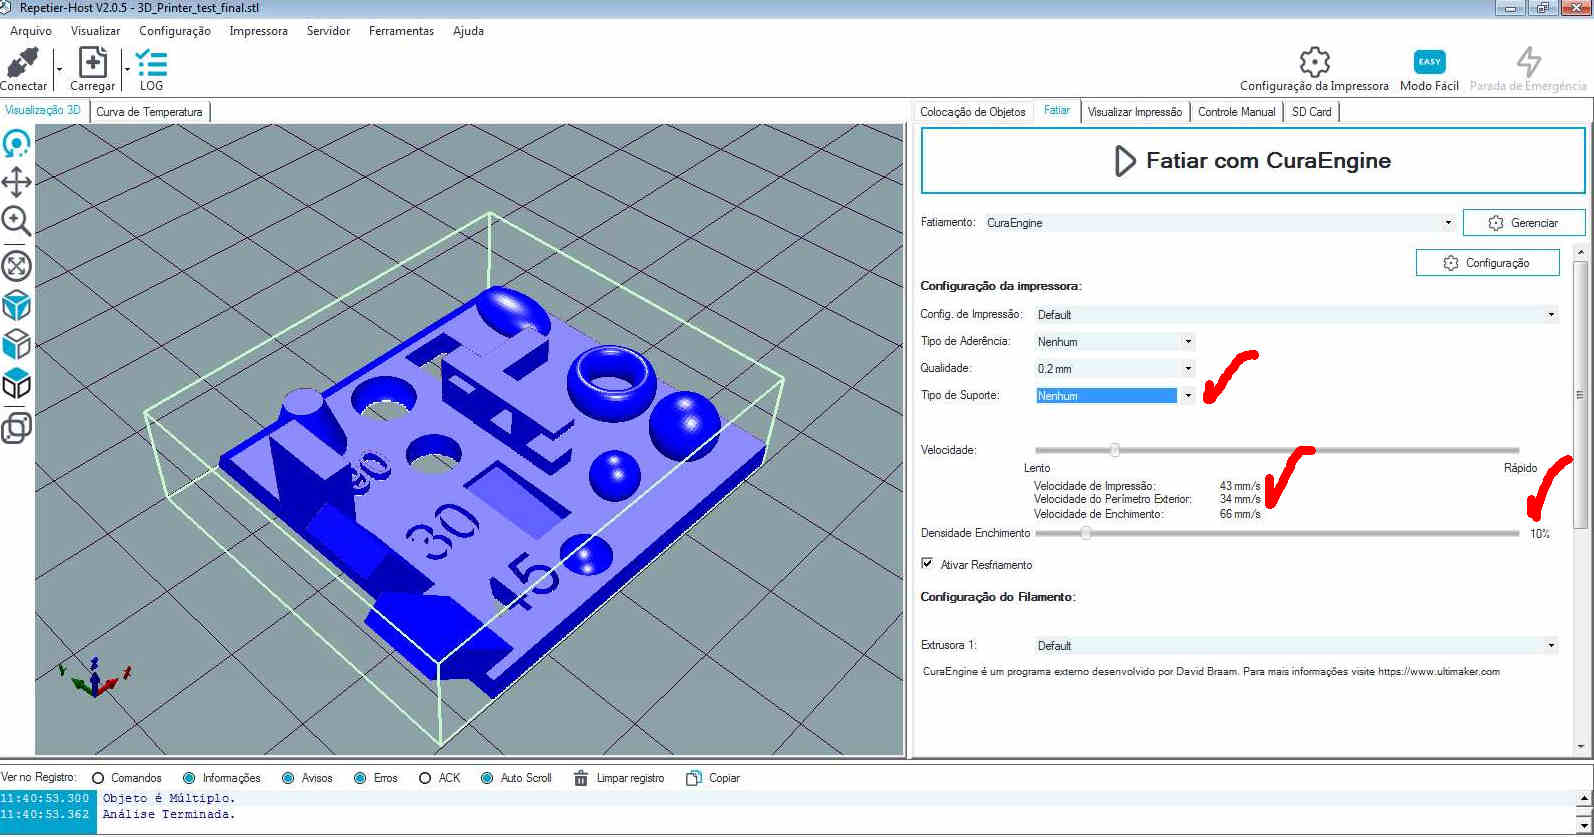
velocity (43 mm/s) and density (10%)
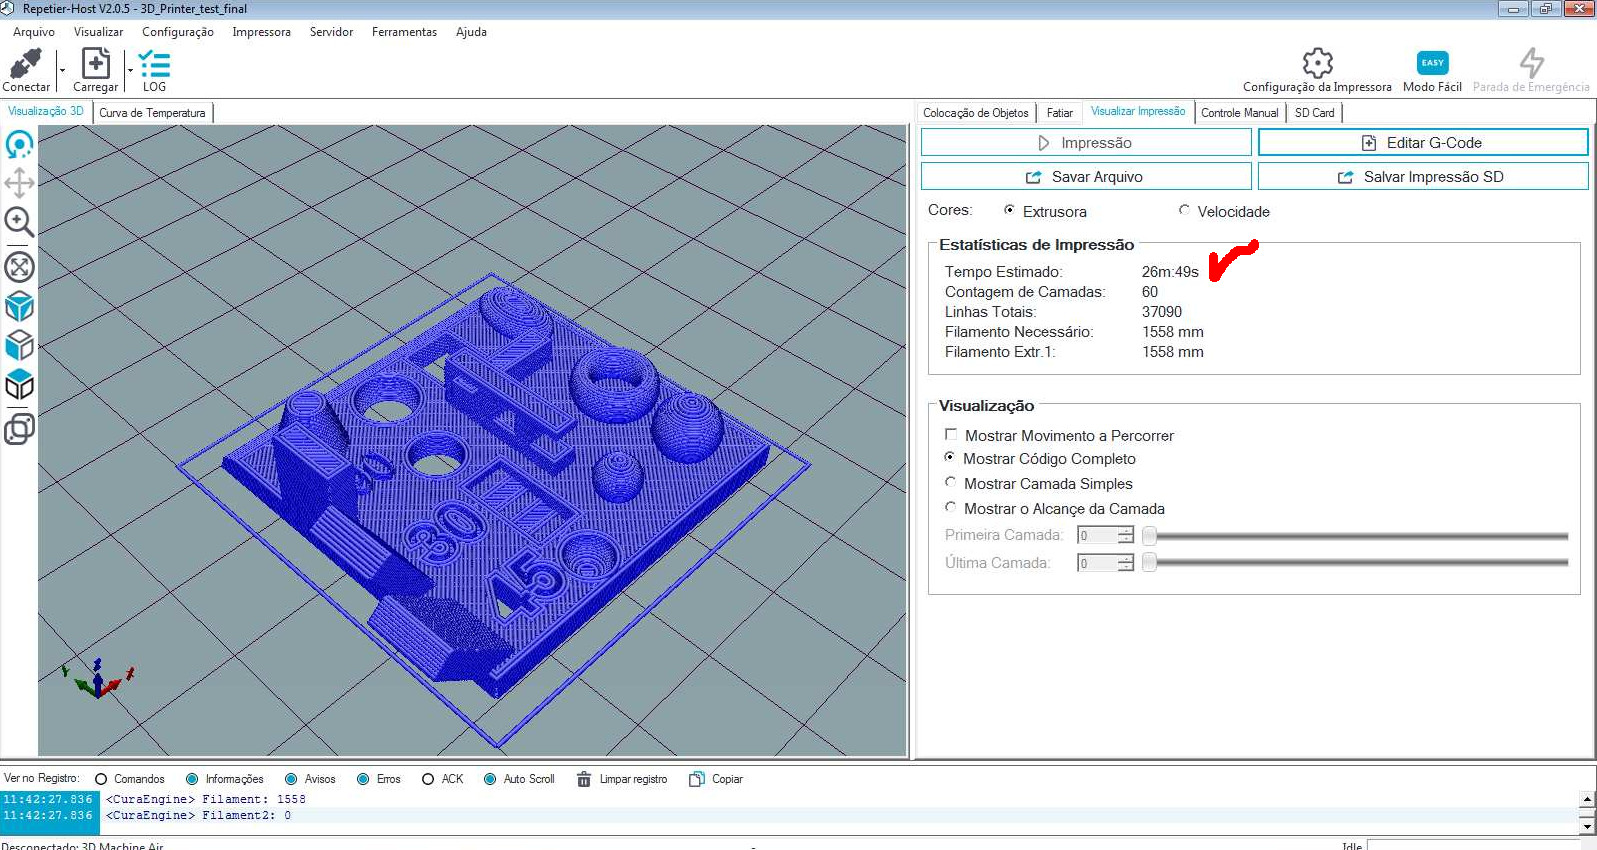
26min 49s
Comparing the results (59 mm/s) x (43 mm/s) 10% density
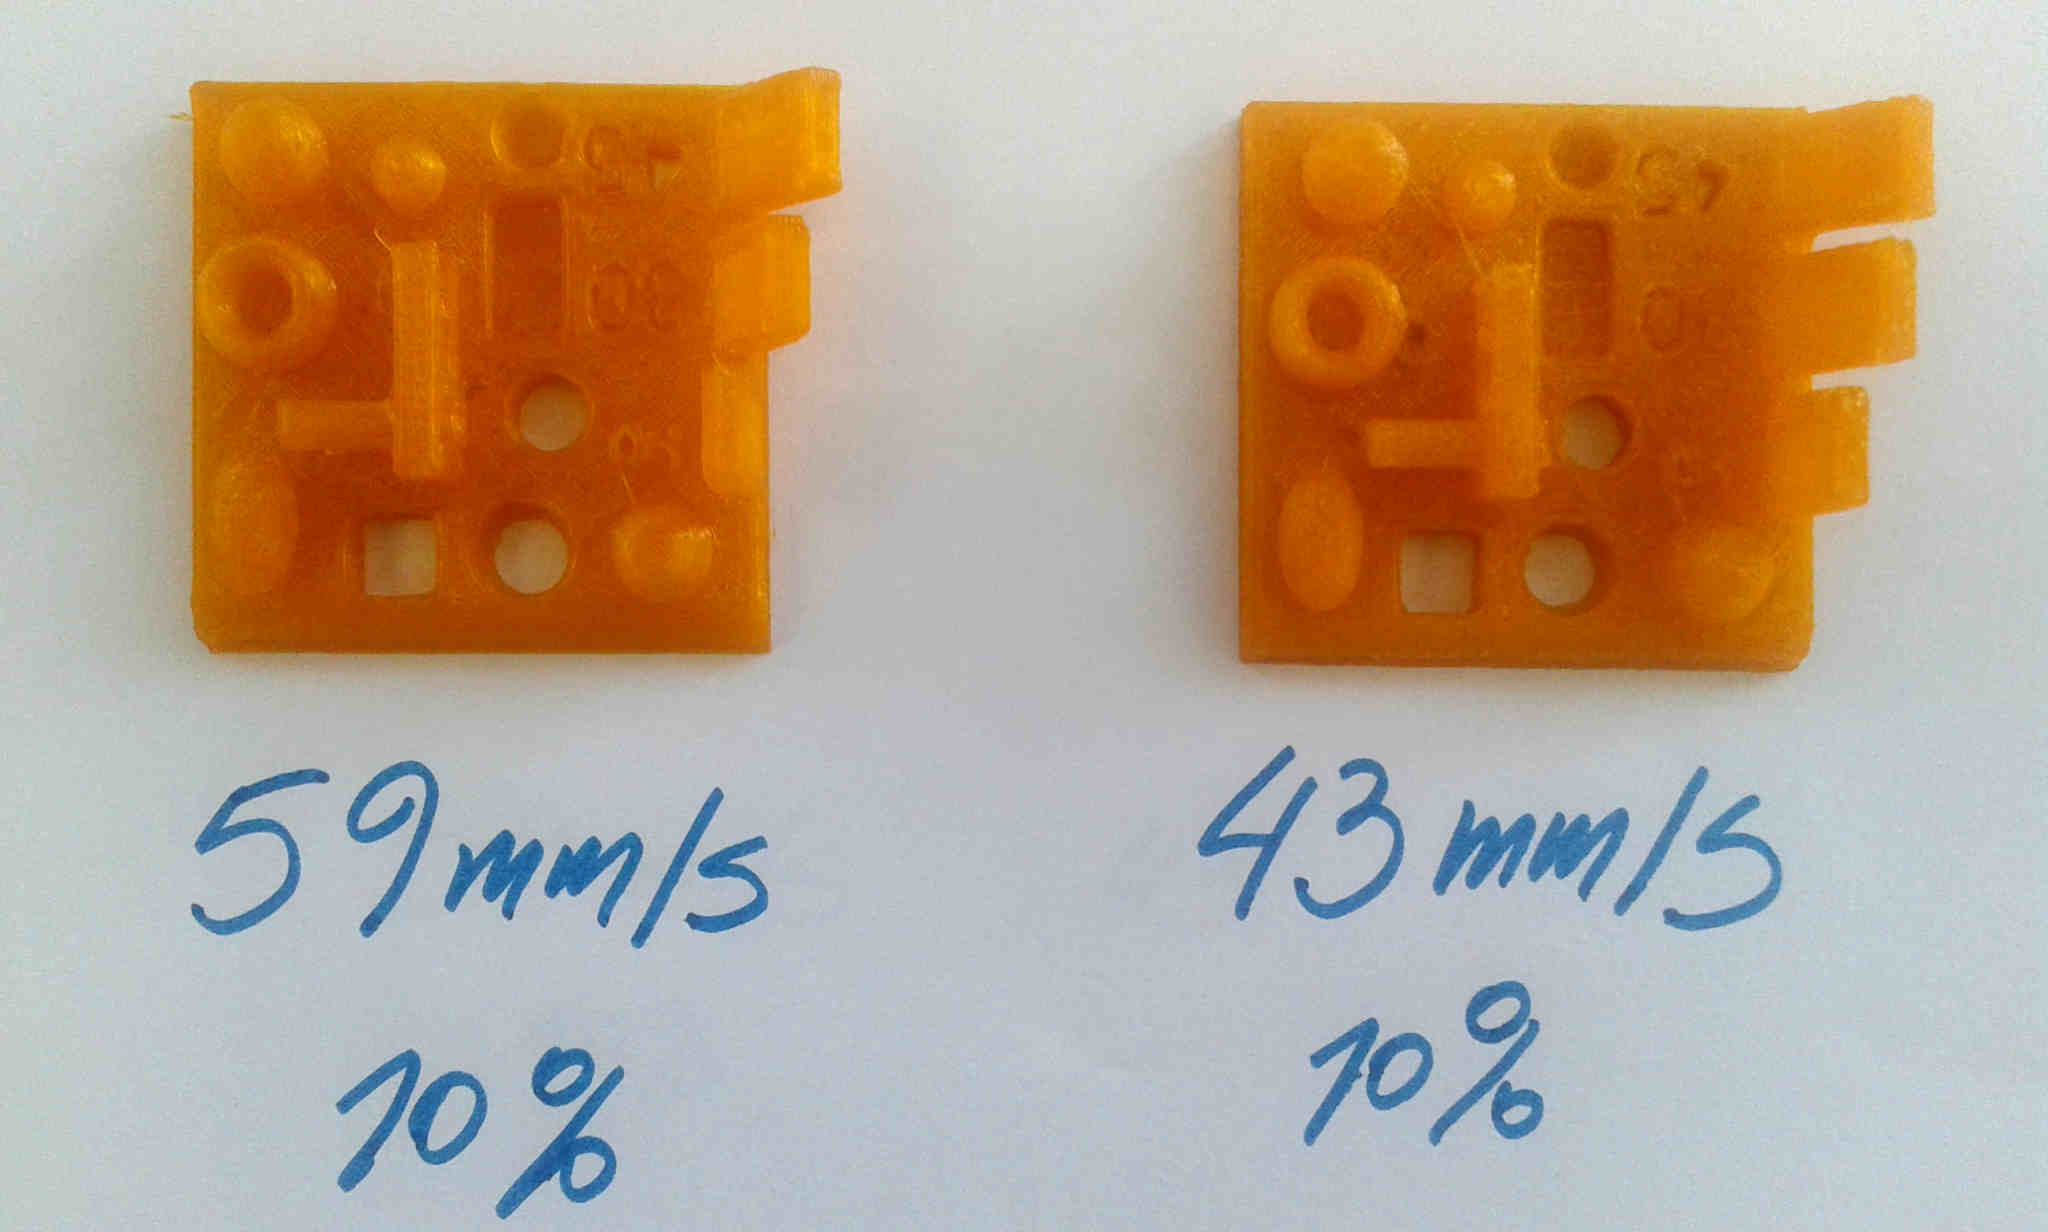
Little difference, almost the same piece, then I thought that the speed in this scale dimensions can make no different. Then I scaled 2 times and input the velocity (59 mm/s) and density (10%) print parameters. Then one "bridge problem" appeared.
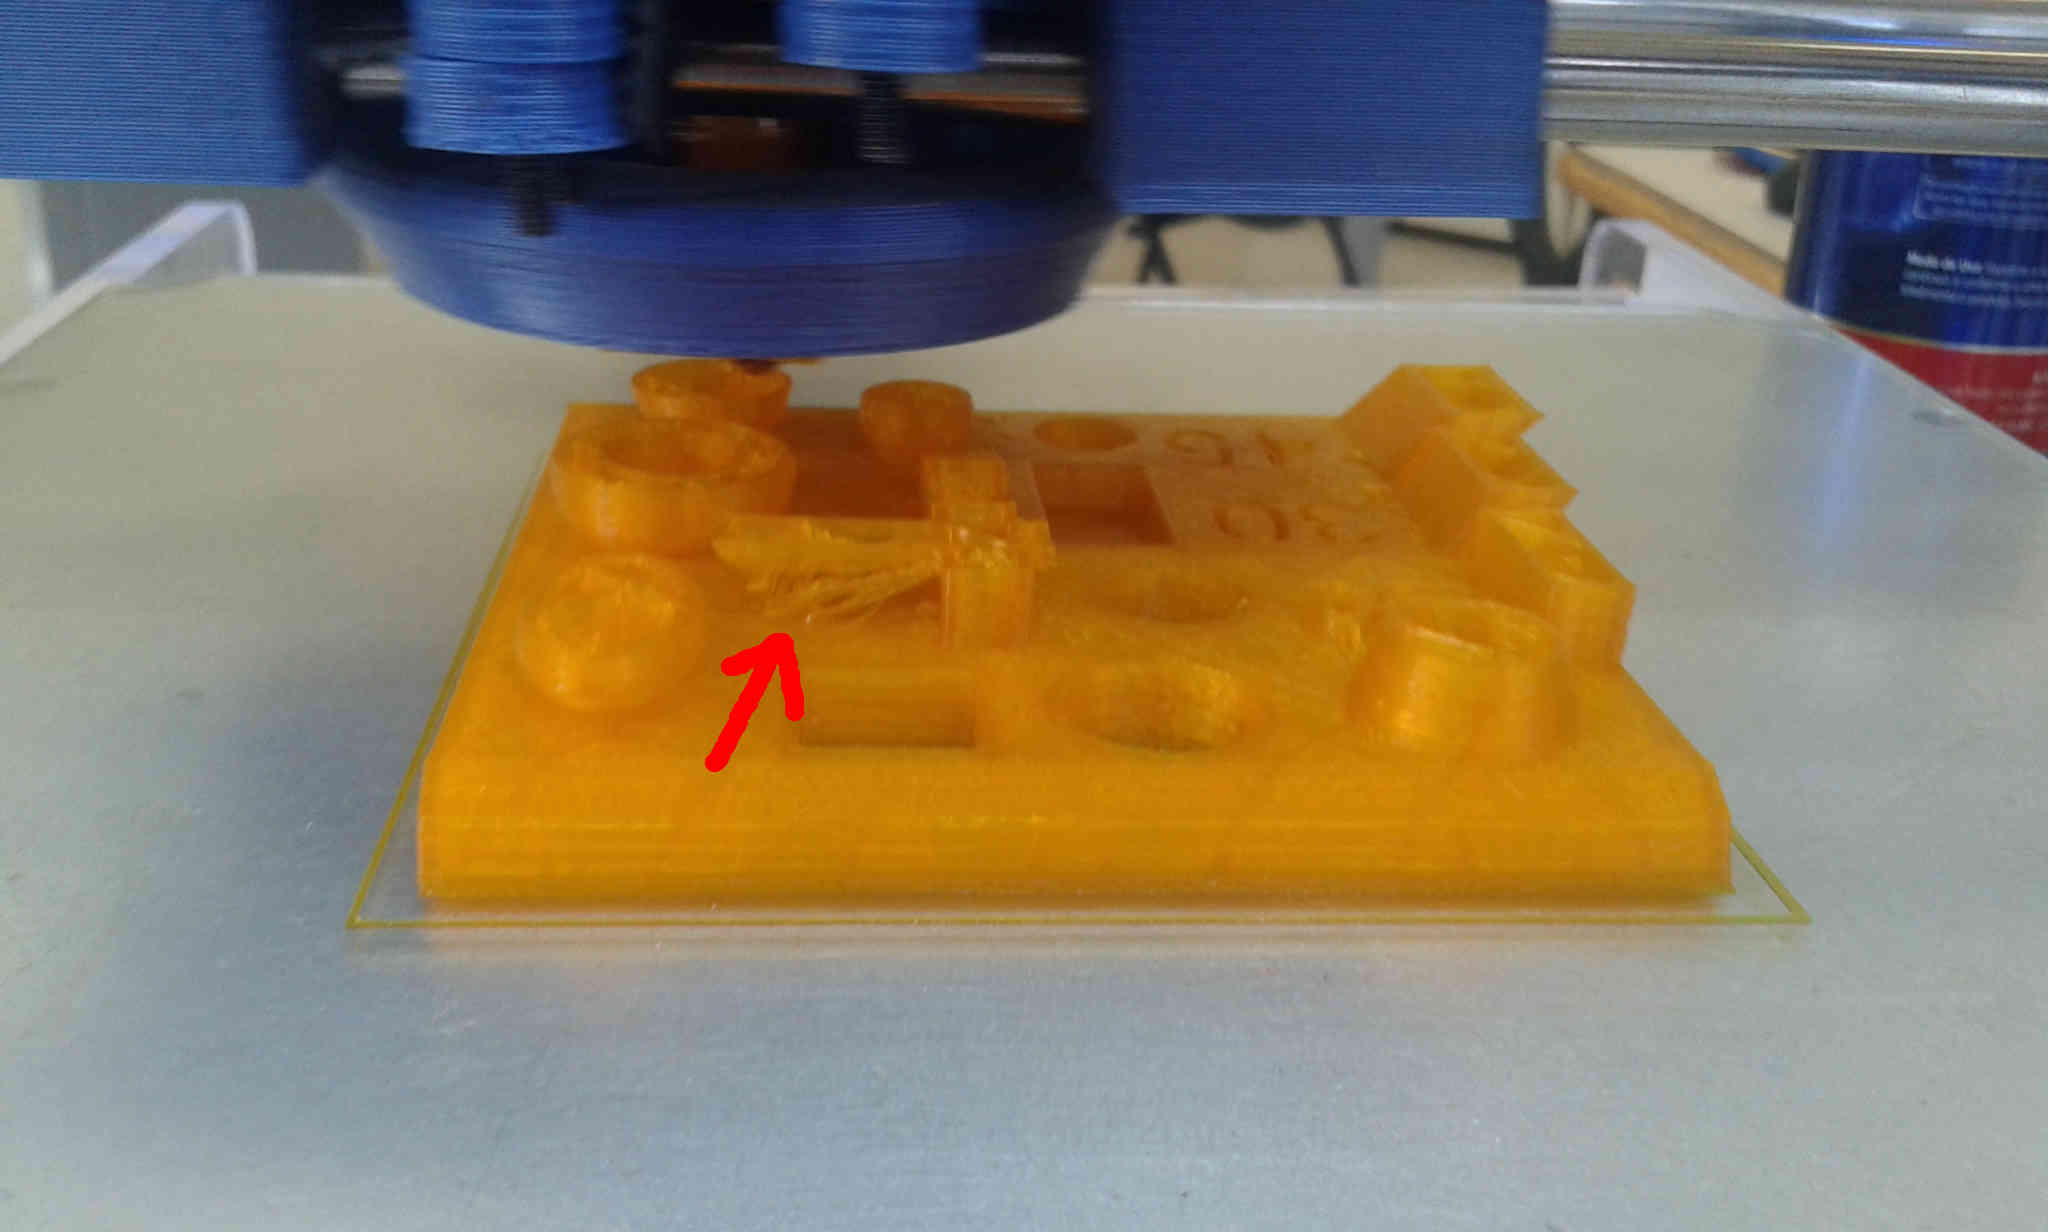
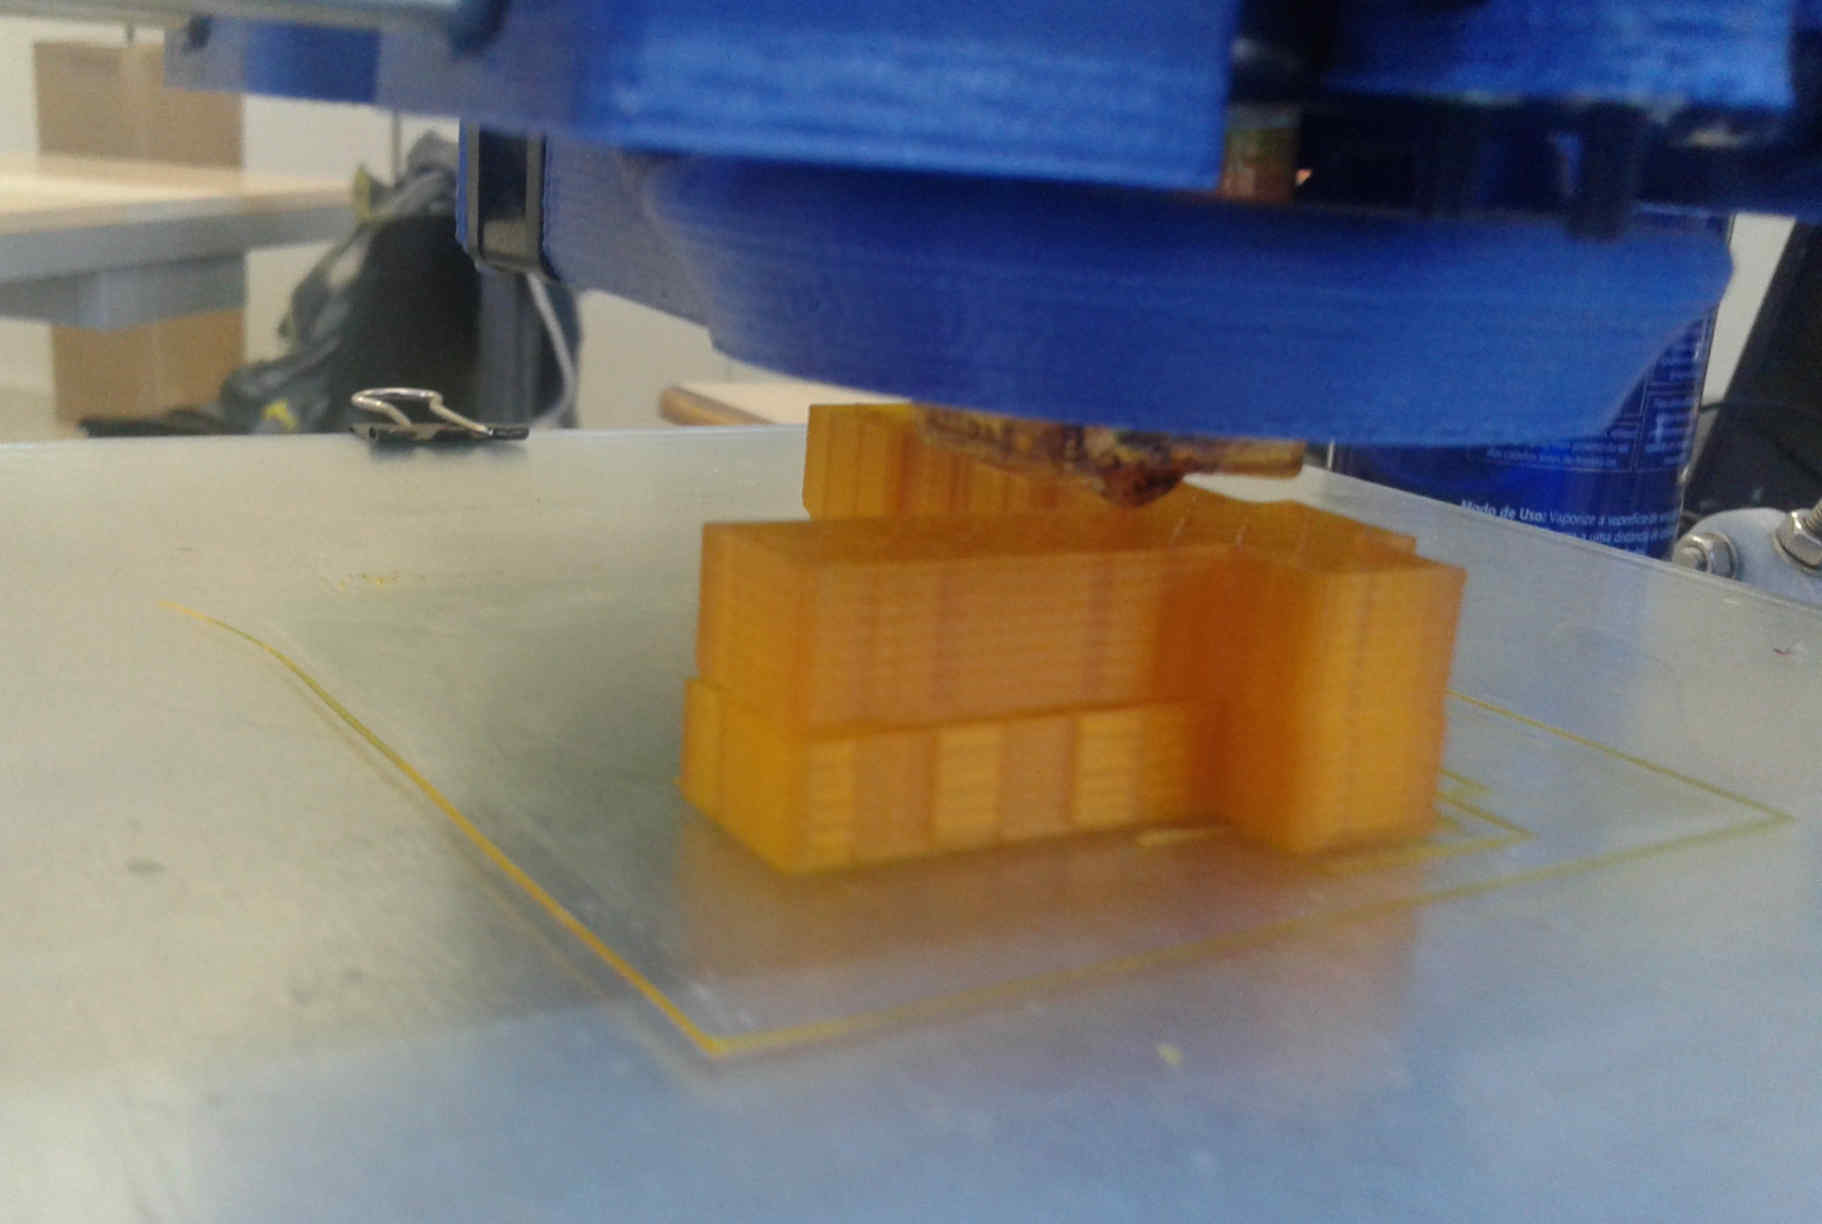
"bridge problem"
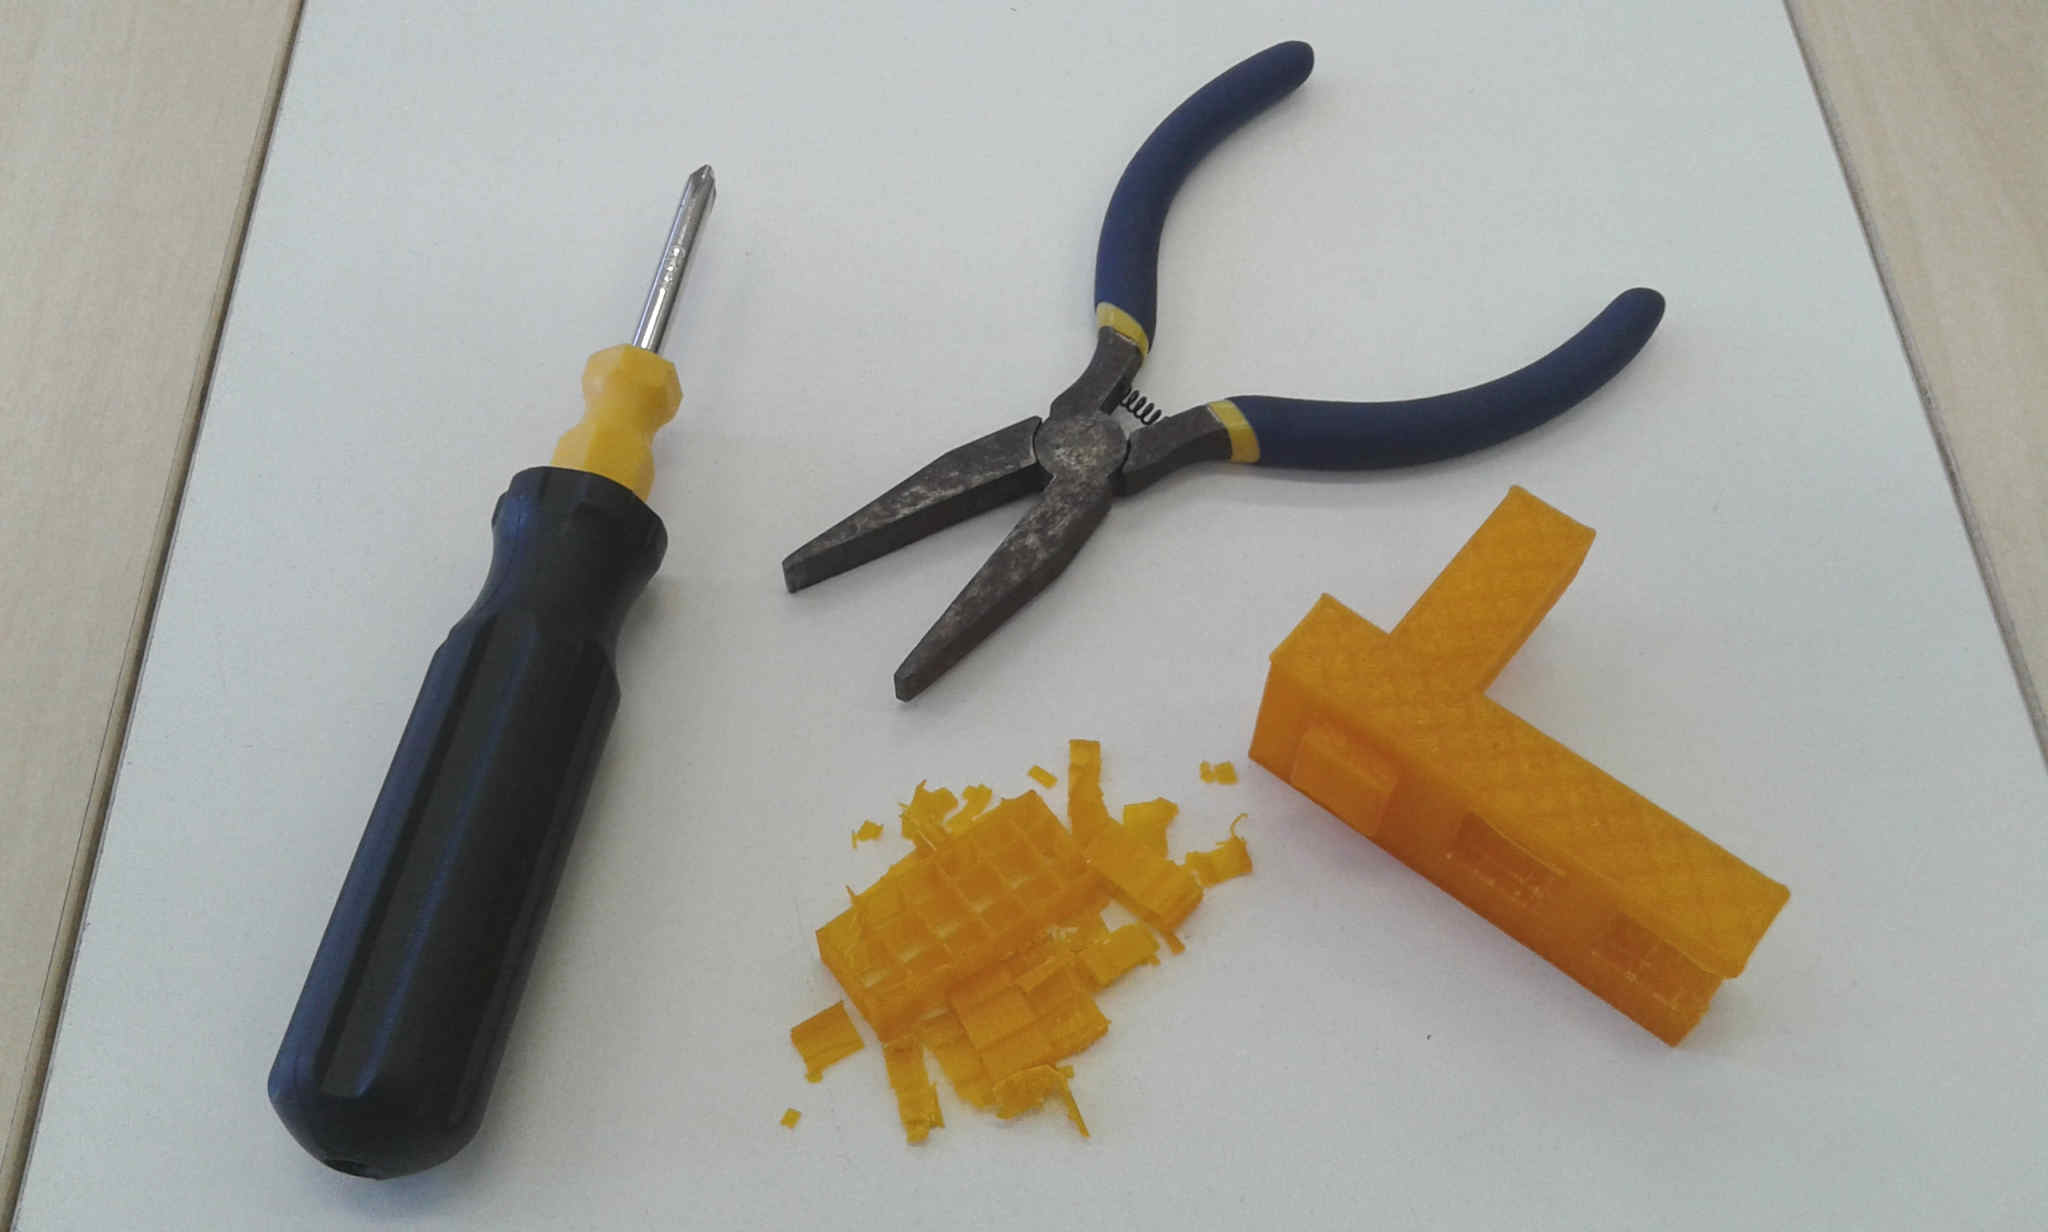
To explore the printer, I isolate the "bridge" scaled it, and began to print with 59 mm/s and 10% density parameters
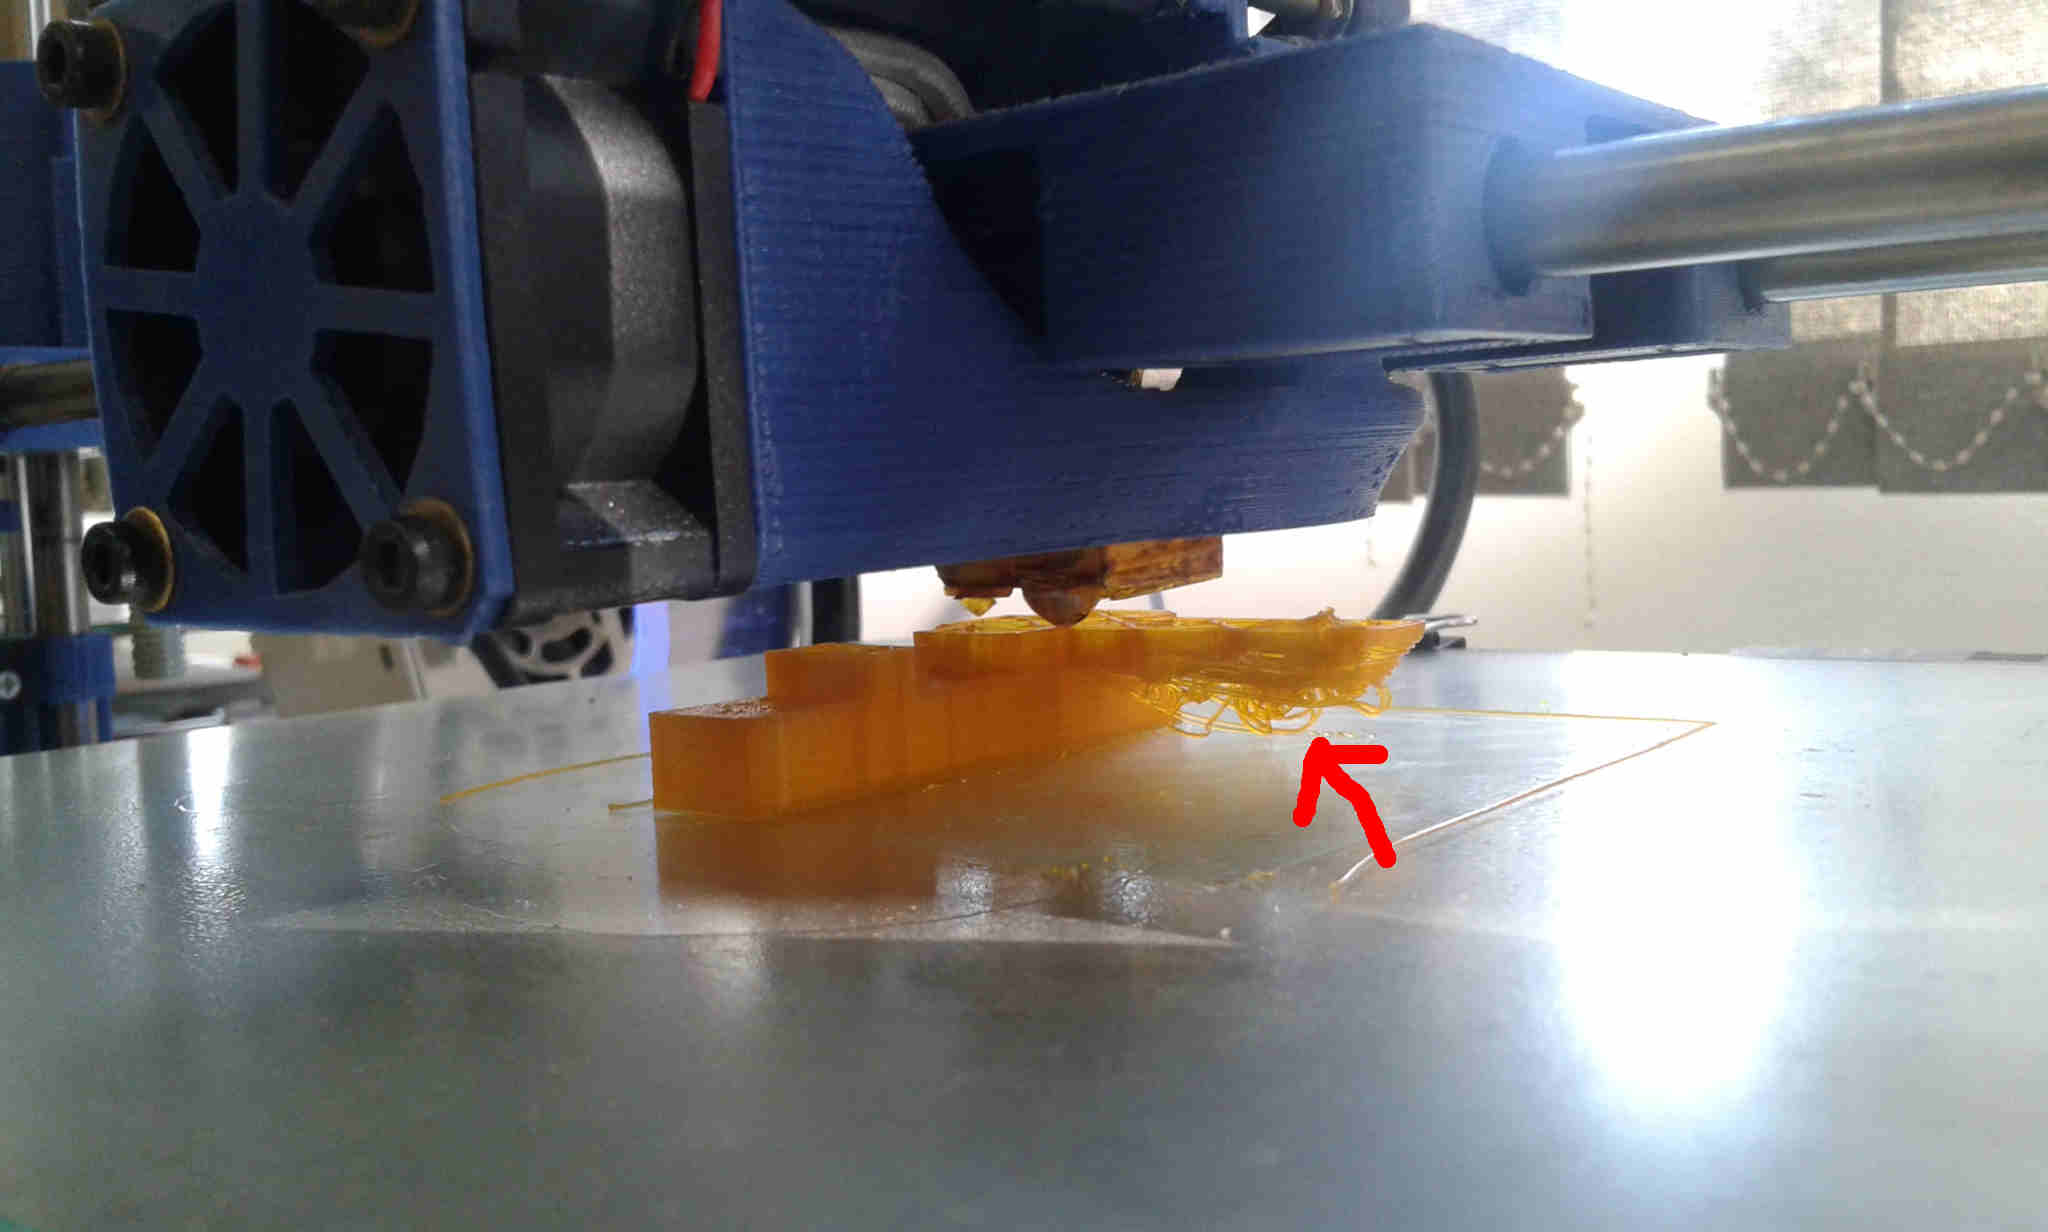
Bridge problem appeared
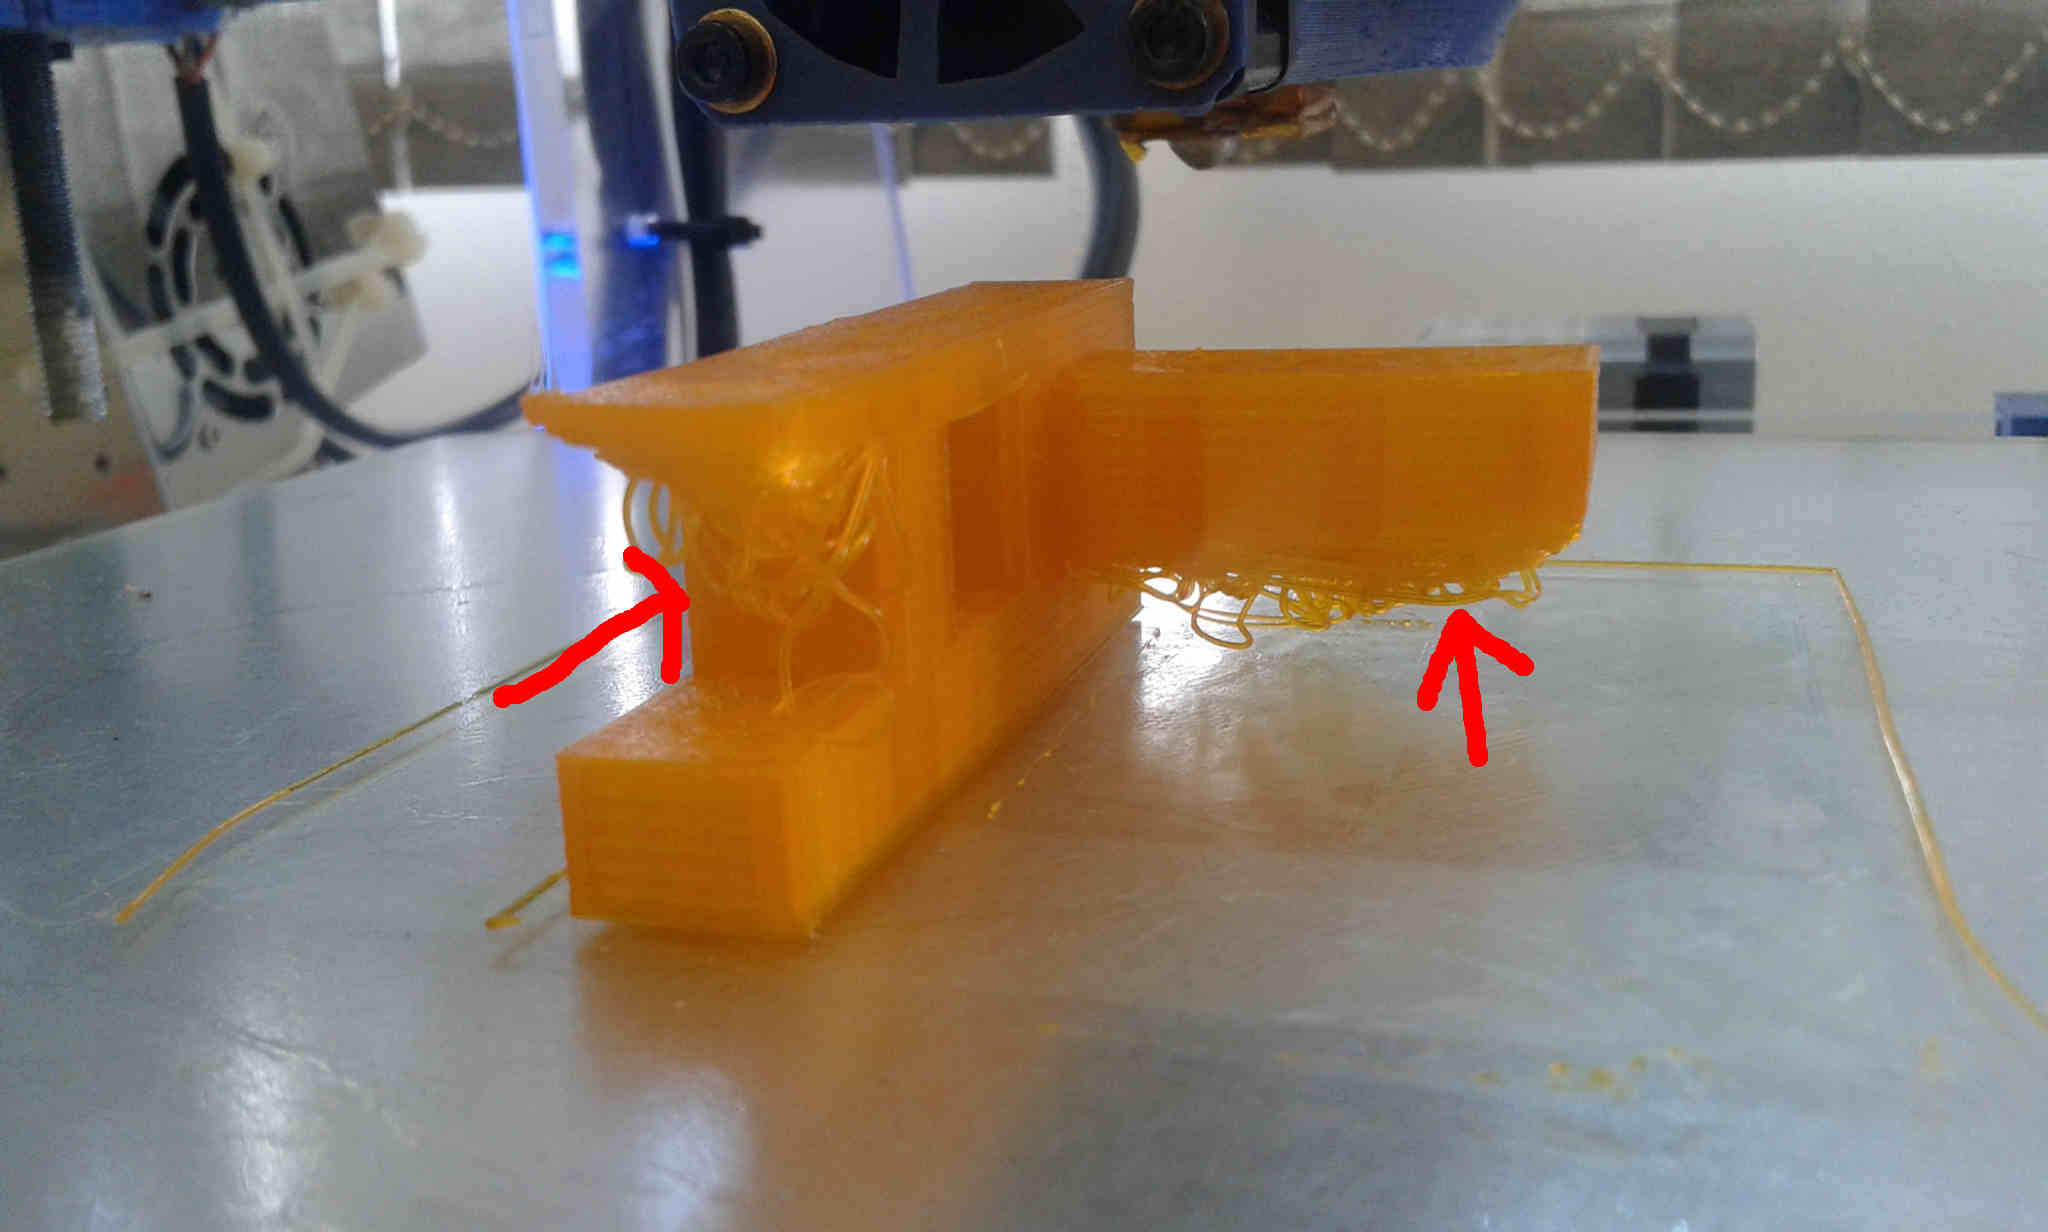
Bridge problem appeared
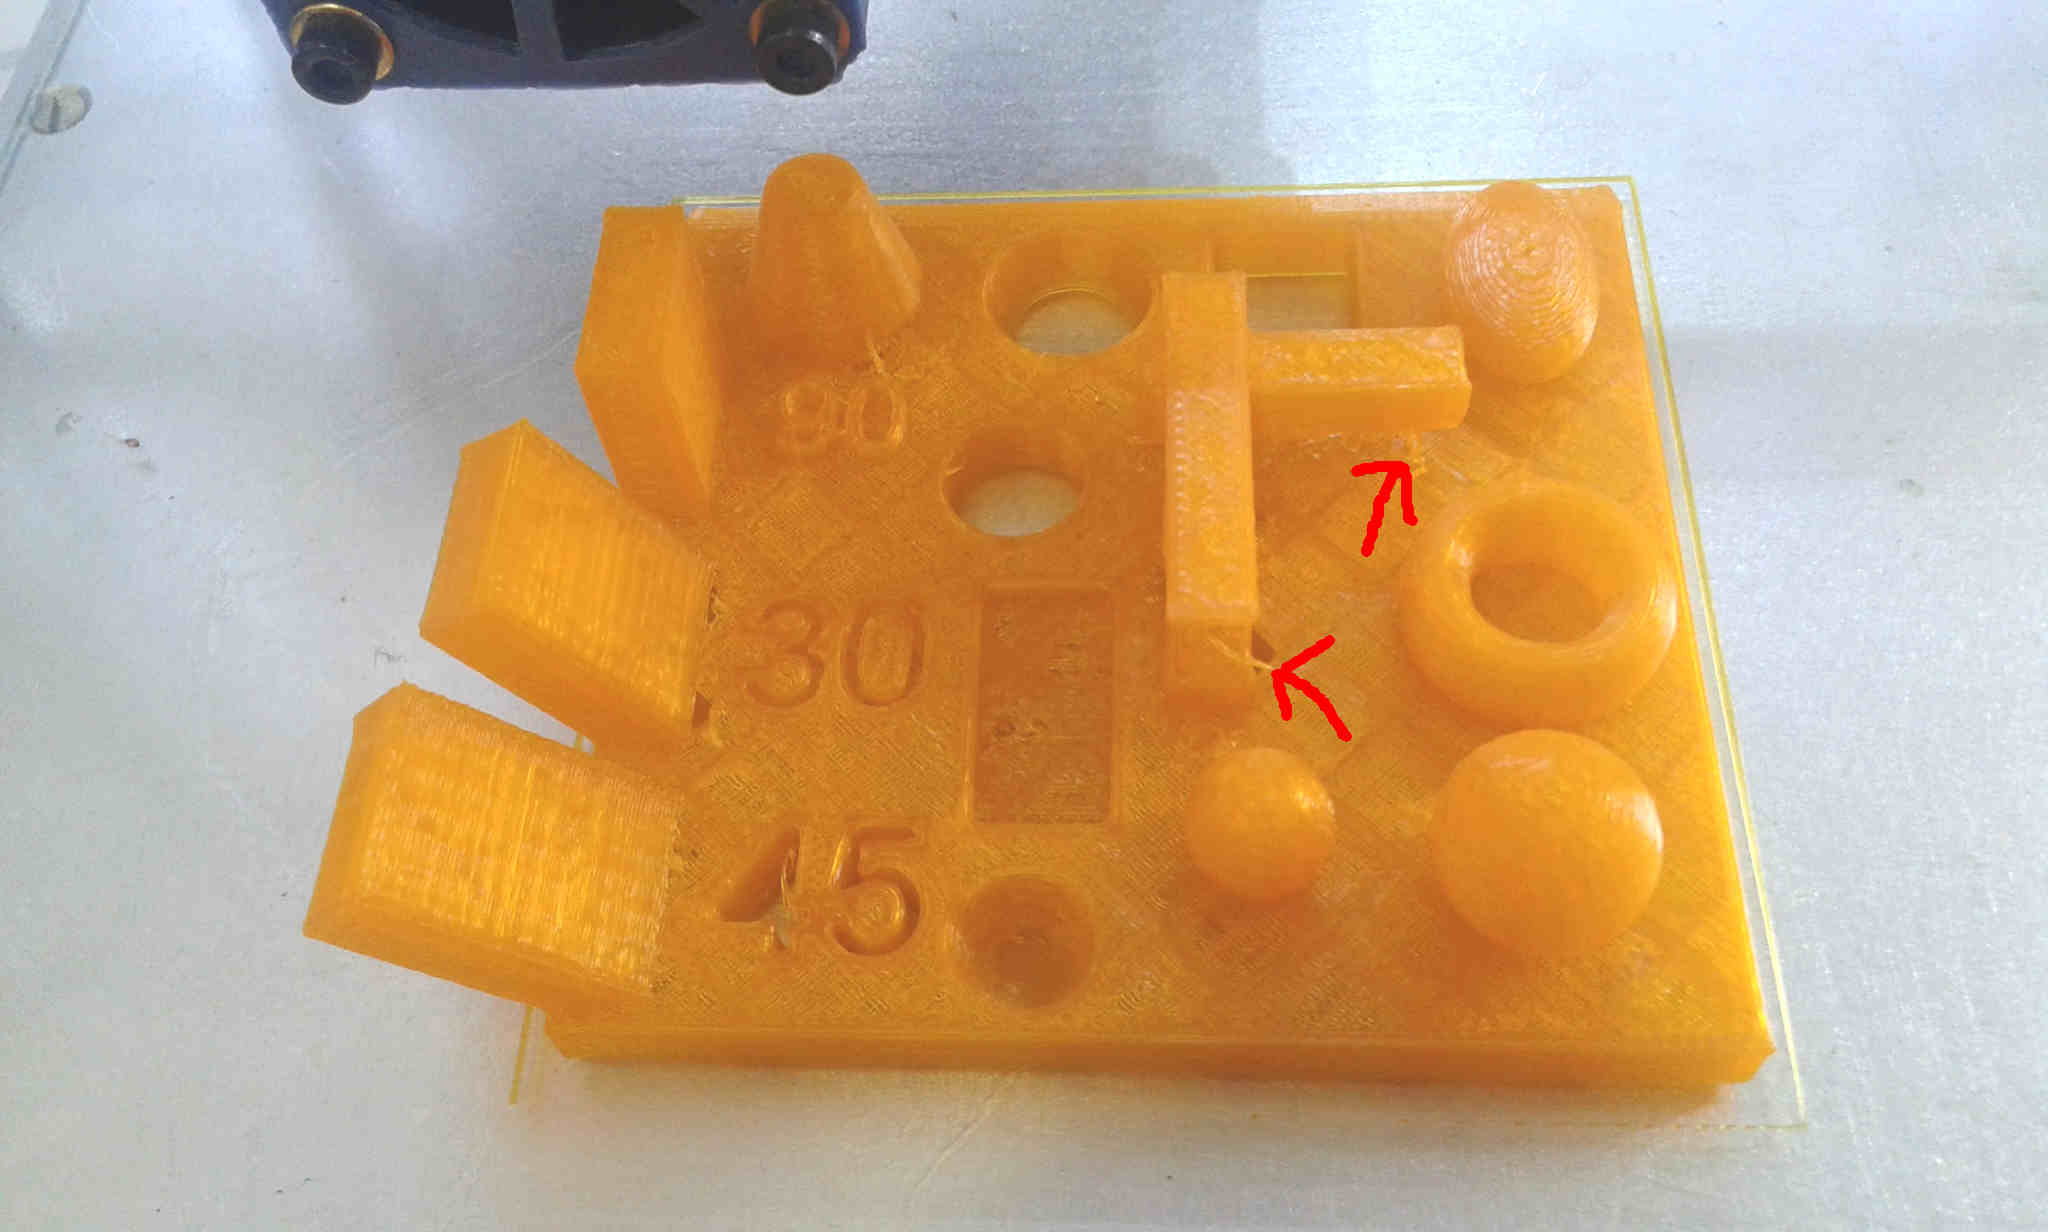
To fix it I tried change the velocity 42% (more slowly) and the density 50%
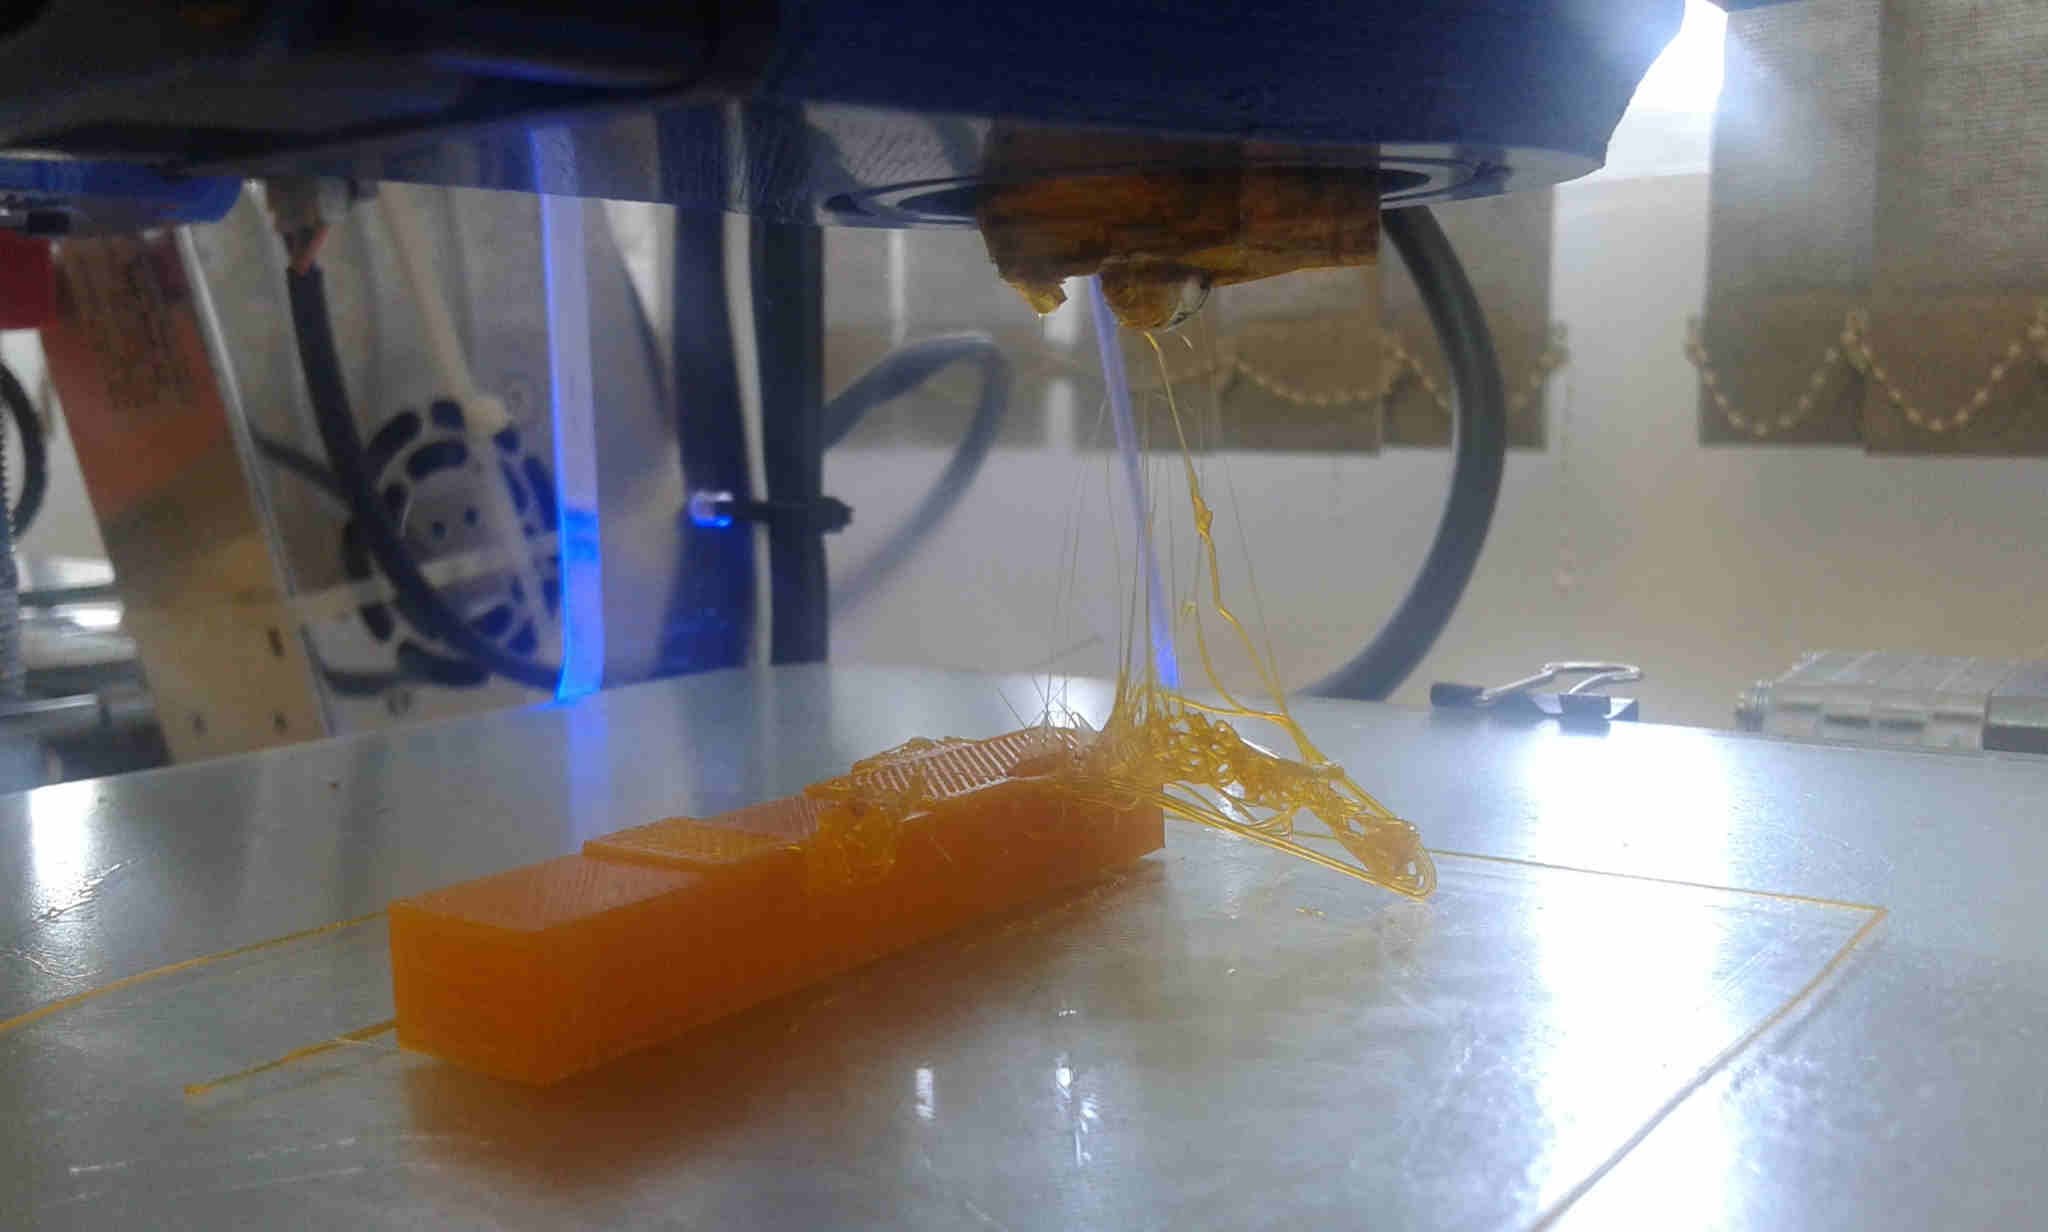
No success, then I chose to use the adhesion type and the results
- Conclusions
My printer test pointed that the "bridge" is a "problem" that need to take care in a project. Velocity and density could not be a solution but a "adhesion" as support.
the conclusion is that Scanning and printing an object
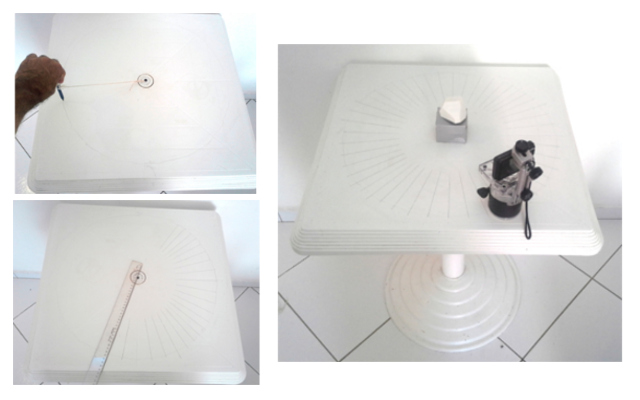
First I adapt a table and a camera to scan objects with 123dcatch.

I used a table of 49cmx49cm and did one circle that I divided in 48
parts to position the camera to take pictures around the object.
The object was 5cm higher from the table to appear in the camera screen.
The camera (Cybershot 14.1) was fixed and elevated 15cm higher through a
support.
I did four tests and only after Neil´s class suggestion it worked. Neil said that 123d Catch need more object´s information to catch it so, I chose one colorful lizard on an colorful mat and it worked perfectly. If you want to see only the final result go to the fifth test.
The first object to be scanned was a white 7cmx5cm replica
of Rem Koolhaas "Casa da Música". The object was fixed in
the center of the table and the camera moved around manually.
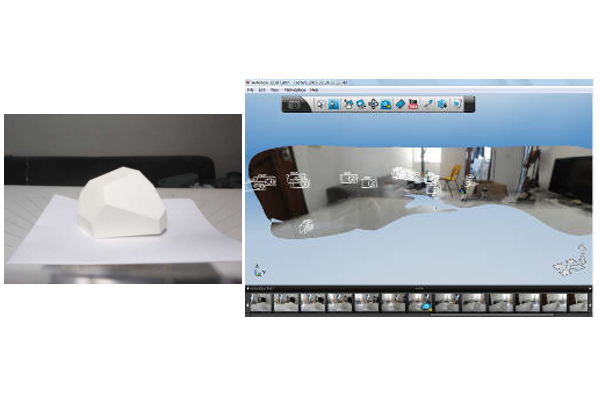
123dCatch response:
The object didn´t appear, but what was around was catched well. I supposed
the problem was the artificial light.
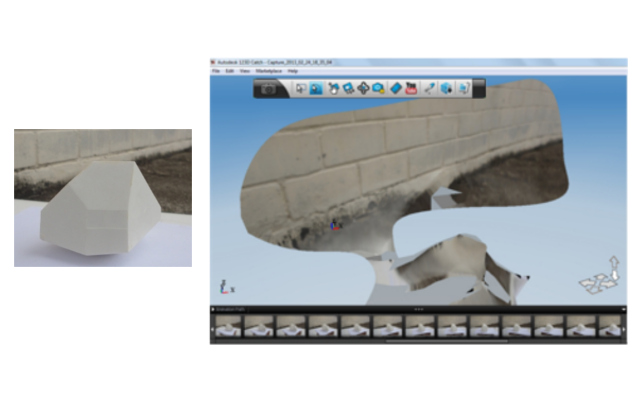
I tried to put more intense artificial light at the same object.
123dCatch response:
An error called: "The application was unable to create your capture because not enough of your images could be stitched together."
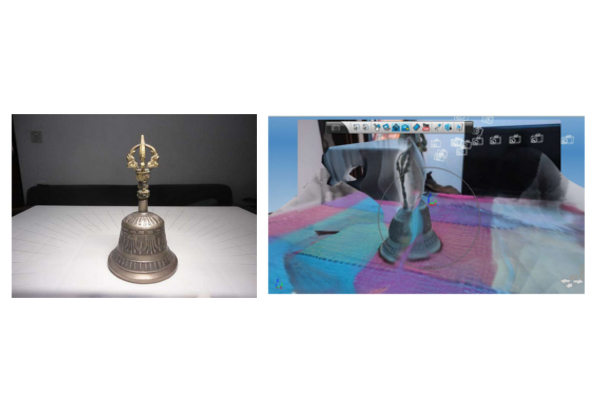
I went outside to get natural diffuse light (white light) and for this test I fixed the camera and move the table with the object in the center.
123dCatch response:
Only a little part of the object was scanned and again the surround was well catched.
Following the Neil suggestions about the object and using a "guide" as suggested in this video.
Link
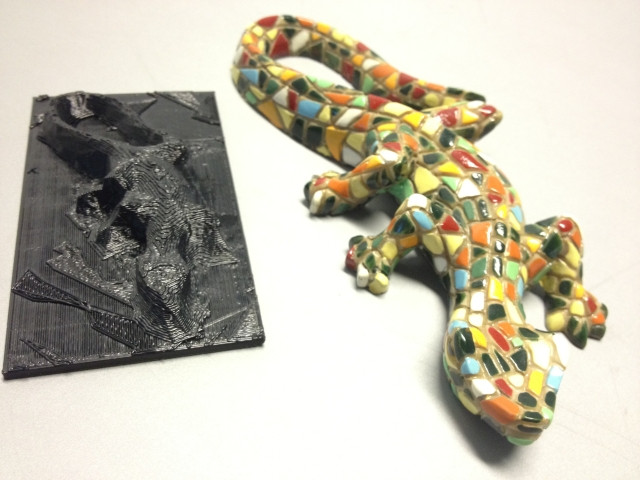
This video shows one straight piece of wood in front of the scanned budda, so i put one black pen cap and used on colored carpet to help to scan the lizard.
The result was in one shot!
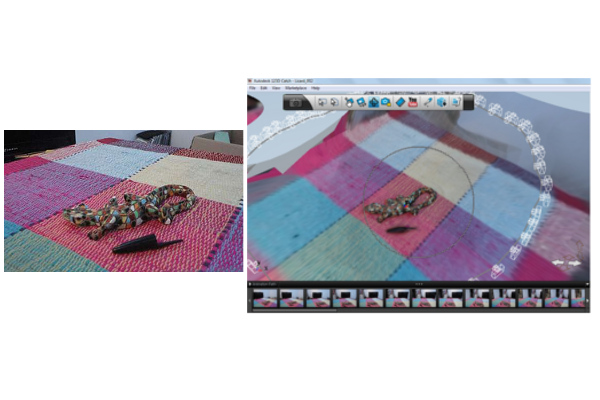
I open the file with Rhinoceros 3D to draw the lizard base.
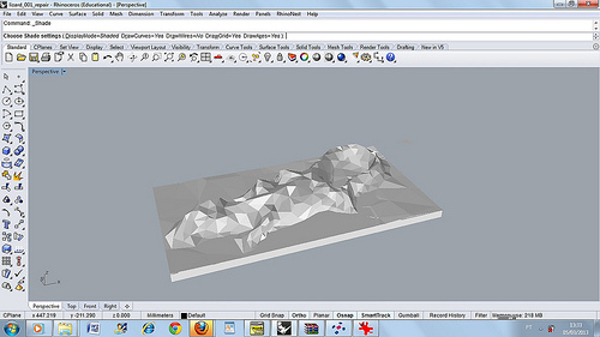
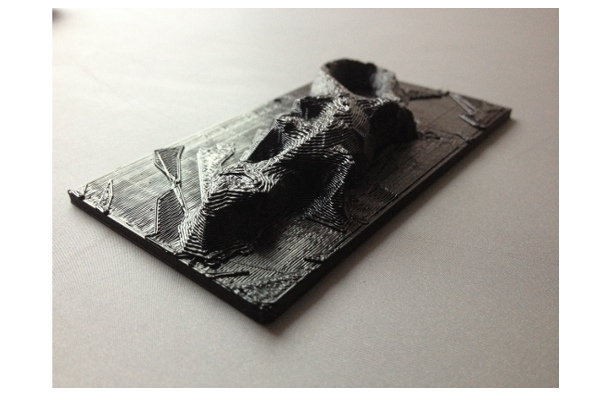
After this I did process with Netfabb to correct meshes and exported it to be printed in a Makerbot replicator One.
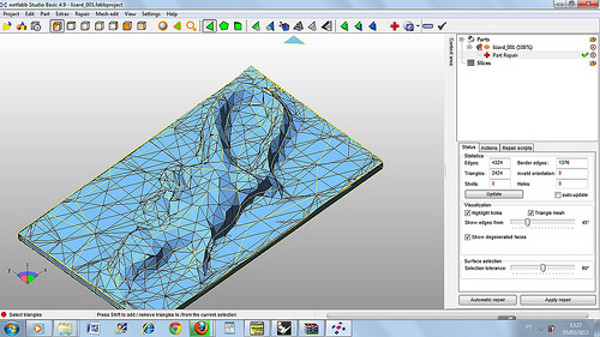
This was the config machine: Printer: MakerBot Replicator ONE Speed: 80mm/s Layer height: 0.24mm /ABS Temperature: 230°C Infill: 10% Number of shells: 2, and the result.
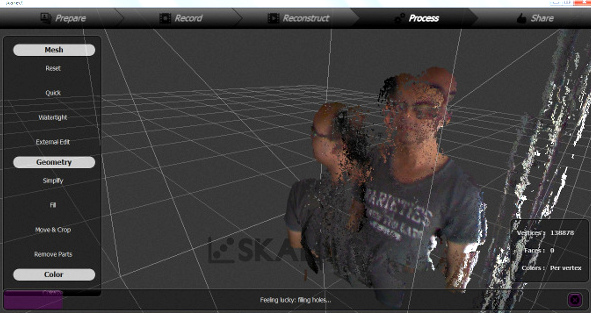
I tested the Kinect/ Skanect with no much sucess but had a great fun.
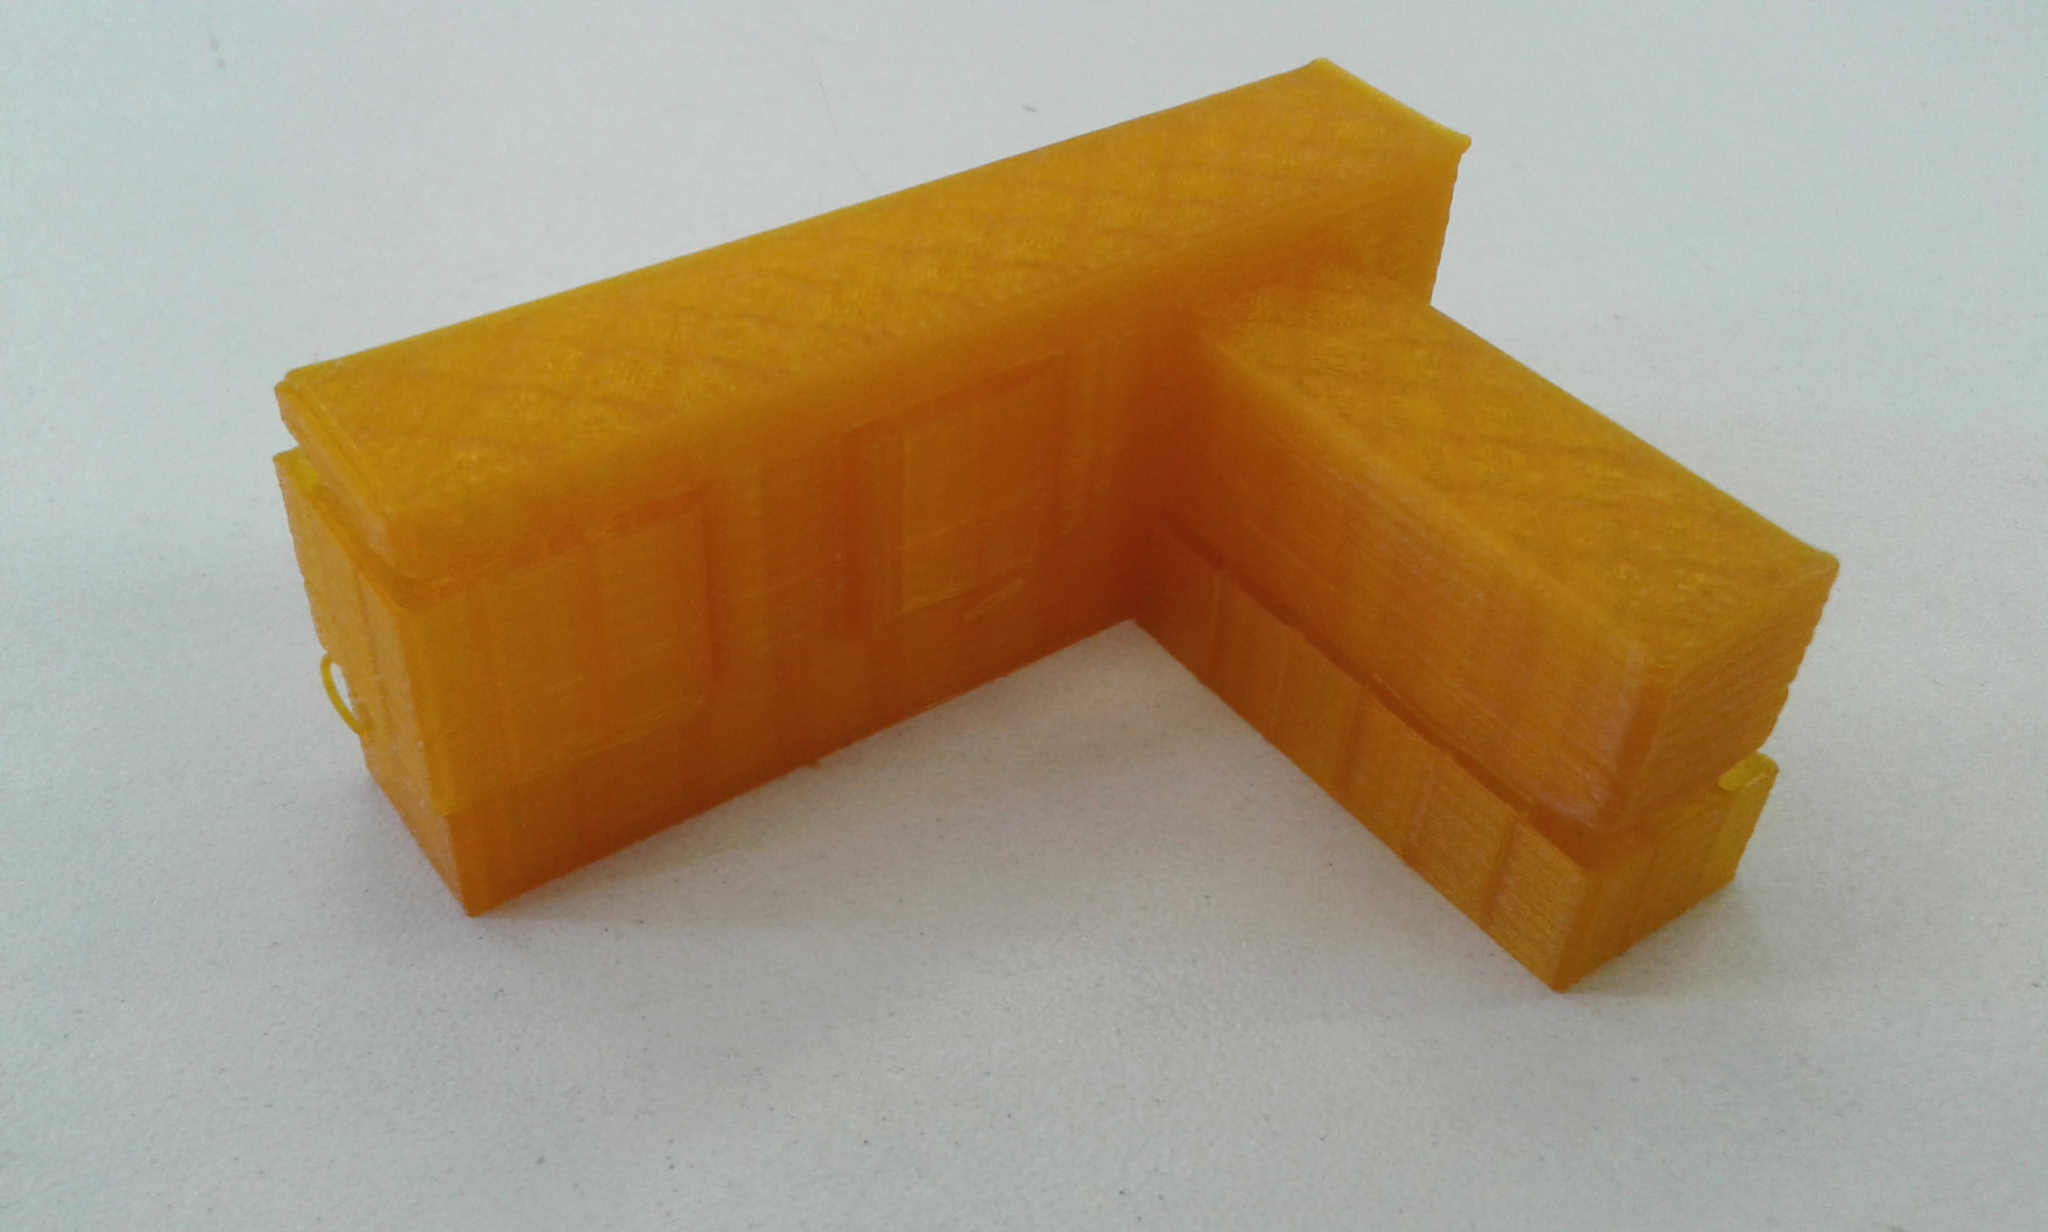
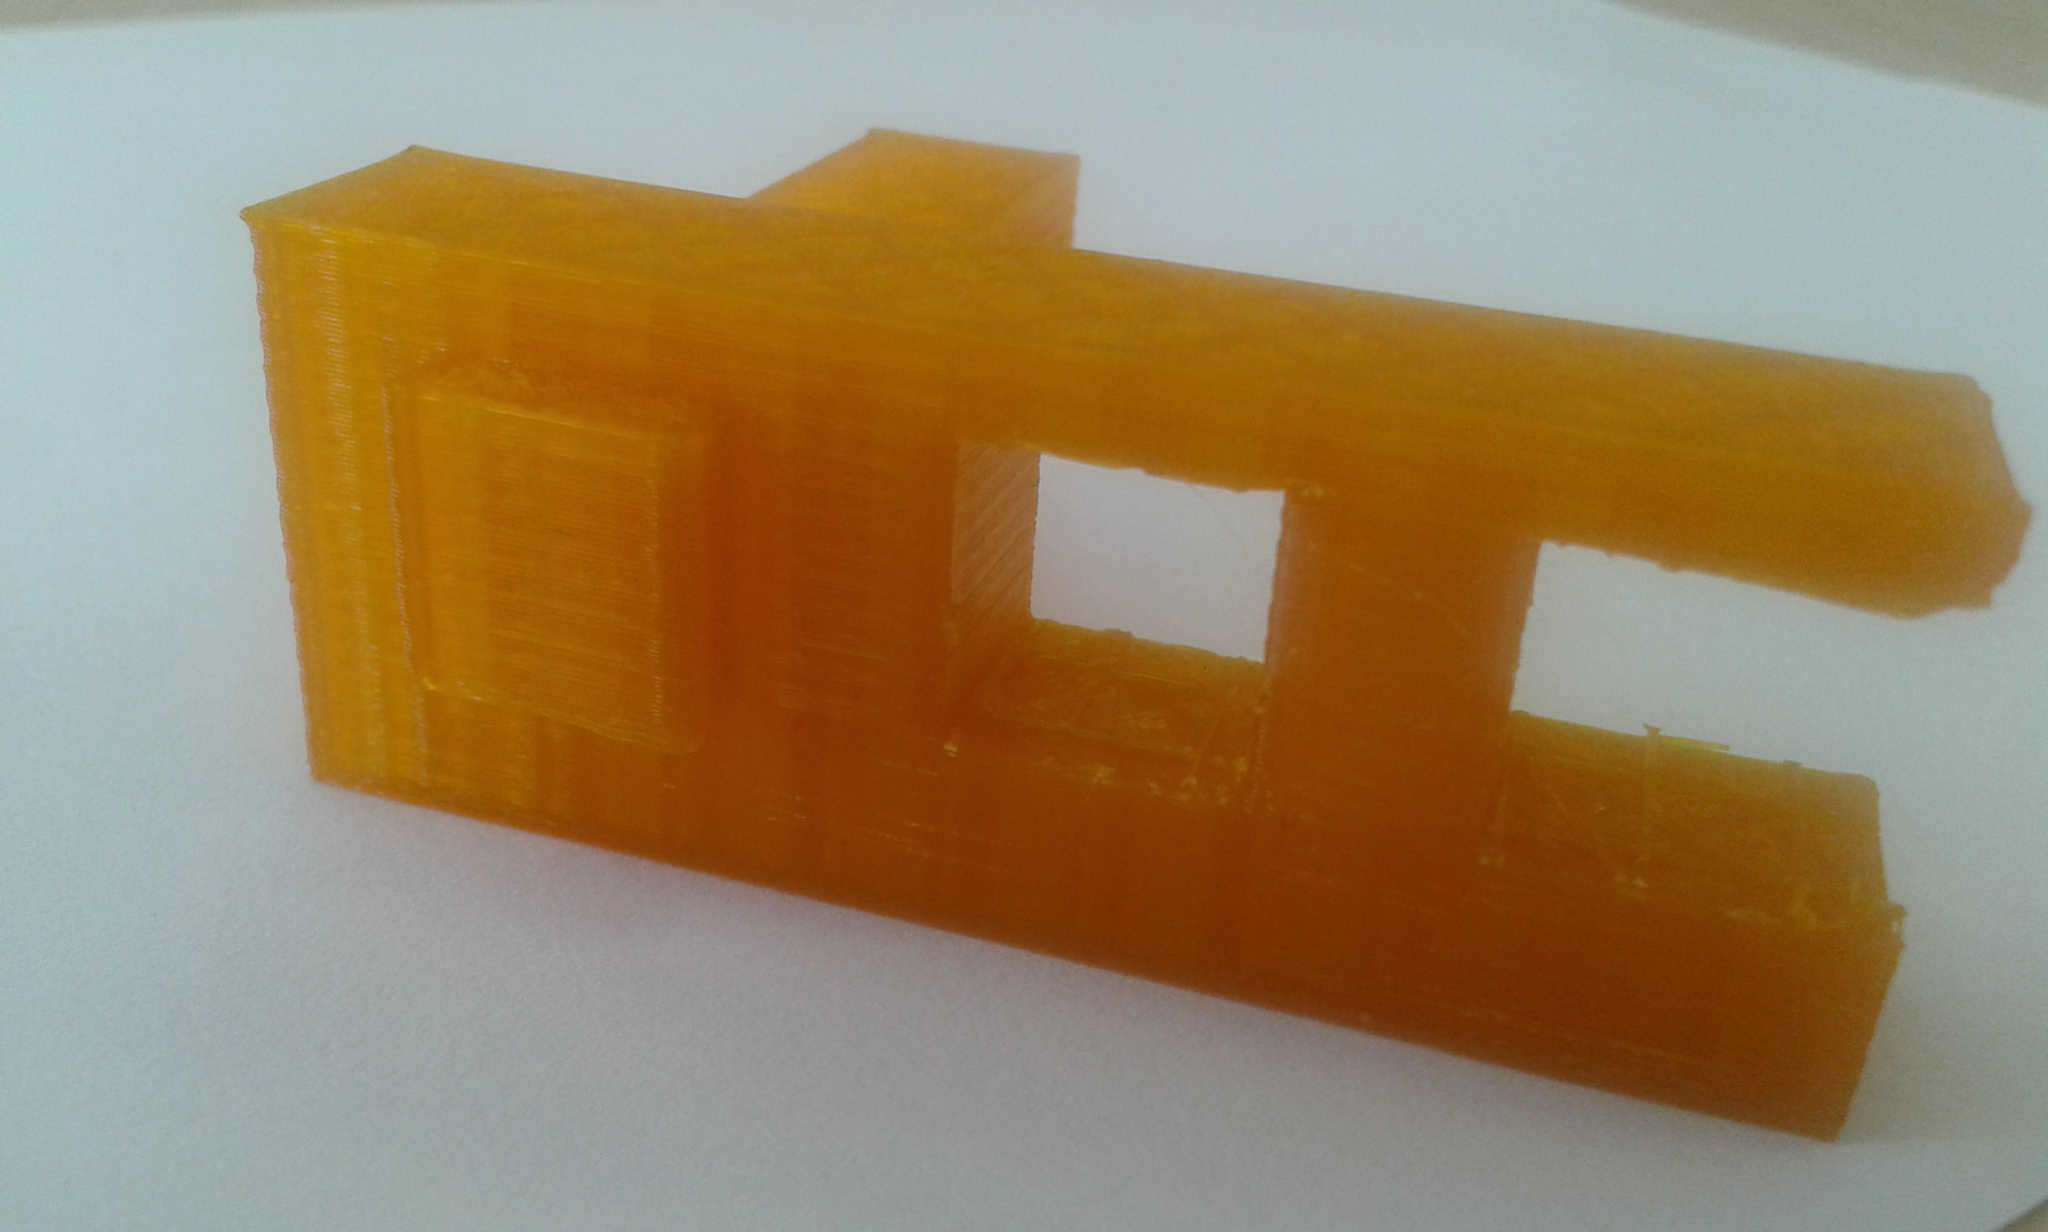
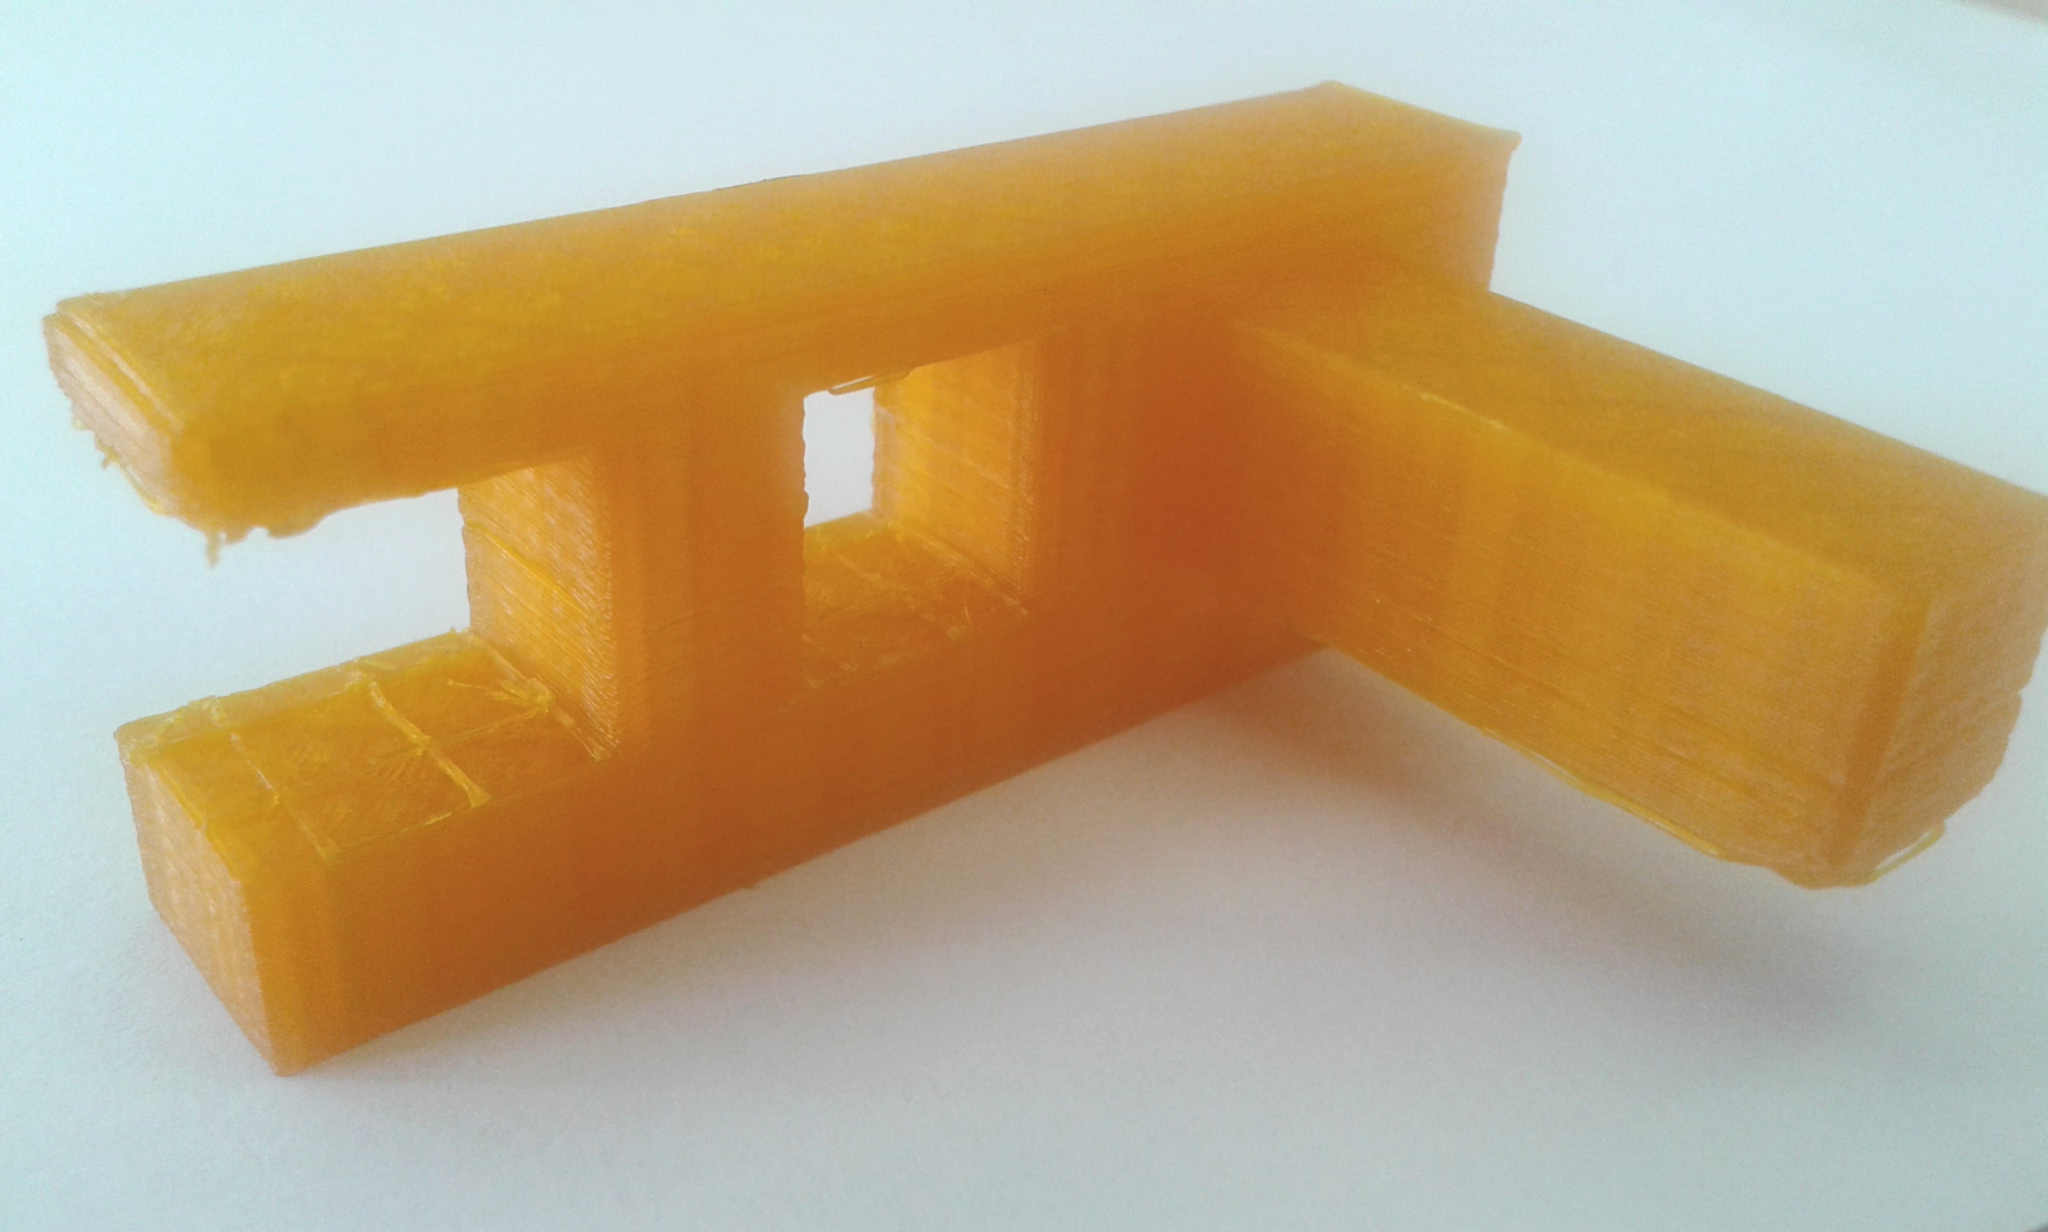
Designing and printing an object
Design and 3D print an object (small, few cm) that could not be made subtractively
I used the Rhinoceros 3D Software to design an object that it was very dificult to do subtractely, to do this I designed in a way that the object was curved and with "objects inside objects".
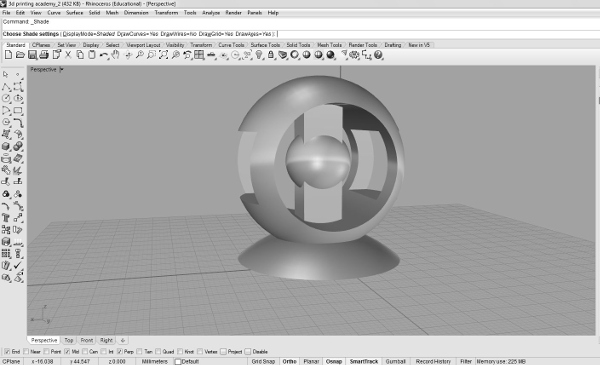
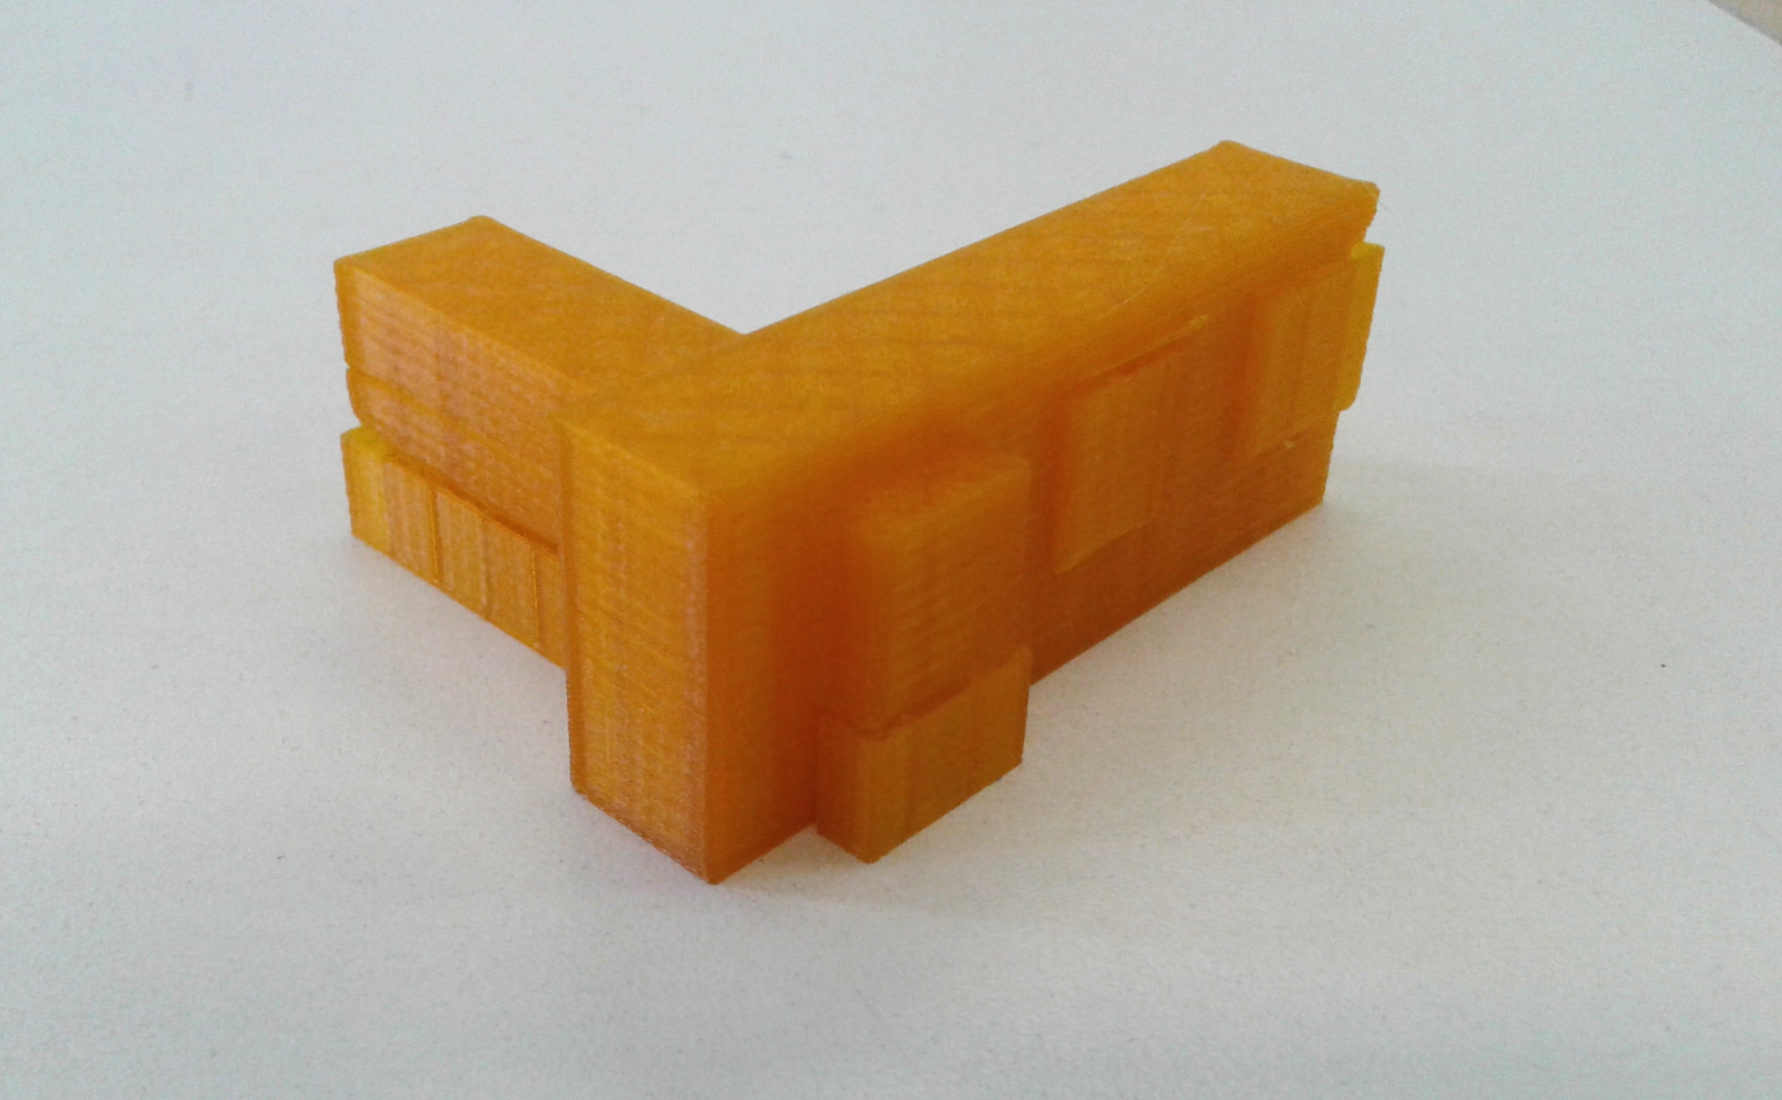
Let's printed it.
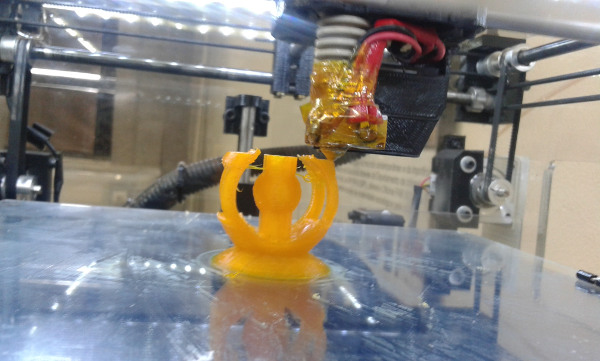

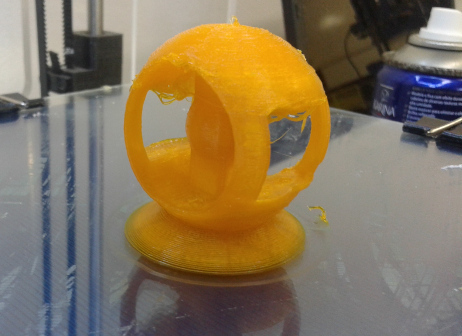
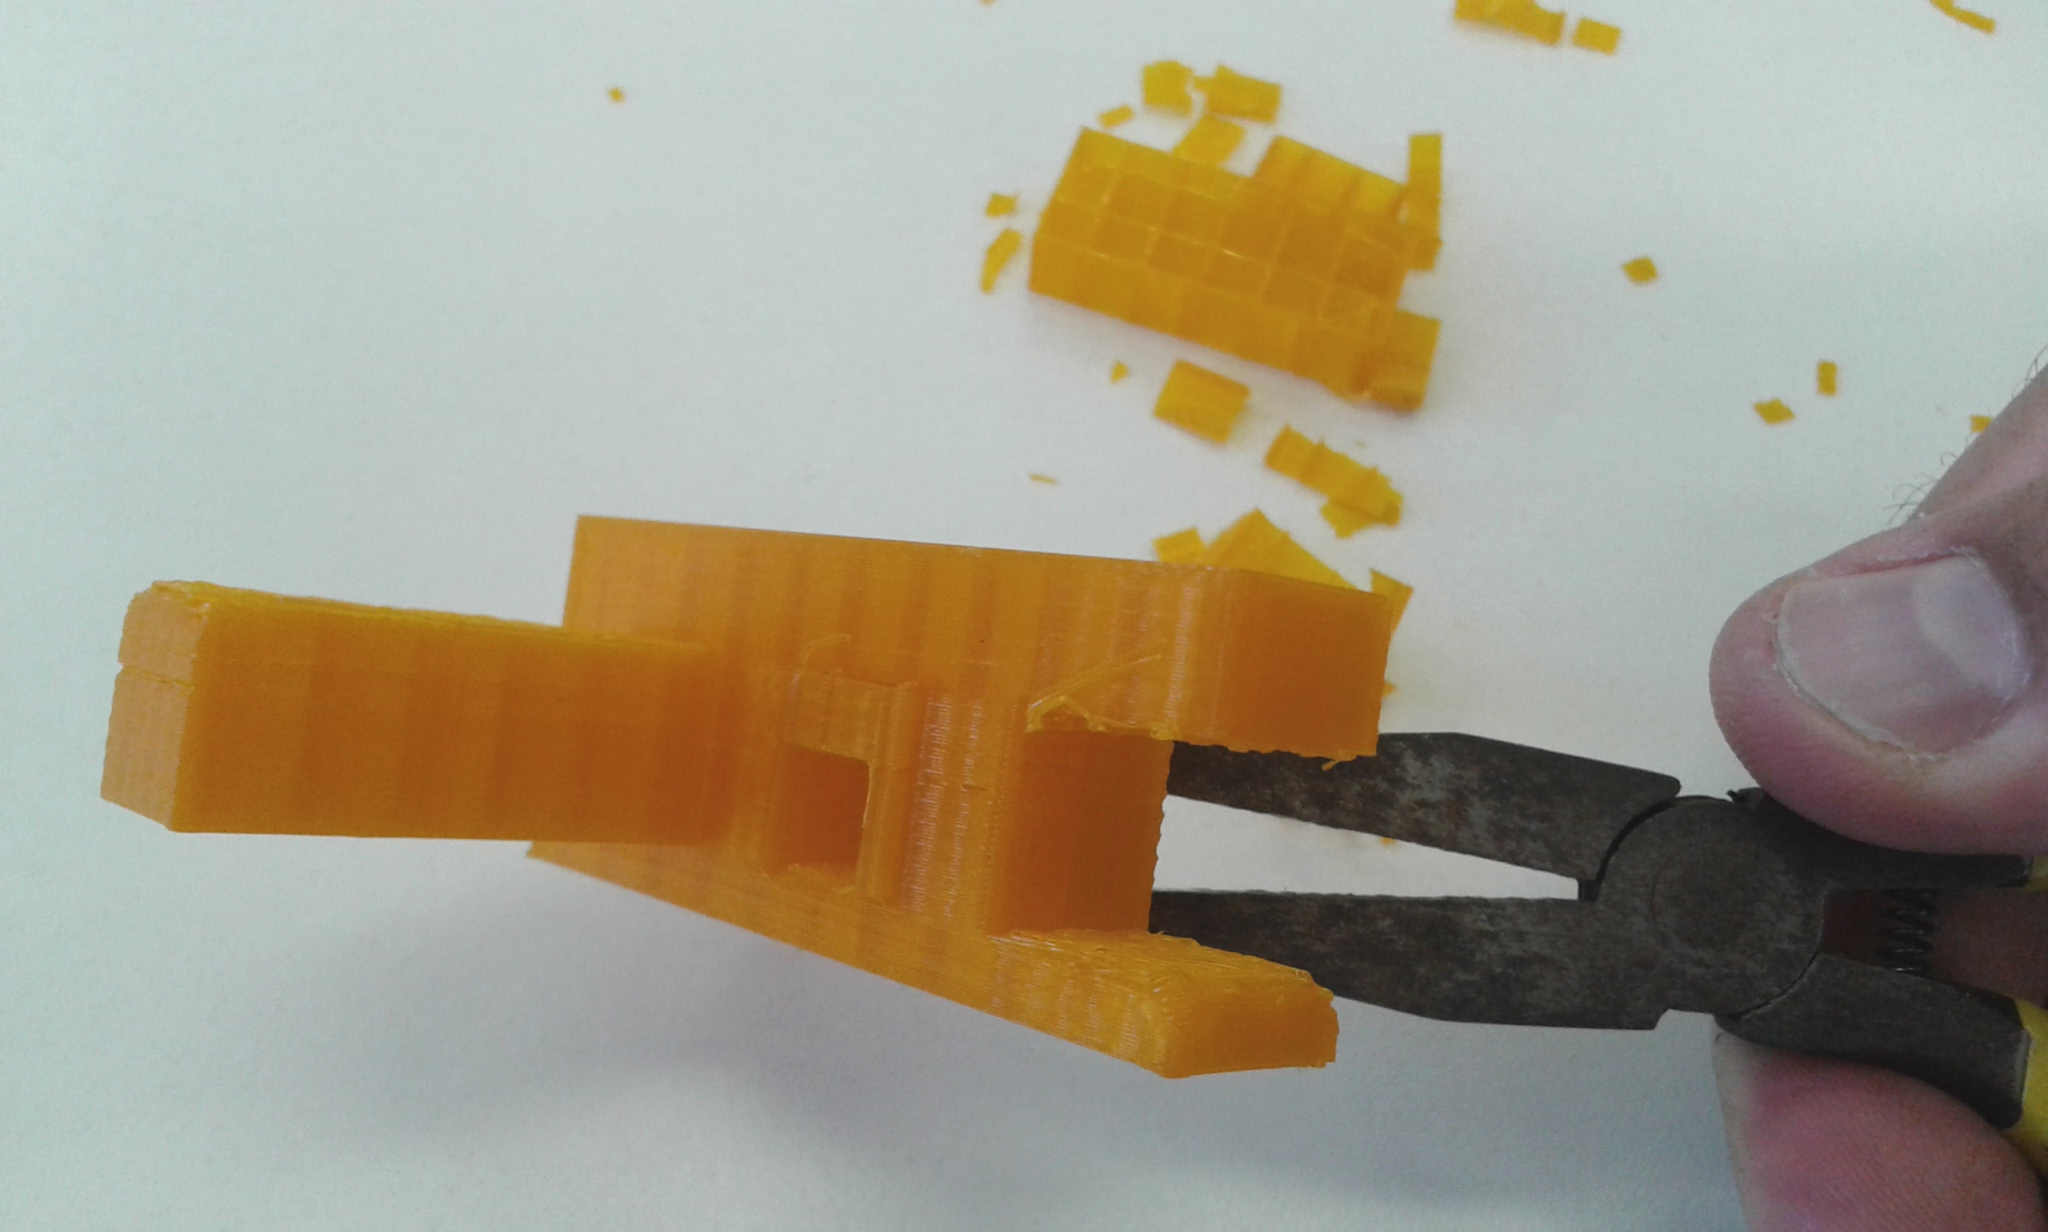
And my final shot that can be noticed some fails probably because the printer parameters as the extrusion velocity.

Files_3D_Printer_Test files.