This seventh day we have to create and put two cards in communication with or without cable.
In the fablab we had two esp01 so we decided to test the wireless communication.
The ESP8266 is a very economical WiFi module that gives you the ability to easily connect to a micro controller using 2 serial and Tx serial bits and interact with the sketch via AT commands.
In addition, the community has developed firmware that allows it to be reprogrammed in LUA or with the Arduino IDE. The ESP8266 has enough computing and memory power to sketch without external microcontrollers.
One of the most famous and used firmware is the NodeMCU.
Testing ESP with Arduino
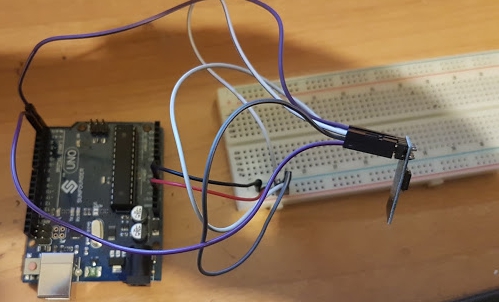
To test i connected the esp to arduino and tried to see how the two controllers communicated.
After connecting the esp to the console using pins 1 and 2 as tx and rx and feeding it to 3.3v.
i've Immediately noticed that the connection did not work and the arduino did not power the esp. Reading the documentation I have scraped that the arduino typically supplies 150mA while the esp requires more than 200mA.
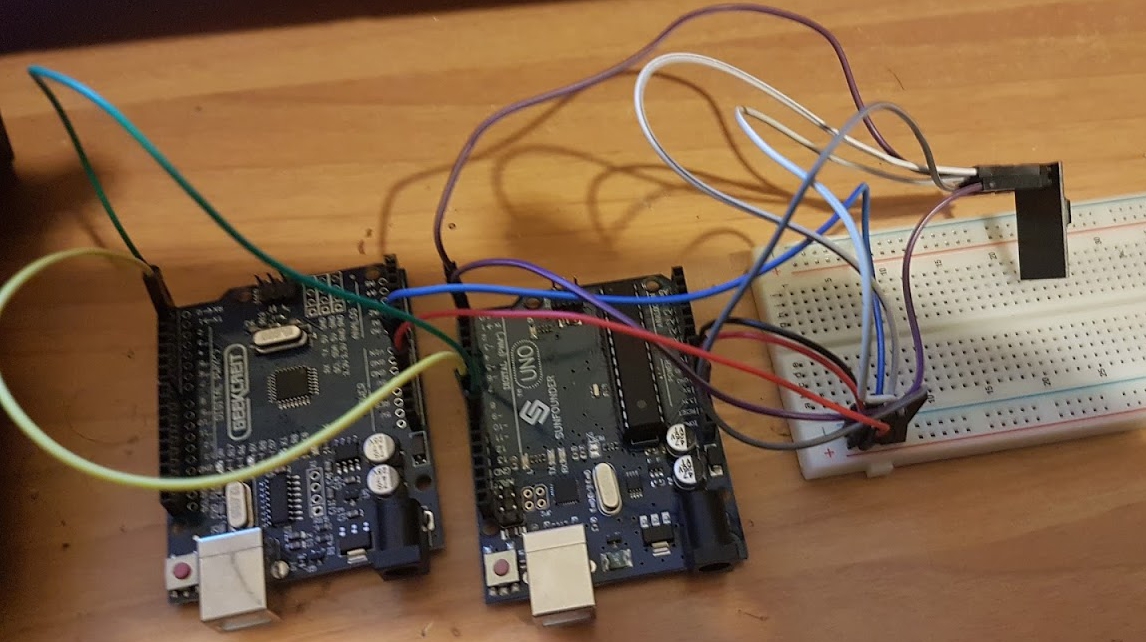
To solve this problem I had two solutions:
- Connect a second arduino in parallel
- Use an adapter
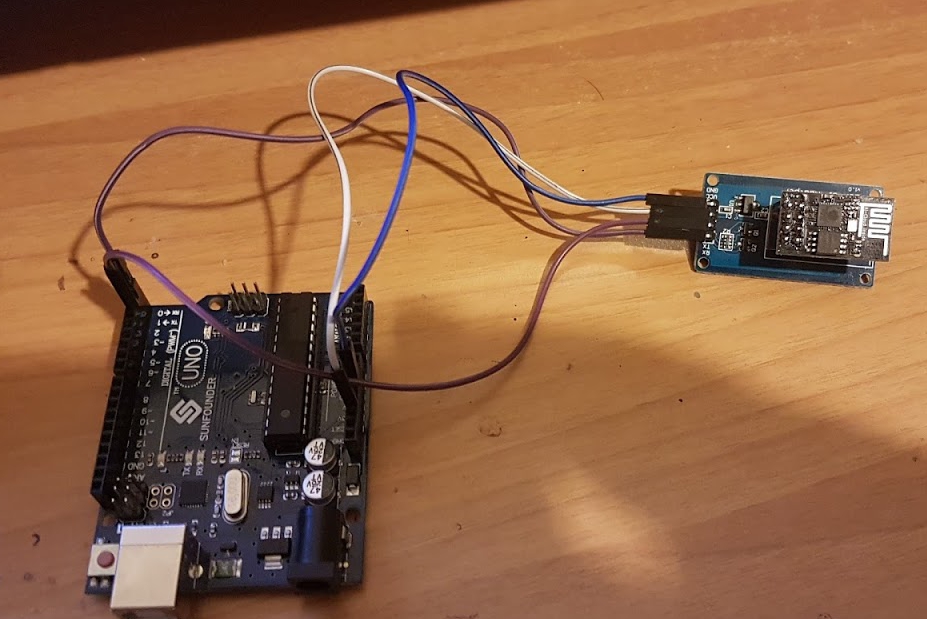
For convenience, I continued testing work using a ready-made adapter.
Once wired the module just had to load a sketch to test it.
To check that I received the data from the esp I created this page html.
Once the data was tested, all you have to do is try sending it.
The AT commands allow us to set the esp in three ways:
- mode 1: Station Mode(client)
- mode 2: Access Point mode (host)
- mode 3: Access Point + Station Mode(client and host at the same time)
If, for receiving data, we have set the form as Client, in this case we will use it as Access point And Station Mode (mode 3). The script I used to send data is this: esp_sender.ino
RFID reader with esp8266
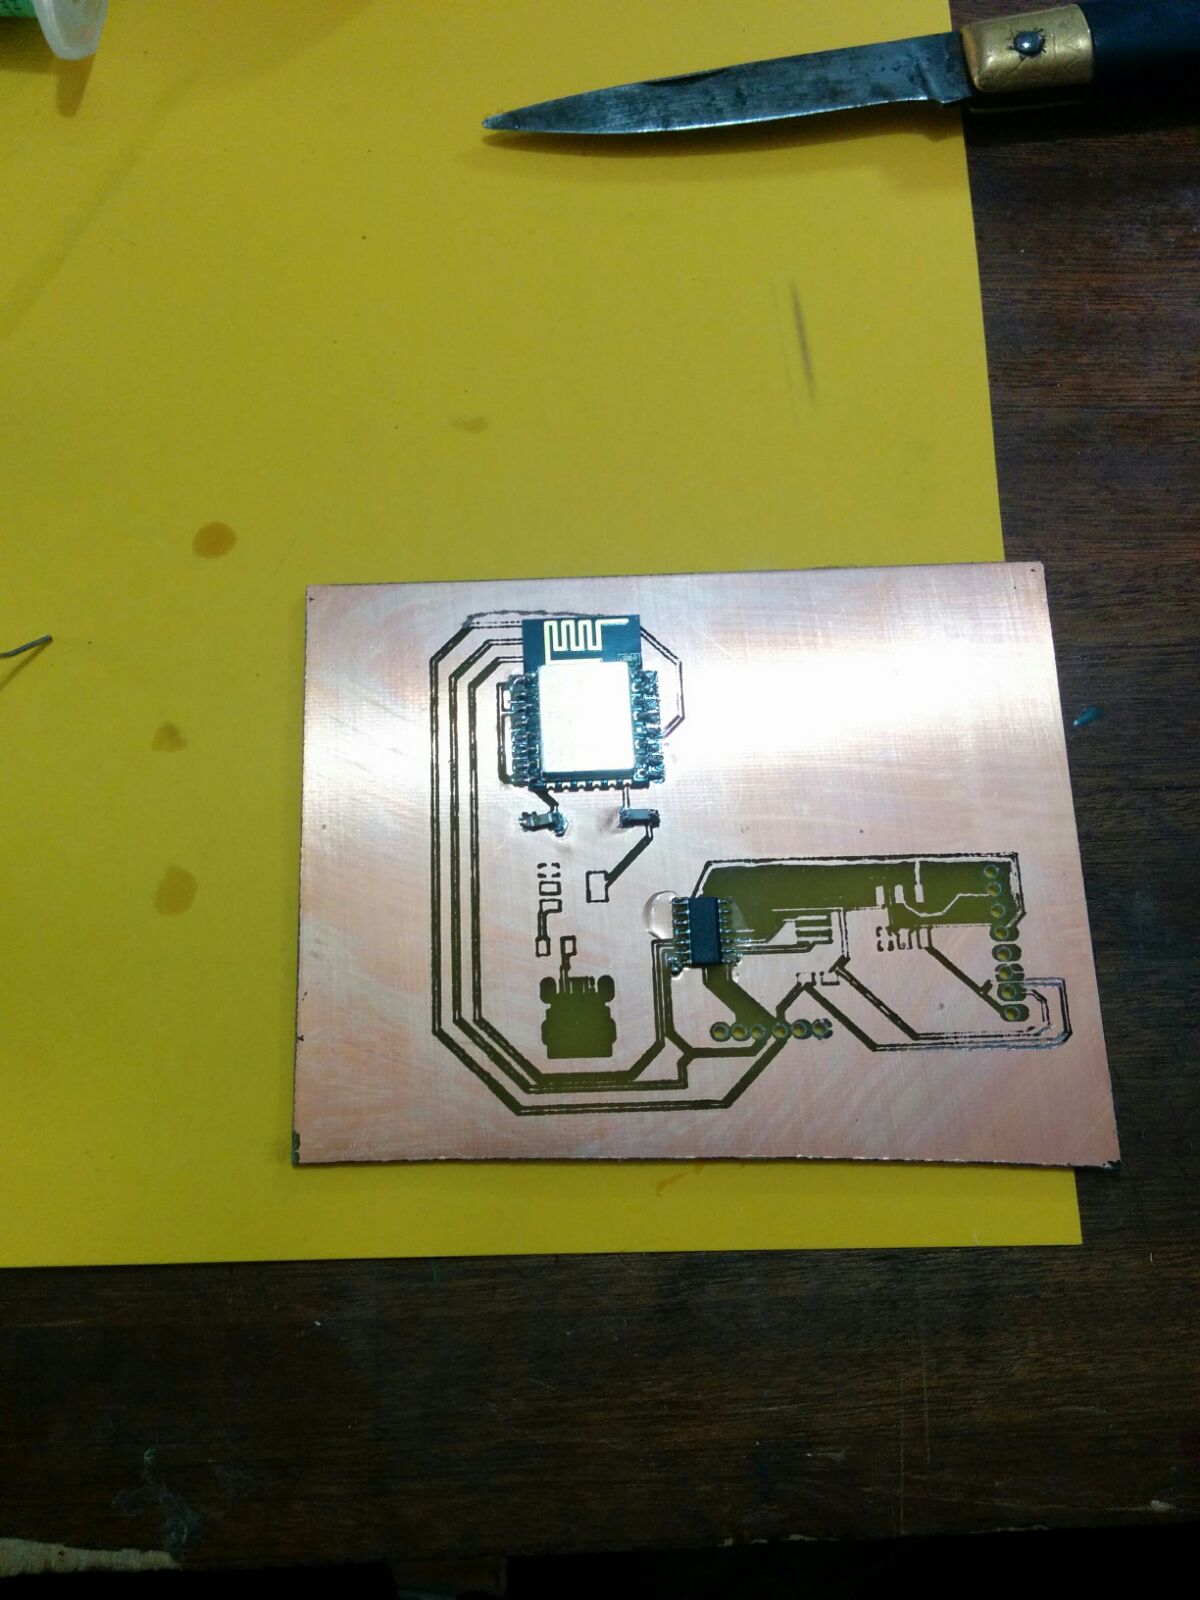
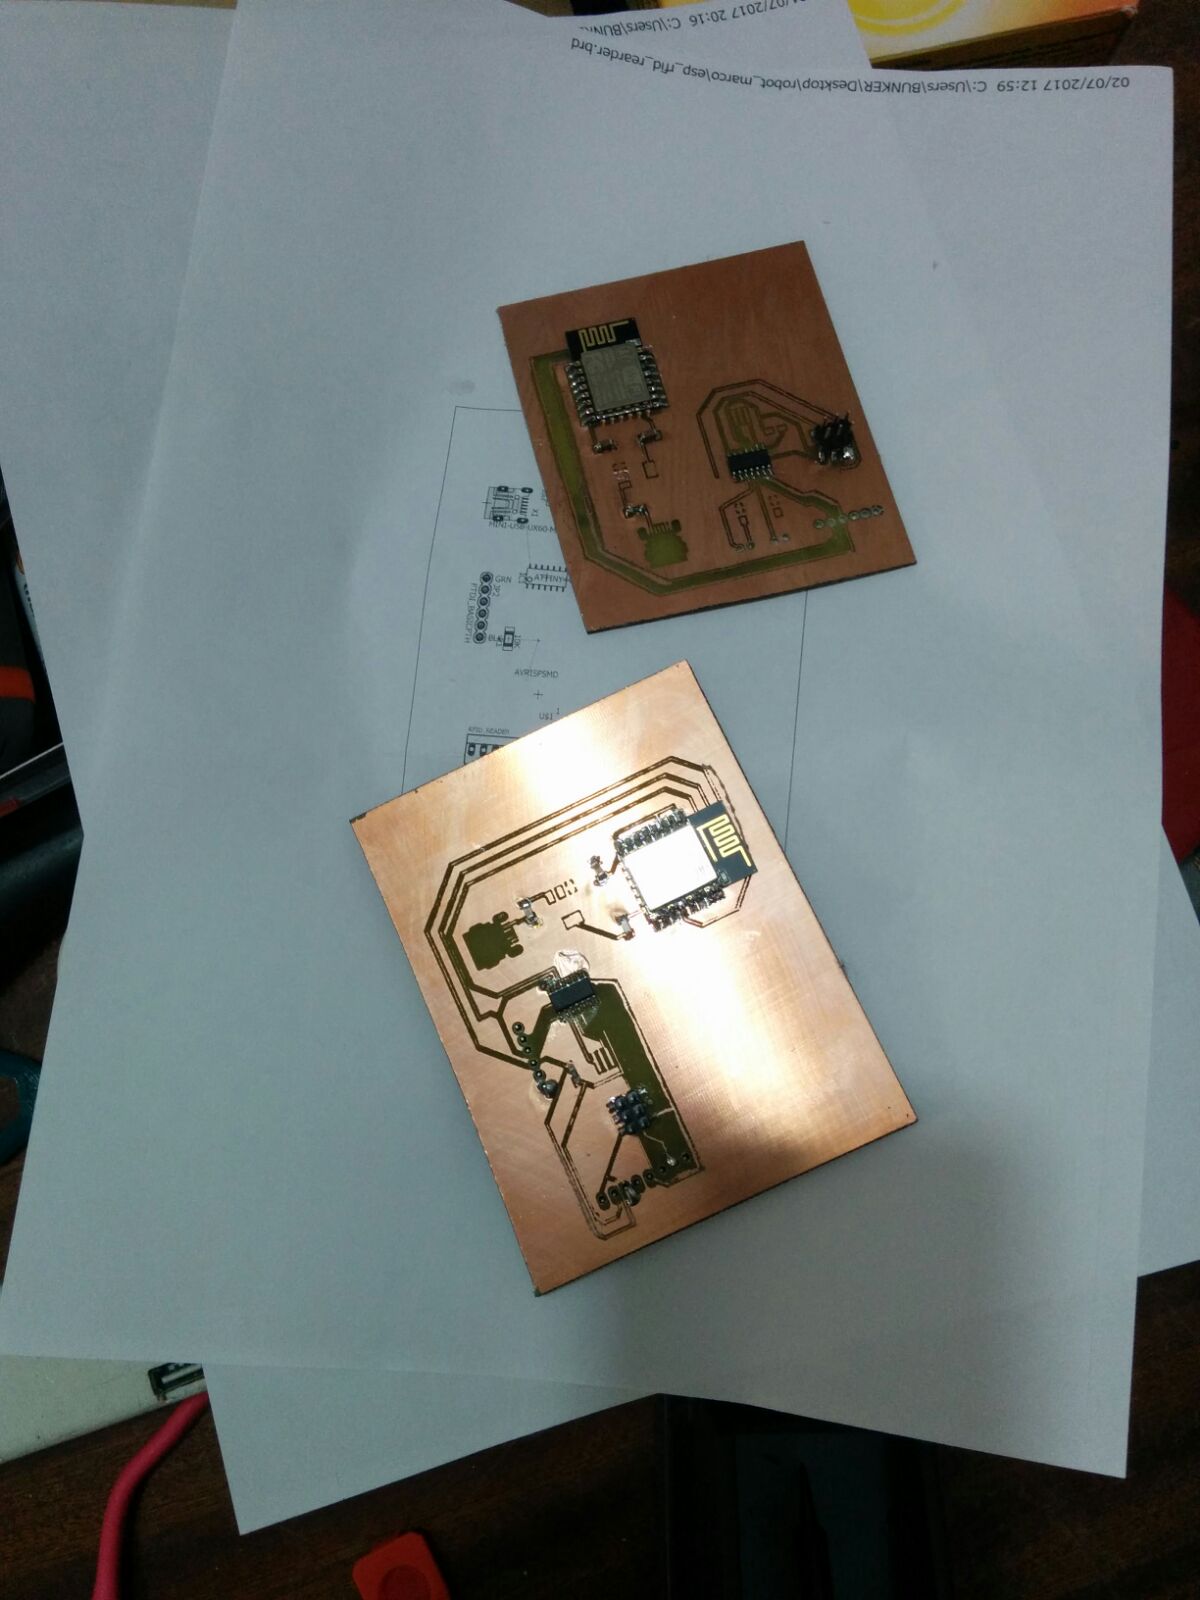
Testing the potential of ESP was just about to draw two cards communicating with each other.
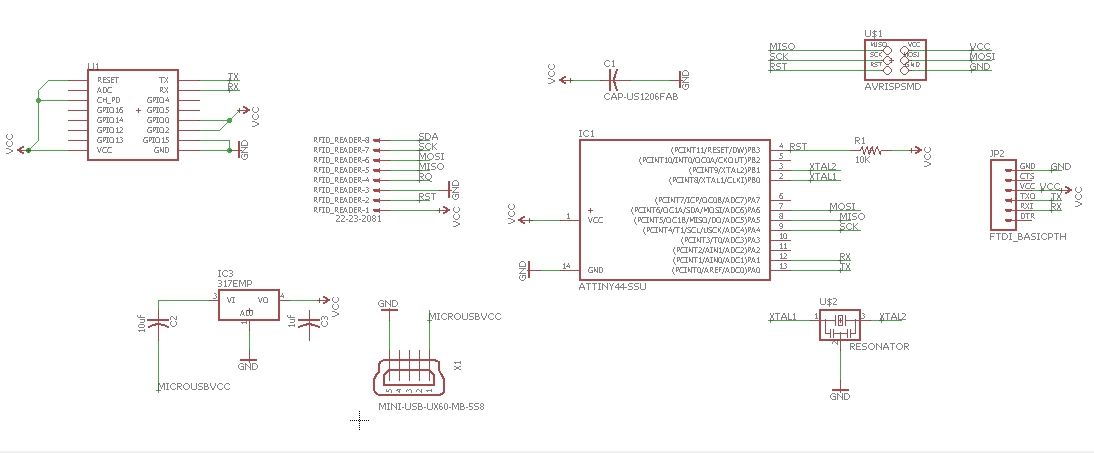
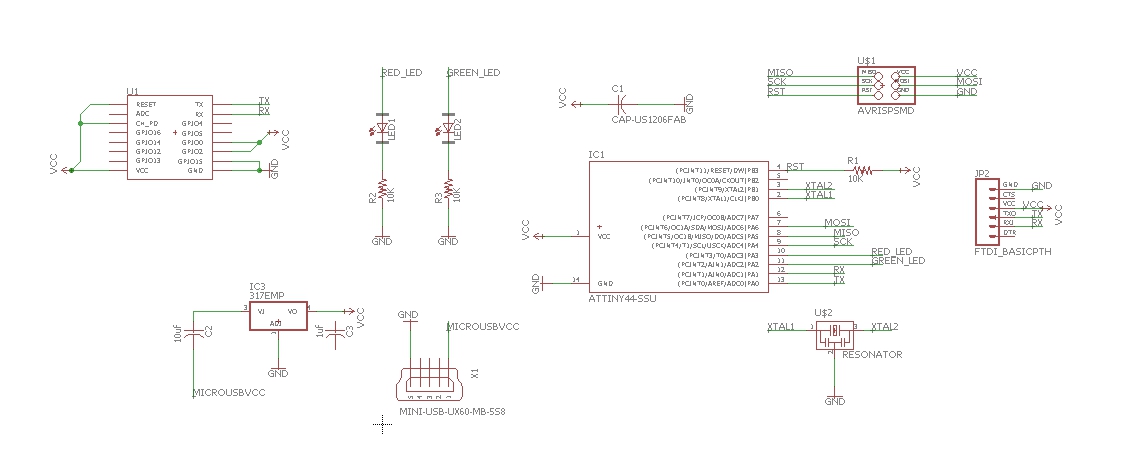
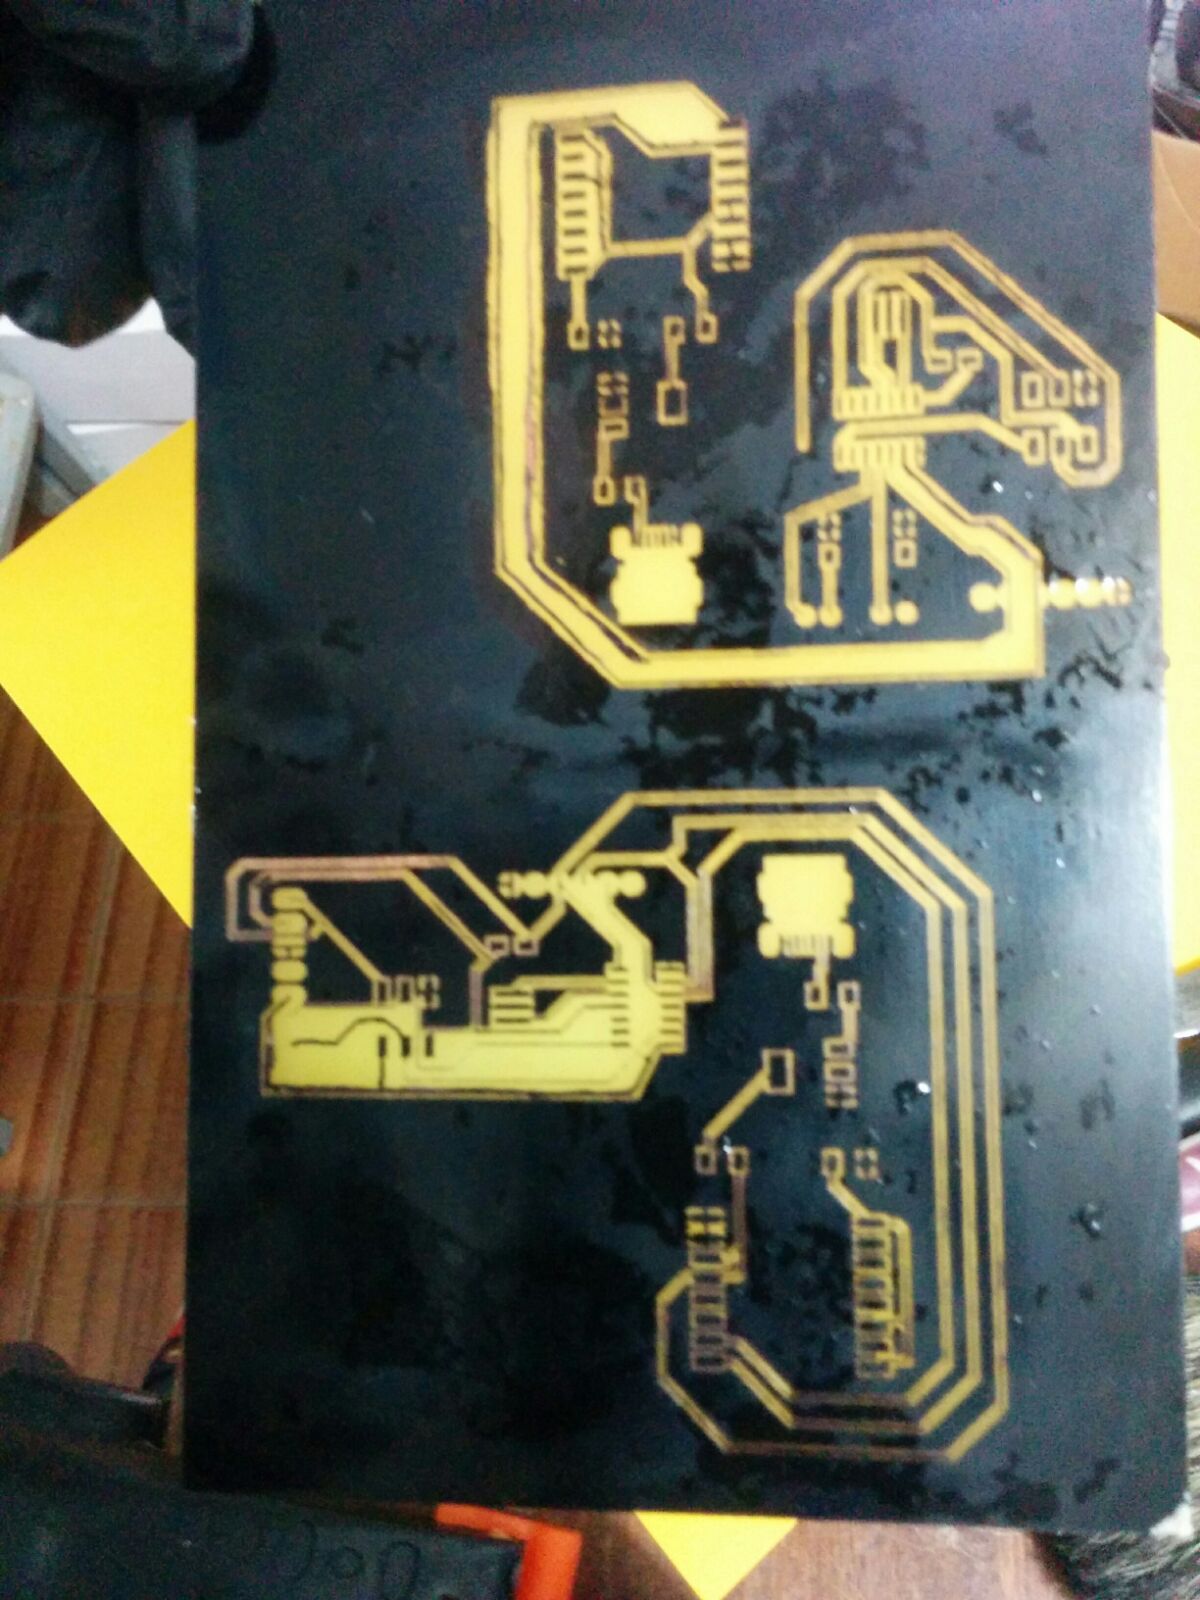
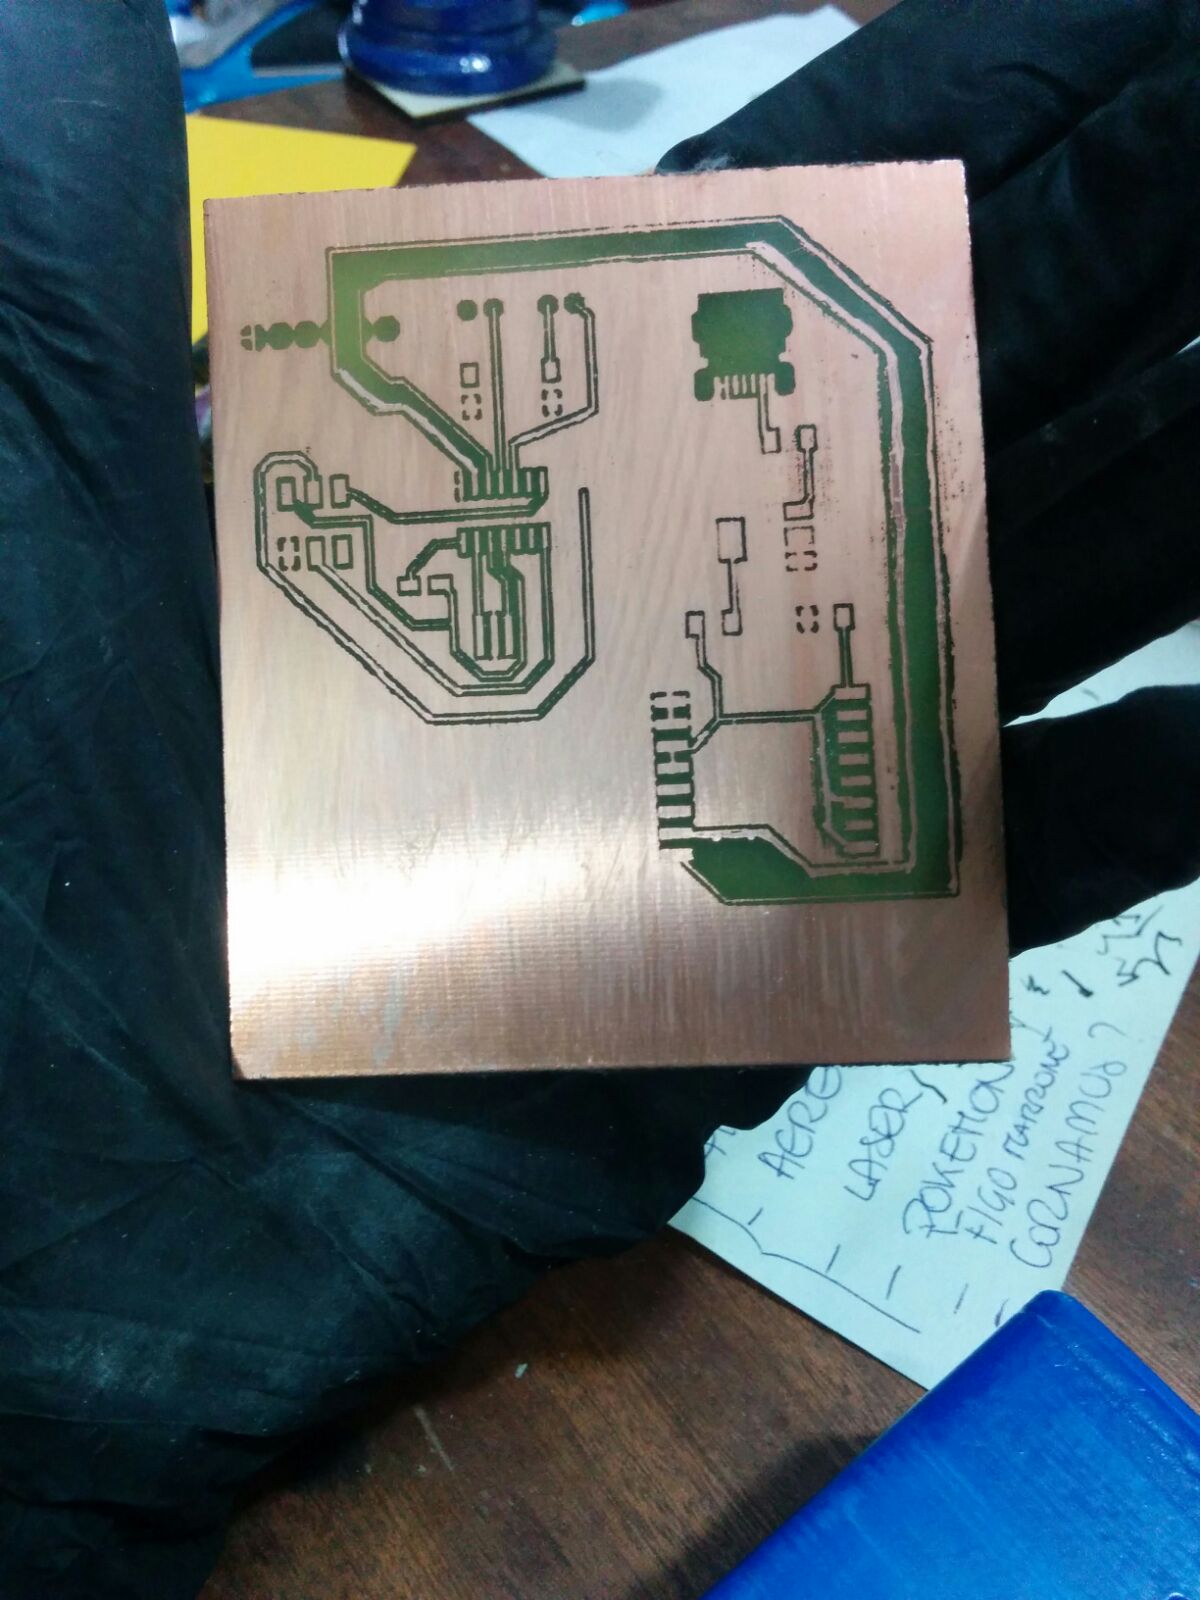
That's why I designed a card with a smart card reader RFID that sent the code just read to a second card that controlled its validity by responding with a positive or negative signal.
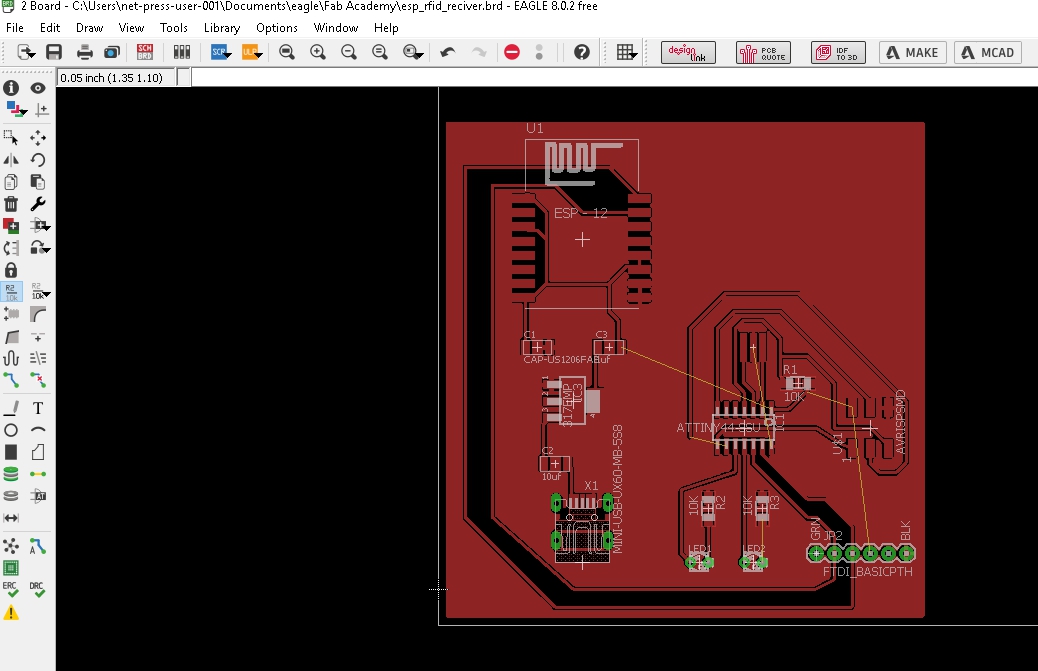
To draw the cards I used Eagle.