I started this week by understanding what is plywood and how is it made
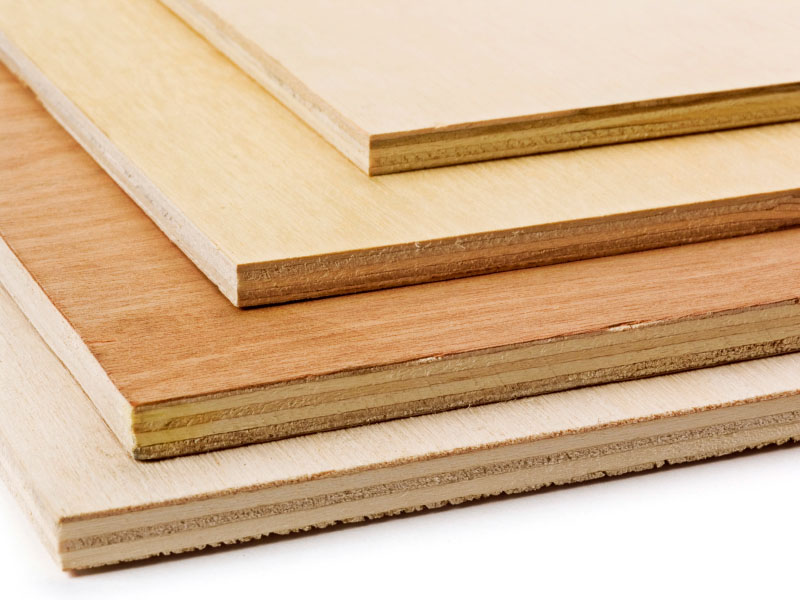
Plywood
Plywood is a laminated product made up of numerous thin strips of wood laid in alternating directions and bounded with glue into strong, stable sheets. Because of this construction method, plywood is less susceptible to expansion and shrinkage. Plywood is much stronger in each direction than a similarly sized board cut from a single tree. (For more details : https://www.thespruce.com/what-is-plywood-3536689)
For further details about plywood manufacturing process you can check below video on youtube. It covers entire lifecycle of plywood manufacturing from raw material to finish plywood
Plywood Manufacturing ProcessJob design
It took some time to decide as in what to make. Various ideas poped up like tree house, boat etc but decided to keep it simple and decided to make a Table - The objective was to design it in such a way that it can be easily assembled
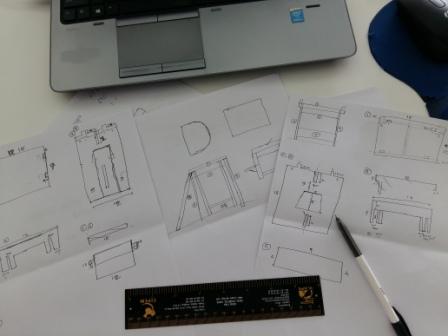
So it started with drawing sketches on paper
Preparing design in solidworks
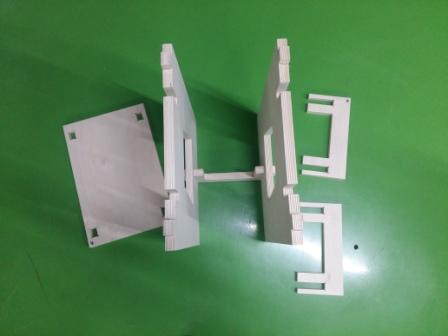
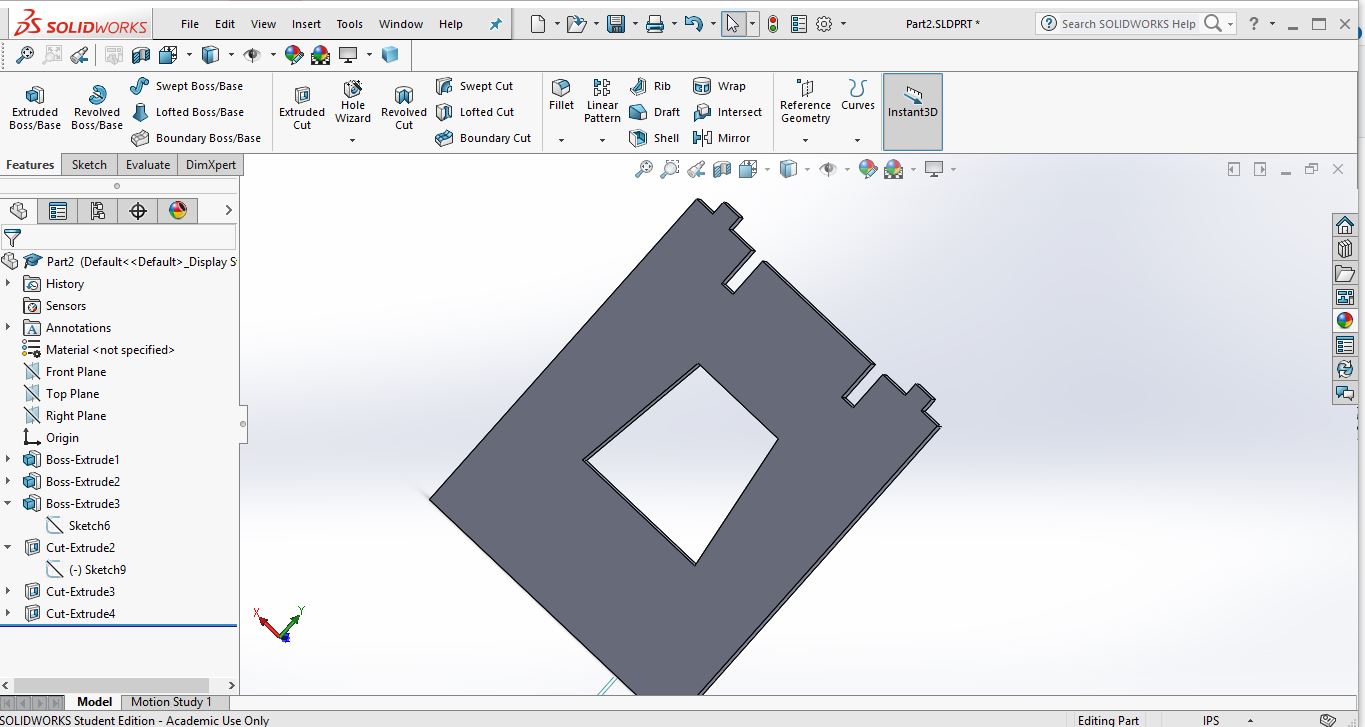
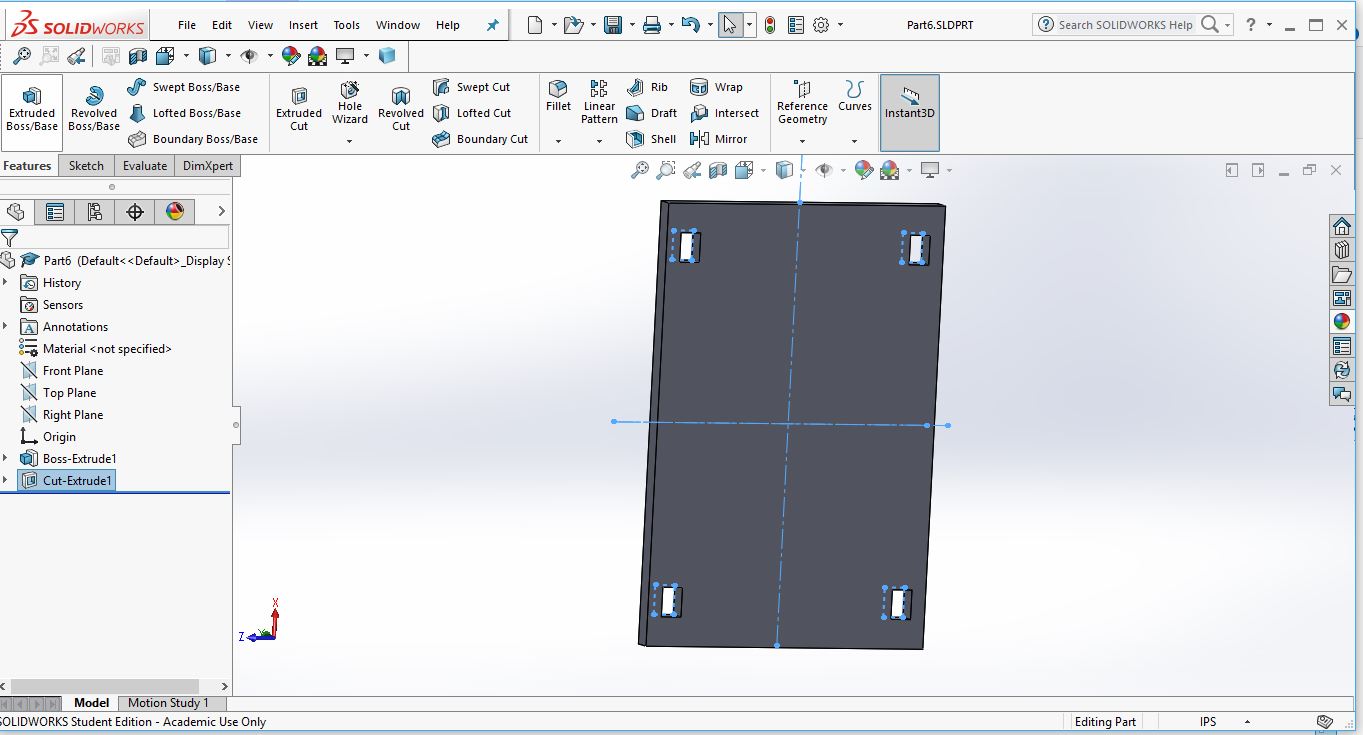
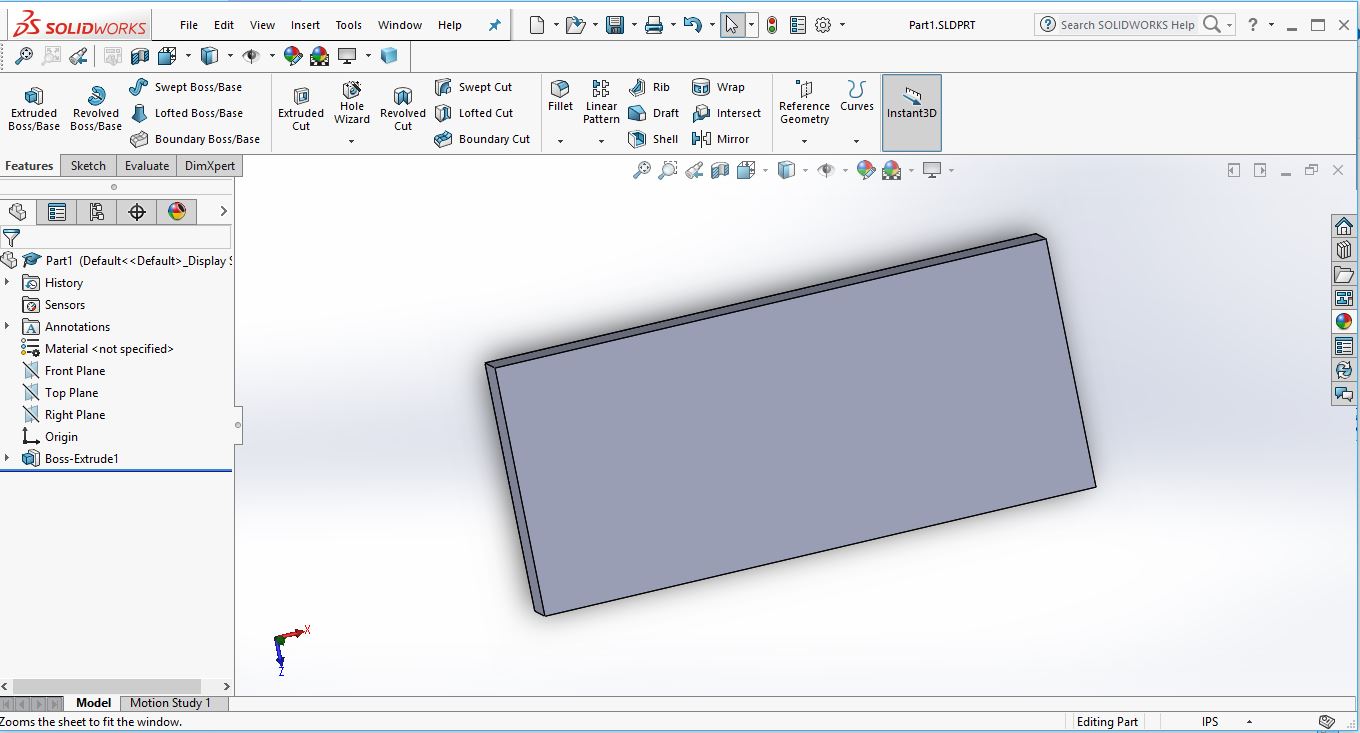
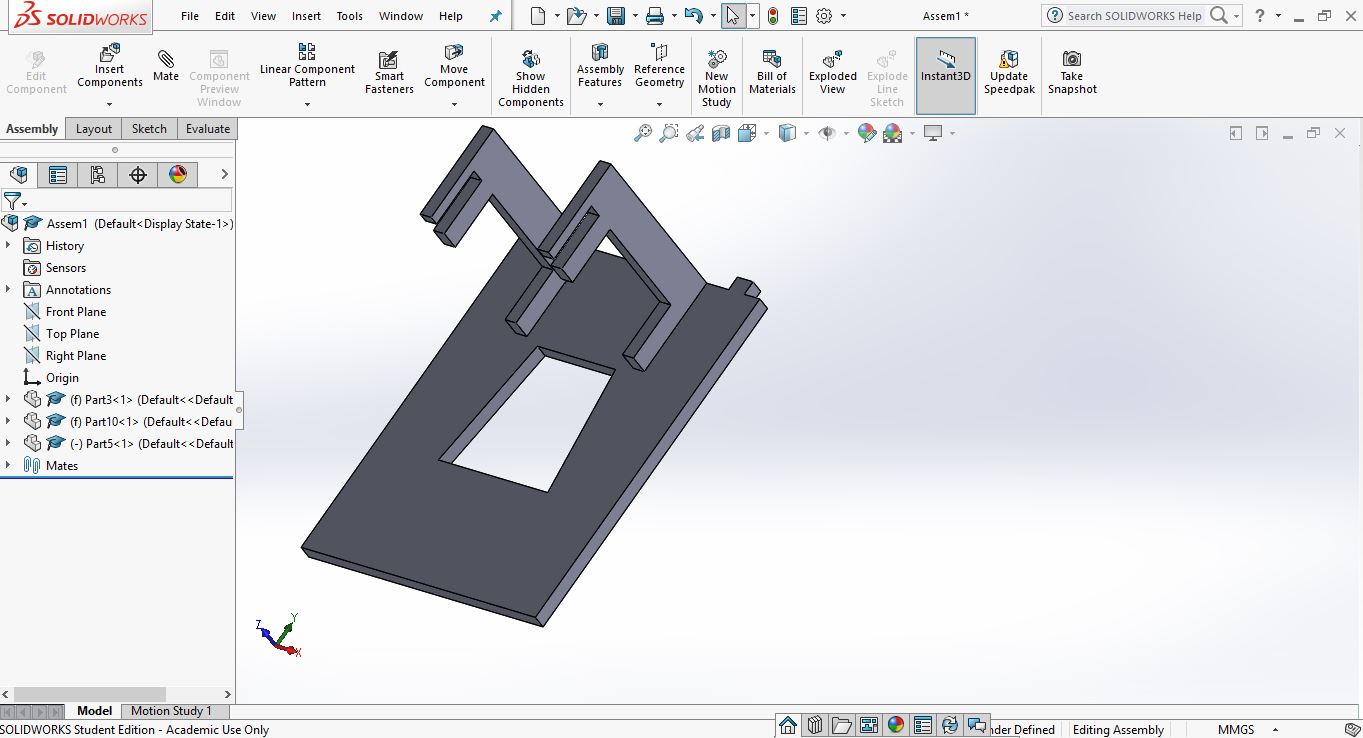
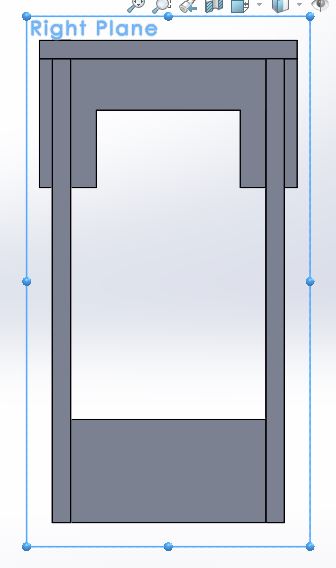
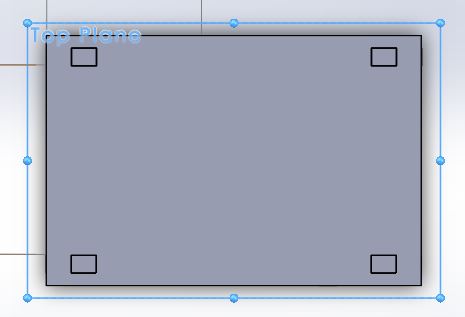
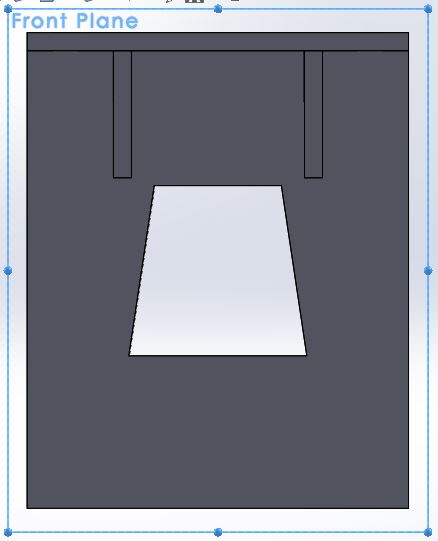
Step 1 : Making individual parts
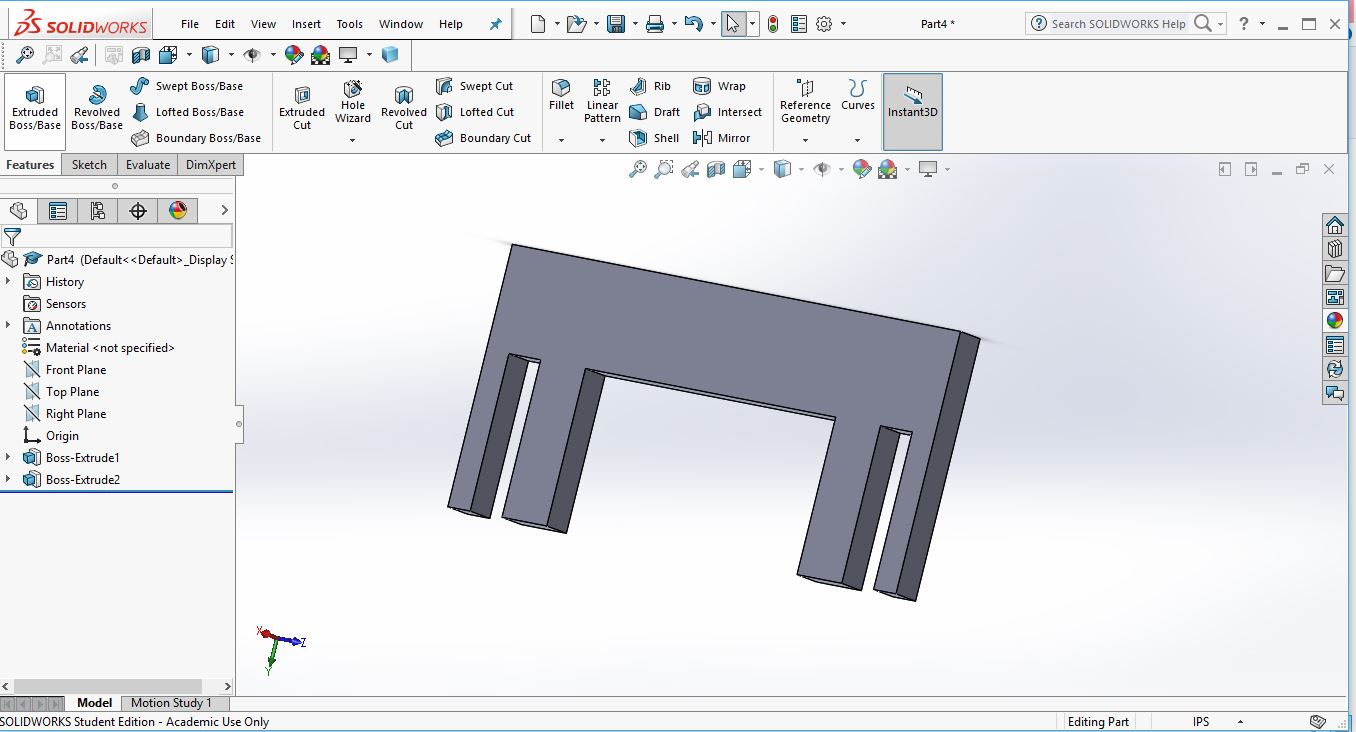
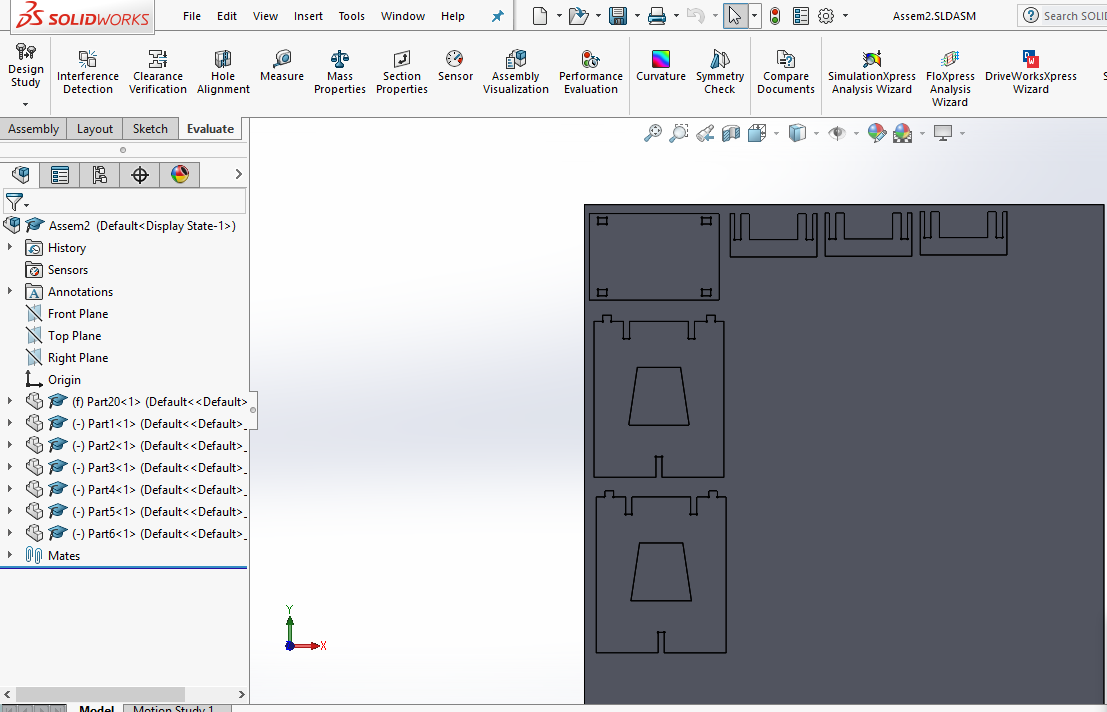
Step 2 : Next task was to assembled the individual parts together in solidwork assemble mode : For my table to be completed I was requiring 2 number of side fixture, 1 top fixture and 3 supports
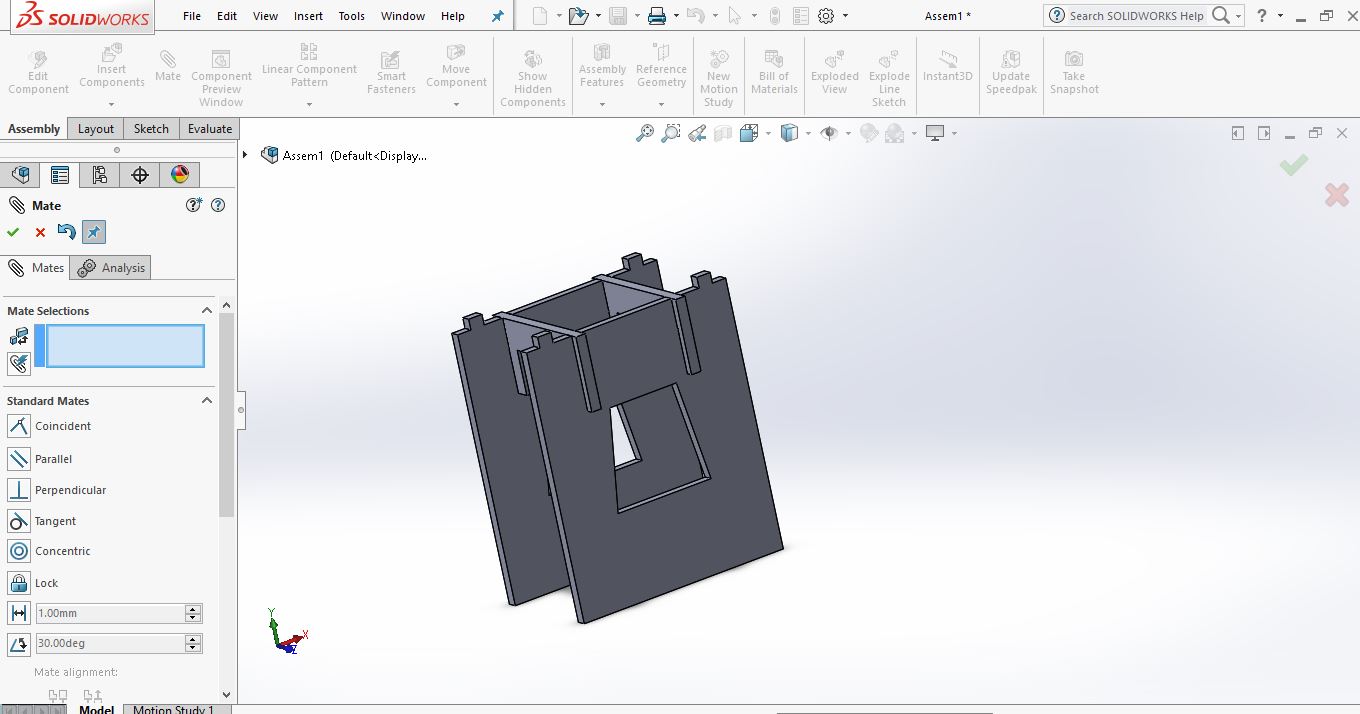
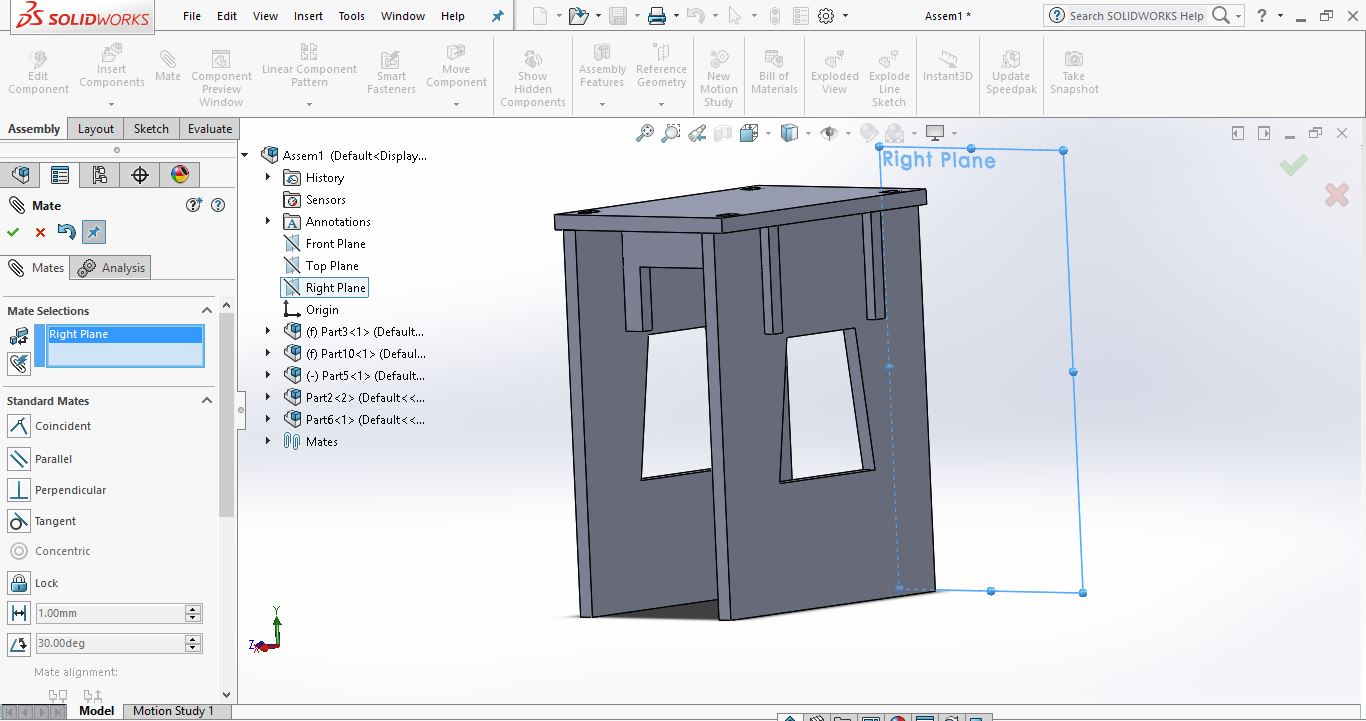
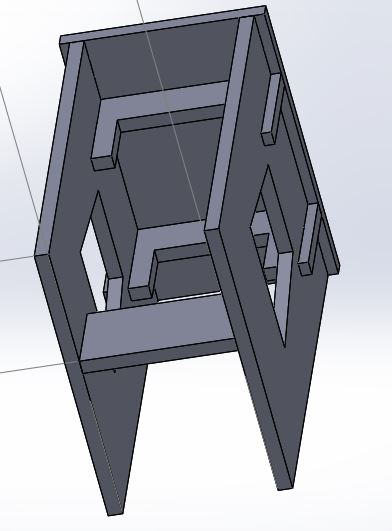
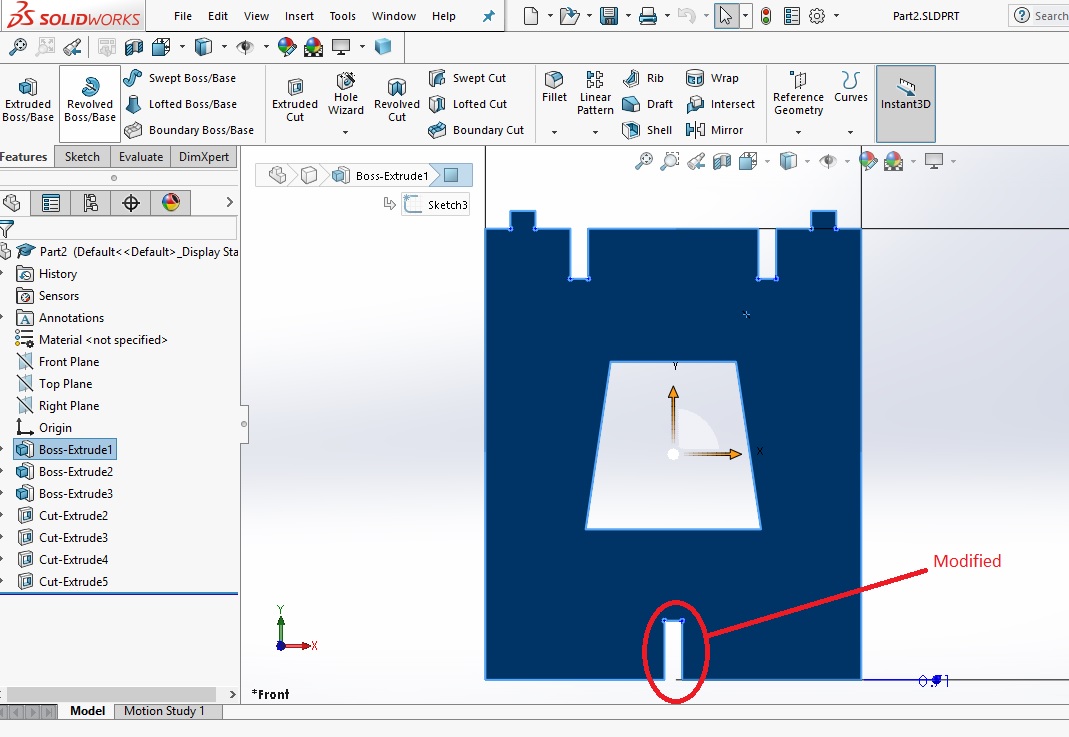
Now the problem was support 2 needed to be fixed using glue/screw. So instead of using support 2, drawing was modified to use support 1 in place of support 2. Accordingly drawing of side fixture was changed.
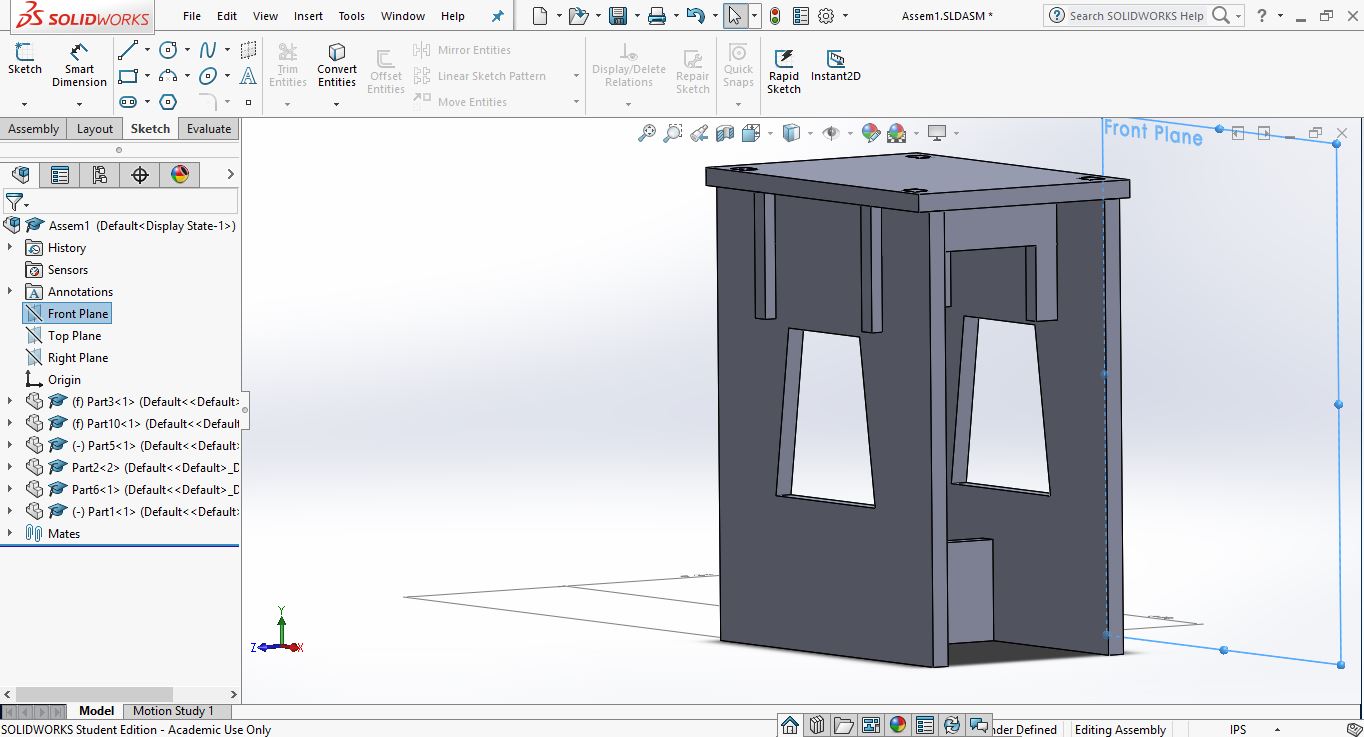
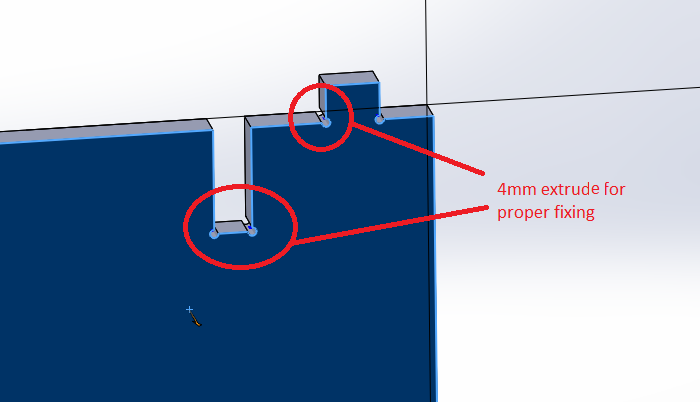
Then as the job involved fixing of 2 wooden material offset of 2mm was added into all female joints. The drill bit used for cutting was of 4mm so for proper fixing at joints 4mm circular cuts were provided at every edge
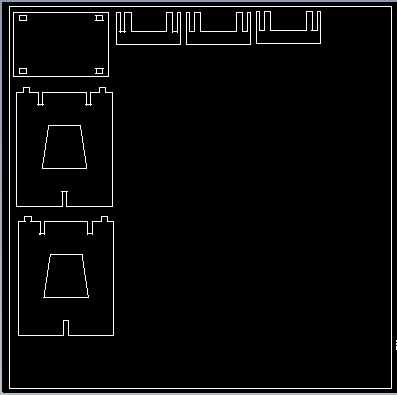
Step 3 : Making the parts ready for cutting using CNC machine.
Step 4 : Job cutting on CNC machine
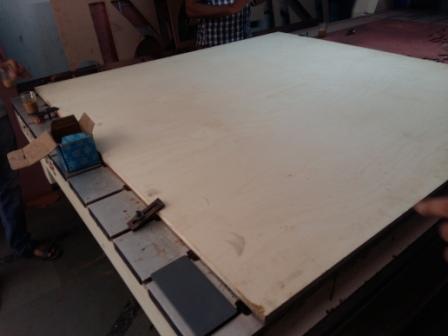
First plywood was properly allign and made ready for cutting
Cutting the plywood using CNC machine
Step 5 : Sanding the Cut pieces
Giving finishing touch and removing leftovers
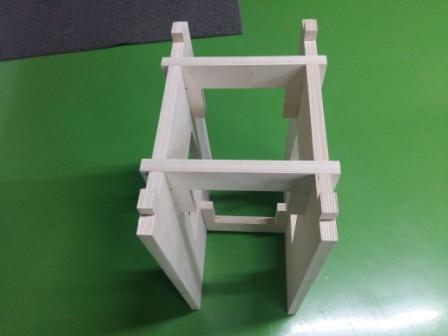
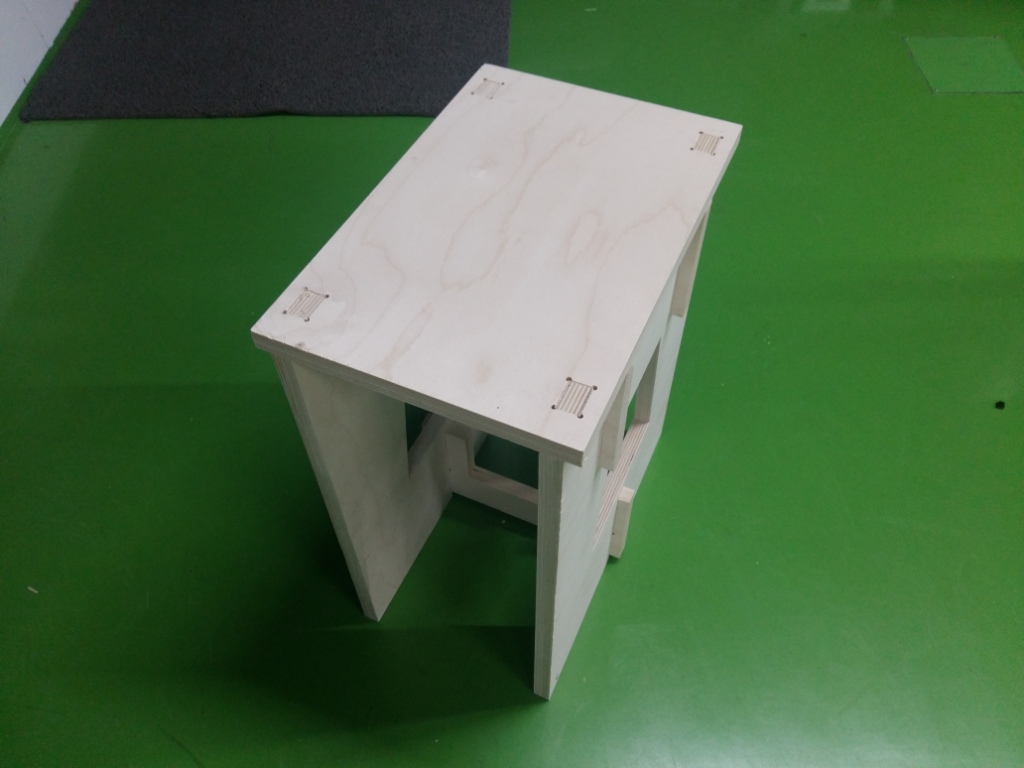
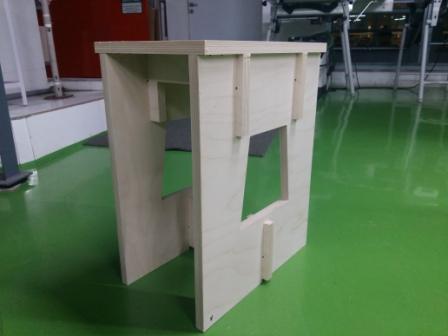
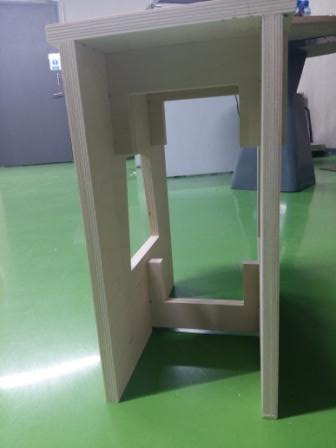
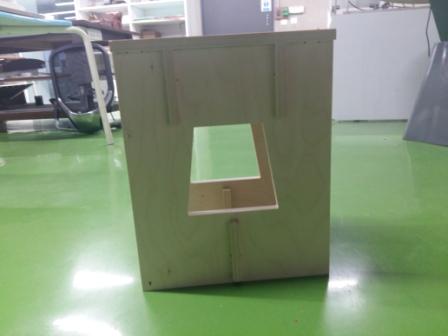
Step 6 : Assembling the parts together