Vinyl cutting
We started this week by small session on vinyl cutter by Vipul
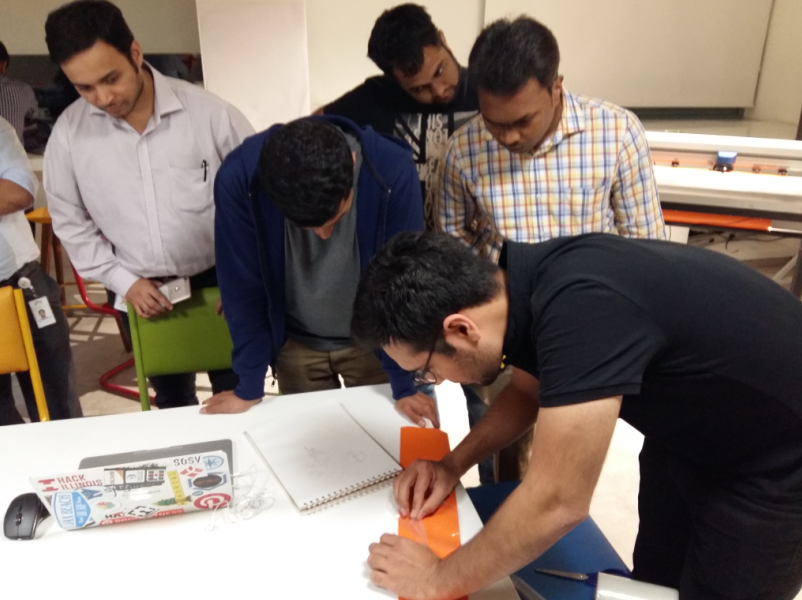
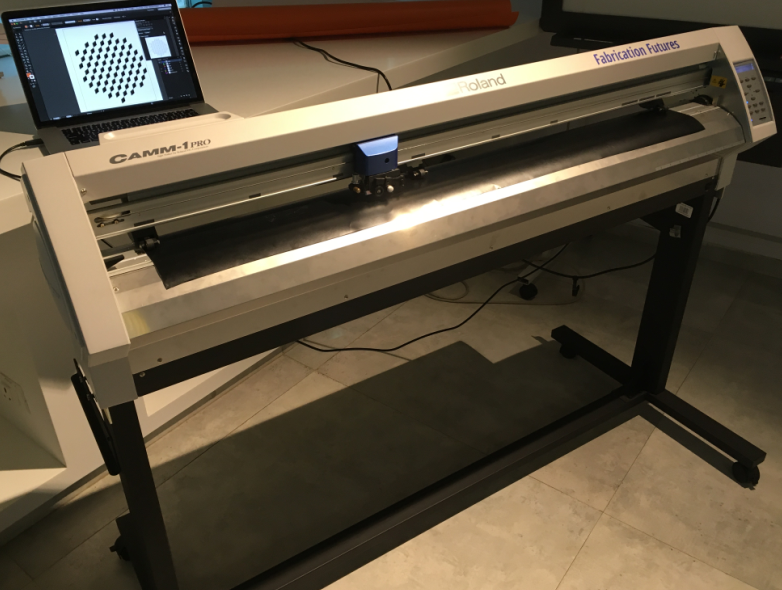
Vinyl cutter machine in our lab.
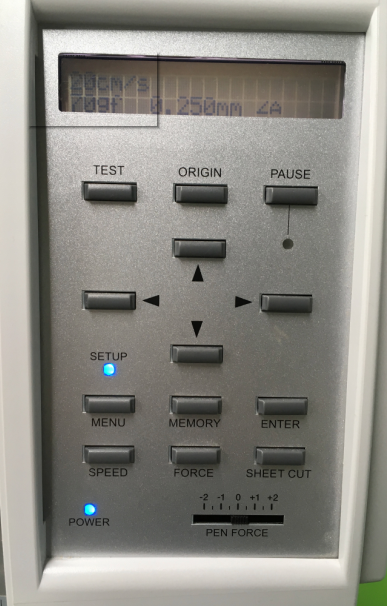
During the session I got to know different setting available in the machine. Setting the origin and actually cutting few pieces on the machine. It is required to set the optimum speed and force to get the job done in right way(For this we can use the test button available on vinyl cutter before starting actual job). Another learning was if we want to cut letters we should use curve font as sharp edges don't get cut properly.
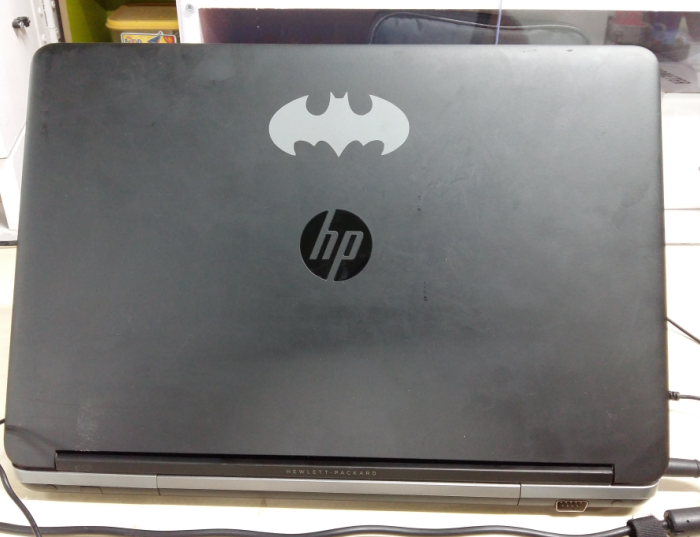
I being fan of Batman series wanted to have a batman logo which I can stick on my laptop. So I downloaded a logo from google.

Later using Cut Studio software we extract lines out of the image, deleting the oringinal image. It is given as a input to vinyl cutter.
As there were no sharp edges it was removed using masking tape and stick onto my laptop.
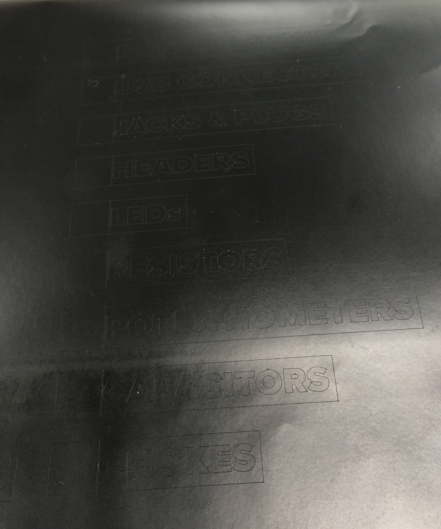
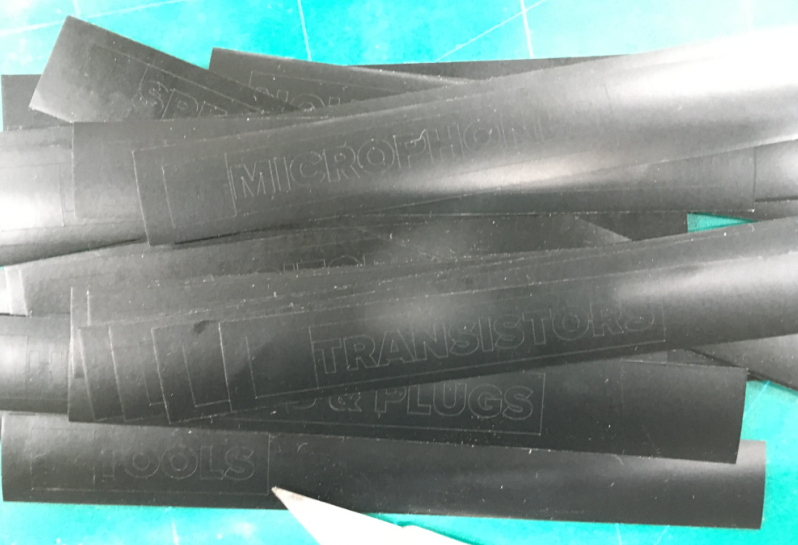
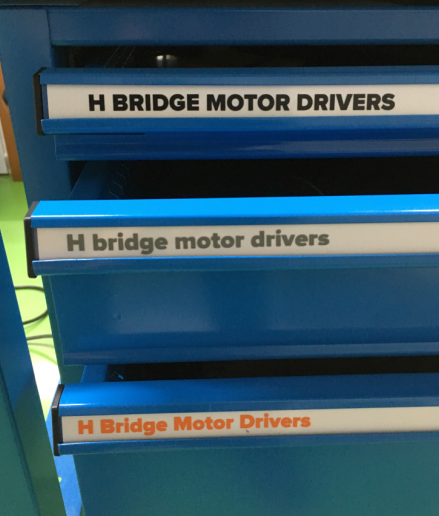
As a group we cutted different jobs on vinyl cutter. For naming electronic components available in our lab we made the name using vinyl cutter.
LASER cutting
We had a session on LASER cutting at one of our manufacturing setup in Godrej campus.
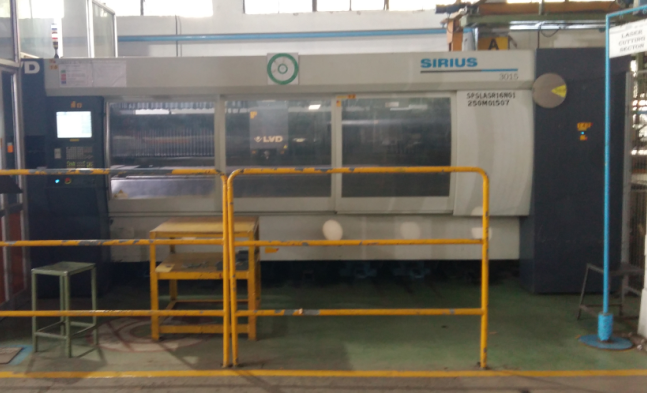
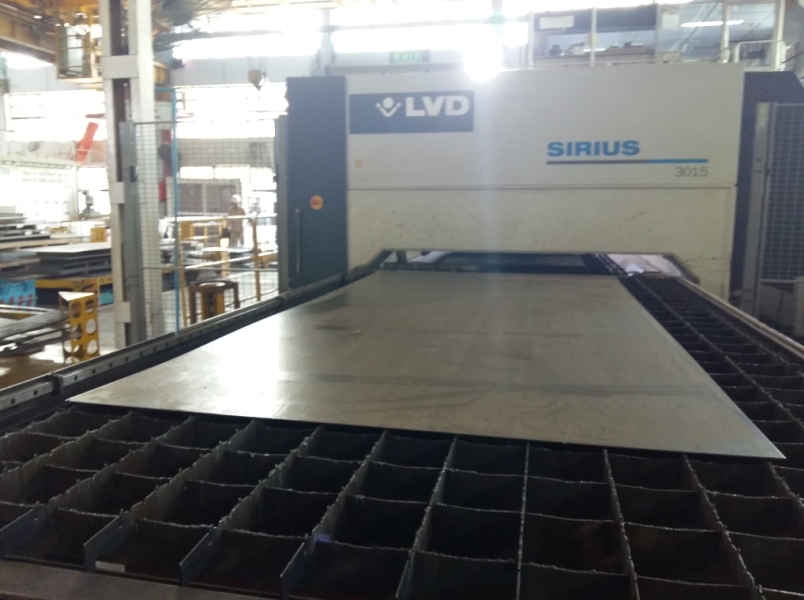
There we had a very big Laser cutting machine LVD SIRIUS 3015 used to Laser cut sheet metals
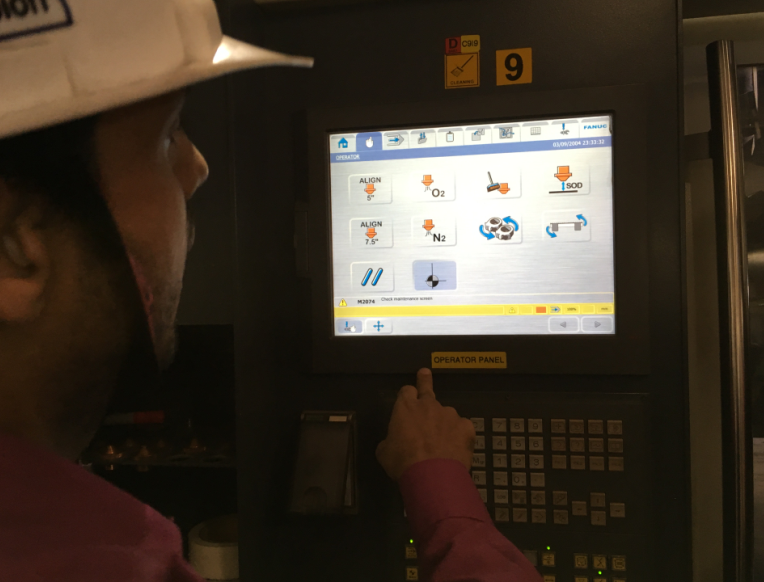
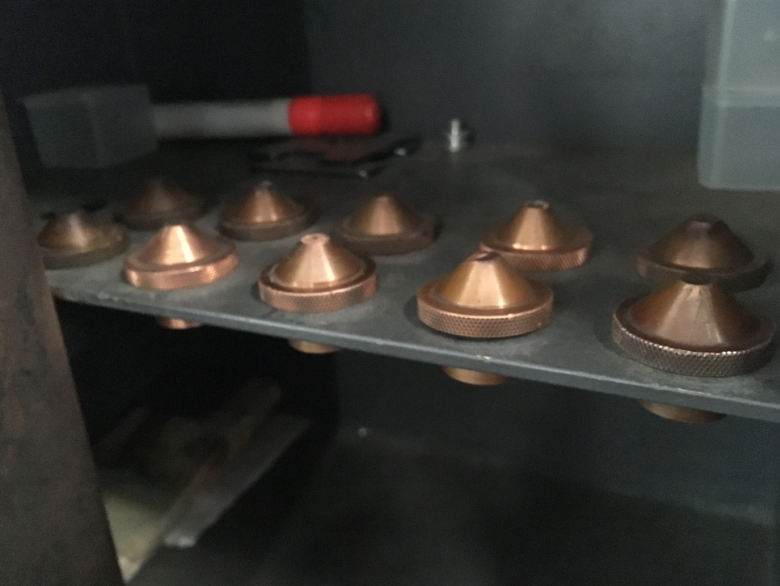
We learnt different types of nozzle sizes, different gases being used and overview on various selection available in software.
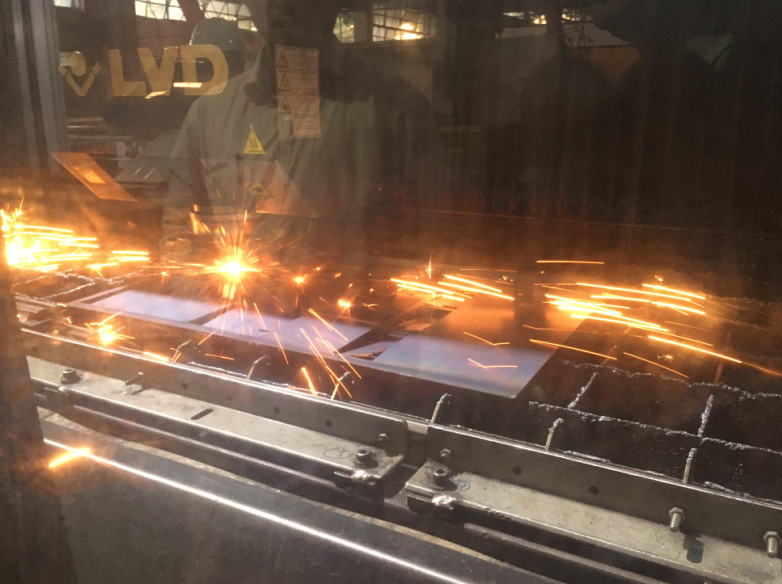
We later seen job getting made on the machine. The sheet is automatically feed into the machine. To increase the efficiency there are to trays, when tray1 job is been cut we can place/remove job on tray2. When LASER is done on tray1 is comes out and tray2 is feed. All the waste - laser cut material gets collected at the bottom.
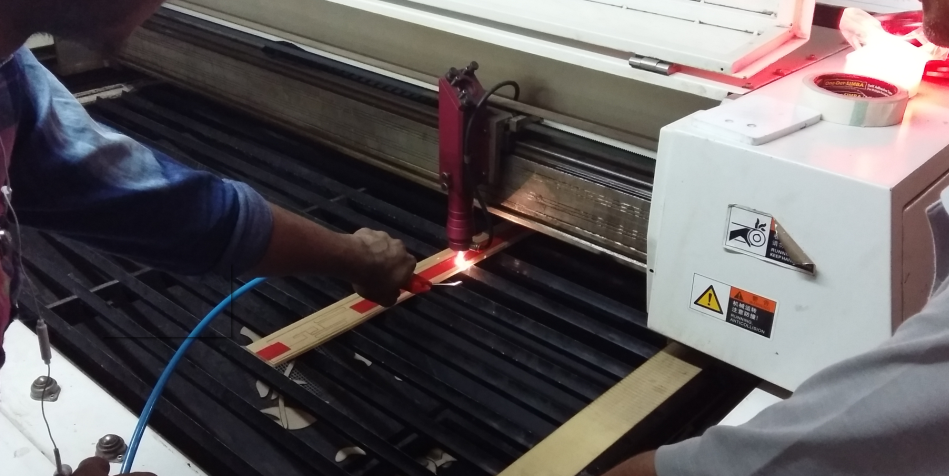
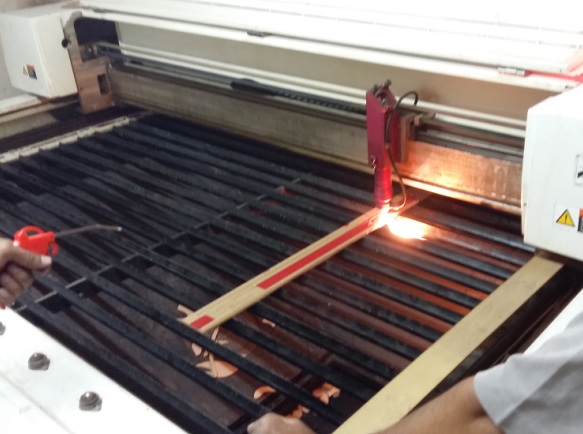
We also visited a workshop were smaller LASER cutting machine is being used to cut acrylic and mdf. Below image shows acrylic being laser cut. Blower is required to be used put off the flames.
Making House using 6mm MDF - snap fit, LASER cut
I have decided to make a house using mdf. The thickness of mdf we are using is 6mm. I will be using solid work to design the house layout. I decided to use equation made to design the house. Using equation I can easily change the length and thickness parameter
Here important thing to take care is the interface as while LASER cutting material get burn so positive interface is required to be maintained.
I have used interferance of 0.2mm on one side as while LASER cutting 0.1mm material gets burned. So for slot of 8 mm, protrusion width was kept 8.4mm.
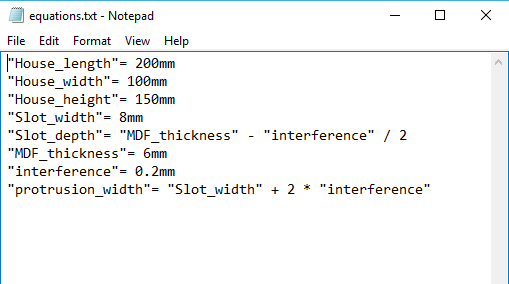
Below image shows the equations I will be using while designing every part of the house
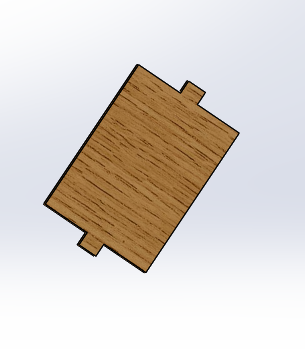
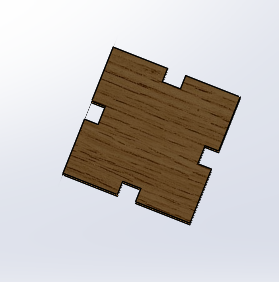
Individual part were designed separately as below
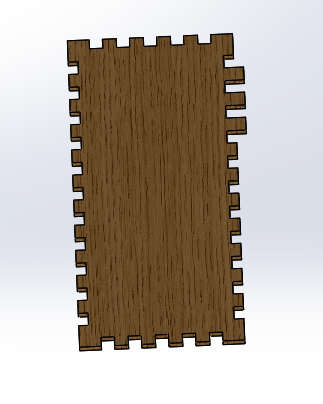
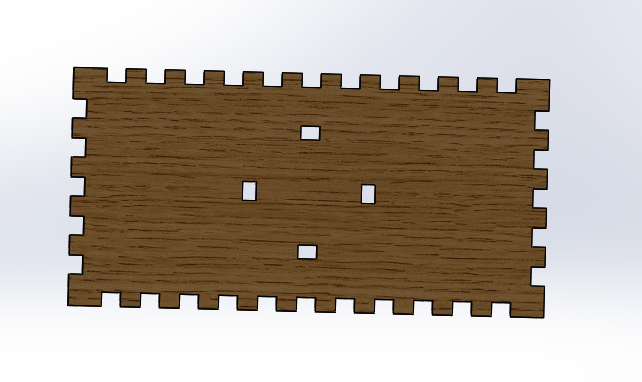
- House base
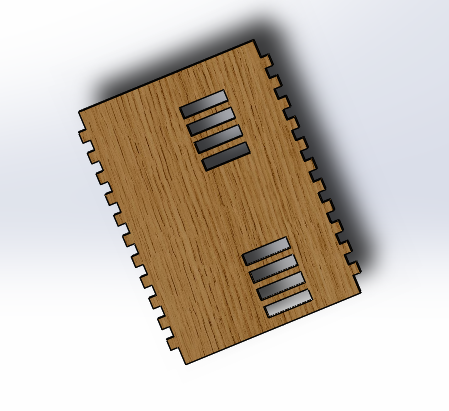
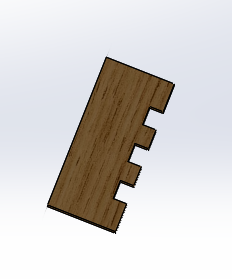
- House Side walls
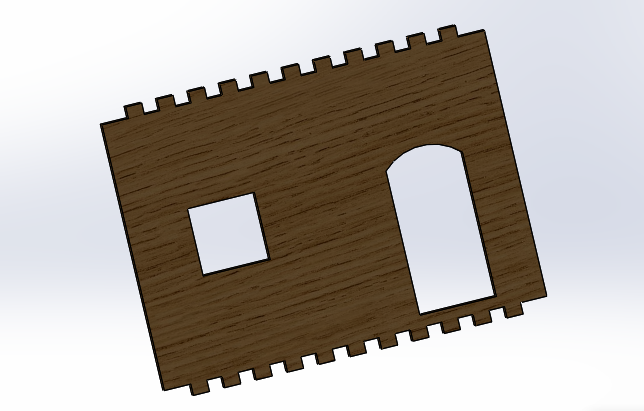
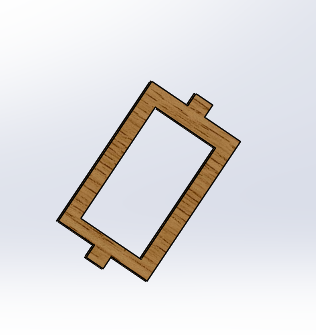
- House Front Wall
- House back wall
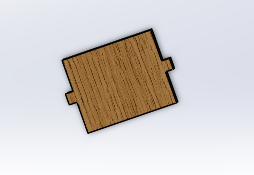
- House Top ceiling
- House step
- House Terrace Front
- House Terrace Side wall
- House Terrace back Wall
- House Terrace top

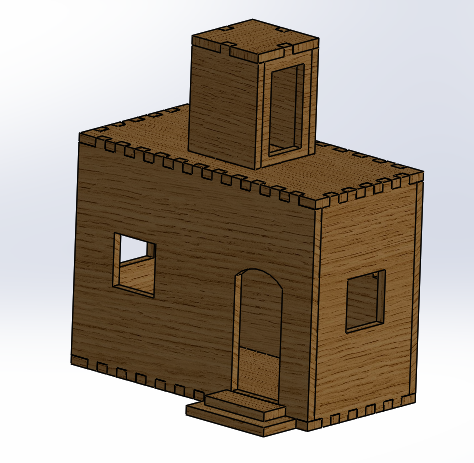
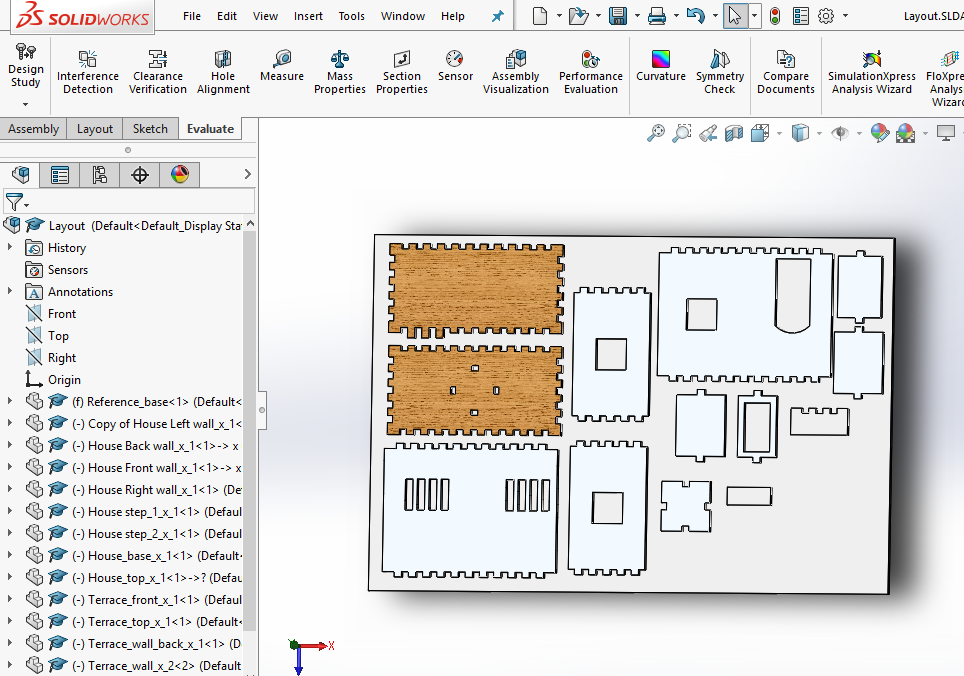
Later in assembly mode all mates were given. And final job looked like below

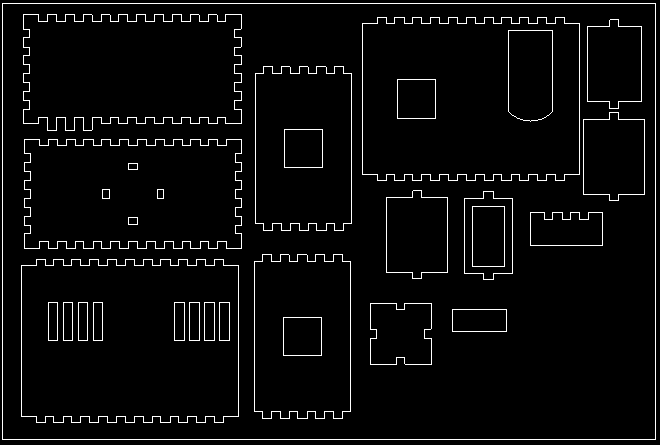
Later in drawing mode 2D drawing was made and output .dxf file was generated.
The part were arranged properly to make optimum use of mdf sheet. Same was then use as input to laser cutting machine.
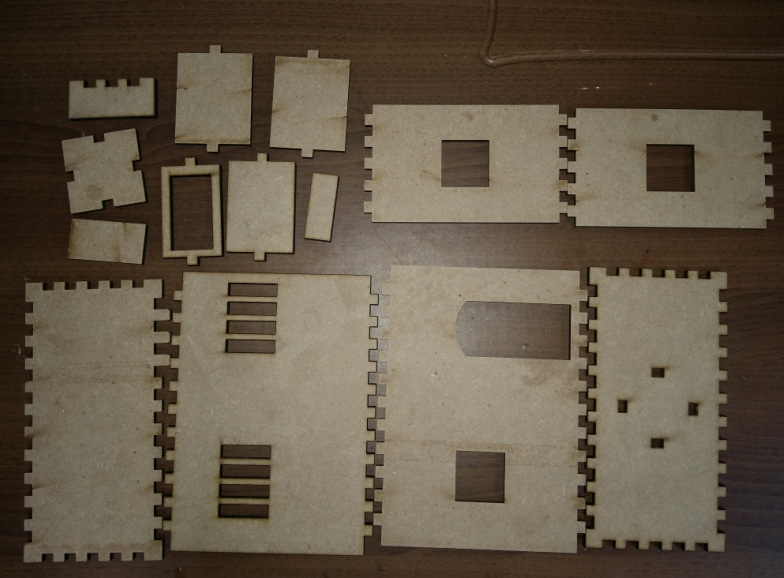
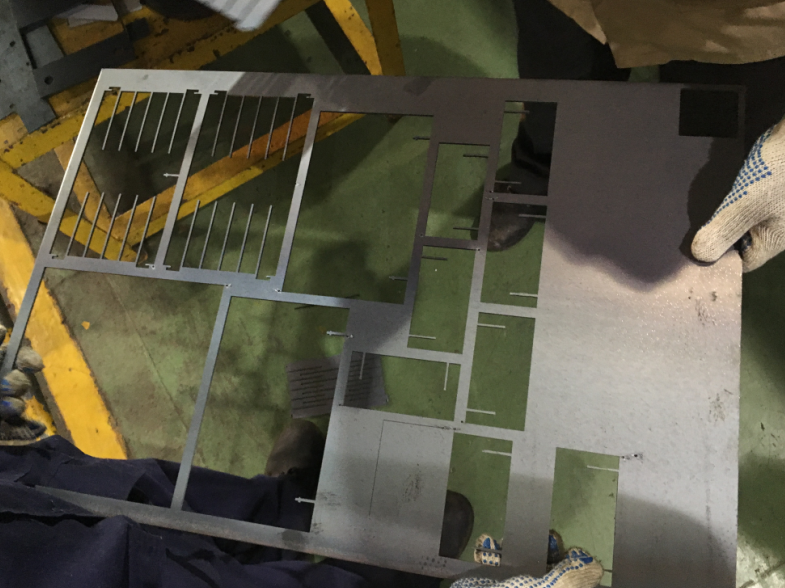
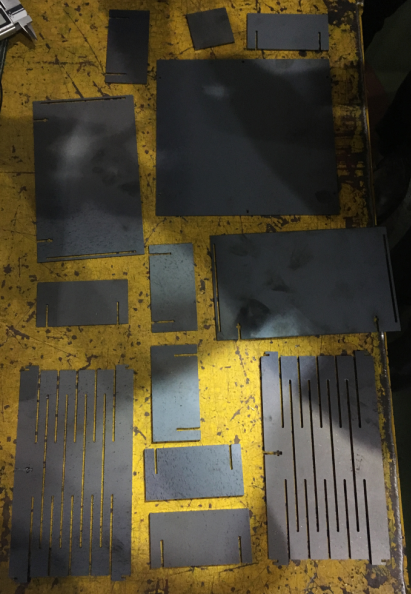
Parts were LASER cut using 6mm MDF sheet.
- Image of parts received after LASER cutting.
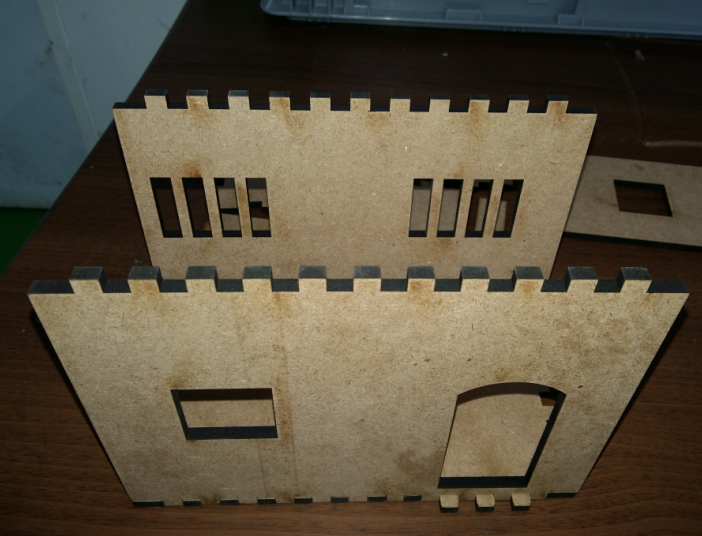
- Interferance and clearance set worked out well. I first fixed front and back wall to the base.
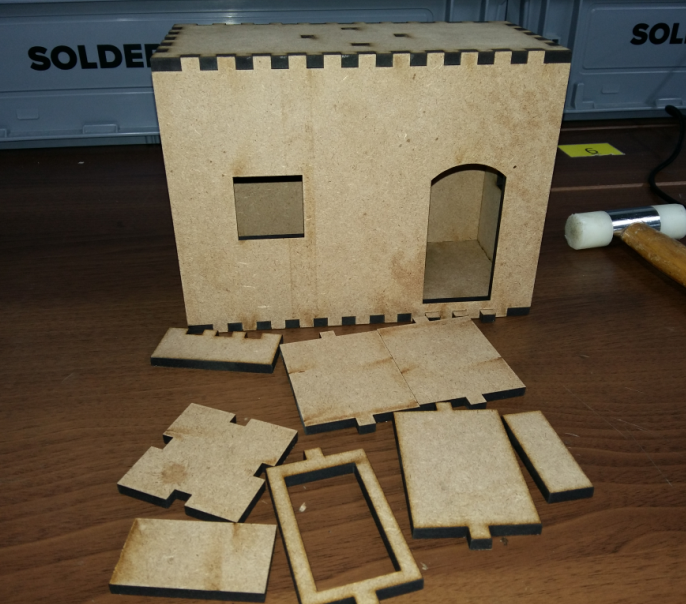
- Next step was to fix the side wall and top. Fixing top was bit tricky as had to match all 4 edges.
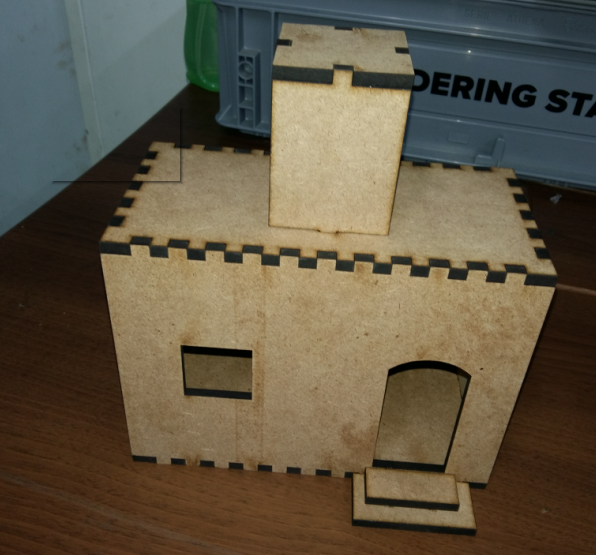
- Later fixed Terrace walls and door. And then fix the steps which will be used for entering and exiting the house.
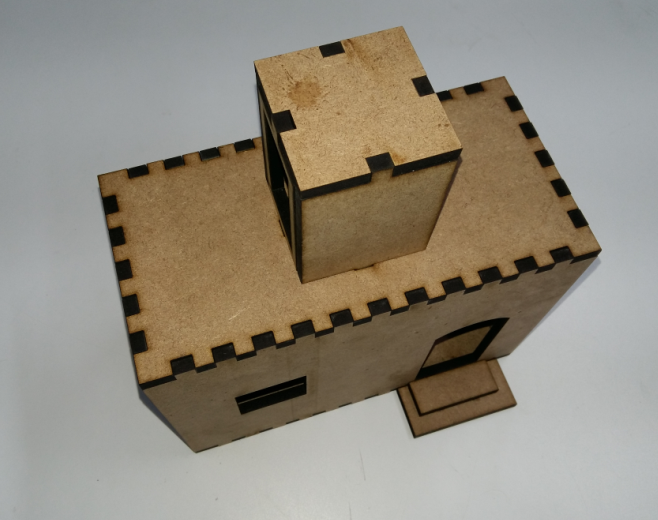
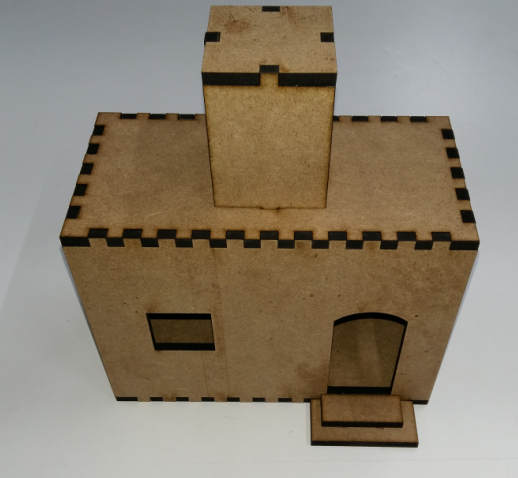
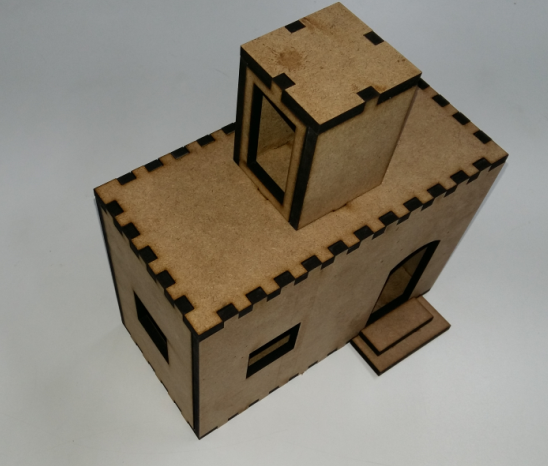
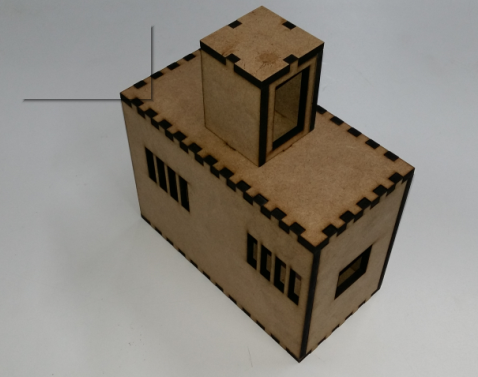
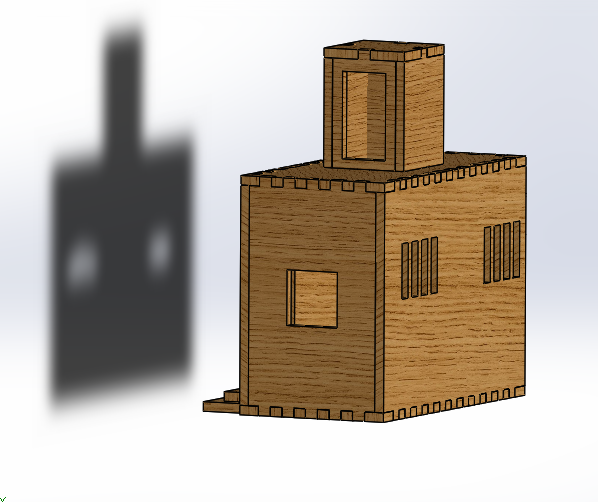
- So the house was ready for photoshoot. Below are images of the house taken from different angles.