In this week the task was creating a mold. Vipul brief all of how it is to be done. Mold is negative of the object we wish to make. But we had to create mold for creating a mold which is negative of negative. So for making a mold first we have to create a positive model of the object.
Another thing we have take care is the base
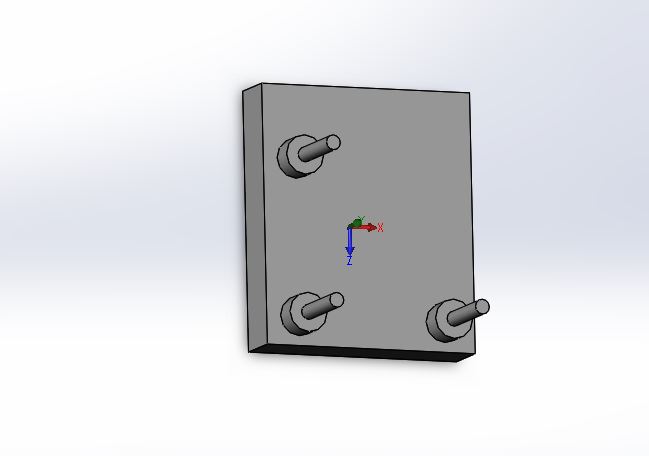
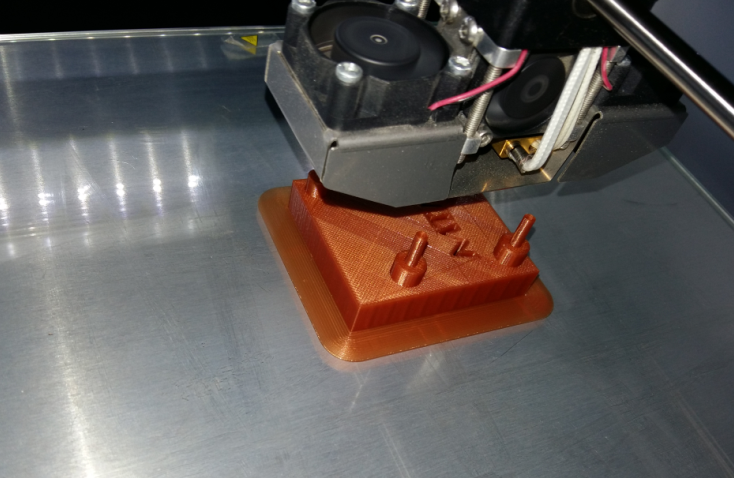
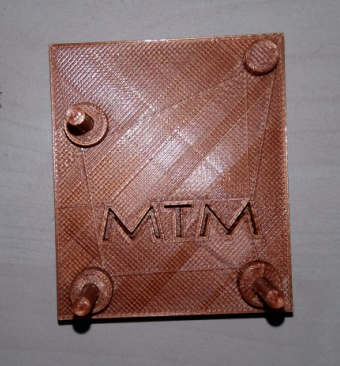
I decided to make an holder for MTM board. As we were using the board in our group activity of machine design it was required for mounting the MTM board
Task 1 : Making a Mold for the mold
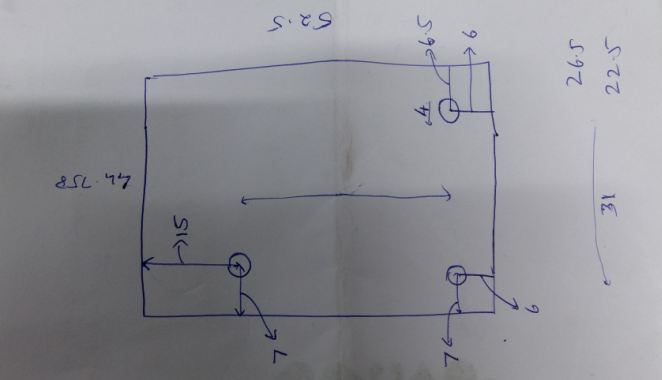
- Before starting with actual design I noted the board dimension and were holes are located on paper.
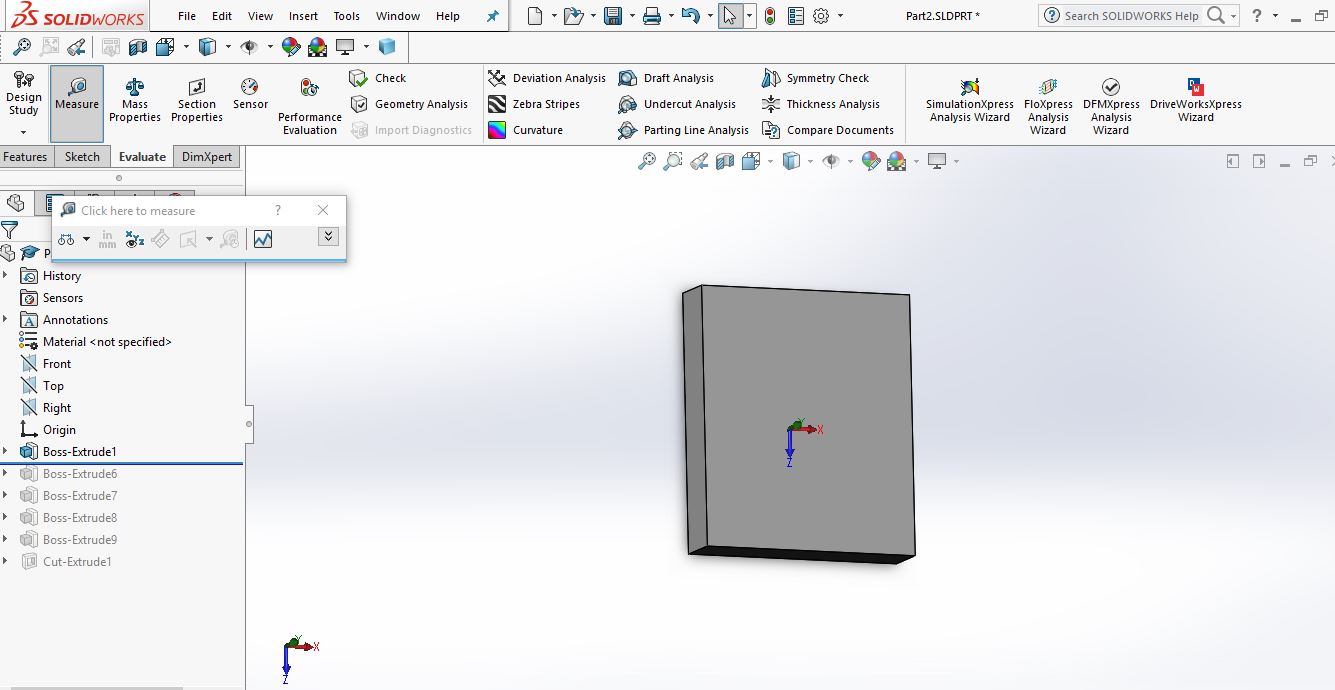
- Next step was designing the mold for mold using Solid work. Below were the steps followed:
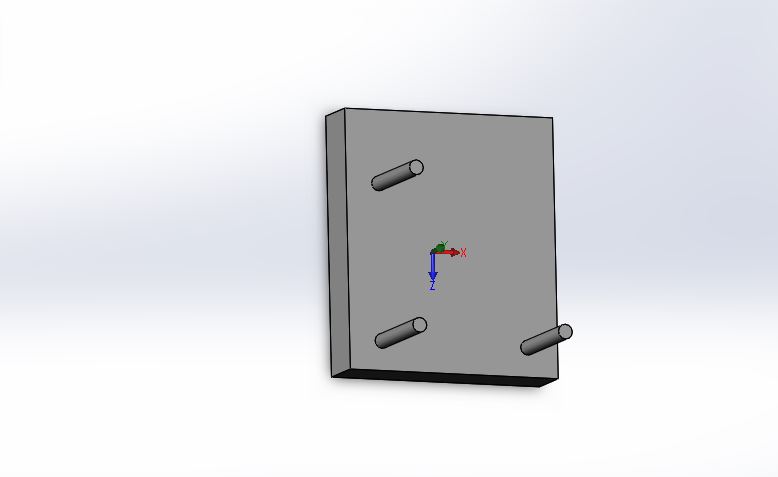
- Step 1 is to design the final product.
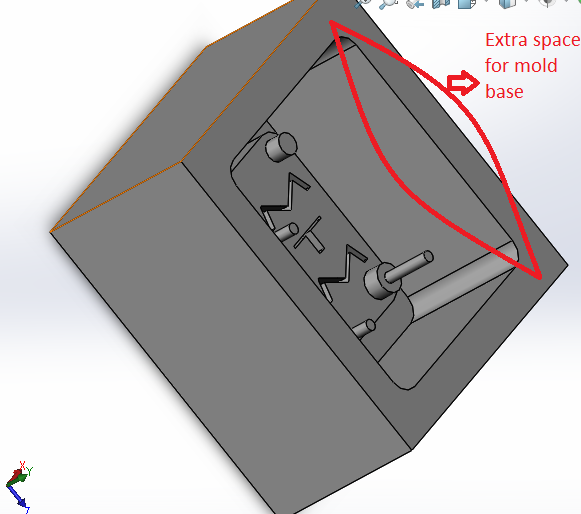
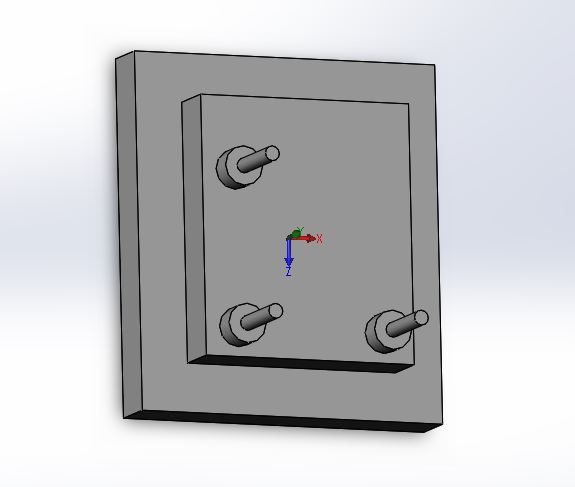
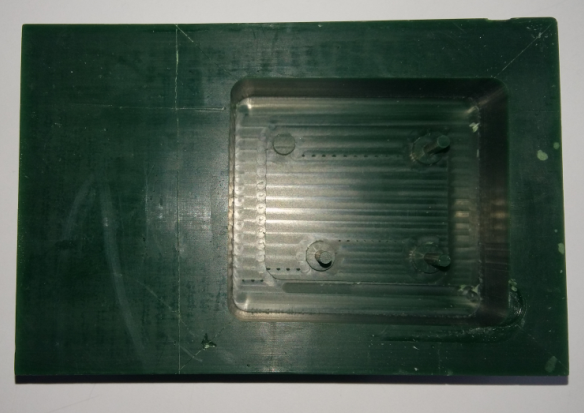
- Now the final job is ready, next task is to design mold for mold around it.
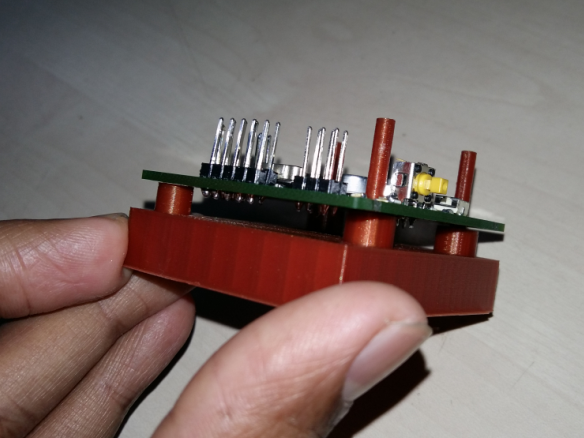
- To support the PCB at the 4th edge additional support was added.
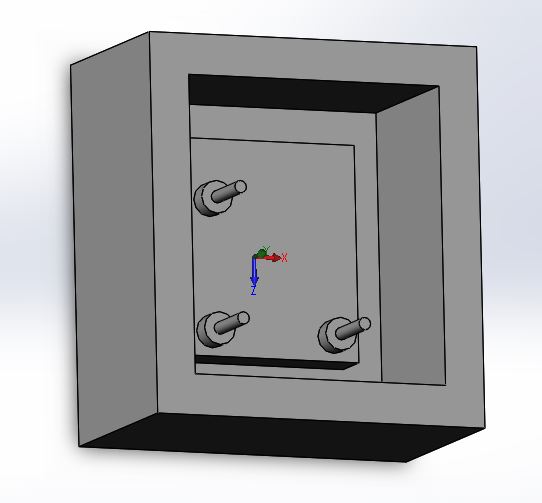
- Now the design for the mold was ready. Before going ahead with mold creation I decided to 3D print the final job to verify the dimention to ensure PCB will propely fit into it.
- Tried fitting the actual MTM PCB into the 3D printed sample. Dimension were perfect. So went ahead with mold creation.
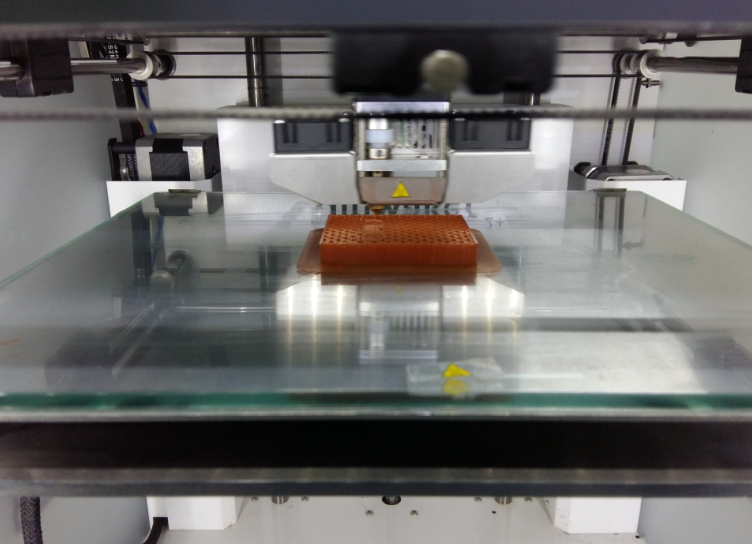
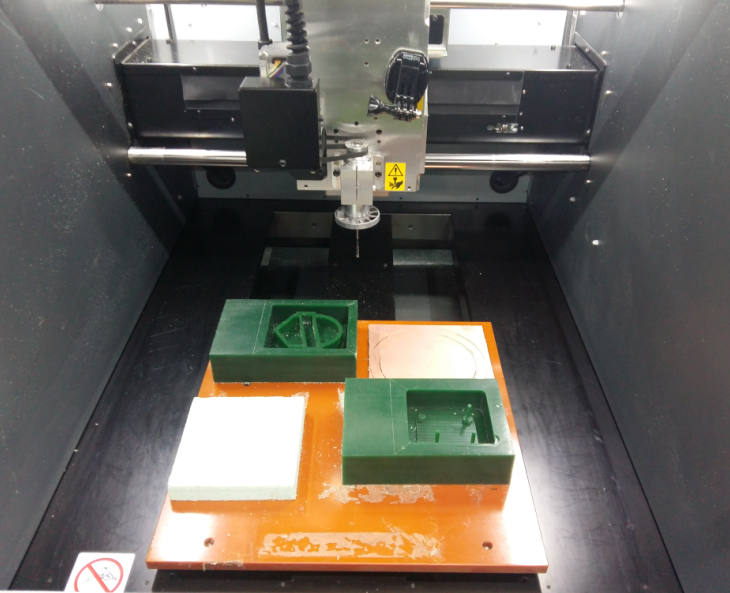
- Now as my solid work design was ready and verified so to physically create the object we have decided to use wax brick, I mill the job using milling machine.


Task 2 : Making the Mold
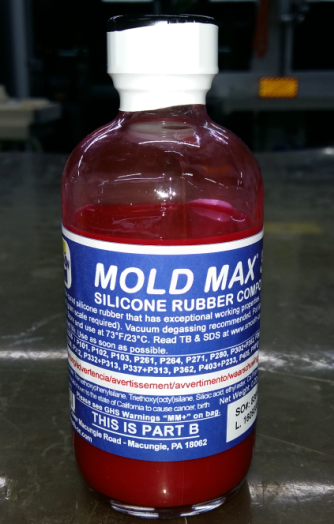
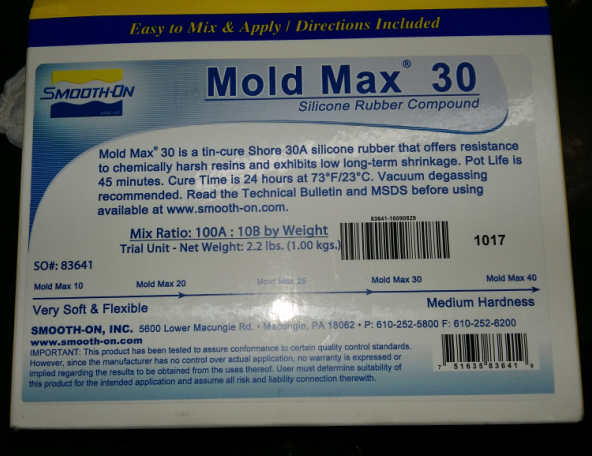
- For this step 1 is of selecting the resin and reading details about it.
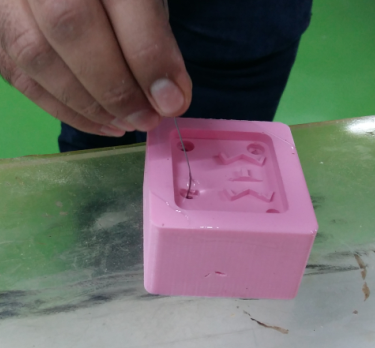
- I was using Mold Max Silicon Rubber compound as the material for my mold
- There are separate fluids as seen for above picture and are to be mixed in a ratio 100:10 by weight. i.e if 100 grams of compound A then 10 grams of compound B.
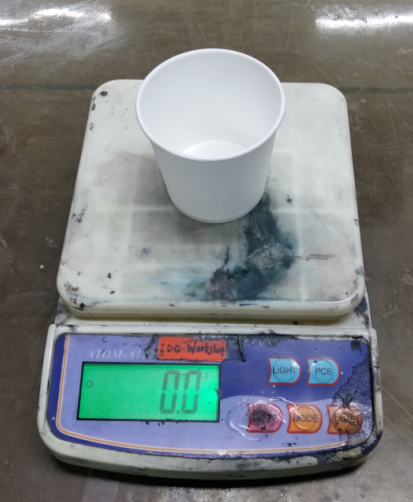
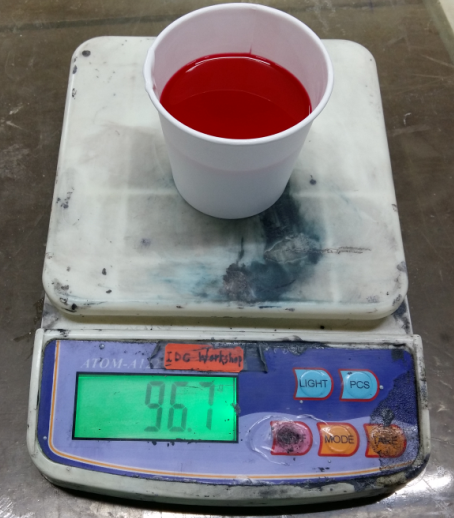
- So for maintaining the ratio I had to weigh the material using weighing scale.
- Setting zero of weighing scale with glass
- Taking appropriate weight of material maintaining the ratio 100:10
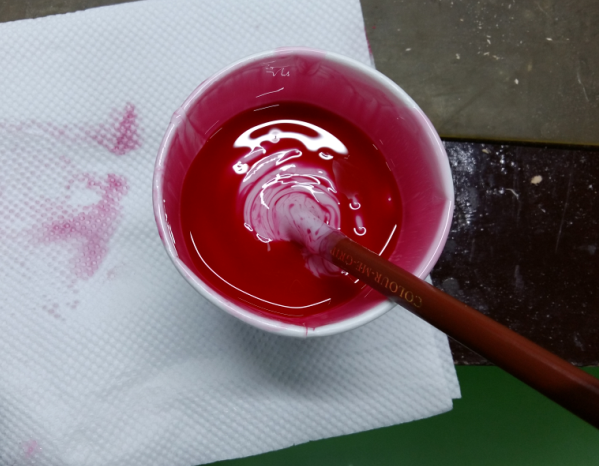
- Properly mixing both the material to form uniform fluid.Note: Material should be mixed slowly without formation of bubbles
- If bubbles are still getting formed they can be bursted using twiser. Fill it completely till the top.
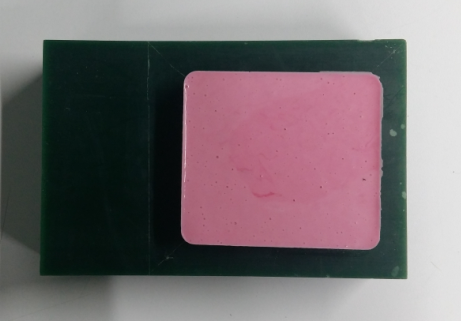
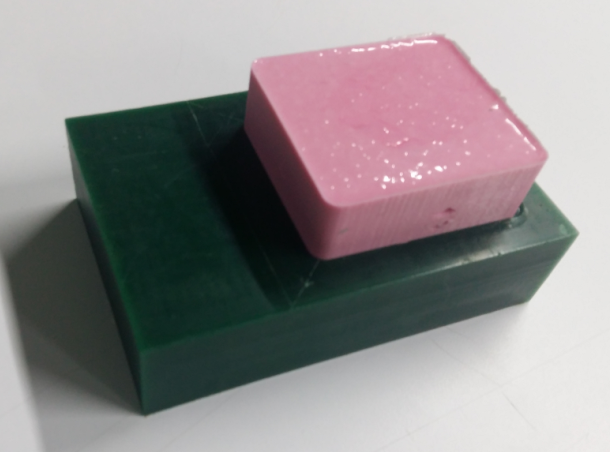
- Keep it for drying for a day or two. In my case I kept it for 2 days as my job was having an height so it took long to dry.
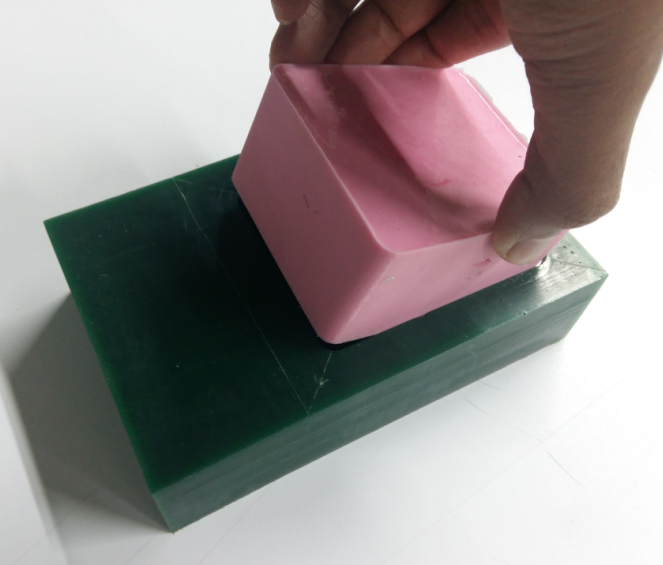
- Gentle remove it out.

Task 3 : Making final object using mold
- So now mold is ready and it is to be used for making object.
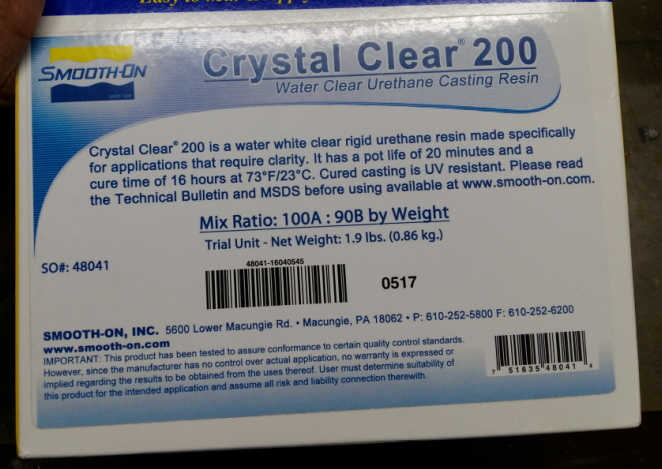
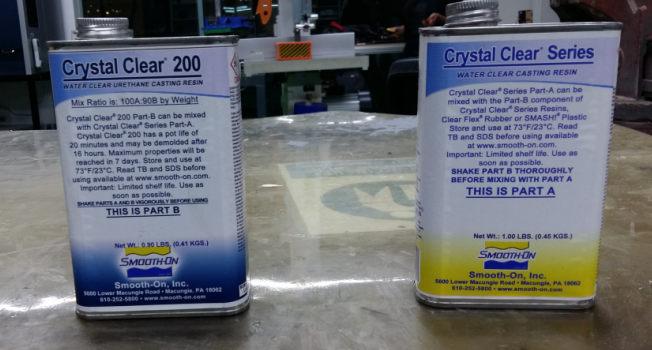
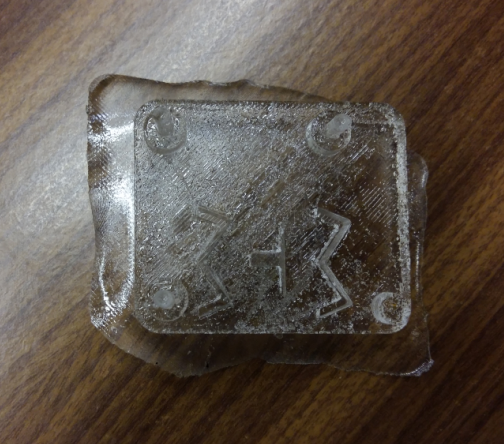
- Again for making the object we have to select resin. I had selected an transparent resin Crystal clear 200. It is a water clear casting resin. It comes in 2 separate bottle and is required to be mixed in proper ratio of 100:90 by weight as seen below.
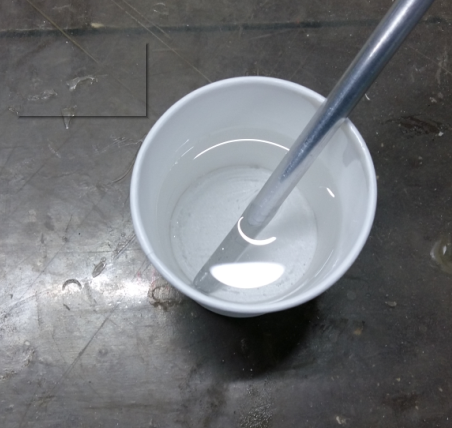
- Again weighing scale is required to be used and both liquids are to be mixed slowly but uniformly.
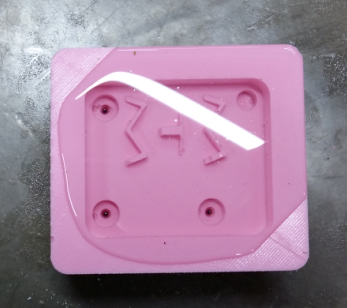
- Slowly pour the mixture into the mold. Fill it till the top and let it overflow a bit for ease of removal.
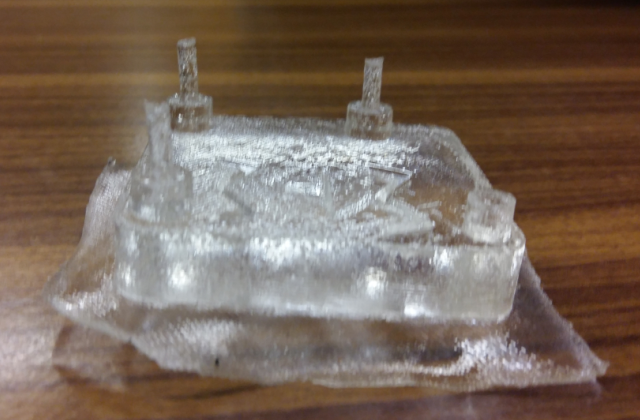
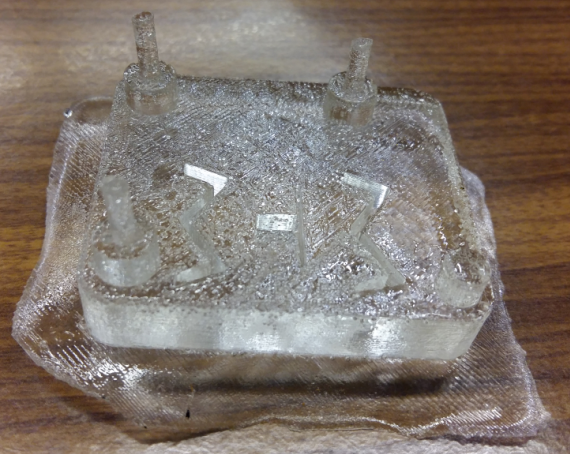
- As my final job contained cylindrial rods for holding PCB, I had to ensure that the mixture properly fills it, for same I made use of small wire.
- Keep it for drying for around a day. And next day my job was ready to be used.