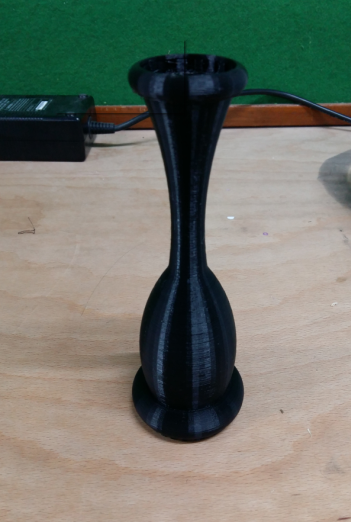
During session and in my google search I got to know about the strength a fibre composite material has and it doesn't break so I decided to make unbreakable Flower pot
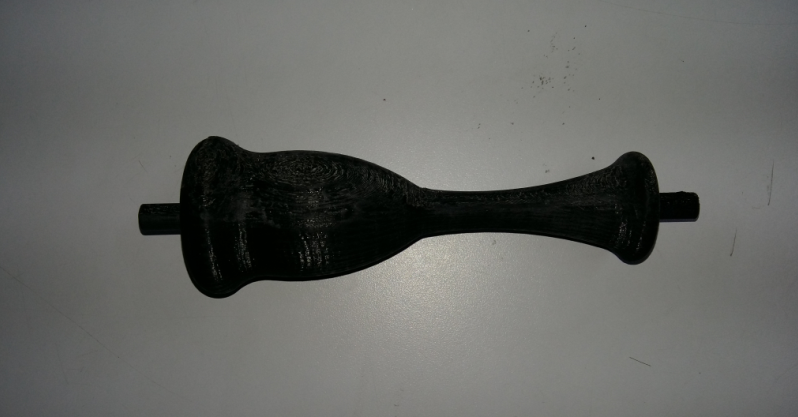
Designing and 3D printing flower pot
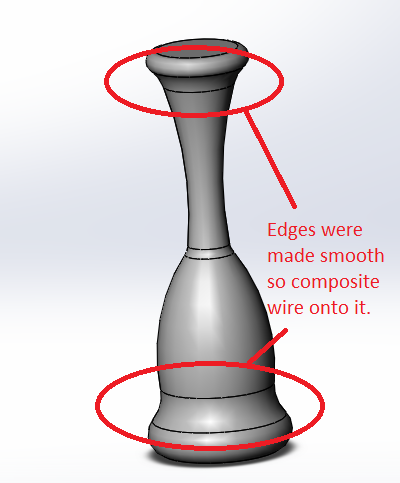
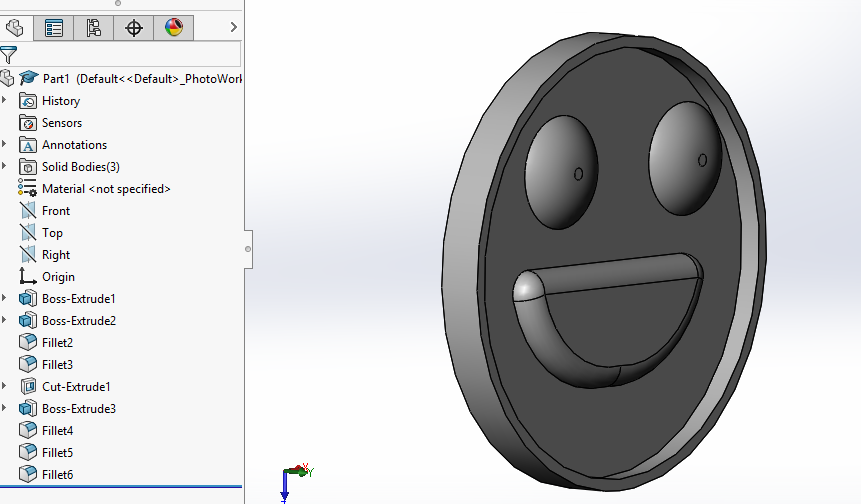
For this I decided to use solidwork.


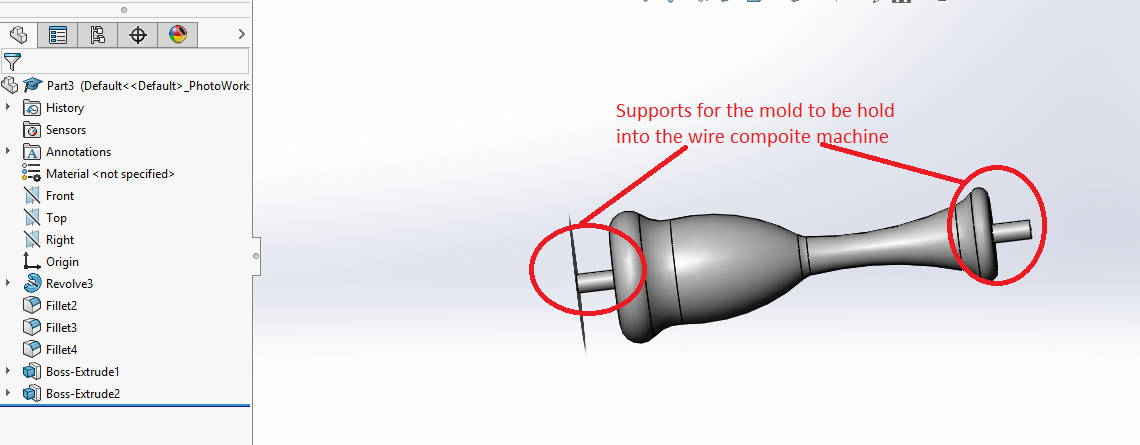
I realised the edges at top and bottom are very sharp so the composite wire will slip and will not hold on it. Also I have to make provision for the mold to be hold in the wire composite machine.
So I was edited my solid work drawing.

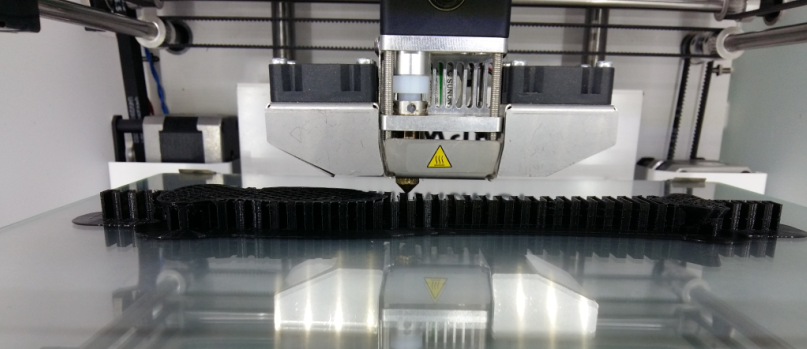

Make composite object using the mold
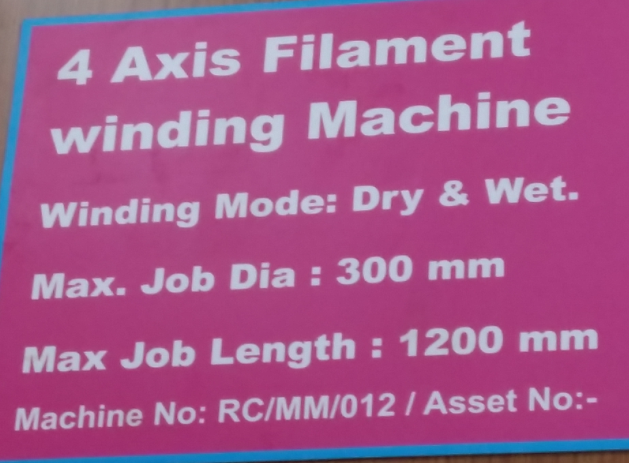
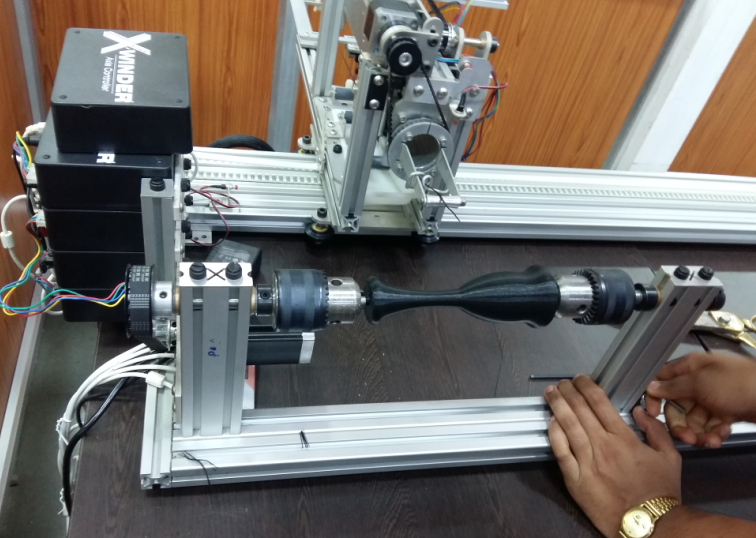
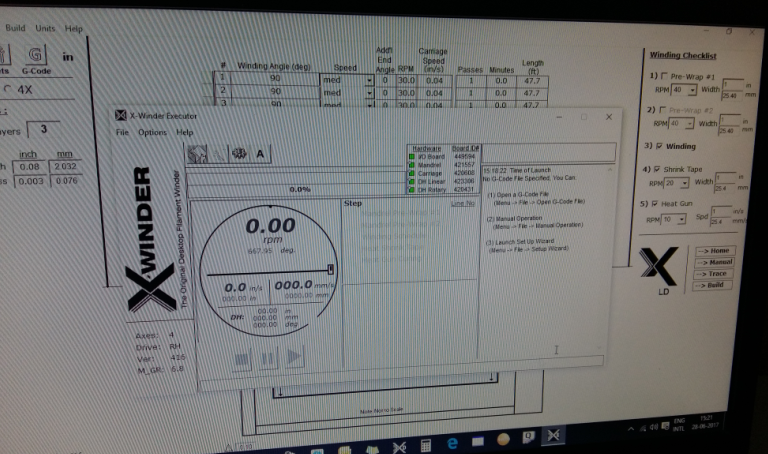
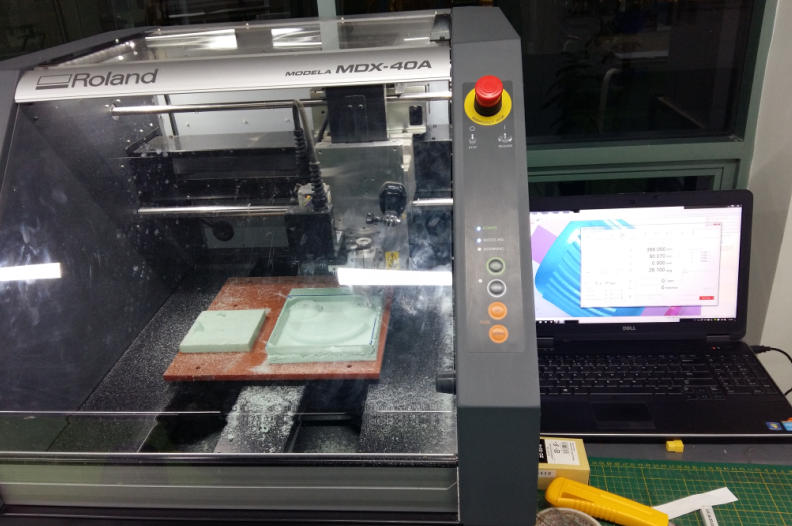
For making composite we are using a 4 axis filament winding machine. Below image shows details about the machine
Job has to be fitted onto the nozzle provided on the machine
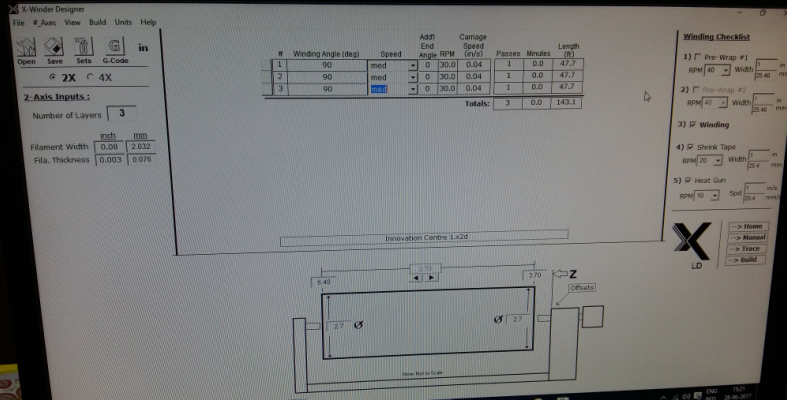
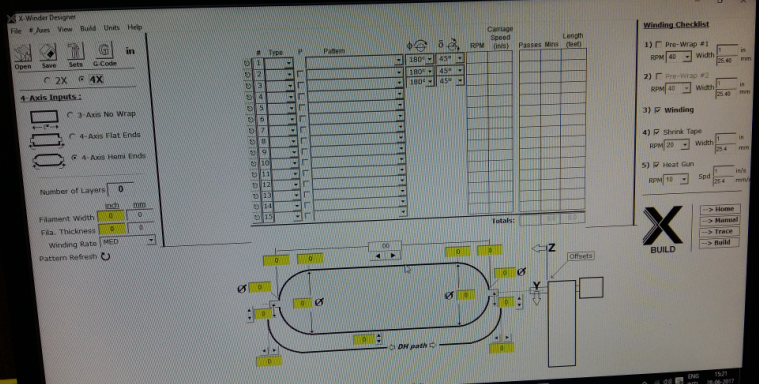
Software screenshots
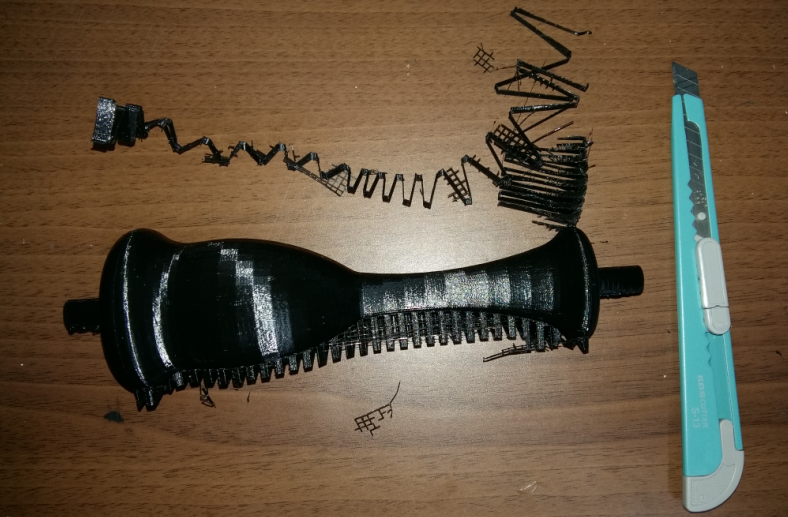
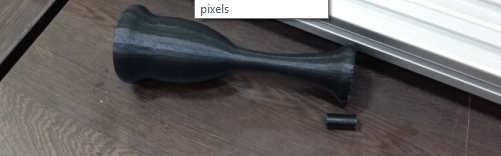
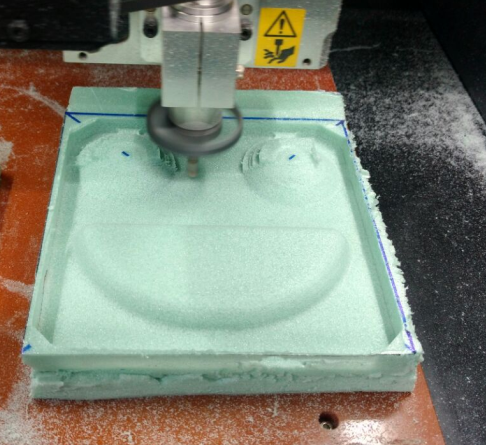
When we tired to make composite using 4 axis filament winding machine as the job was 3 D printed supports were not strong and got broken.
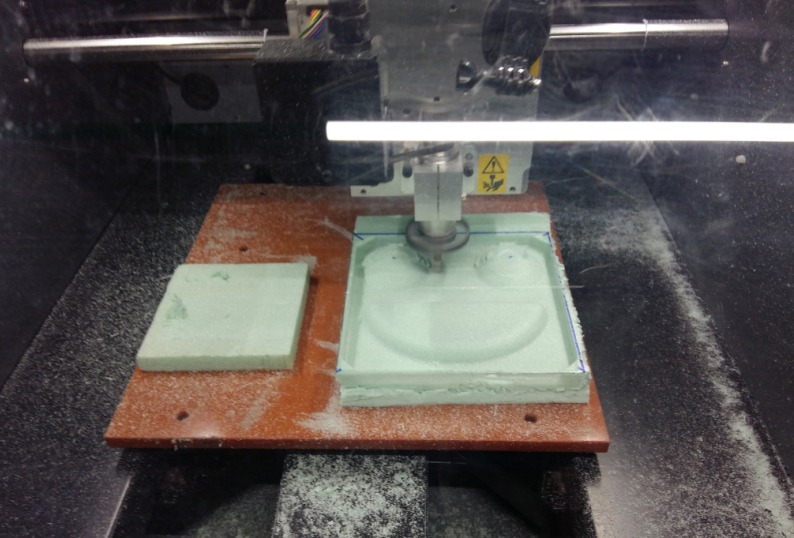
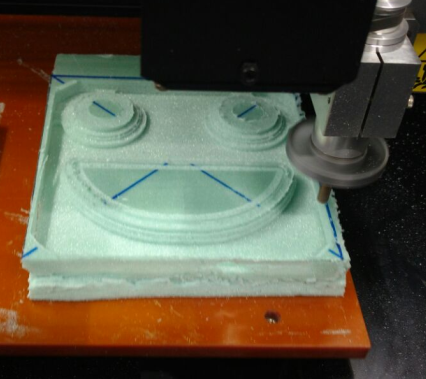
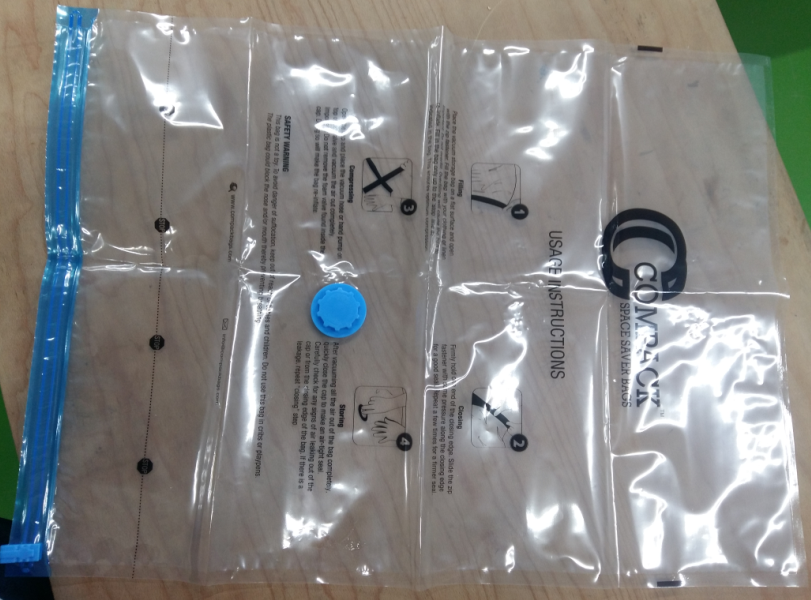
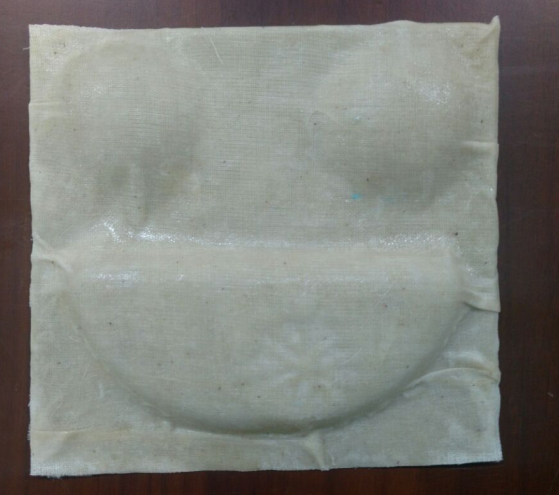
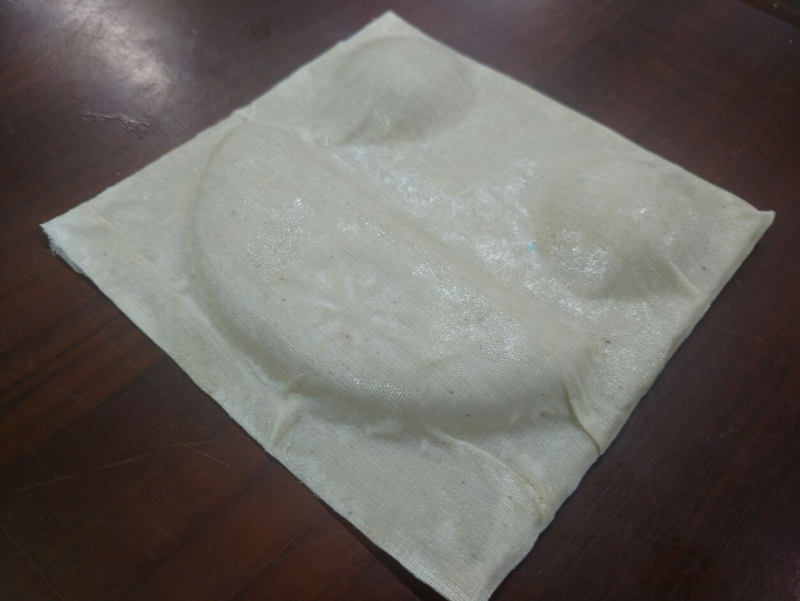
Preparing composite object using Vacuum press technique
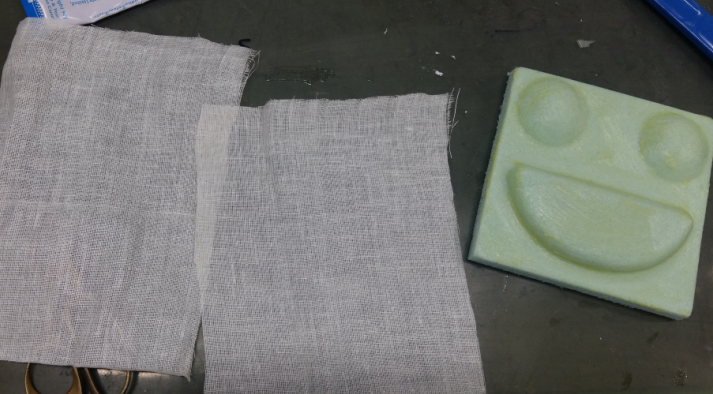
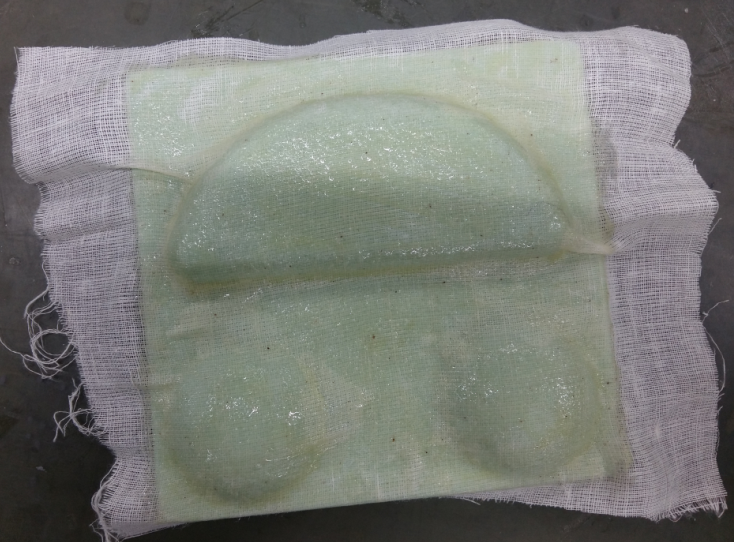
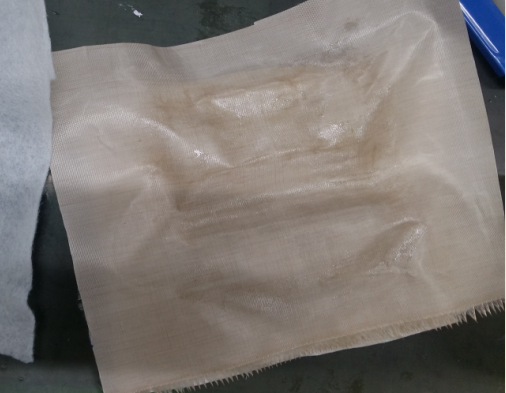
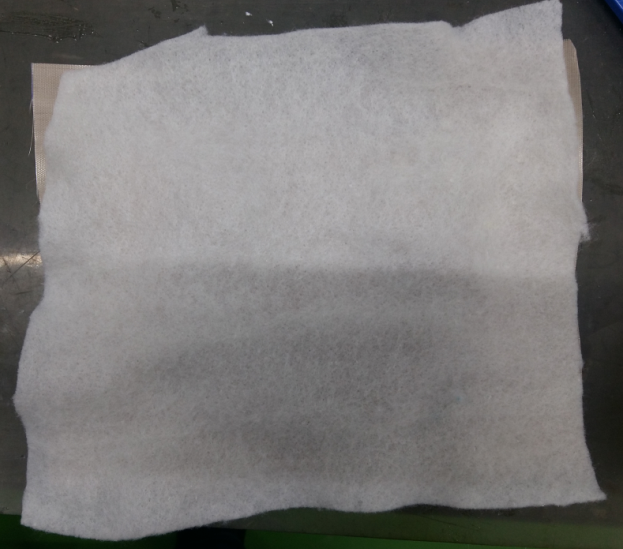
I decided to make a simple plate for exploring vacuum press technique. Below steps were followed :
Inputs from material safety data sheet (MSDS) and technical data sheet (TDS) for the resins which I had used.
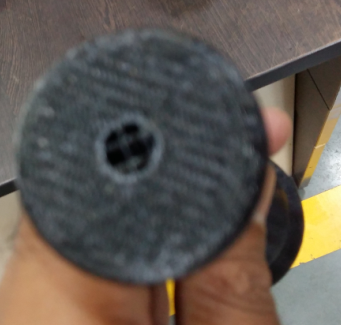
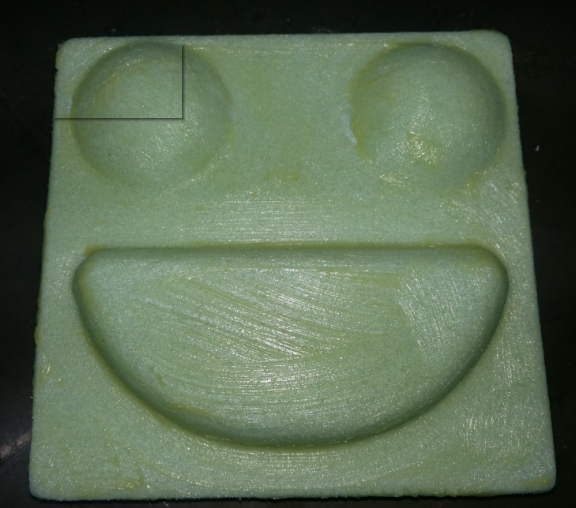
Material which we are using for preparing the composite is carbon fibre 1200 text. It is revolved aroung the mold which I had designed Upon completion of one complete set solution is applied.
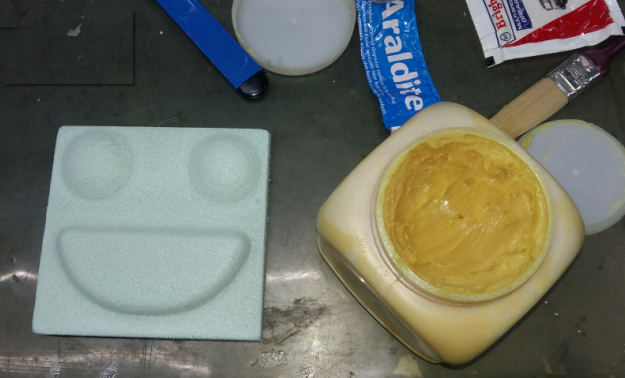
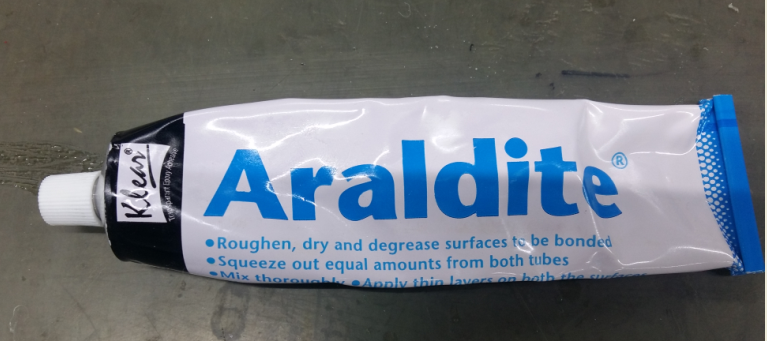
The solution applied here is a combination of a Resin(L12) and a hardener(K6)
The resin used for this application is L12, please find details of same in below link.
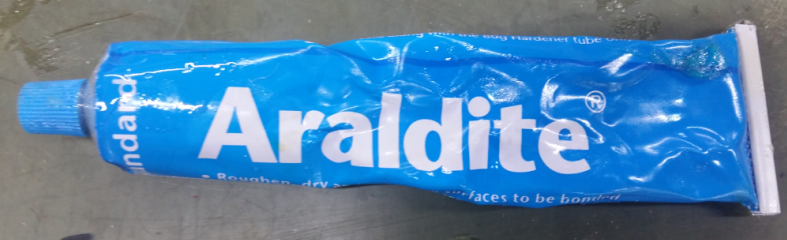
L12 ResinThe hardener used is K6 and details are available on below link
K6 HardenerNote: These 2 component have to be mixed in the ratio 100:10 by weight & also very importantly in the required quantities. The reason being that this solution after mixing, ther is an exothermic reaction taking palce. If this mixture is not used within the stipulated time then it gets hardened and will be of no use at all.