Specific material and softwares used during this assignment
- Material :
- CNC mill for the mold
- cutter for the cloth
- Polyurethane foam for the mold
- a sacrifical brush
- Resin
- nails
- Cloth
- Software :
- Fusion360
- WinPC-NC
The idea and design
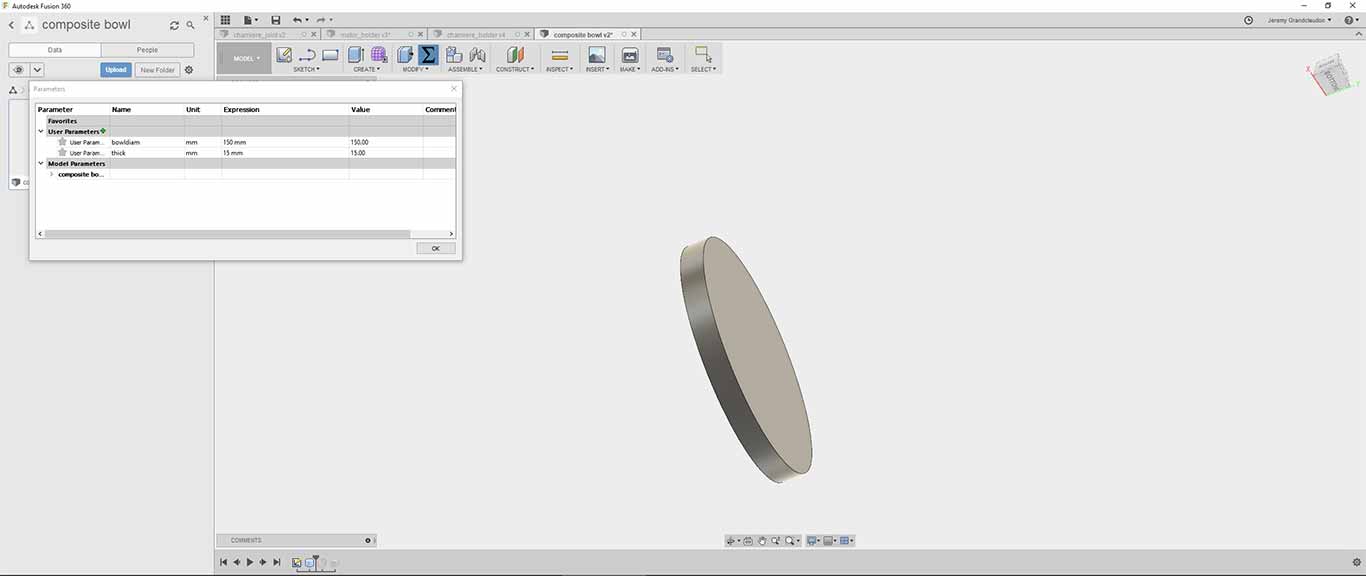
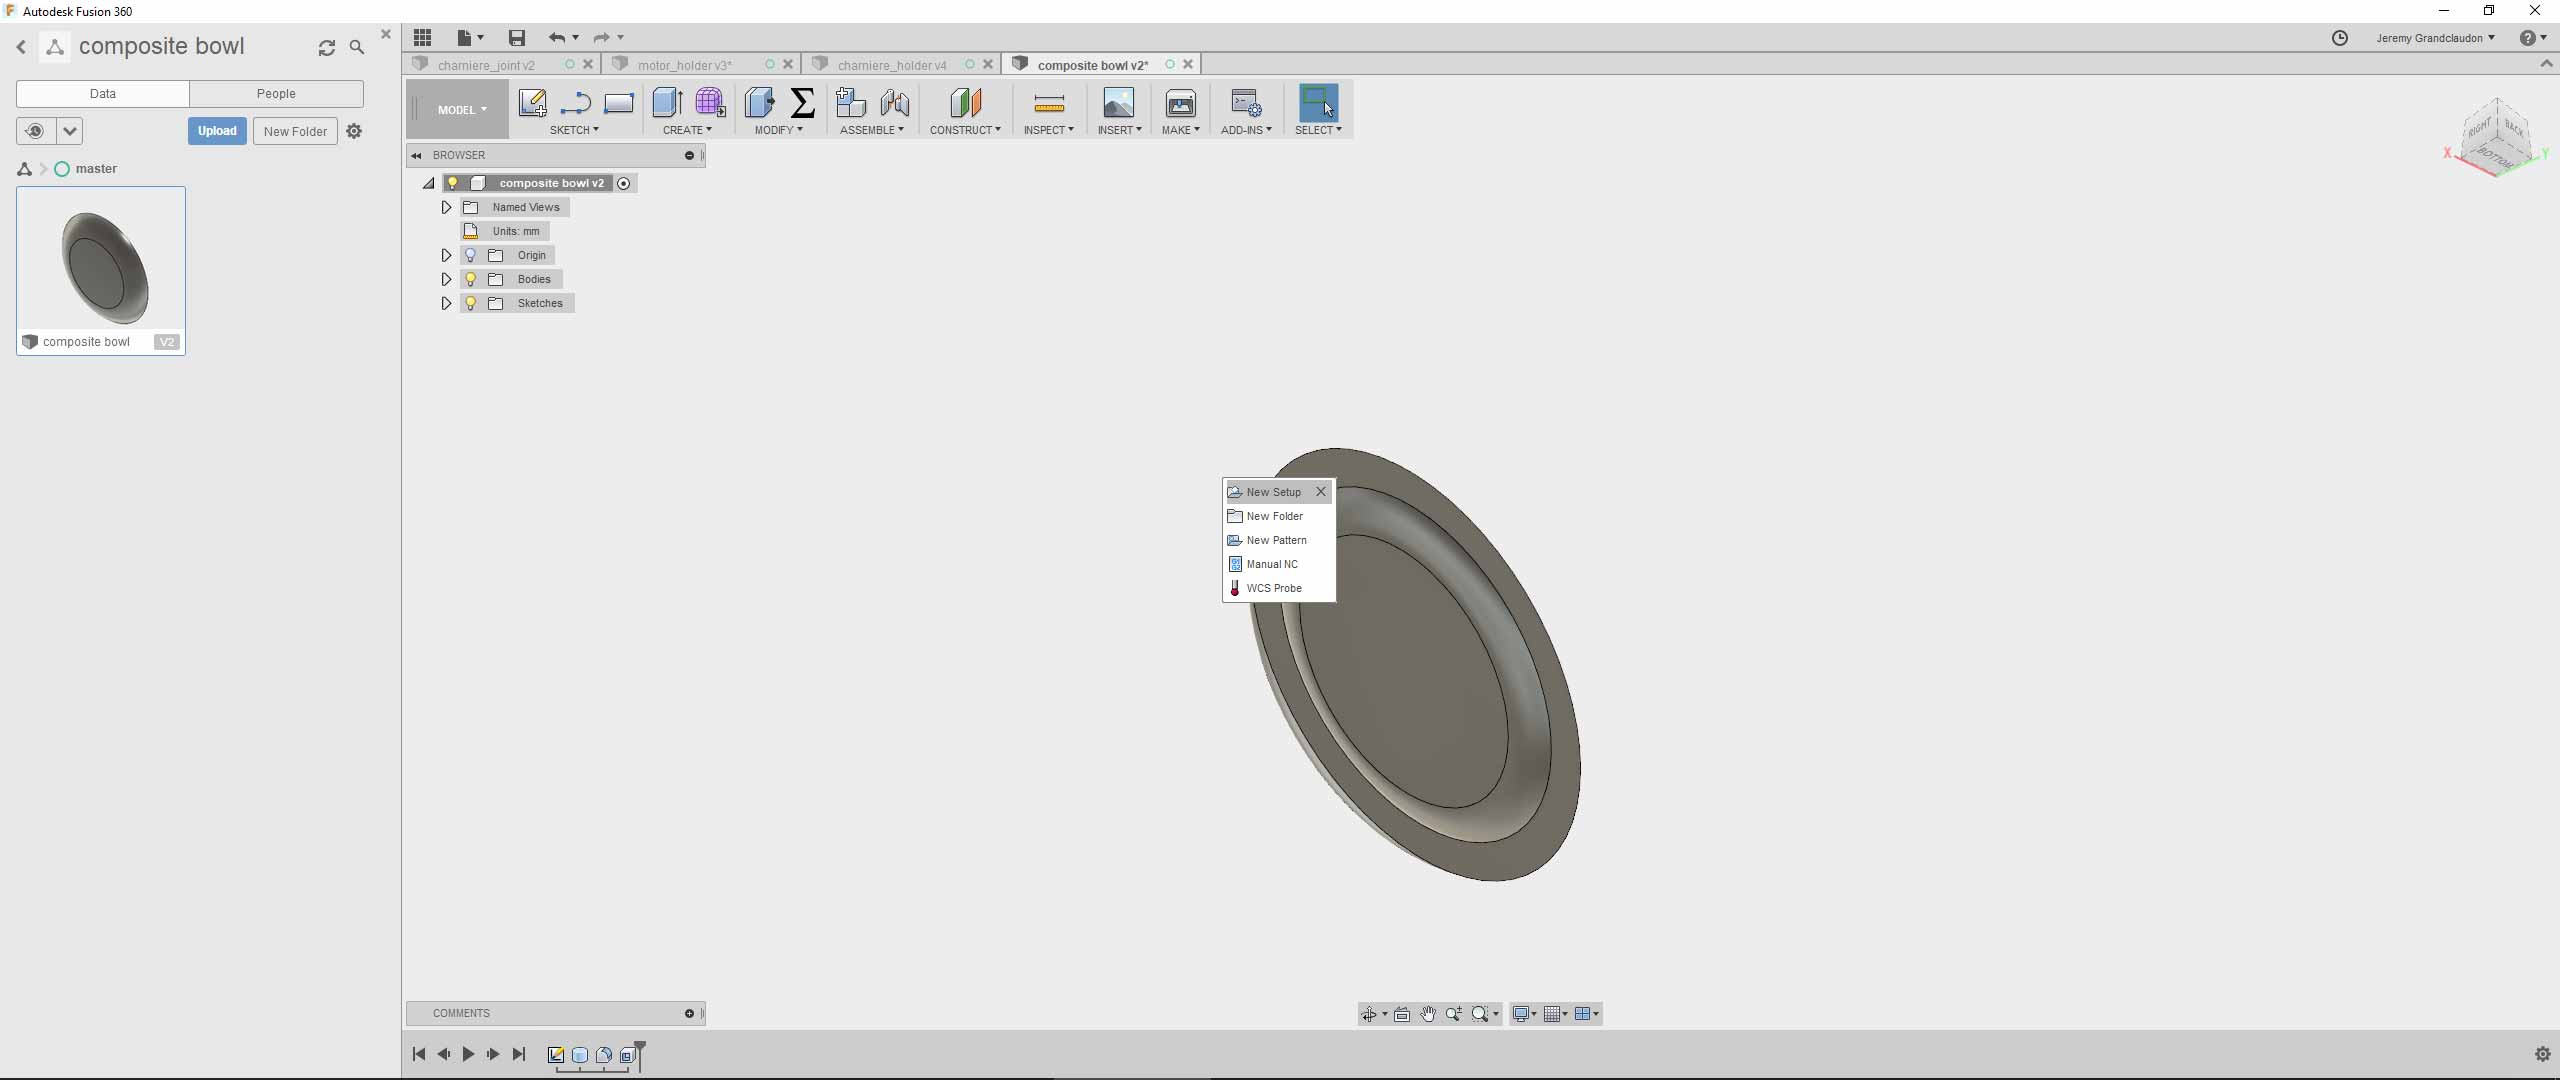
I want to do a kind of bowl/plate to put in my greenhouse when I will make it bigger, I have directly attacked the sketch in Fusion360 as you can see in the images below :
I have sketch a cylinder with a diameter of 300mm and a height of 30mm
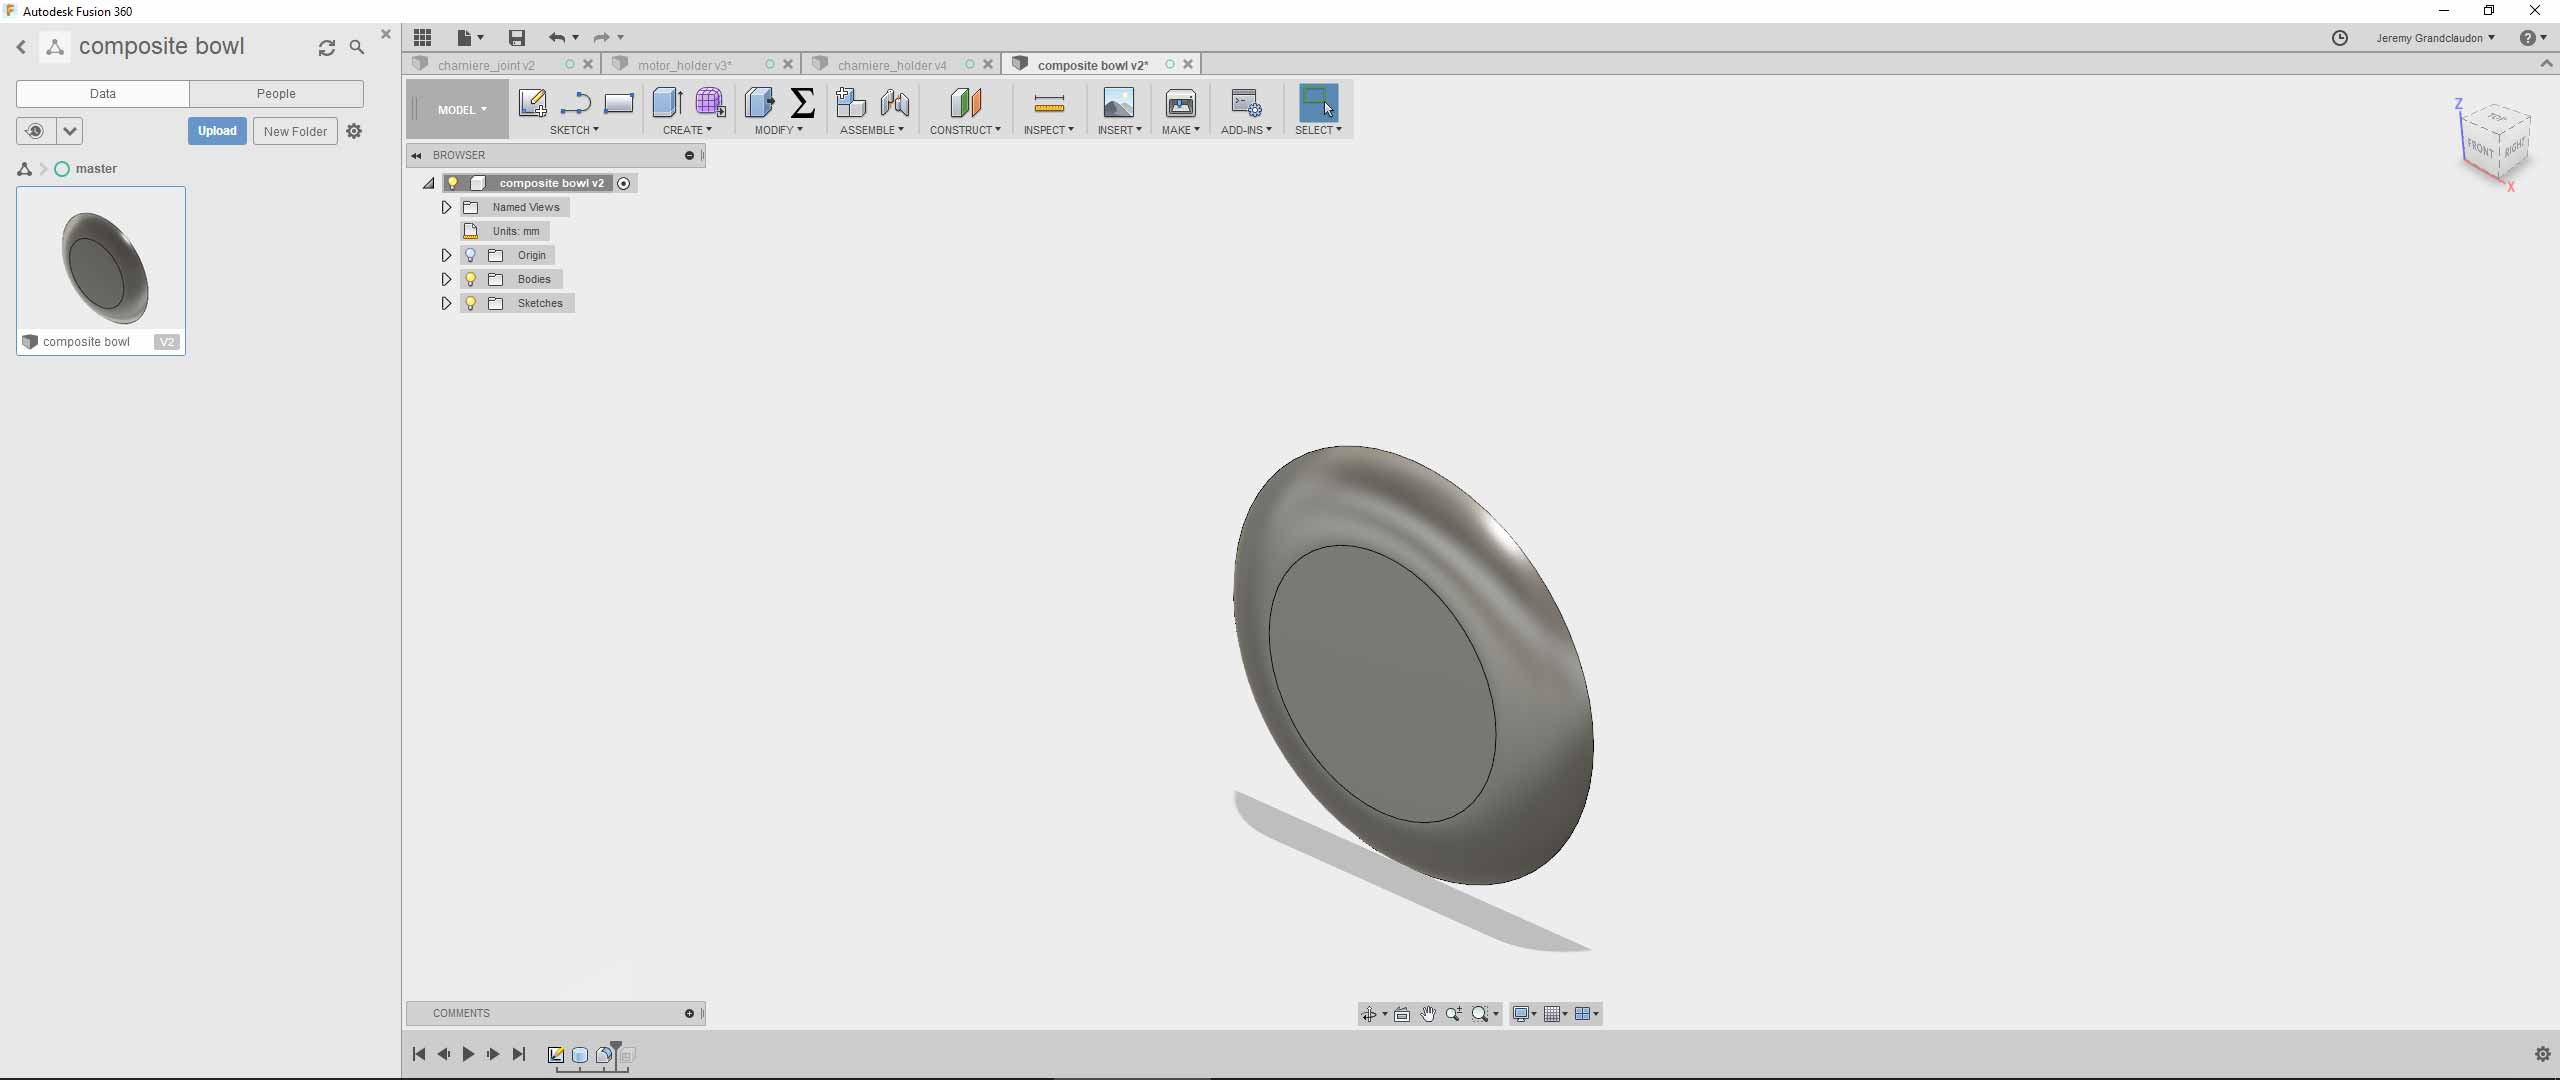
I have then applied a filet of 32mm on the external side to get a nice effect
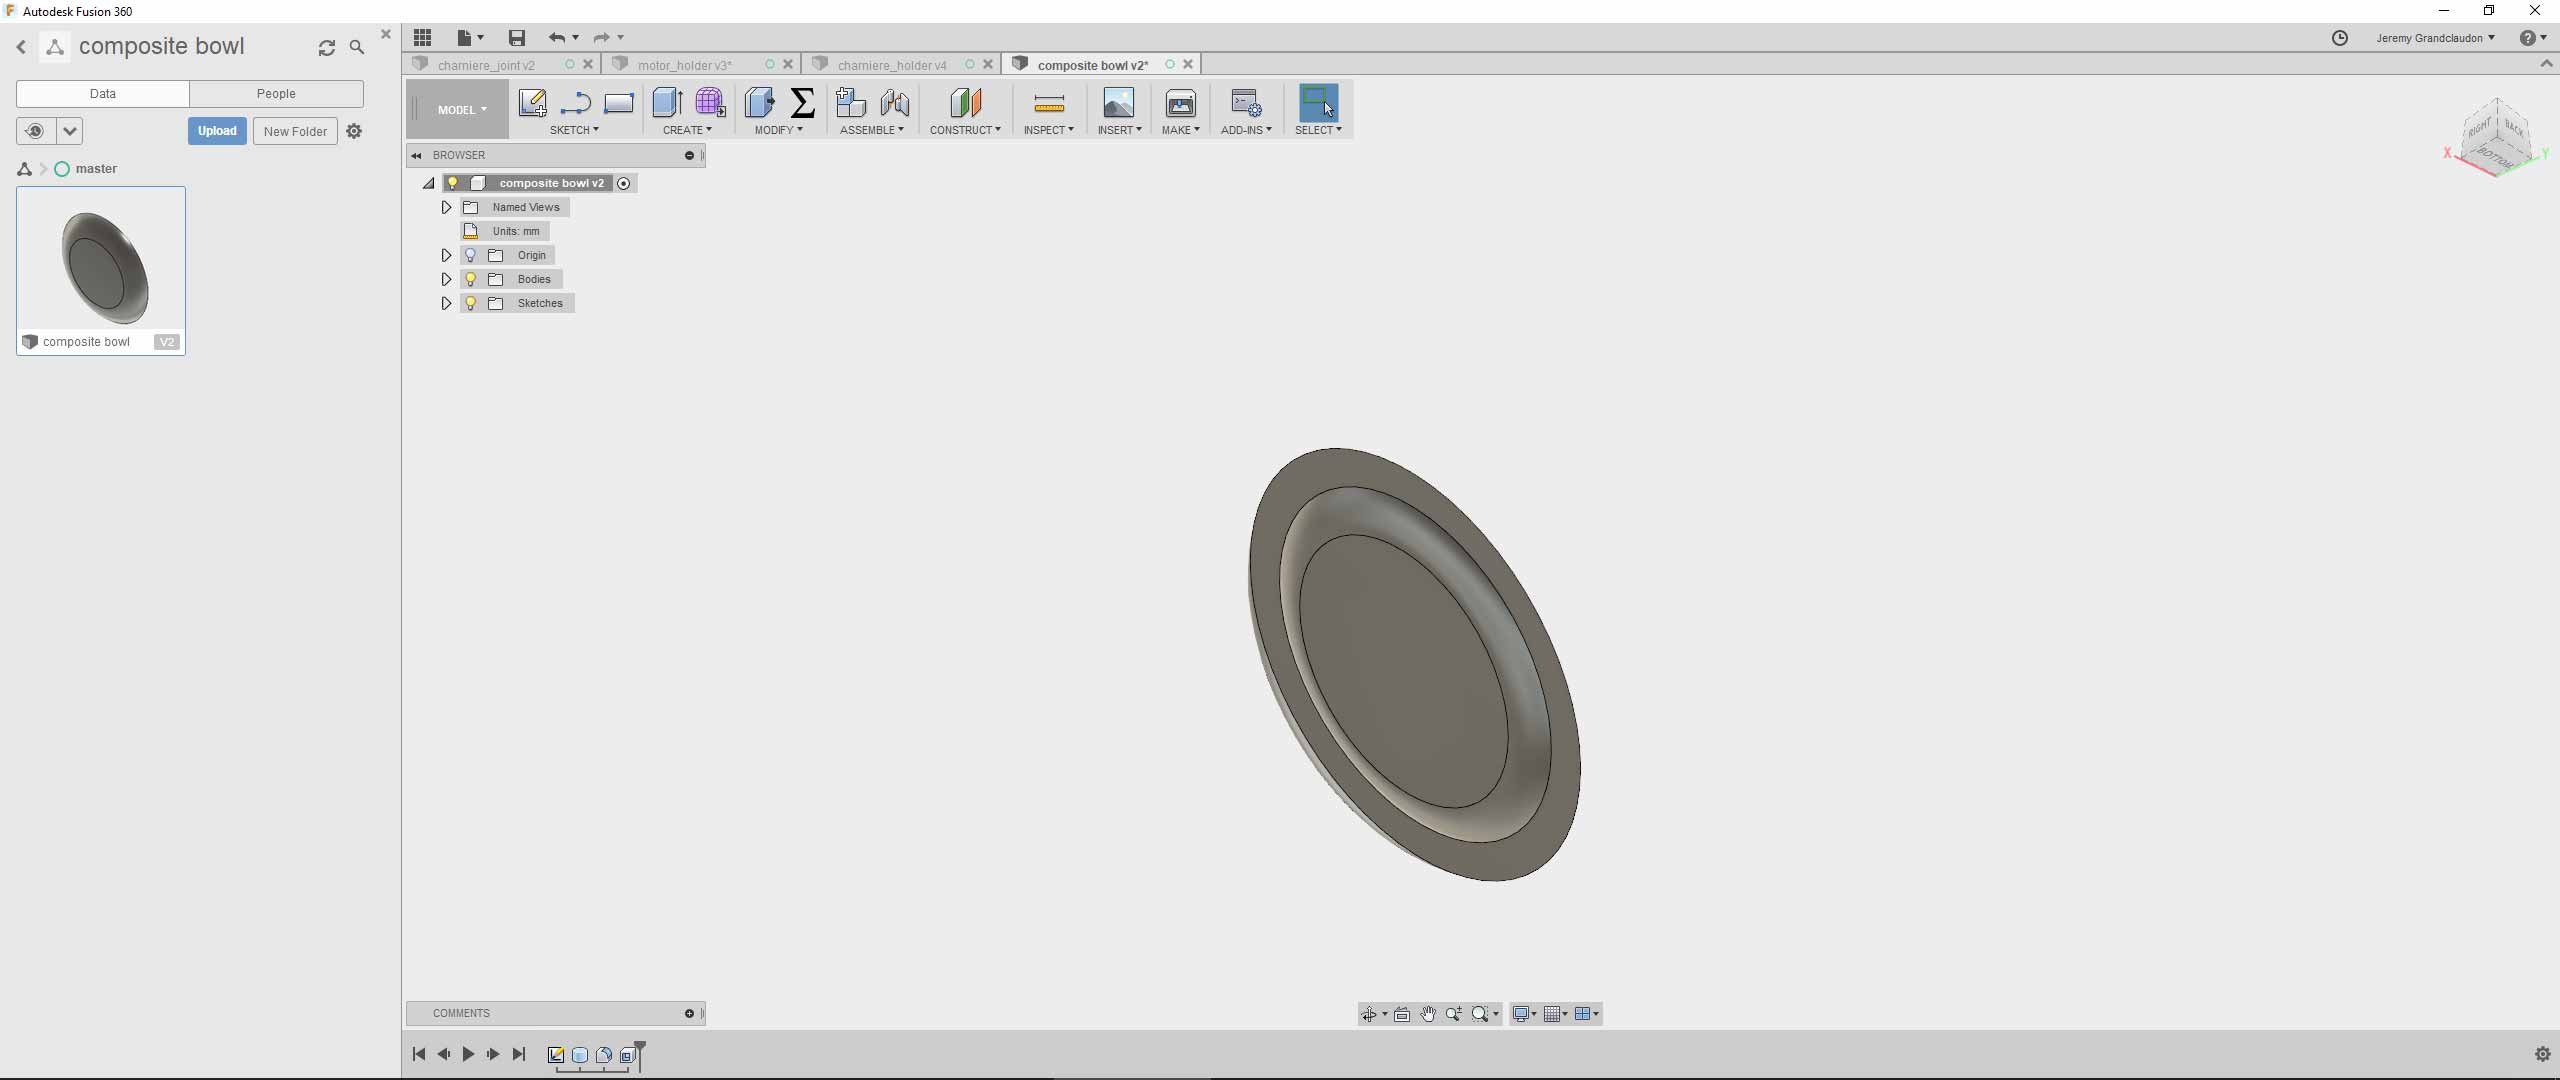
To finish it, I have used the shell command on 10mm to get the desired effect
The idea and design
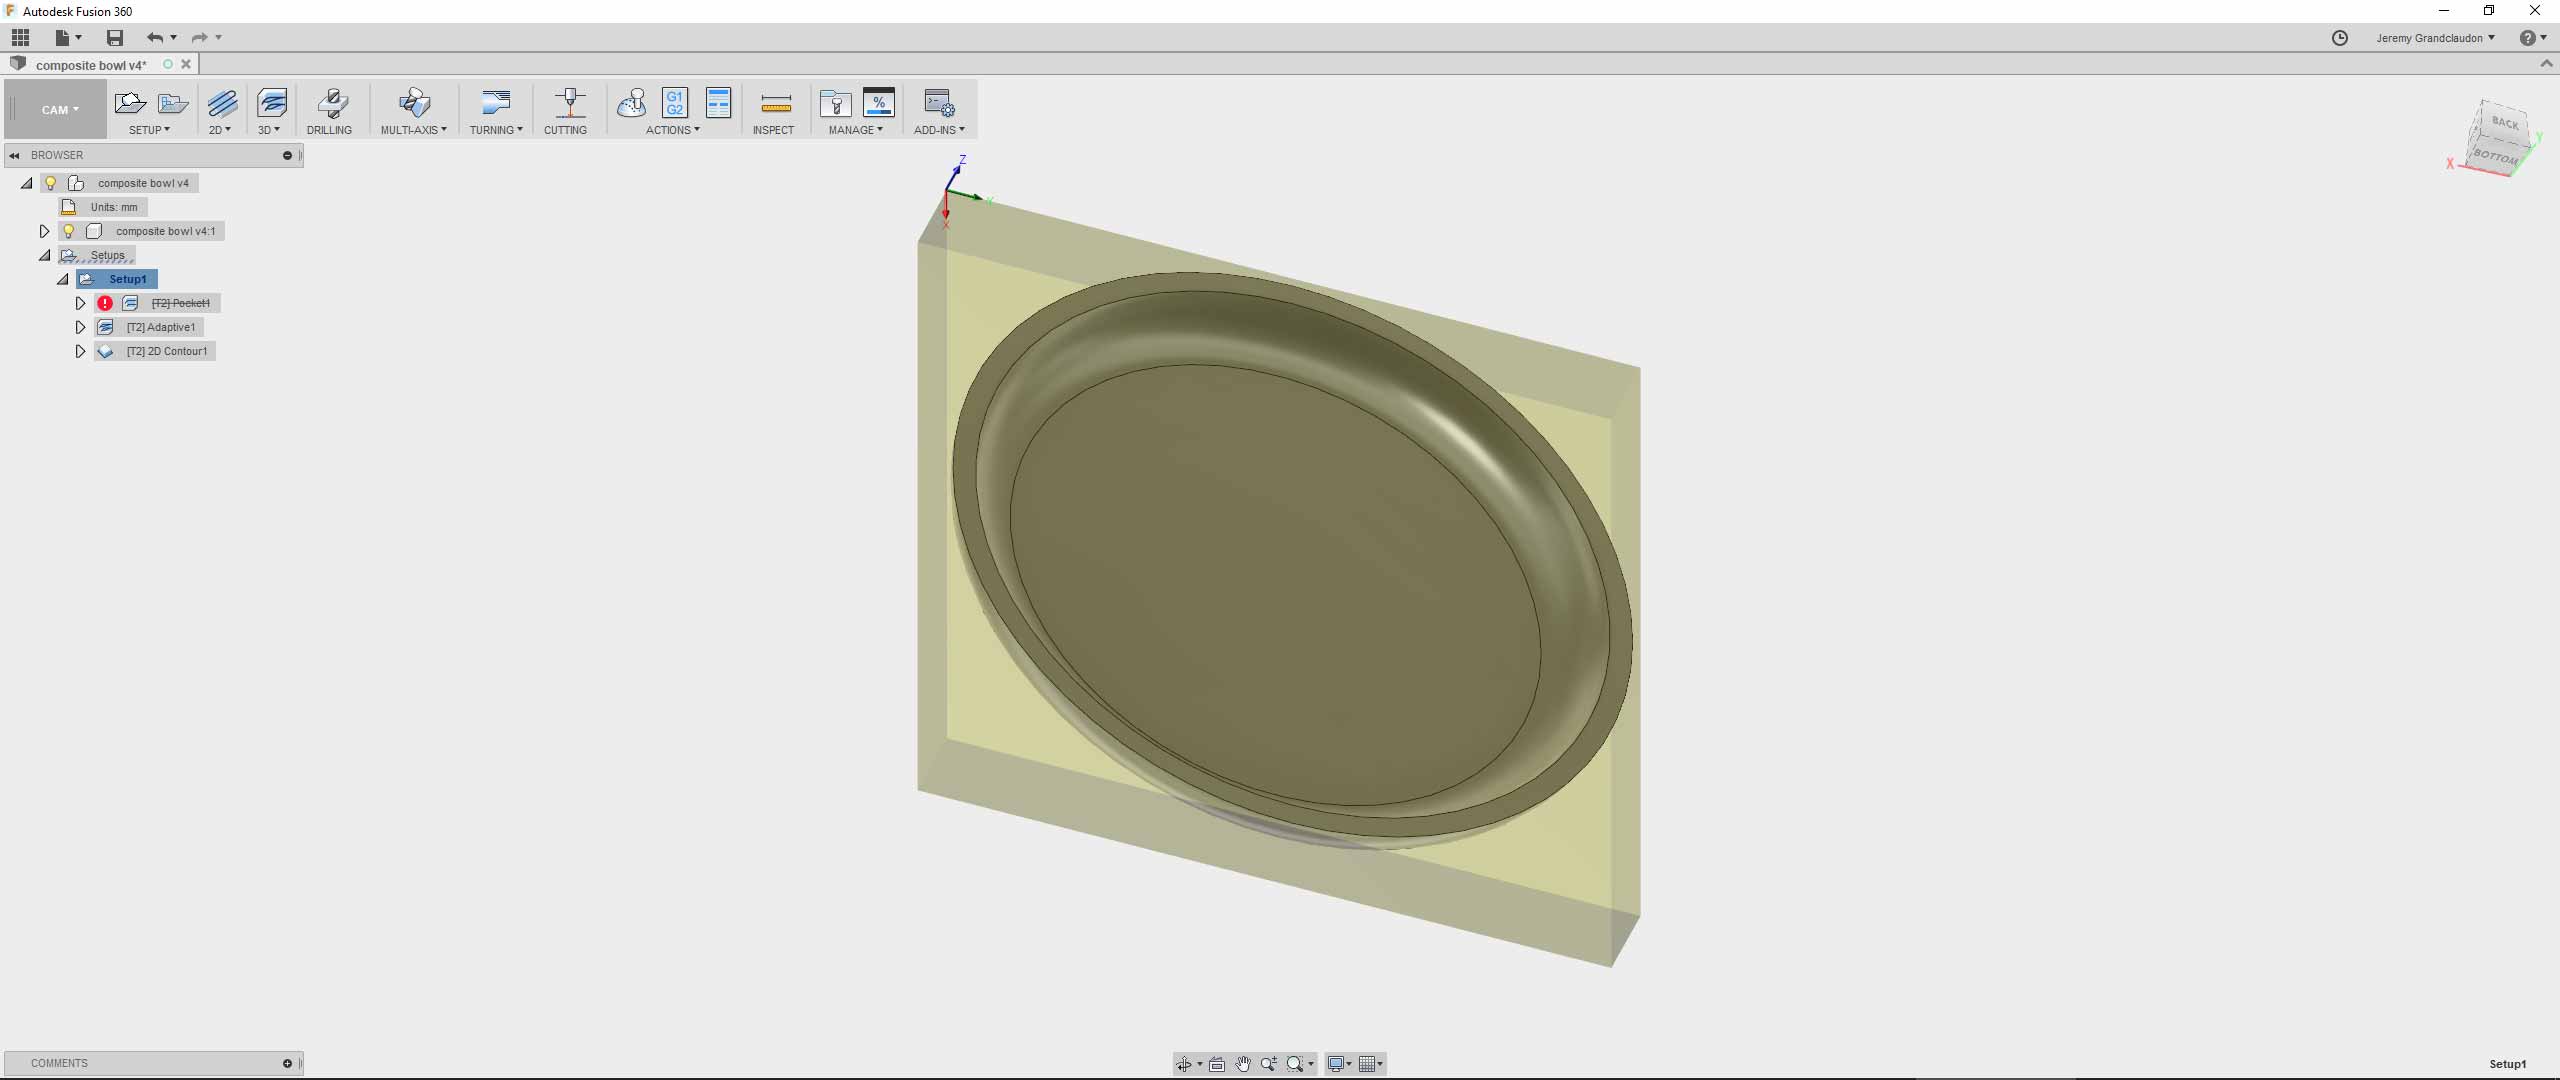
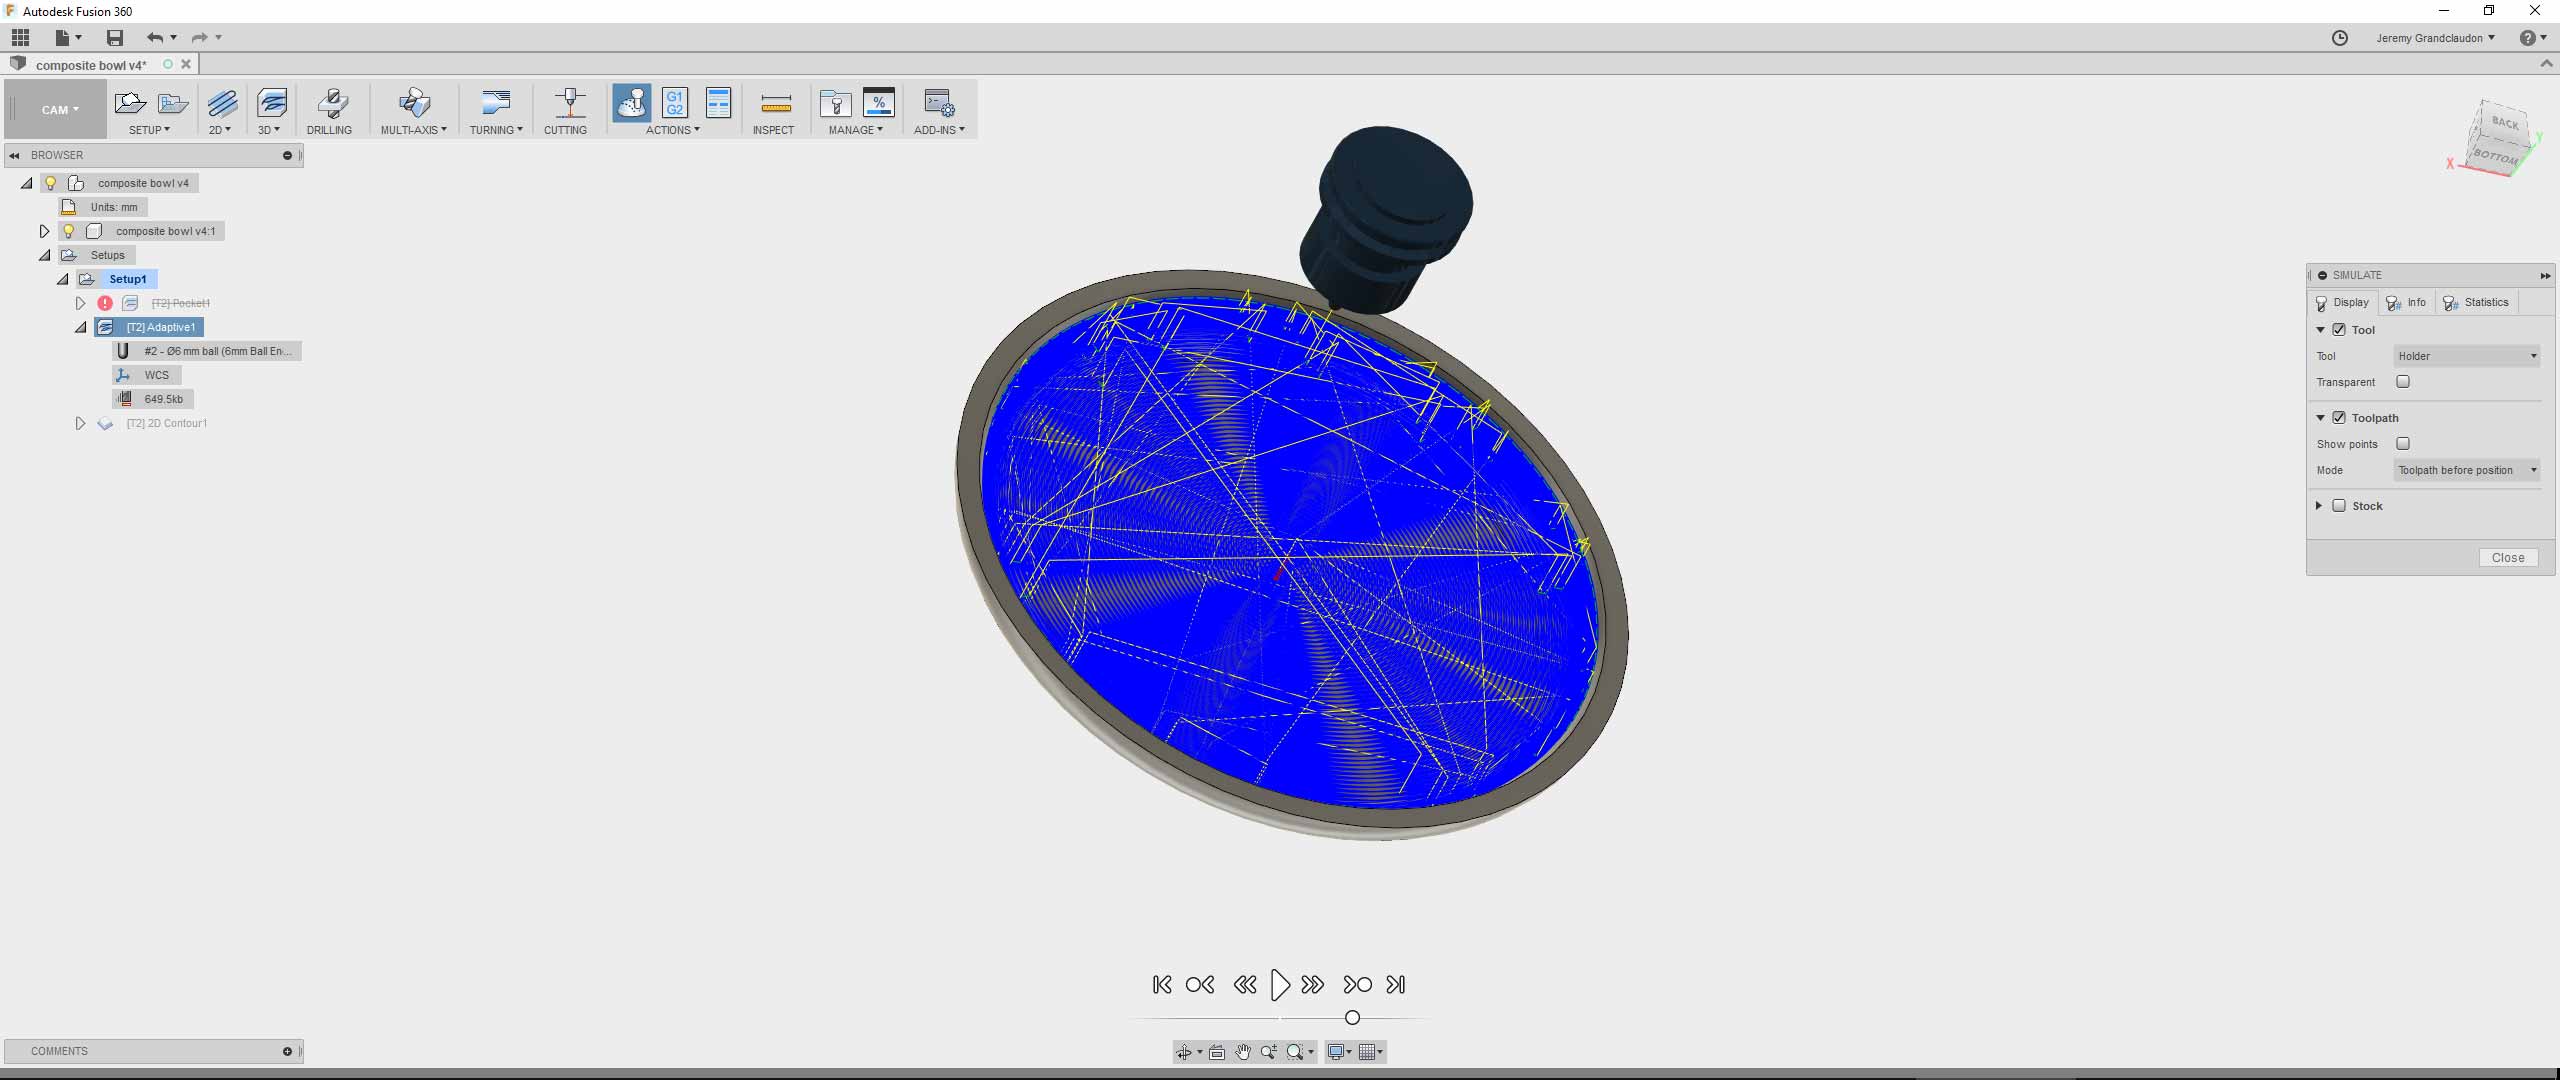
We have to access now the CAM tab, where we can establish the different paths and configure my tools
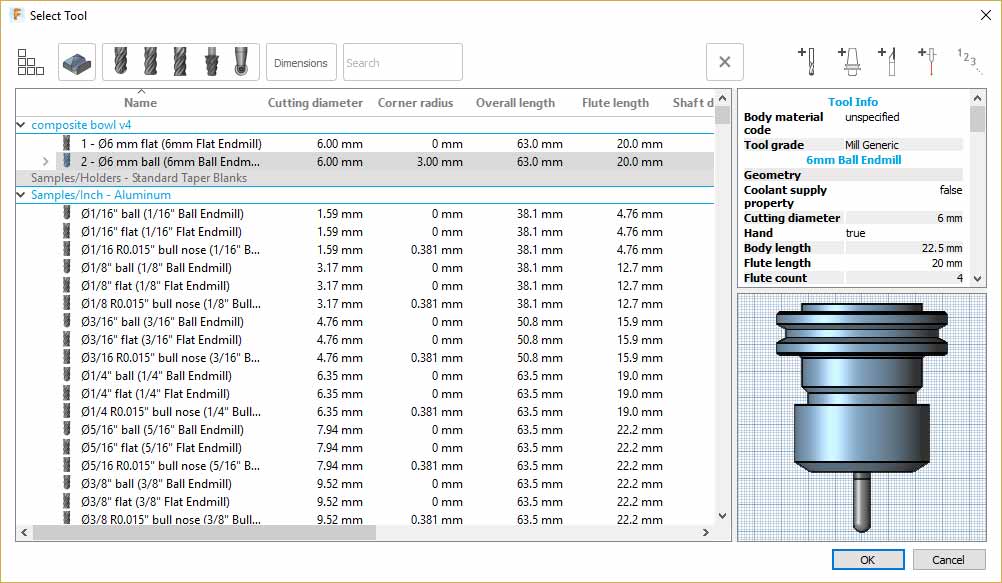
First thing first, I will select or create a tool to equip my virtual CNC in fusion. Here you can see my ball mill of 6mm. You can access it via the manage tab on top of the interface. You have then access to a wide variety of tools to calibrate your simulatiion.
I'm now happy with my tool, I will now create my setup, this is the way to tell to fusion the global object and the board configuration where I will mill into. The setup tab is where you will choose your type of operation, here milling, you orientation, your point of origin and where is your Z axis (really important! :) )
For more detail on the milling process itself, you can always check the CNC week assignment . I have made 2 path : 1 to make a simple contour so I know where to cut later and the second one to clear the interior of my design and get my mold.
For the clearings inside, I will use the '3d pocket clearing'. It's suit well my need as I want to remove quickly a large quantity of material
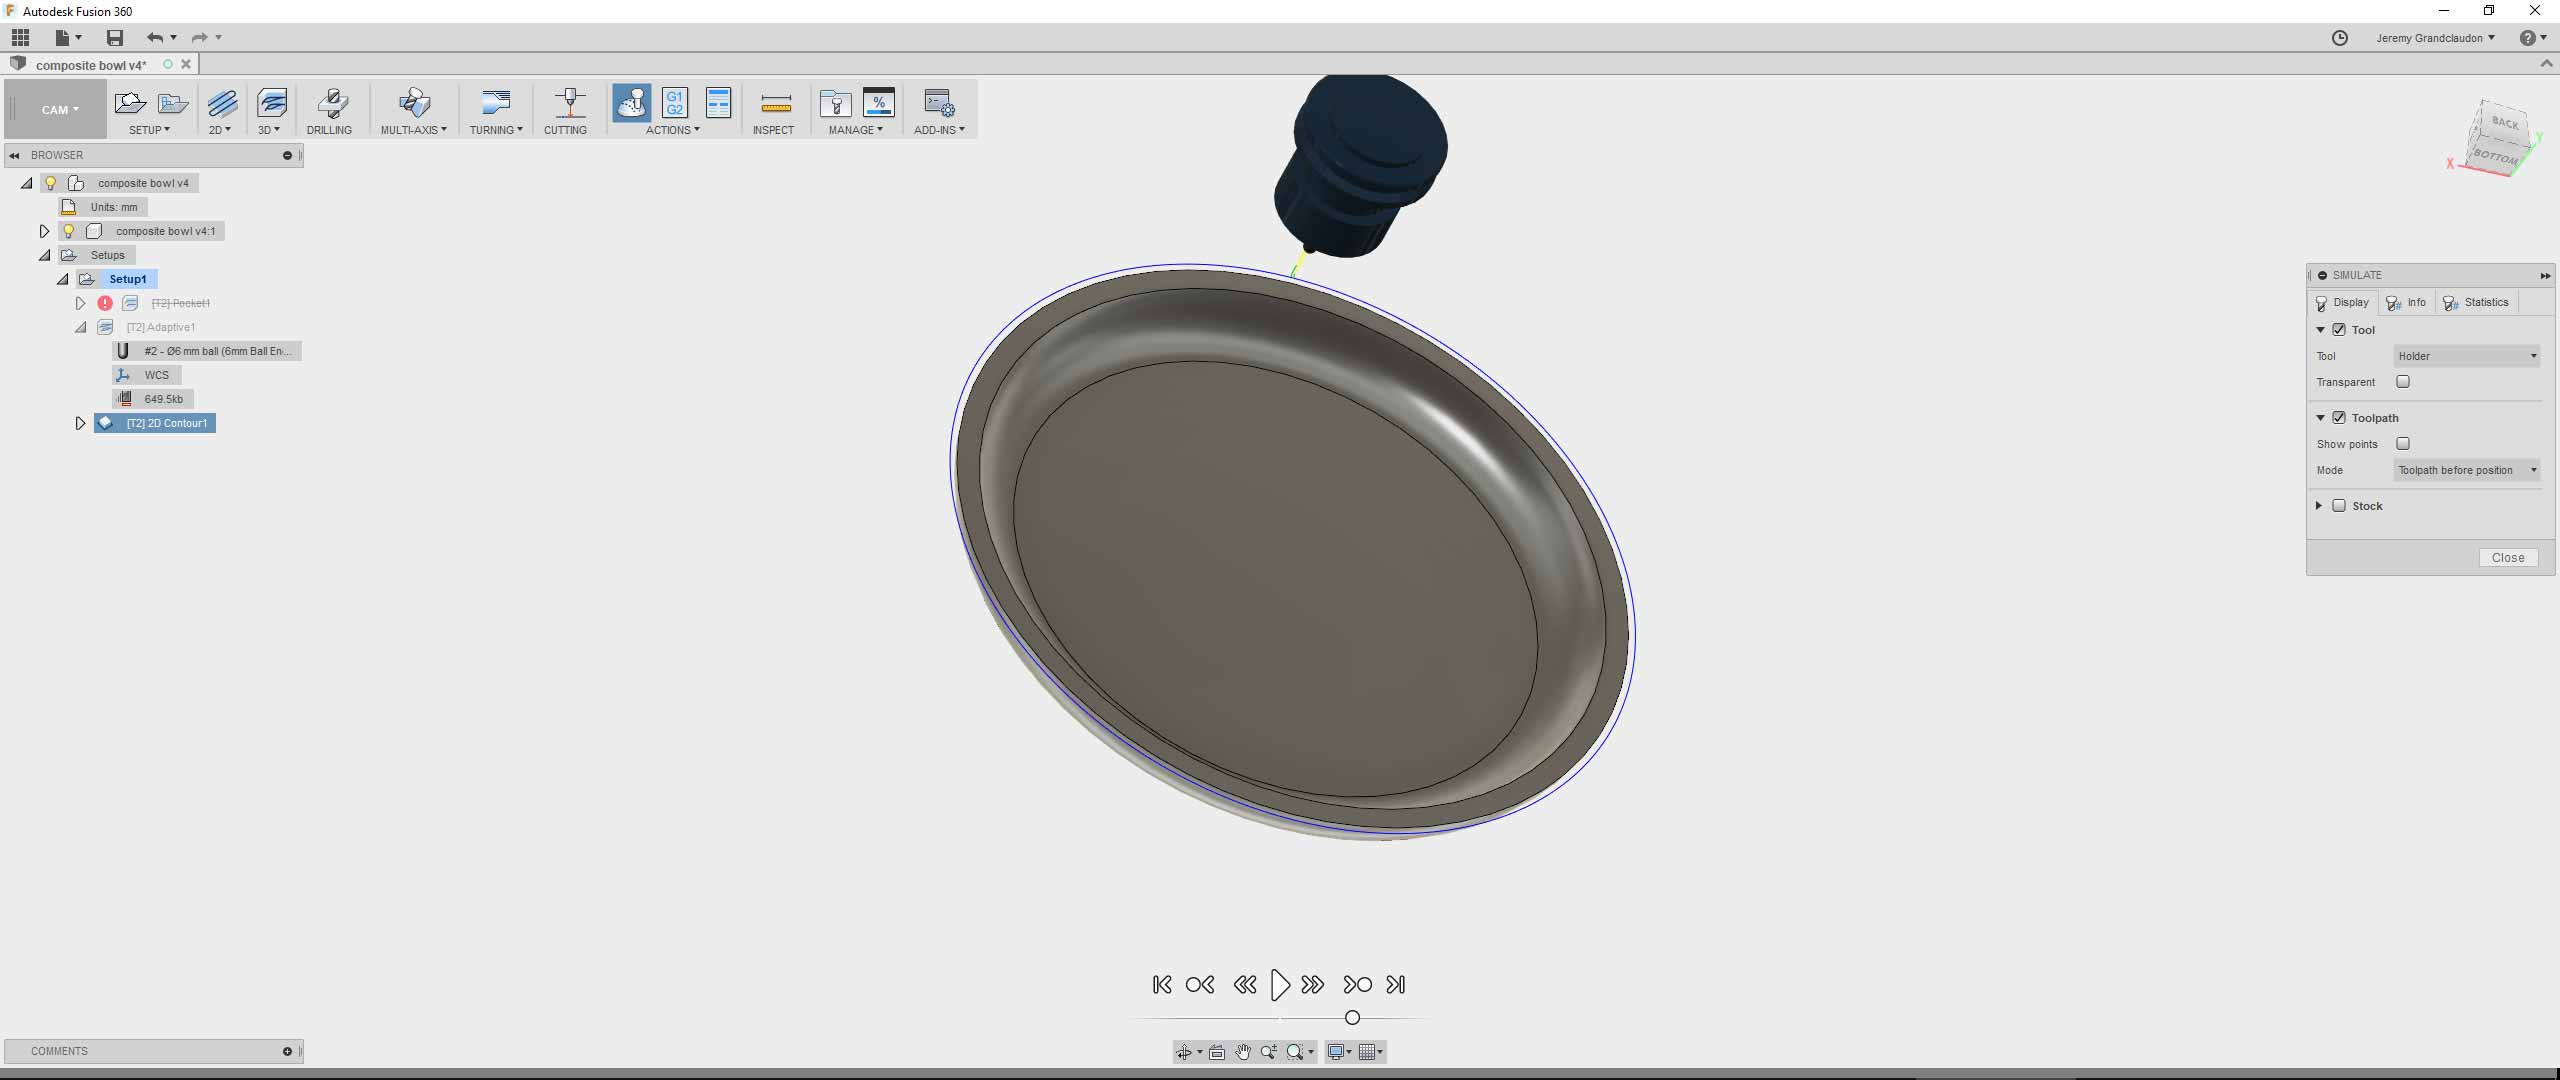
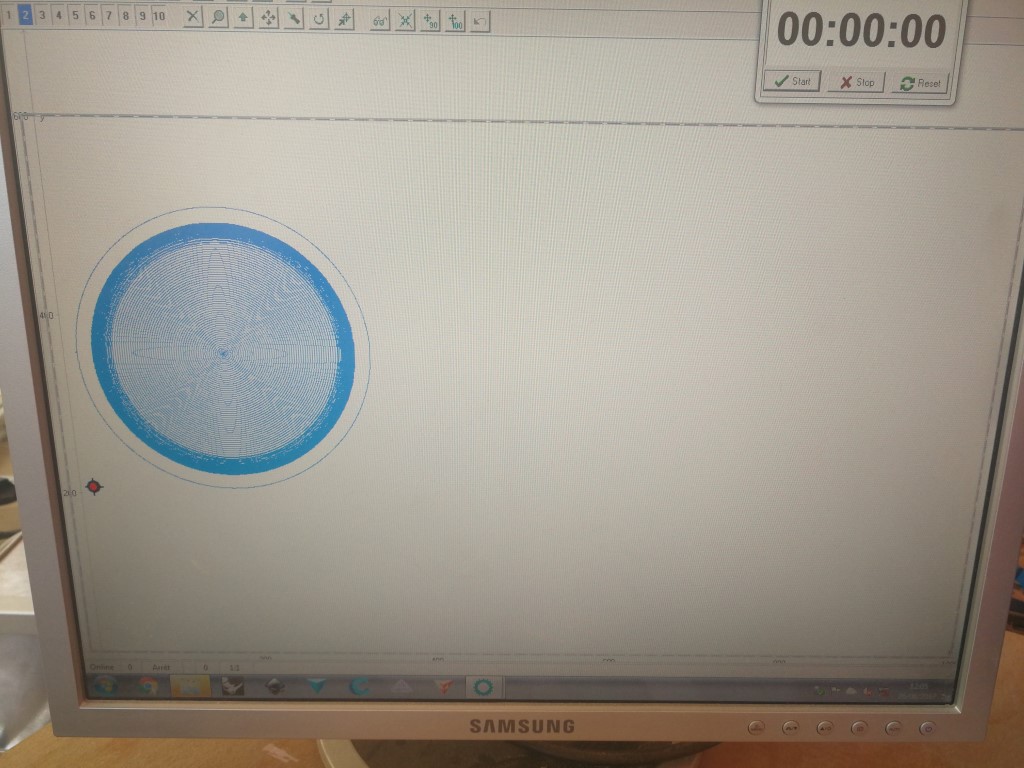
The CNC software seems happy with my design and everything seems fine
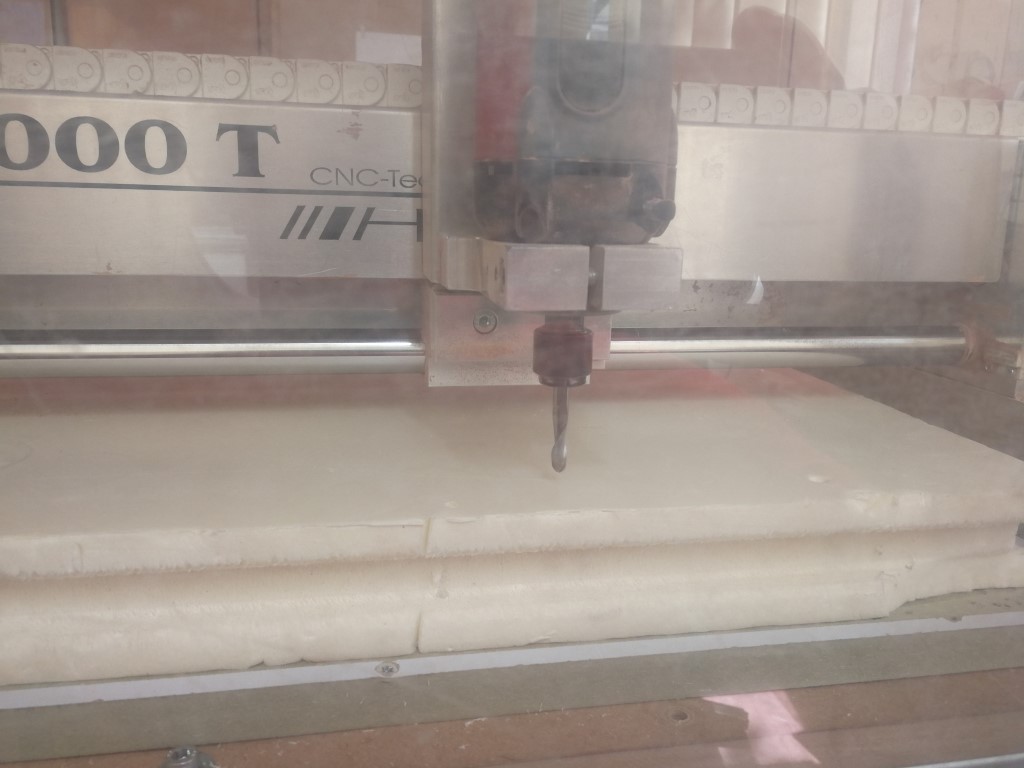
The CNC is put in place and calibrated on my polyurethane foam, let's roll!(again, don't hesitate to check the CNC assignment )
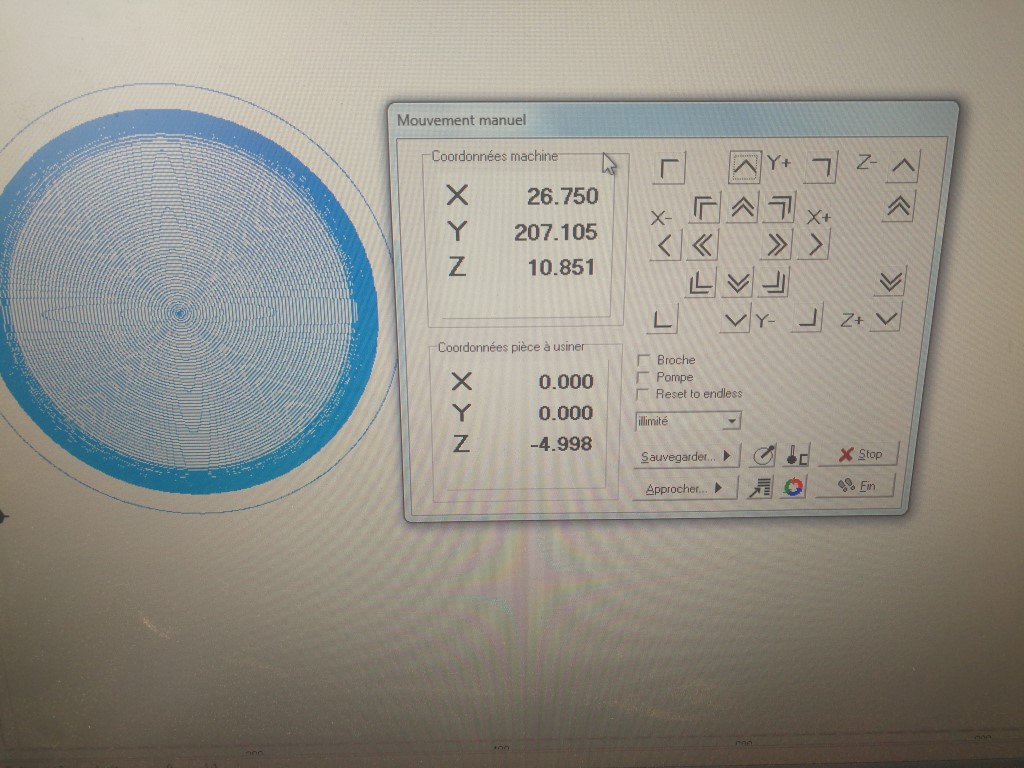
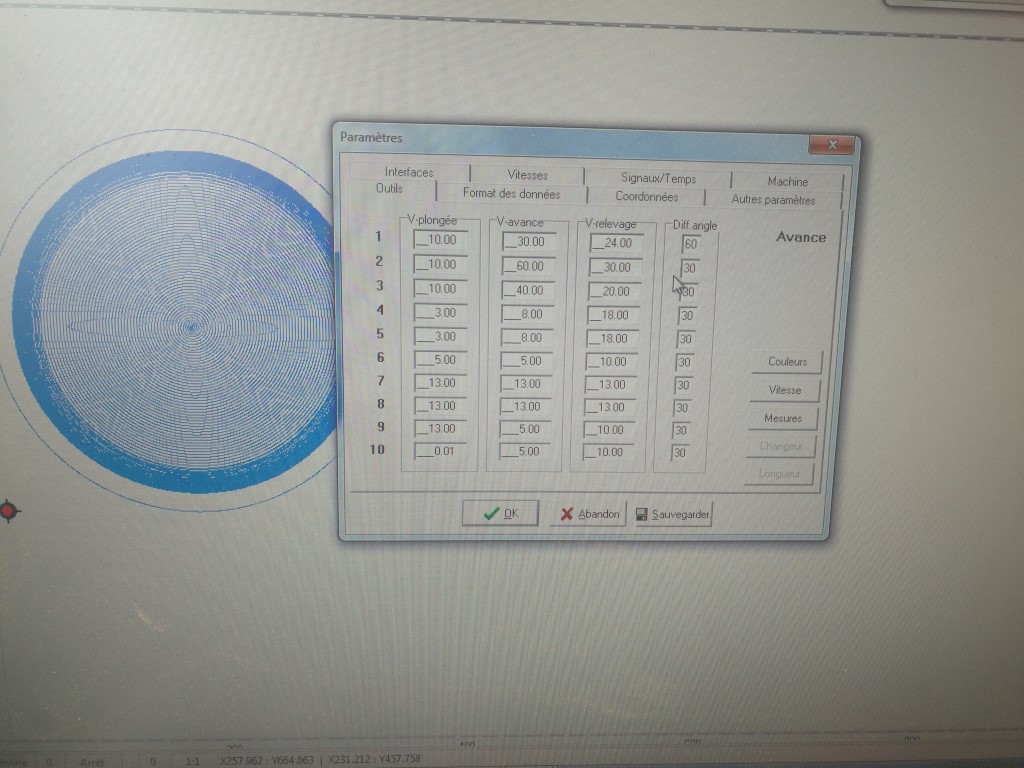
Last check with the settings and saving the XYZ position of the router
Selecting the speed, here I will go to 60mm for the speed itself with a plunge of 10mm and the mill will go up with a speed of 30mm. (Tool 2 row). Beginning of the milling in video just below!
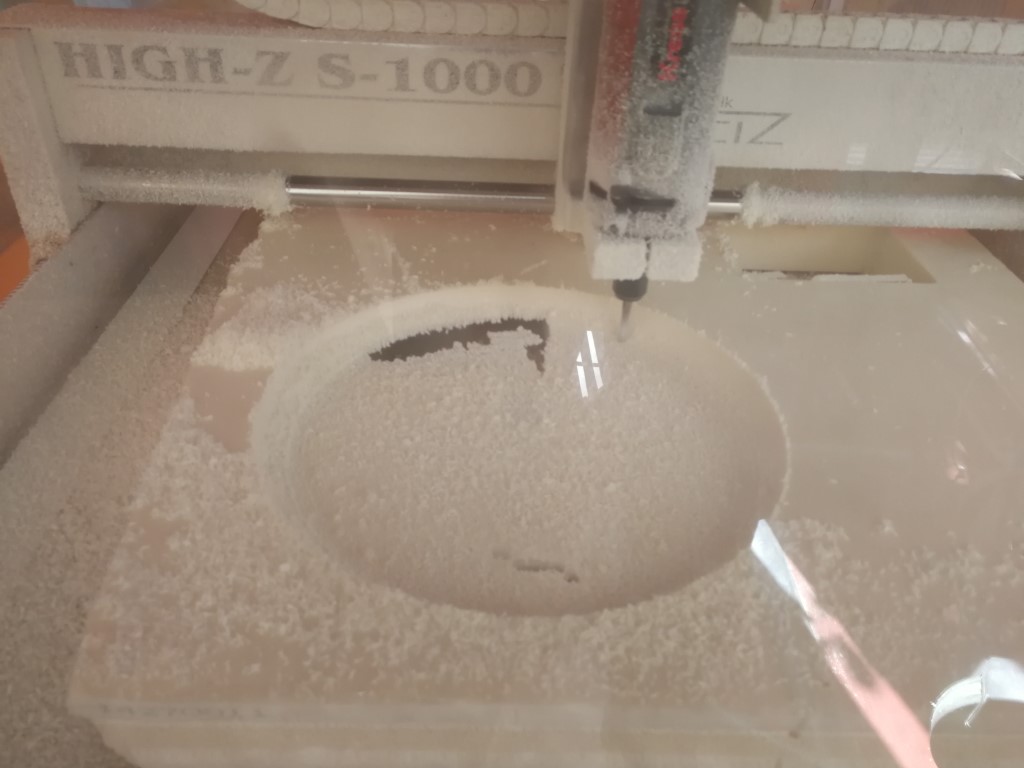
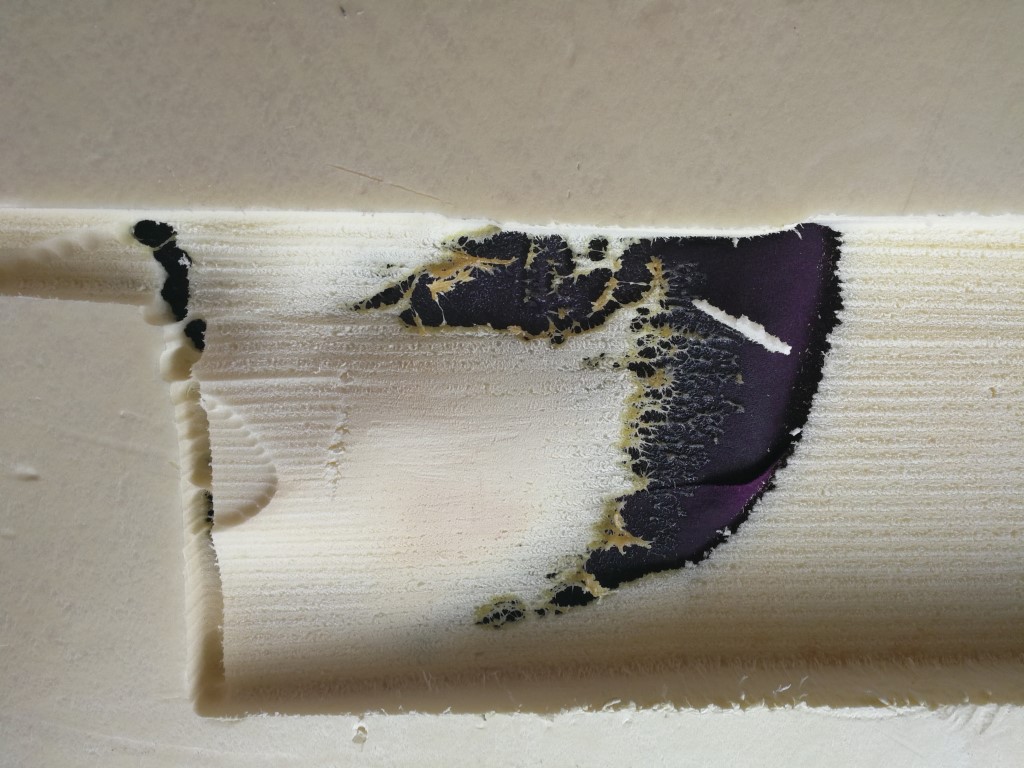
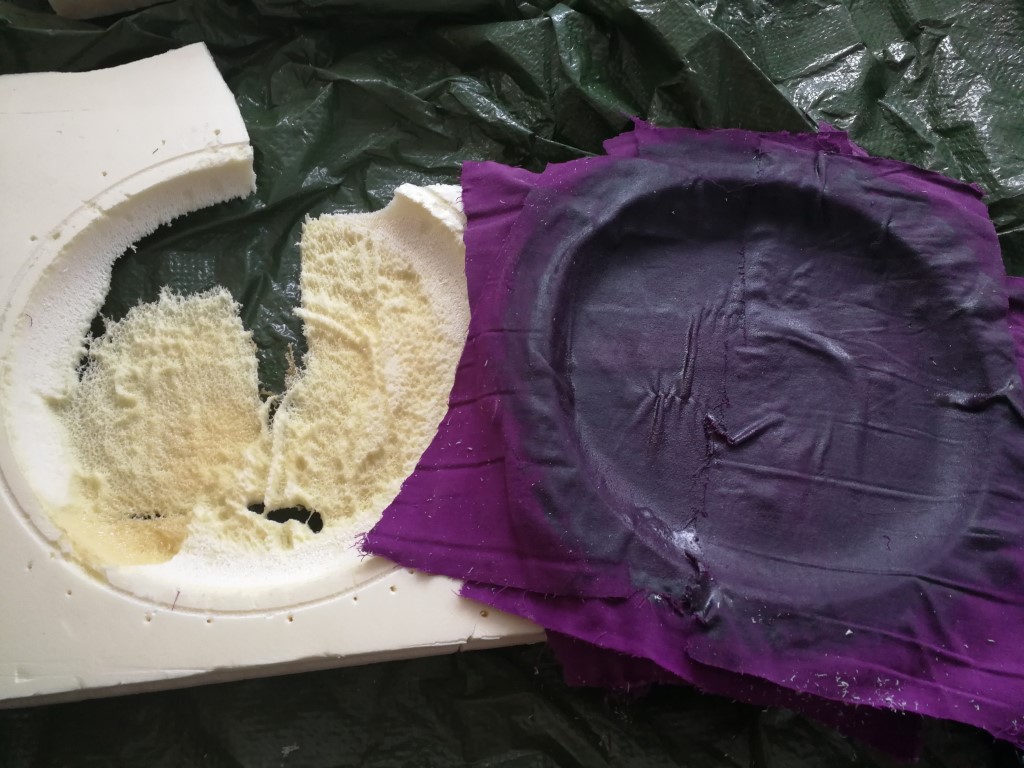
60mm was a little to fast, because of the spiral movement, the whole CNC shakes for a few seconds! And cherry on the top, I didn't check my foam correctly, somebody else has already cut something in it and I was sure that the clearance was enough... I will still try : with the resin and the cloth, It should be fine
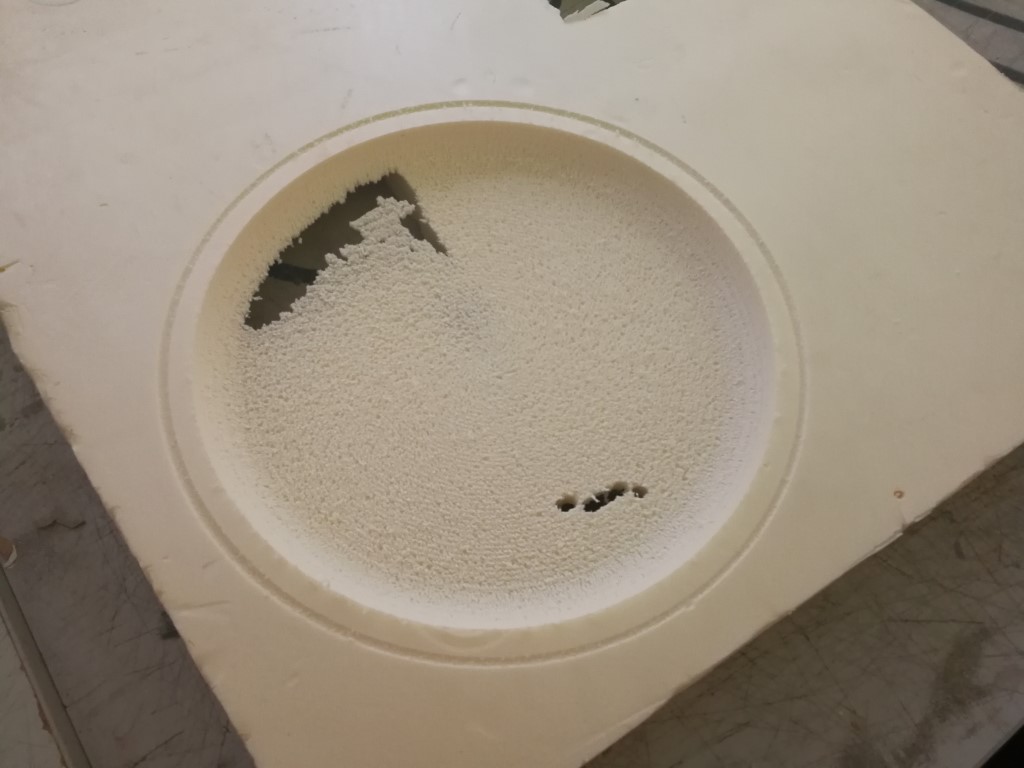
more detailled image of my poor mold
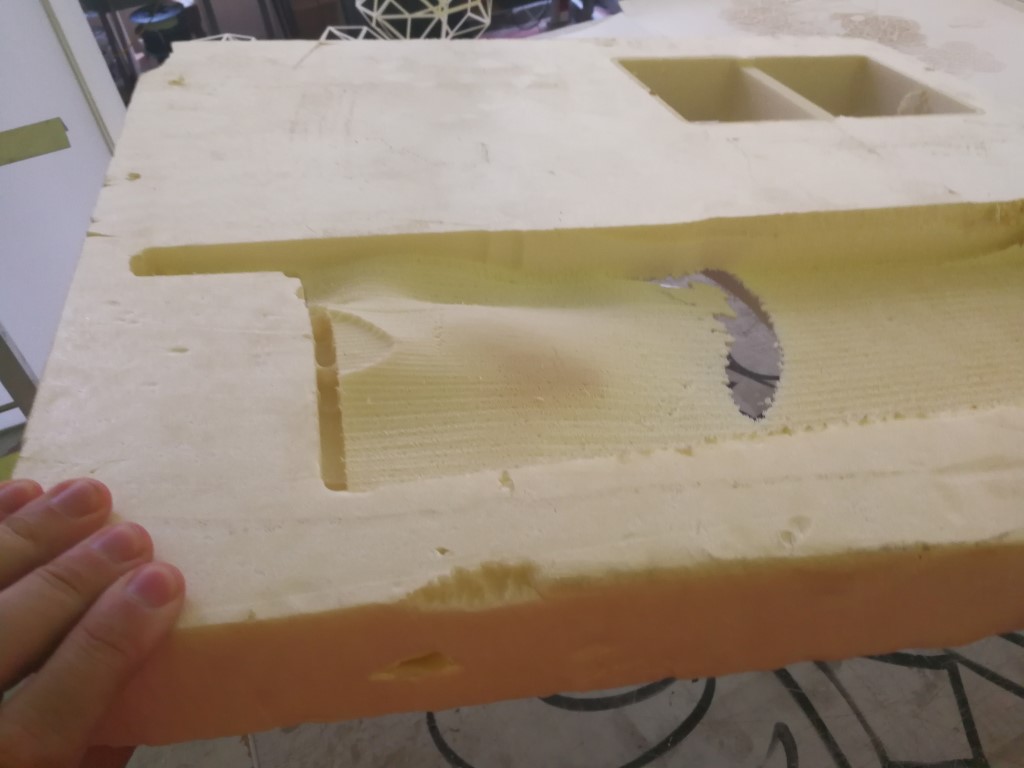
more detailled image of the other side
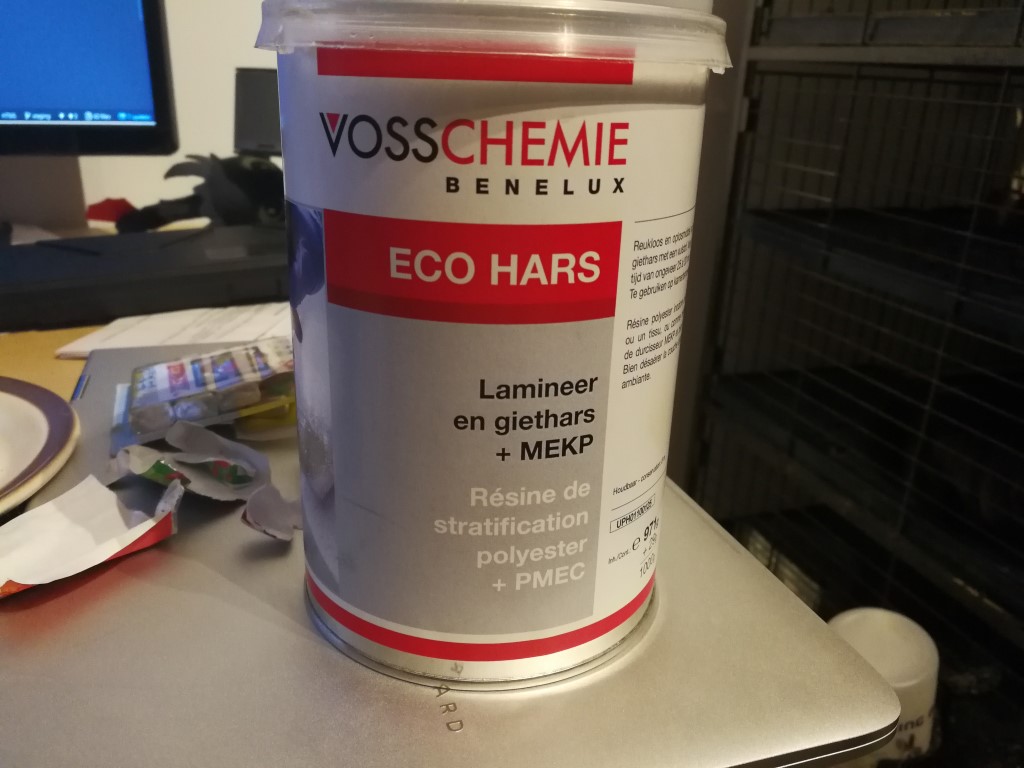
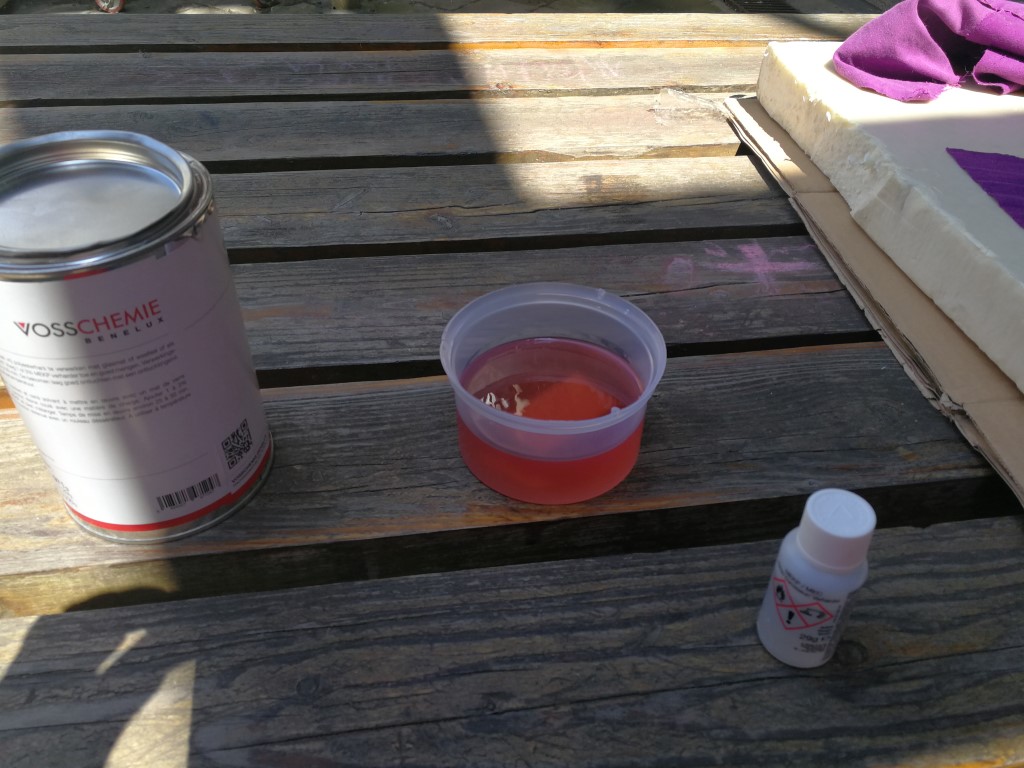
Resin and safety
I will use Polyester resin for stratification with a hardener. I was really surprised to see a user guide but not safety advice, except the hint for the glow on the picture
After a few research, like this one , I have found that polyester resin is really nasty for a lot of reasons : the resin and the hardener are toxic and are highly volatile. So it has to be made outside, no contact on the skin , no breathing and adequate ventilation. Be careful, on top of that, the hardener is flammable and explosive
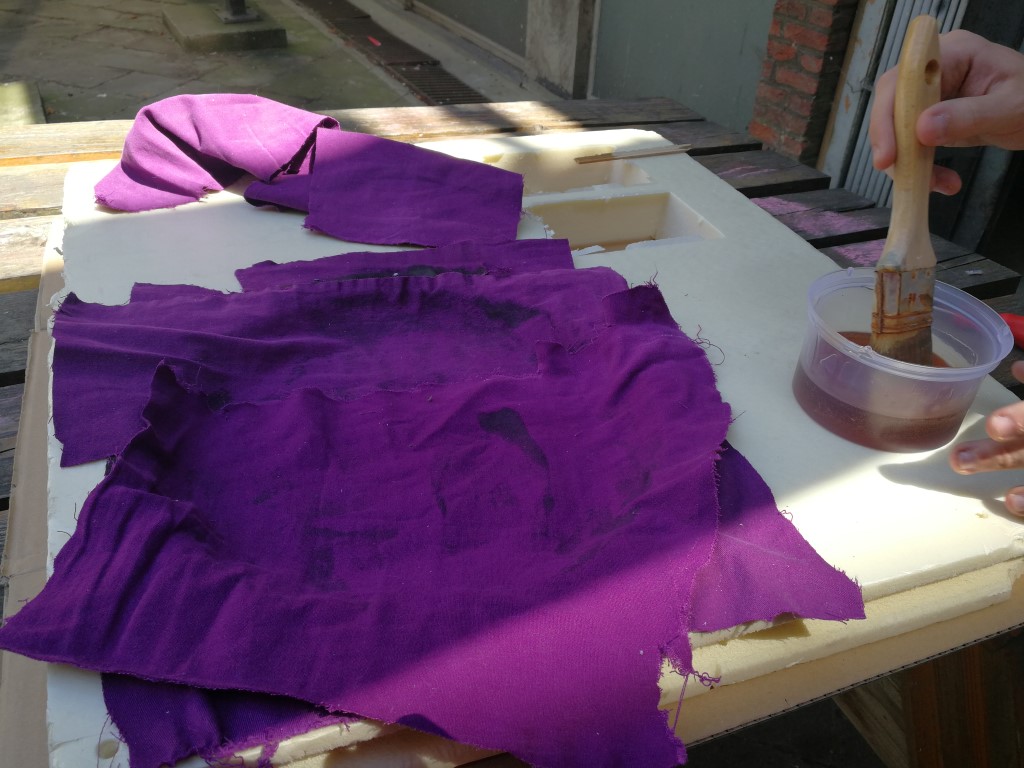
The composite itself
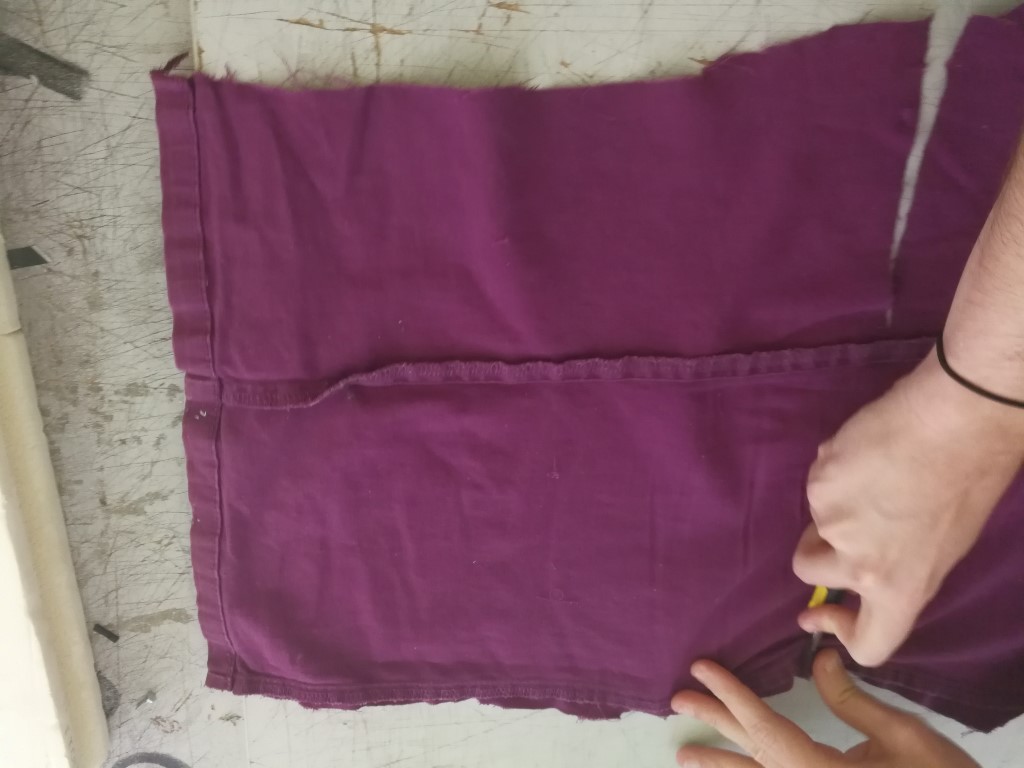
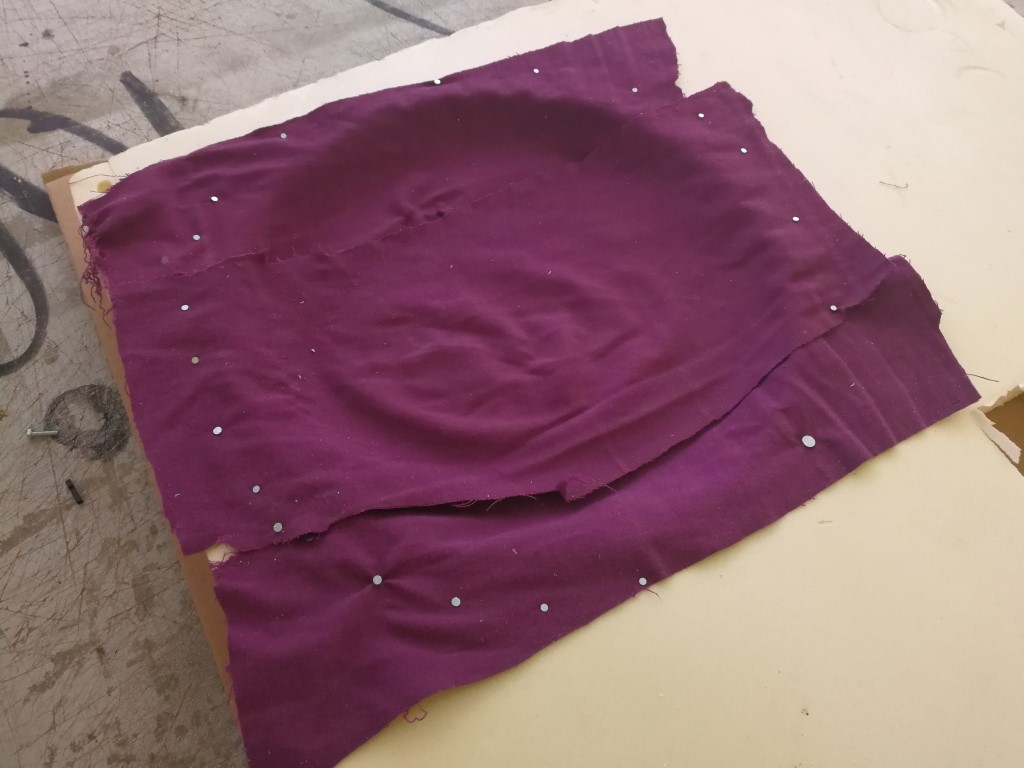
i'm starting to put the cloth on the mold, I have choose to have a very rough rendering by cutting the cloth by hand with a blade
I'm using some nails to block the cloth in place, it's outside the mold so no issues for later
I have enough cloth for 3 layers, a brush, resin with hardener and my mold. Time to get the job done!
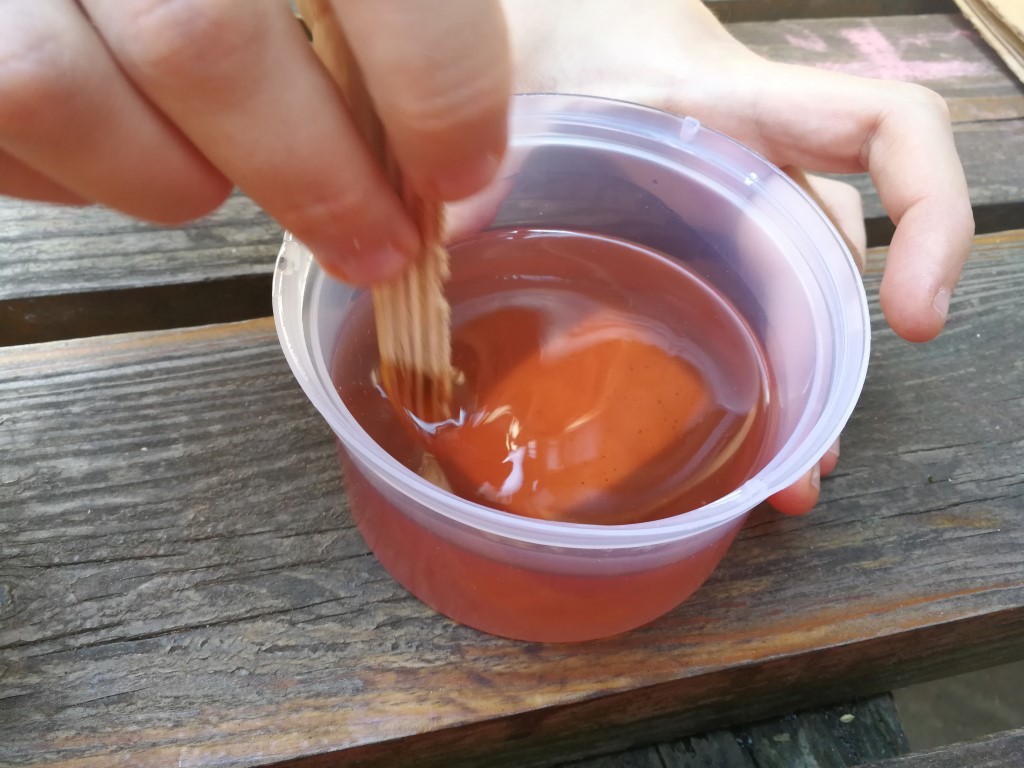
To make my resin, I have to add 1 to 3% of hardener. To much and my composite will not have the time to take properly and will polymerize. To little and It will be britlle with a "crocodile skin" effect. Challenging but I think I have the right mix!
And of course I forgot to put gloves for the picture... I was corrected directly I swear! I need to mix it for a few time and then directly use it
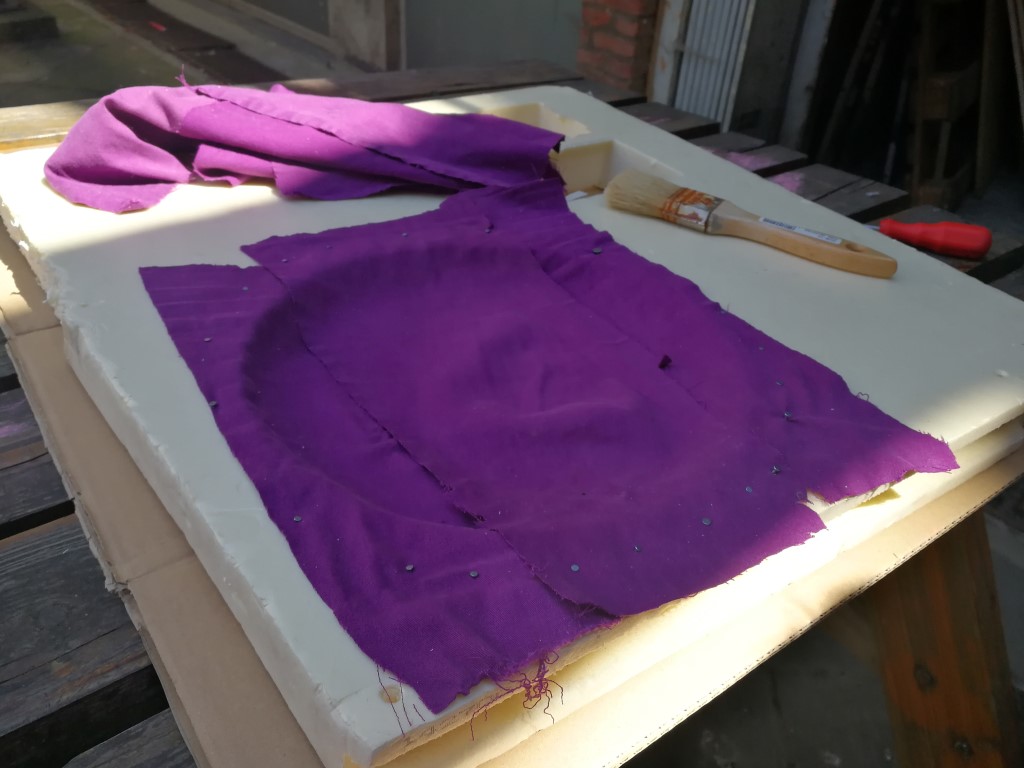
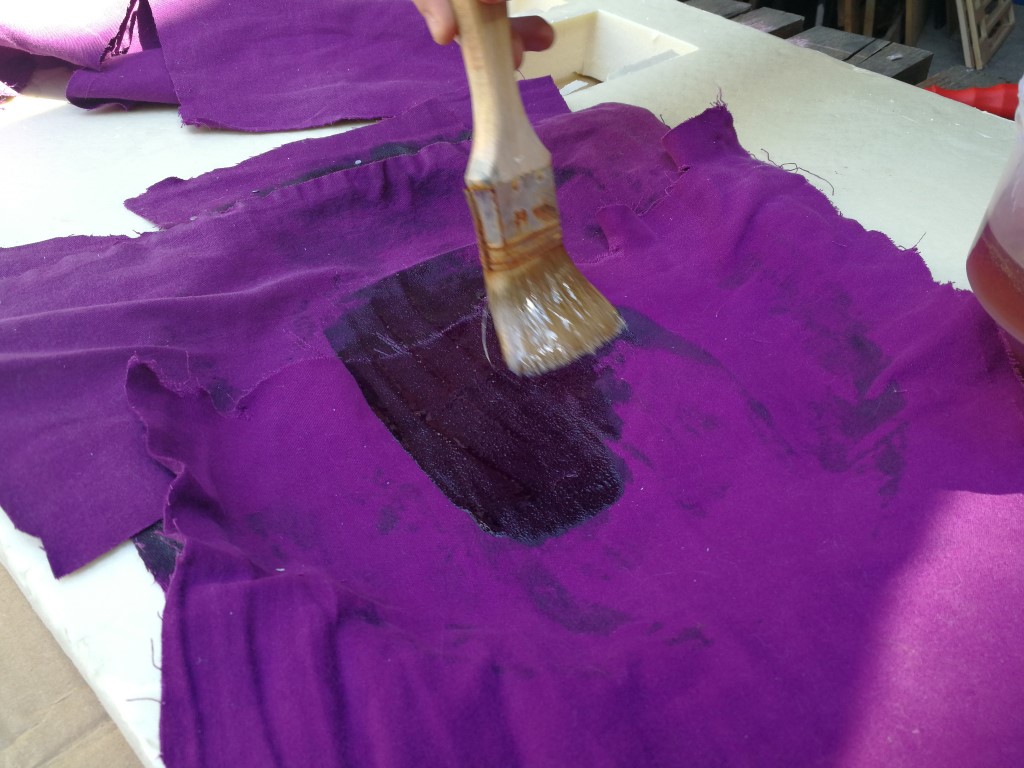
First cloth then the first layer of resin. I try to soak the cloth at maximal capacity without putting to much resin
Not easy to manipulate!
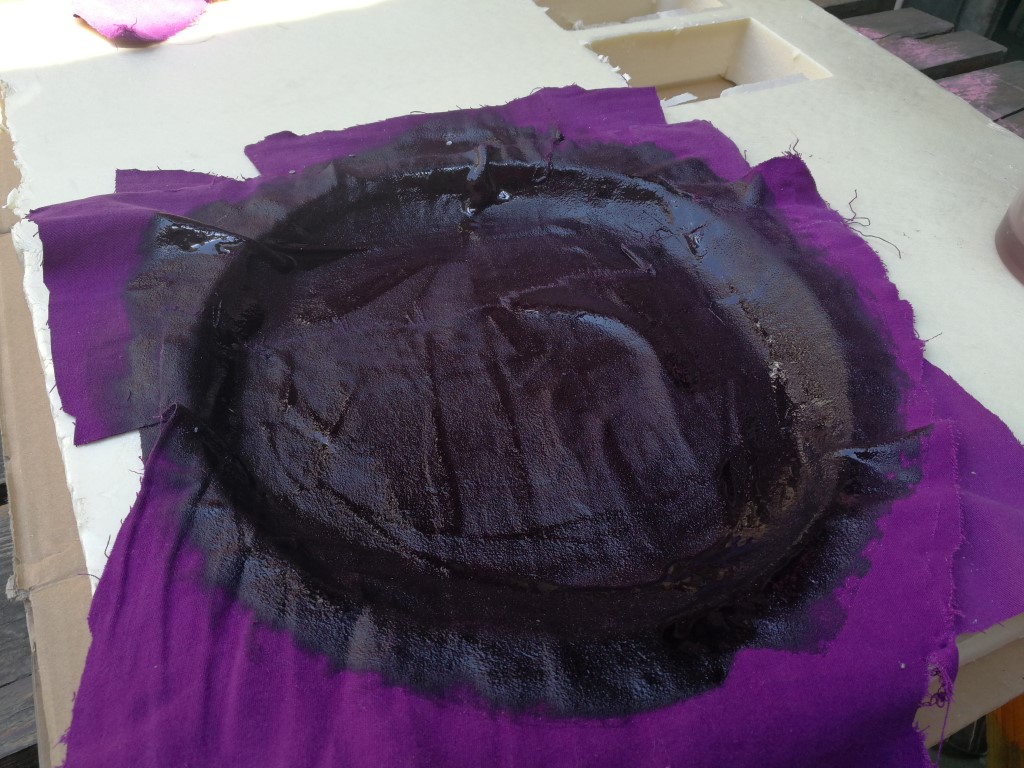
I have now my 3 layers of cloth, time to put it in a safe place and let it bake for 24h (maybe overkill but I have only one shot) under pressure
We can see already the color and rigidity changing. Let's see tomorrow!
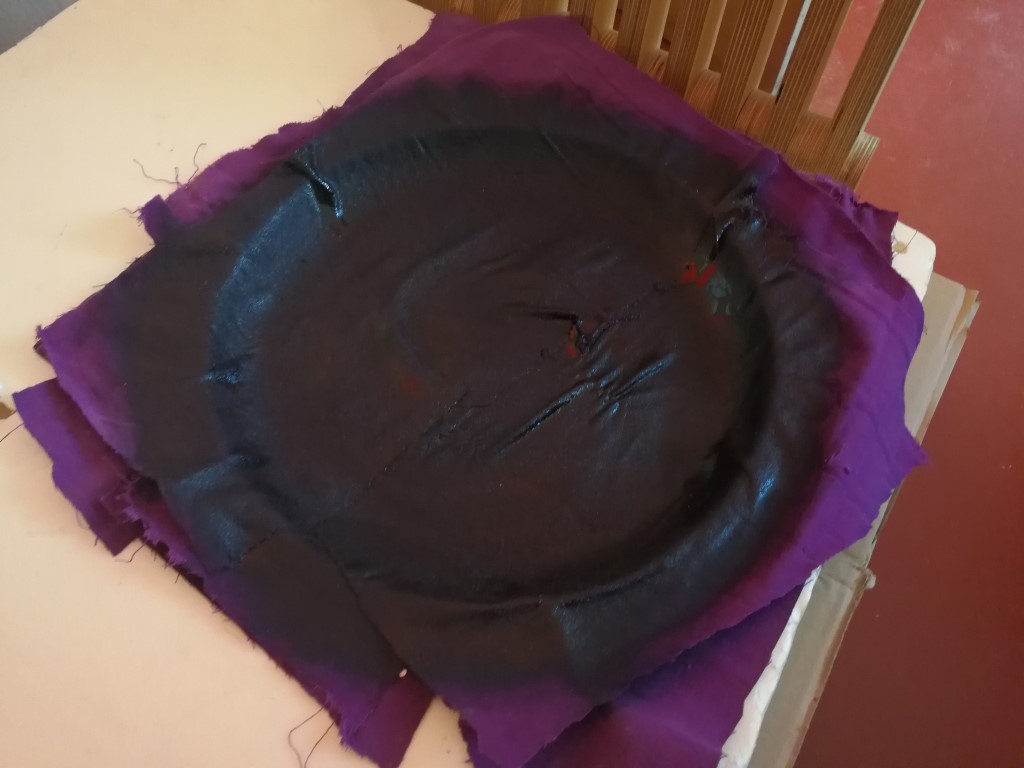
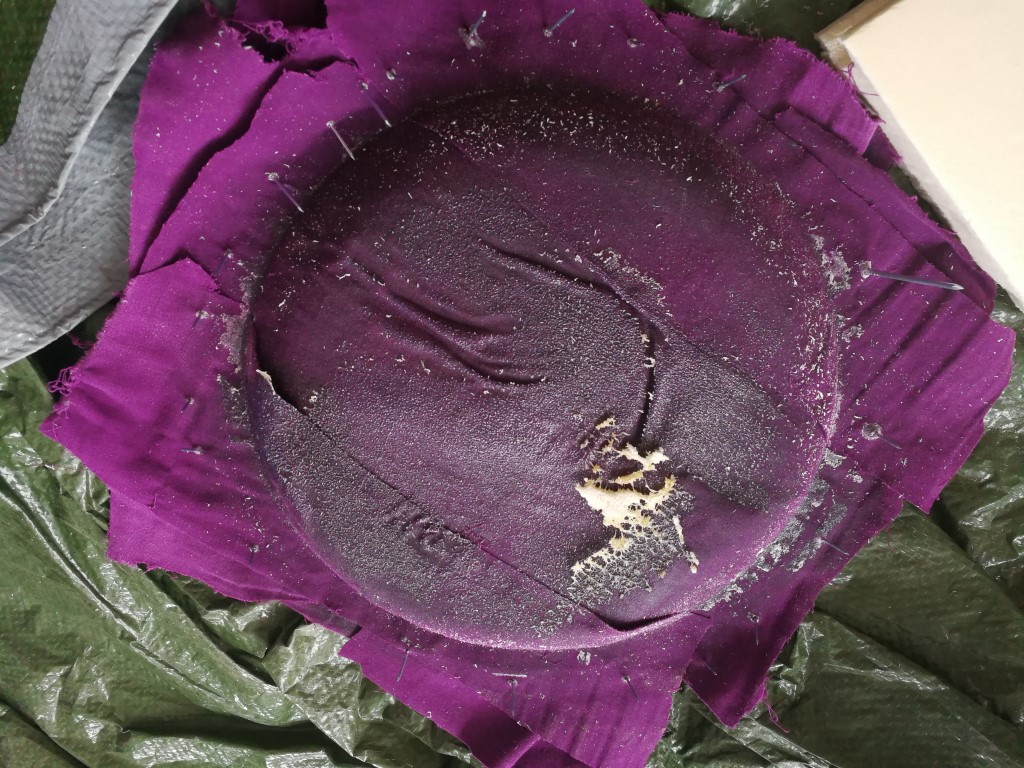
After 24h, the mix of resin and cloth are really tough, looking good
Even the part without support seems strong enough
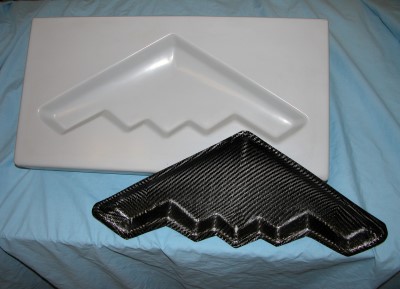
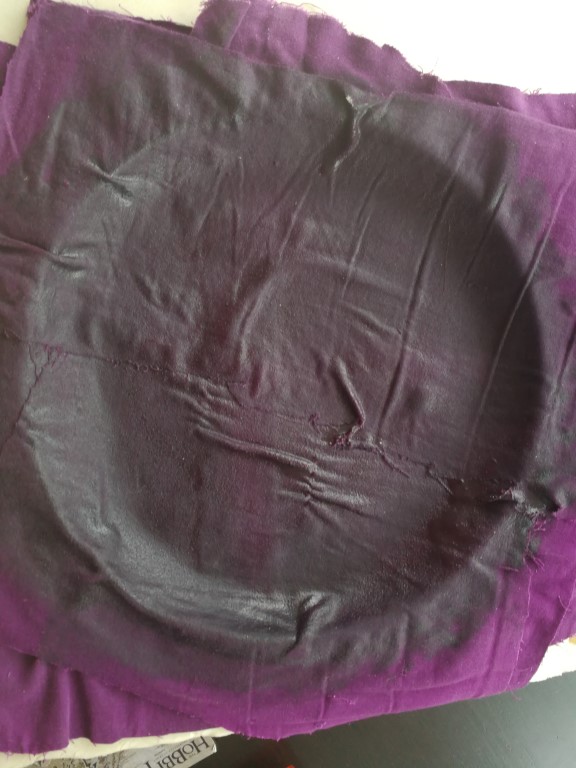
The release was surprisingly easy, I have simply broken the external part of the mold and pull on the composite and Tada!
The result is really rough with the way I have cut the cloth and the fact that's the first time I do this. Stil, it's sturdy and it worked!
Summary : This assignment was quite expensive and complicated but It allows me to explore something I would never have done alone. The result is far from magnificient but now I have the trick to try again and do better!