I was thinking about a mix of wood (multiplex 5mm) and plexiglass (outdoor PMMA acrylic) but I have quicly droped the idea. To get enough sun for all the plants was already complicated enough without adding opaque panel in the mix
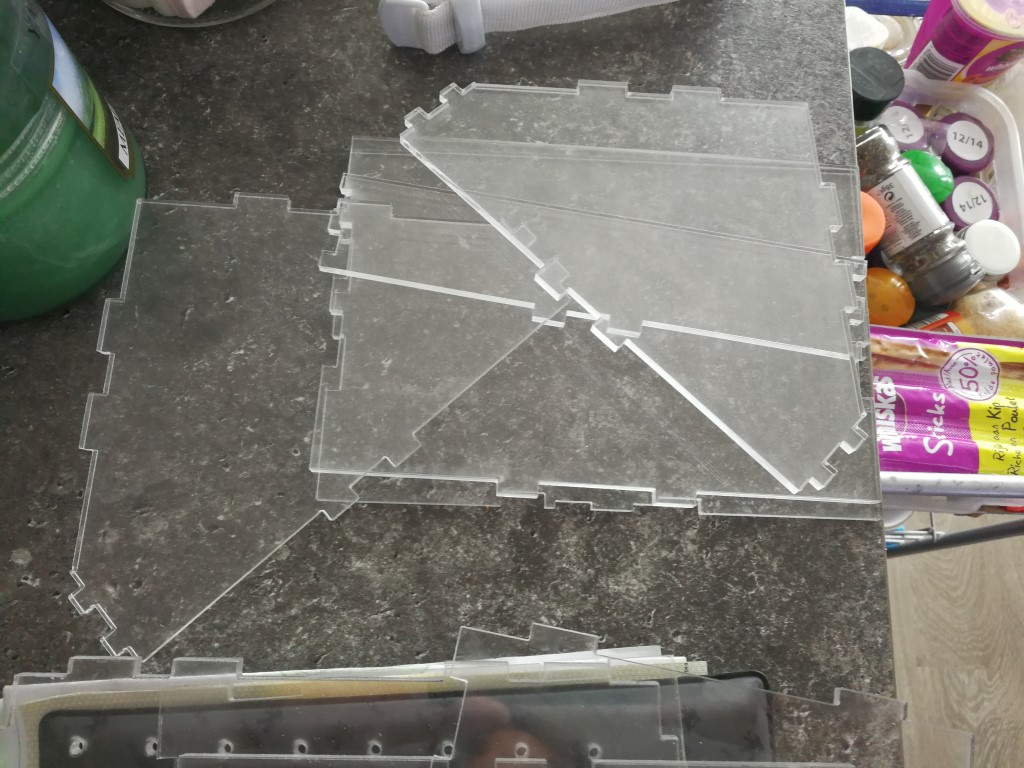
I have then chosed to build the protoype entirely in Plexiglass with 5mm thickness. It provides enough sun, it keeps enough of the heat and it's a good candidate for laser cutting. I have used more or less 1m², divided two panel to fit in the laser cuter in the lab
I have modified my design to make it fit in the available (and expensive) PMMA with :
15cm*20cm for the bottom
15cm*20cm for the middle module
15cm*20cm for the roof
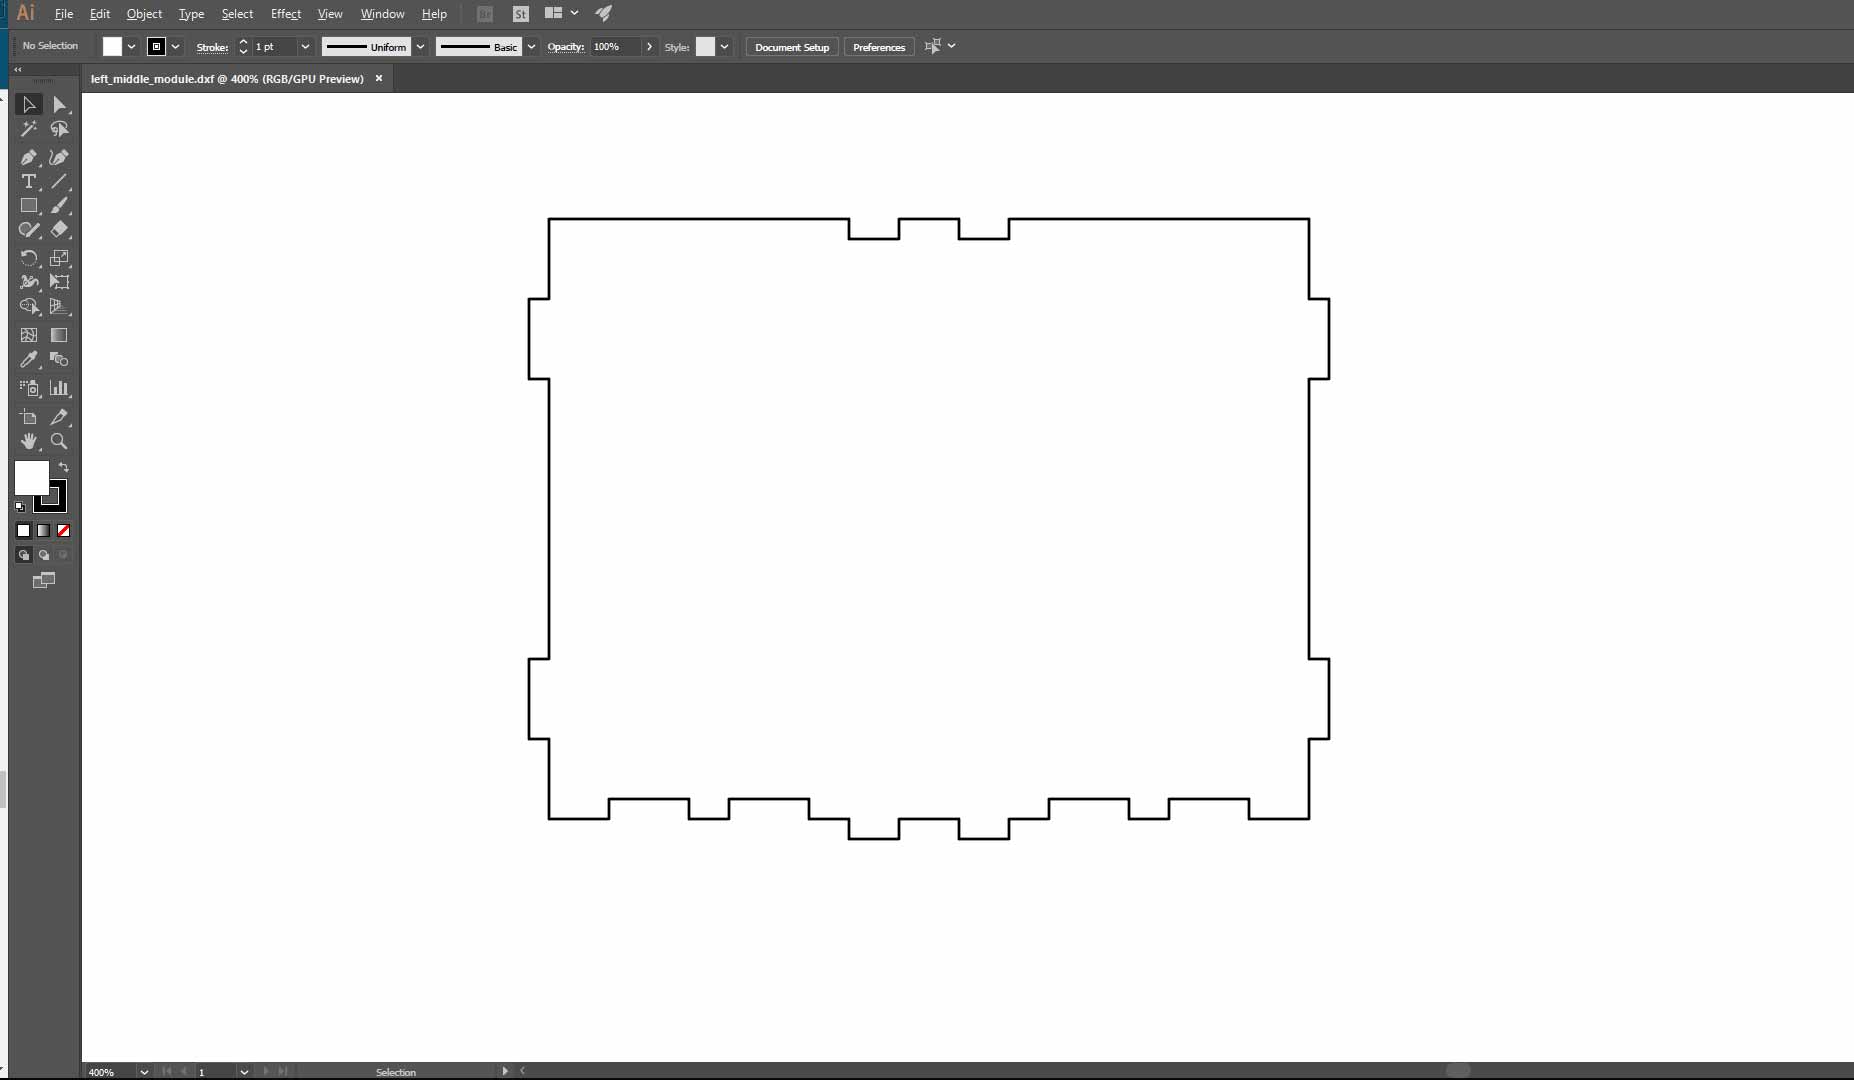
I have then exported my design in dxf via fusion360 in order to lasercut it. I'm working in a very hot environment and I have to push the machine at their limits
Parameter
Value
Power
95%
Speed
10mm per second
10mm per second with 95% and make two pass. Slow but it's working. I don't have any surprise for the assembly and the way the pieces slide together as I have checked and tested the kerf and the assembly before :) />
Example of DXF file ready to be cut, video below
The assembly of the Green House
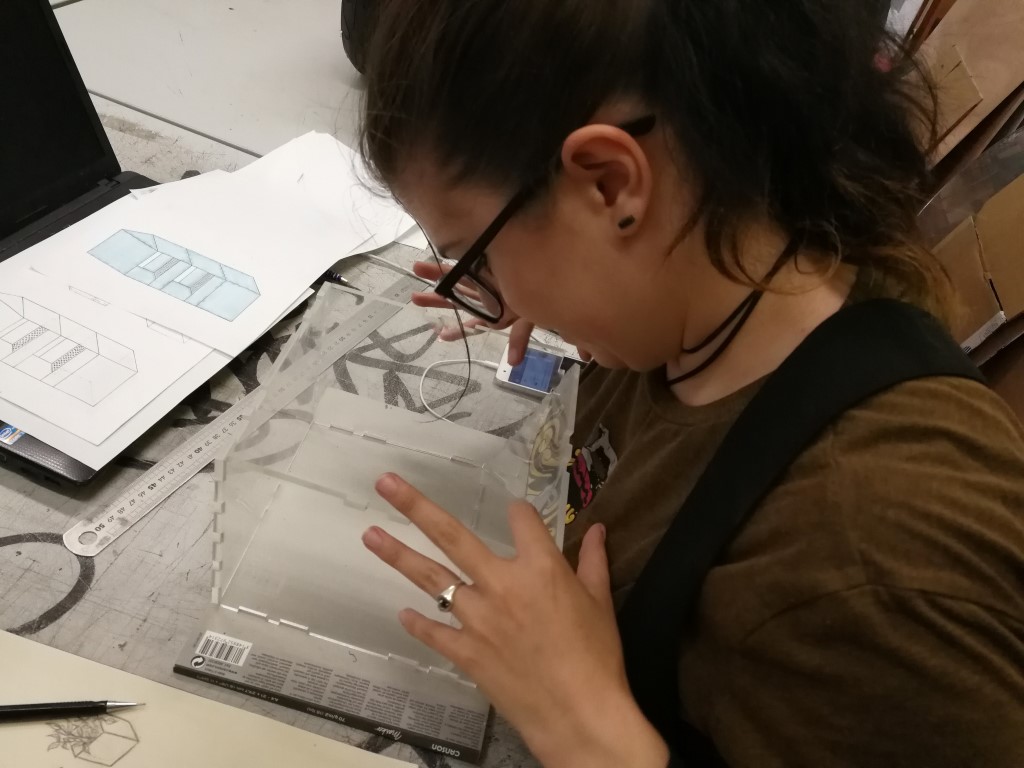
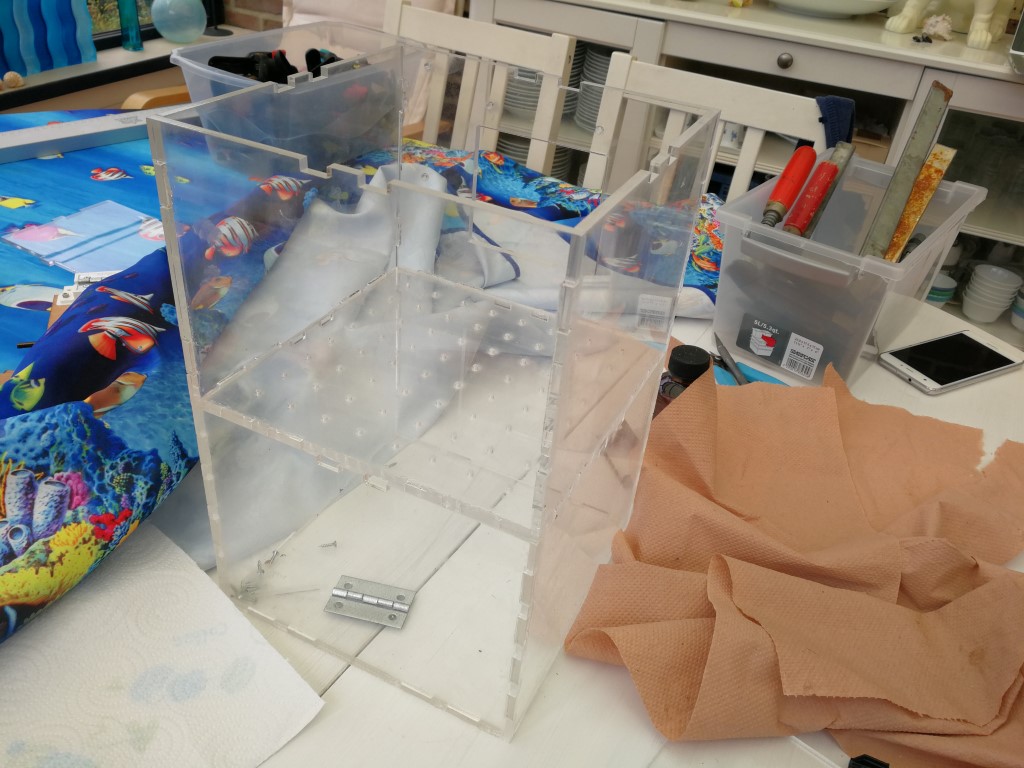
Since I have now my parts for the different modules, I can now begin the assembly. Thanks to the modelisation in fusion and the fact that you check how it fit direcly, no surprises here
I even get some help, thanks Julie!
The cut is nice and the plexy is still translucid
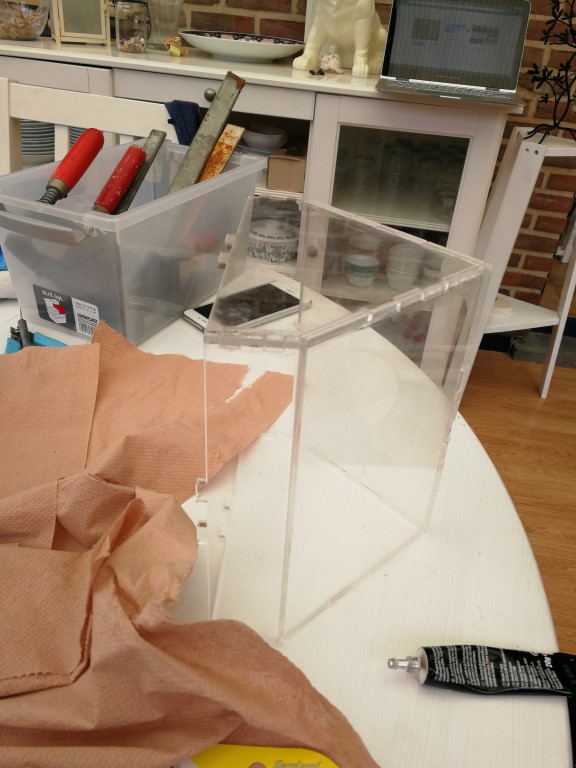
I'm using a Patex Extreme Repair, I have already tested on PMMA and it hold well, leave almost no trace and don't go yellow
It's not the most difficult task for sure but it sure take some time
Almost done, even when the cut was a little to large, the glue fill the small gap and I have a nice assembly
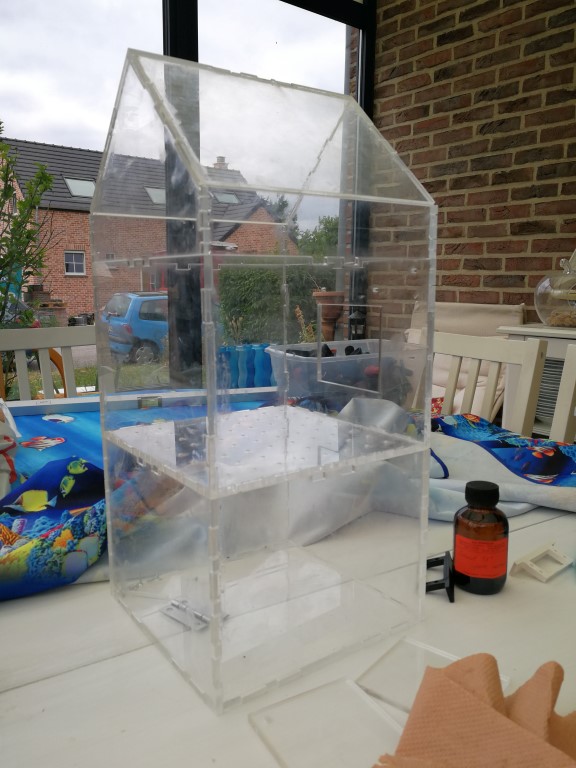
And it's done I will let rest for a few hours, now I have to find some way to move it around, no rest for the braves! (or the FabAcademy)
Ready to move for the final phase
Door and cinematic
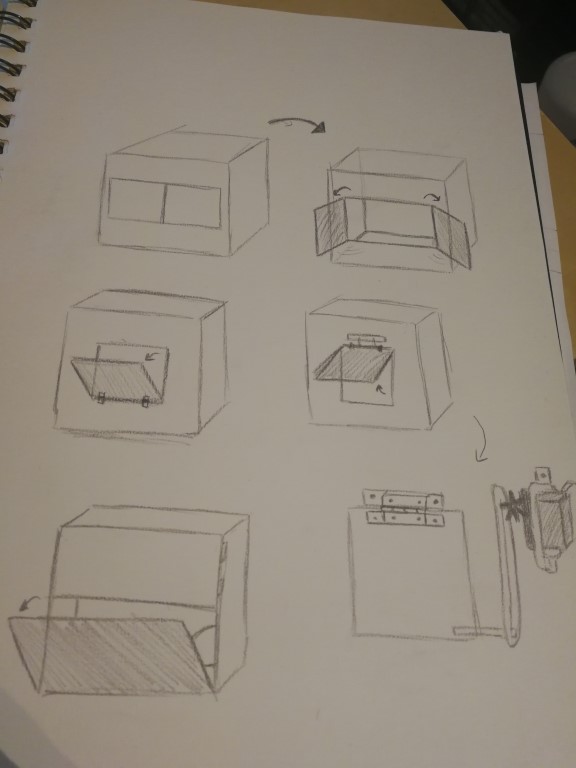
As I have stated before, how to move the door I have imagined for aeration was my biggest question, I have never done that before. I have ask for advice around and I get more questions than anything else :)
Many ways to do the same thing and I have choosed the last one, with the moving parts
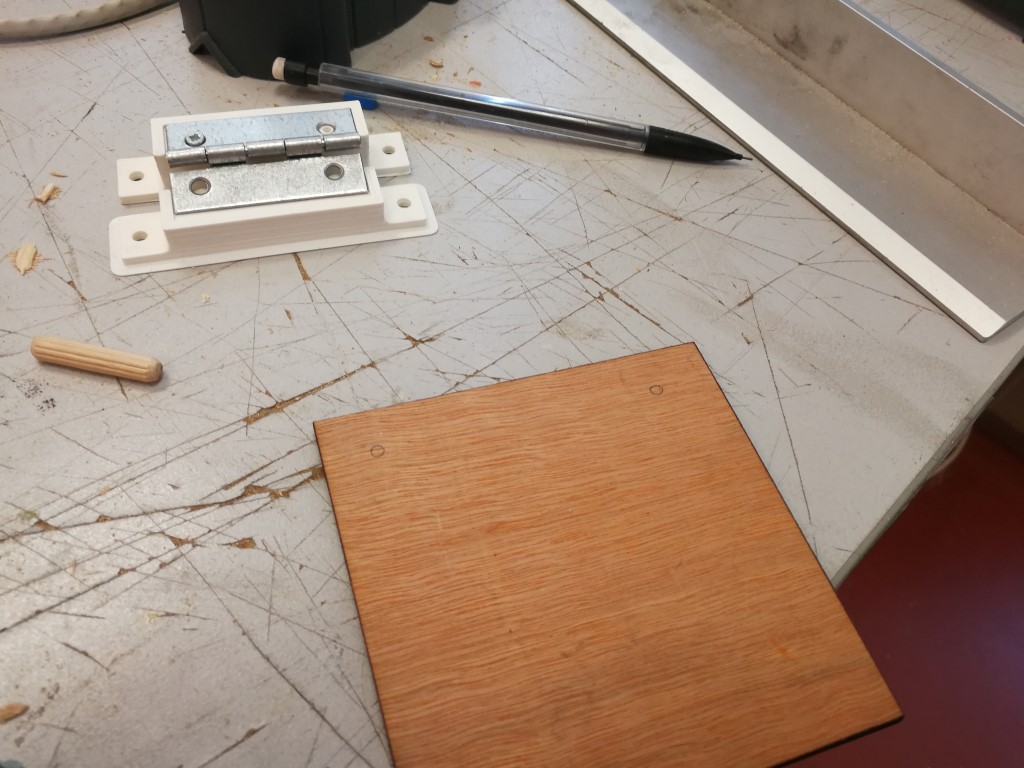
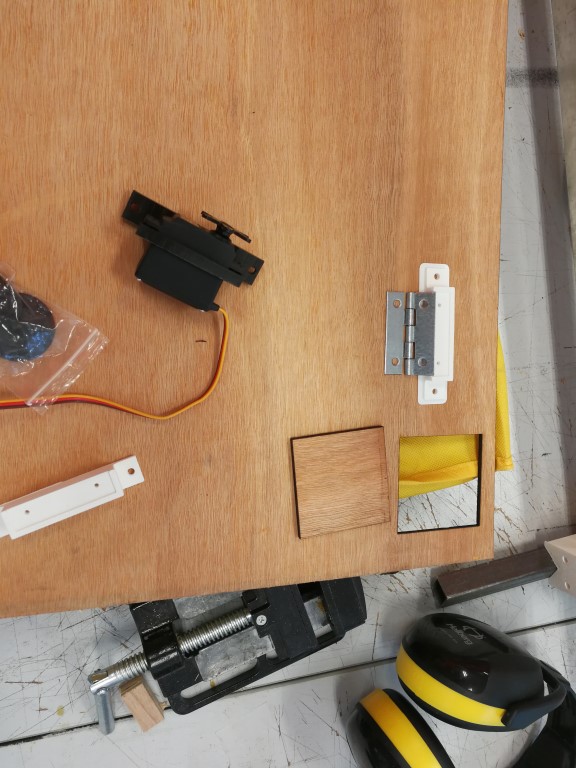
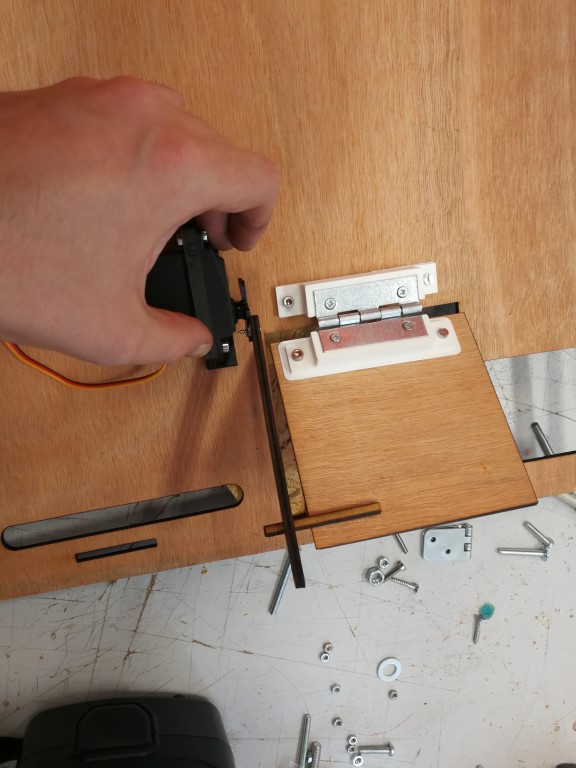
I have tried first some test in the wood with the same thickness of 5mm as you can see below
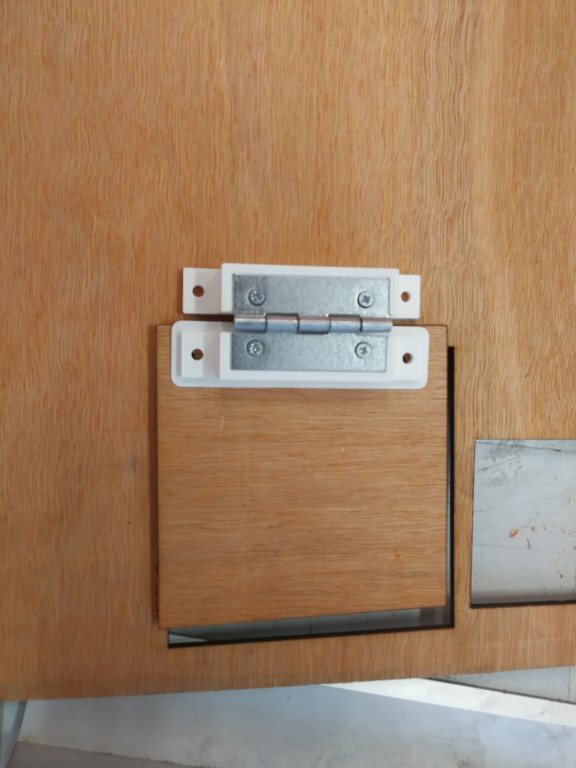
A simple cut in the wood as door, some hinge and some 3d printed parts make a great beginning
I continue to investigate how to fix the motor and use it efficiently
I have to make 2 different hinge supports in 3d to compensate with the space between the void and the wood
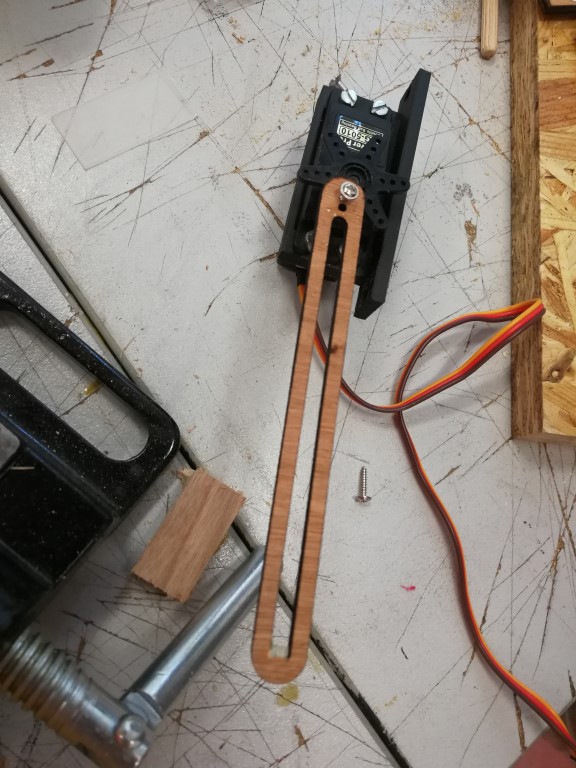
I will need something to move my door and be moved by the motor, the form is looking promising, the lenght is maybe too much
Really to long but it seems to be working!
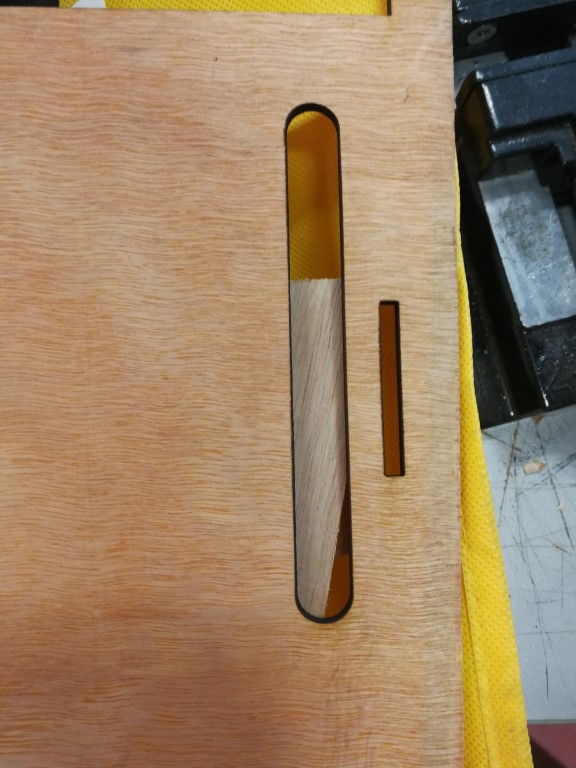
And it works! The door is moving fine, I can calculate and setup the position of the servo motor and determined the right angle for the opening and closing
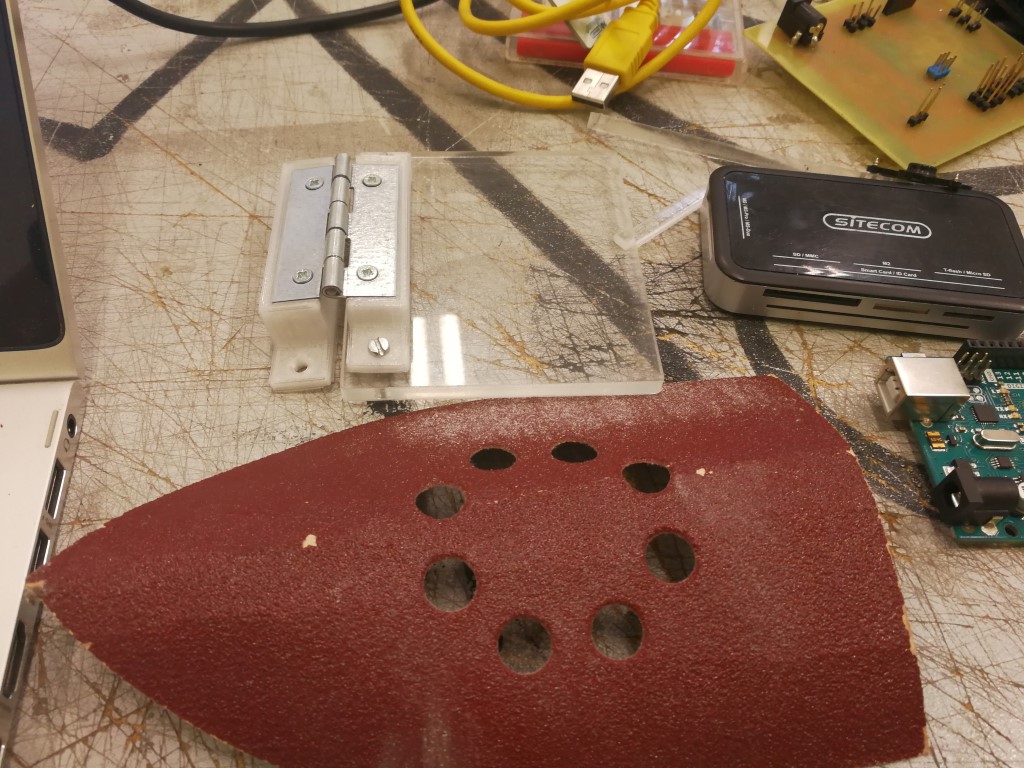
It works but it's best to remove the last bit of unwanted friction between the panel and the door, I have sand the two parts in contact
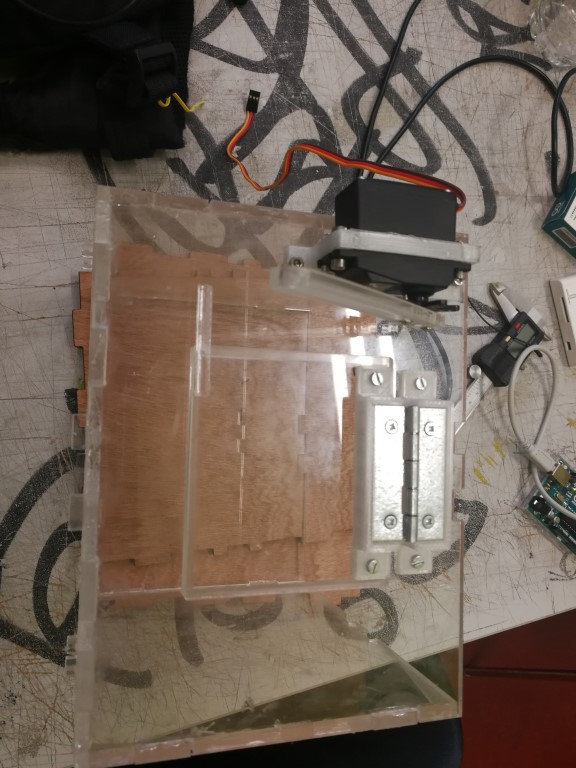
The same but in plexigas after the tests on wood
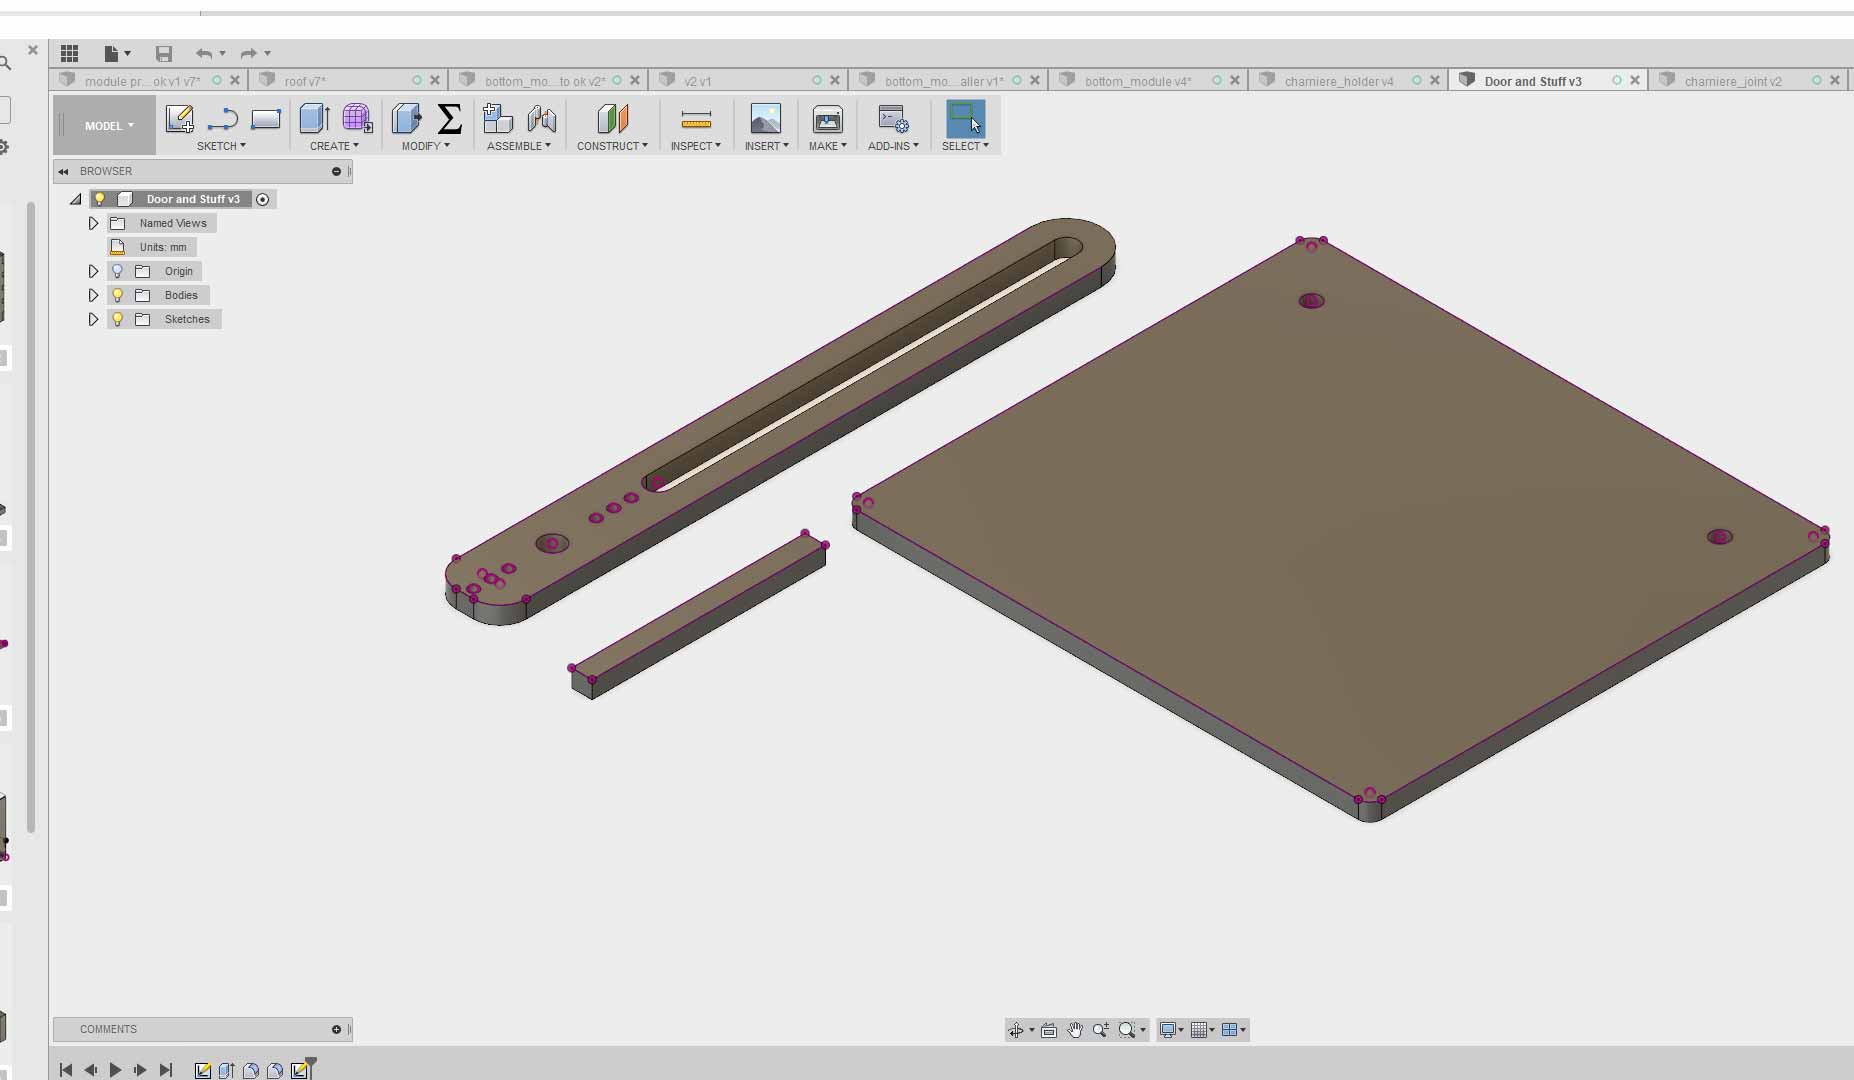
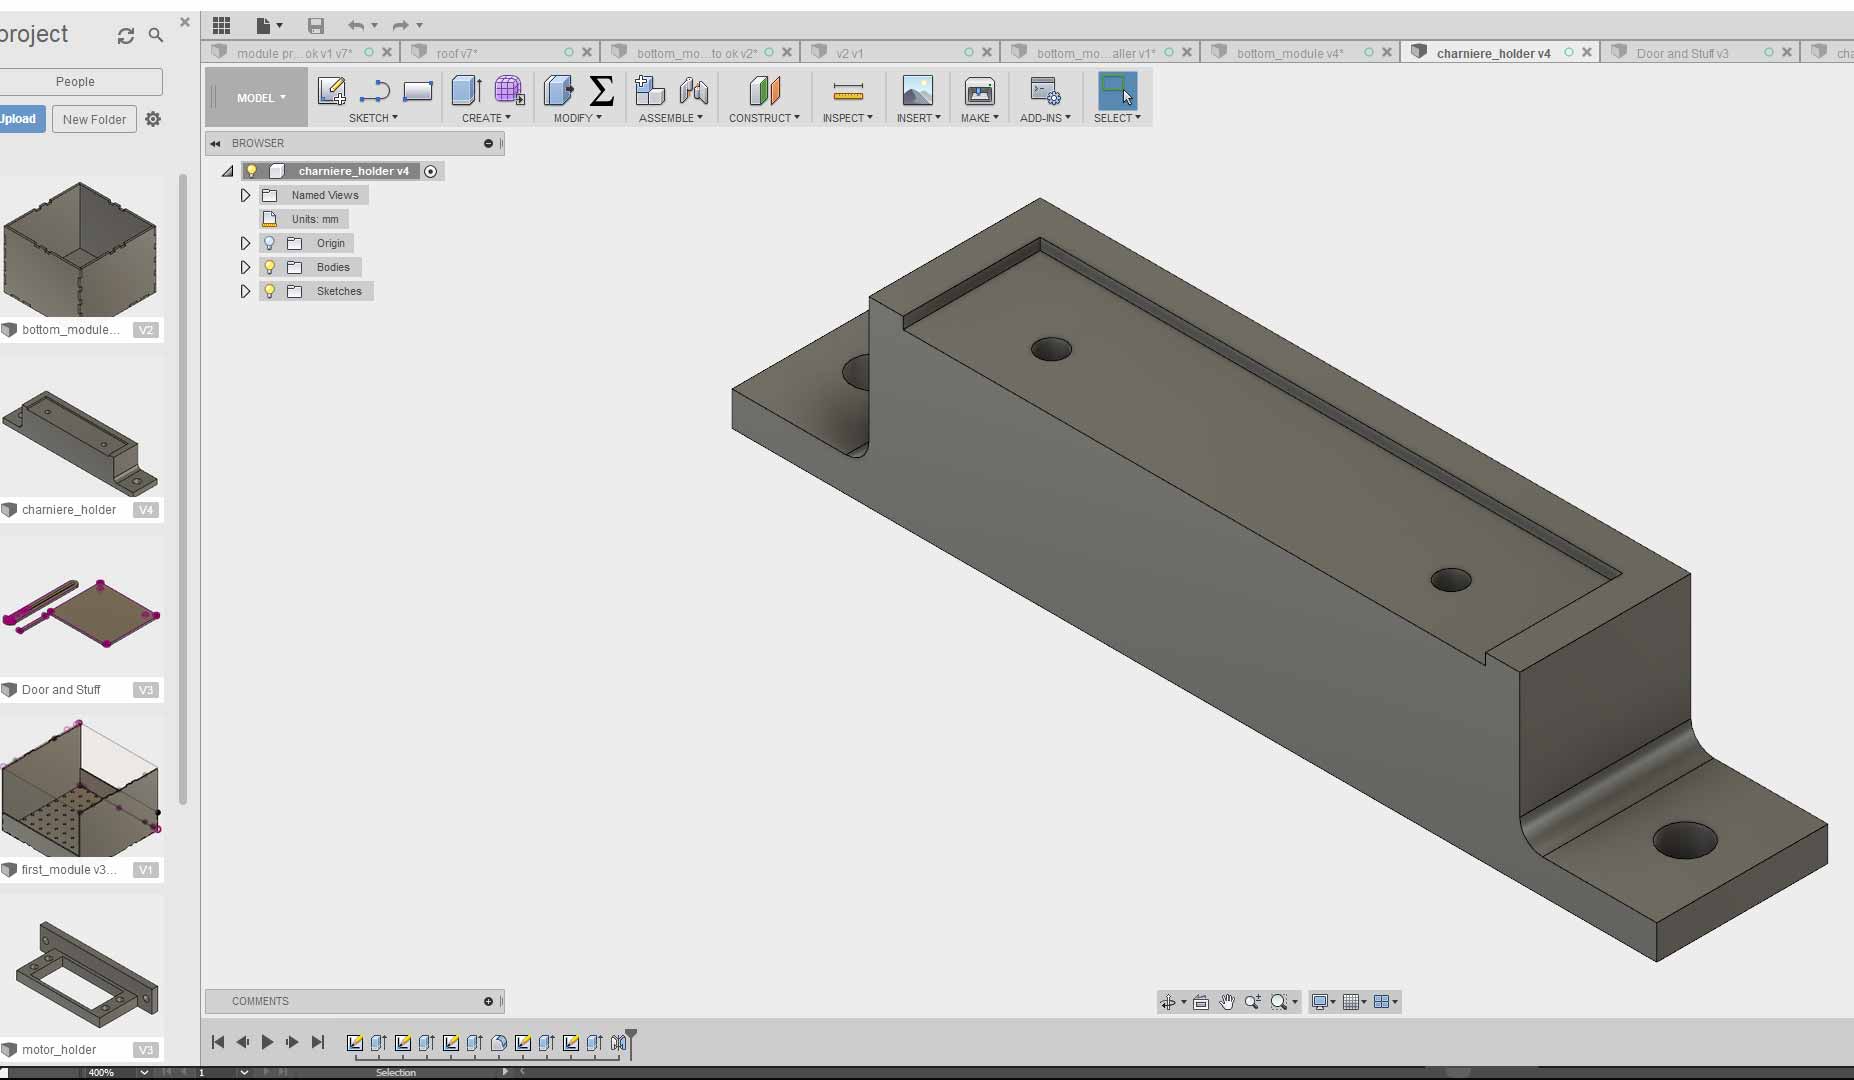
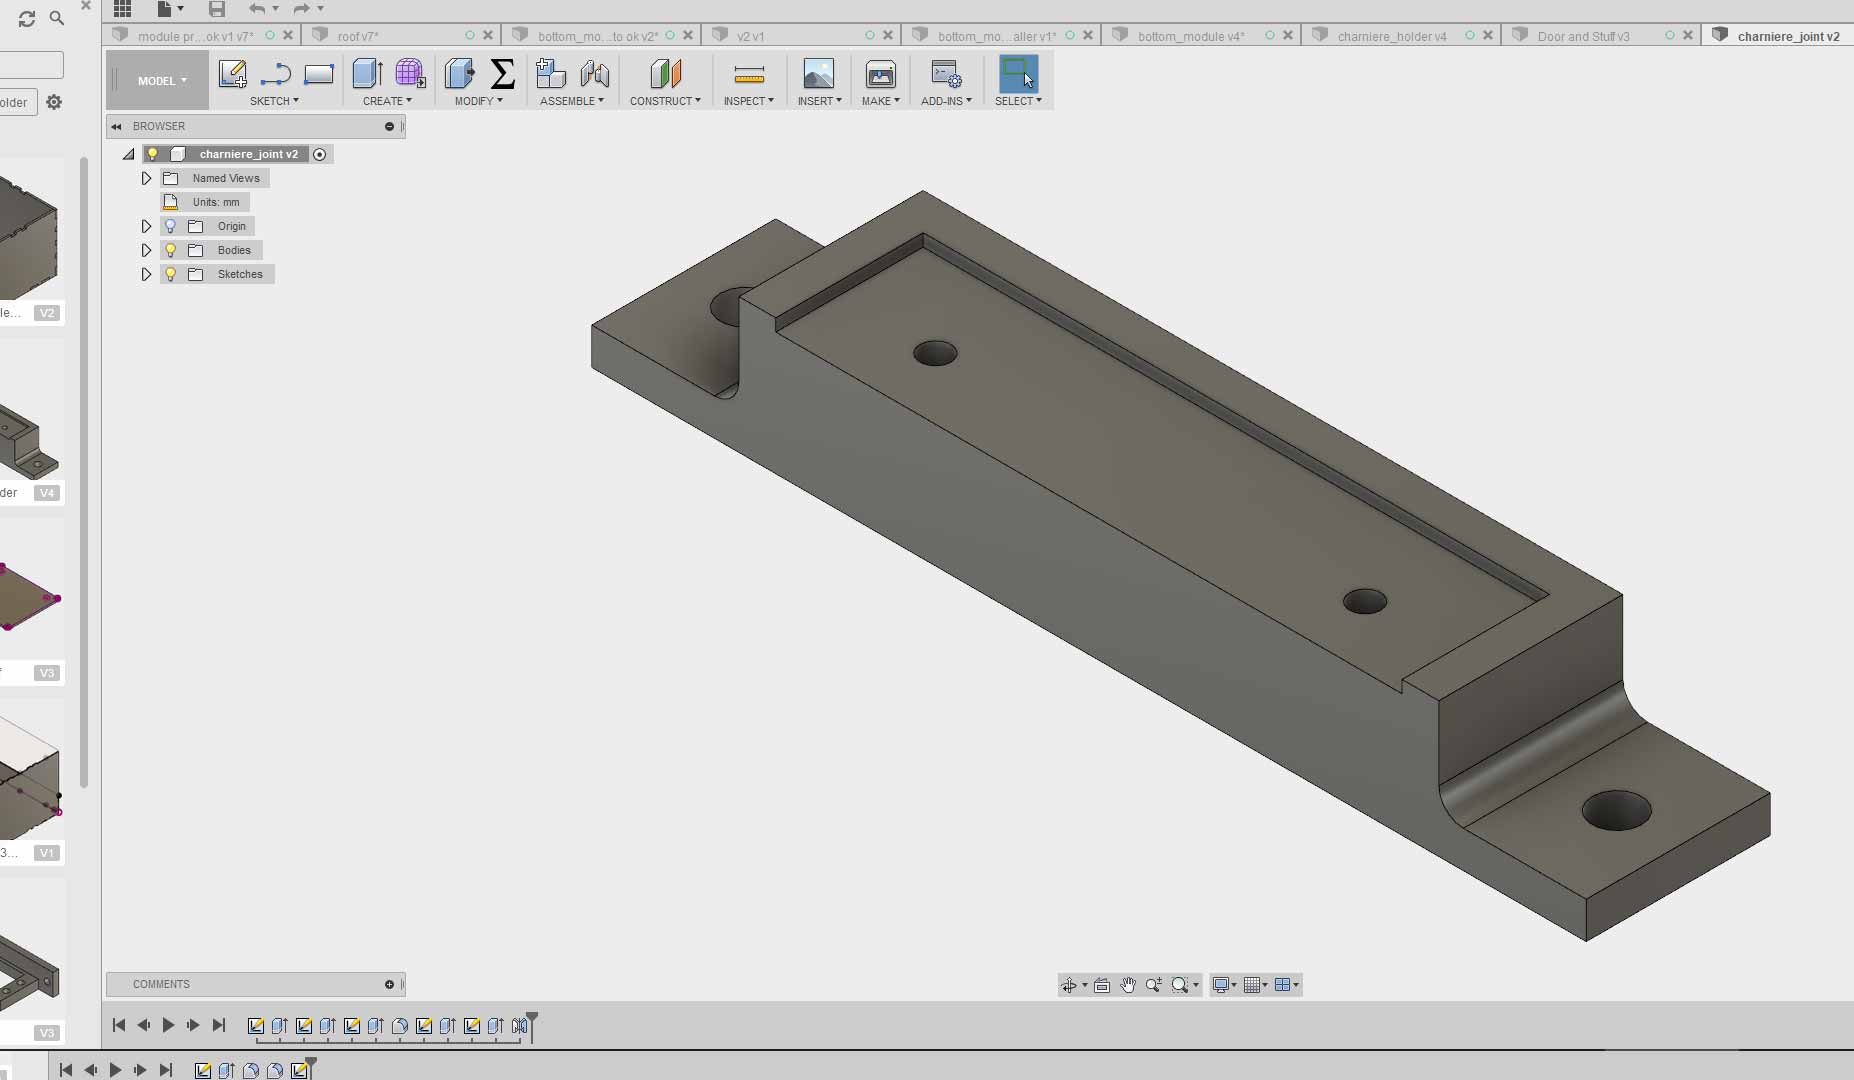
The 3d model of the door and accessories
the 3d printed part who goes on the wood
the 3d printed part who goes on the moving piece
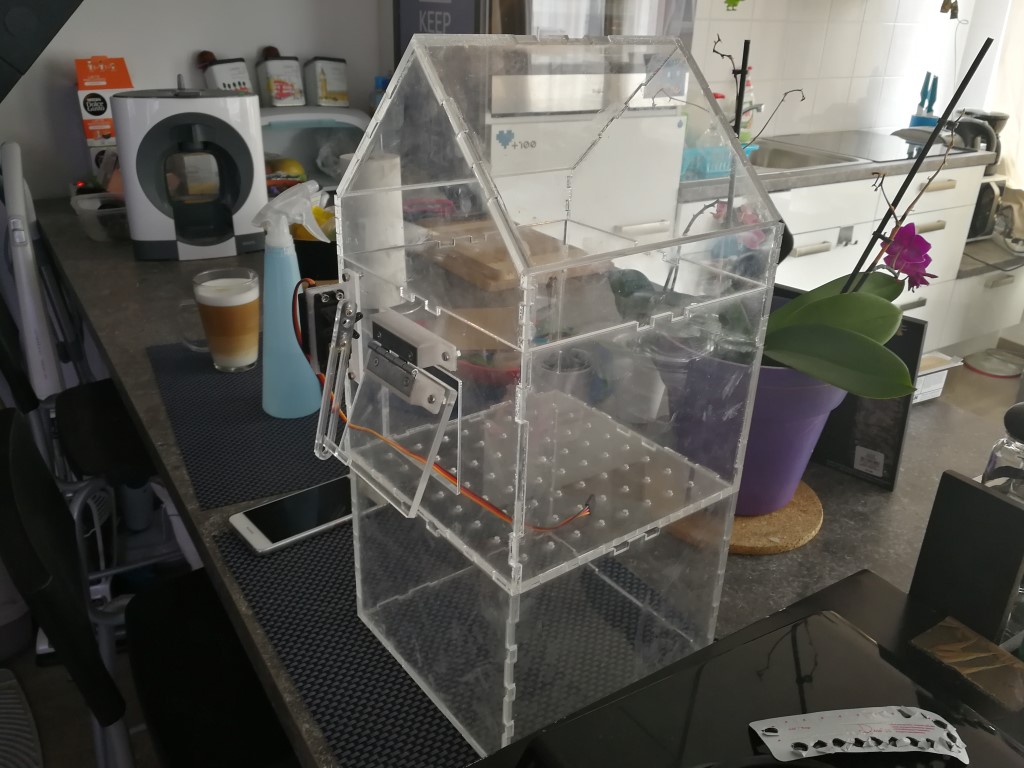
I have now a complete Green House with a motorised door!
Electronic and Integration
Last step! I have now to put everything together. All the components are working on their own so fingers crossed!
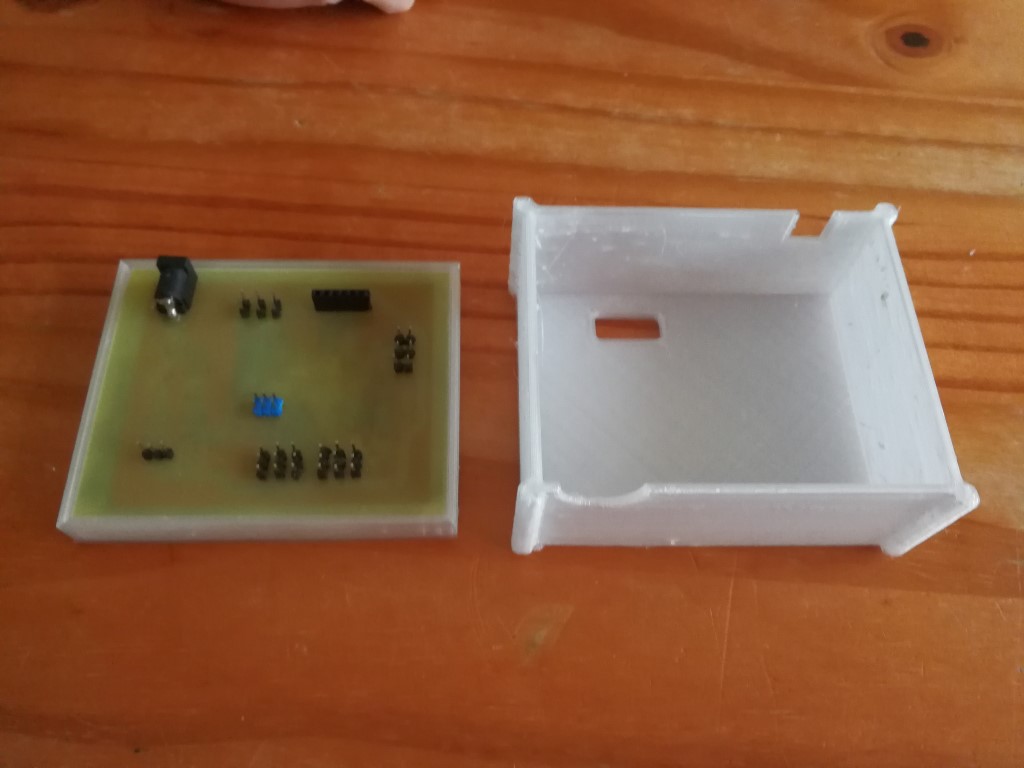
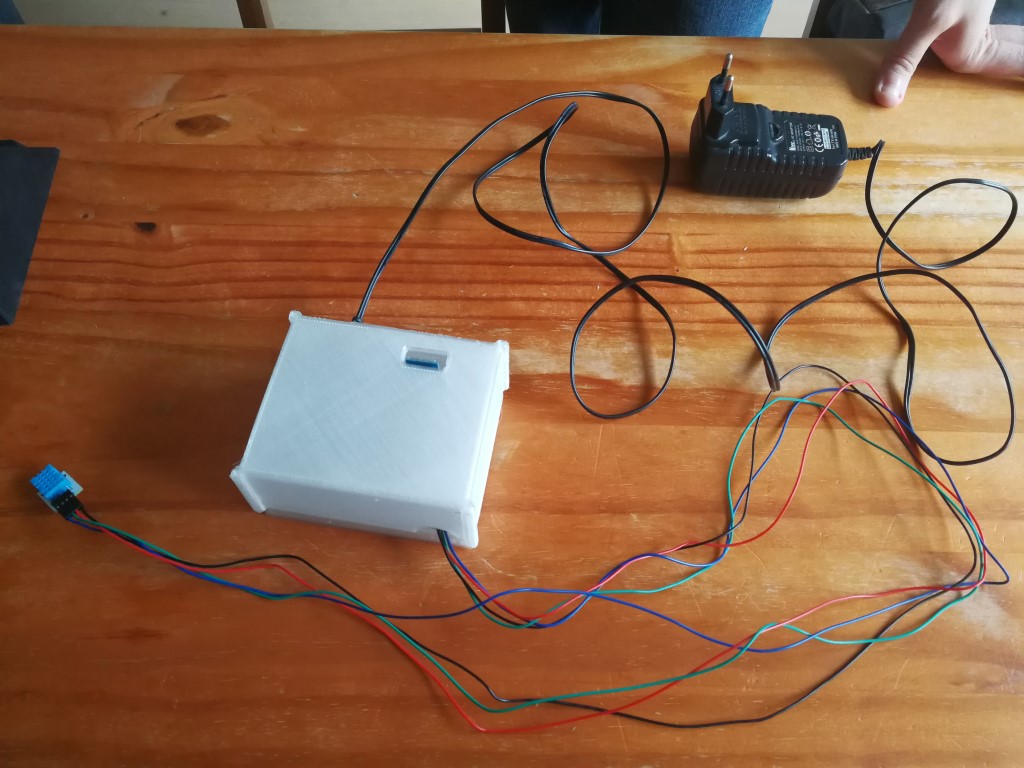
I will protect the board with a 3d printed box, with all the needed holes for wire management. I don't want to finish the Green House with a mess of wires
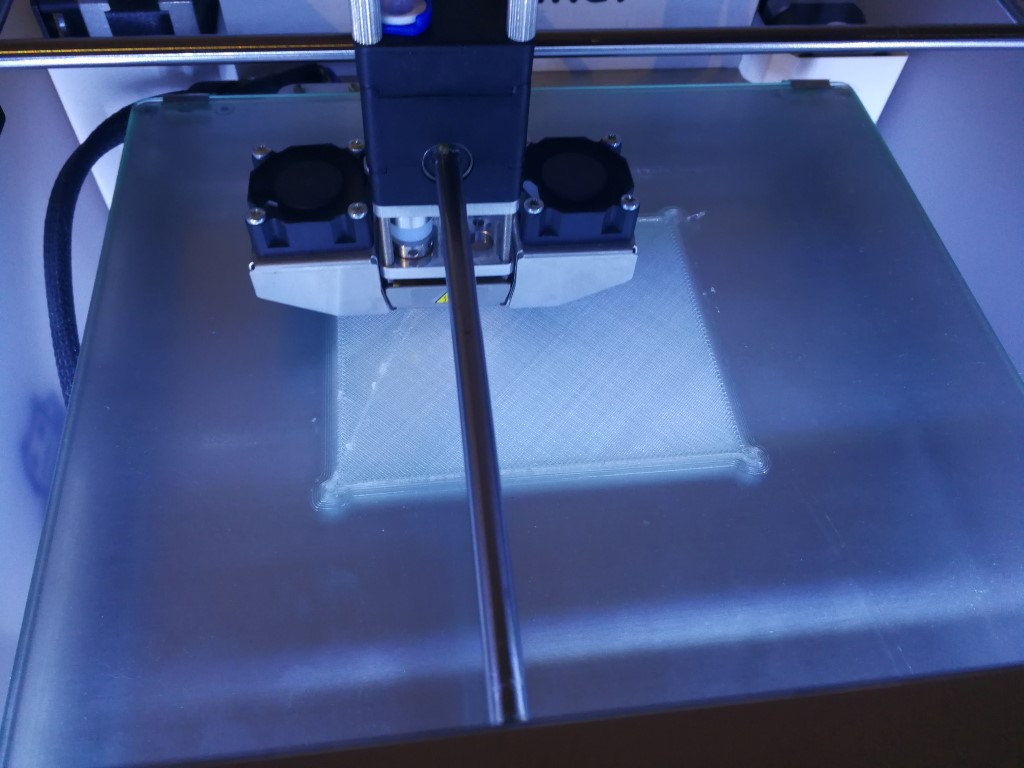
I'm printing with the top part transparent Colorfabb XT polyester
I have made the bottom in the same material
Parameter
Value
Print time
top = 10h and bottom 4h
temp°
245°
Speed
30mm per second
Heated bed
70°
Retraction settings
6.5mm, 40mm per second
The board fits well and stay in place with just friction force. The box itself doesn't close to well, due to warping during the long print in the night
The inside of the board, neat and clean and with room for 4 more sensors and 2 motors
The board is proctected, I will now be able to connect the sensors and motor for good.
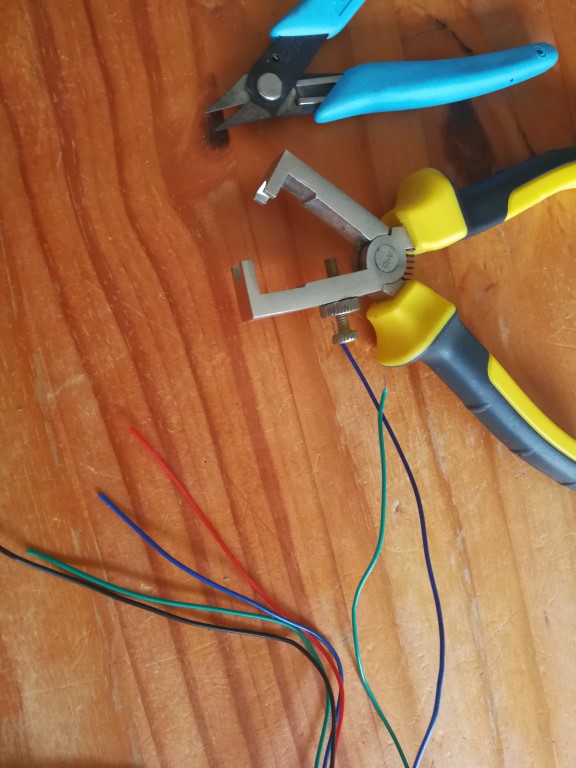
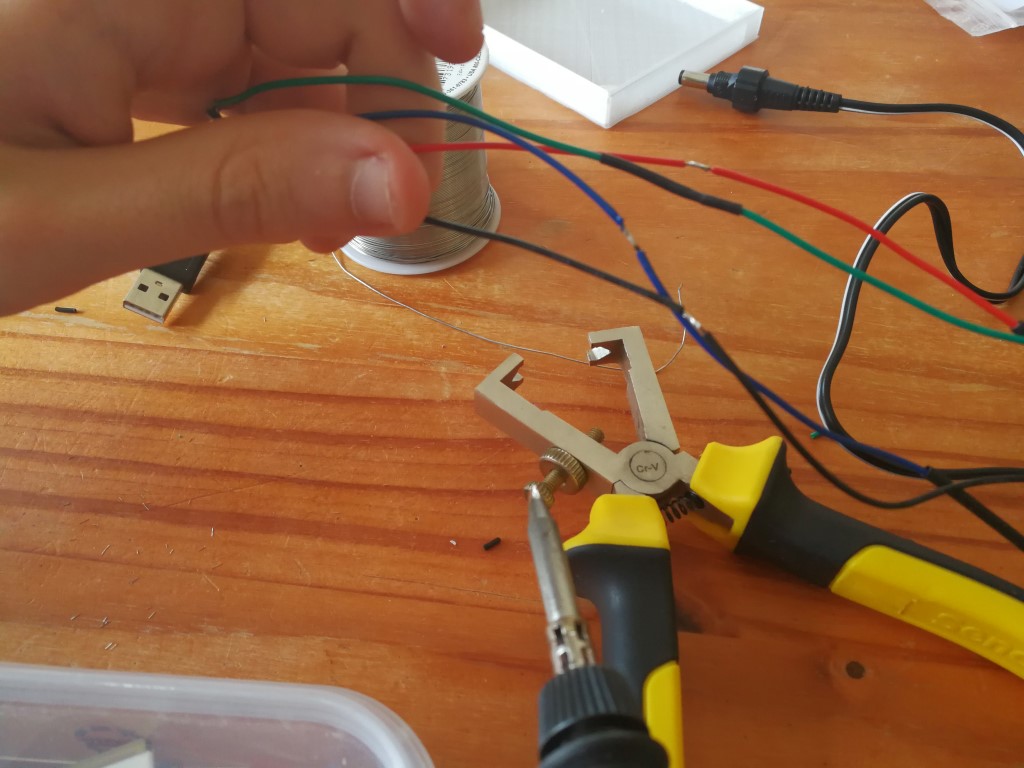
I will need to make some wires and mostly shorten them
I will first cut the wires and shorten them the way I want
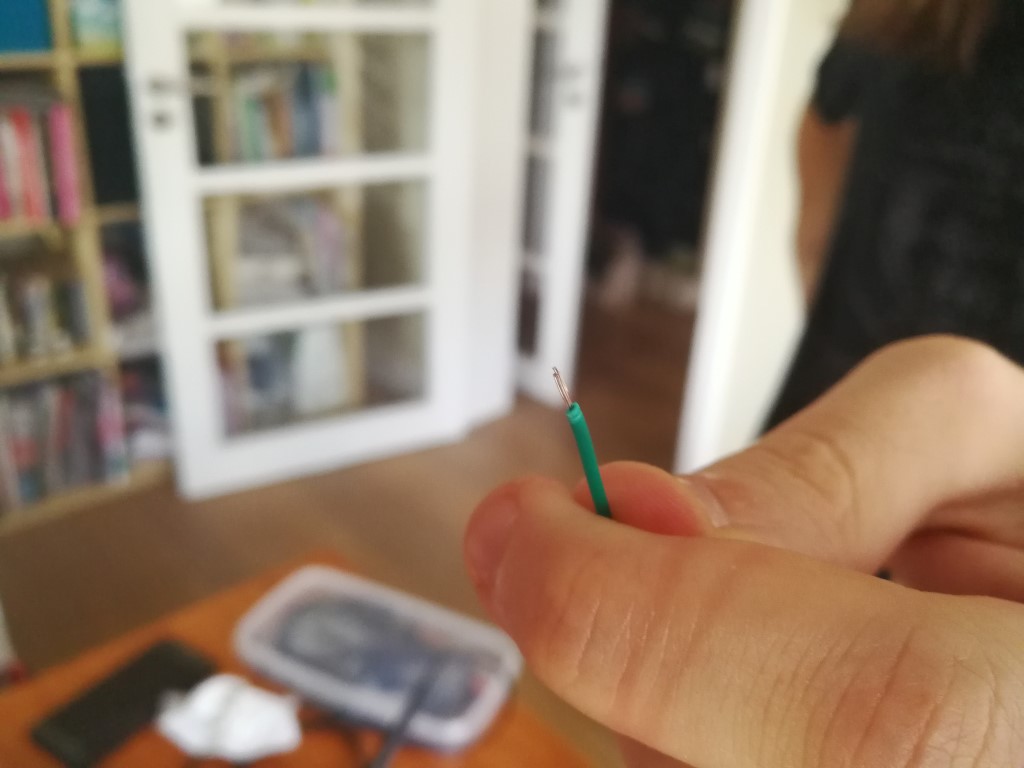
Once bared, it will be easy to reconnect them
A few drop of welding and it's good to go
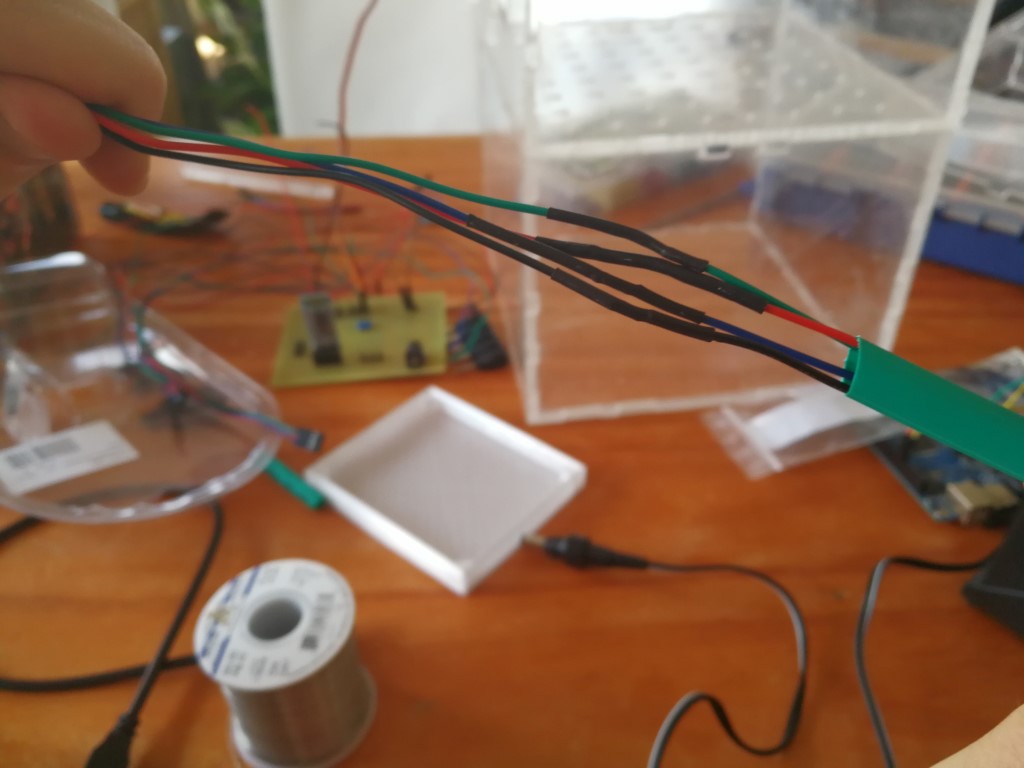
And I finish the job with heatschrink tube for a good packaging and resistance
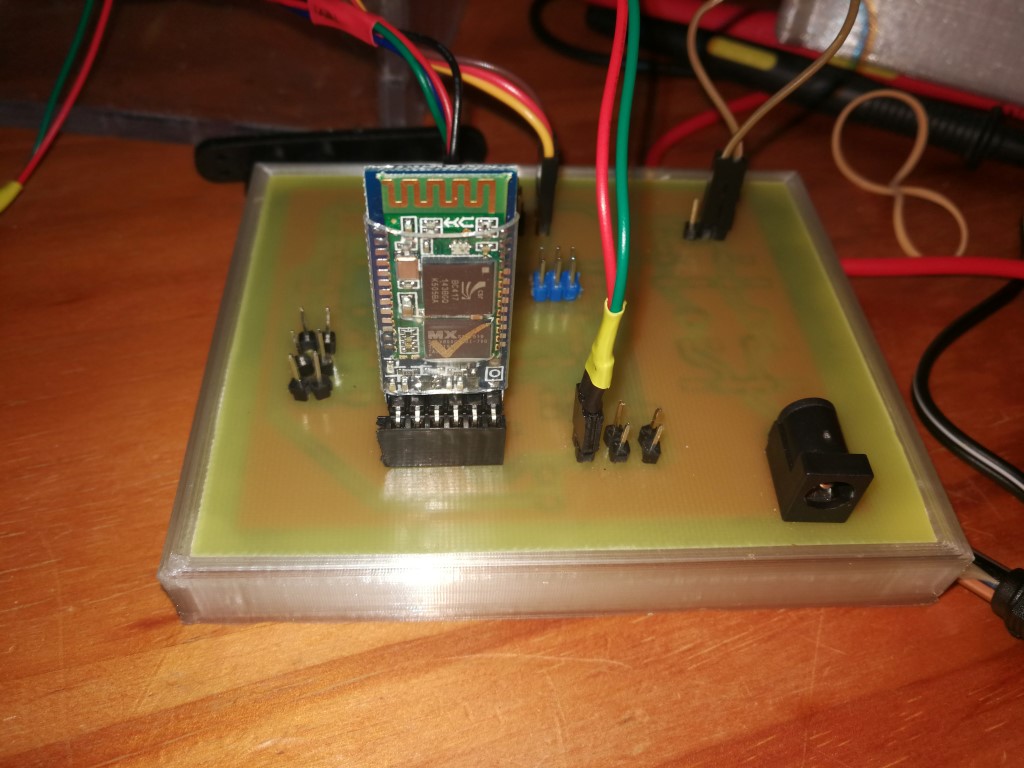
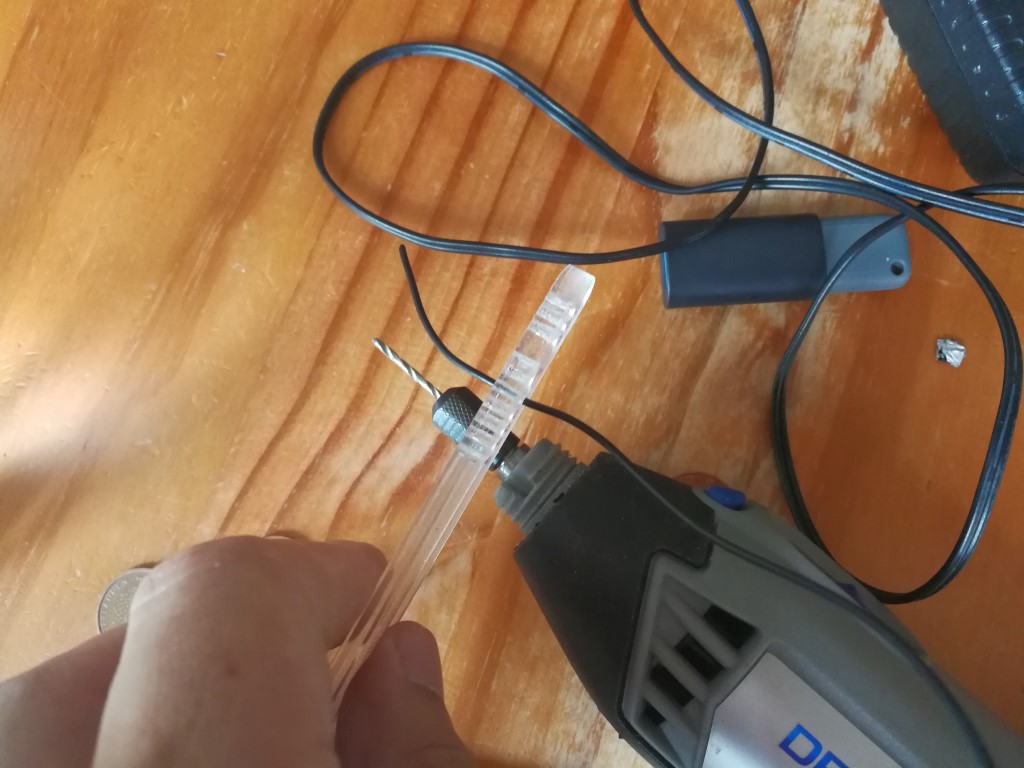
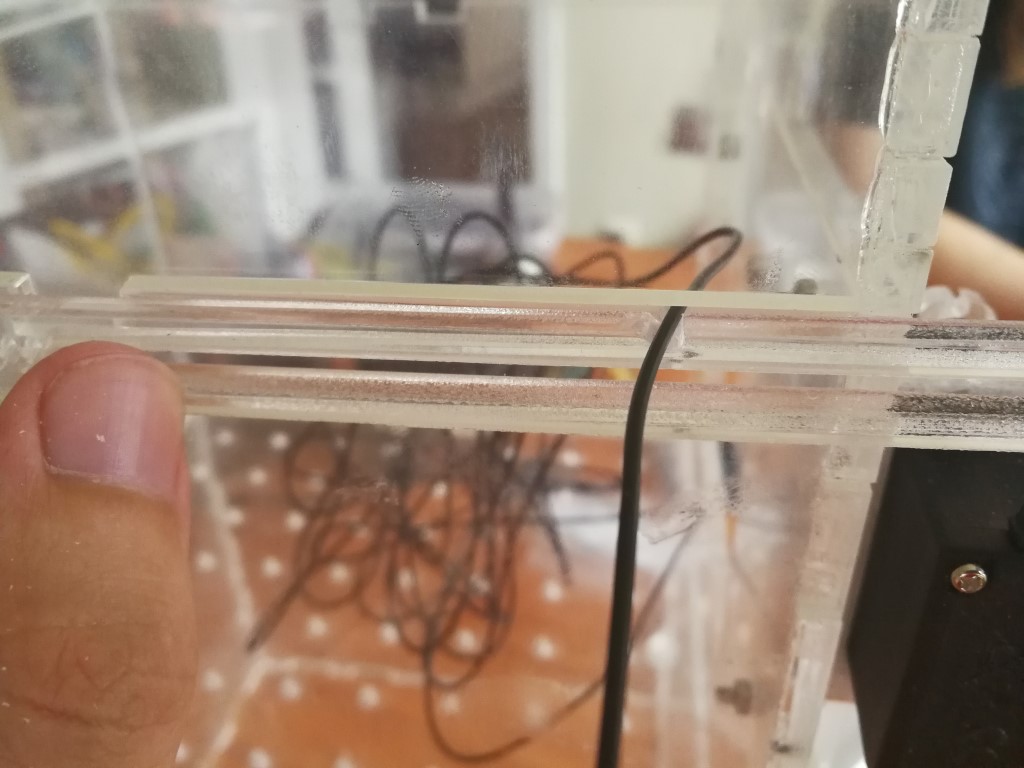
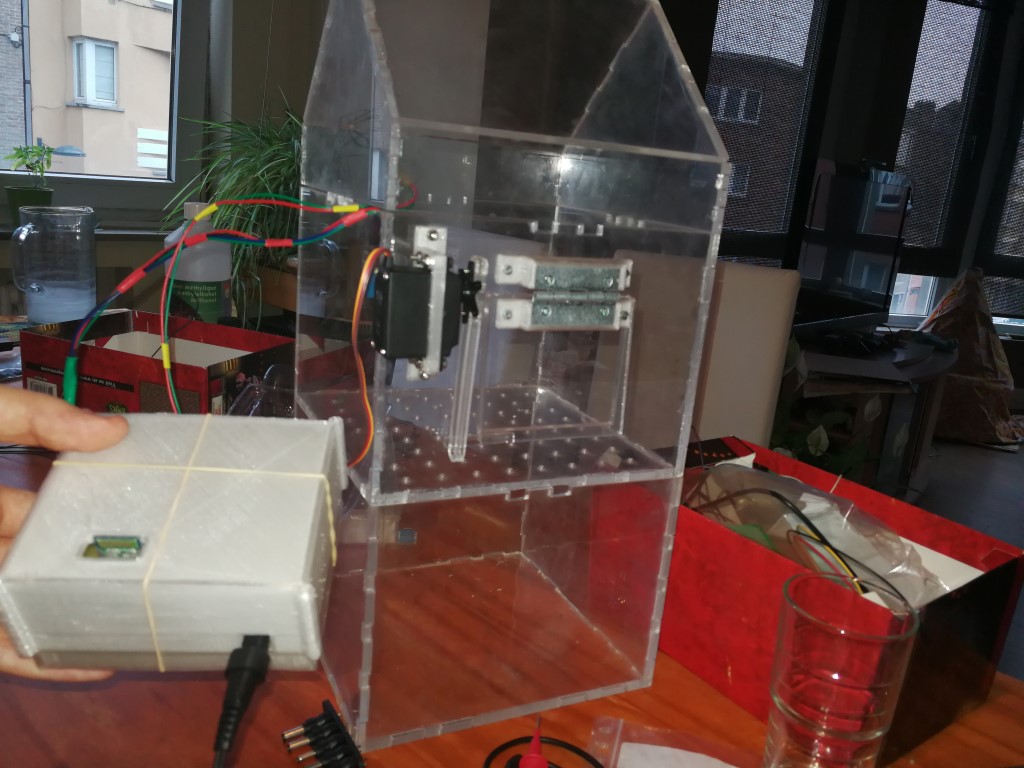
At that precise moment, I realise that I have forgot something important : a way out for the wires... I need to be implemented in the next version! But with a dremmel, I have made short work of the issue with a small hole in the panel. The wires fill it nicely
I'm testing first the dremmel and the plexigas on junks, I don't want to explode my Green House now!
It's working but not really pretty, it needs to be tackle later. The photosensor is put next to the roof and the DHT11 is fixed to a panel, not far from the plants
The project in action
I will use a variable power supply fixed on 9V, so the Green House can be plug on anywhere
Everything is complete and ready to be plug. The software is uploaded and everything is green to go
The Green House at the ready !Check the video below to see everything in action
I have completed the project and it's working! You will find the sources, conclusion and others details on Final presentation page