moulding and casting
Assignment; design a 3D mould, machine it and cast parts from it...
Since I have not done moulding and casting before, I decided to start with a test mould first.
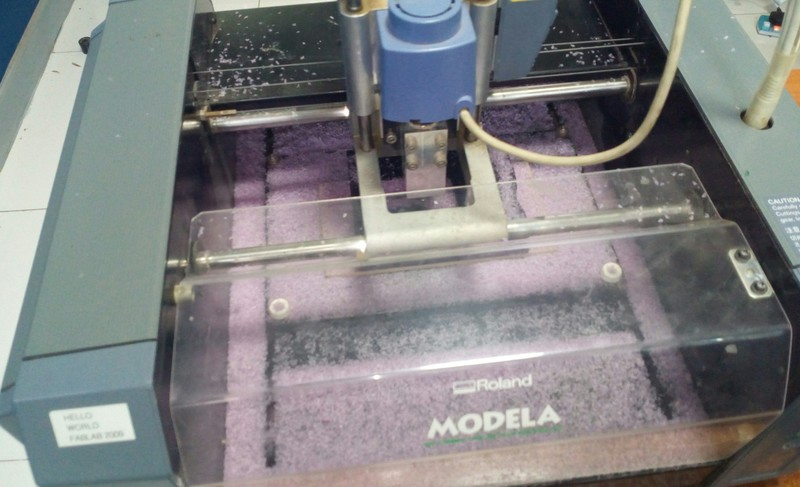
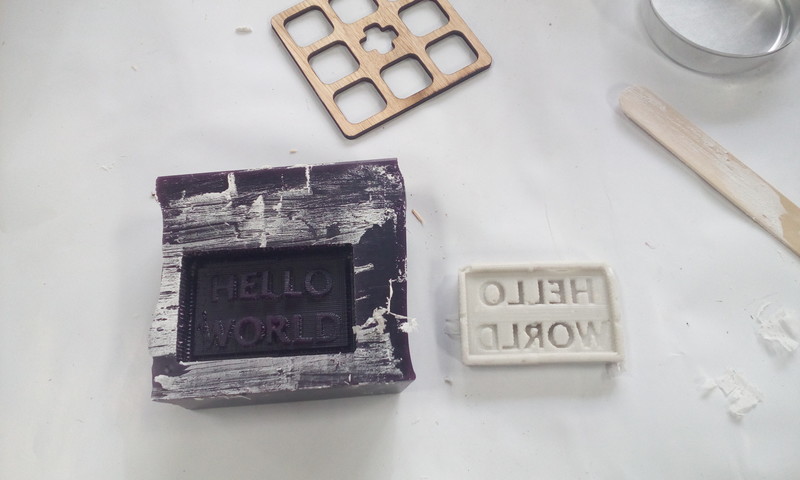
I downloaded the 'hello world' png file from the class schedule page and used that as the first test. I used fab modules to mill the wax. In the meantime I read up on the grayscale colour coding used by the fab modules to mill and how to design my own parts.

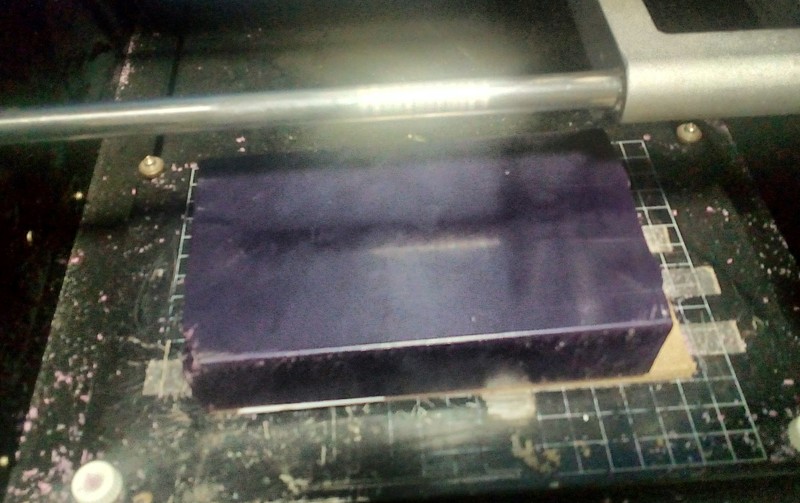
I milled the wax using a 1/8 End Mill for both the rough and finish mill... The finish was not as I expected as the mould was missing some details.
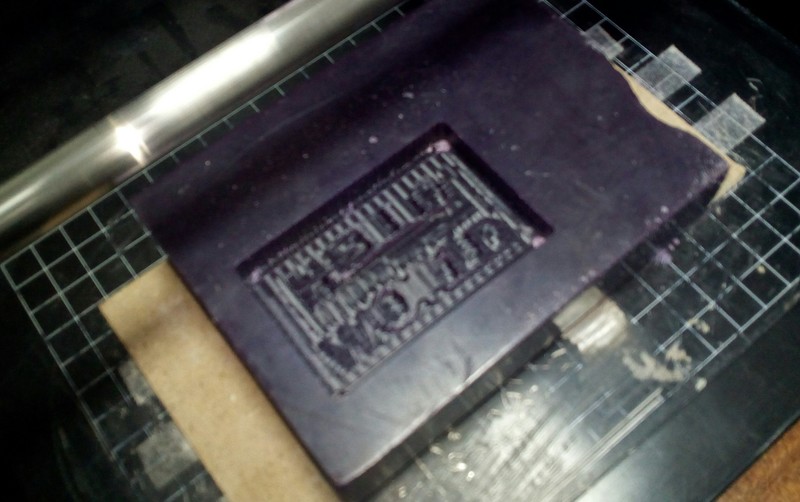
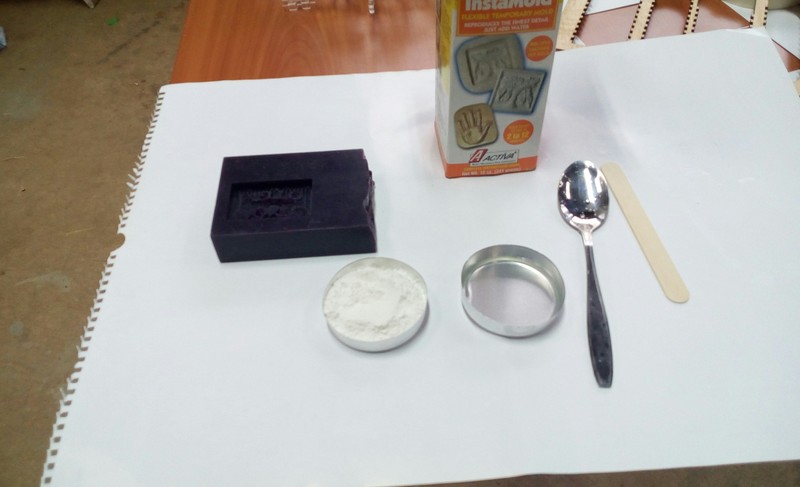
I used temporary mould making compund for the mould in a 1:1 ratio.
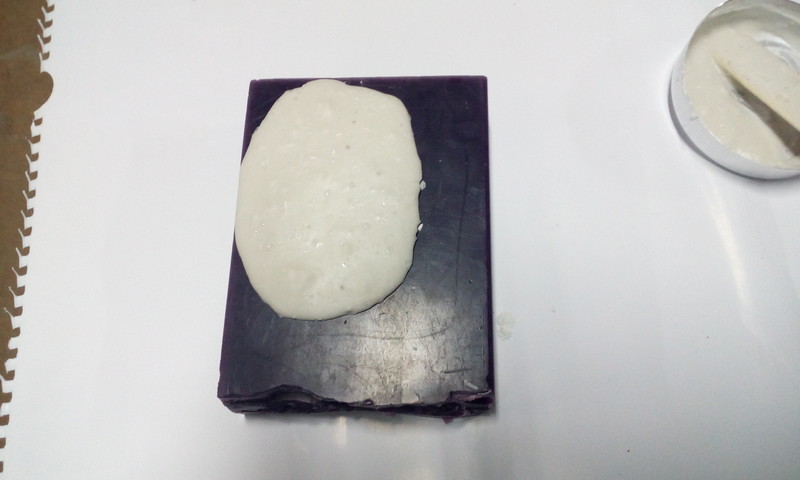
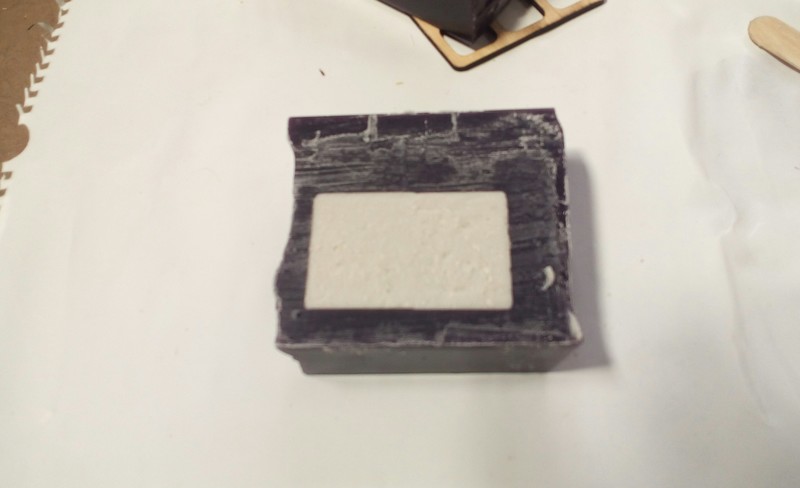
Result...

The second try proved better...
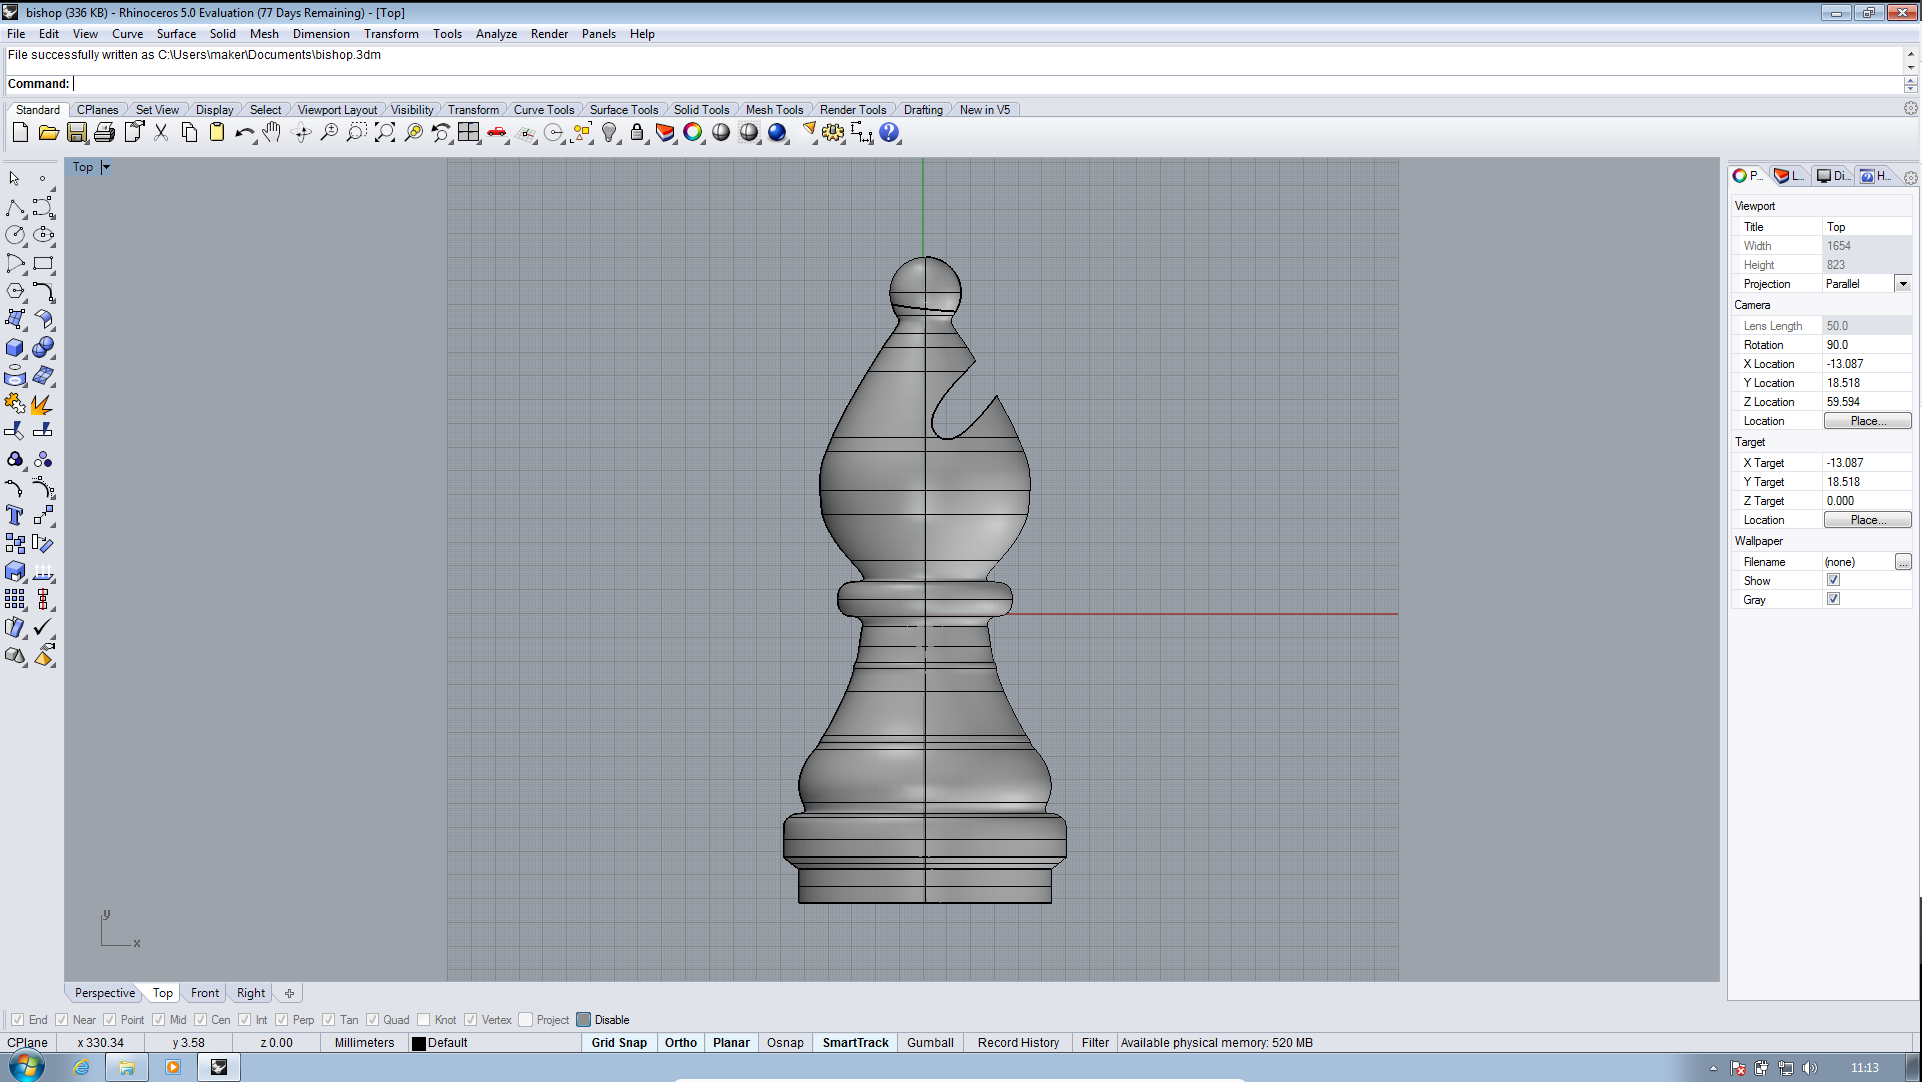
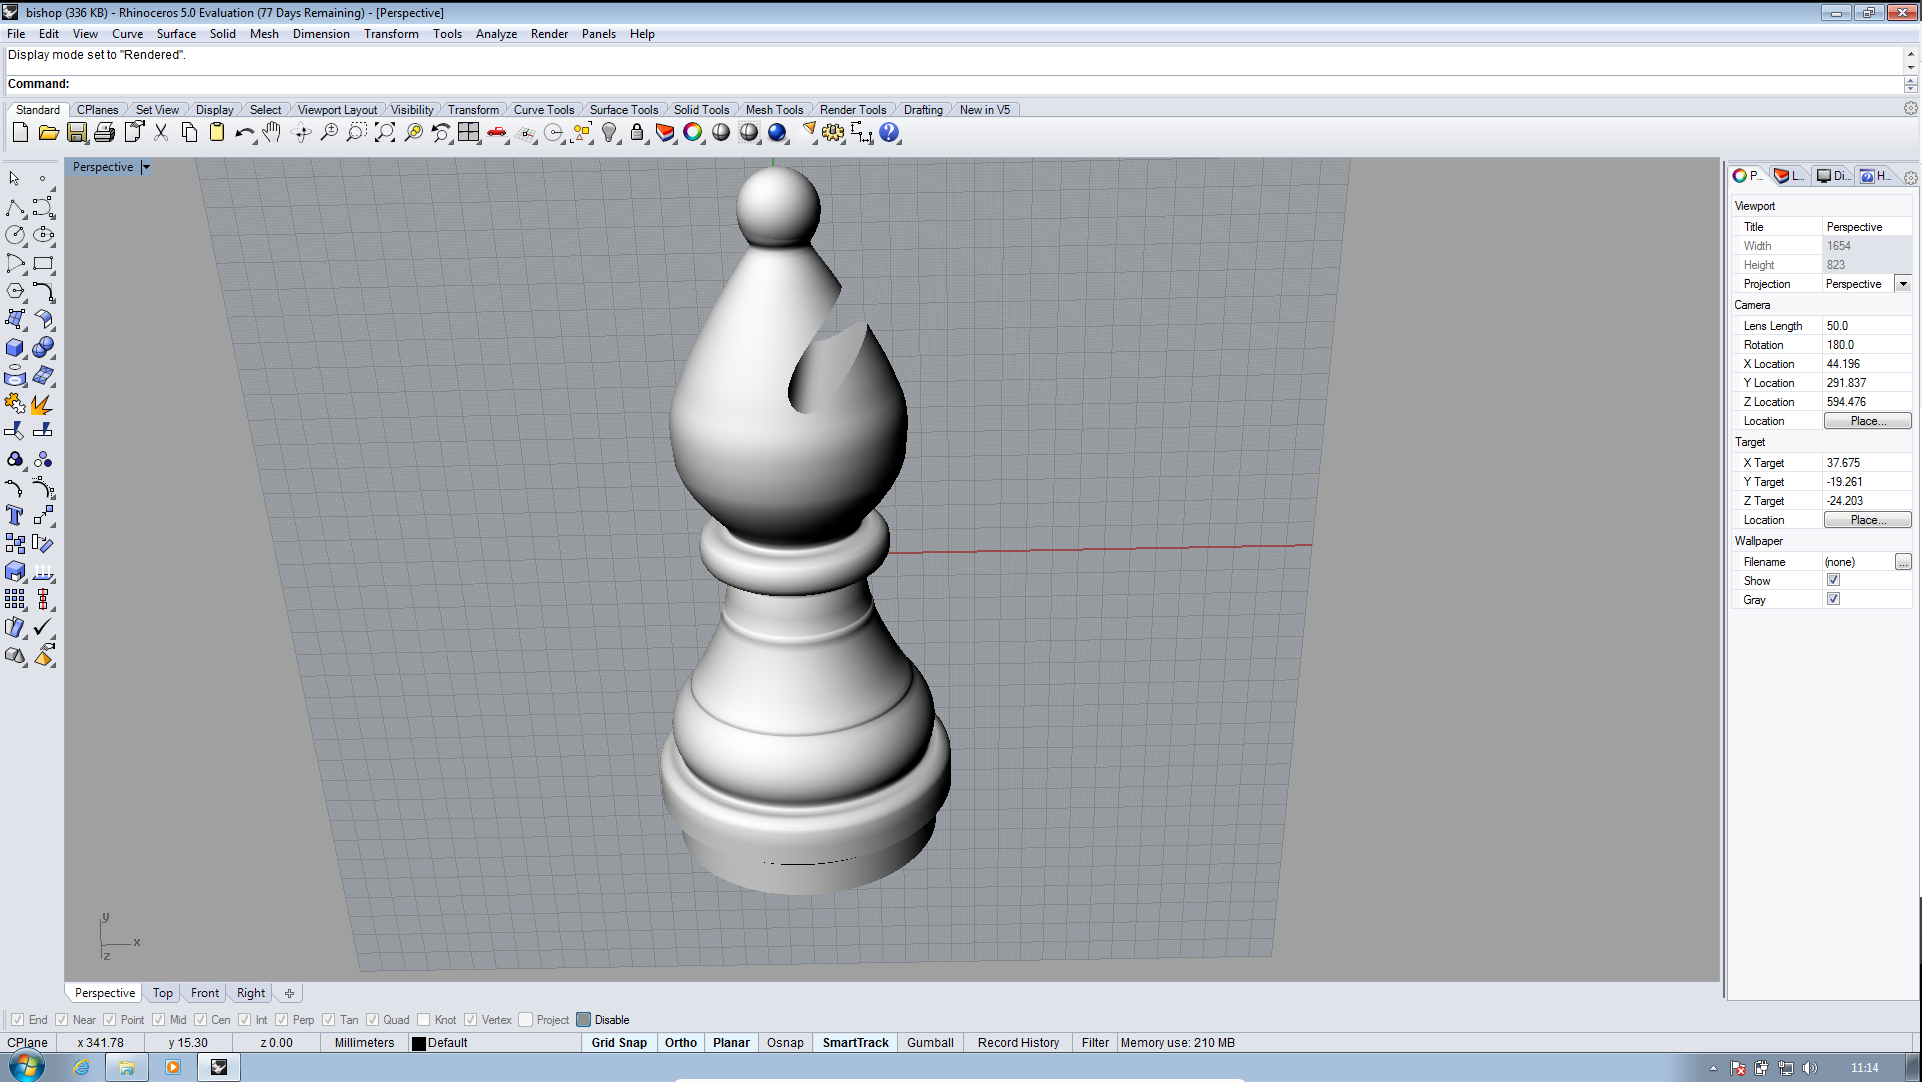
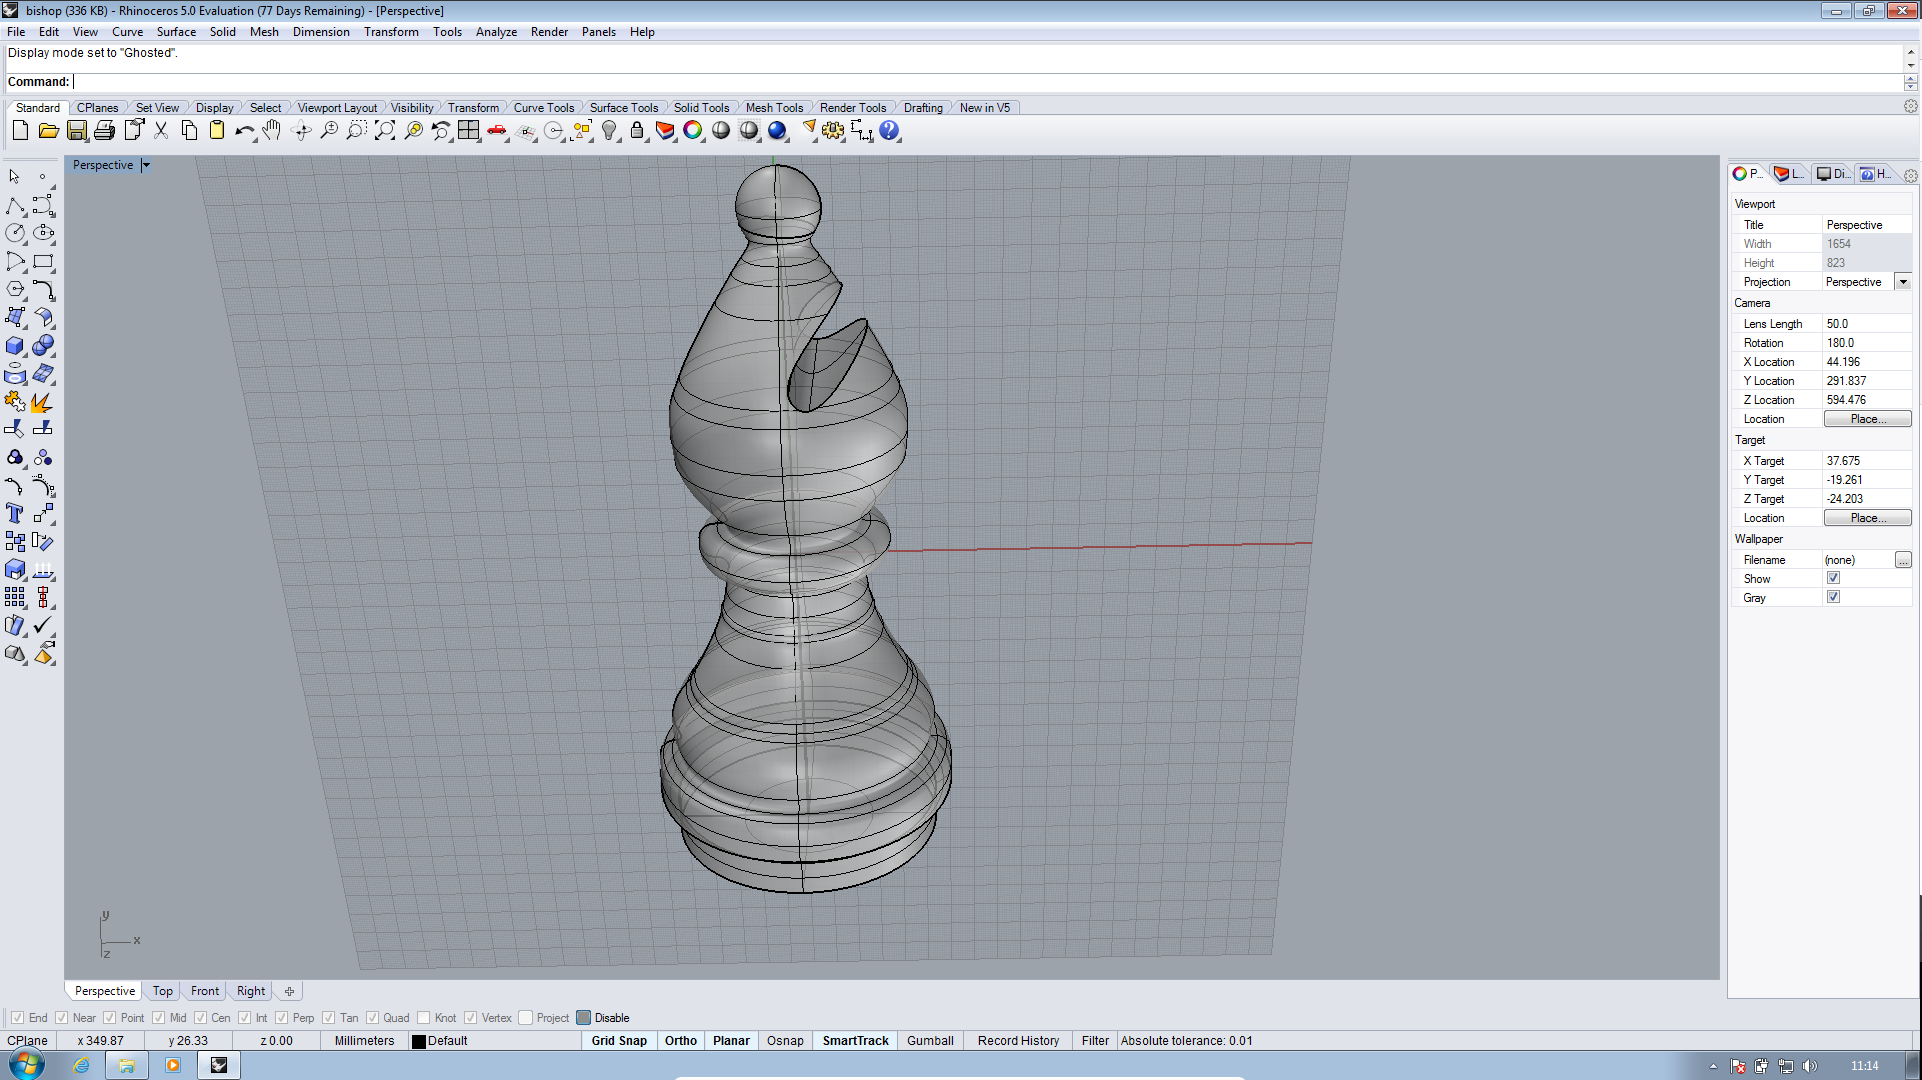
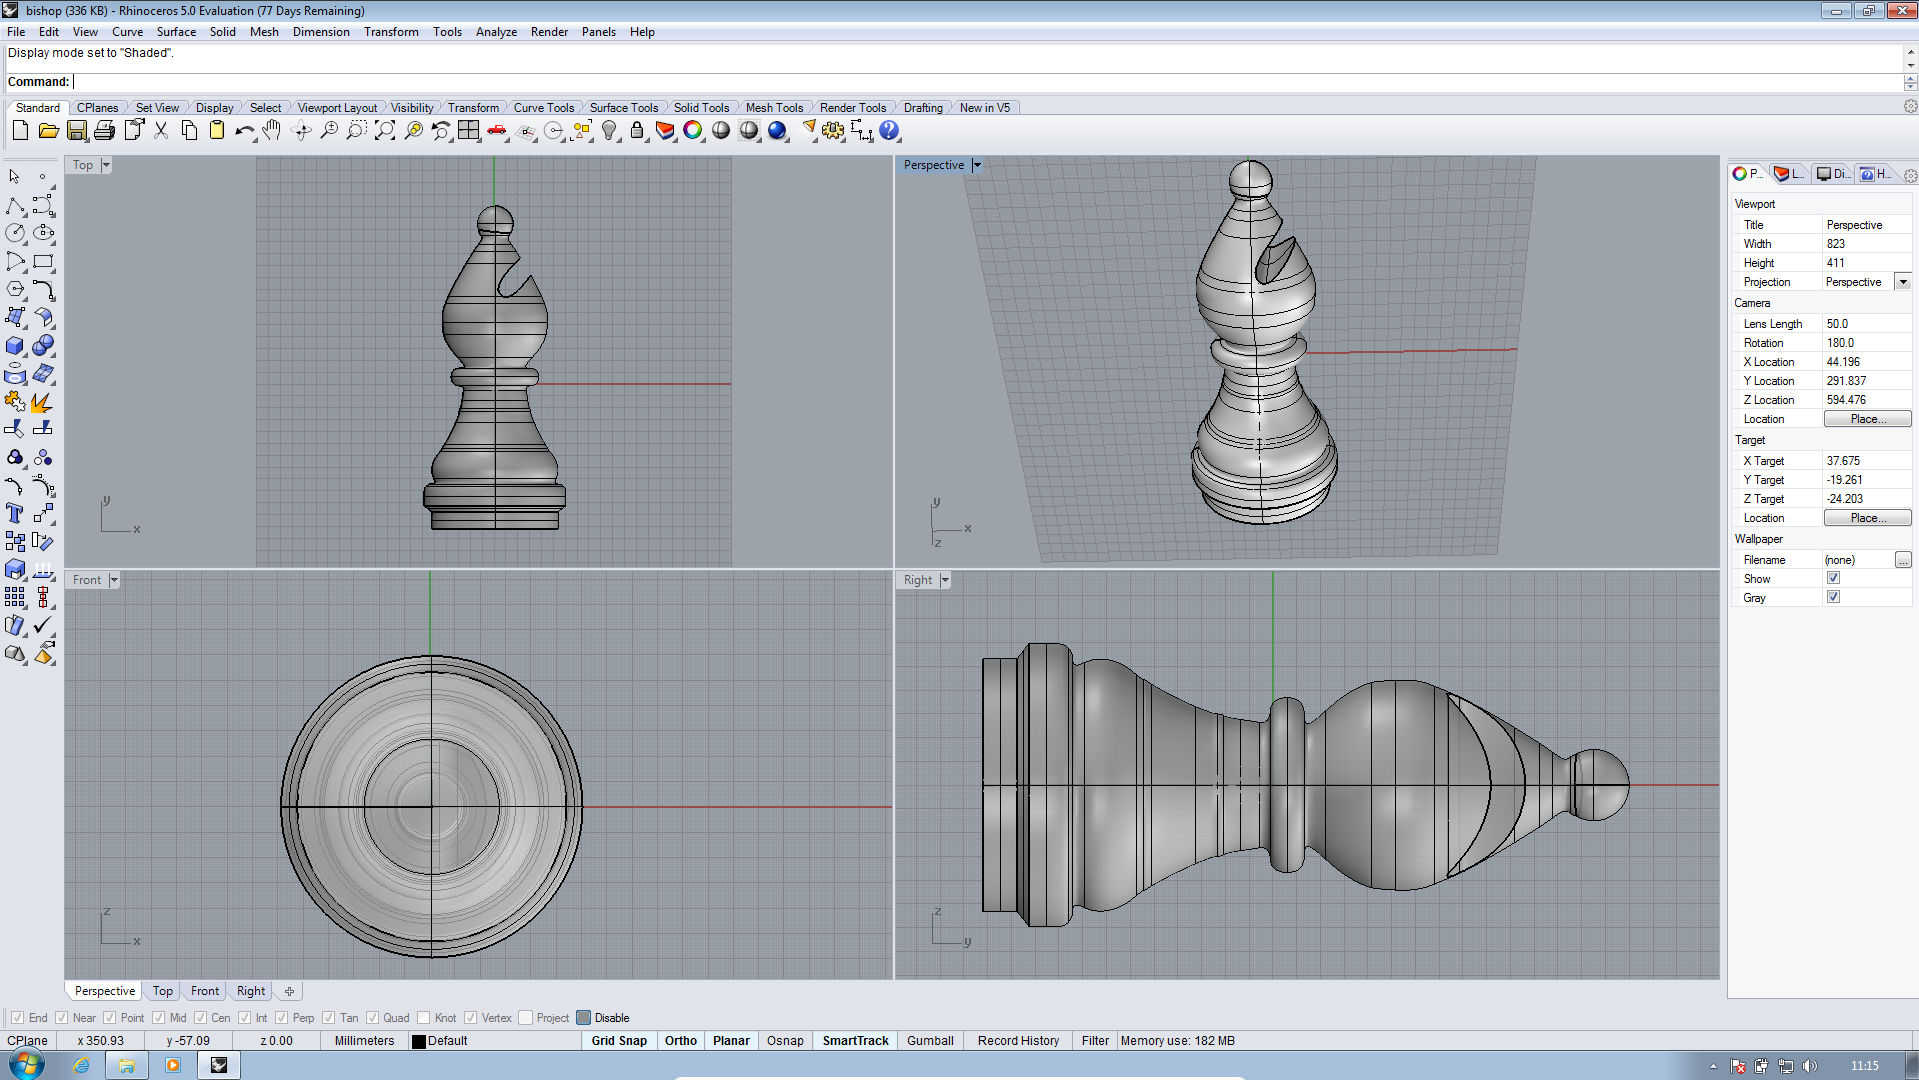
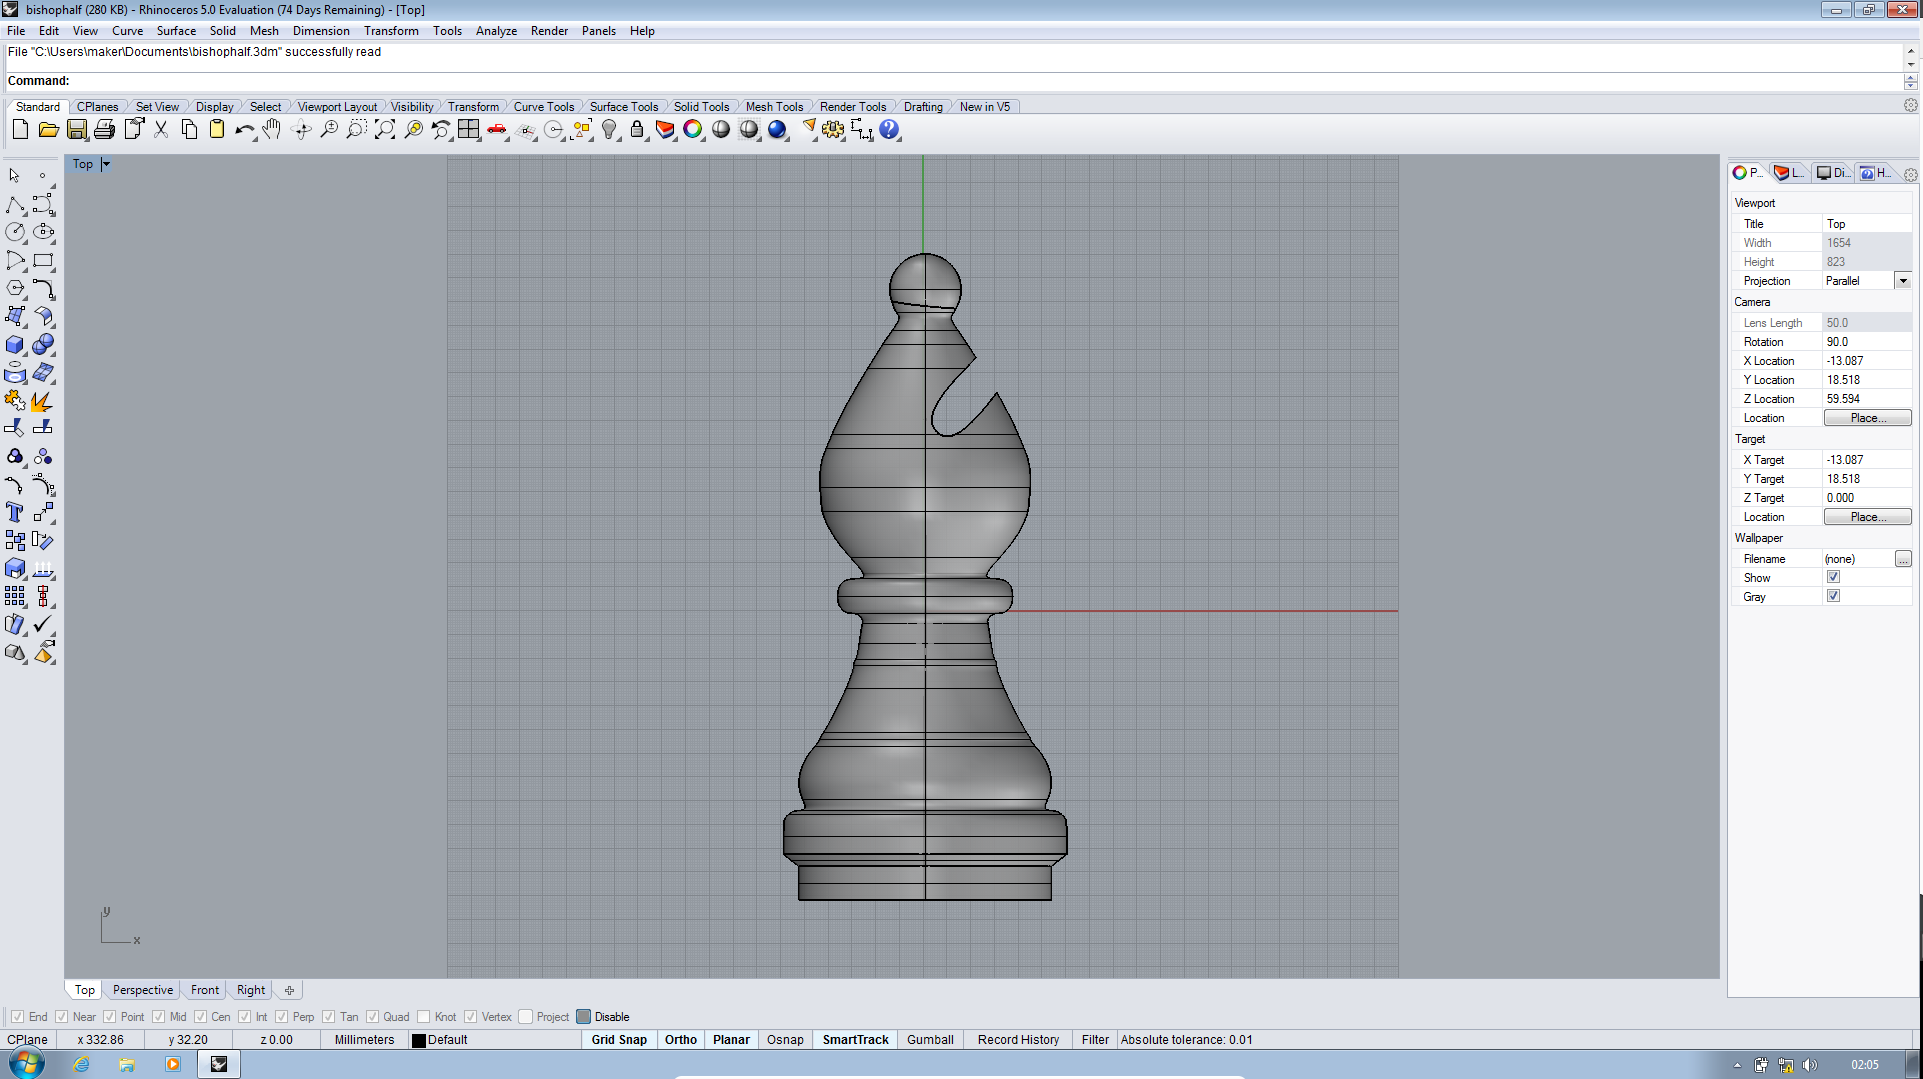
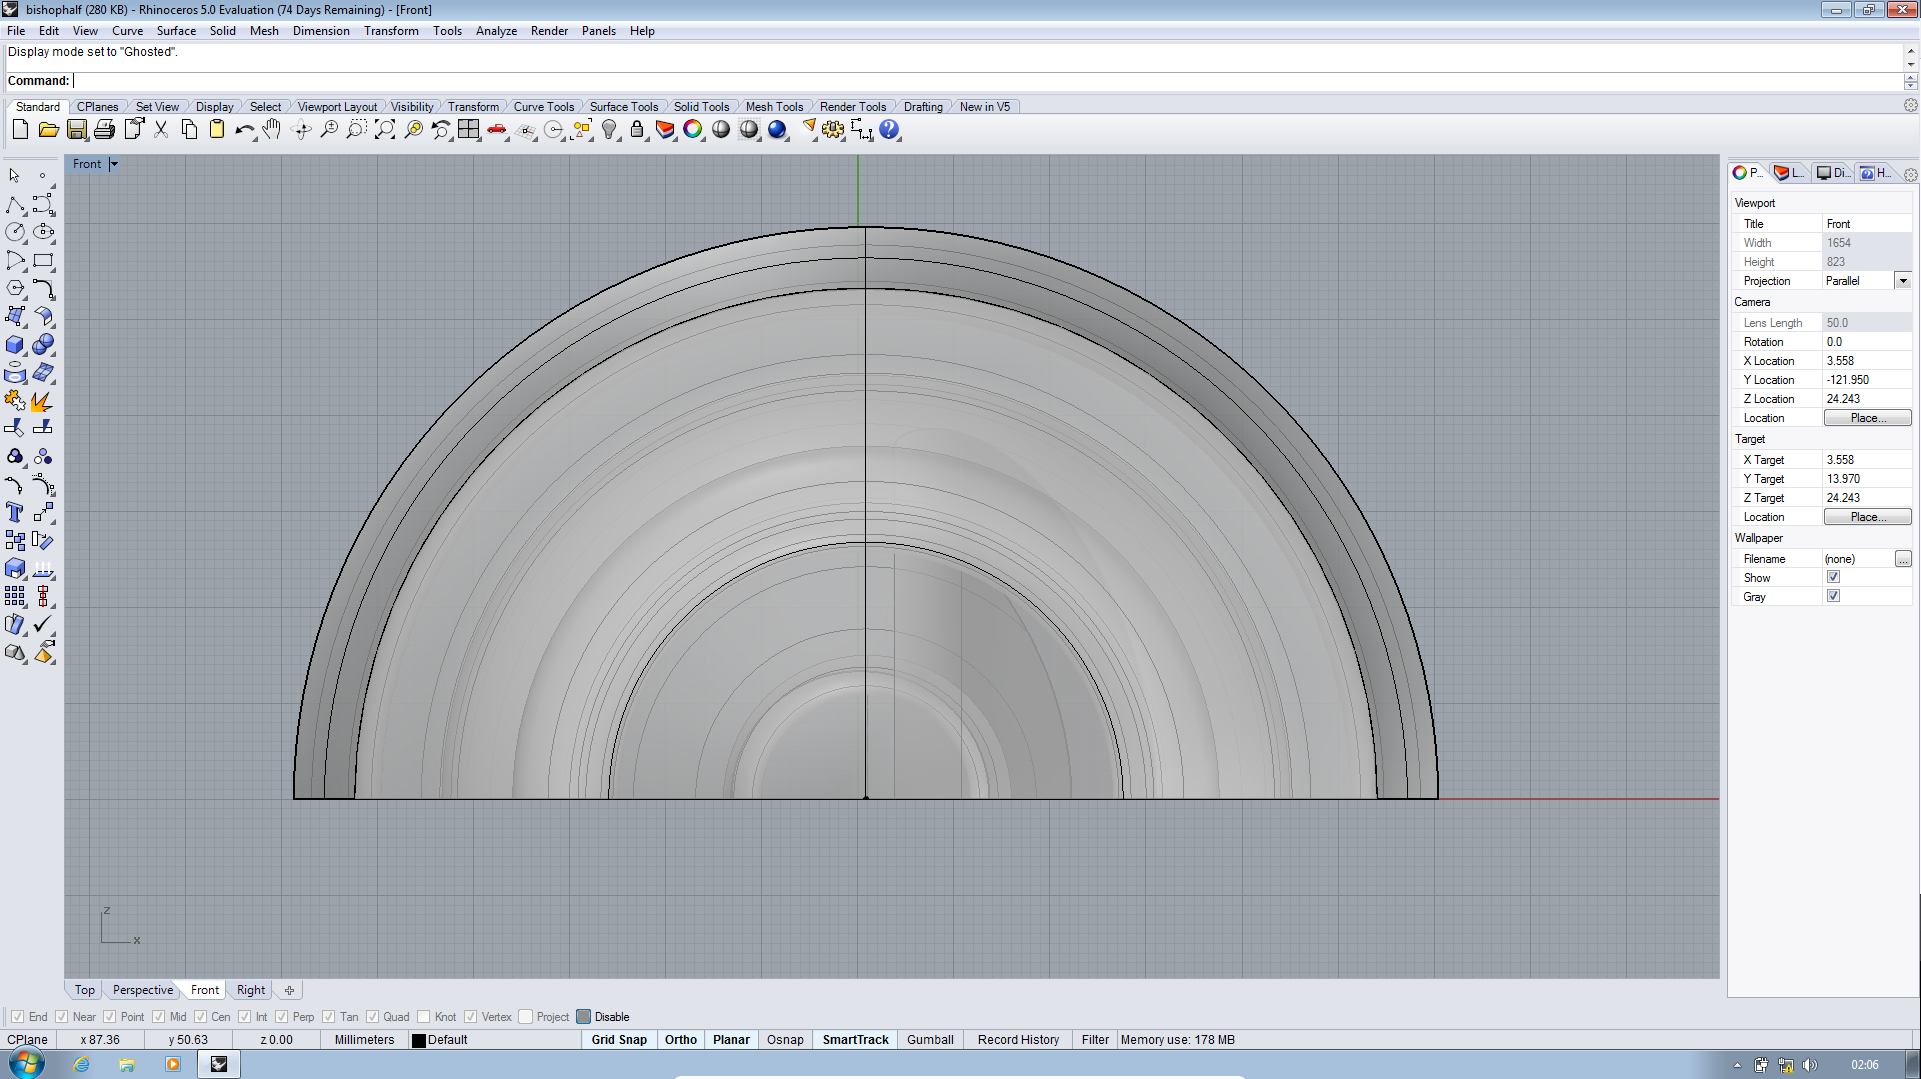
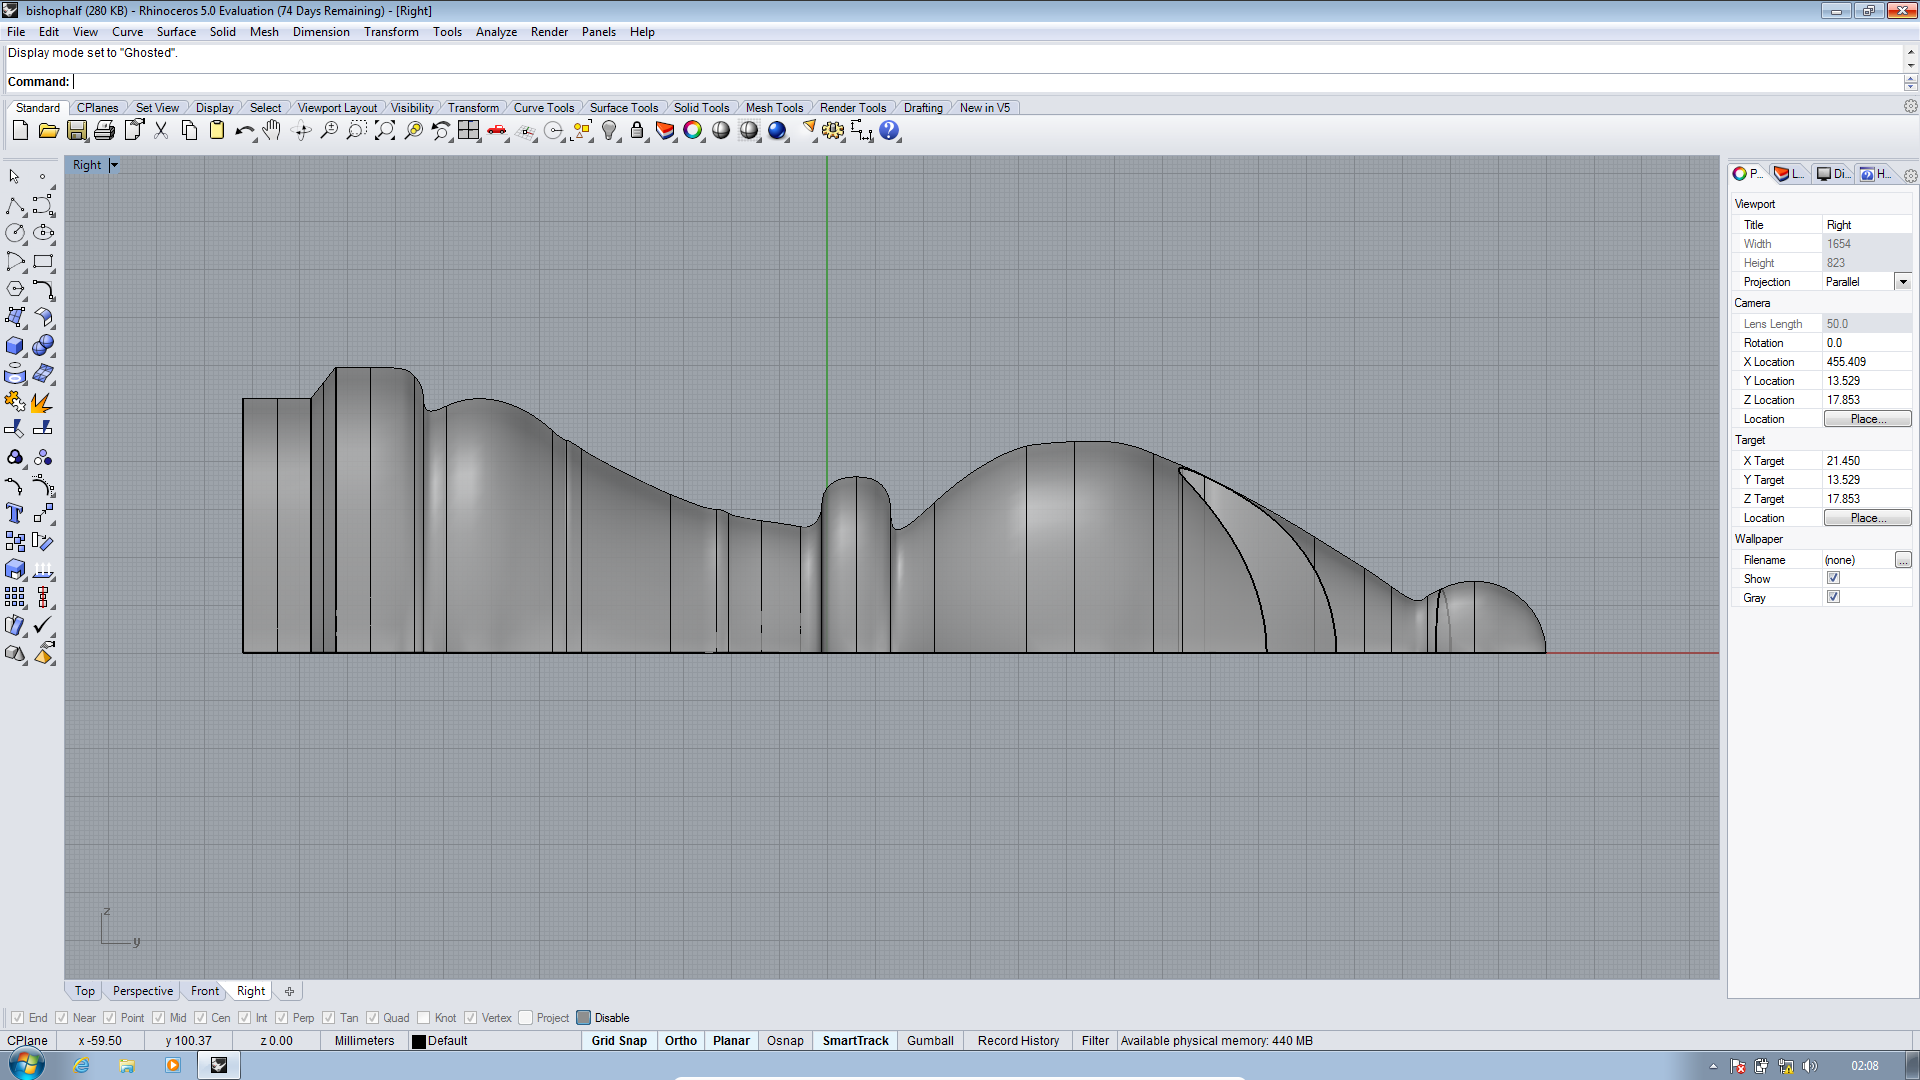
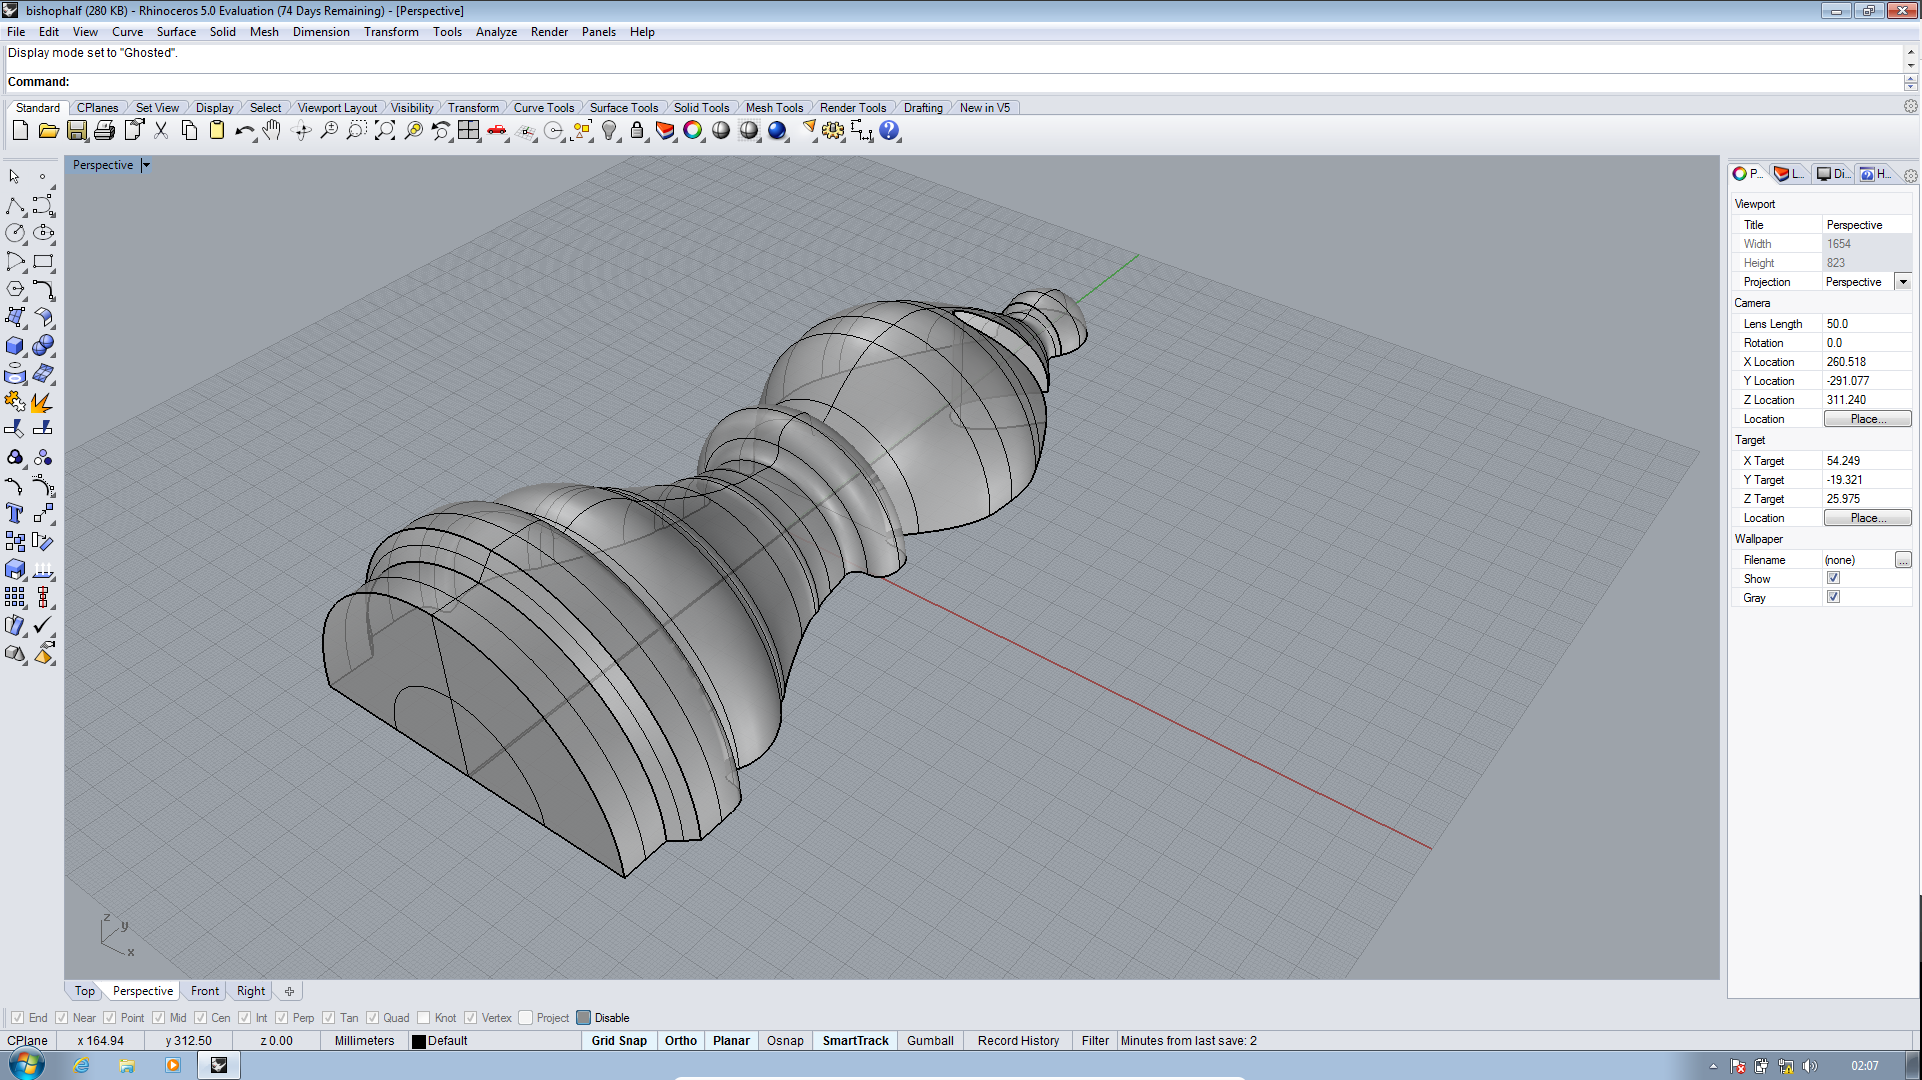
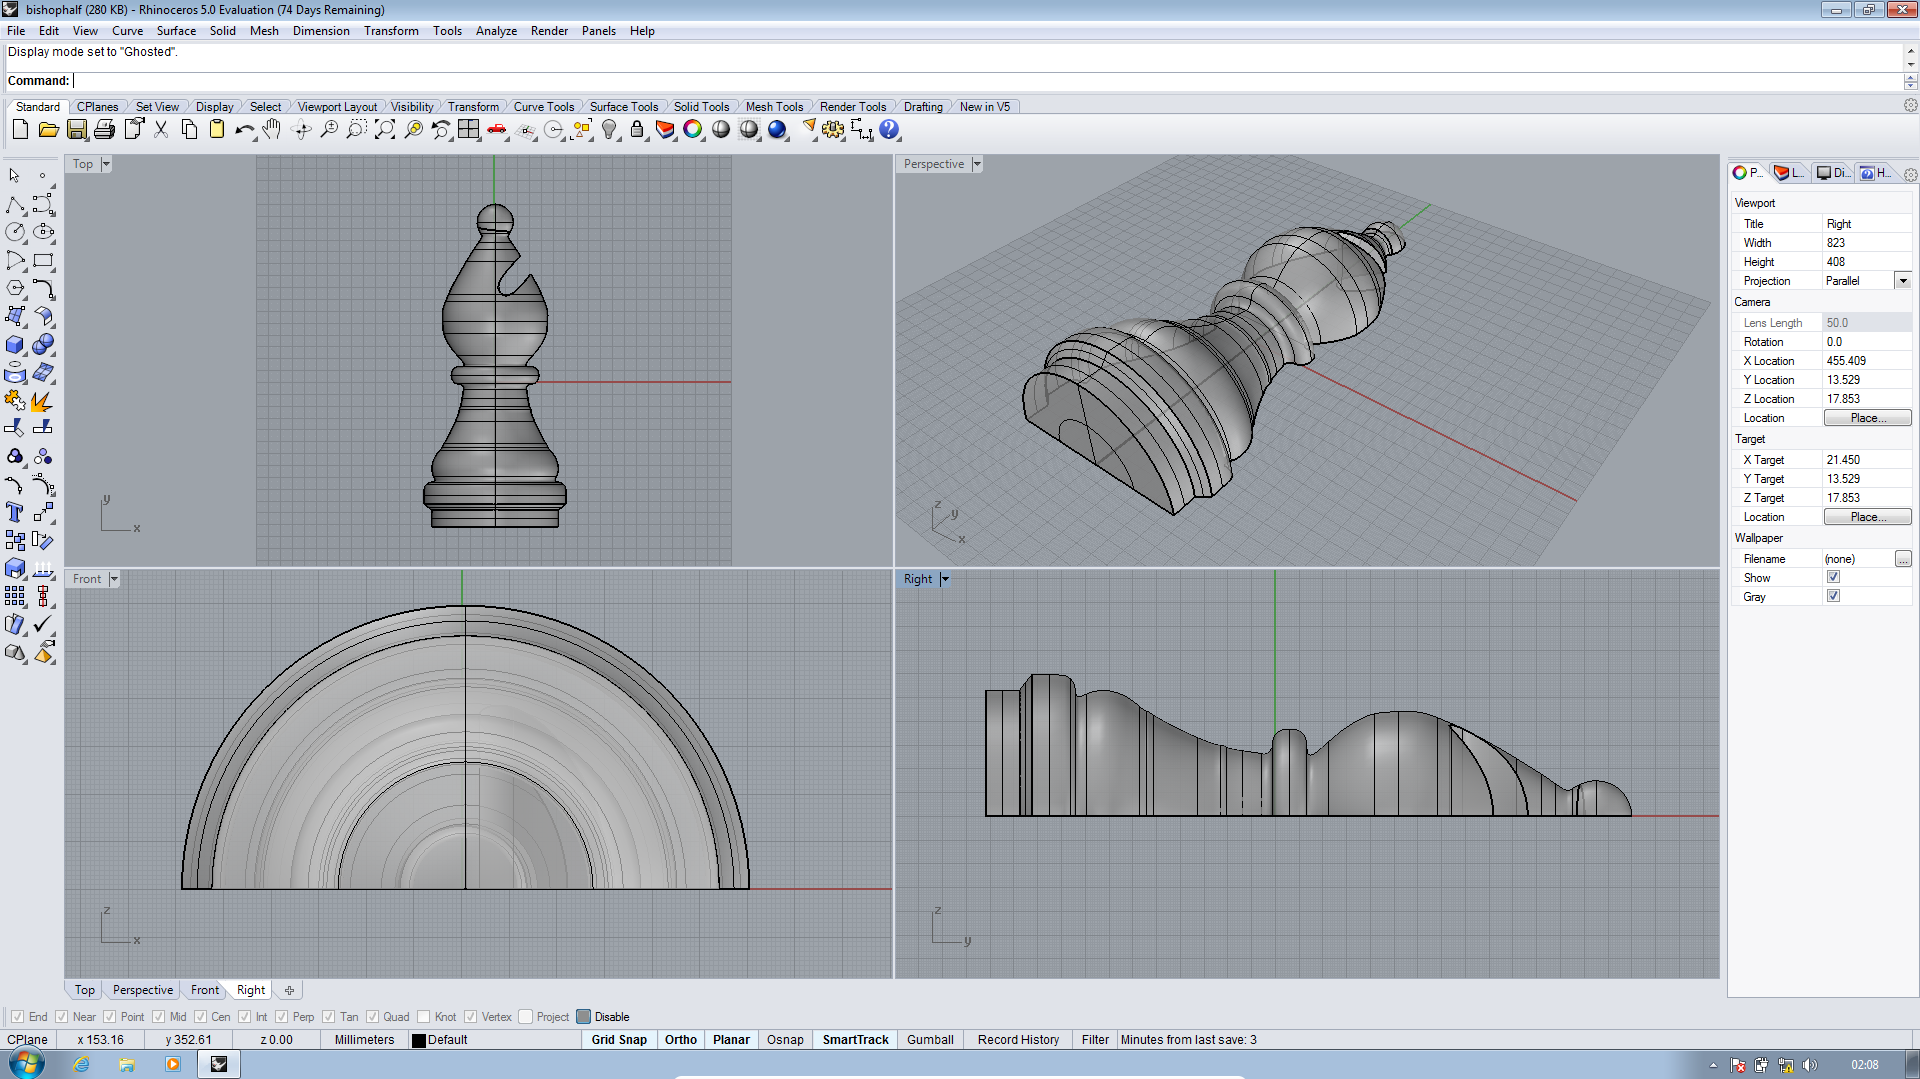
The next step was then to design my own 3D mould. To do this I used Rhinoceros and tapped a little into my Chess mania. This time around I worked on a bishop piece and exported an stl file.
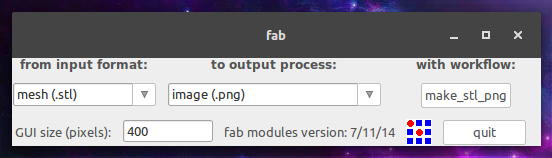
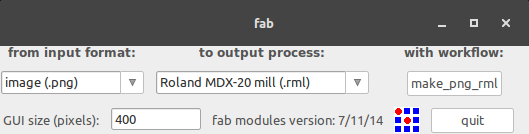
Next up was to send the .stl file to the Modela. So, I started the fab modules which I had already installed.
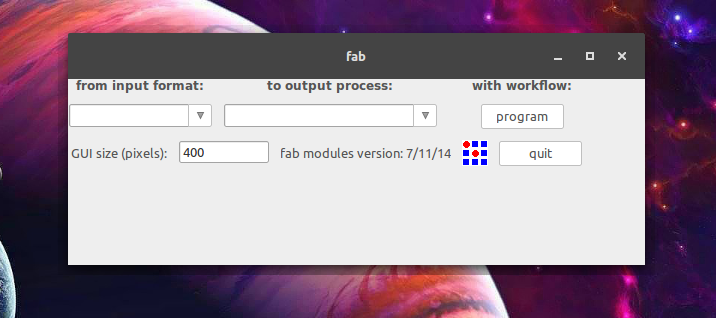
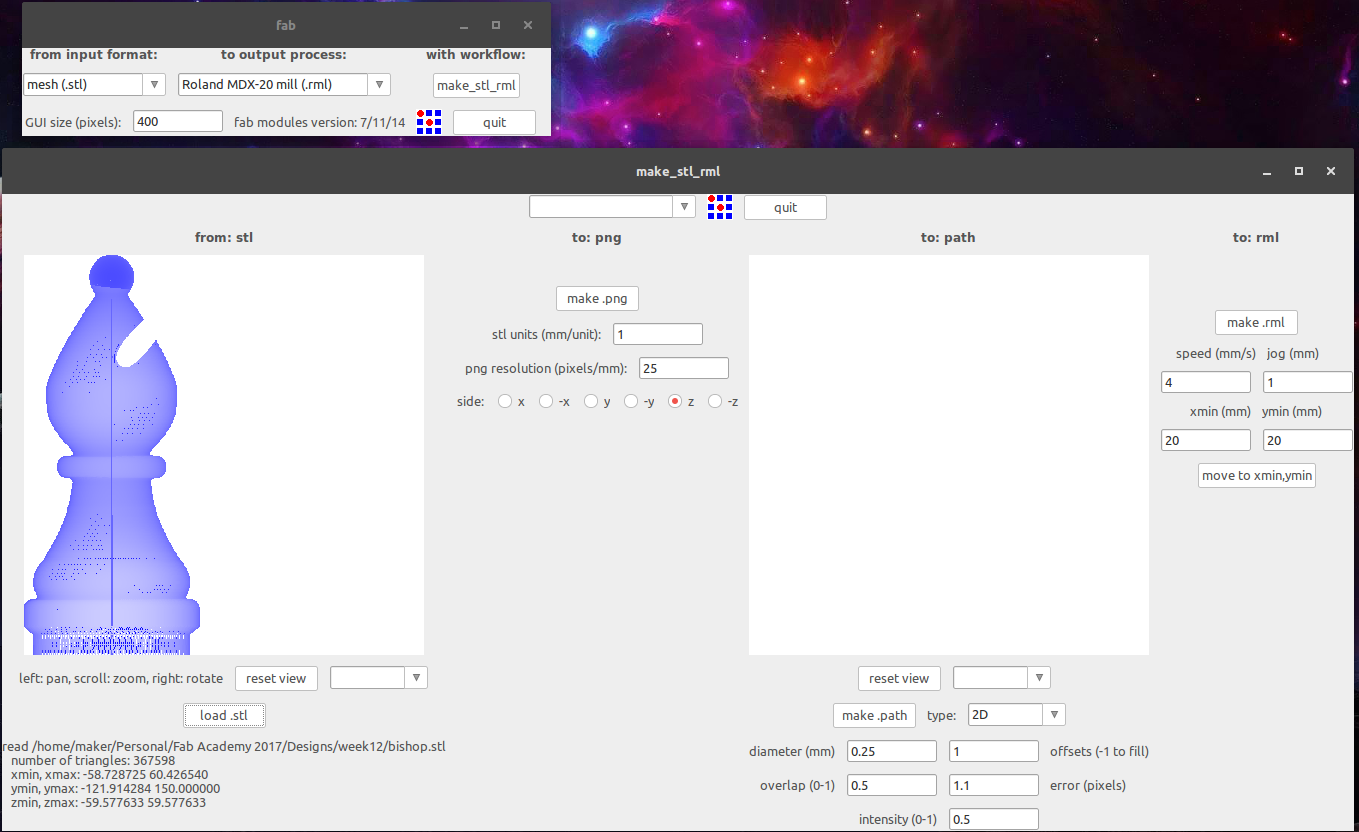
I needed to load an stl file and send it to the modela and so I set the appropriate values for input format and output process...
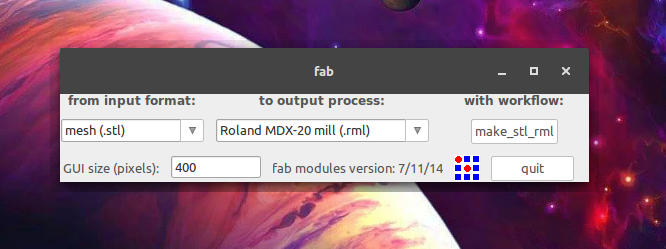
I then clicked on the 'make_stl_rml' tab to open the workflow dialogue.
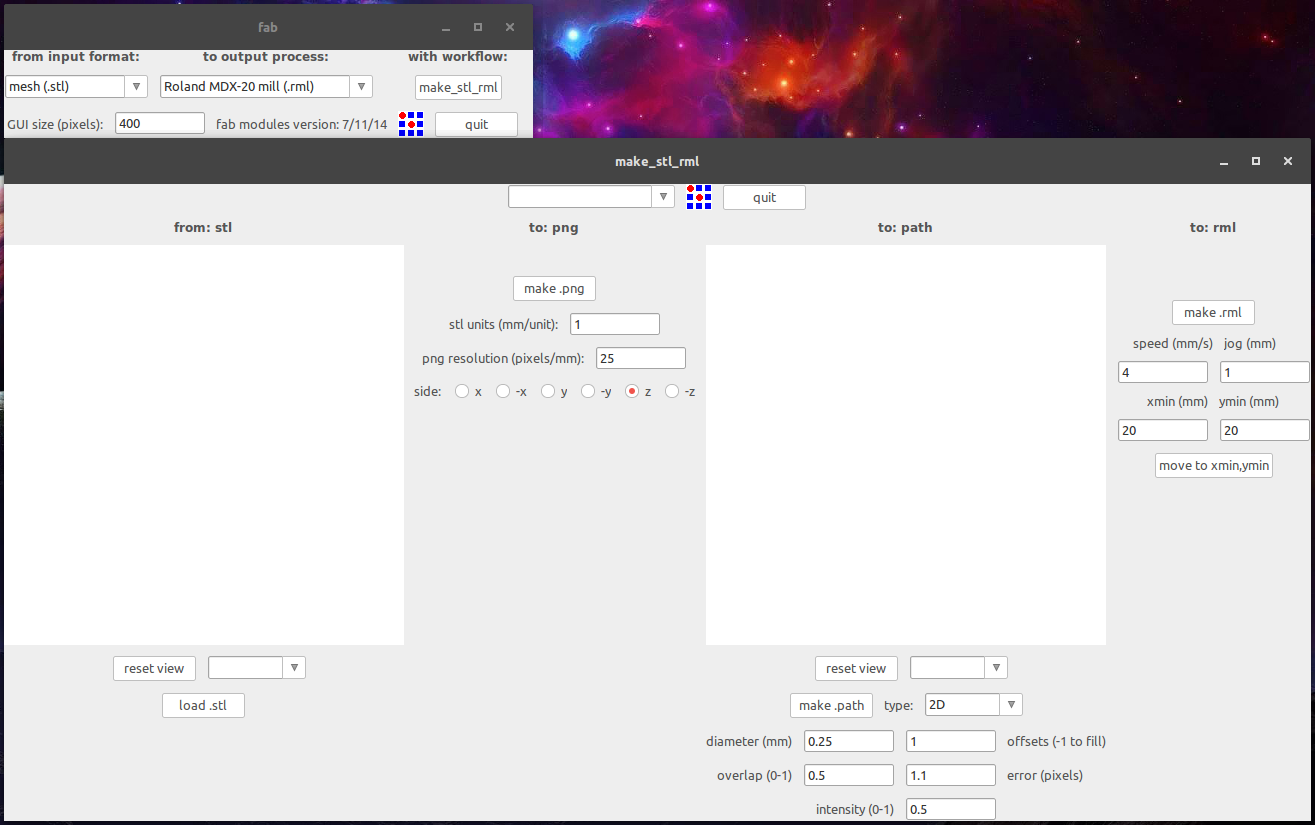
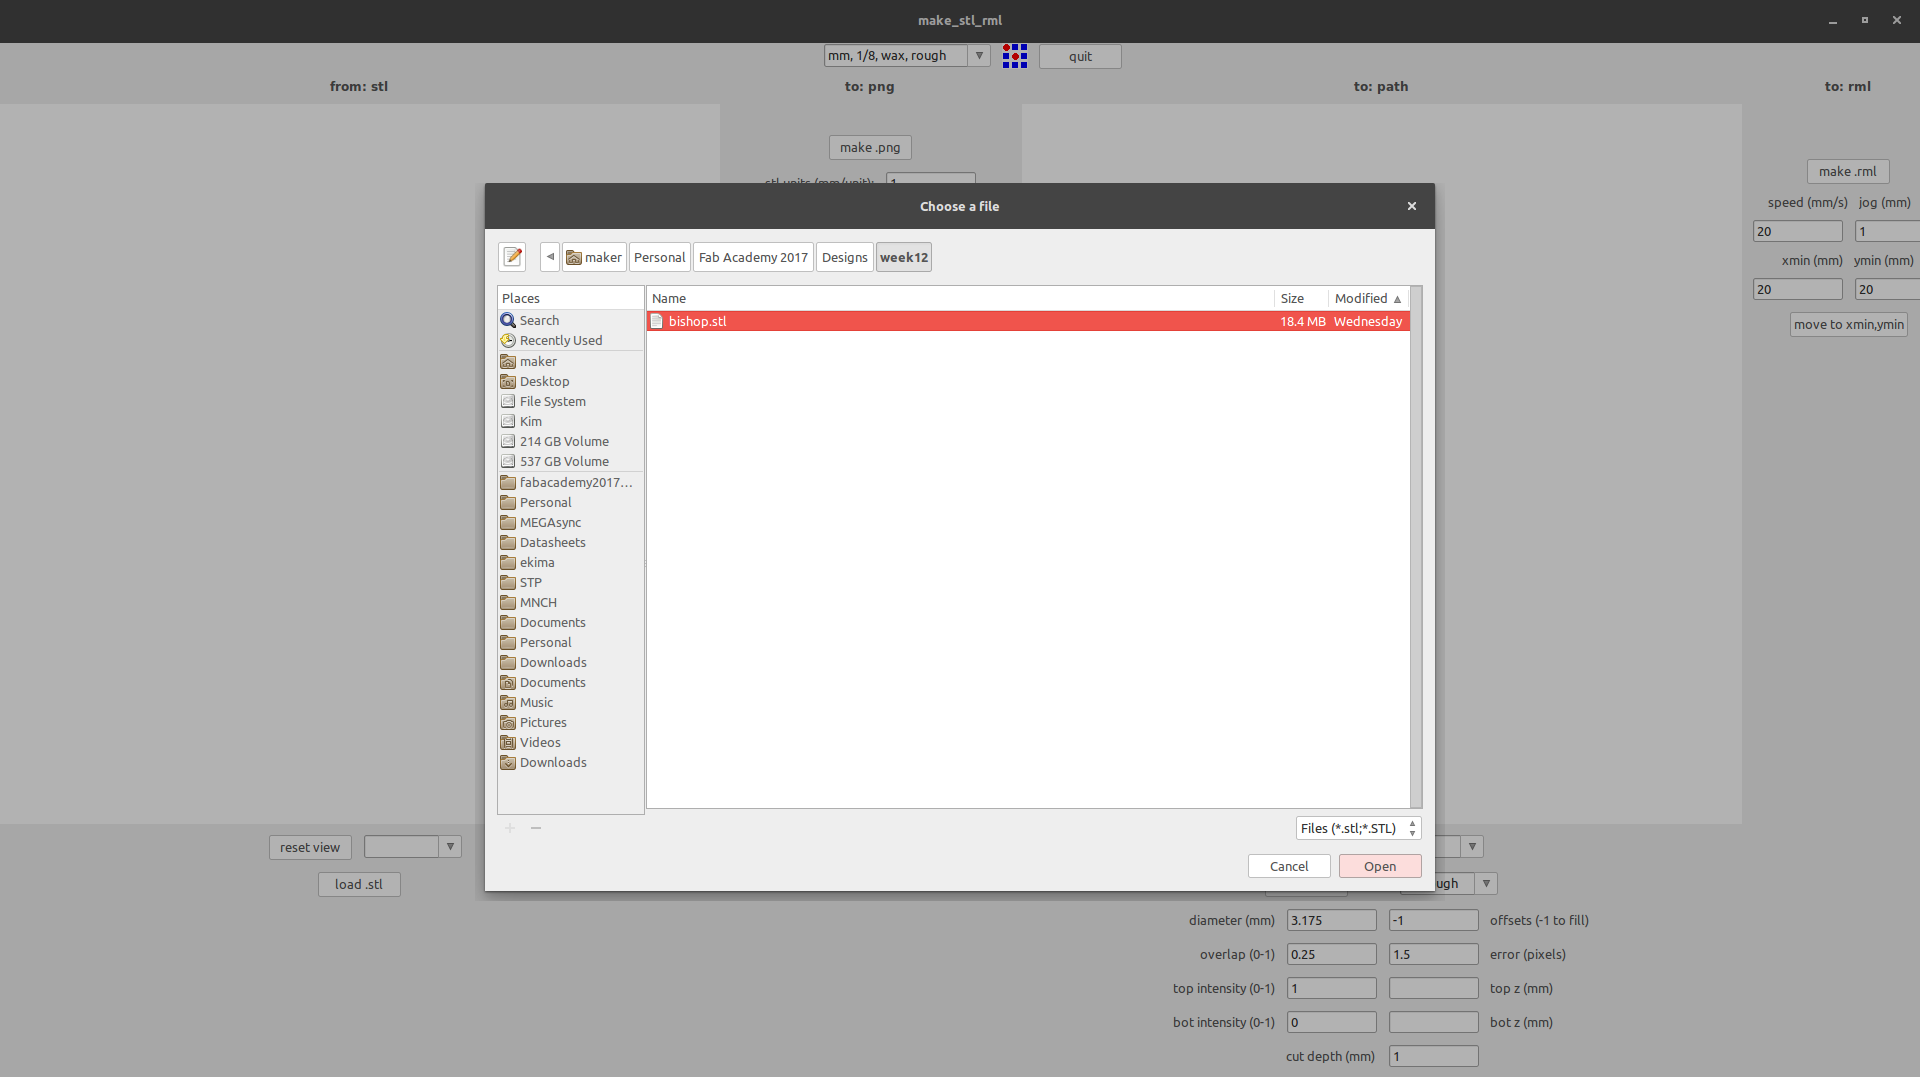
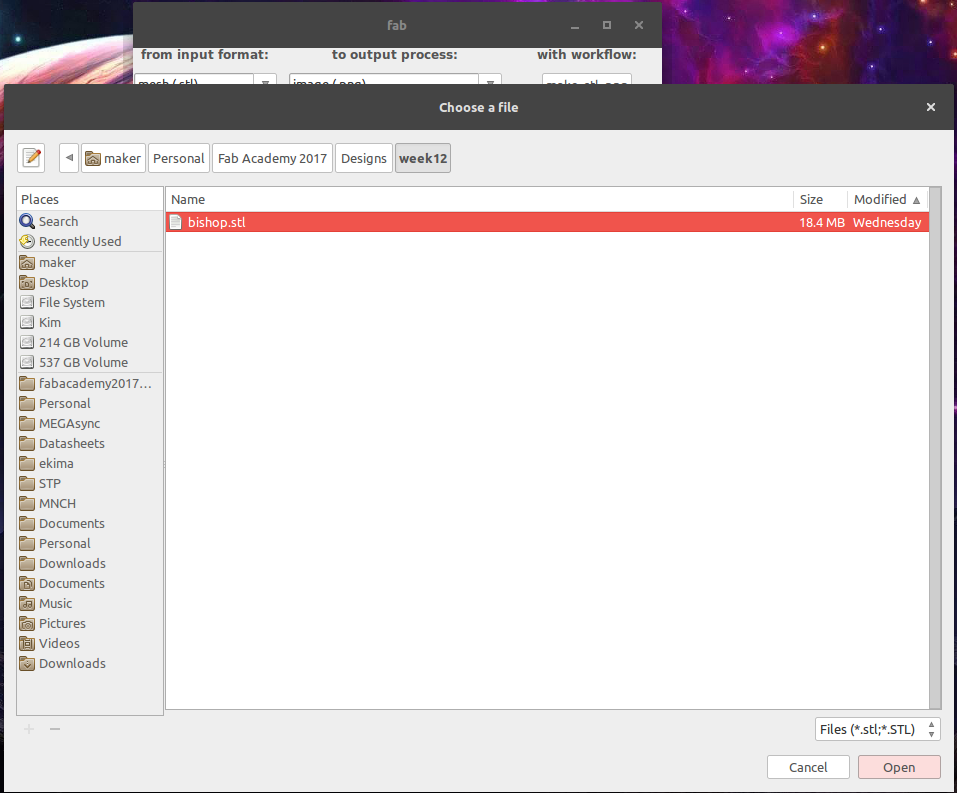
Loading the stl from file...
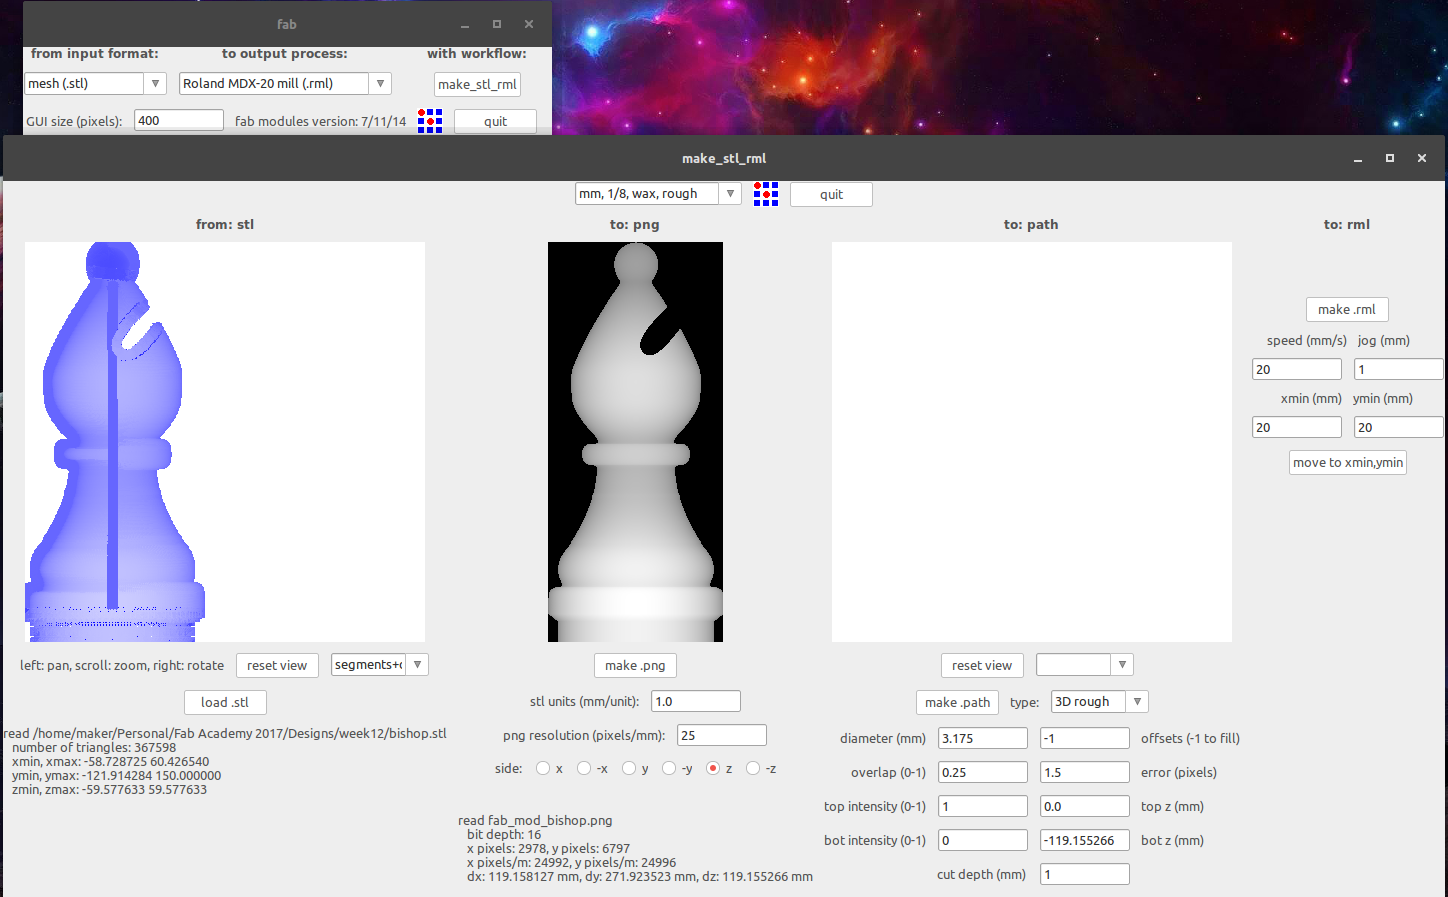
Generating png in order to process...
I at this point realized that based on the material size, I would need to rotate the model by 90° to maximize material use. The wax I had was approximately 150mm by 85mm and thus the model would also need to be resized.
I also realized that I had made an error in the design stage; I was making a 3D-1 Part mold and my stl was round rather than having a flat bottom
As such, 3 things were effectively clear at this point;
The model needed to be cut in half
The model had to be rotated by 90°
The model needed to be resized
Cutting the model in half was easily solved, I went back into Rhinoceros and redesigned the model...
The most straightforward option for rotating the model was to generate a png using fabmodules, save it and manipulate the image to my specifications.
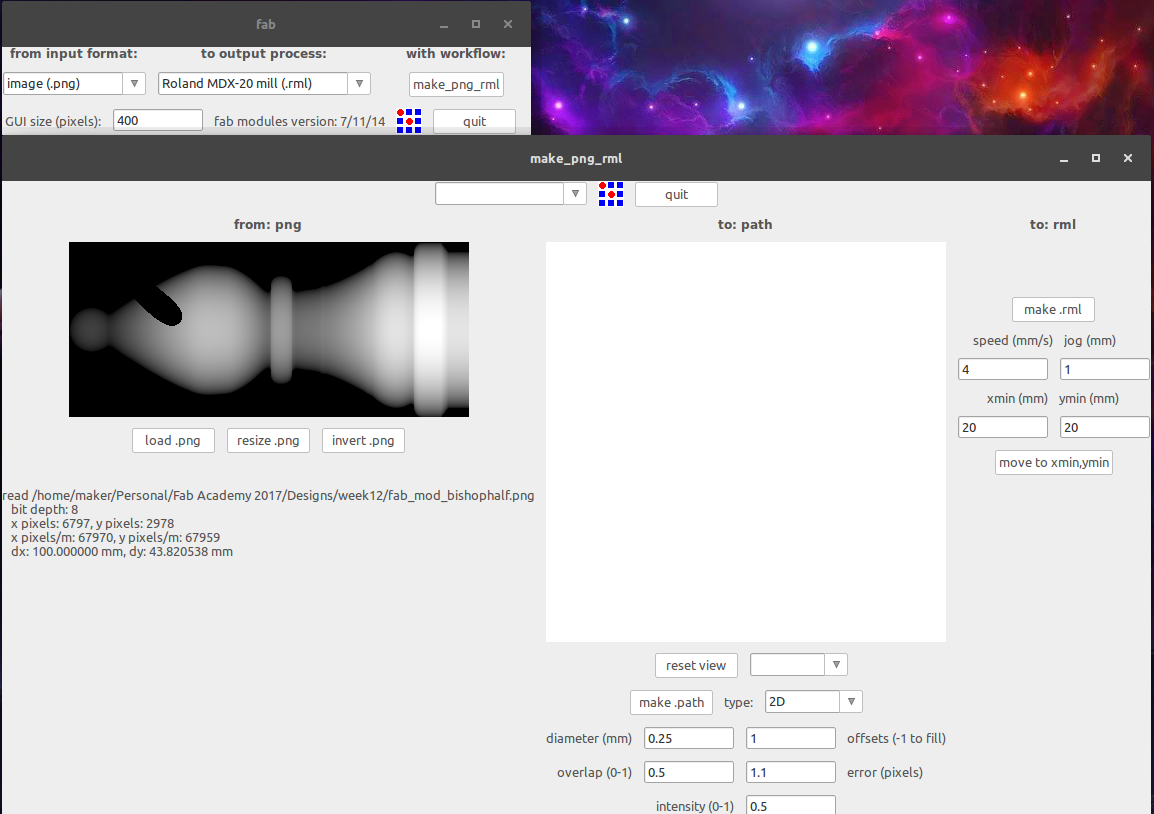
So, reseting fabmodules and opening with the png generation option...
Loading stl file...

I then created the png by clicking on the 'make .png' button, opened the terminal from which I was running fabmodules and confirmed that the file had been saved, as indicated by the red circle.
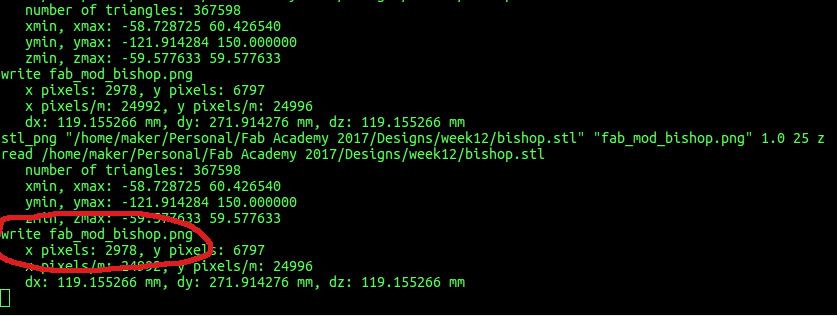
Without closing fabmodules, I copied the image to the folder I was working from. If you close fabmodules, all files get deleted, including the .png file so a copy has to be made beforehand.
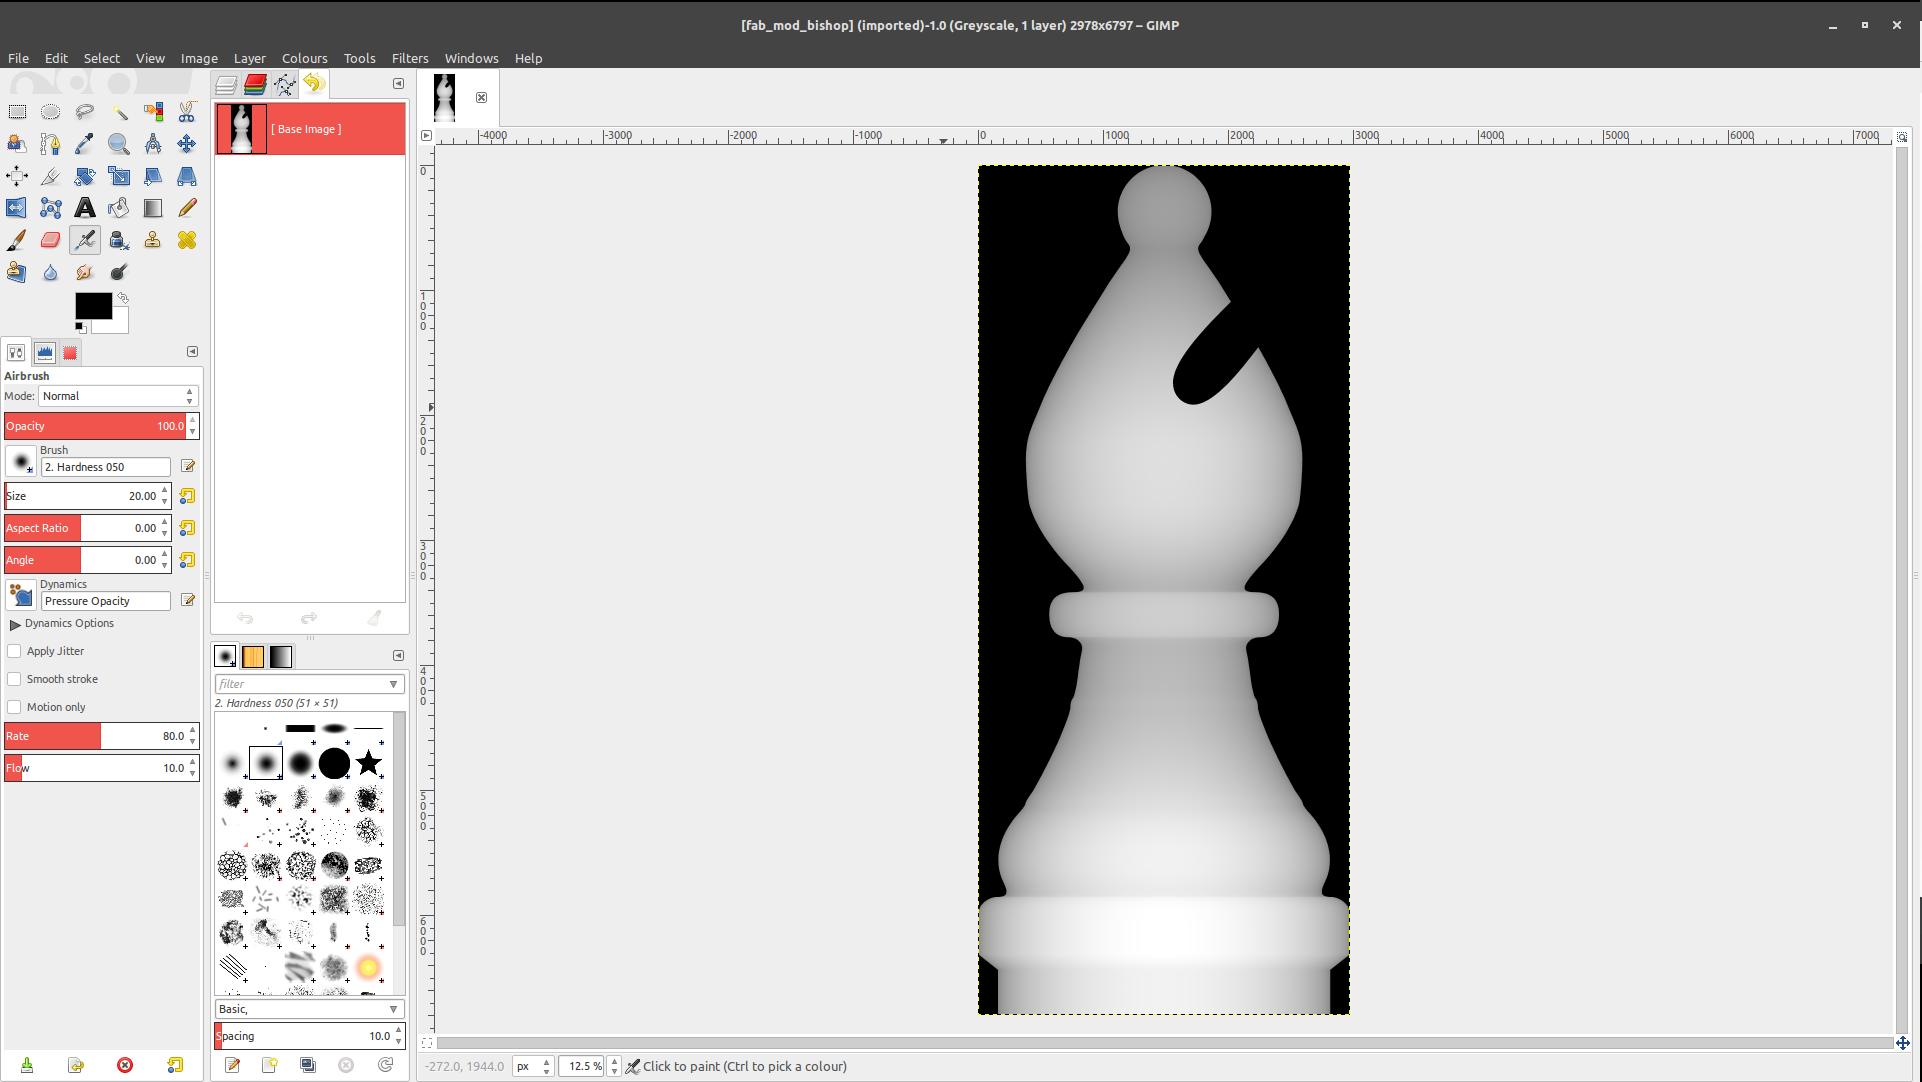
I opened the .png file in my favourite image manipulation program, Gimp, rotated the image and saved it.
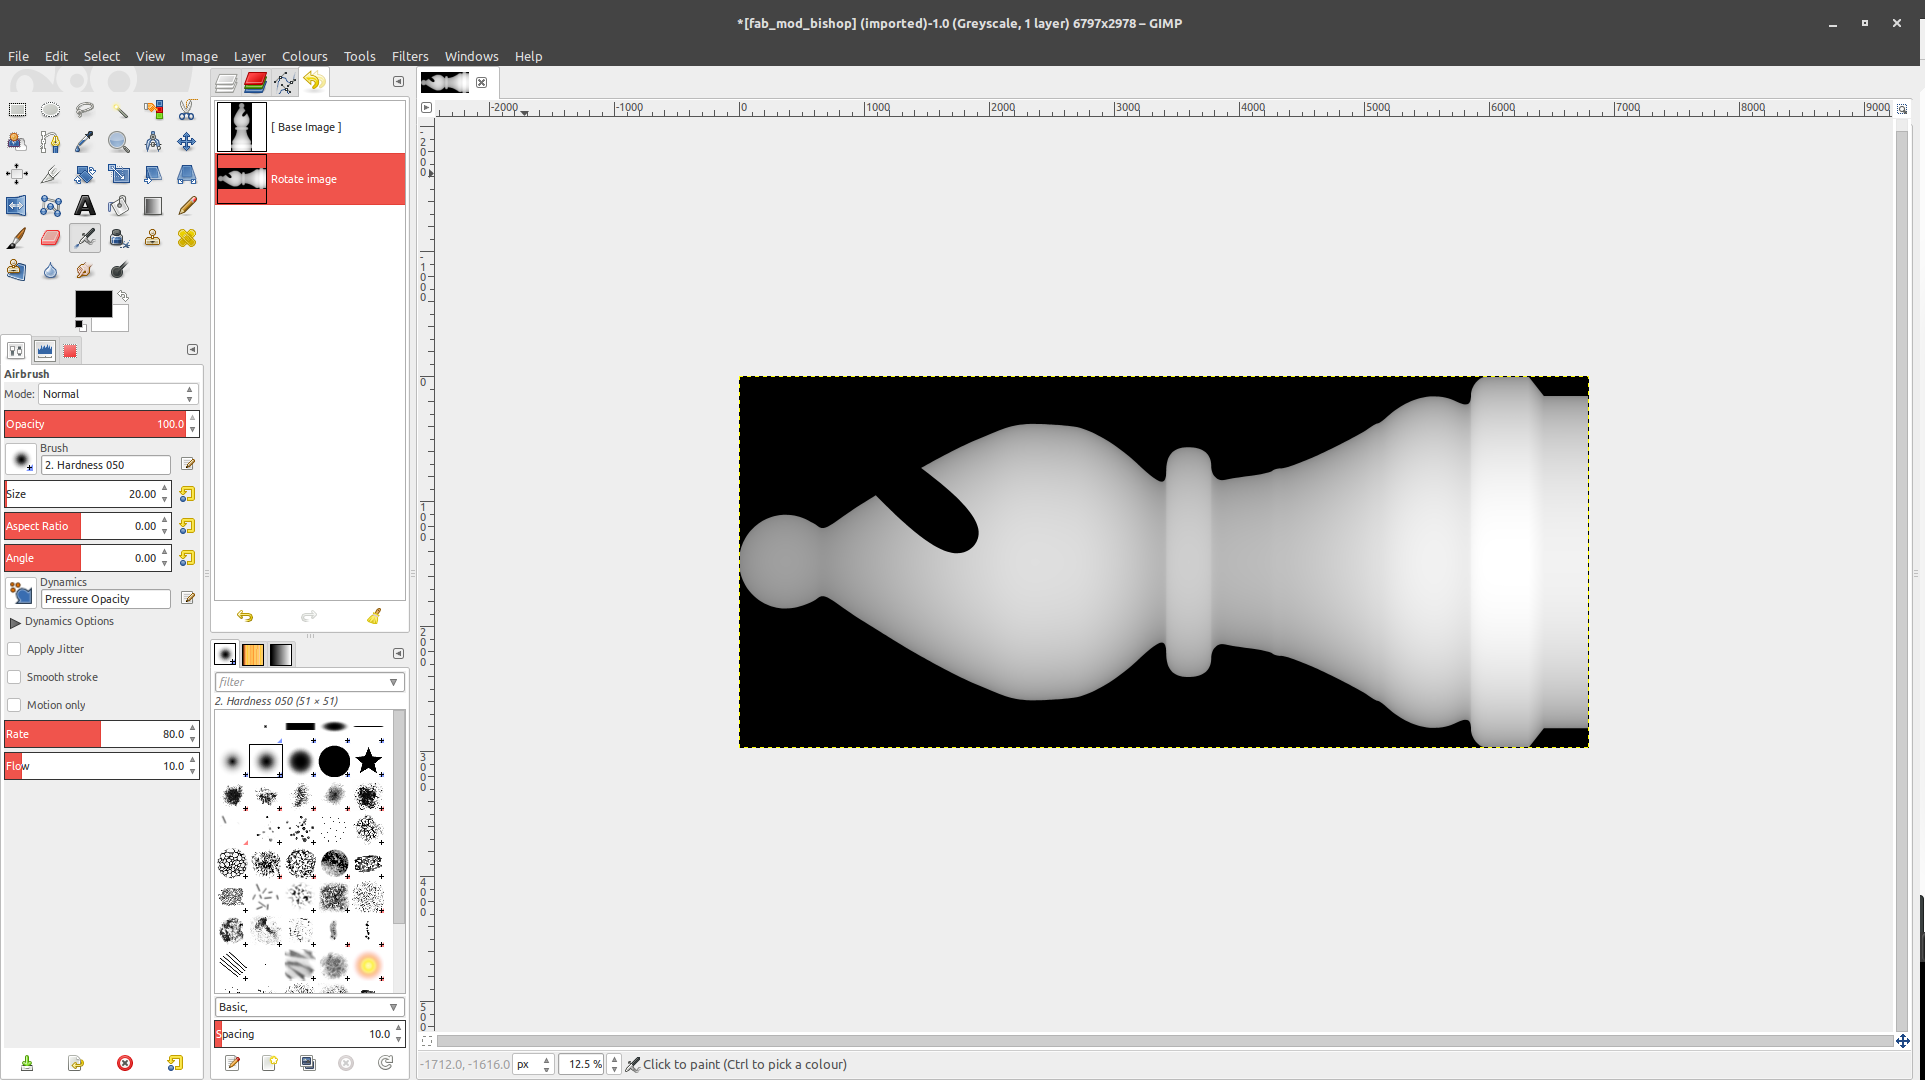
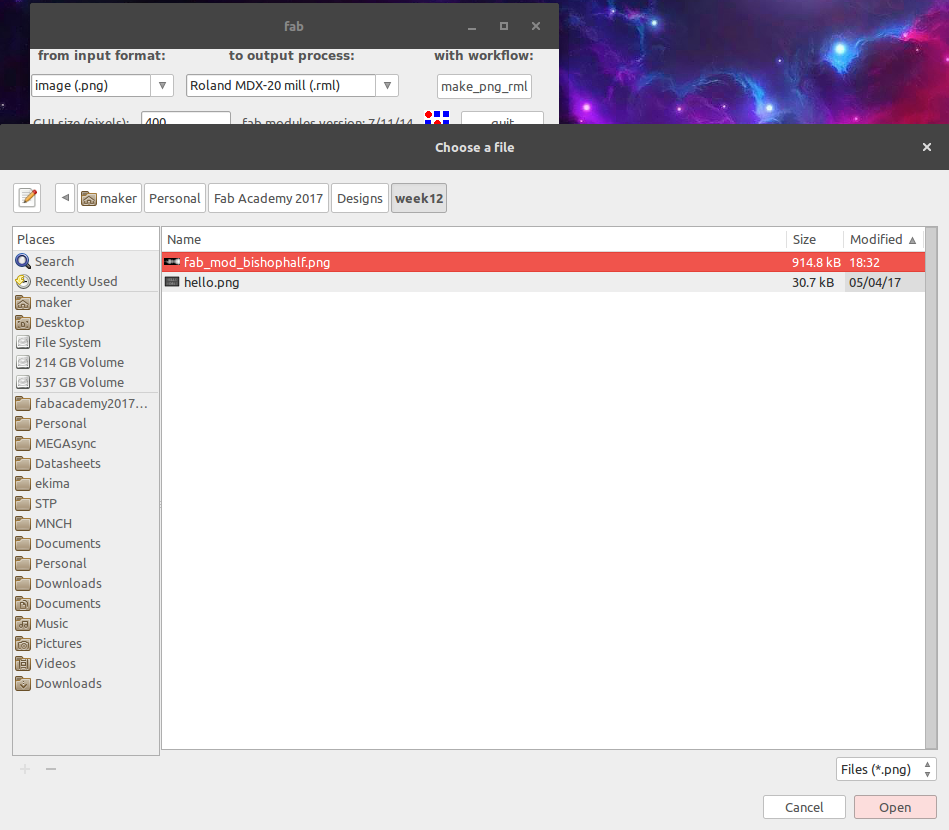
I reset fabmodules and opened the .png file that I had saved.
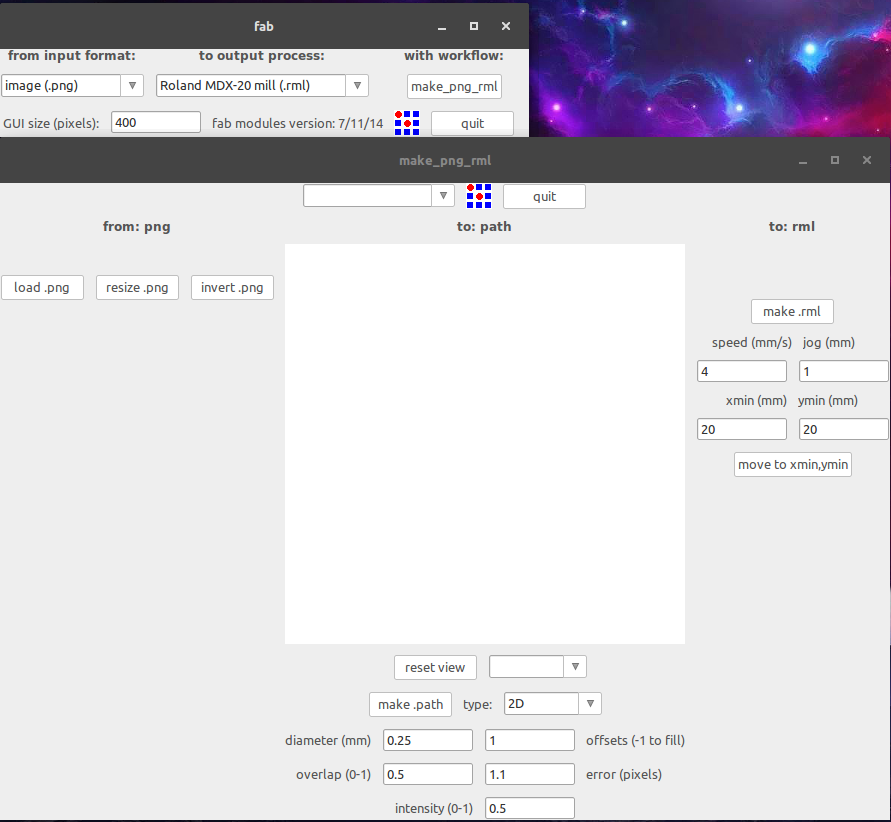
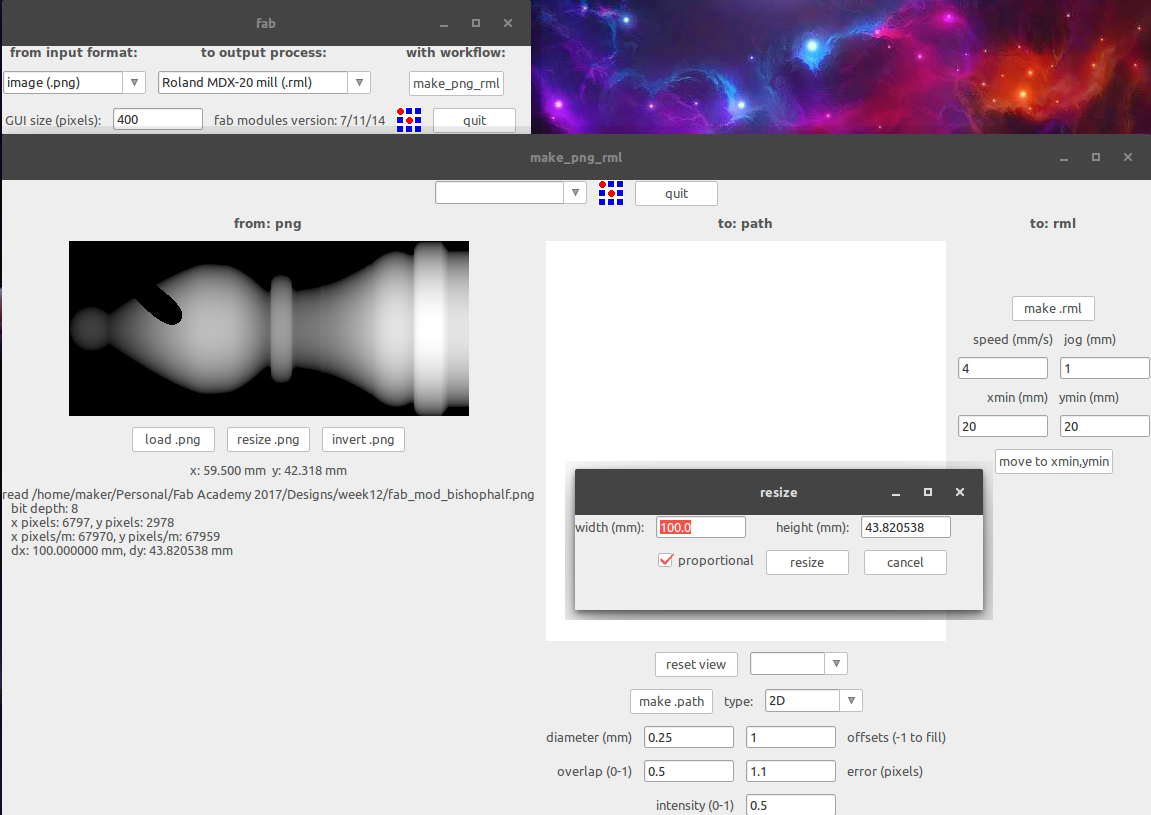
To solve my third problem, the size of the mold, I resized the model from the fabmodules interface.
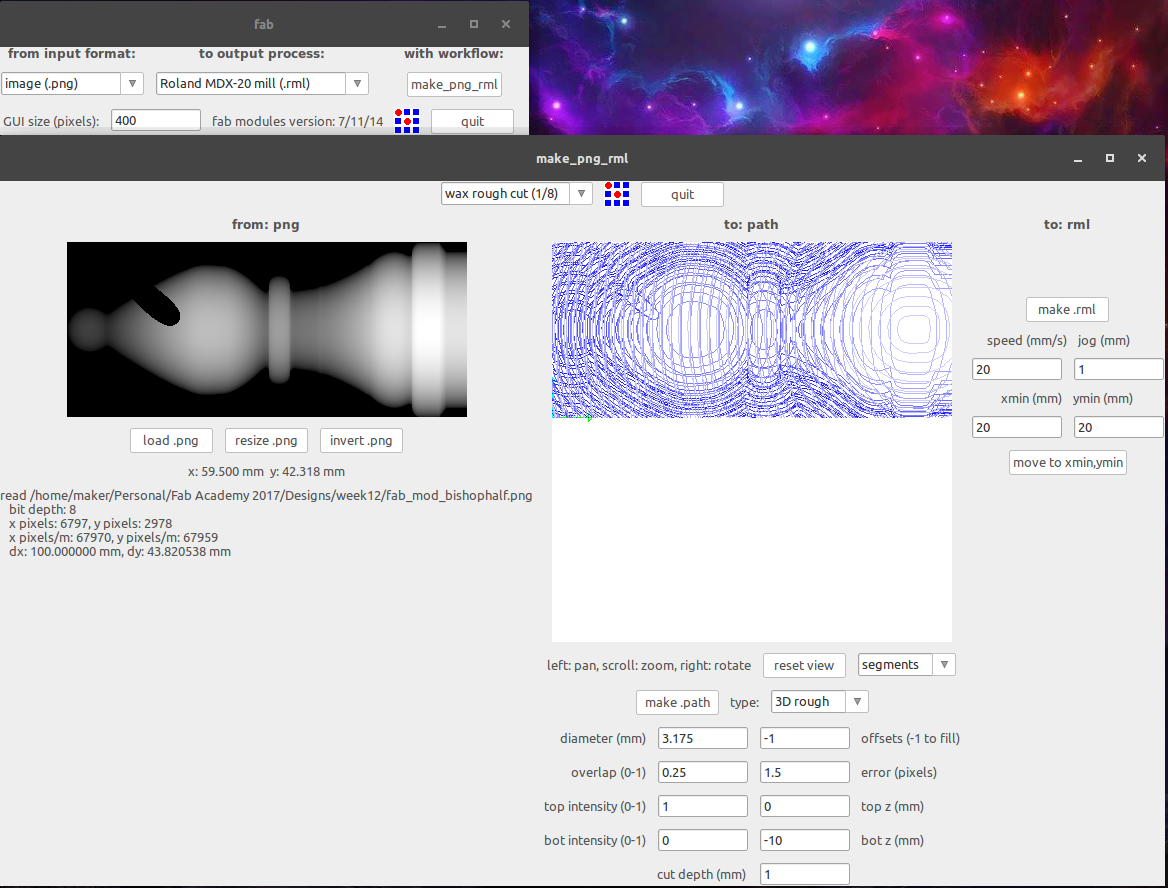
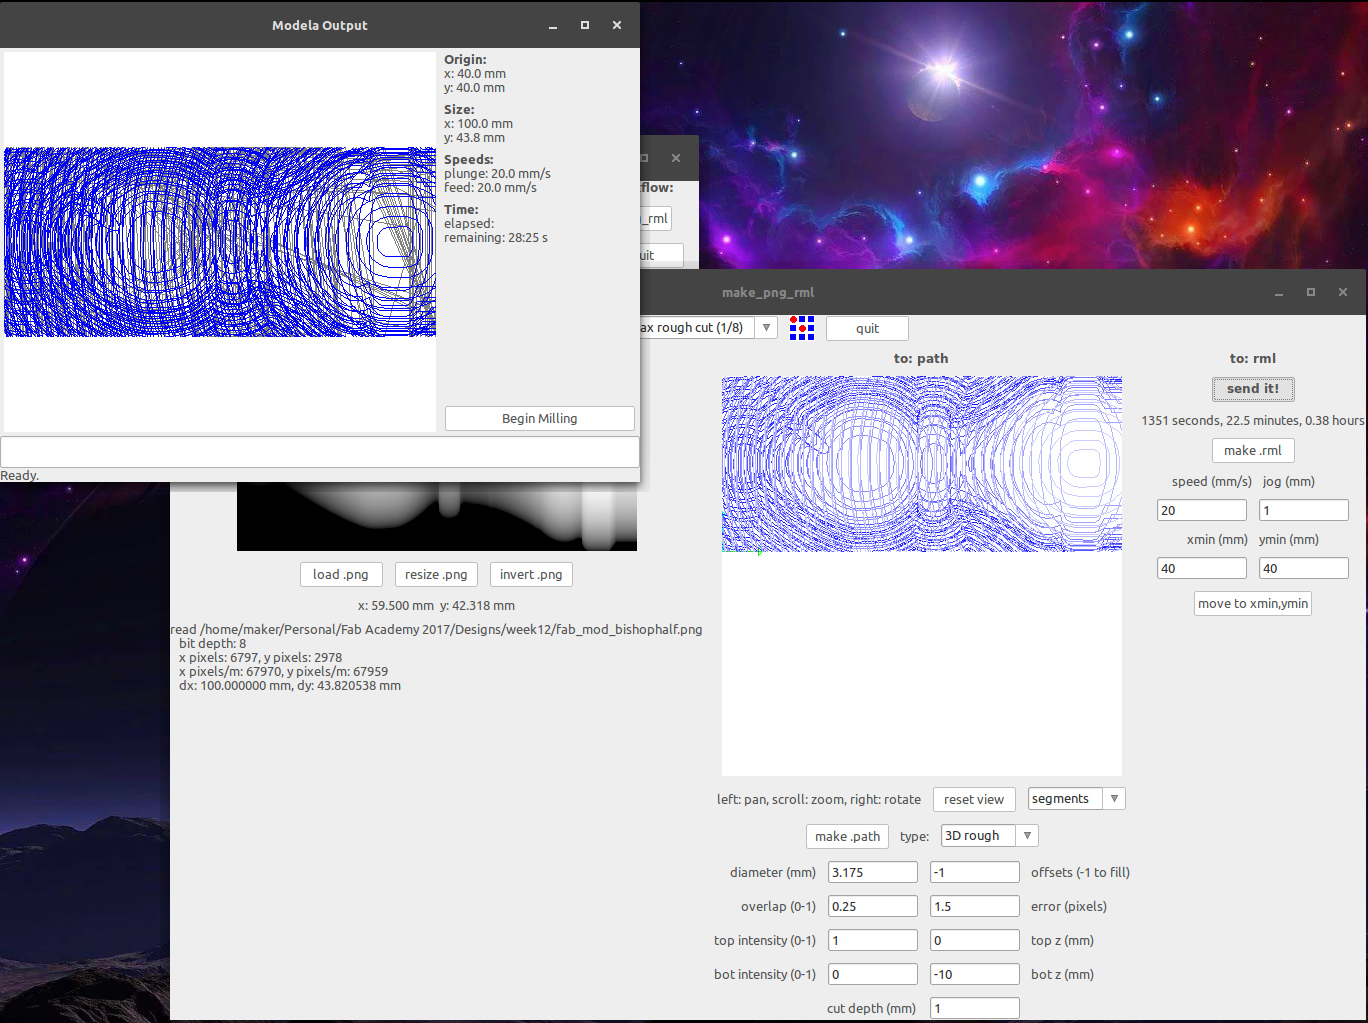
I set up the image for the rough mill and sent it to the machine.
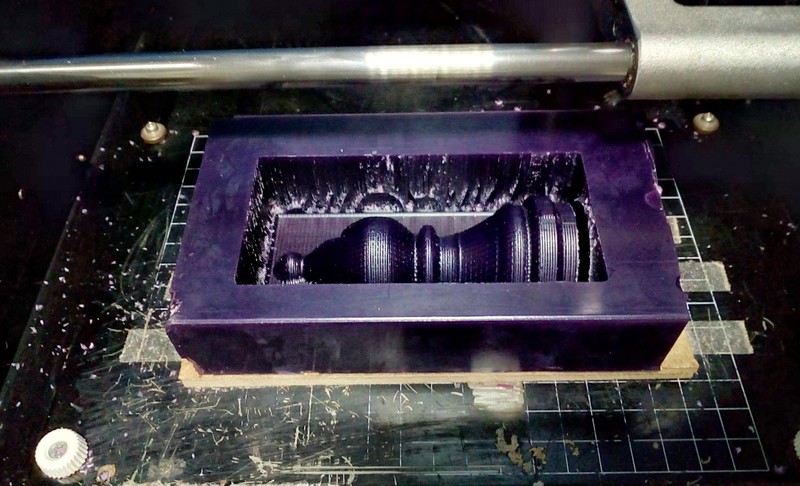
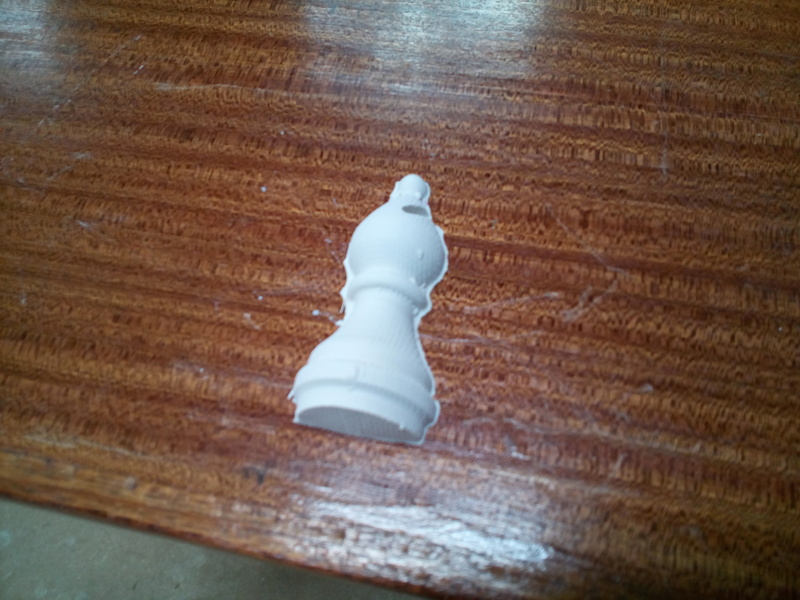
Once the rough mill was done I realized that the milled mold had very little. Despite this, I went ahead and did the finish mill so as to get a rough idea of what to expect when I finally do it right.
So I prepared and sent the finish cut mill and sent it.
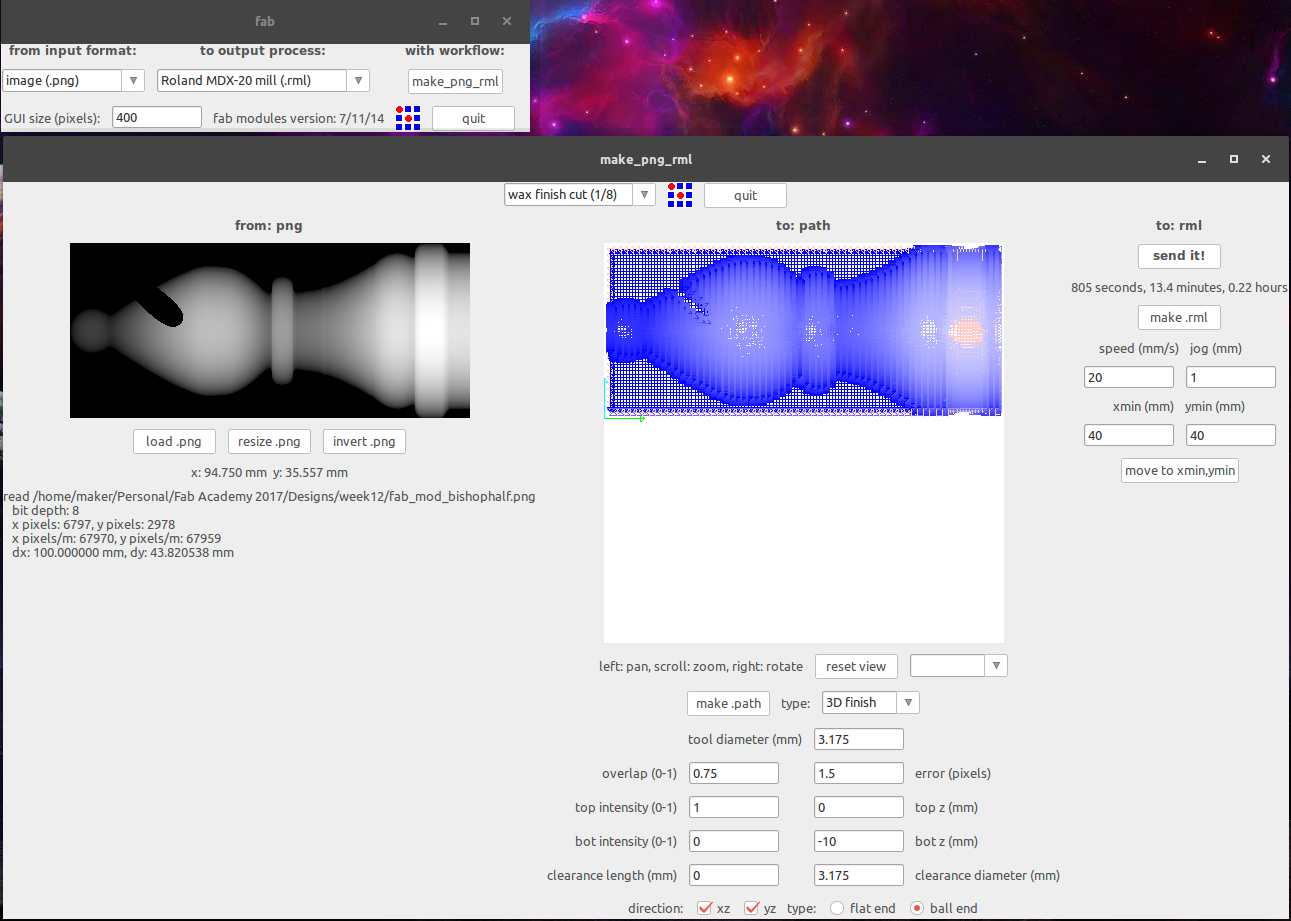
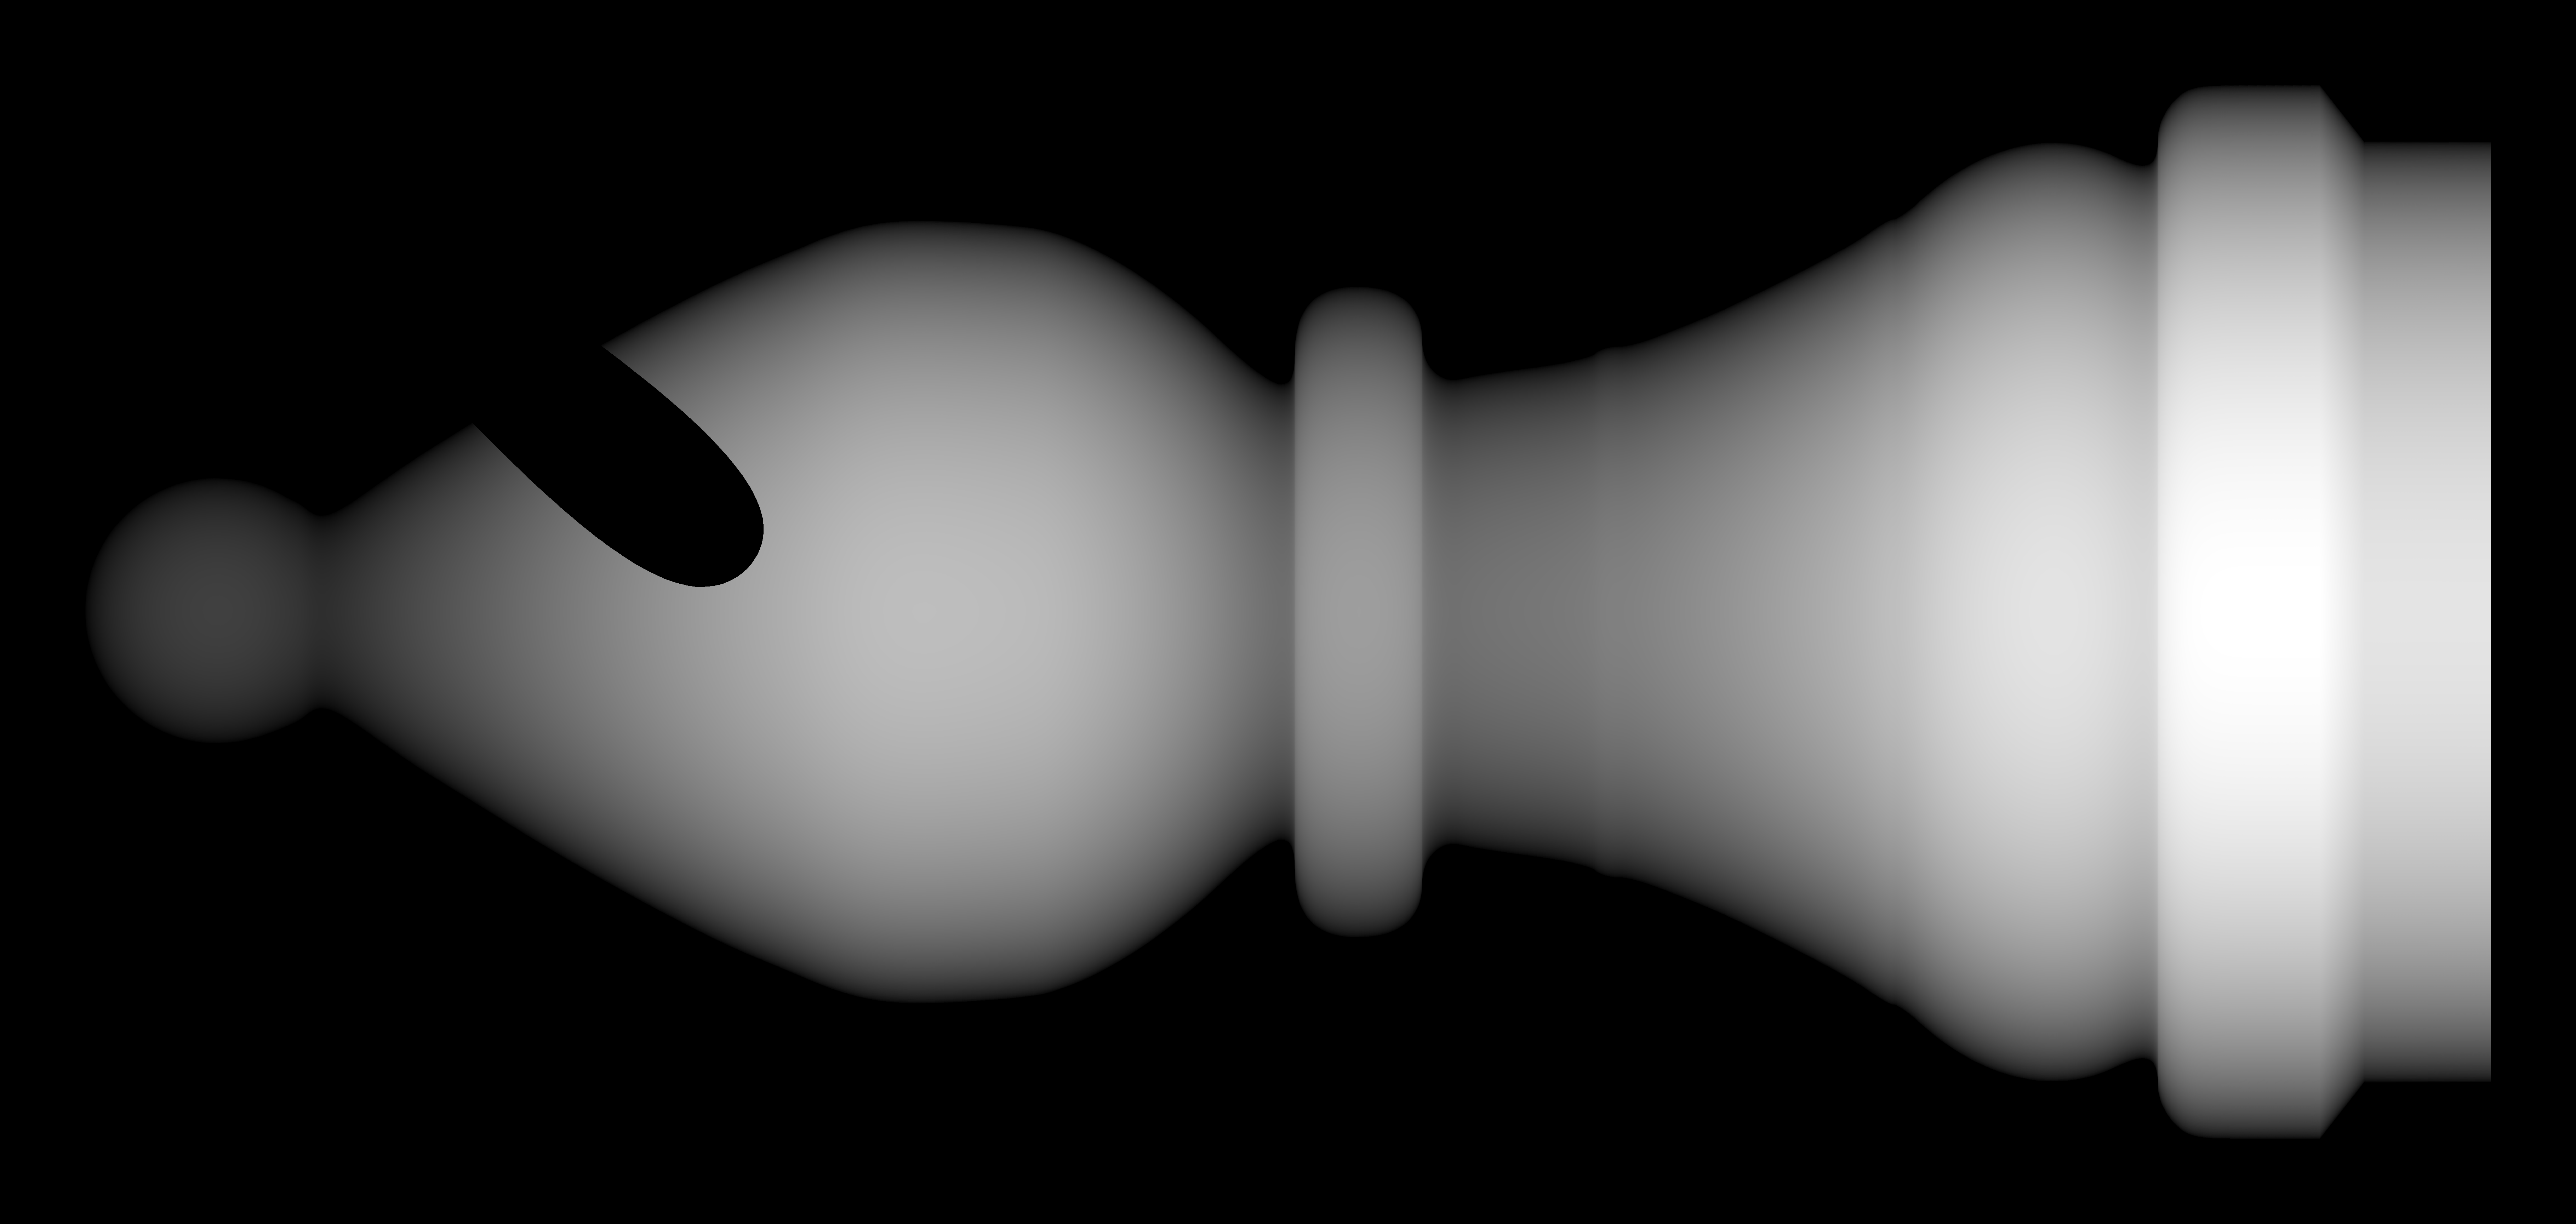
The result was...
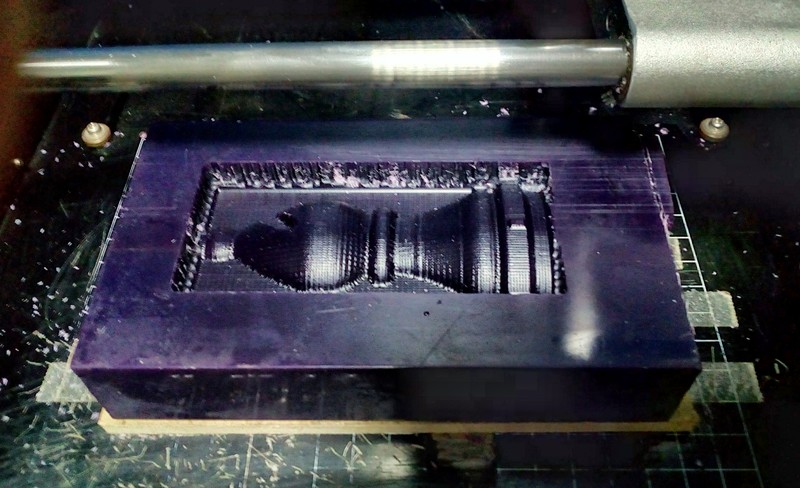
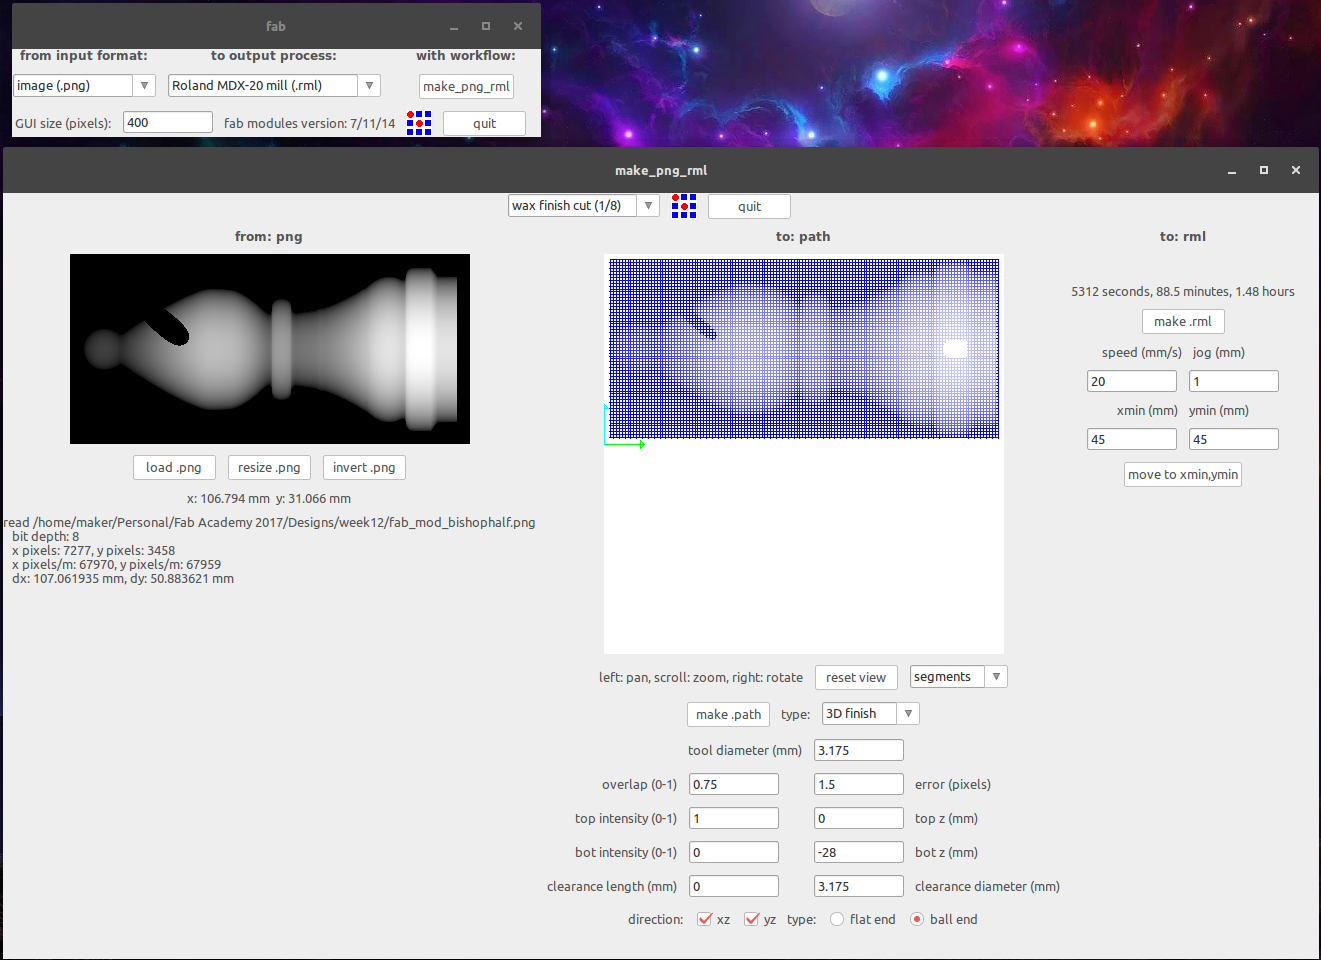
At this point there was one glaring problem with the mold; the mold was too shallow. My model was circular and the mold appeared flat at the top. While searching for a solution I came across this old tutorial which had a table with Fab Modules Settings that explained that while working with a .png, I had to manually set the bottom height.
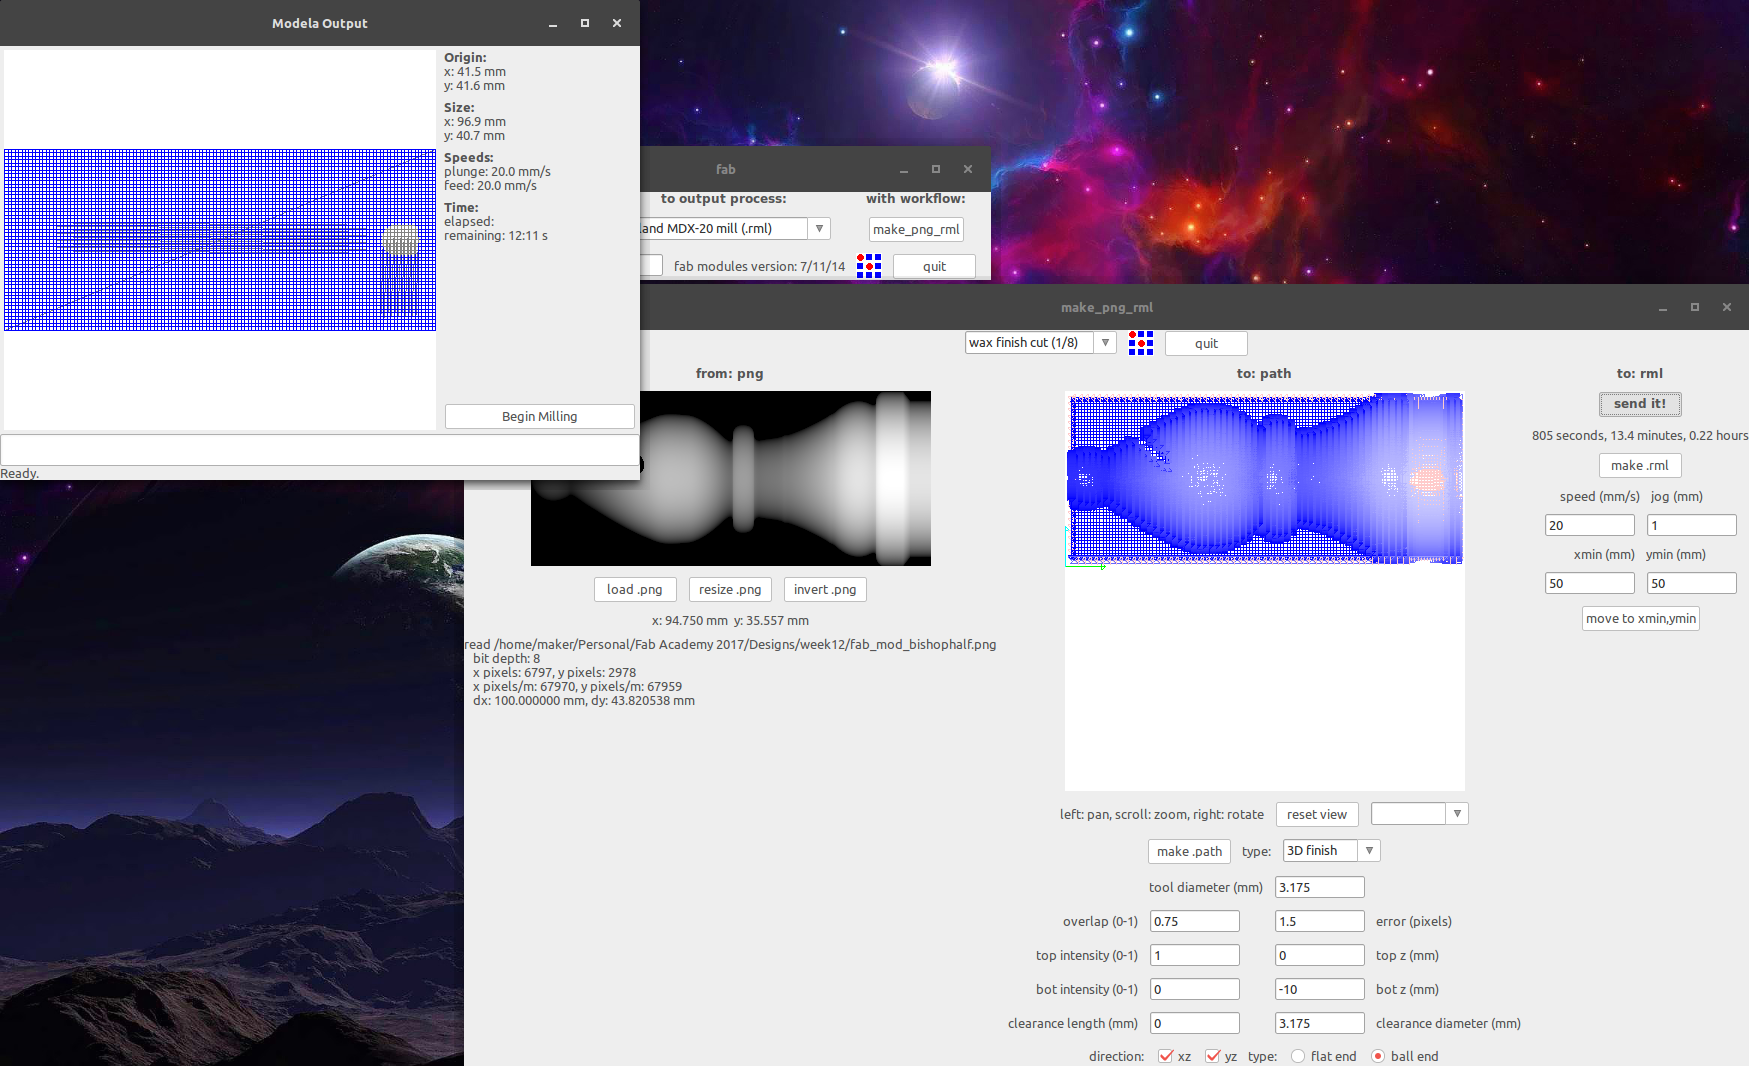
As previously done, I loaded the rotated image in fabmodules and resized it.
This time round I changed the bottom-height which by default was -10mm to -28mm. I arrived at this depth based on the maximum depth that my 1/8 end mill (approx. 31mm) could mill and the height of the wax which was 30mm.
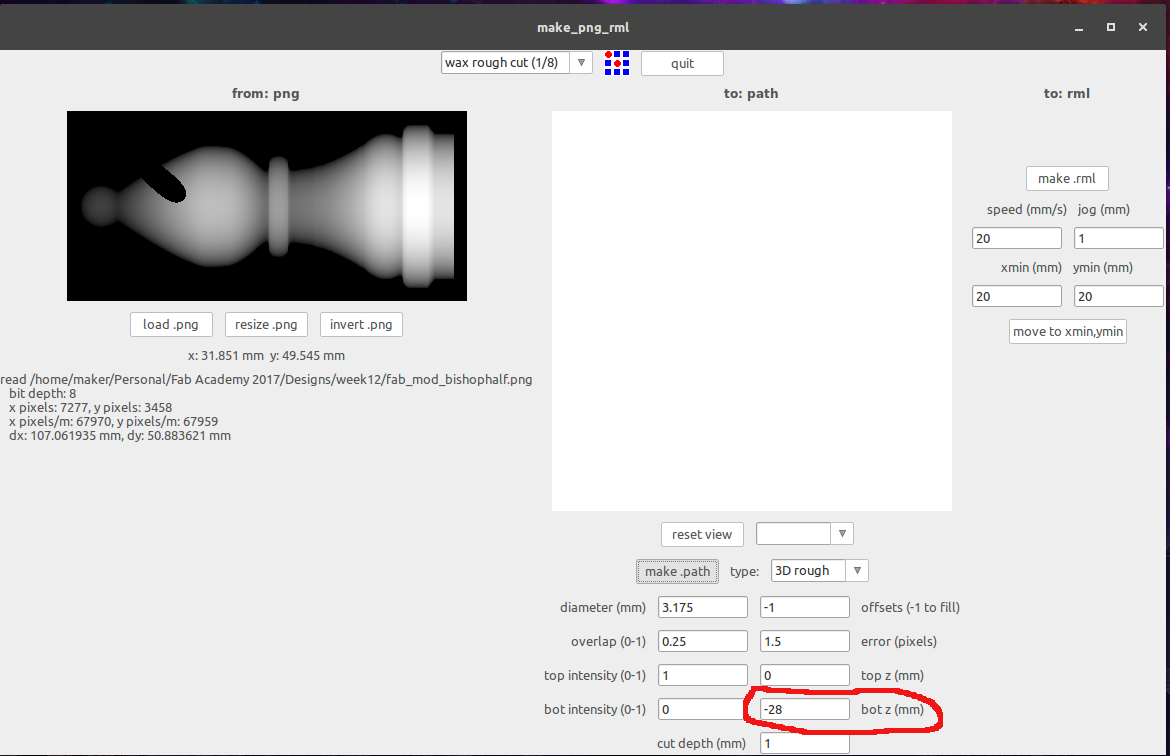
I was careful between the rough and finish cut to maintain the same bottom height as this value gets reset when you change the type of cut.
Sending the rough cut...
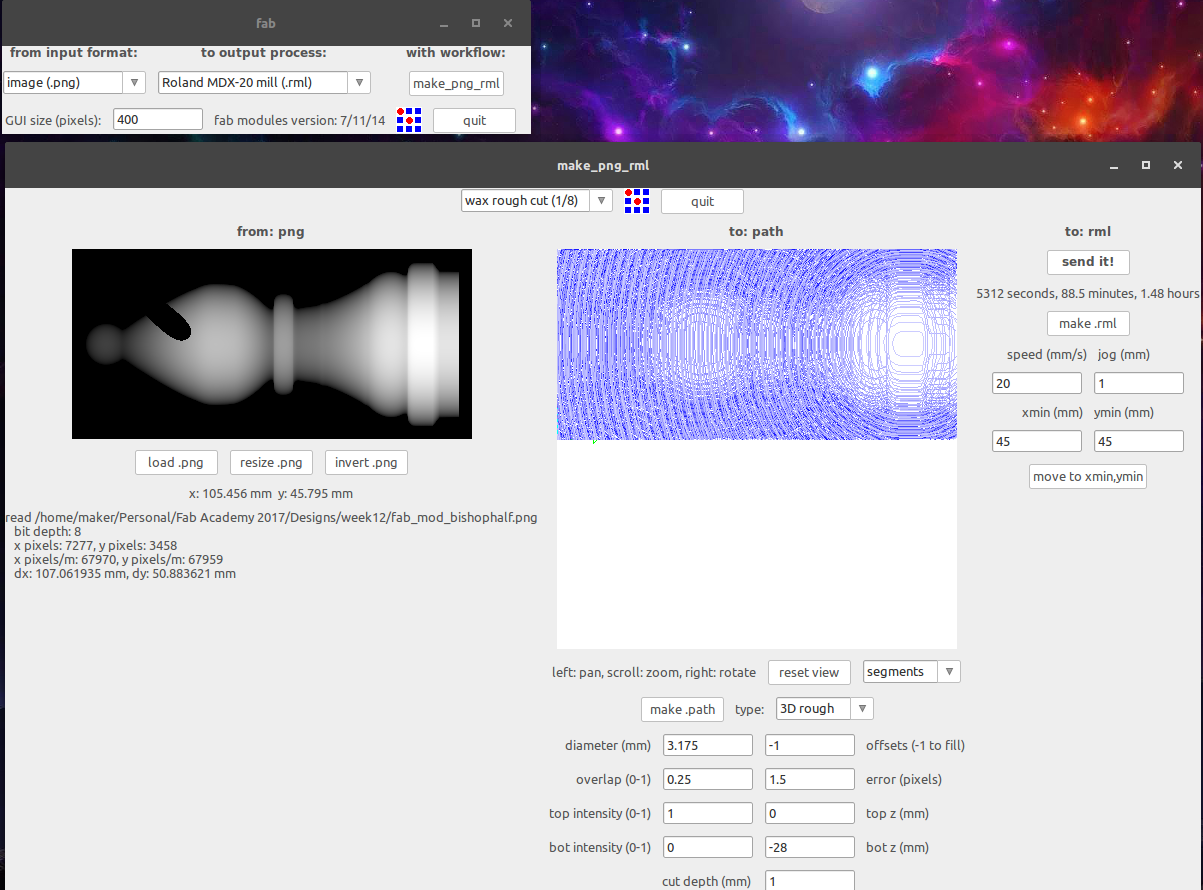
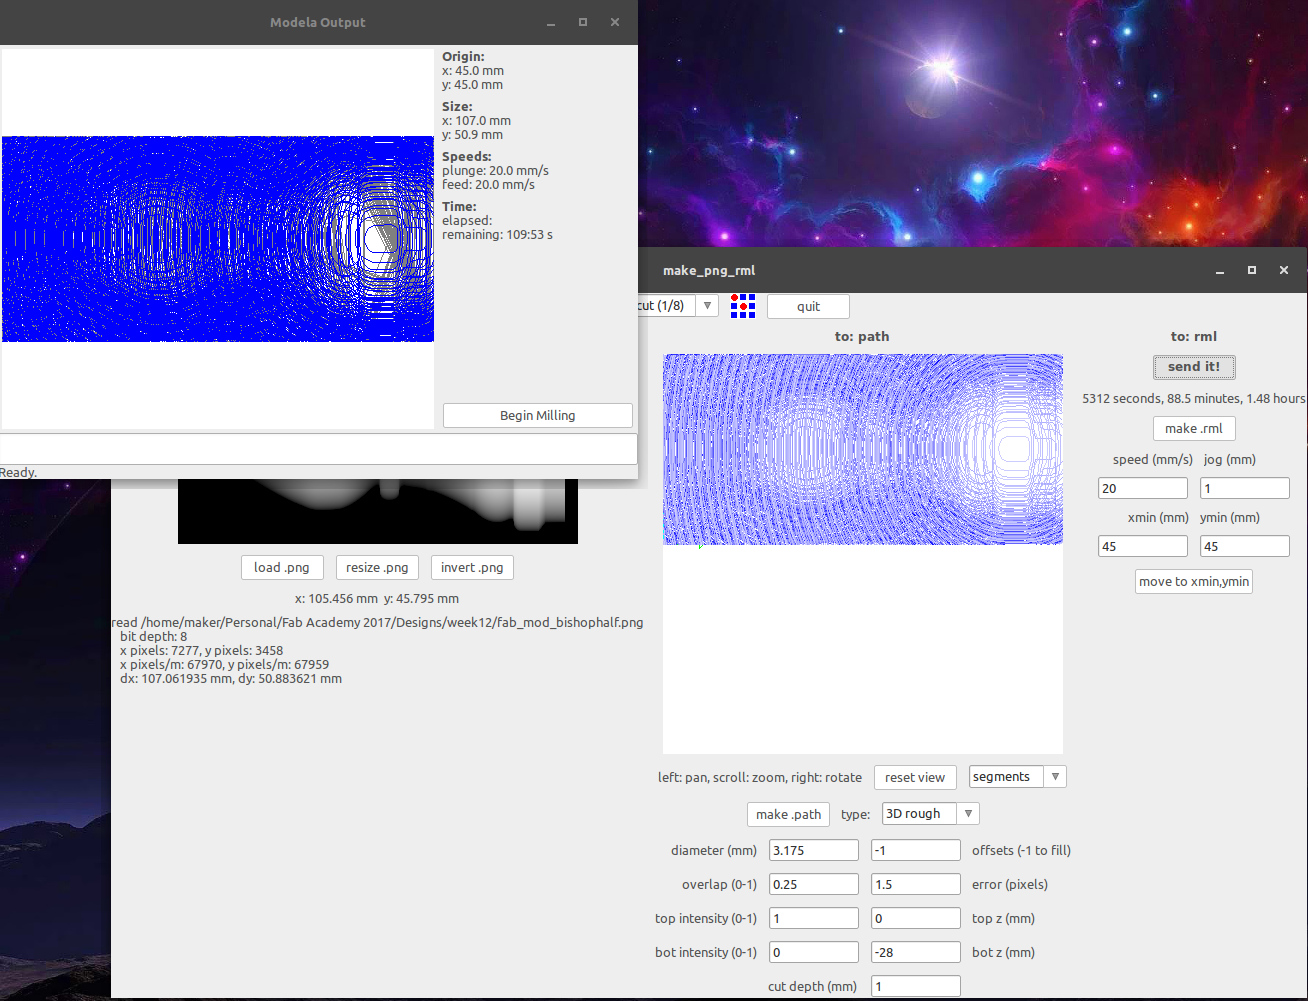
sending the finish cut...

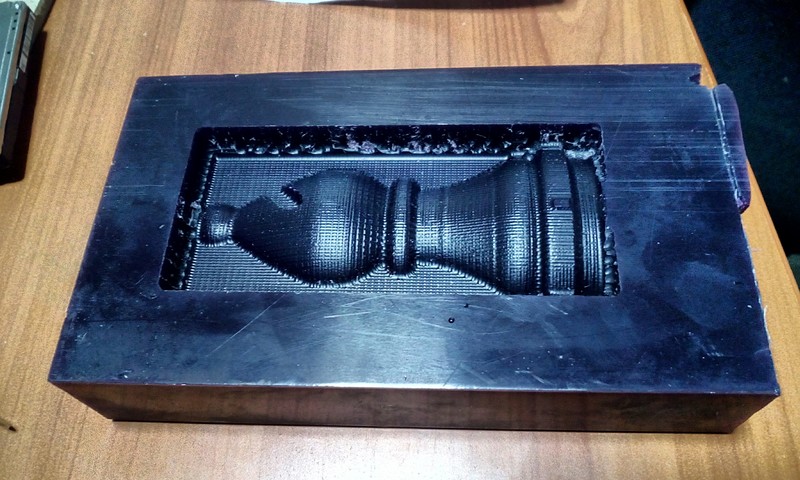
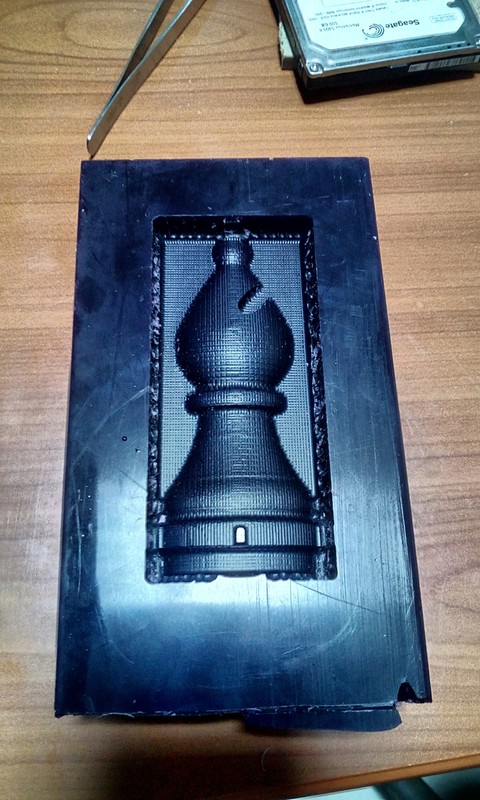
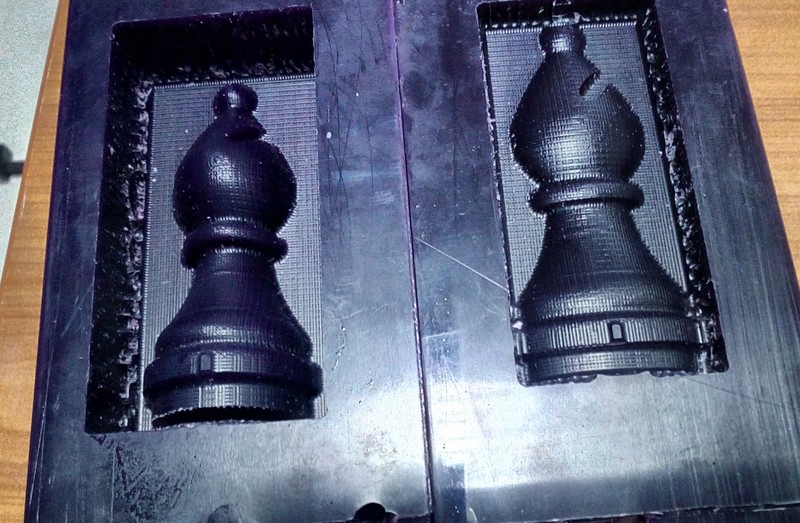
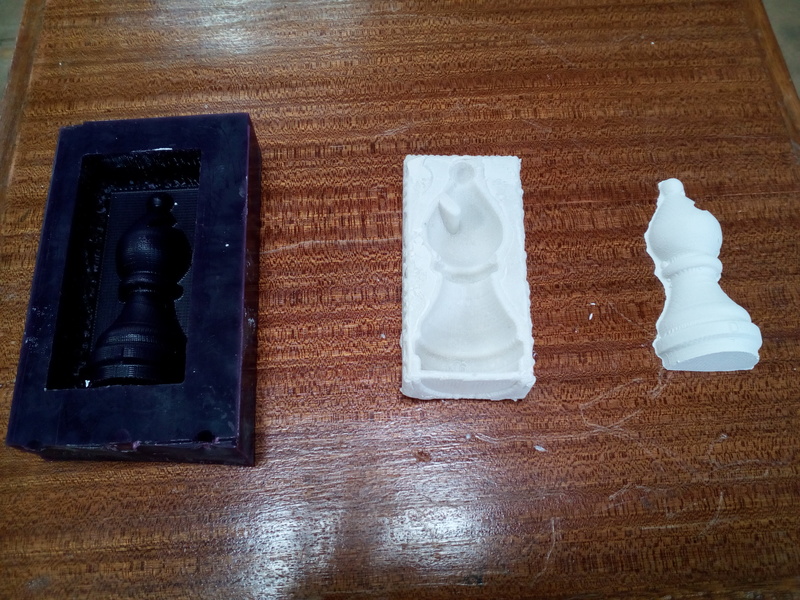
The result...
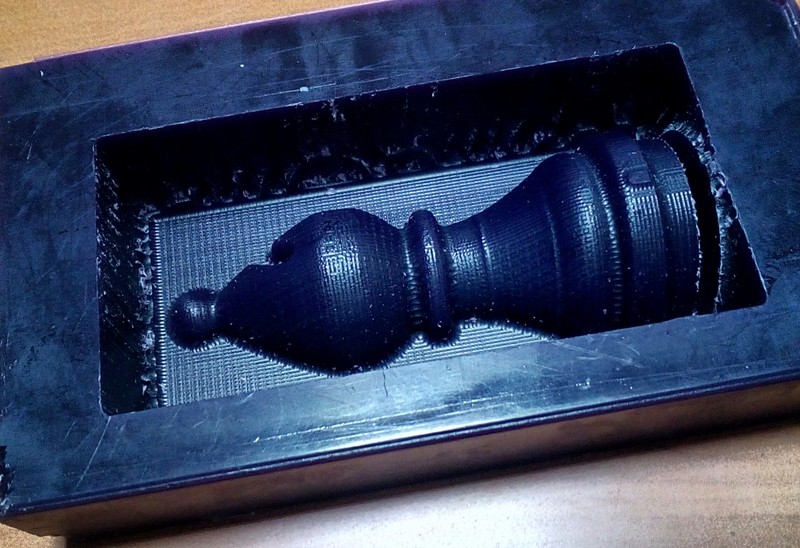
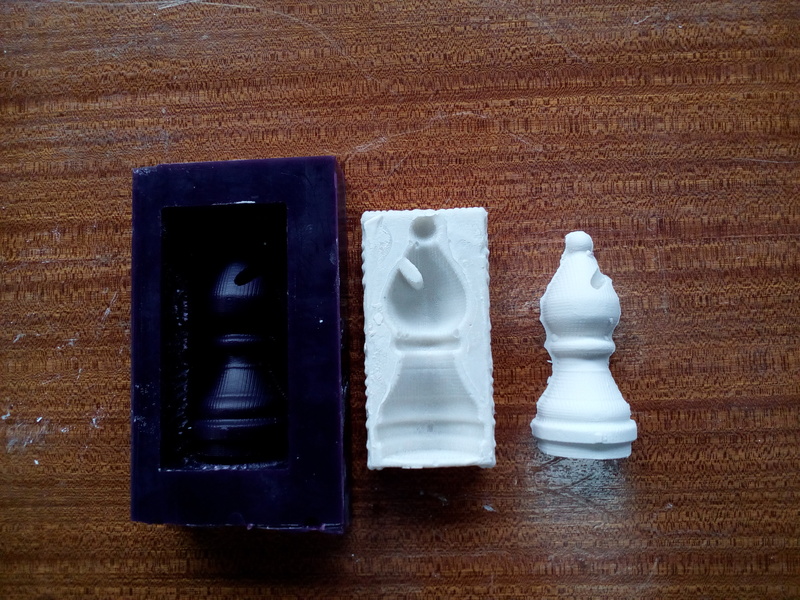
Side by side, the difference between the molds was obvious...
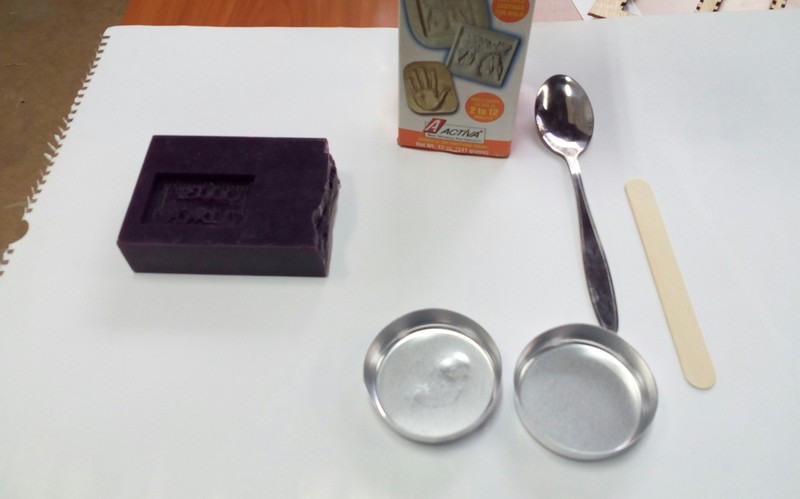
As done earlier with the 'Hello World' I prepared the temporary mold.
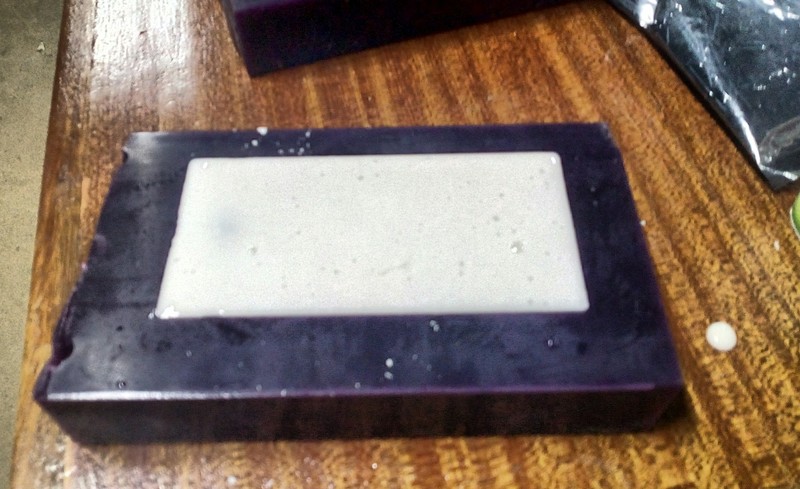
The result...
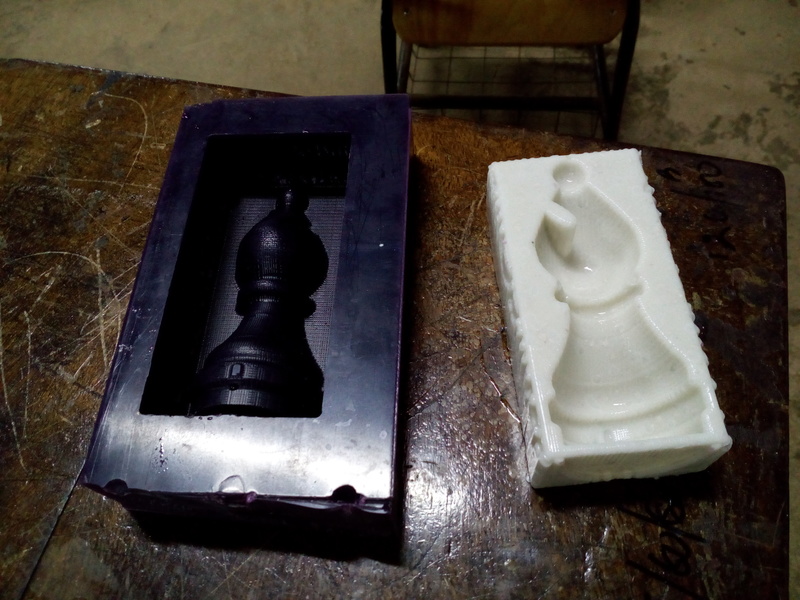
For the cast, I used drystone. I mixed it and poured it into the temporary mold. 30 minutes later...
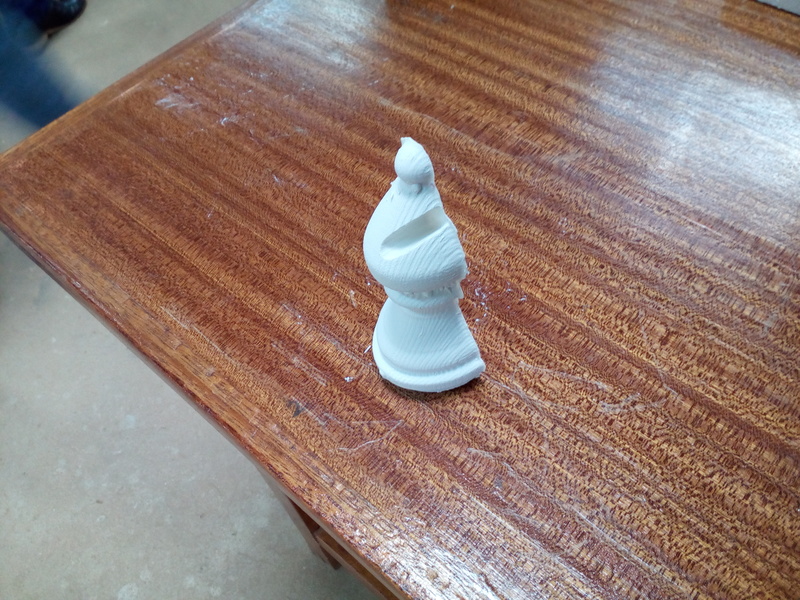
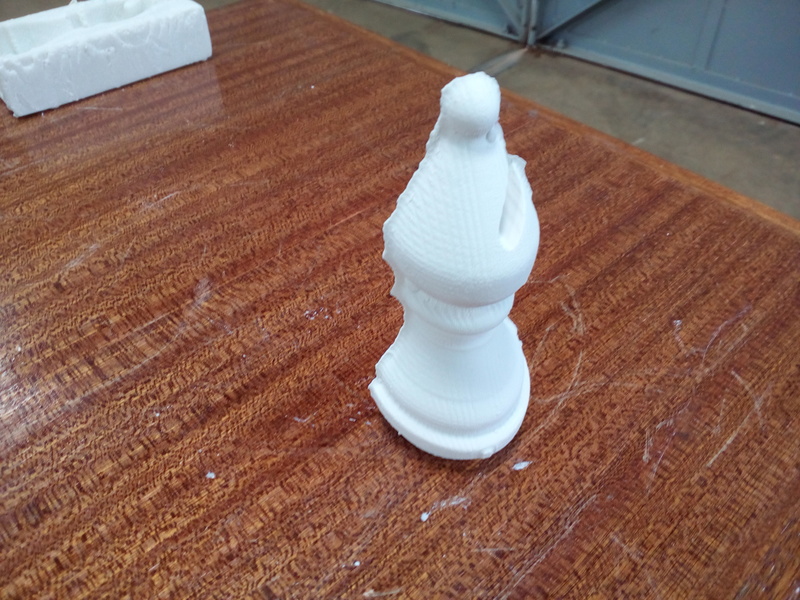
Finally...
Assignment wise:
- Design a 3D mould, machine it and cast parts from it
Files
Rhinoceros files (.3dm)
Stereolithography files (.stl)
Images