
Electronics Design
The Assignment:
- Redraw the echo hello-world board
- Add (at least) a button and LED (with current-limiting resistor)
- Check the design rules, make it, and test it
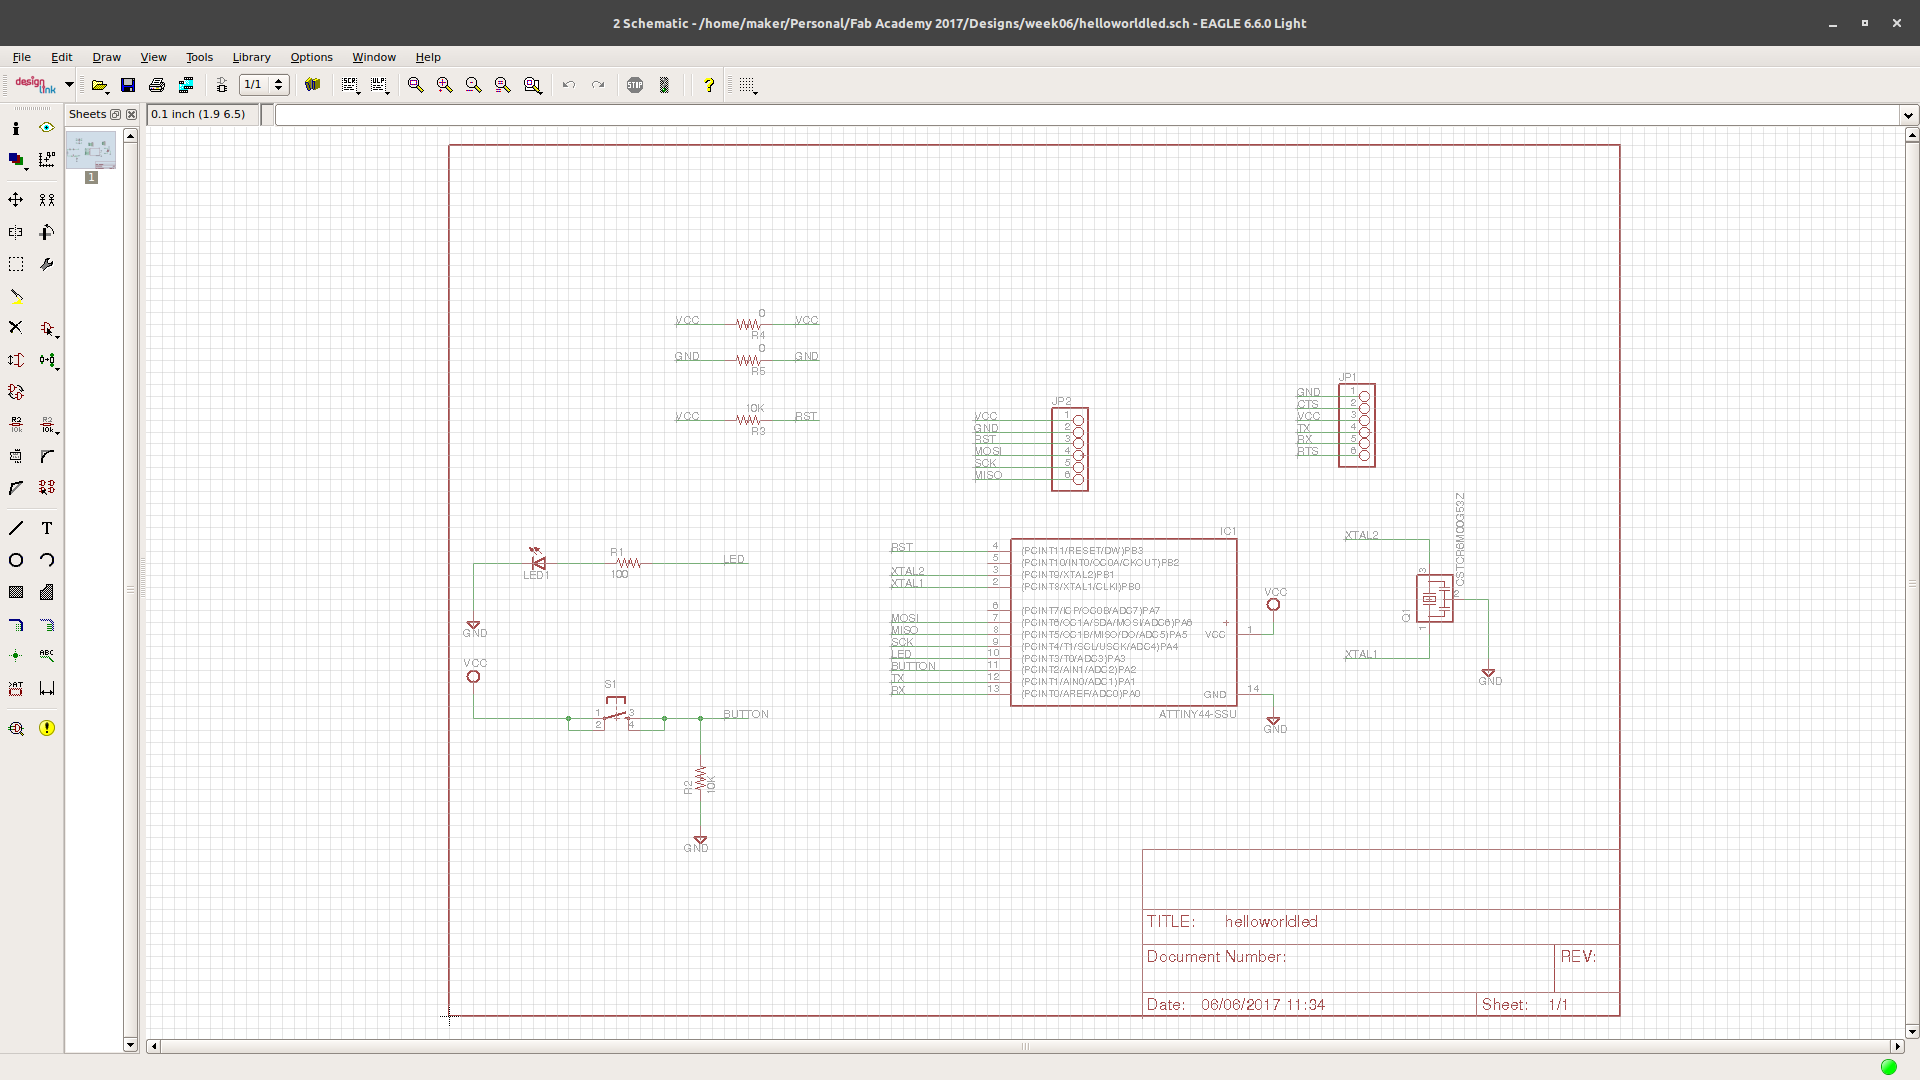
I started the design using the echo hello-world board here as a reference. I used Eagle as the design software as I had used it previously and was comfortable using it.
The final schematic...
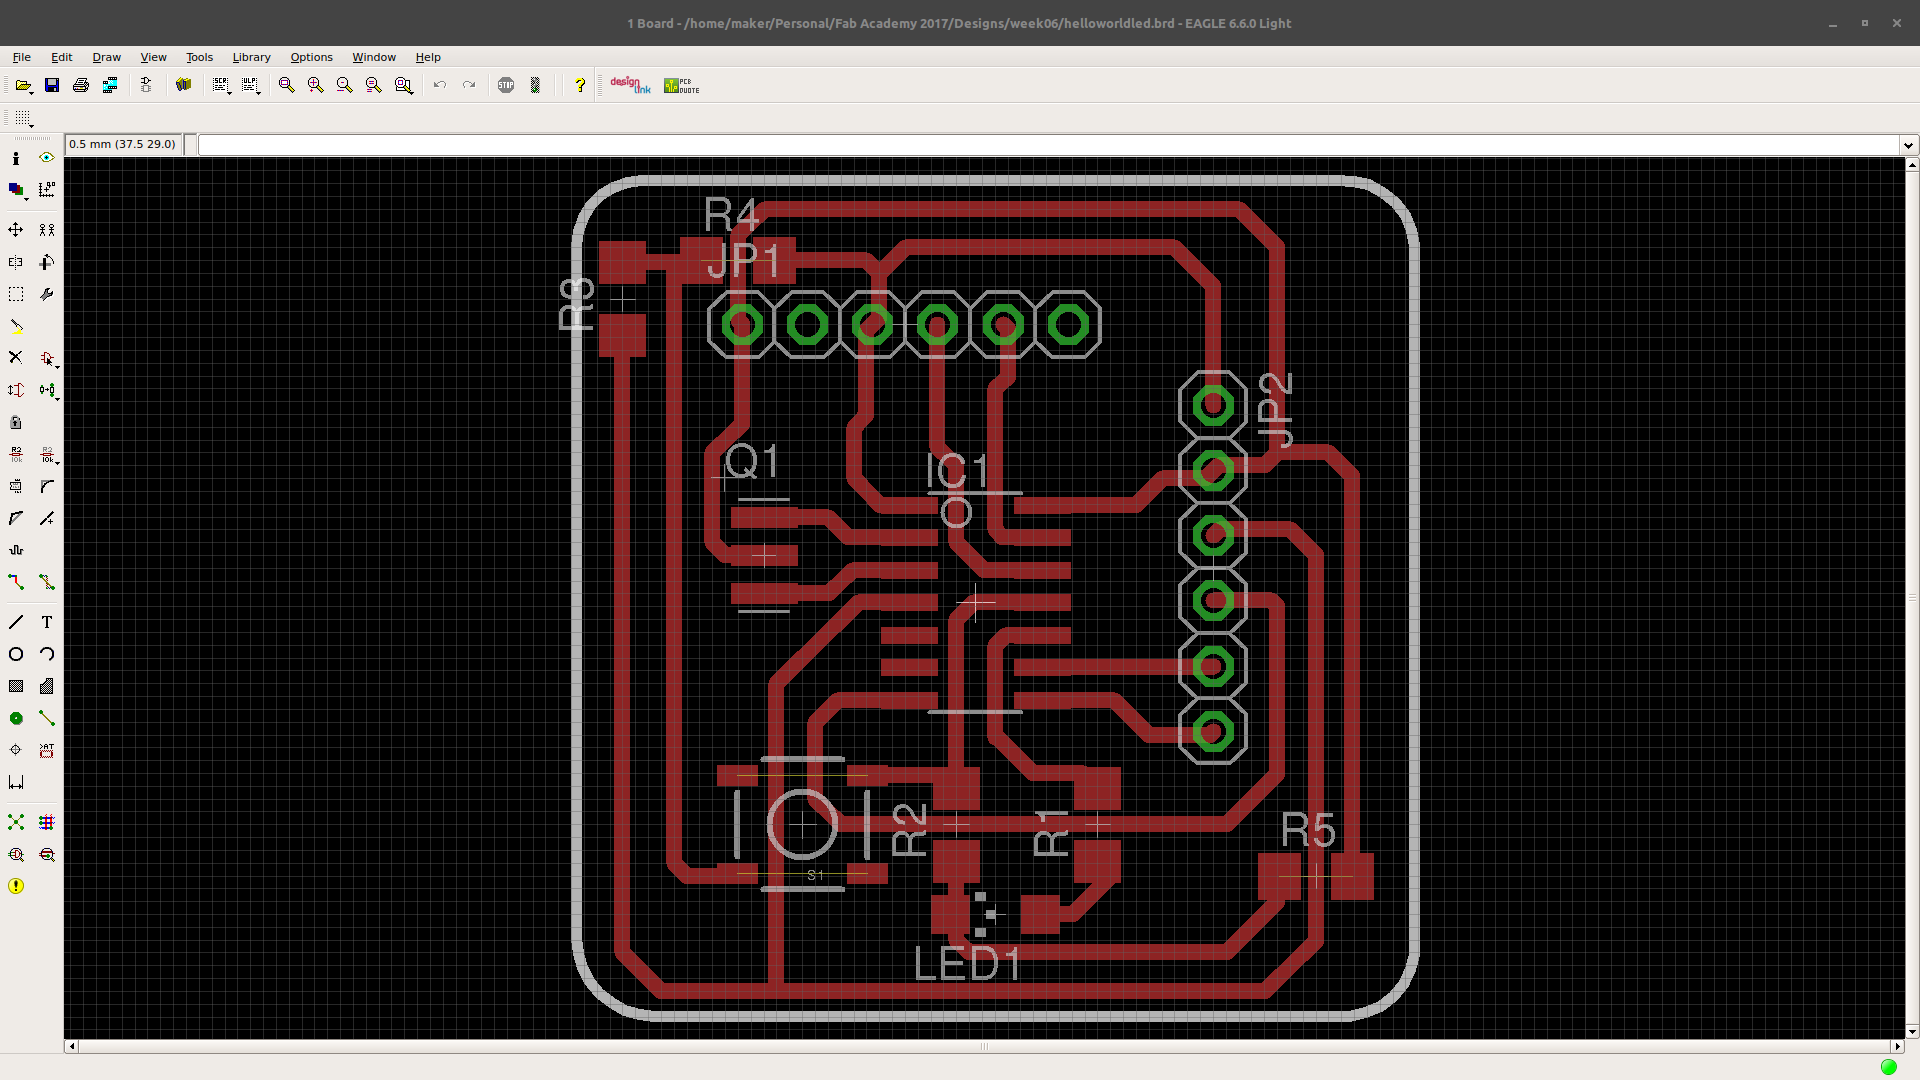
I then designed the board...
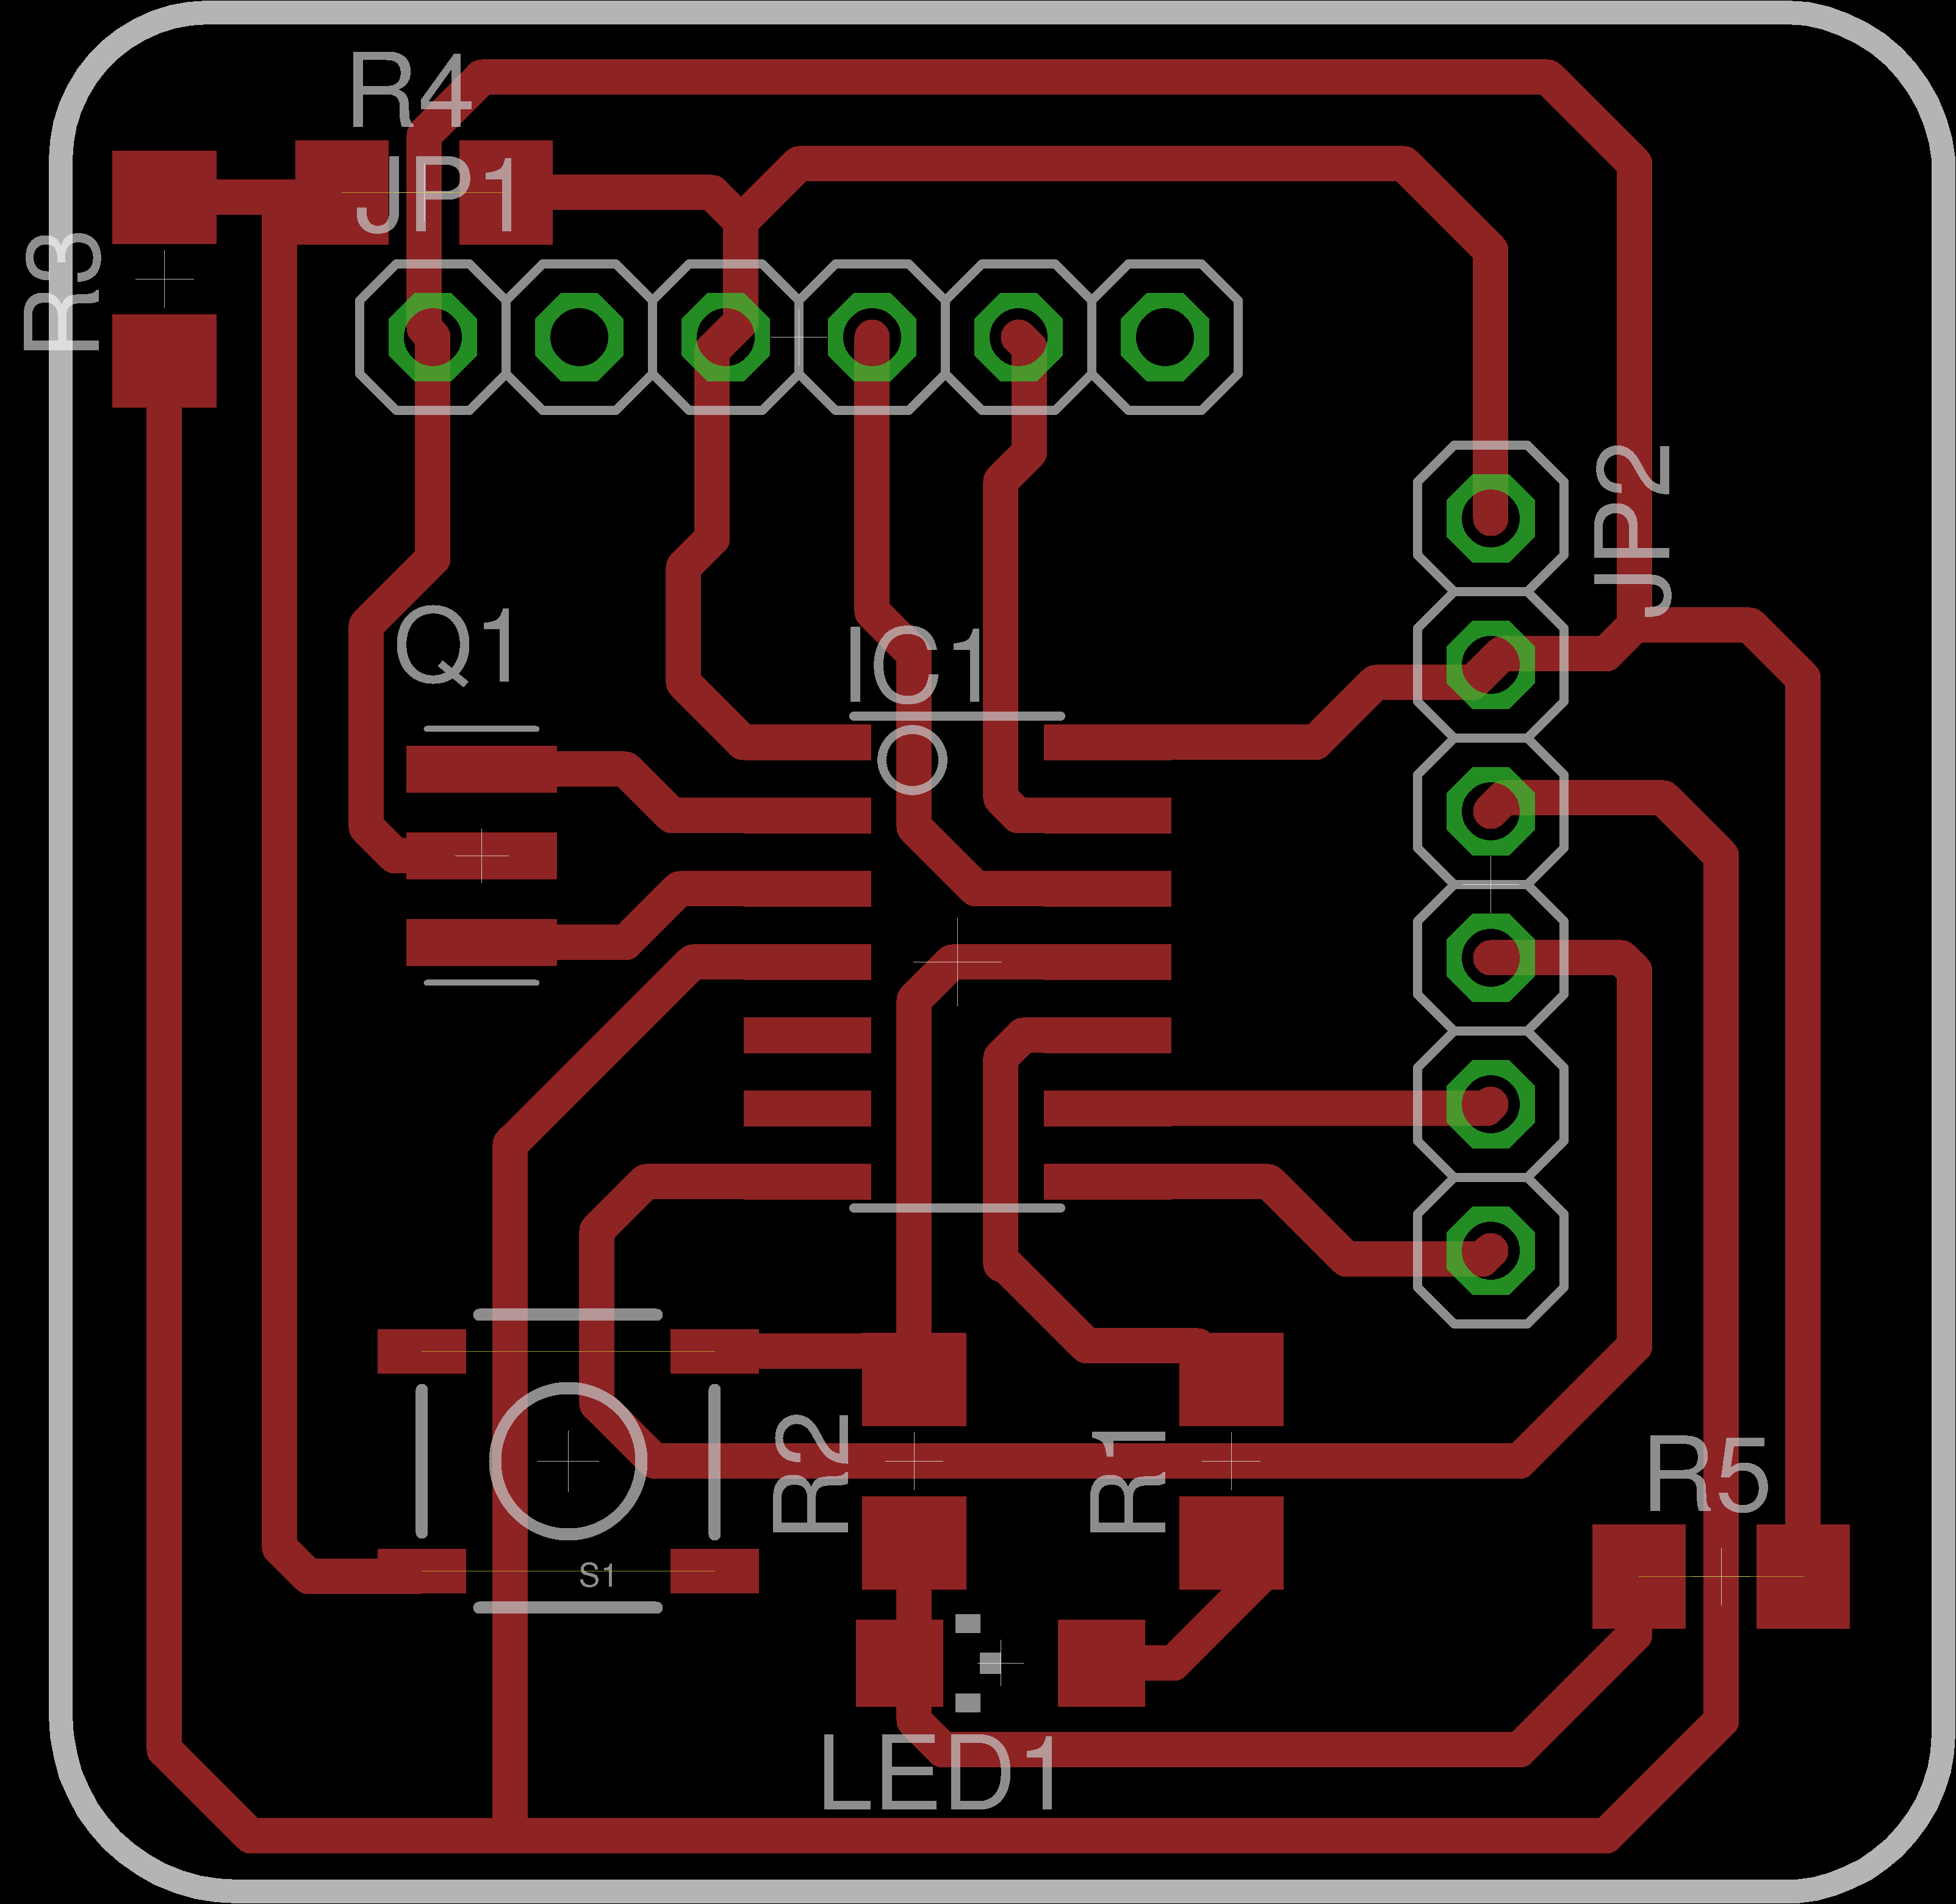
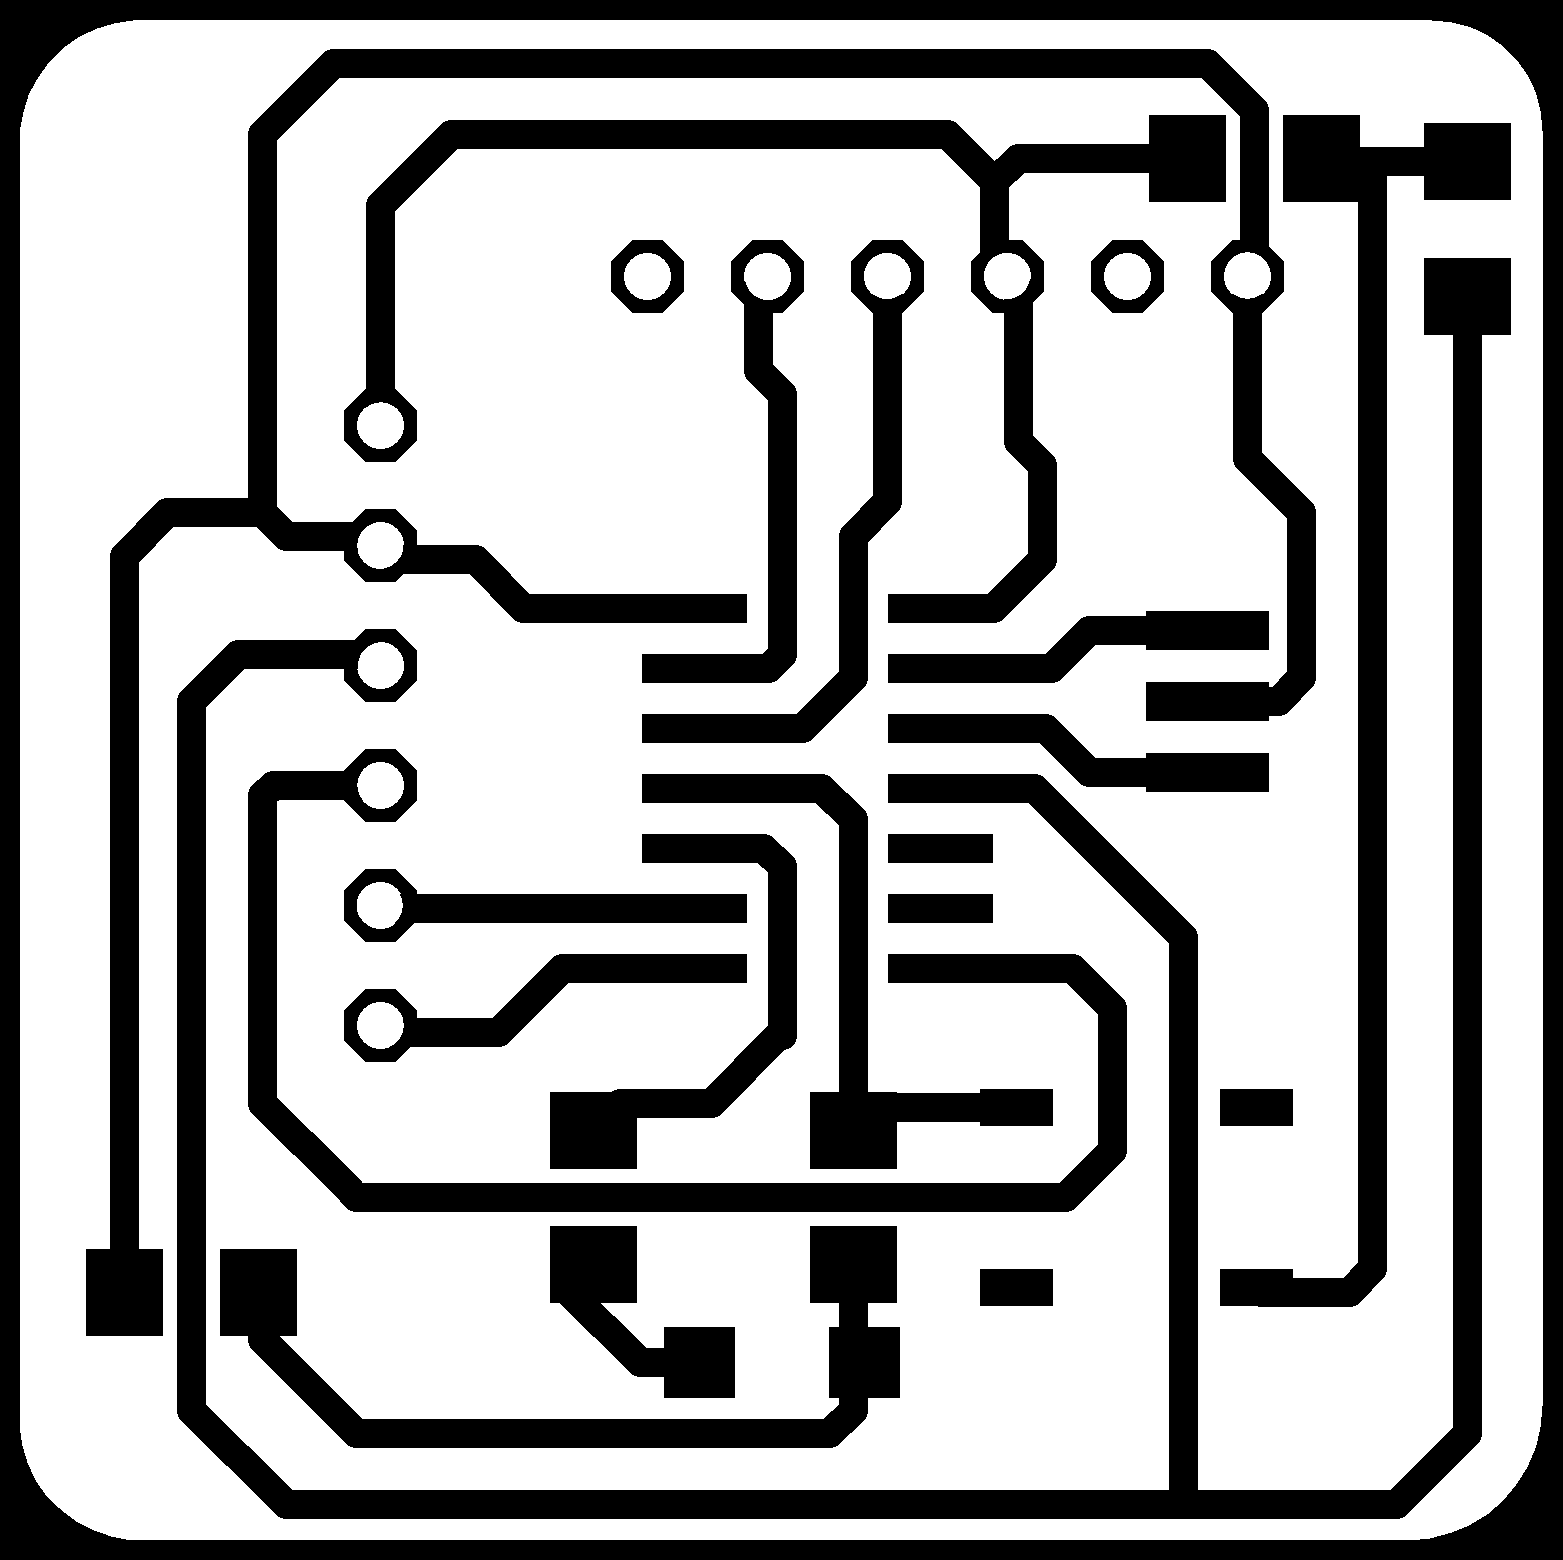
Once that was done I extracted the necessary PNG files for etching. I had to mirror the image as it was the top layer.
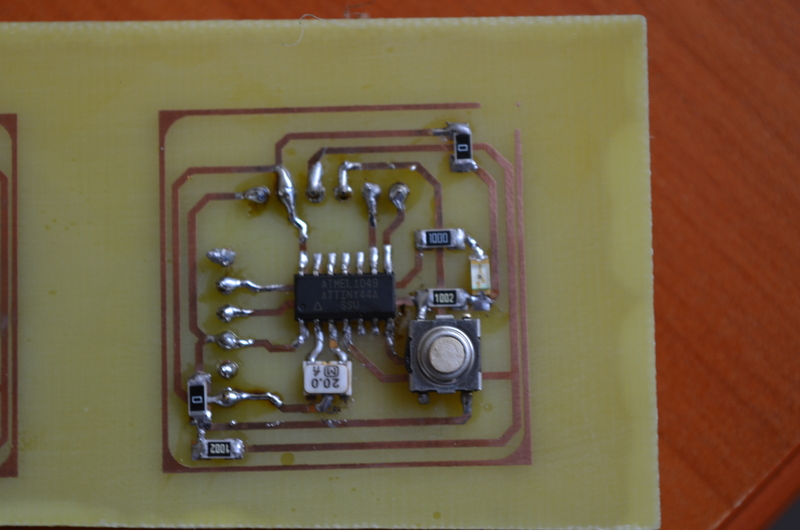
After etching and mounting the components I had...
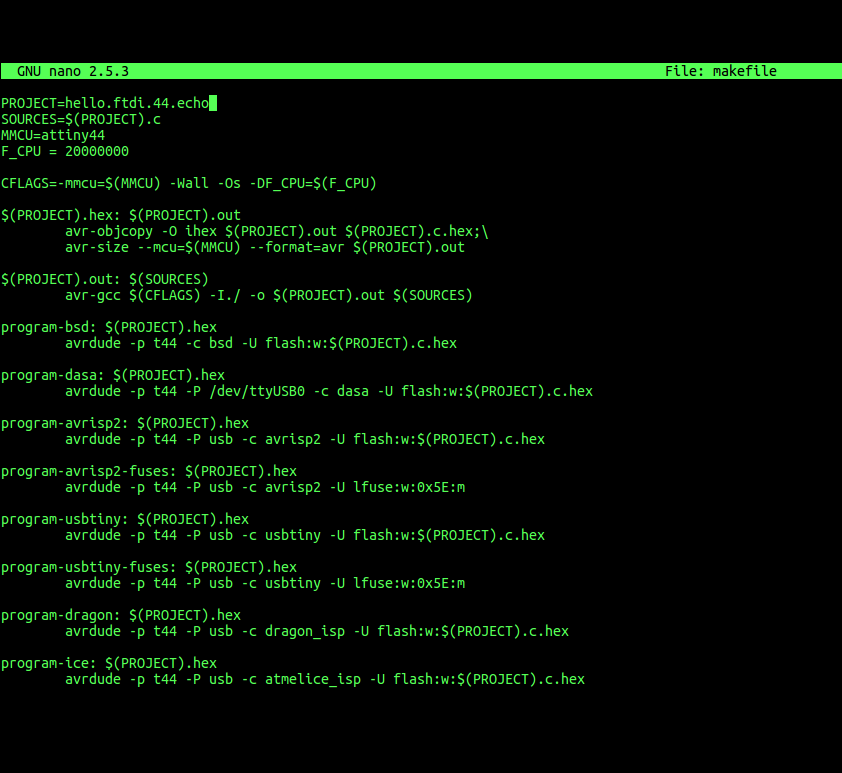
I then downloaded the makefile here. I then renamed it makefile to make it easier to use.
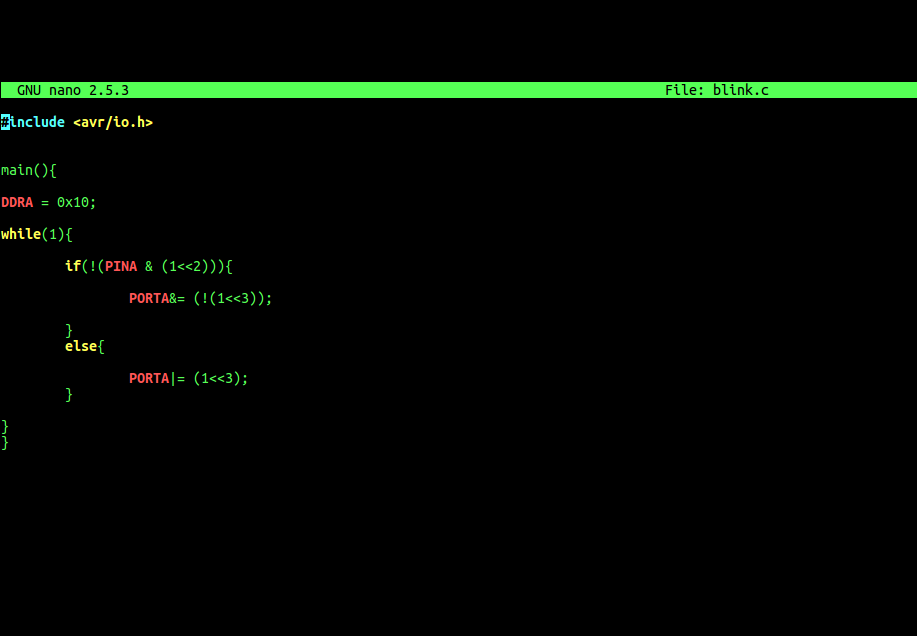
I the created a simple AVR C blink code using nano editing software, that uses the button as an input to light the led. The code can be downloaded here.
I then had to edit the makefile so as to allow me to build the blink code into a hex file which can then be loaded onto the board. To do this, I edited the PROJECT from hello.ftdi.44.echo to blink.
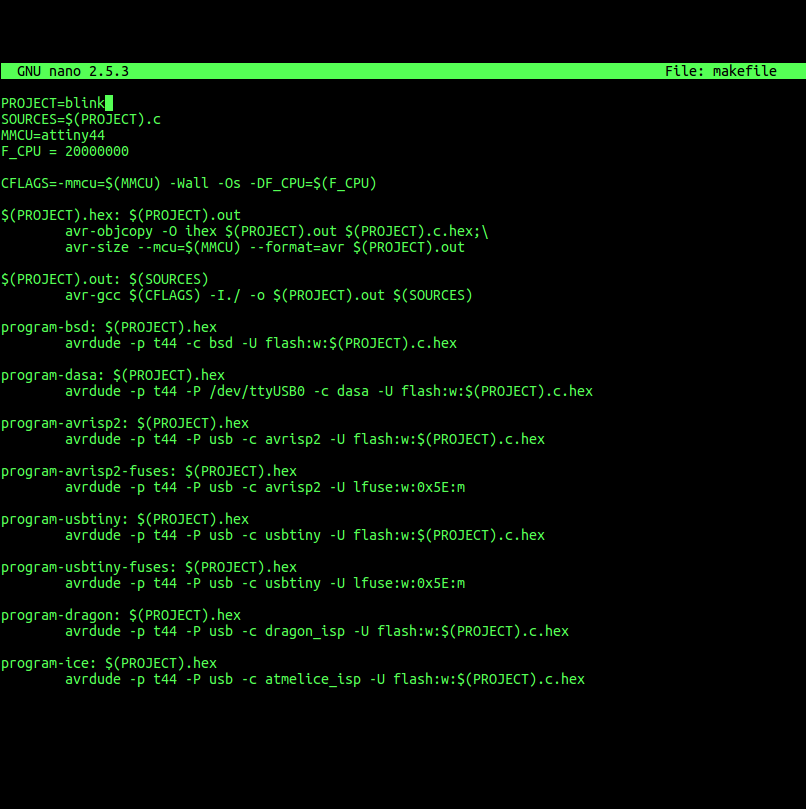
I saved the makefile and exited the editor.
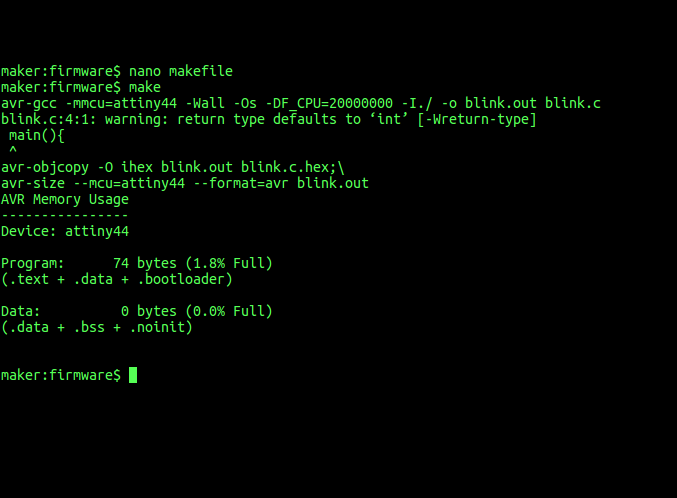
Next up, generating the necessary hex file. To do this I ran...
make
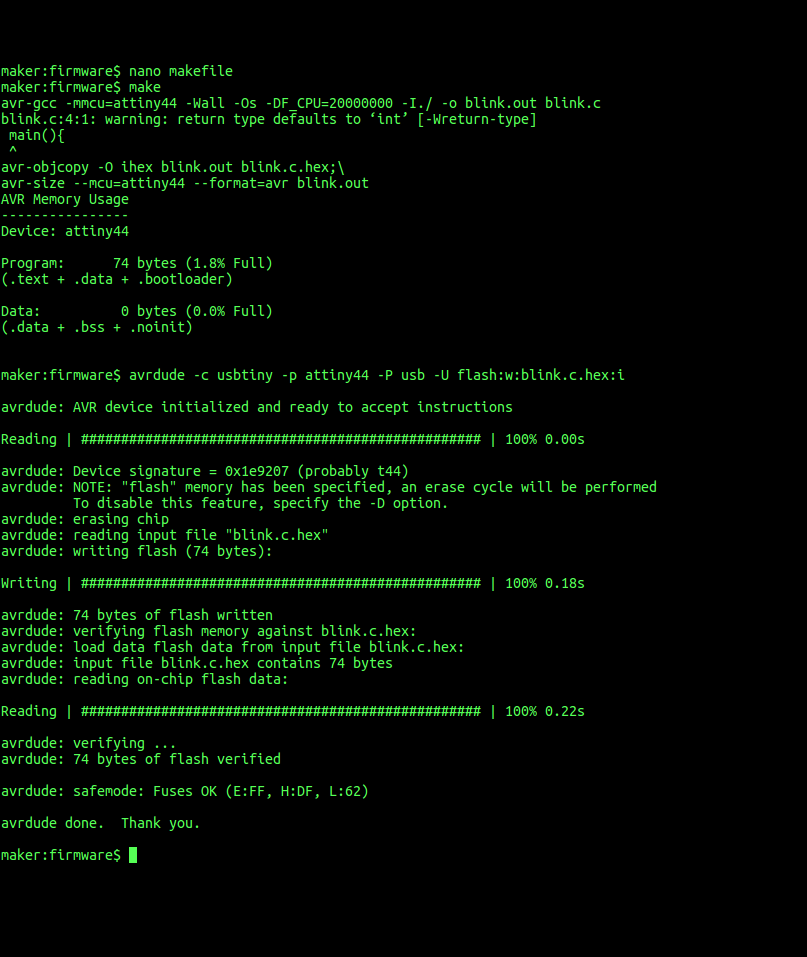
To upload the code,...
avrdude -c usbtiny -p attiny44 -P usb -U flash:w:blink.c.hex:i
Testing the circuit...
Assignment wise:
- Redraw the echo hello-world board
- Add (at least) a button and LED (with current-limiting resistor)
- Check the design rules, make it, and test it
Files
Designs
Code
Packaged Code files firmware.zip