3D SCANNING AND PRINTING
Assignments;
- Design and 3D Print an object that cannot be made subtractively
- 3D scan an object and optionally, print it
- 3D Design and Printing
- 3D Scanning
- The glue stick had a smooth and glossy surface
- My phone camera resolution may not have been the best
- Phone processing power and memory limited the number of photos I could take of the object
- The insane number of photos that I had to take
- The lack of a software that will properly process the photos
- The fact that the mesh has to be edited before 3D printing e.g the areas with newspaper...
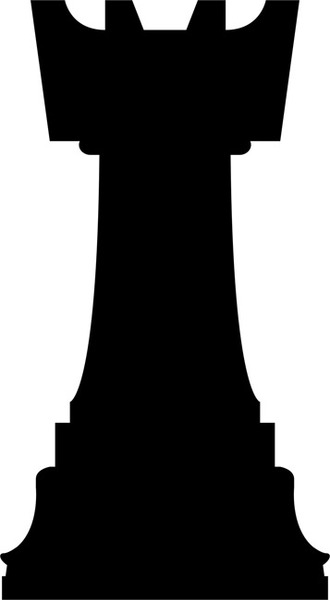
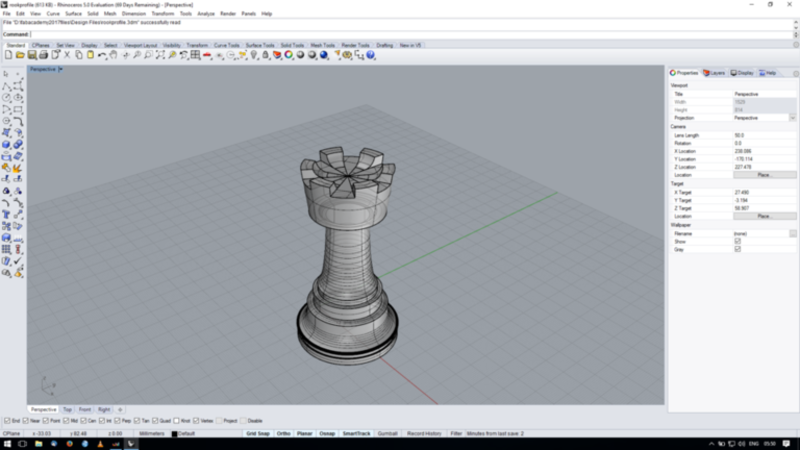
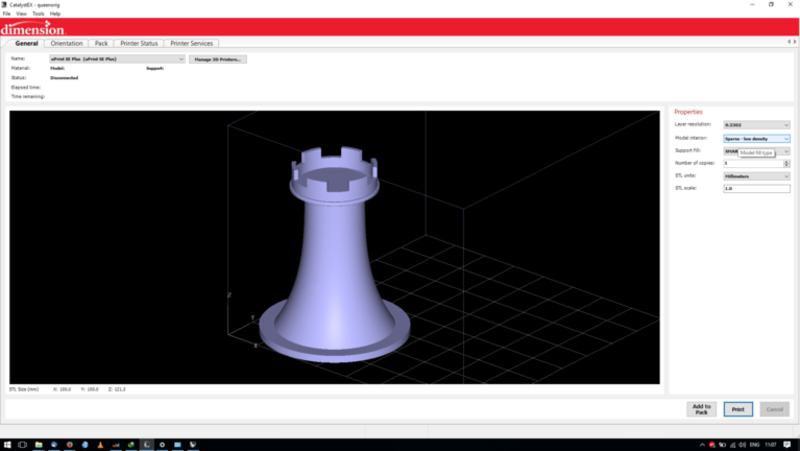
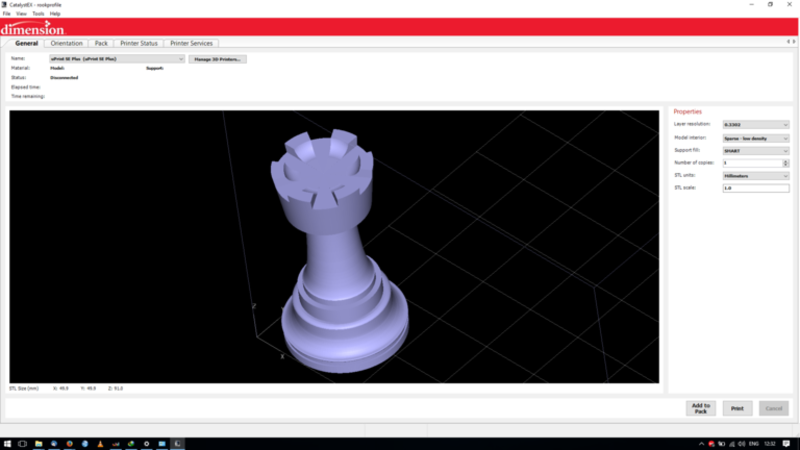
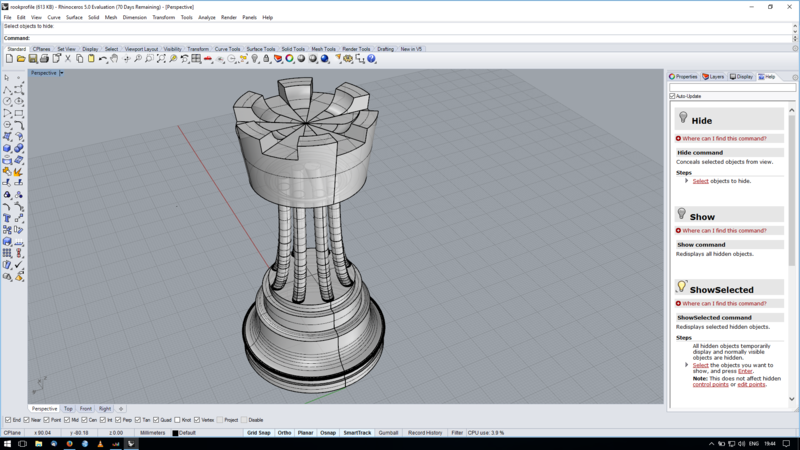
For the first assignment I decided to design and print a chess piece, specifically the rook. I did the design on rhinoceros. Over the course of the assignment I designed and printed 3 rooks.
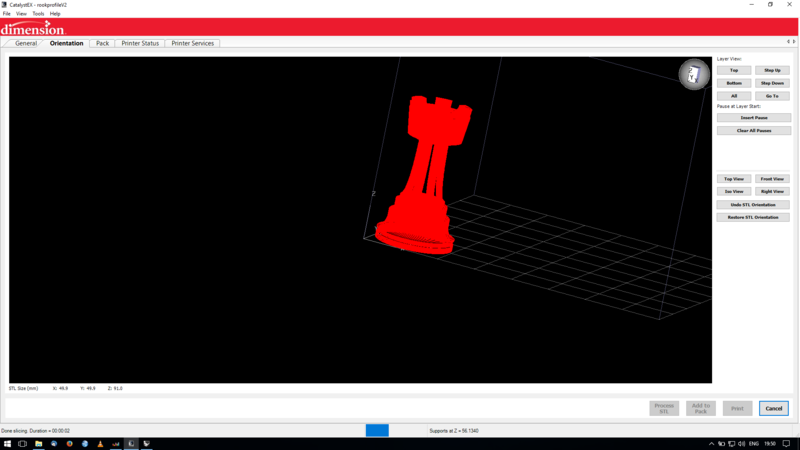
The 3D Printer I used was the uPrint SE PLus which has it's own proprietary software, CatalystEX for preparing and sending the prints. It is a dual extruder printer that prints using soluble material for as support material. It comes with a wave washing apparatus which is used for cleaning out the soluble material.
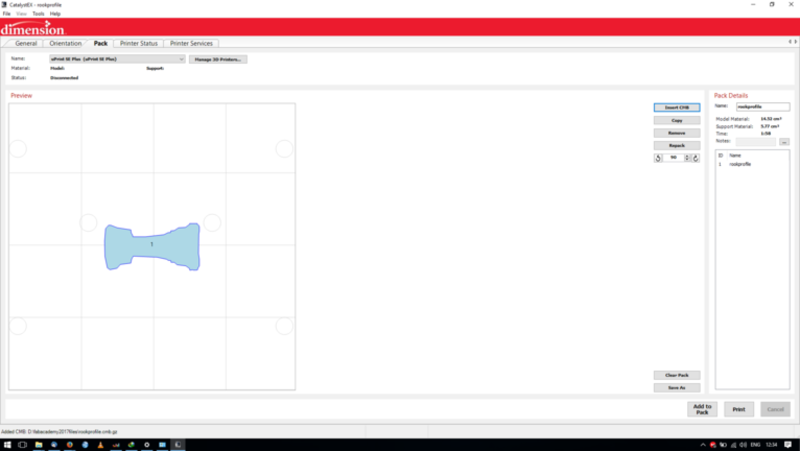
The first design was 'from scratch' i.e. the shape is my own original design...
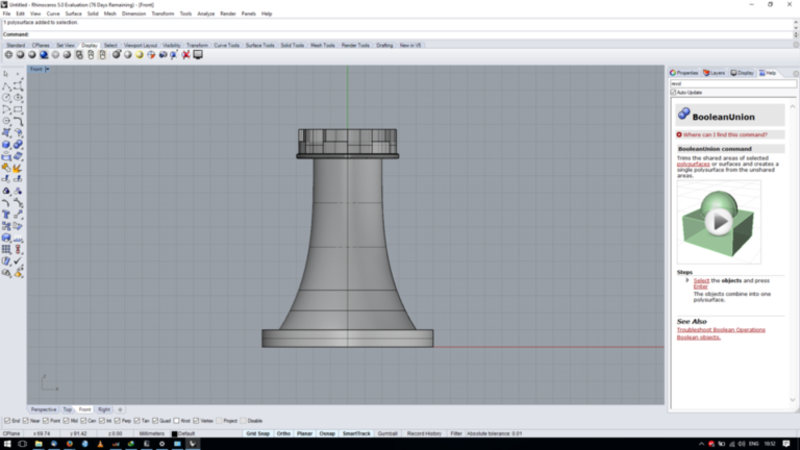

The second design was made using an outline...
The result...
I then did a 3D test print with the two designs.
Importing the first design...
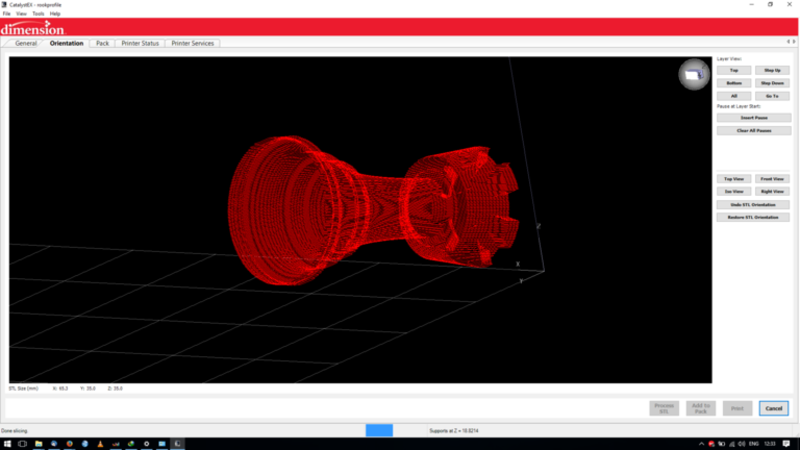
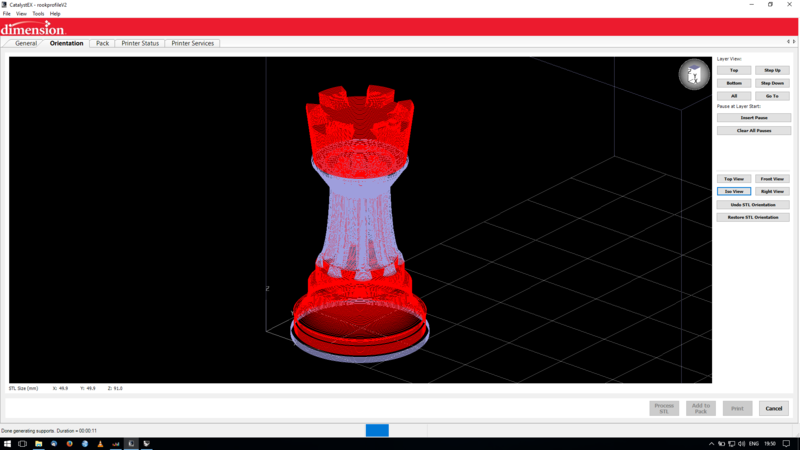
Processing...
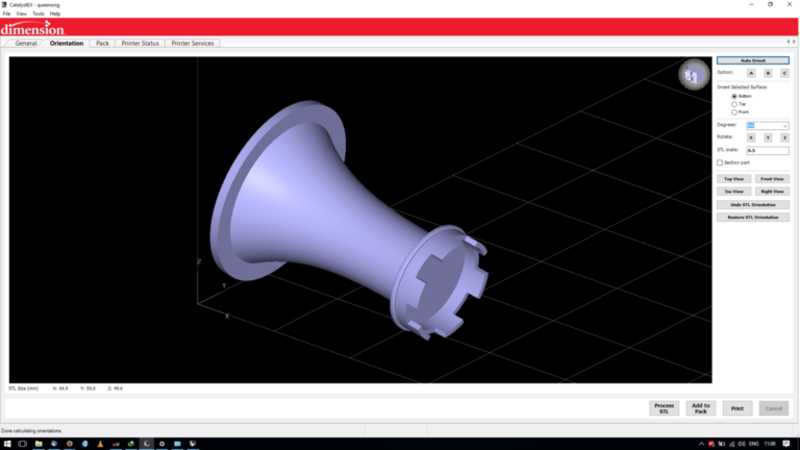
Importing the second design...
Processing...
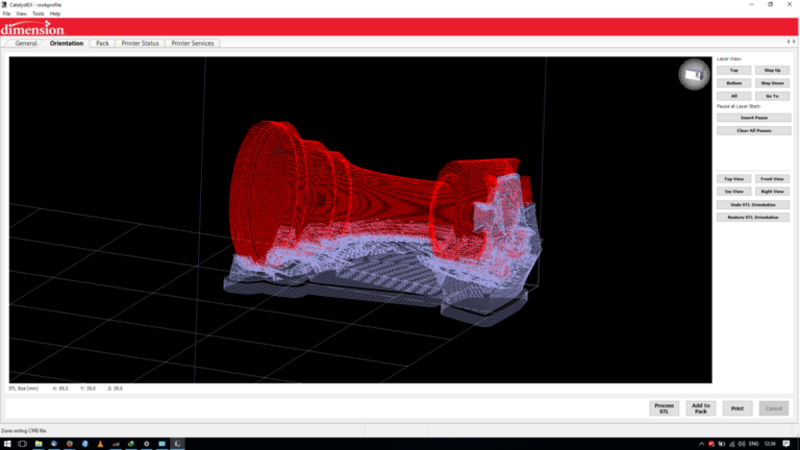
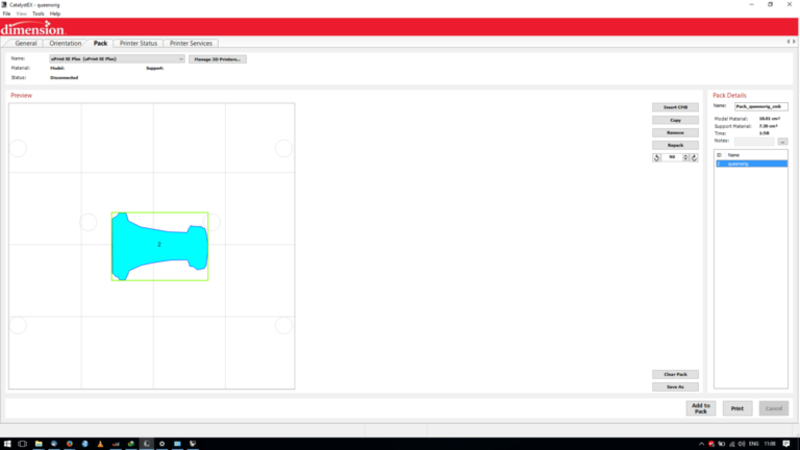
Combining both to make one print and sending...
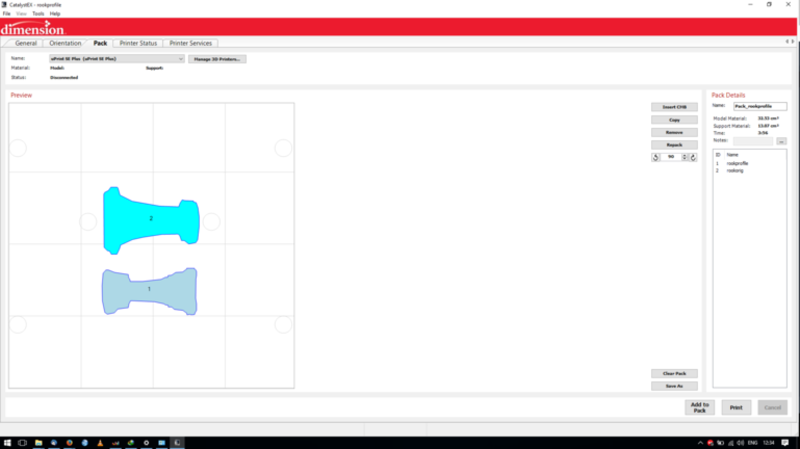
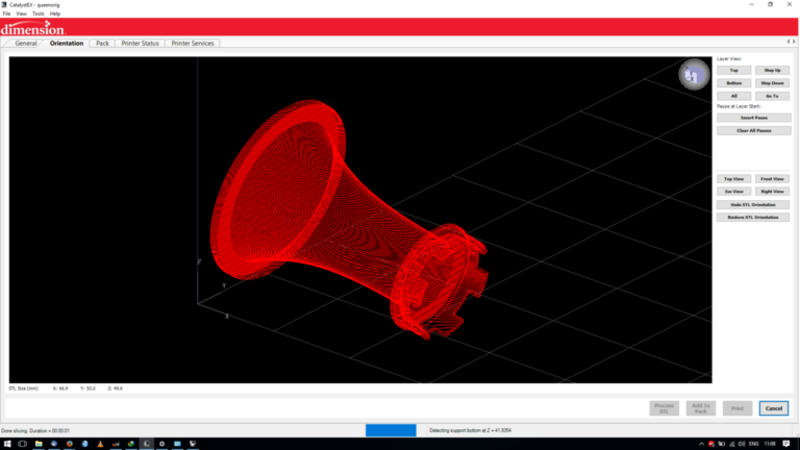
Printing...
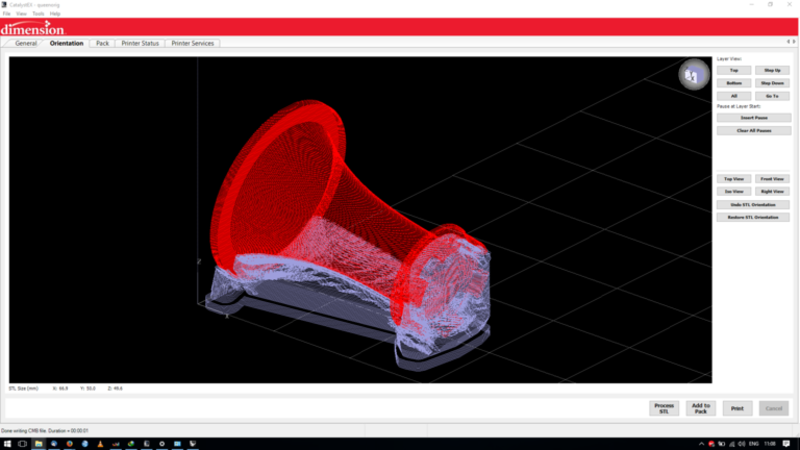
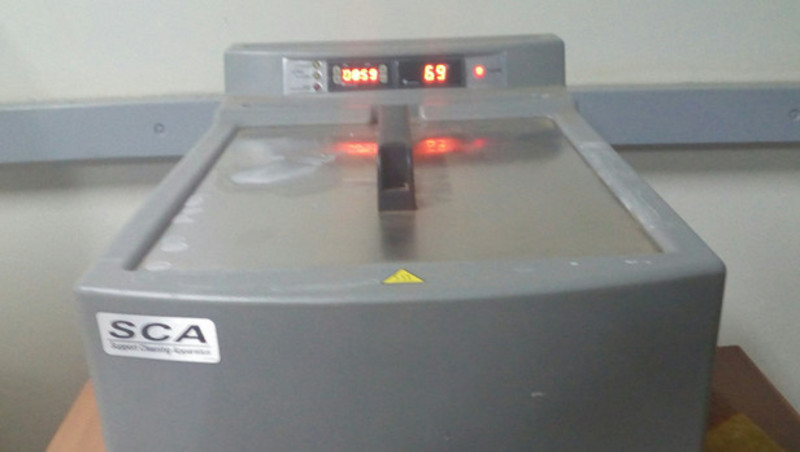
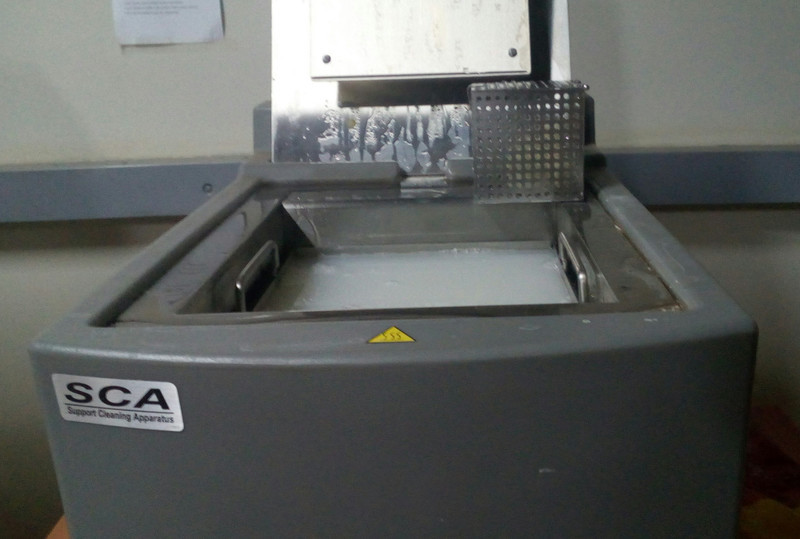
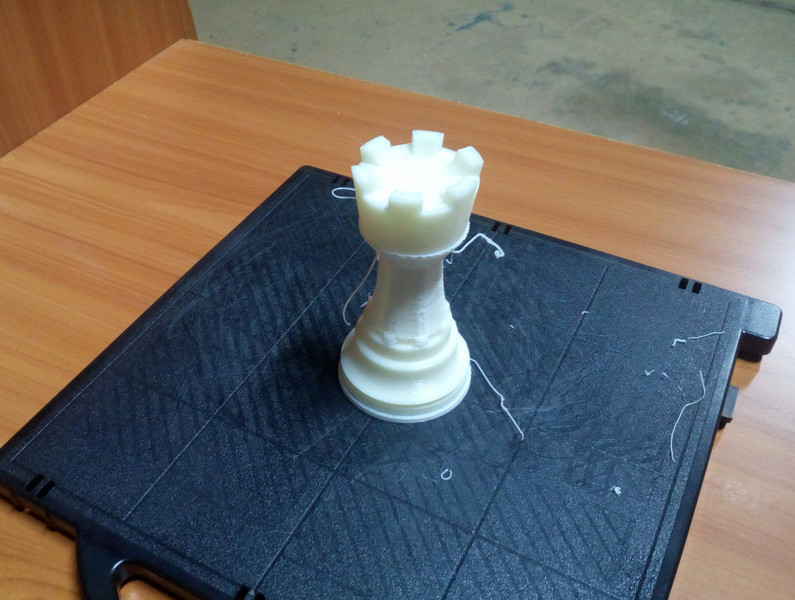
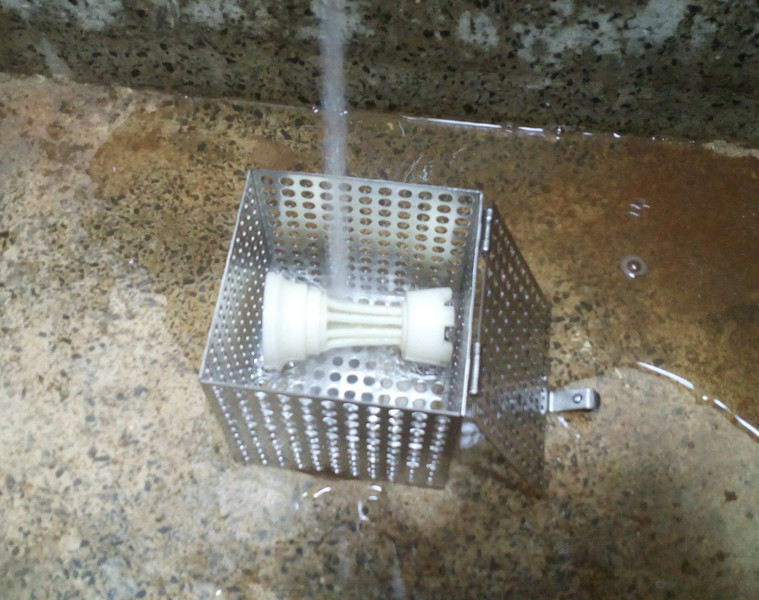
Once the print was done, the prints needed to be put in the support cleaning apparatus pictured below, to remove the soluble support material. This is done using dilute Sodium Hydroxide at a temperature of about 70°C.
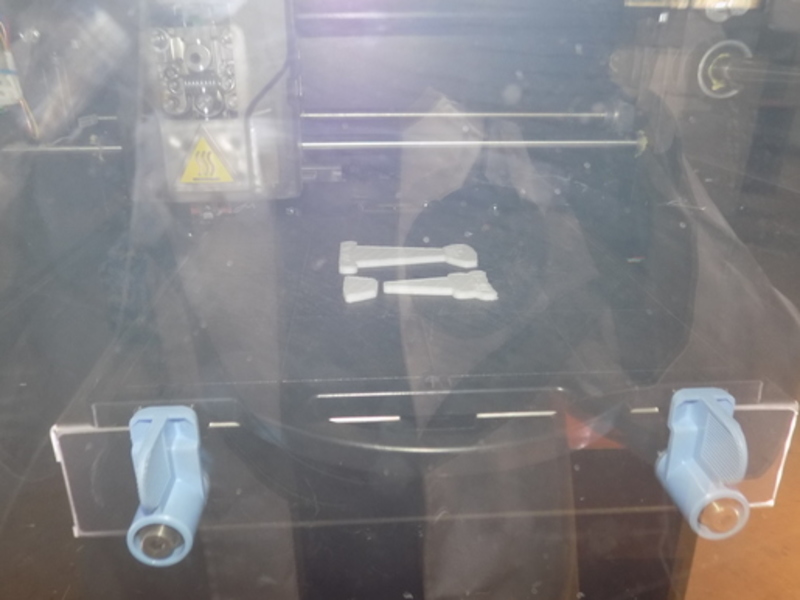
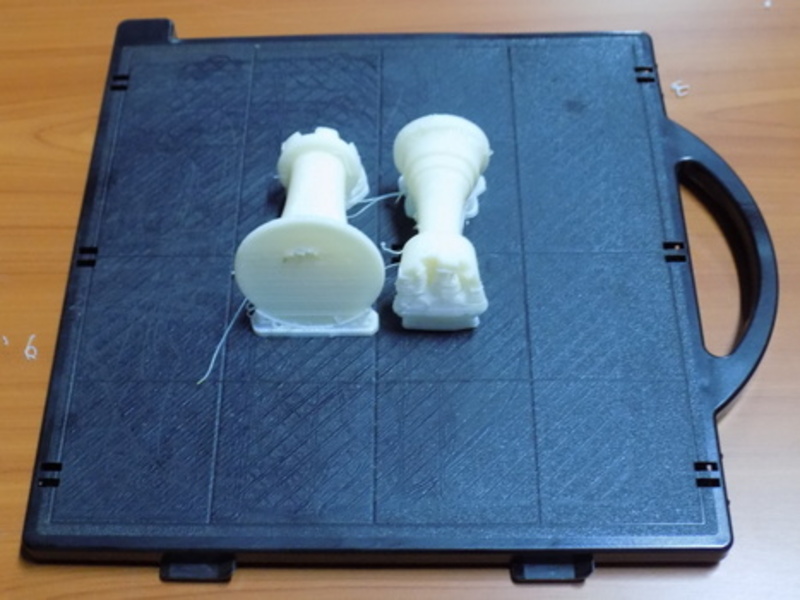
Prints fresh out of the printer...
I then put the prints in the support cleaning apparatus for about 5 hours. The prints are in metallic cage like box to ensure they don't float to the surface.
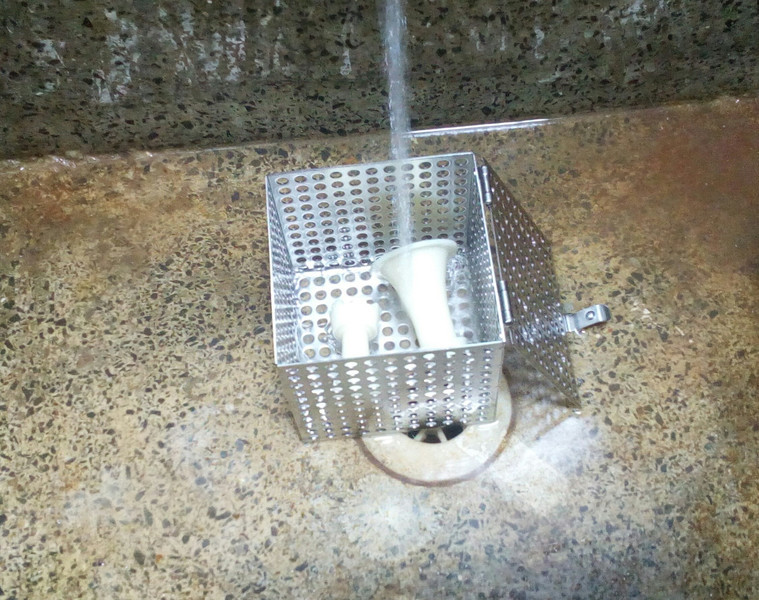
Once the soluble material cleaning is done, water is used to clean off the Sodium Hydroxide.
Finally...
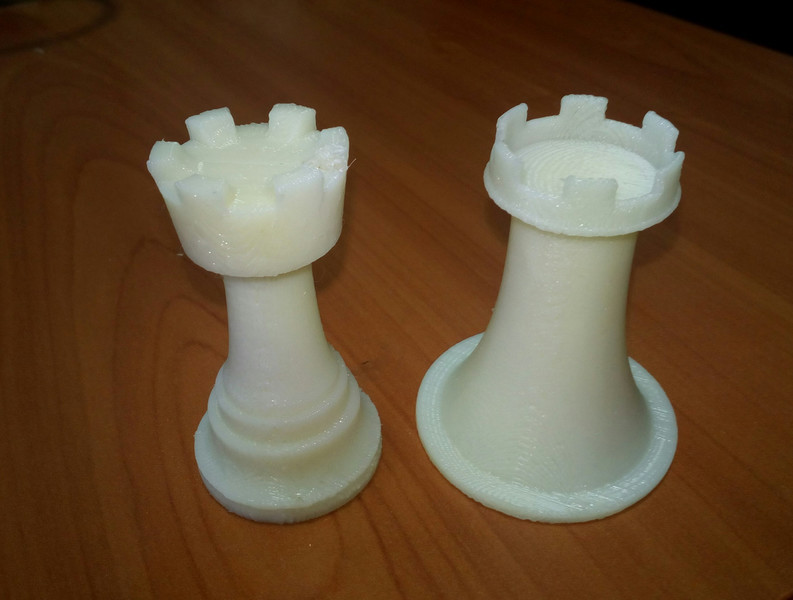
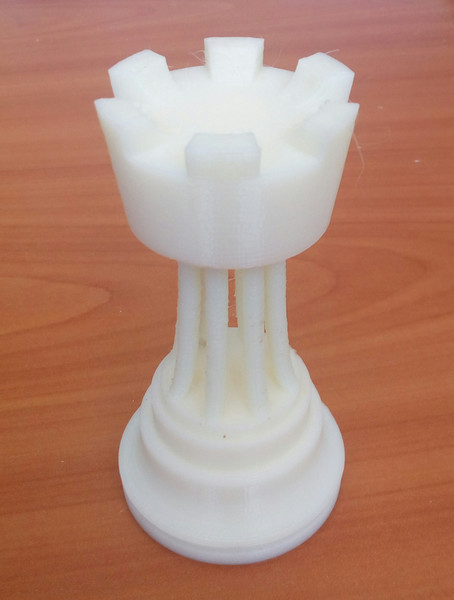
My instructor pointed out that the designs so far could be made subtractively using 4-Axis mill so, I designed a 'classier' rook based off the outline design.
Preparing and processing the design...
3D print done. Note the white material which is soluble versus the insoluble ivory material.
Cleaning after dissolving soluble material...
Finally...
Our 3D Printer uses soluble material and so I did not face any 'overhang' problems while doing my prints. I also found that the 3D printer is quite good when you are printing specialized pieces.
Despite that it has the disadvantage of having a rough finish due to the layering and a build time that is quite long which would make it a very innefective method for mass production.
For this part of the assignment I attempted to use a number of methods.
I was partial to using the SCANN3D Android app.
I initially attempted to scan a glue-stick.
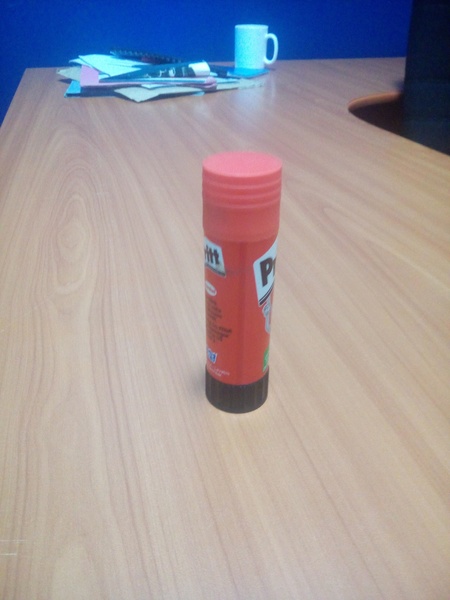
This failed.
Further research showed that the resons for the failure were threefold;
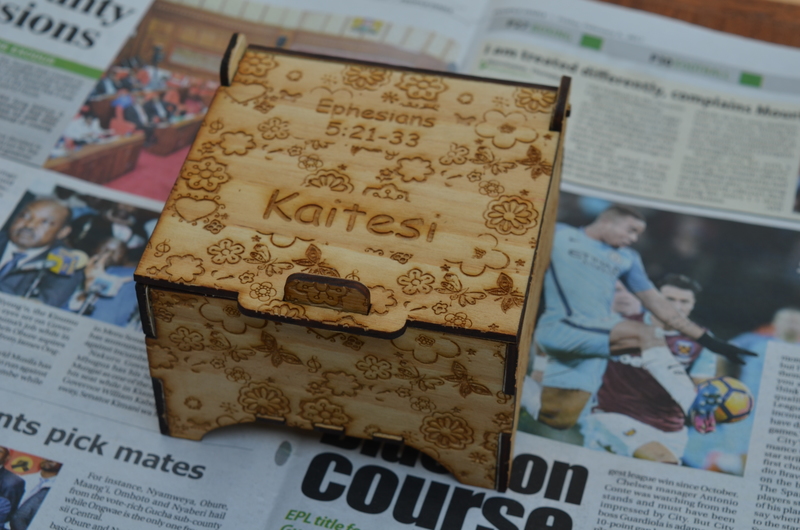
That being said, I decided to 'up the ante' as it were and used a NIKON D3200 camera to take the photos and Autodesk Recap to process them. The object of the scan was this lasercut novelty box...
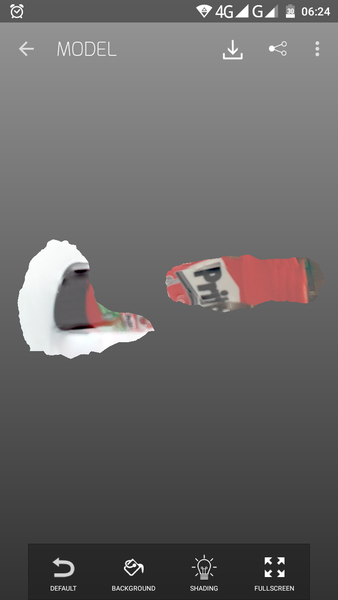
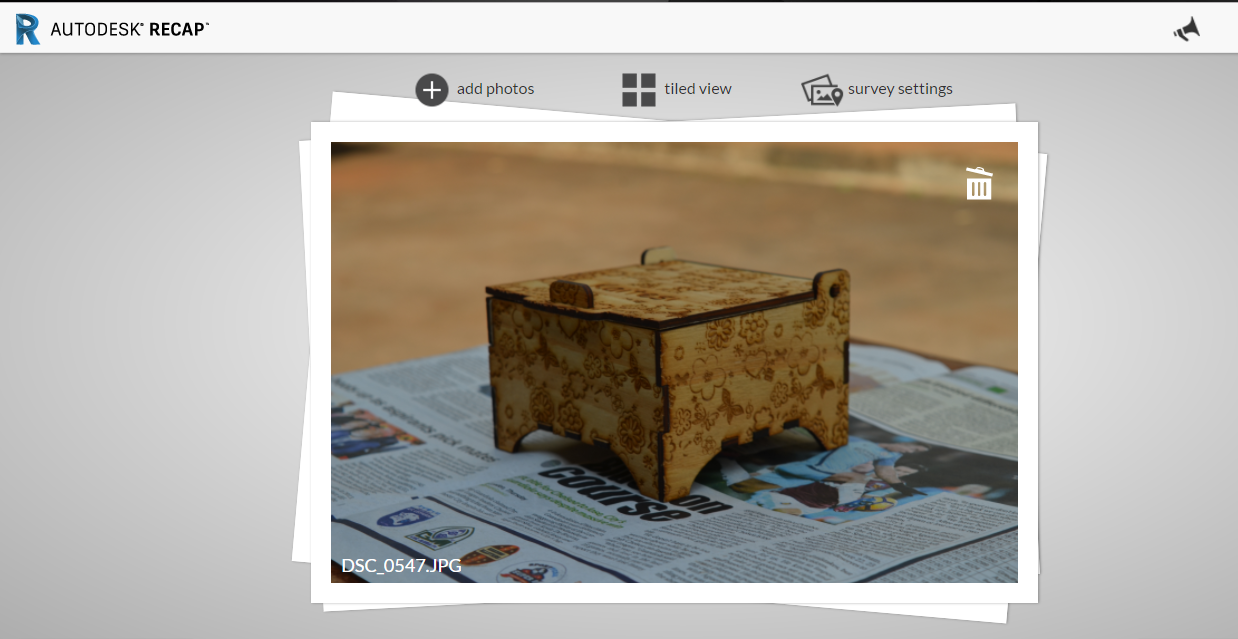
I uploaded 250 photos from all angles to Autodesk Recap...
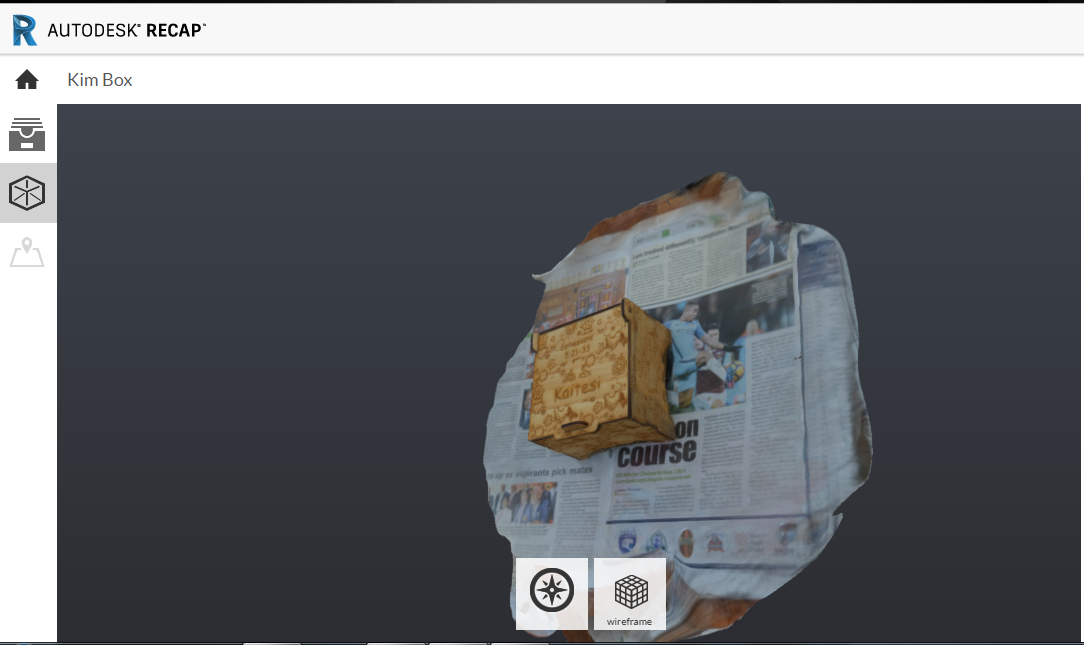
and the final rendered 3D object looked like this...
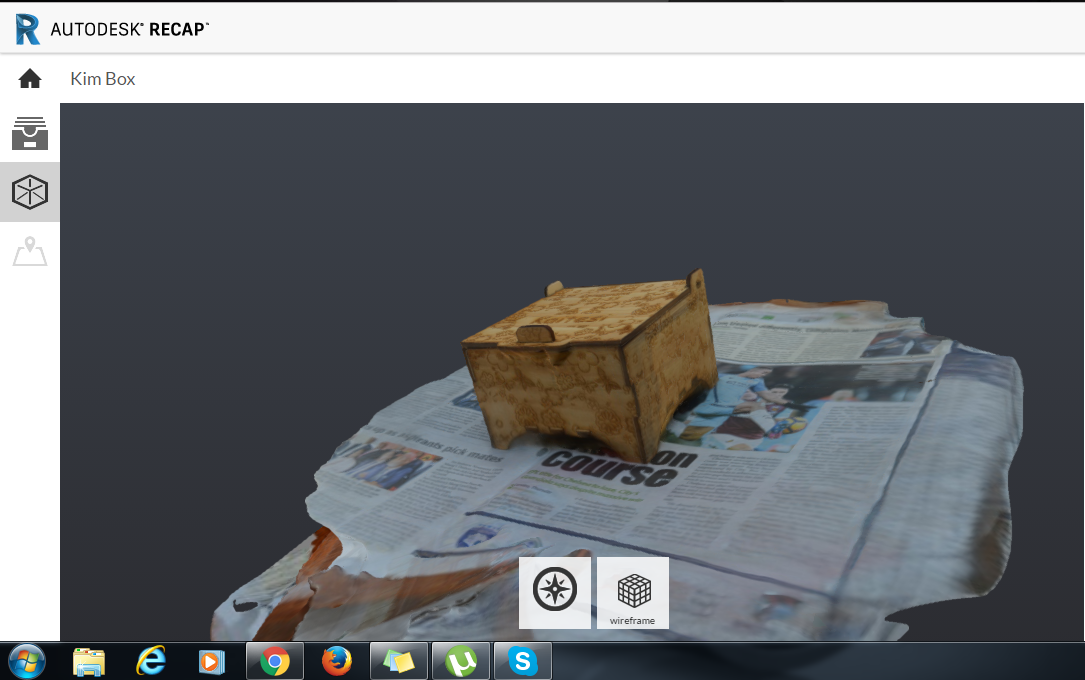
Unfortunately there was no way of extracting an stl file from Recap.
Some limitations I faced during the scanning assignment are;
Despite these limitations, the 3D scan resulted in an exact replica of my box and in that it gets a thumbs up.
Assignment wise:
- Design and 3D Print an object that cannot be made subtractively
- 3D scan an object and optionally, print it
Files
Rhinoceros files (.3dm)
Stereolithography files (.stl)