This was my first day to attend the lessons and everything looked so difficult. After the lesson which I really had alot of interest in, things remained difficult for me but was however confident on the structure of the Fab Academy where you can always share your challenges across and you will always people giving you correct advice and references. The fact that the training is internet based also assured me that there must be alot of references online including youtube among others
Back to business, this weeks lessons was learning the Computer Controlled Designing which included both 2D and 3D. The assignment then was in the same line. However, the challenge was the number of softwares to be downloaded and learnt within the short period. The assignment was to Model: (raster, vector, 2D, 3D, render, animate, simulate, .....) as much as possible the chosen final project proposal Assignment using the CAD.
I learnt alot of other designing/modelling softwares for 2D and 3D. At start, I went through My paint, Photoshop and Gimp. I could not learn much about them owing the time factor. The rest were done later and updates availed
The best starting point was to go through the available documentation in Fab Academy 2016 Tutorials thereafter followed by numerous download of CADs and their tutorials as below;
Download Inkscape
Inkscape Tutorial Elements
Inkscape Tutorial Basic
Inkscape Tutorial Shapes
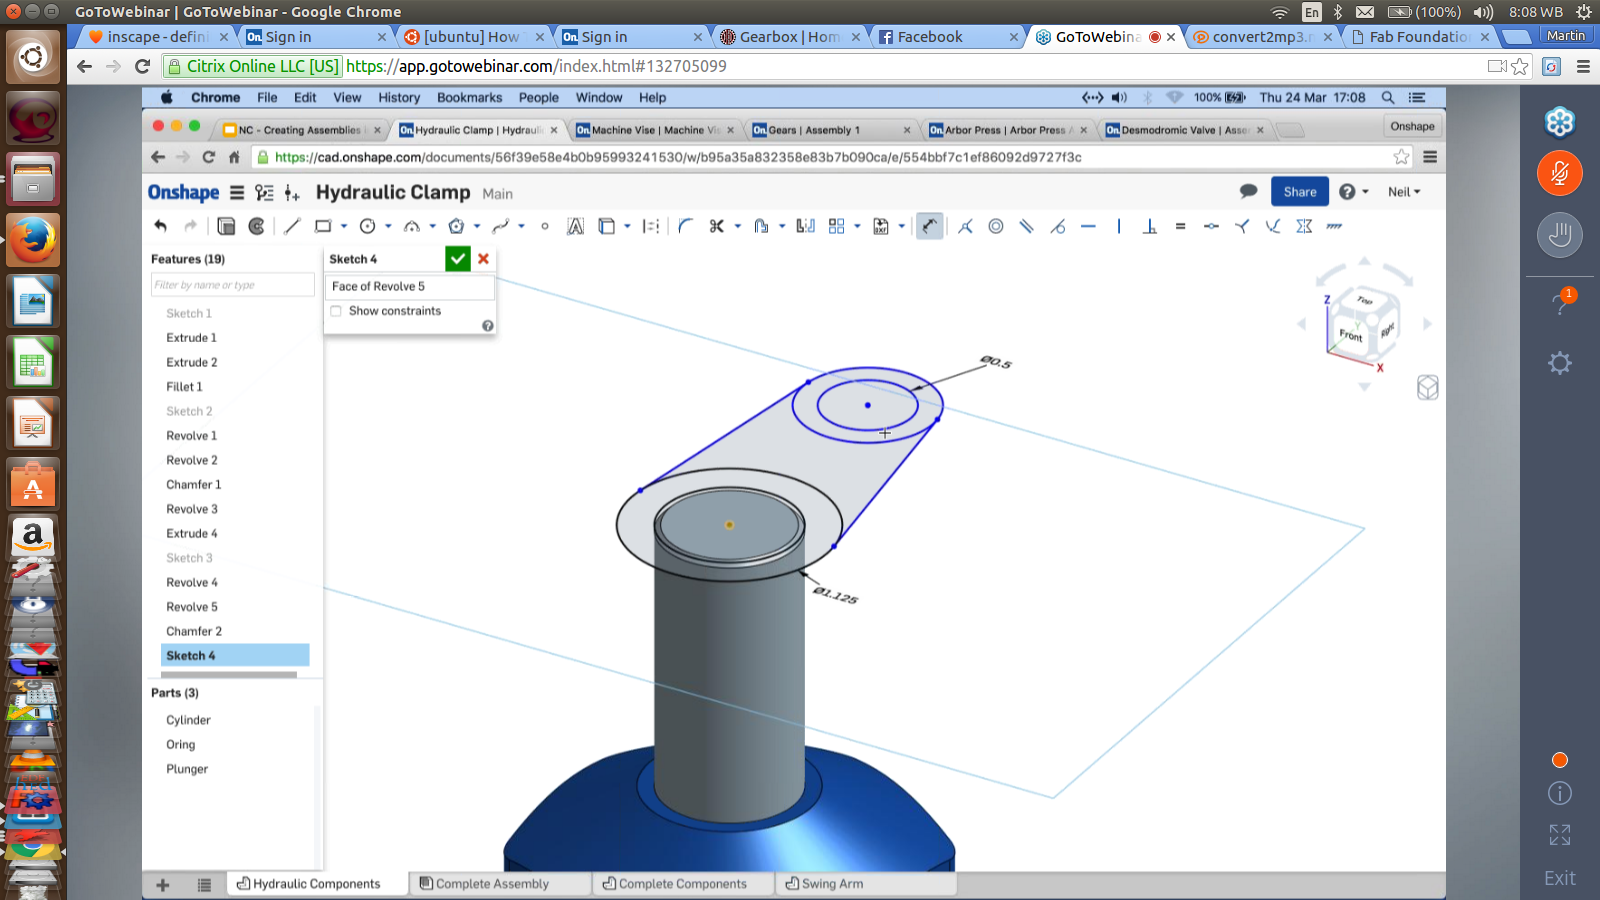
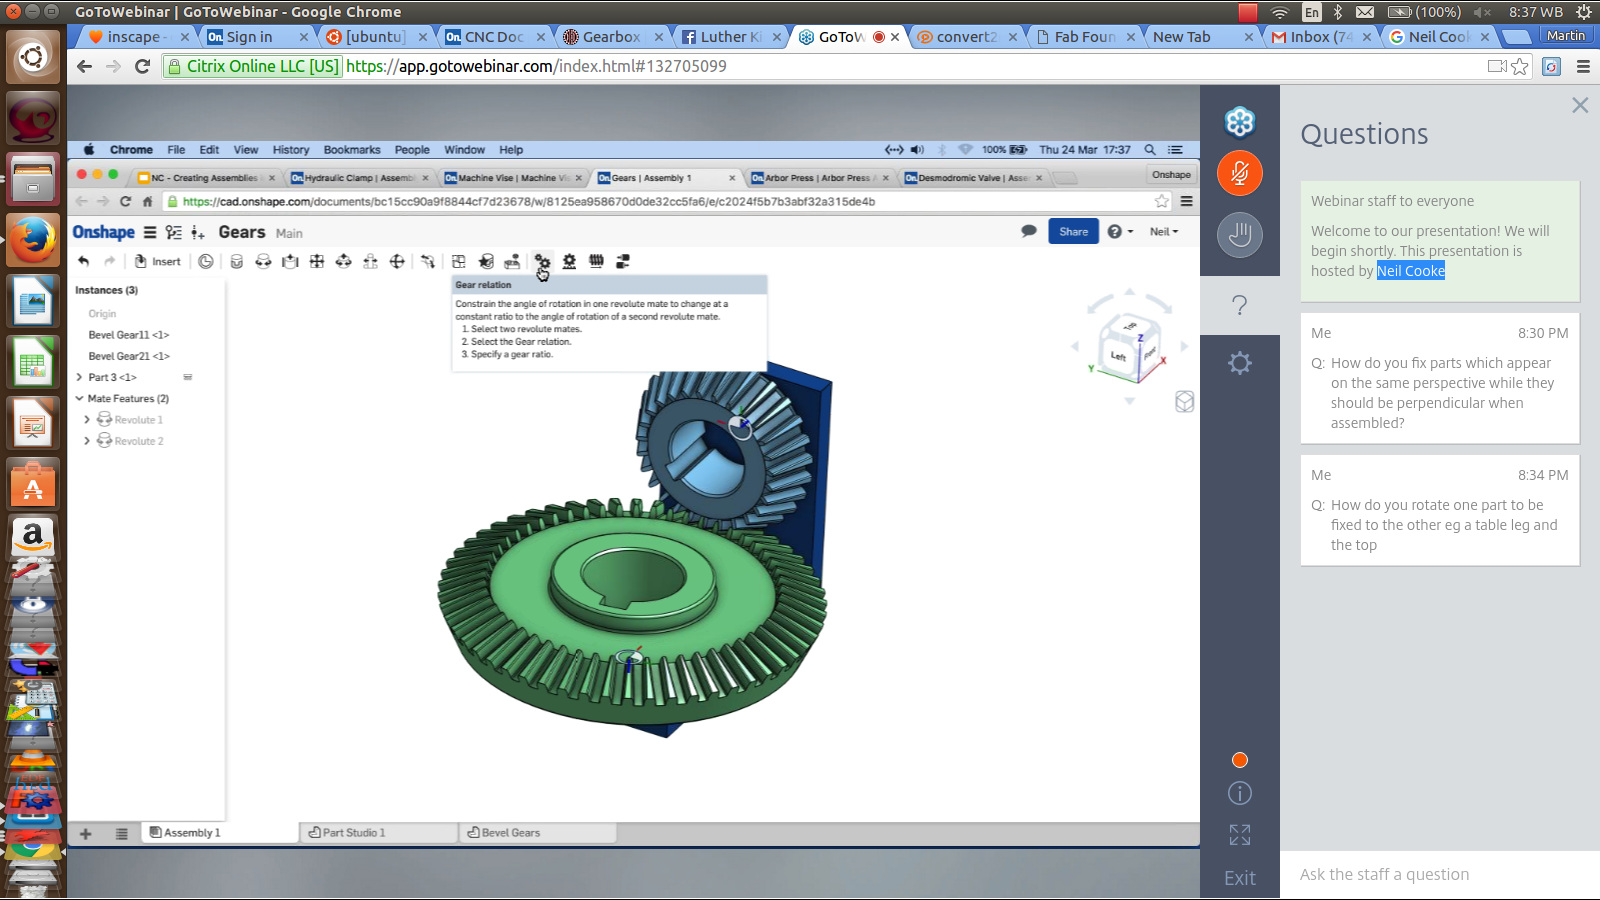
At some point I registered to attend the Onshape Webinar lessons to understand better other concepts

Tinker CAD was the first option. It is a Browser based Software and do not need any download. Unfortunately, after registering, I realised that my OS do not support the WebGL through which it is run. These were the favourable OS; Microsoft Windows Vista or newer and Apple OS X 10.6 or newer, so I had to move to other options.I now went to:
Download Autodesk 123D DesignMore CAD Tutorials Download Sketch Up
Download FreeCAD
FreeCAD Manual
Download OpenSCAD
OpenSCAD Manual
Download Antimony
Antimony Users Guide
Antimony Tabs
Antimony Drag Function Example
Antimony Parametric Modeling Box
For the vectors, I chose to use Inkscape after looking through others like QCAD, Libre CAD and Illustrator. Working with Inscape gave me opportunity of making my Final Project sketch easily.
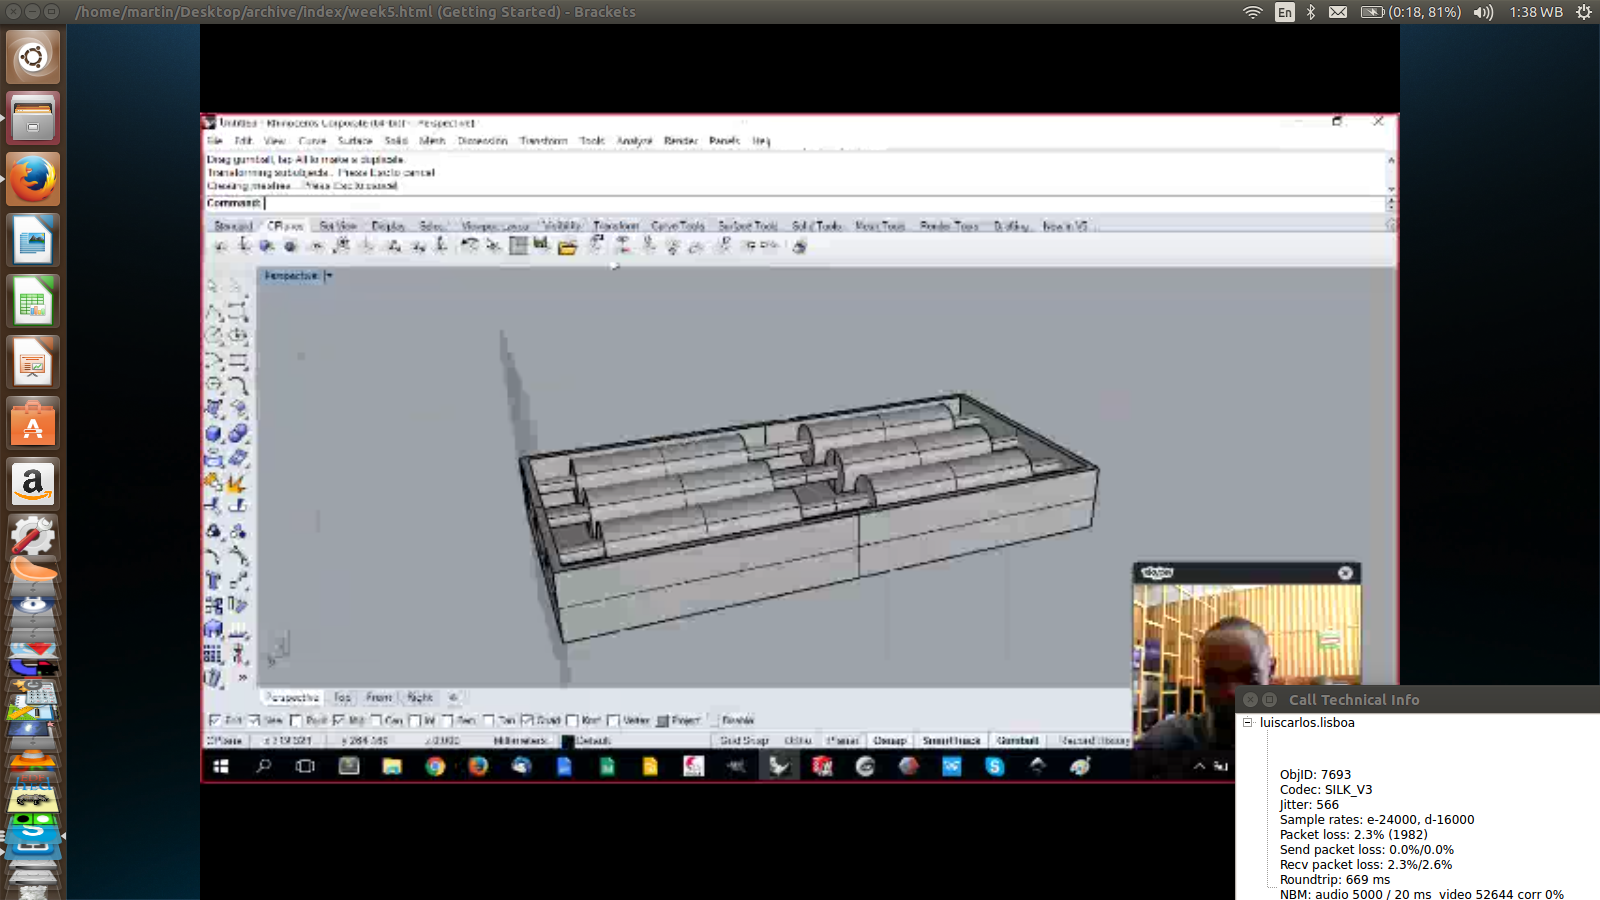
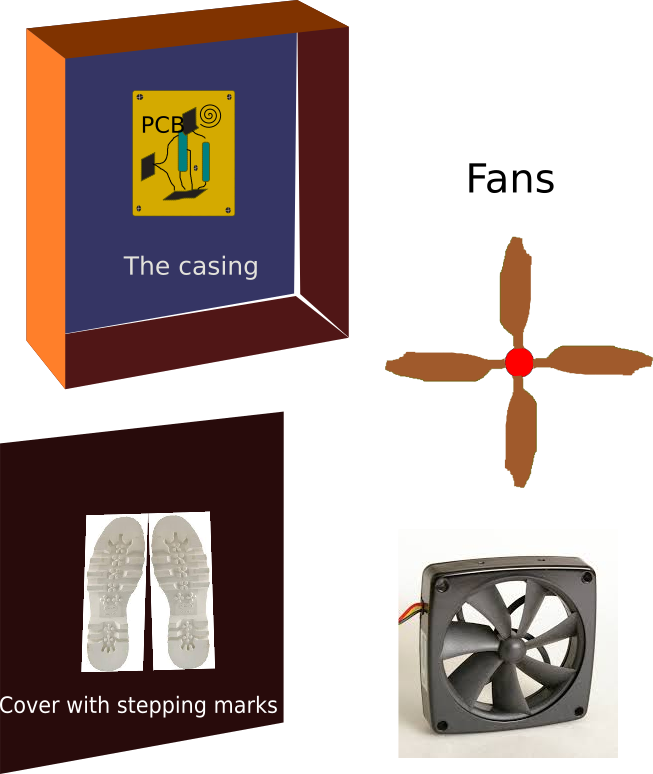
For 3D I explored on blender which seemed so challenging. I came up with this shapeless design as a process of learning.The others am yet to learn includes Rhino, Grasshopper, Fusion 360, Auto Desk and Solid works
For 3D I explored on blender which seemed so challenging. I came up with this shapeless design as a process of learning.The others am yet to learn includes Rhino, Grasshopper, Fusion 360, Auto Desk and Solid works
Others are

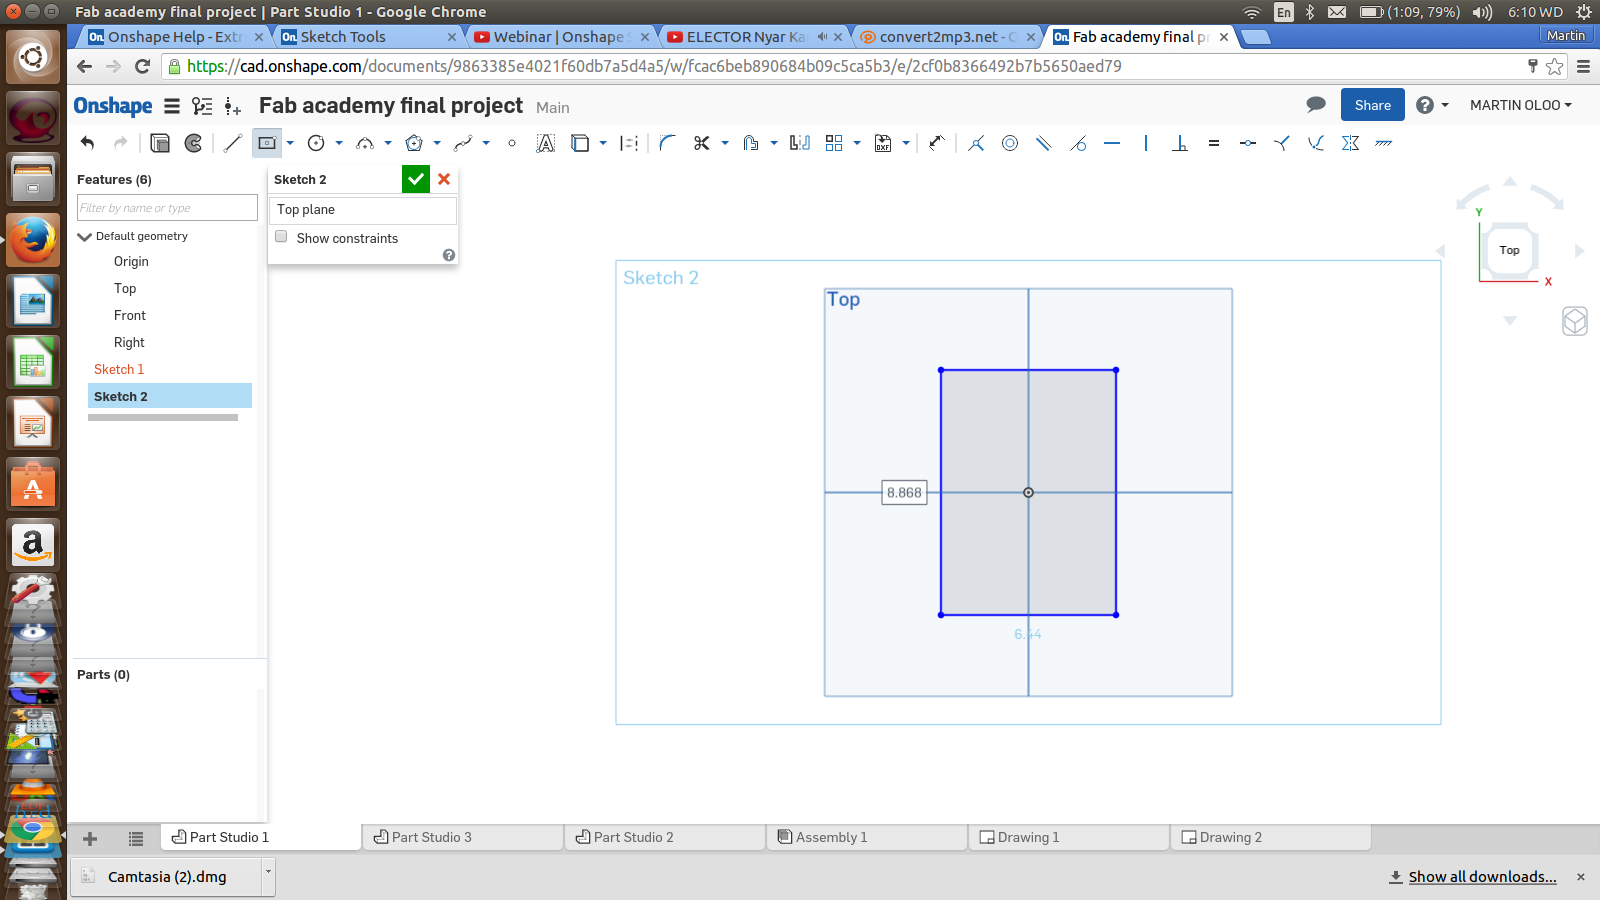
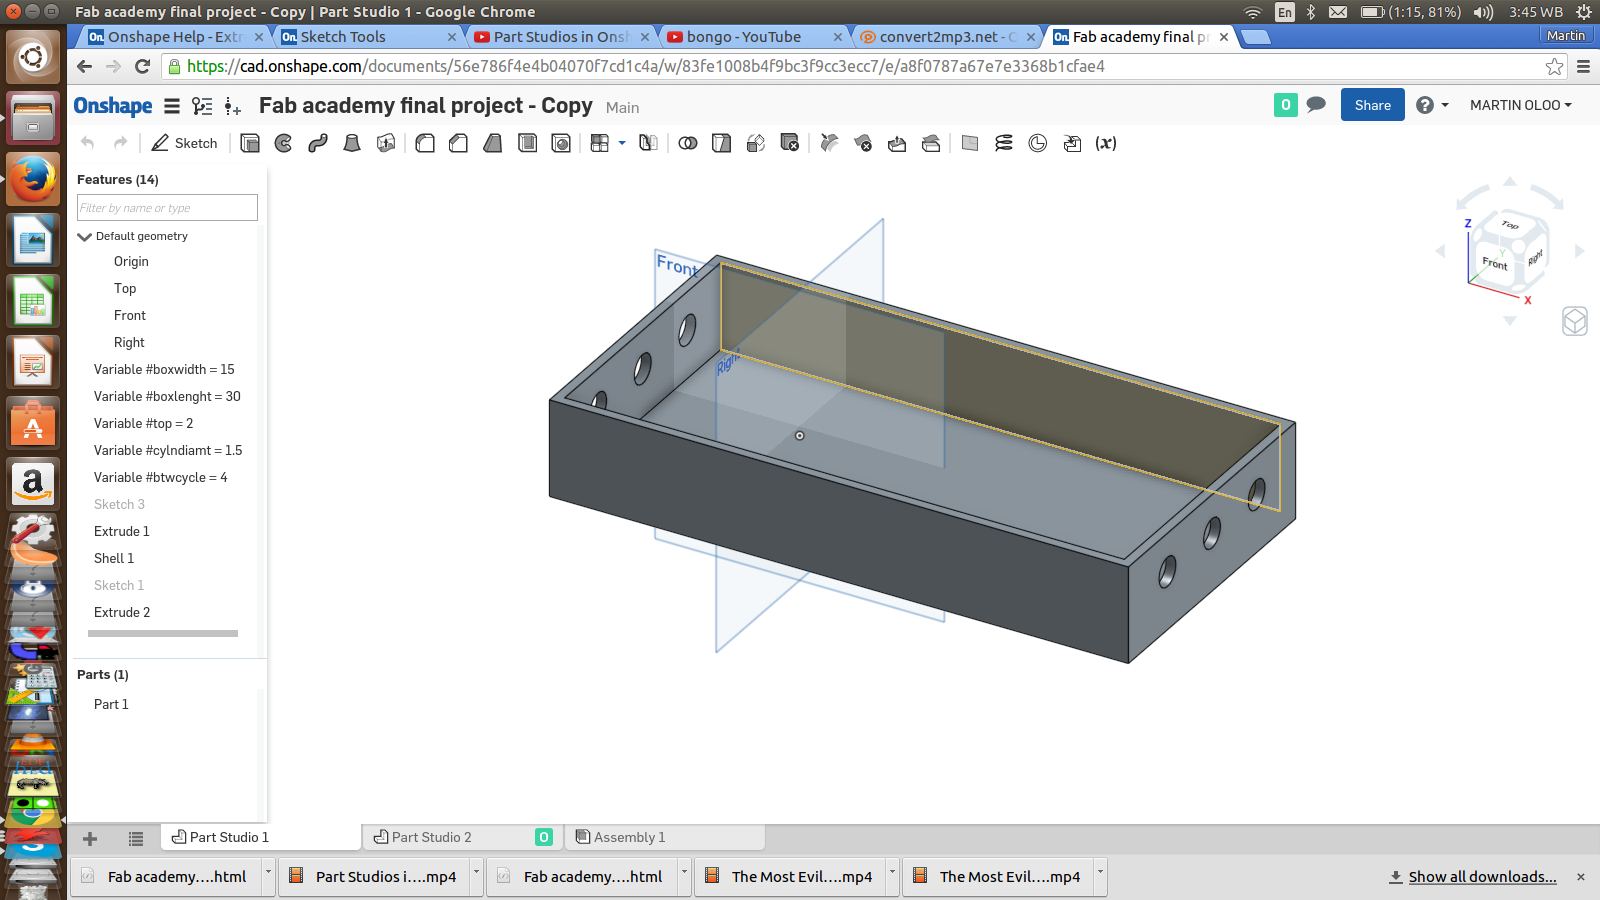
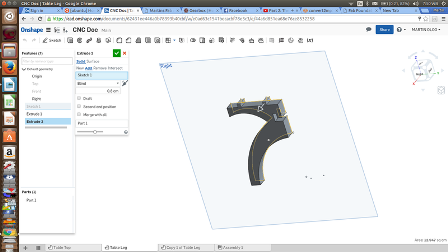
For Onshape, I started with sketch drawings as above. Getting easily the dimensions and doing all settings easily.
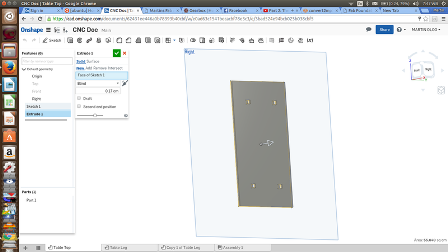
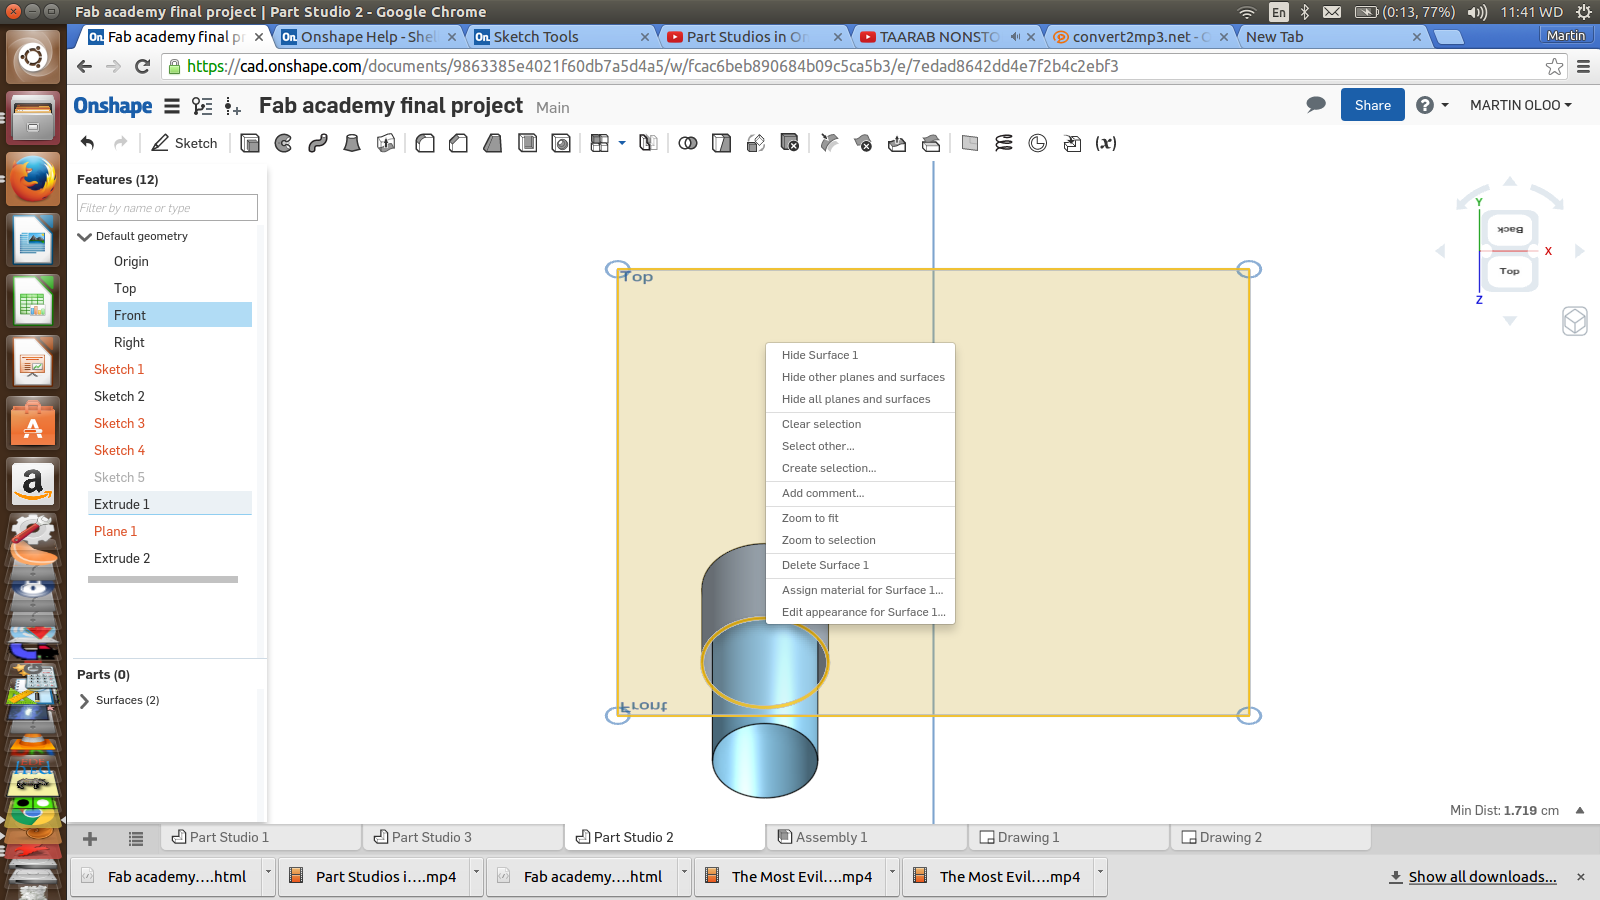
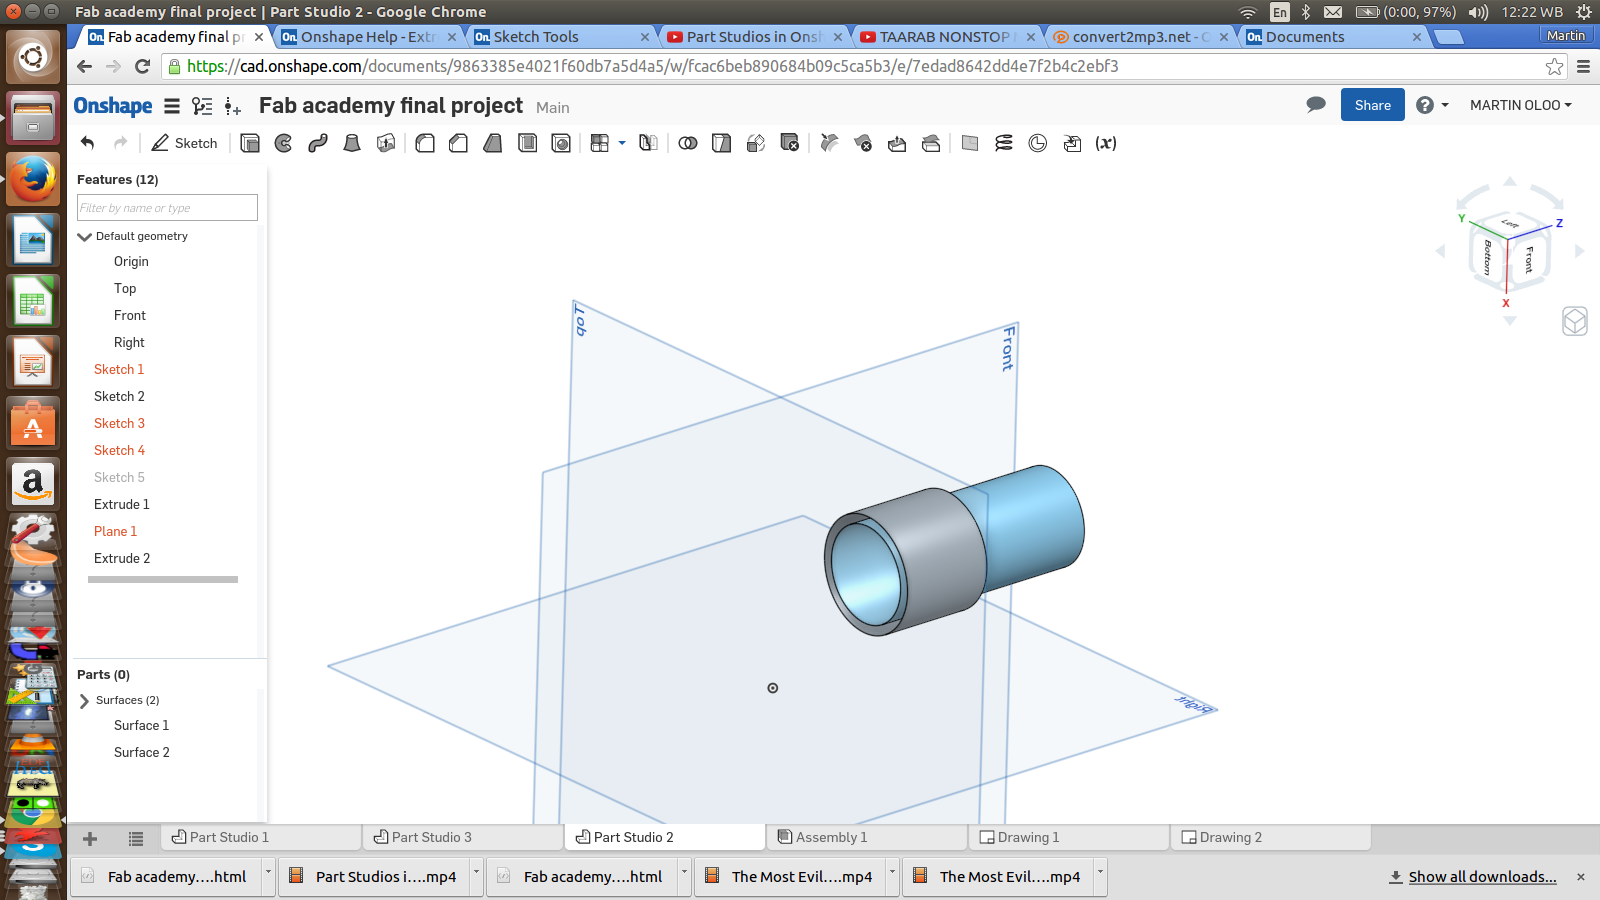
After the sketch for the table top, I was able to extrude it. TRHis now makes it a 3D Design from a two Dimensional of just X and Y
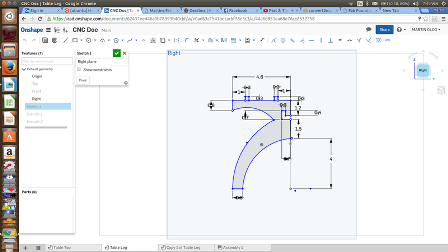
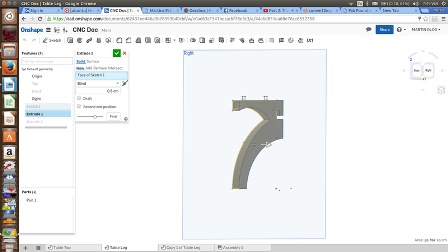
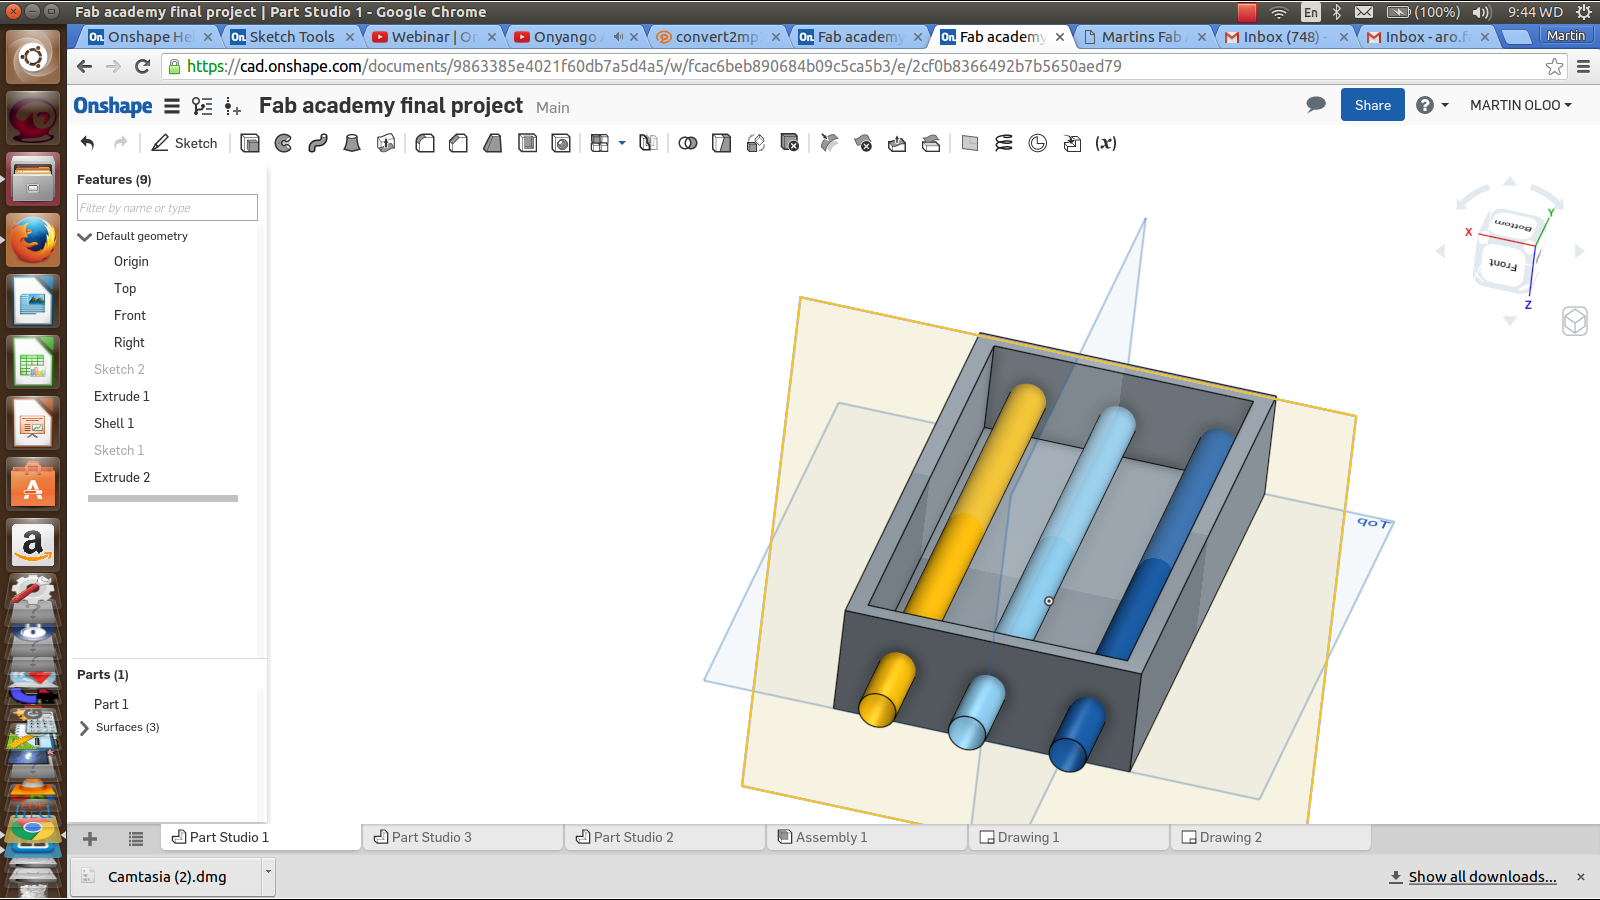
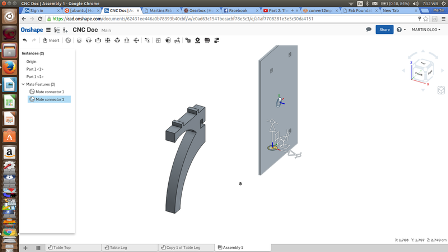
The same processes was repeated for every part. All these designs start from a 2D thereafter moved them to 3D to make the image more meaningful and real in view. This is the best way to show them however when it will come to processing of the design to the actual physical roduct through machining in a Shopbot, the files would be changed to a 2d DXF which can then be milled or cut depending on the design and desire
Files
Onshape DXF FilesOnshape raw Files