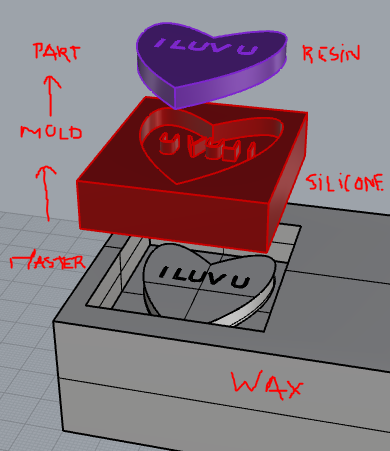
The Lecture for this week is about Molding and Casting and Assignment is to Design a 3D mold, machine it, and cast parts from it
ReadMolding refers to shaping a material that is soft but not fully liquid. (Think wet clay, for instance) Molding as a process might also use a mold to shape the soft material, but doesn't necessarily require one.
Casting is a manufacturing process in which a liquid material is usually poured into a mold, which contains a hollow cavity of the desired shape, and then allowed to solidify. The solidified part is also known as a casting, which is ejected or broken out of the mold to complete the process.
For the process to begin you must have a 3D design.Some of the CAD softwares you can choose to use include FreeCAD, Rhino, Blender, Inventor, Fusion 360 among others depending of your mastery of the software, availability and suitability since some are open source.
Luis, using Rhino explained well to me what is expected and how to do simple design.
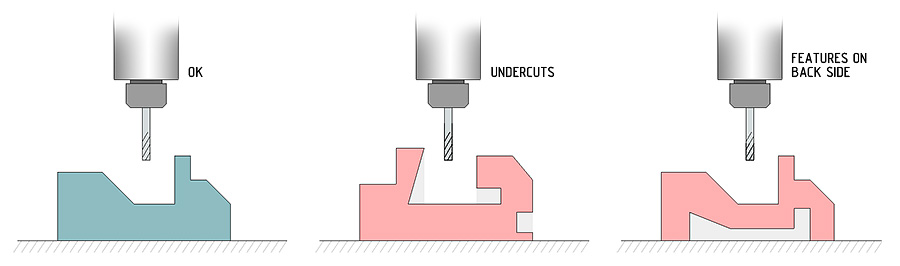
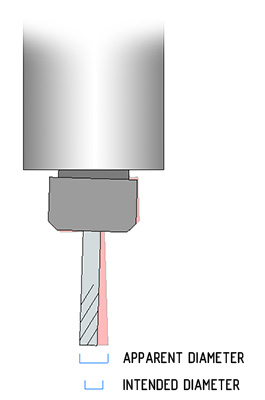
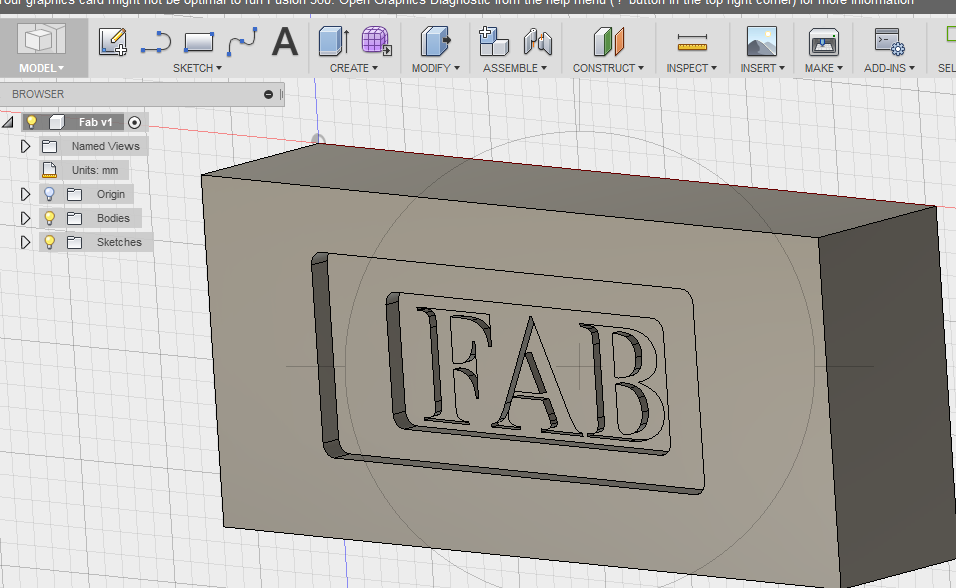
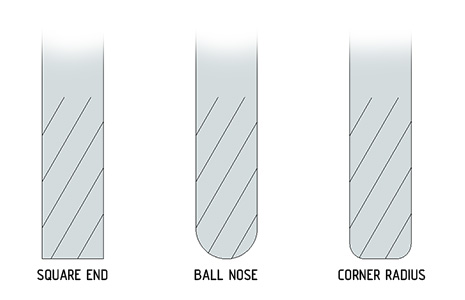
This was so helpful and he also gave me a reference to a good reading material reading material where I learnt about the choice of design depending on the machine as well as endmills sizes and types.
Designing took me some time especially to make a decision on what exactly I should design and the software to use since I really wanted to do something relevant to my final project. Eventually I chose to use Fusion 360 since I could Model and get CAM as well for the processing of my work like generation of the G-Code
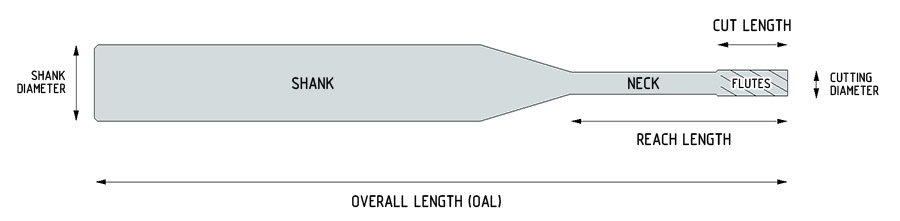
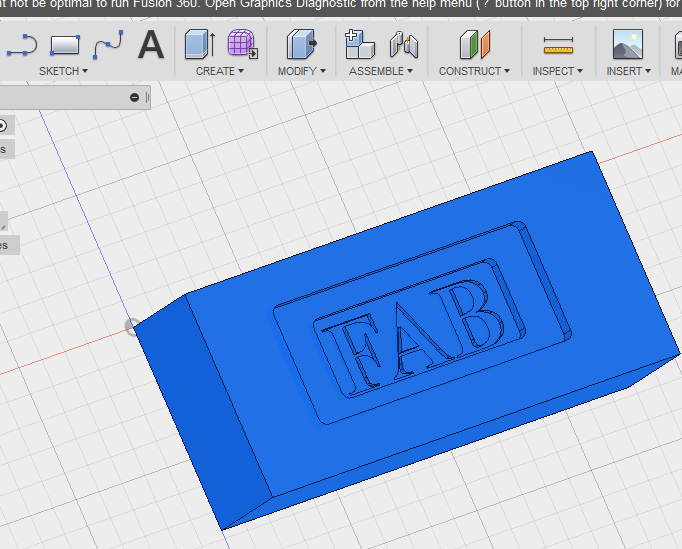
. Mastering CAD & CAM Tutorial was essential.Due to time factor, ended up coming up with some simple design as below;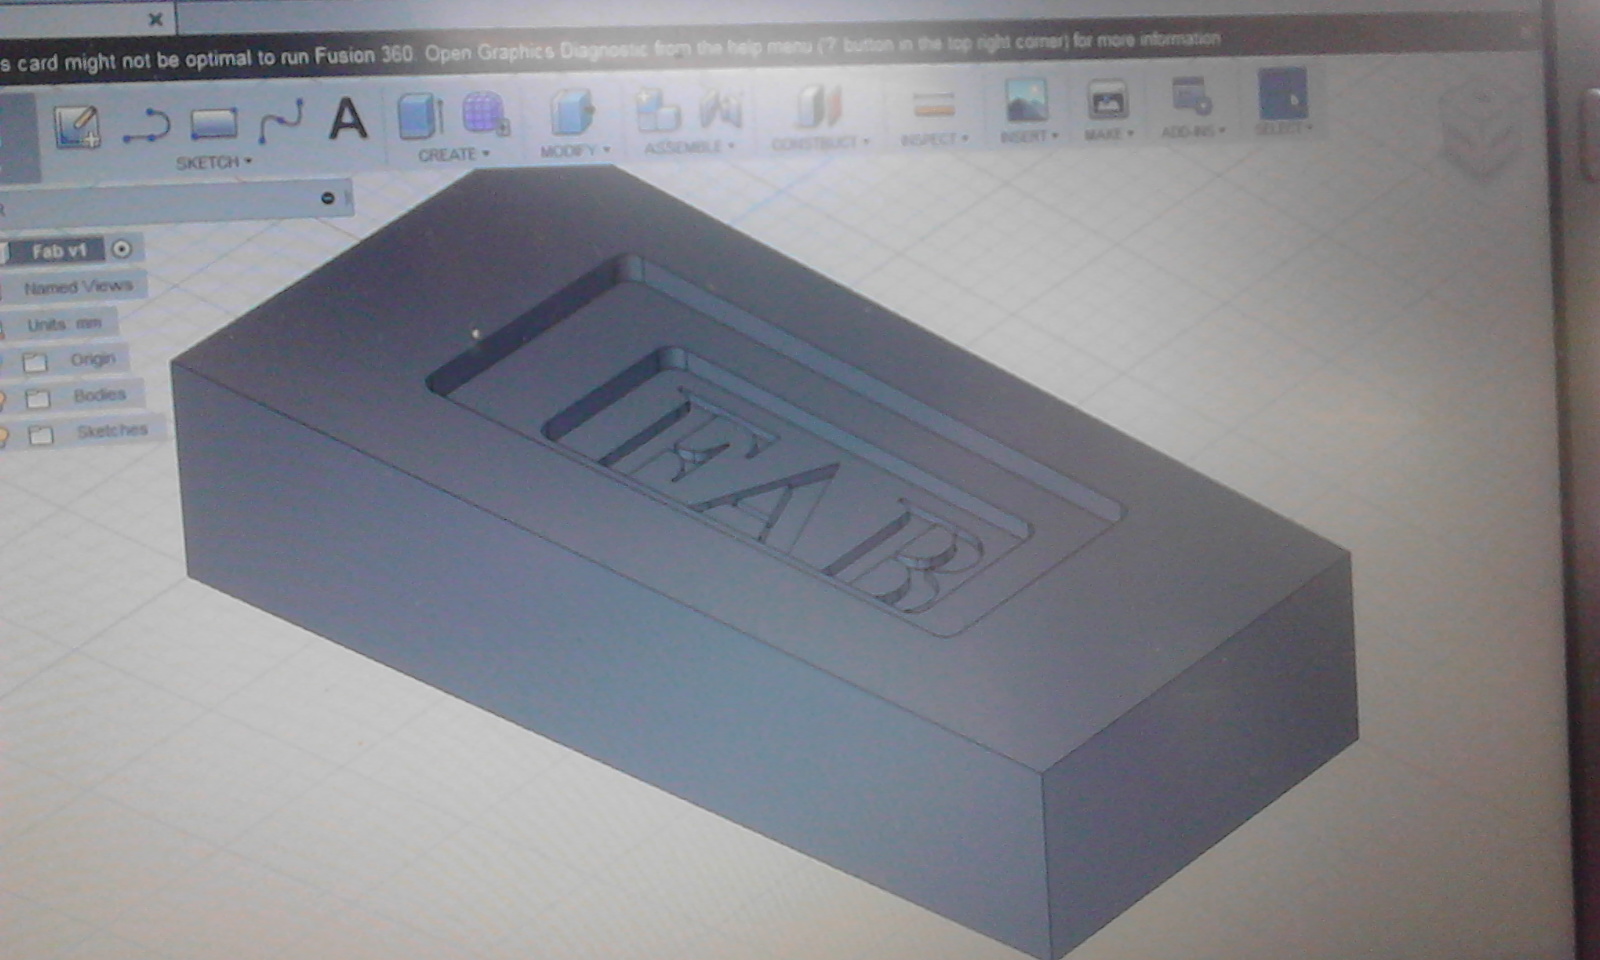
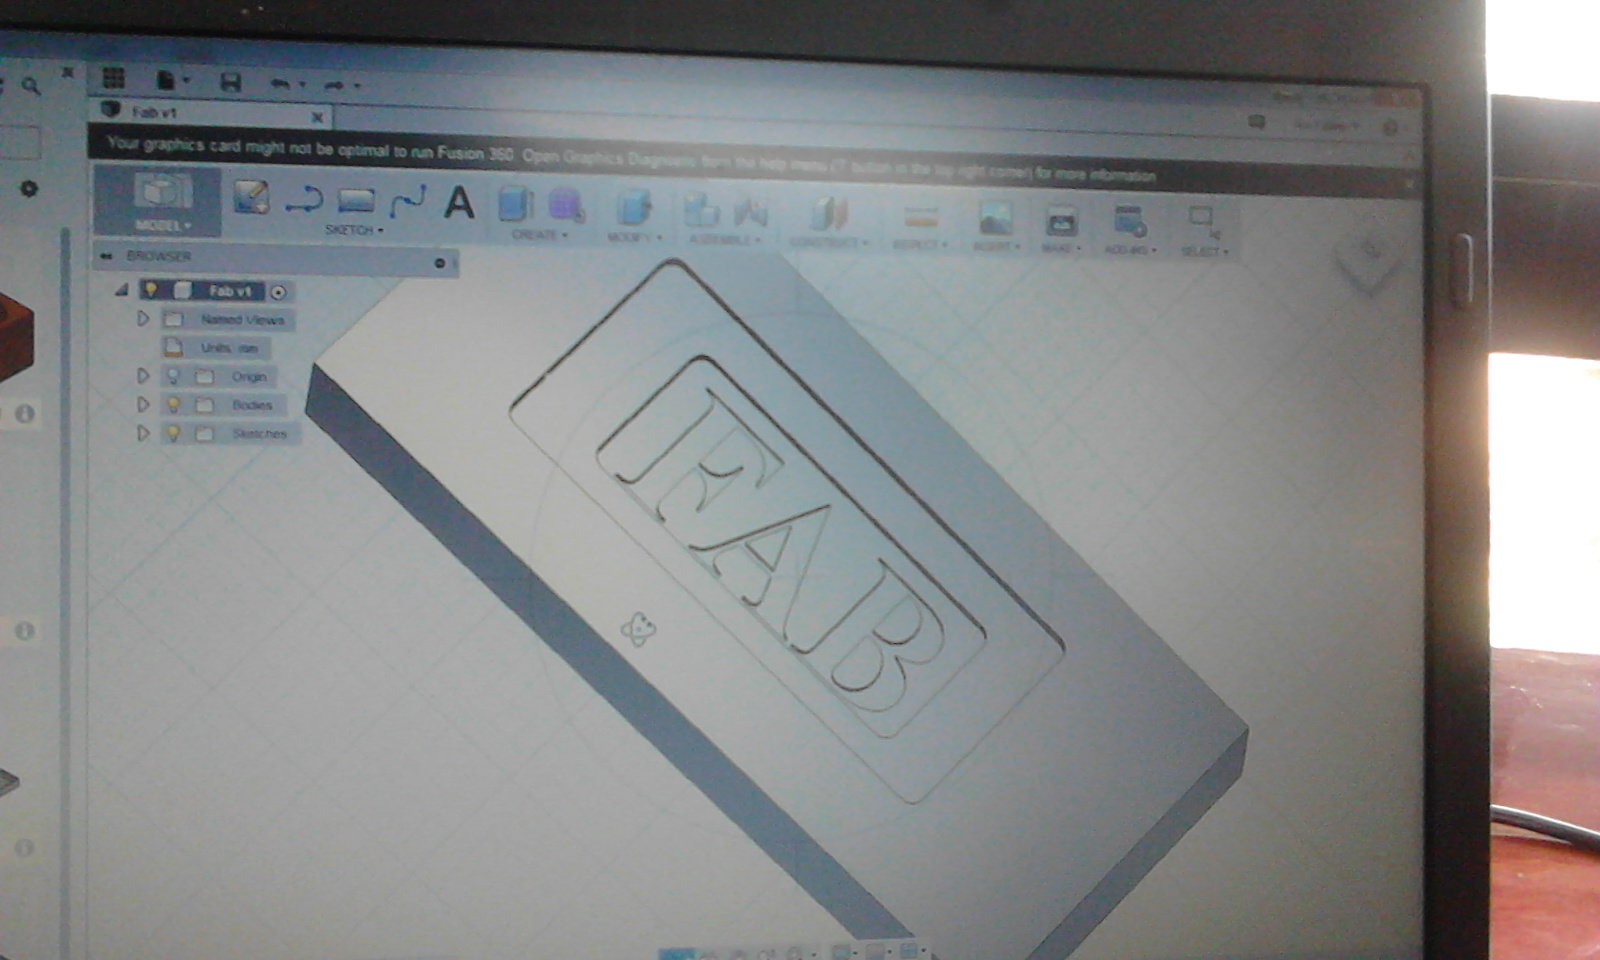

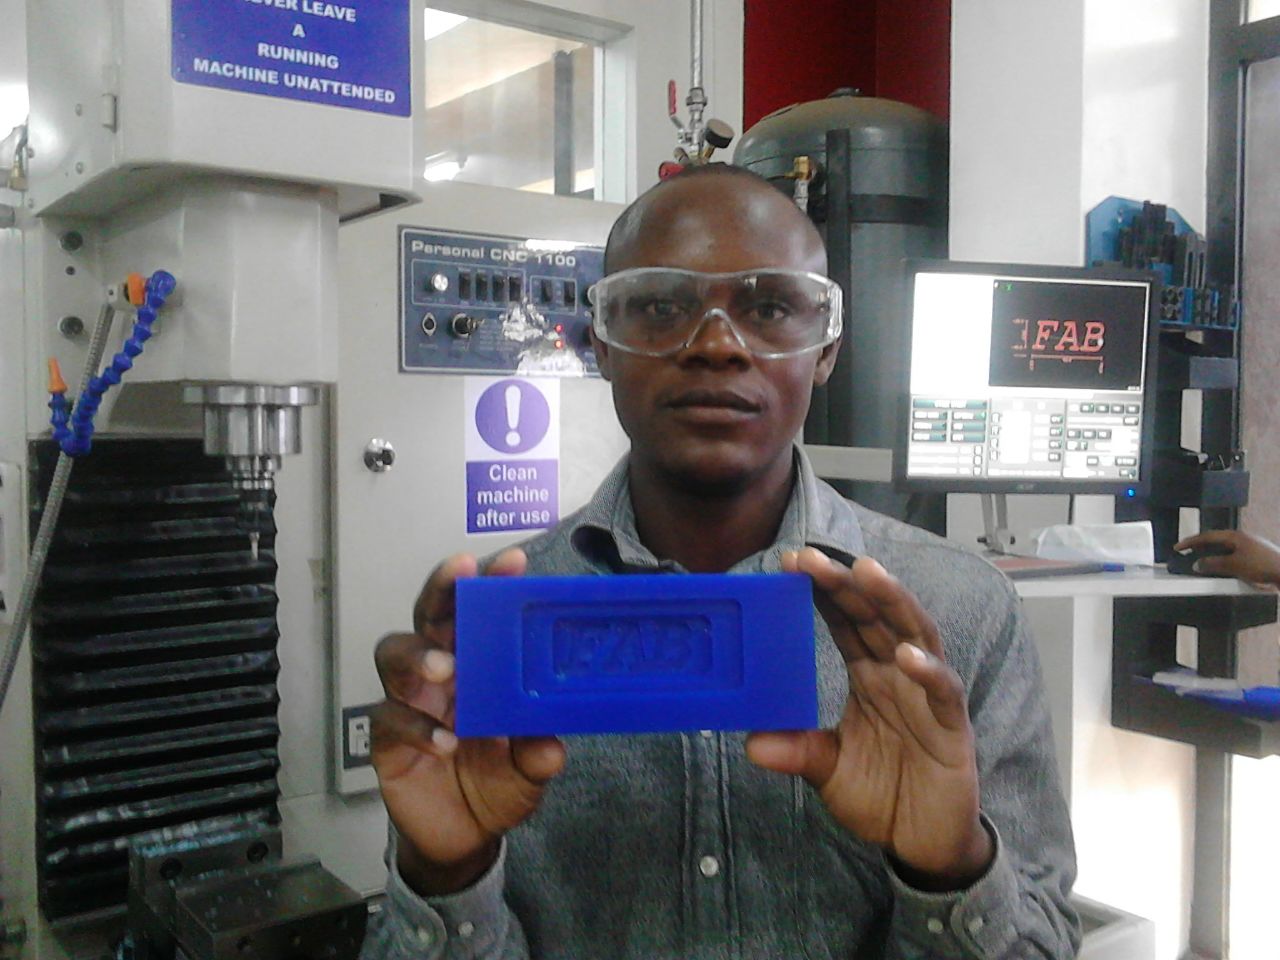
The screenshots shows the final design ready for machining
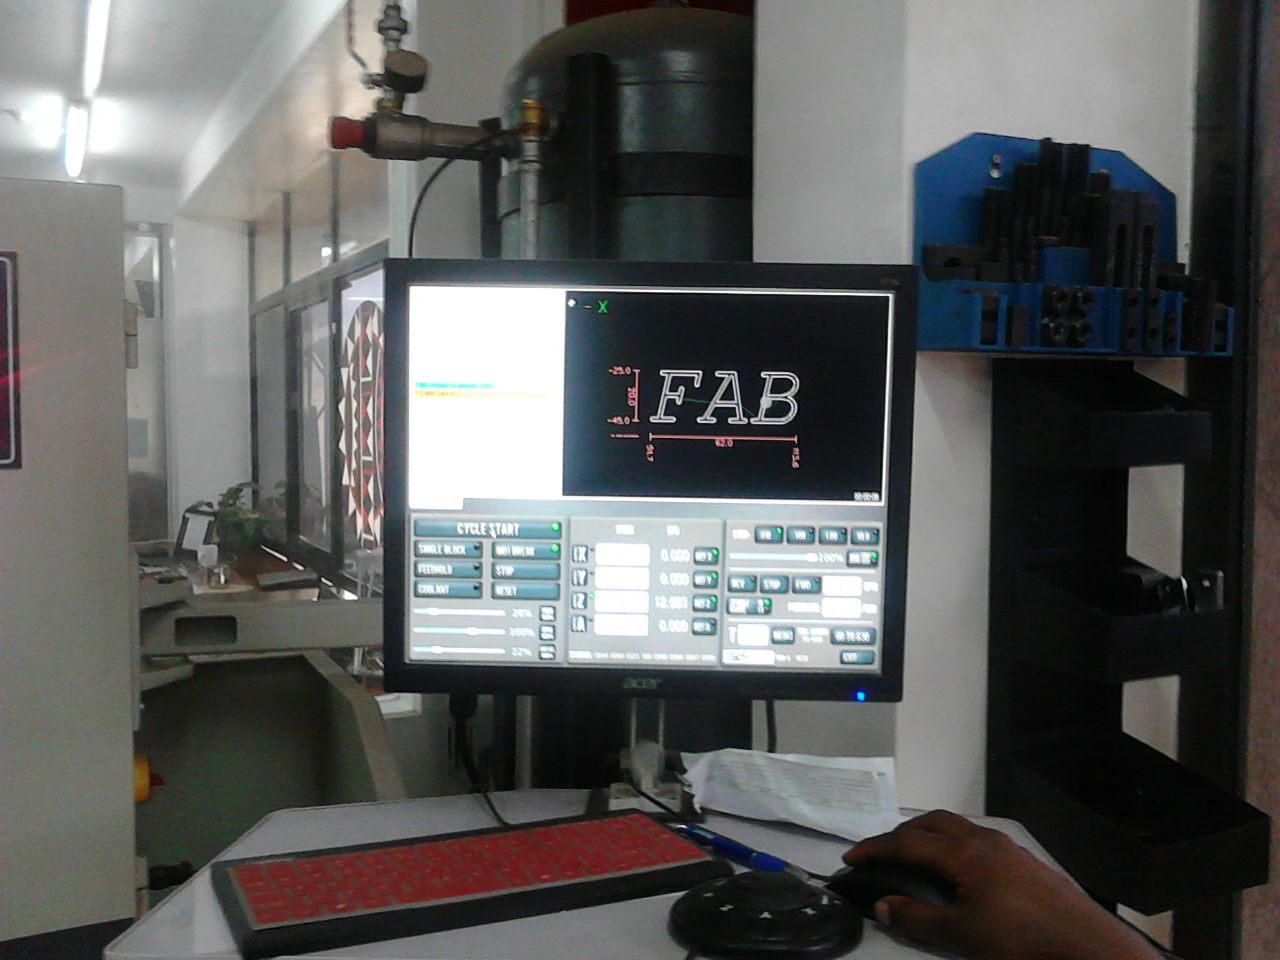
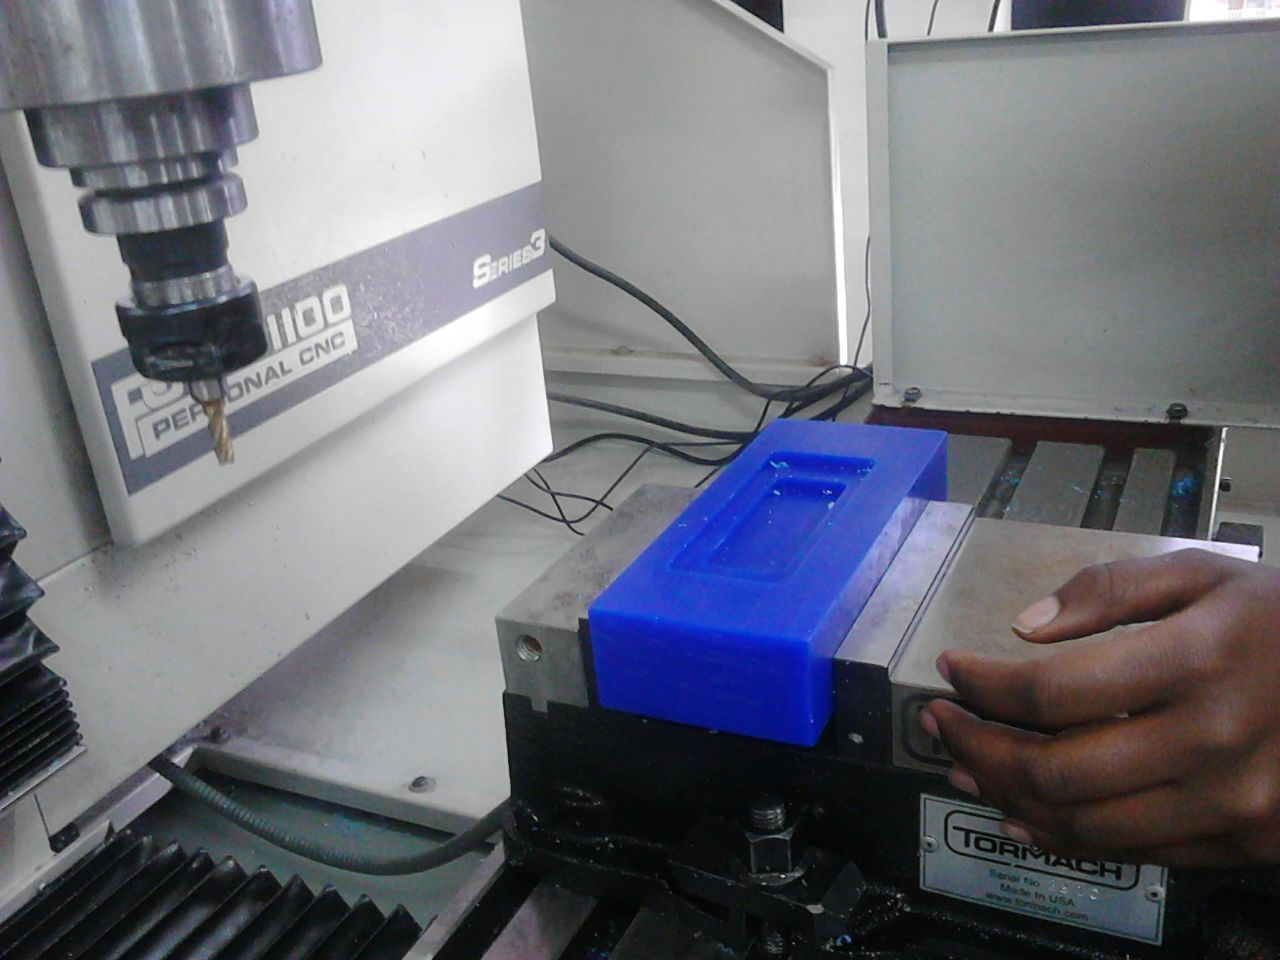
Milling
This would allow me to mill within a very shot time since the Tomarch machine I was to use is on higgh demand. I also had to learn about generation of G-Code as well as the endmills.Drilling did not take much time after setting upeverythin in order. It now appeared that I didnt do the positive artwork that I was suppose to do ut was doing it in my head. It would obviously become alittle difficult to do the resing since there wont be pocket which would hold the liquid. All the same, I had tobecome acreative enough anddo something afterwords
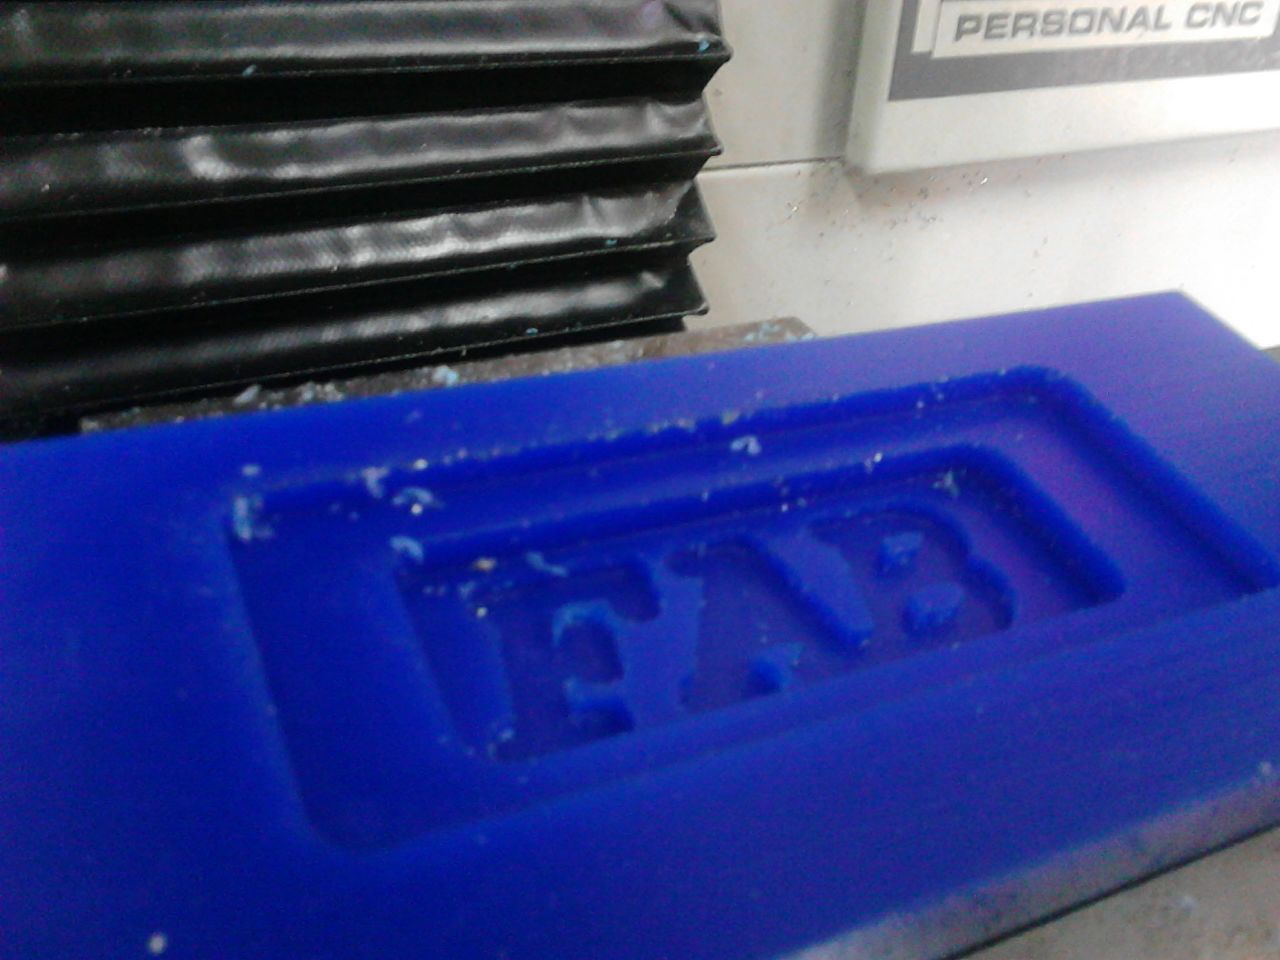
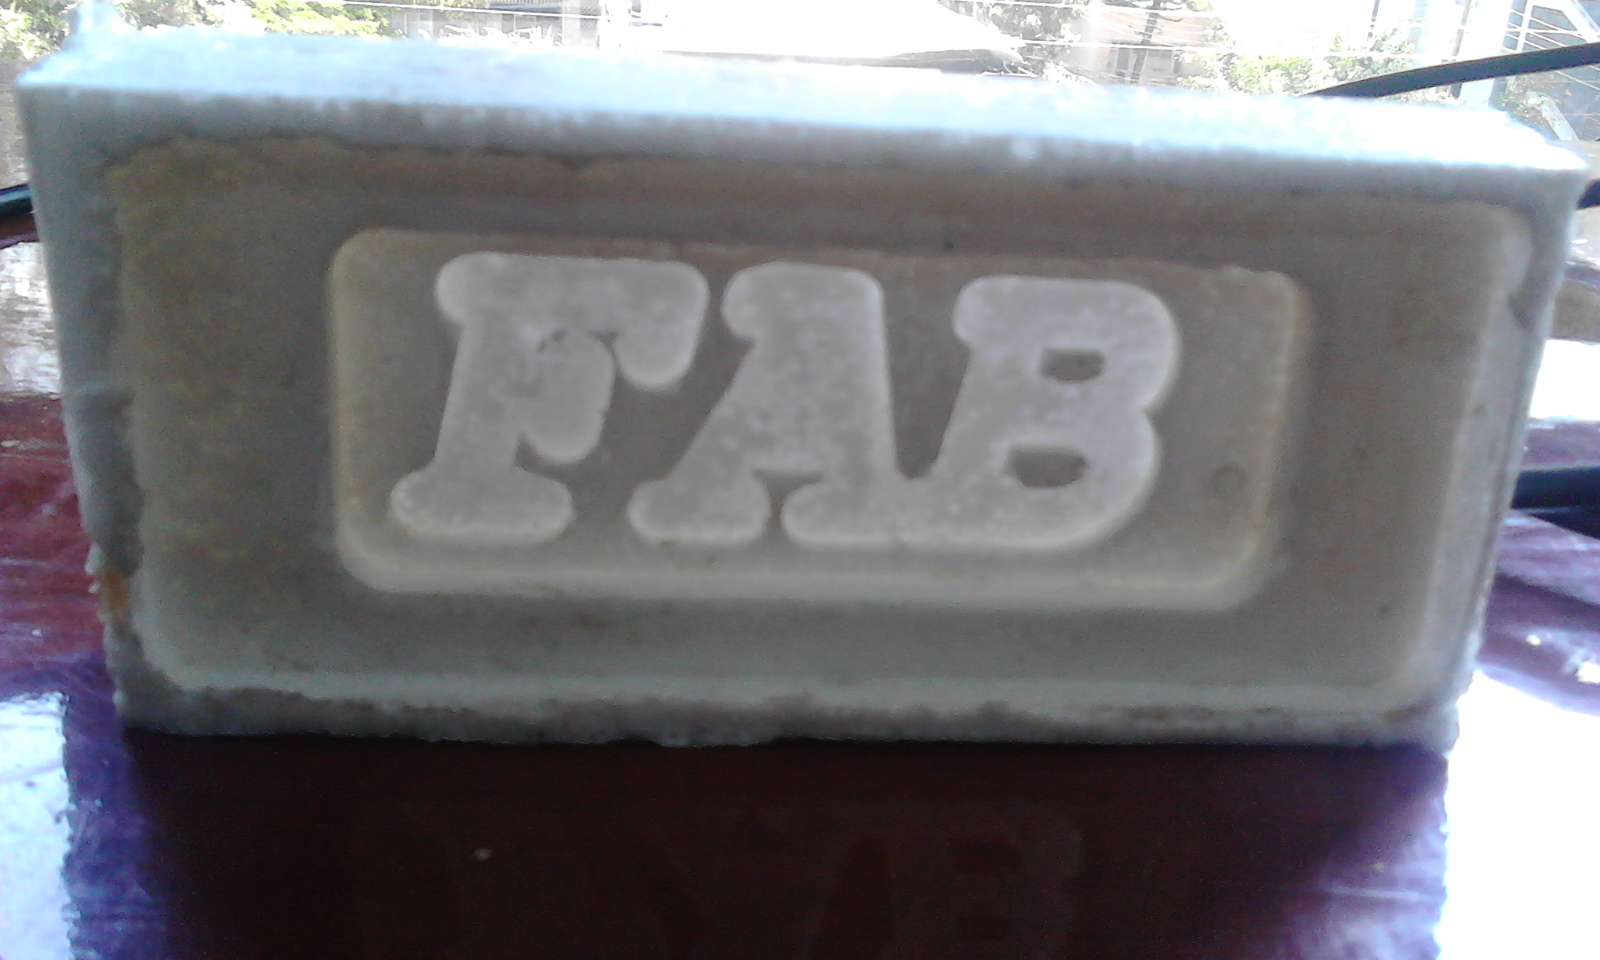
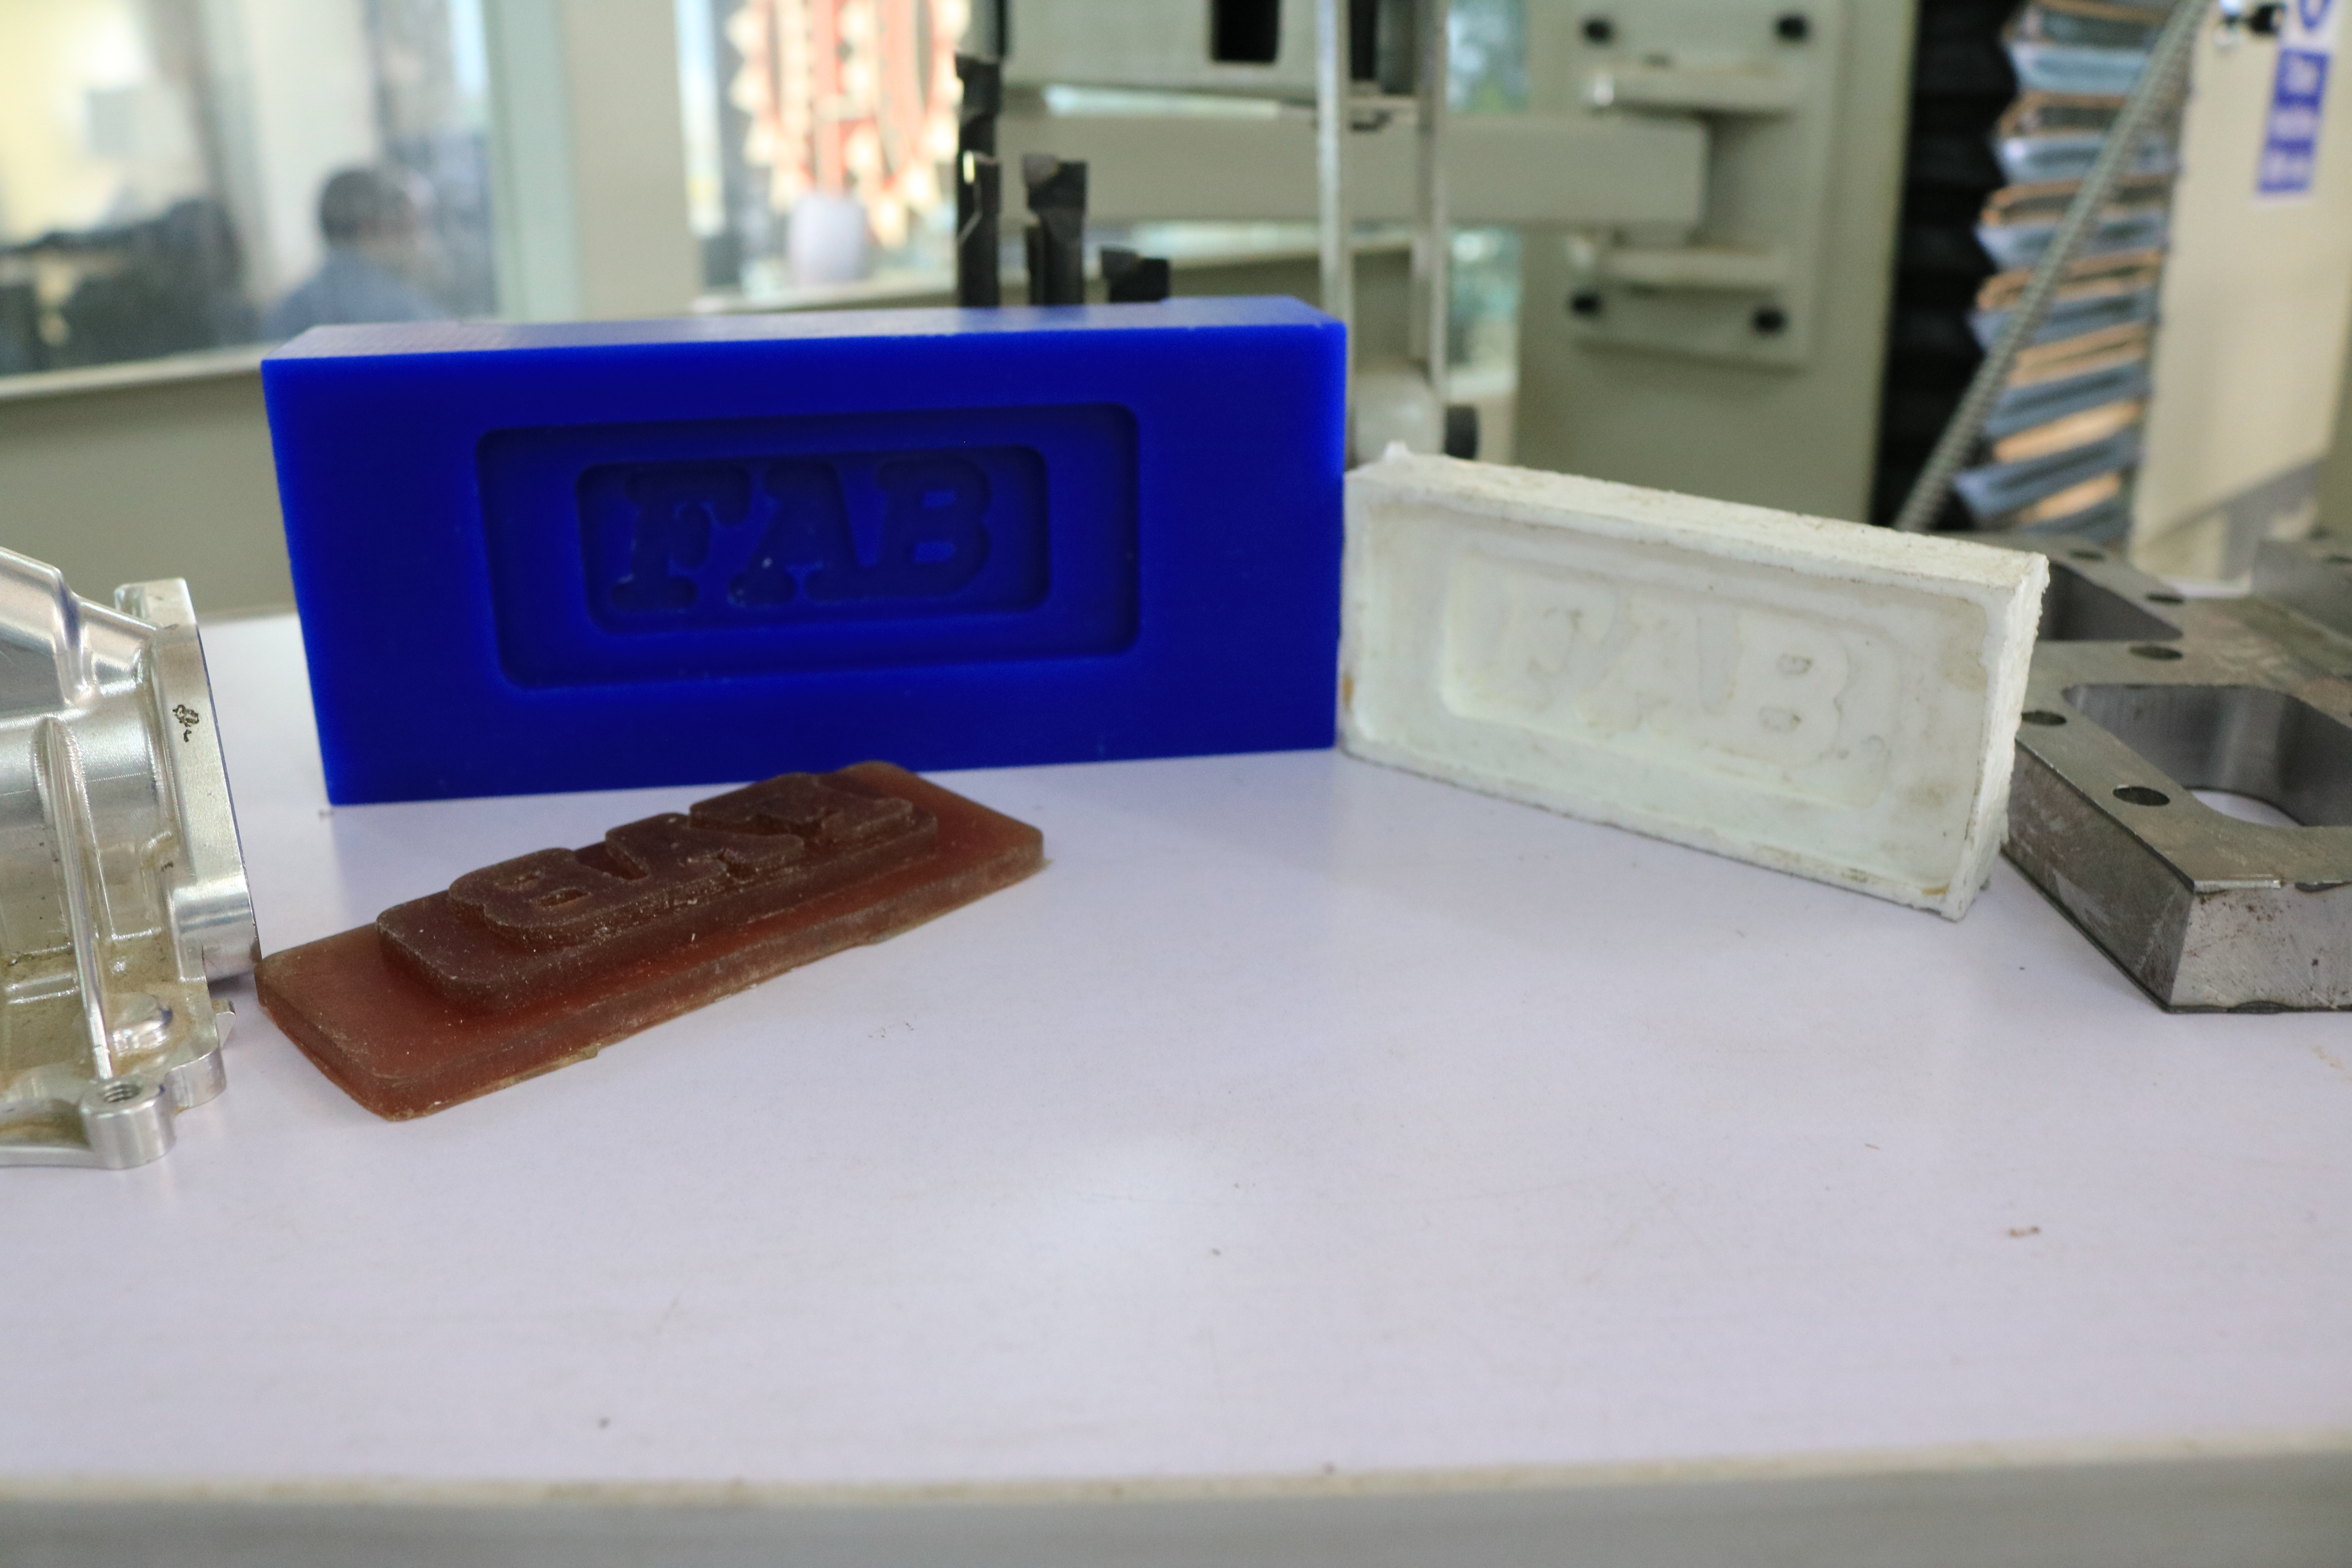
Molding
This entailed pouring a mixtute of two compounds into the machined part and leaving to cure. The product is what is refered to as the Mould which would then be used to make the Cast or the final desired copy.
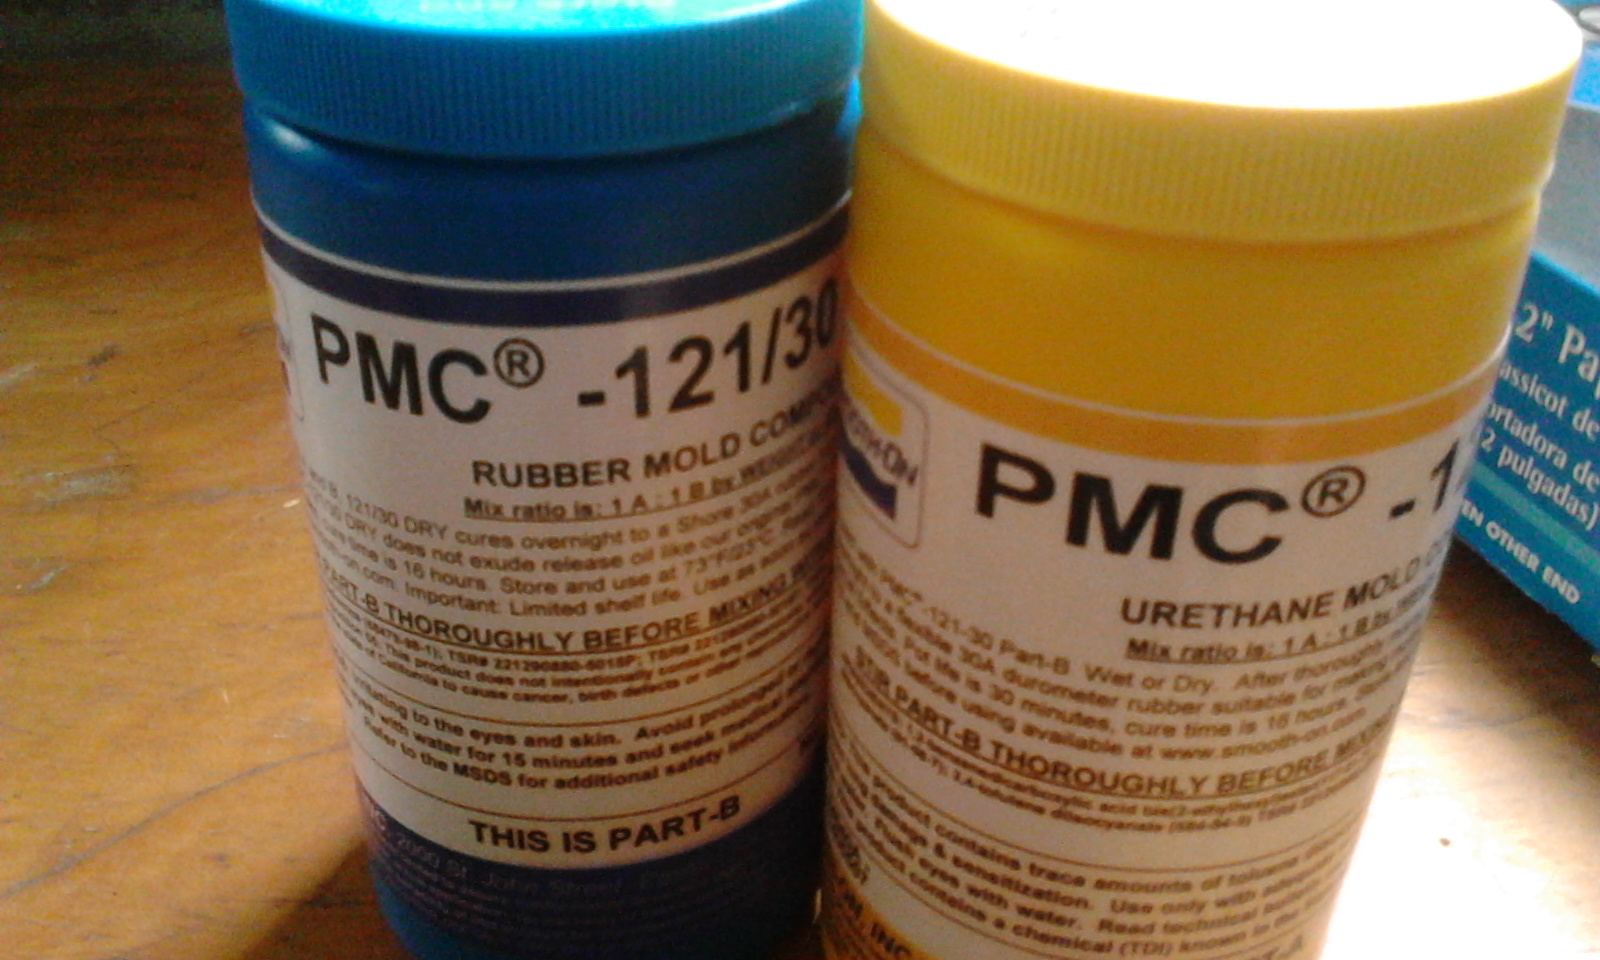
Each box contains a pair of bottles with compounds to be mixed in the ratio as instructed by the manufacturer. Find below the set of instuctions;
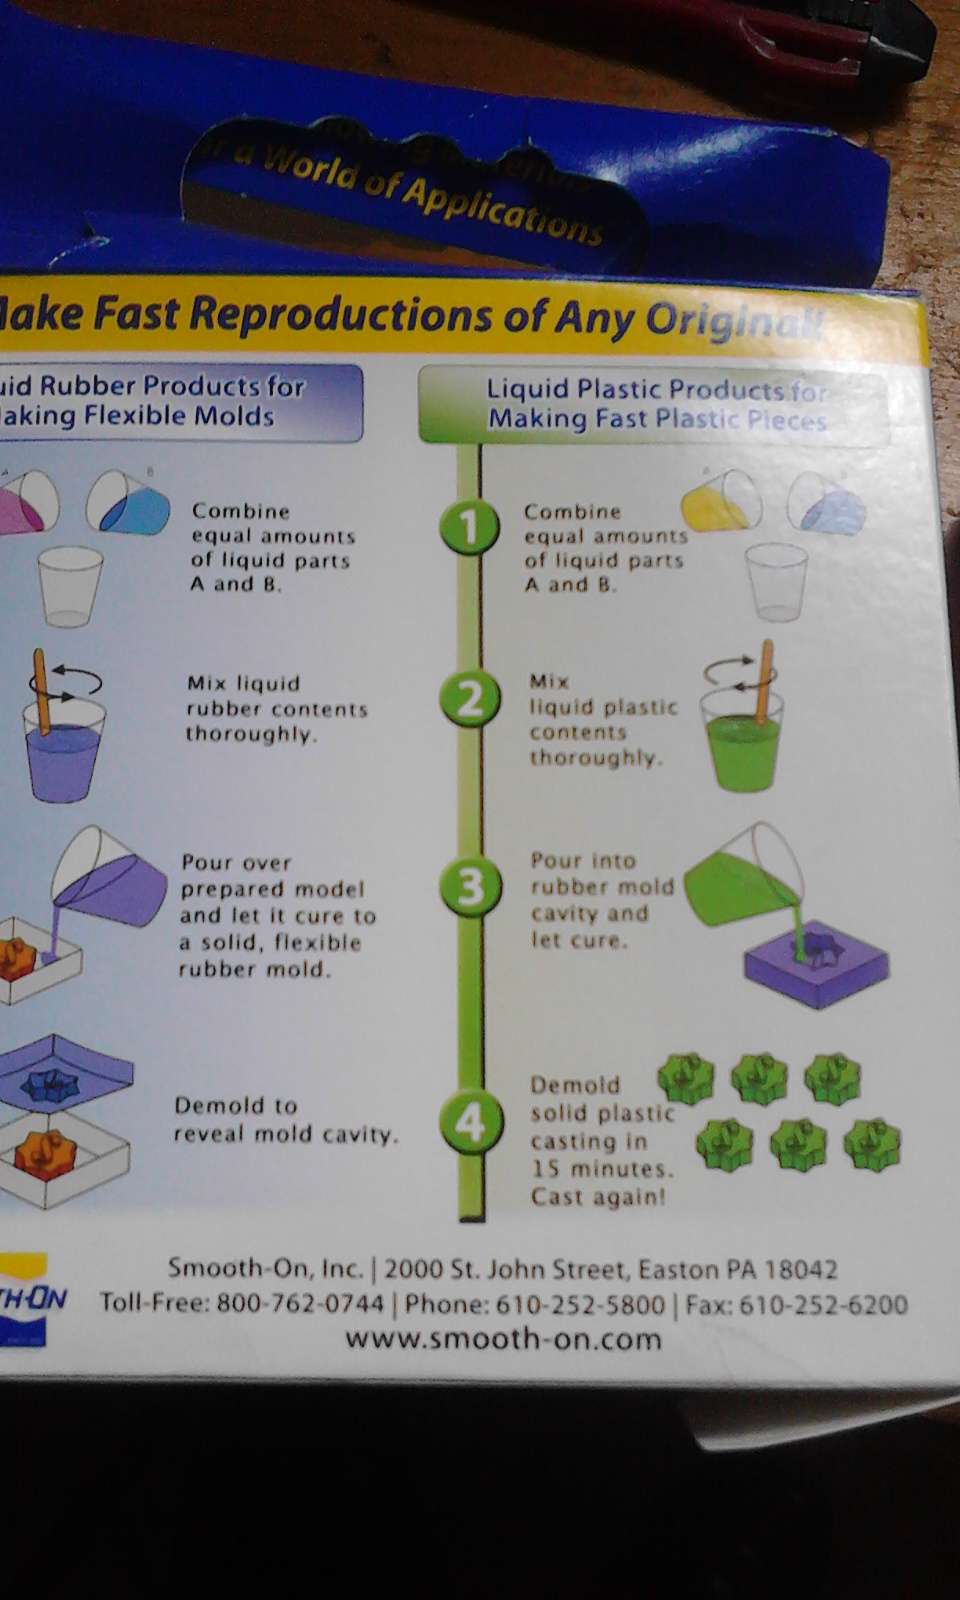
Mixing
As explained above, the two parts in the container were to be mixed in equal volumes. The Silicon I used was Rubber Mold Compound for Part B while Erethane Mold compound was designated as part A. The mixture of these two compunds was to be poured on the pocketed artwork which then forms the mold on cure. Make sure that you wear rhe right protective devices including gloves, gas mask among others This should be taken care of eventhough it is noted that RTV silicone rubber compound are known to be relatively safe and odour-free.Below were the steps used
- Stir thoroughly but steadily in a circular motion in the original container scapping the bottom to loosen any settled materials due to storage
- Let the silicone to rest for few minutes or more. This will not resettle them but allows any air which might have been trapped to come to the top
- Pour into a now mixing container preferably with a flat base and sides. Use the manufacurer's ratio and for my case it was instructed to be equal amounts of part A and B. If possible, use gram scale.
- Add catalyst to the base and mix thoroughly. Try to use the correct amount of catalyst or even slightly less except if you are in a hurry. Catalyst will help speed up cure time however, other factors like humidity and tempreture.
Pouring Silicon
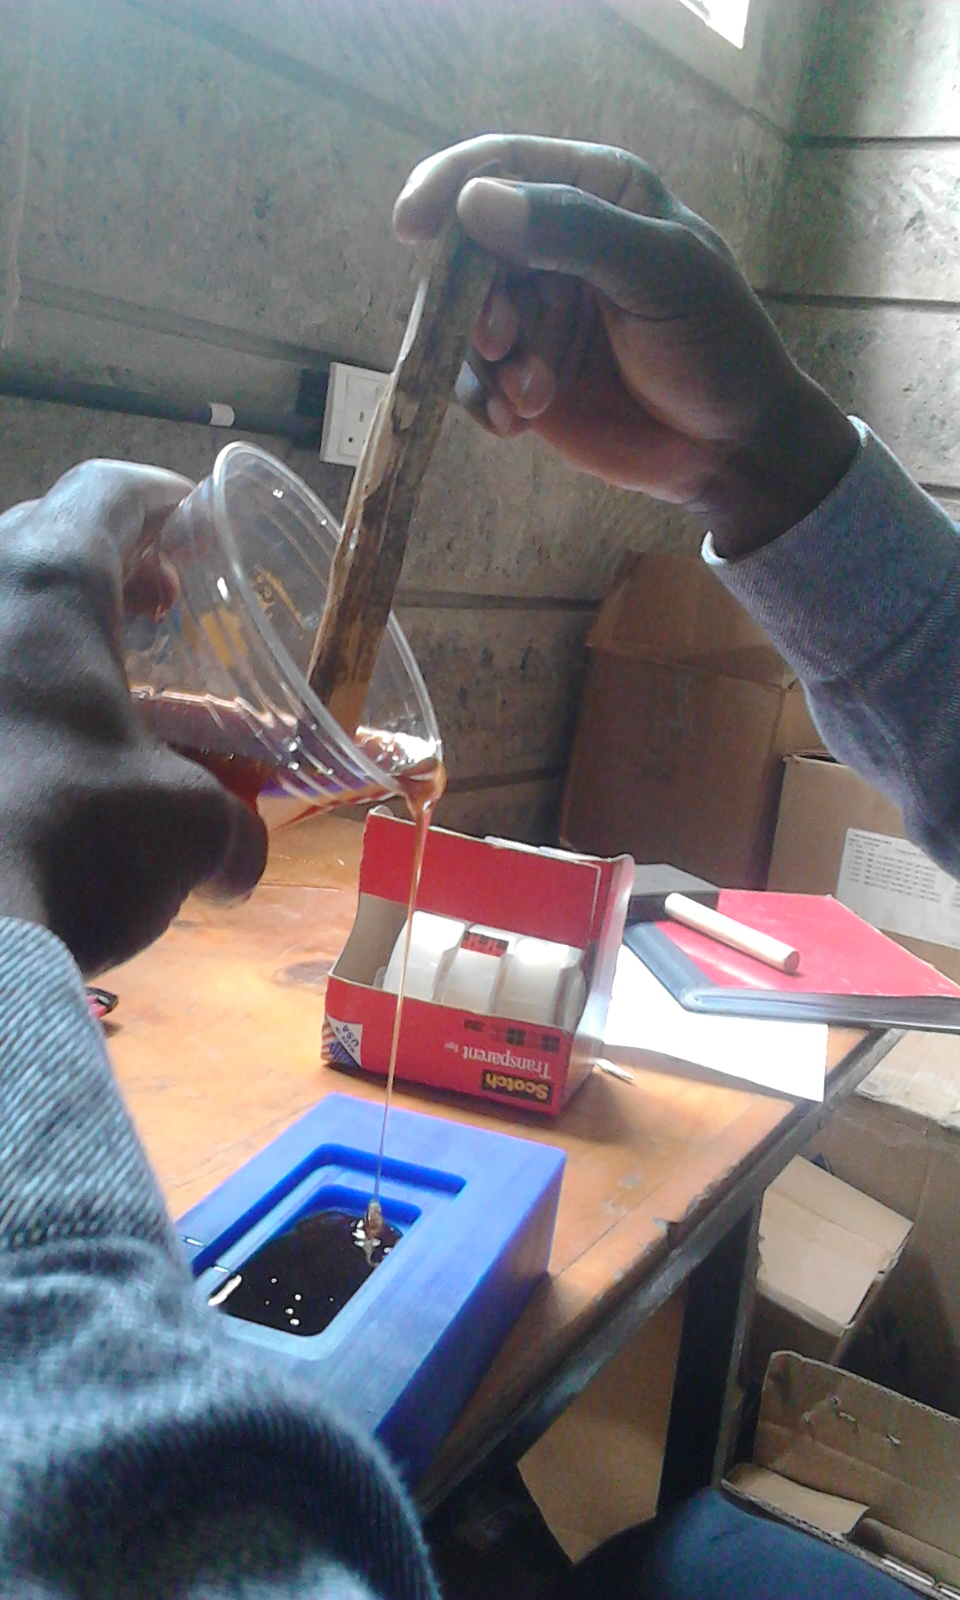
- Start pouring from the deeper end of the art mold coming upwards.
- You can use a release agent like Vaseline
- To strengthen your mold you can use layers of gauze after regular spacing normaly atleat 1/8- gauze should be non elastic
- Leave to cure for thesufficient amount of time
- For my case that I never used catalyst and so could not estimate the correct cure time. I left the mold overnight and when I went in the morning, a great result was gotten
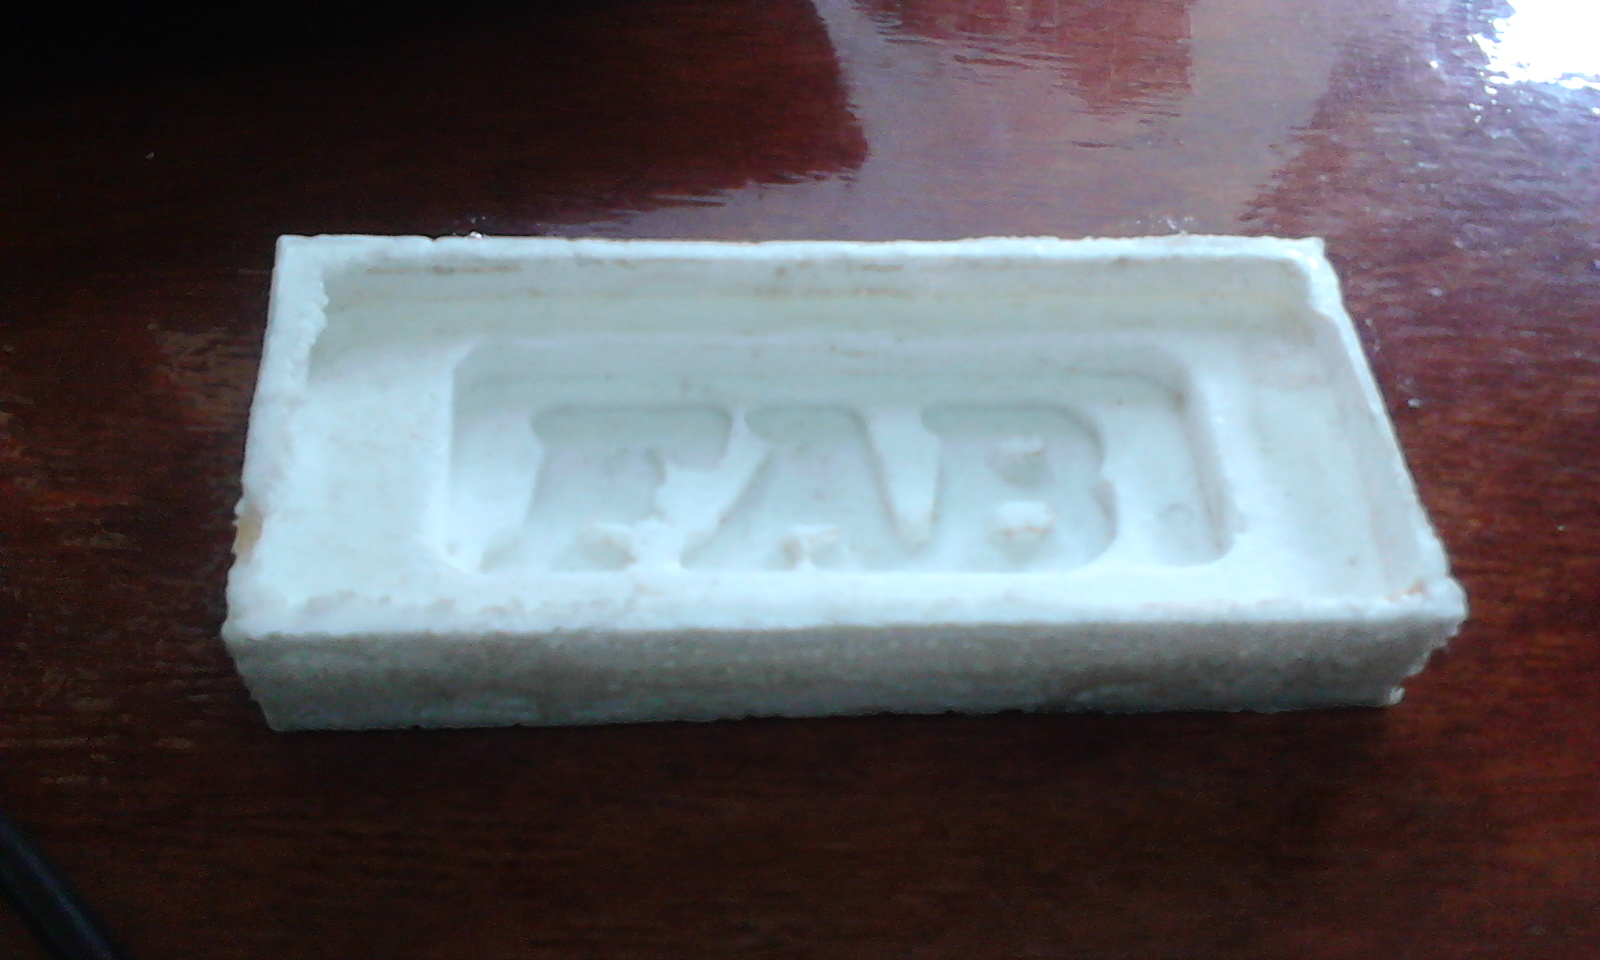
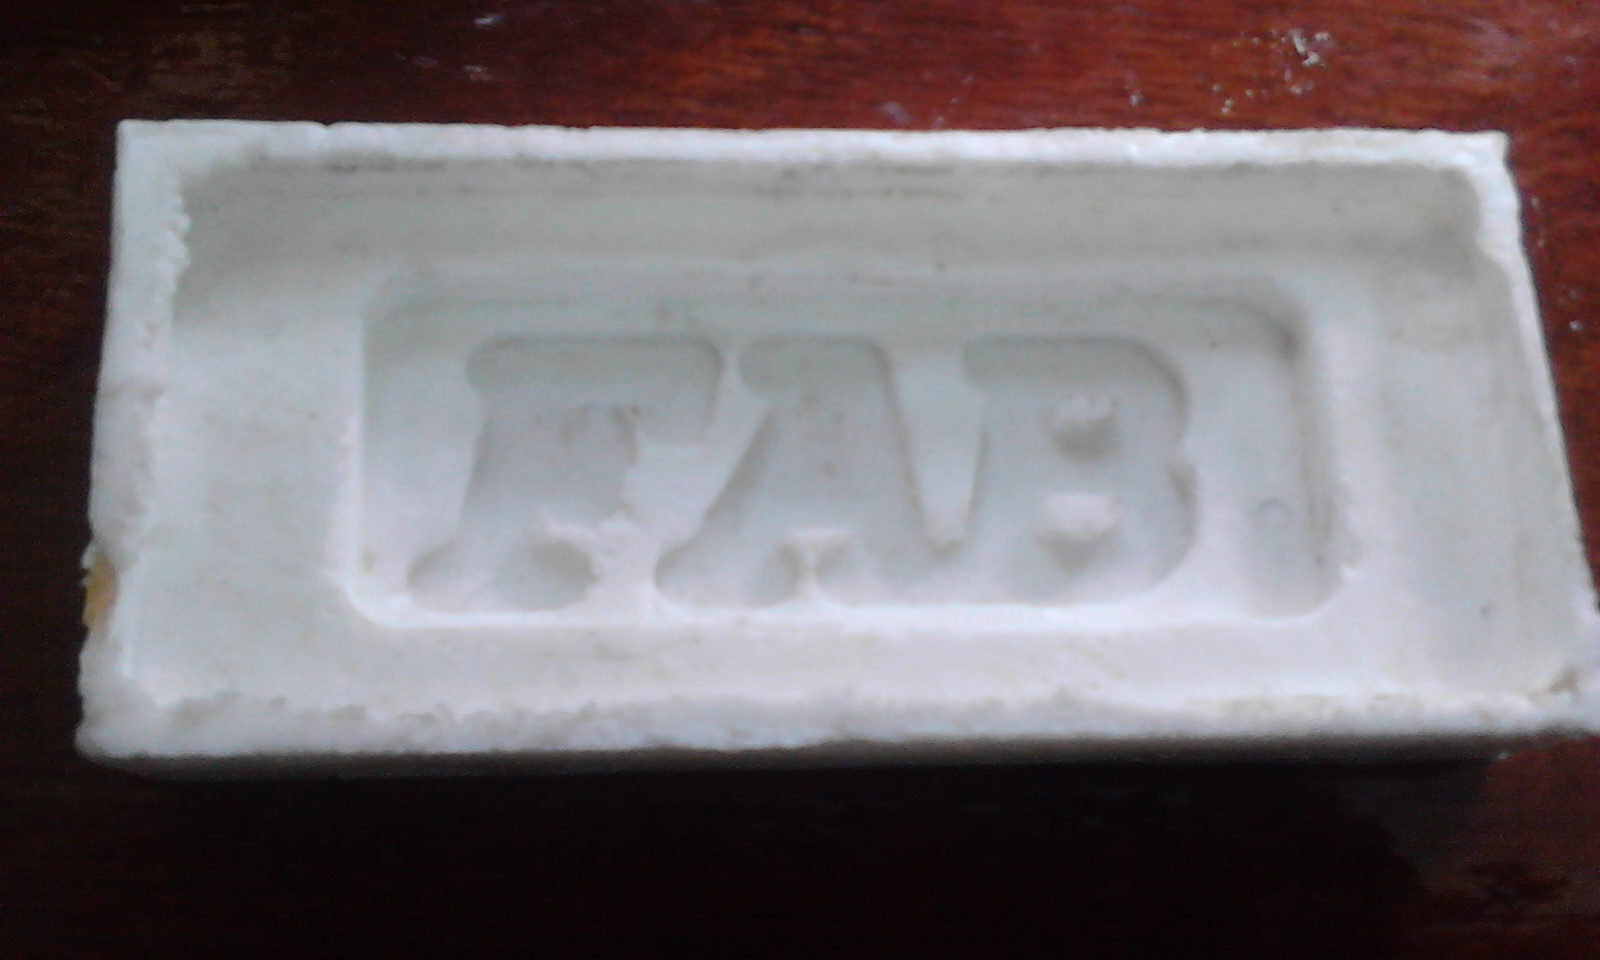
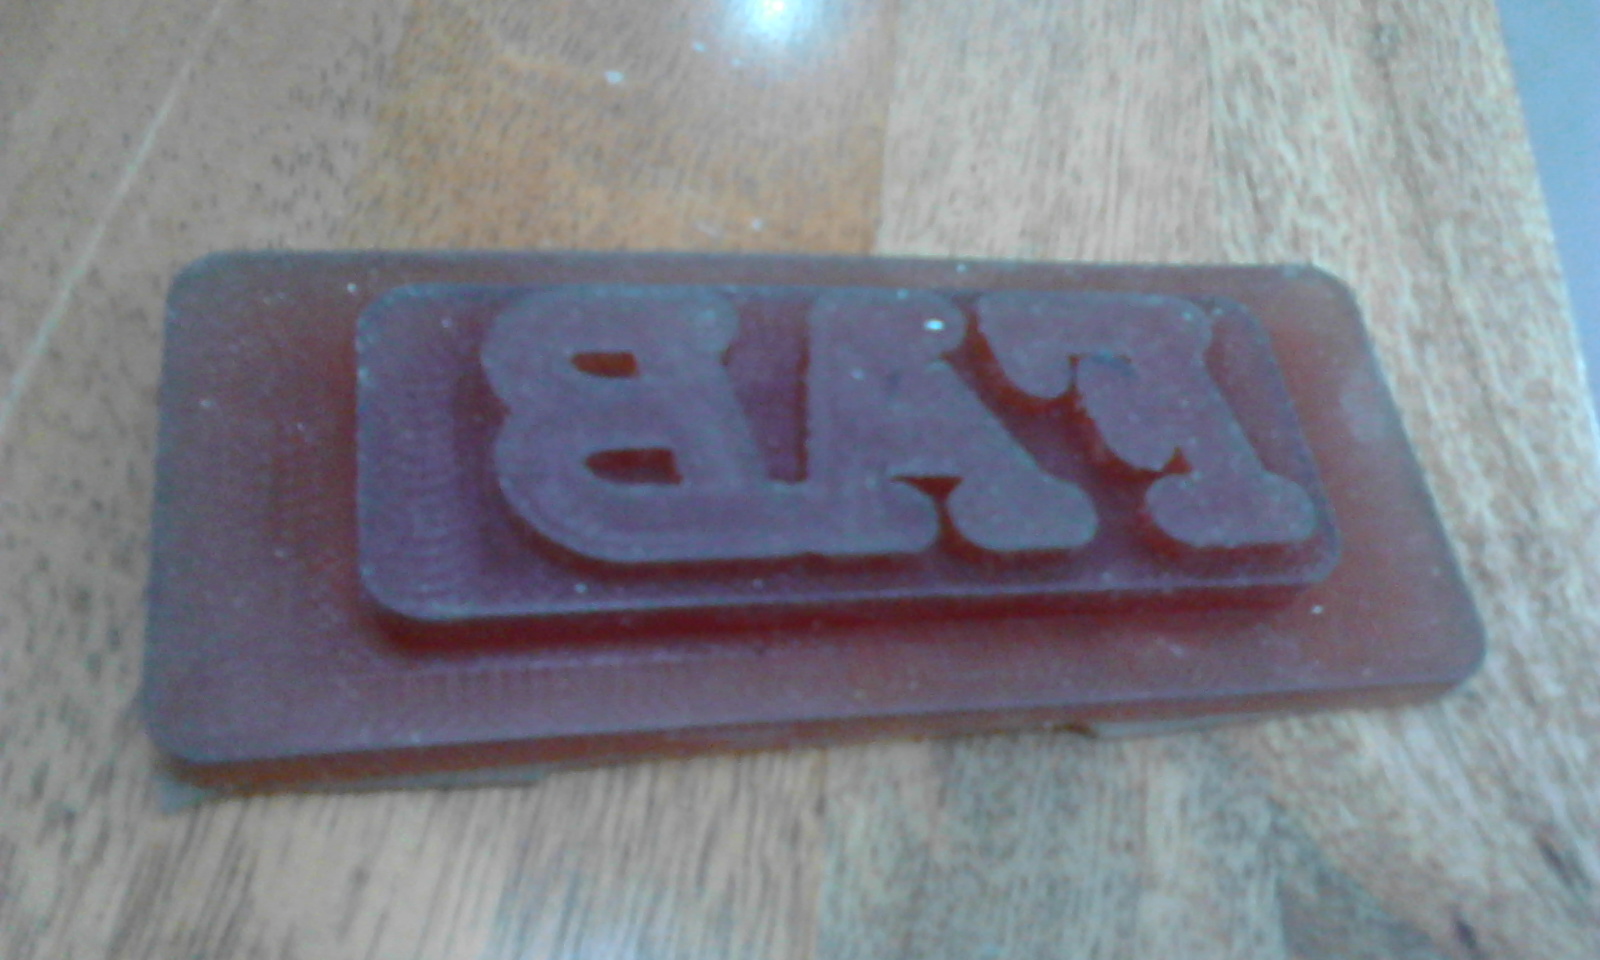
Demolding
When the outer cover of the mold feels firm and dry oand the cure time has elapsed, the mold is ready for removal (demolding). Eventhough time would be of essence but drying is necessary. If the mold has any deep areas, it is important give more curing time.
When demolding, peel out all the edges gently first before moving to the middle. If you notice any weaker or soft part, stop removal but instead, replace the already removed parts to allow for more time to cure further.Clean well both the specimen and the mold before storage
Casting
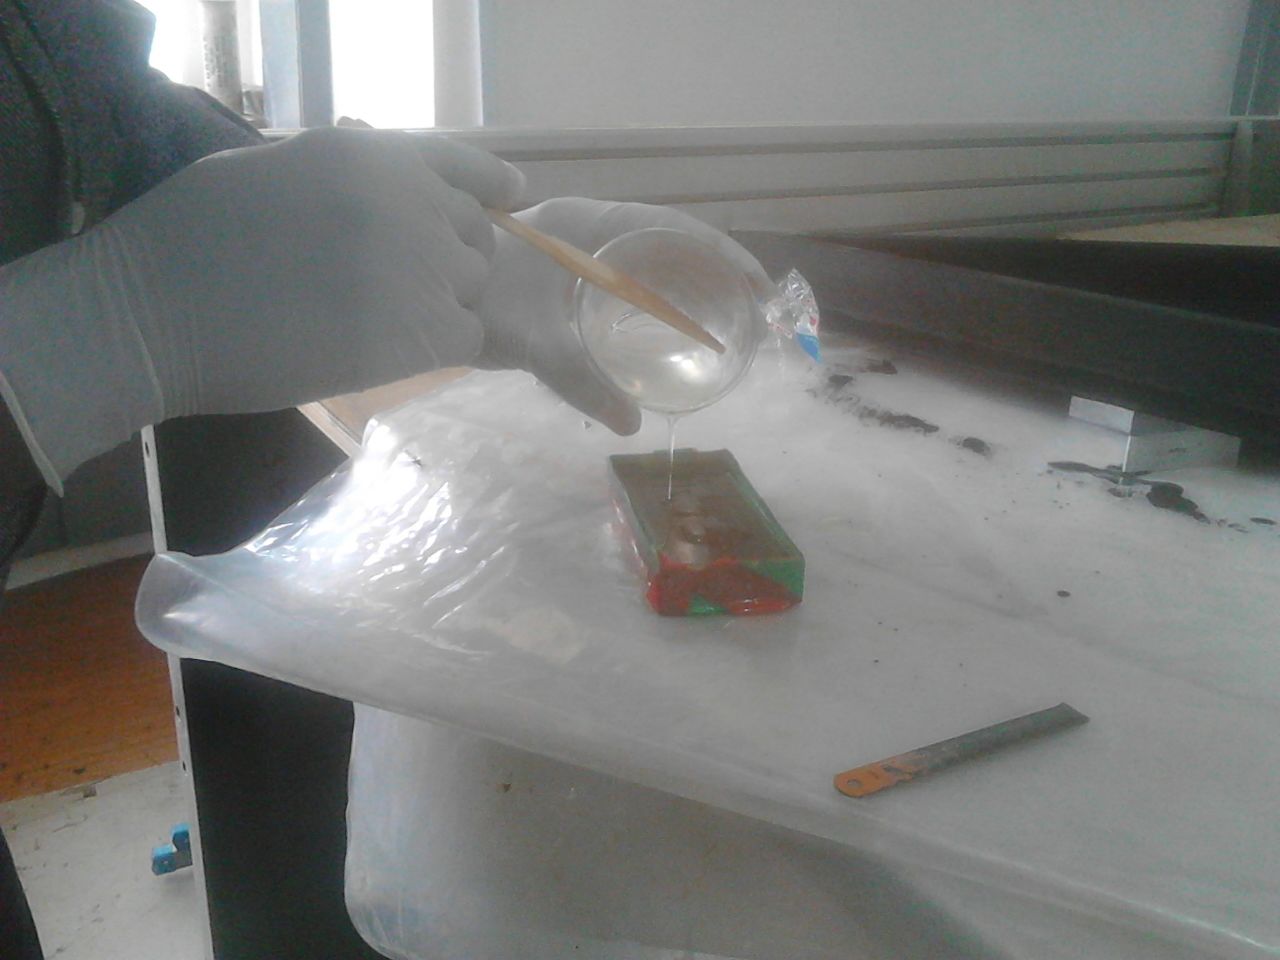
I had to constuct a container or frame for my mold so that it could hold the liquid plastic I was using for the casting of the final work
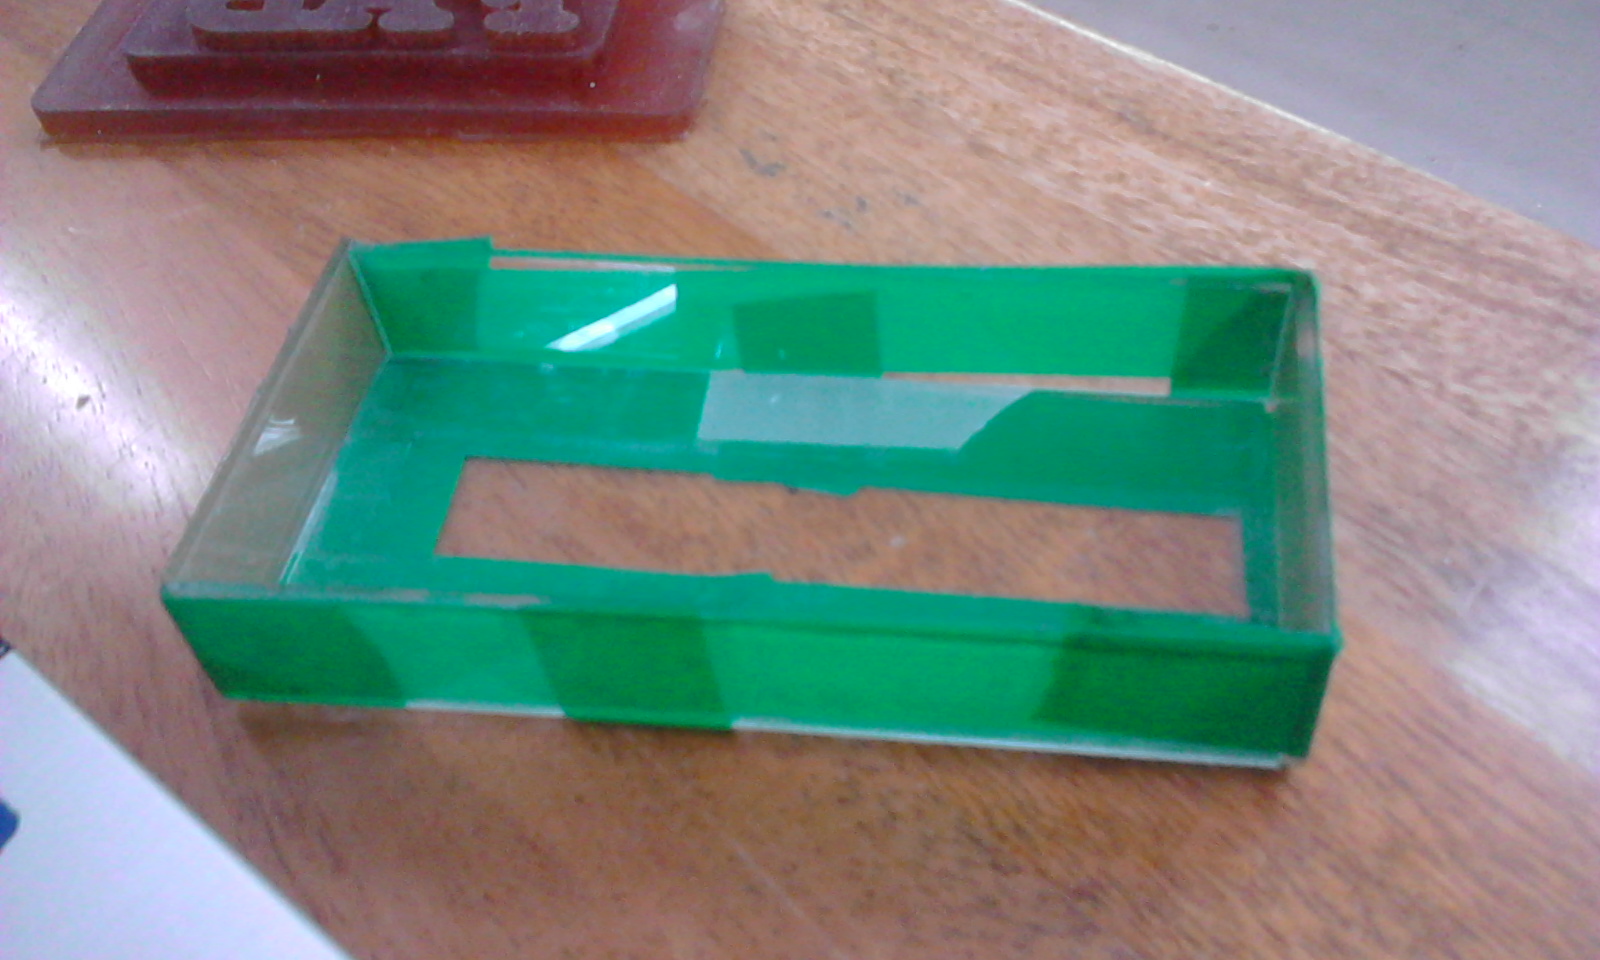
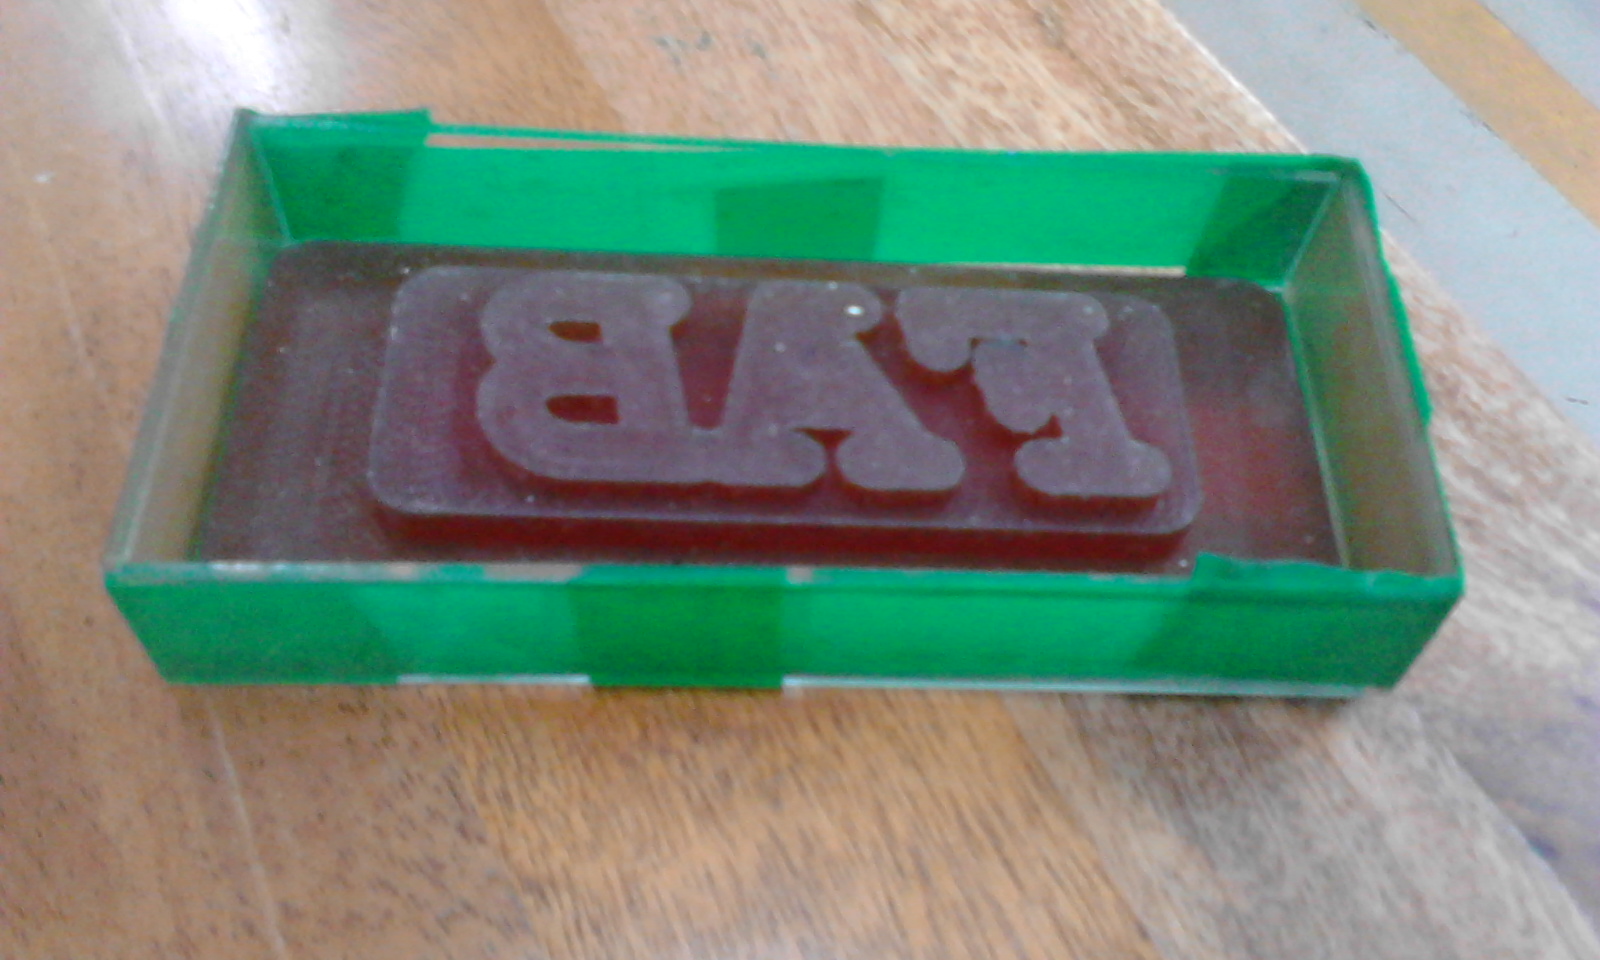
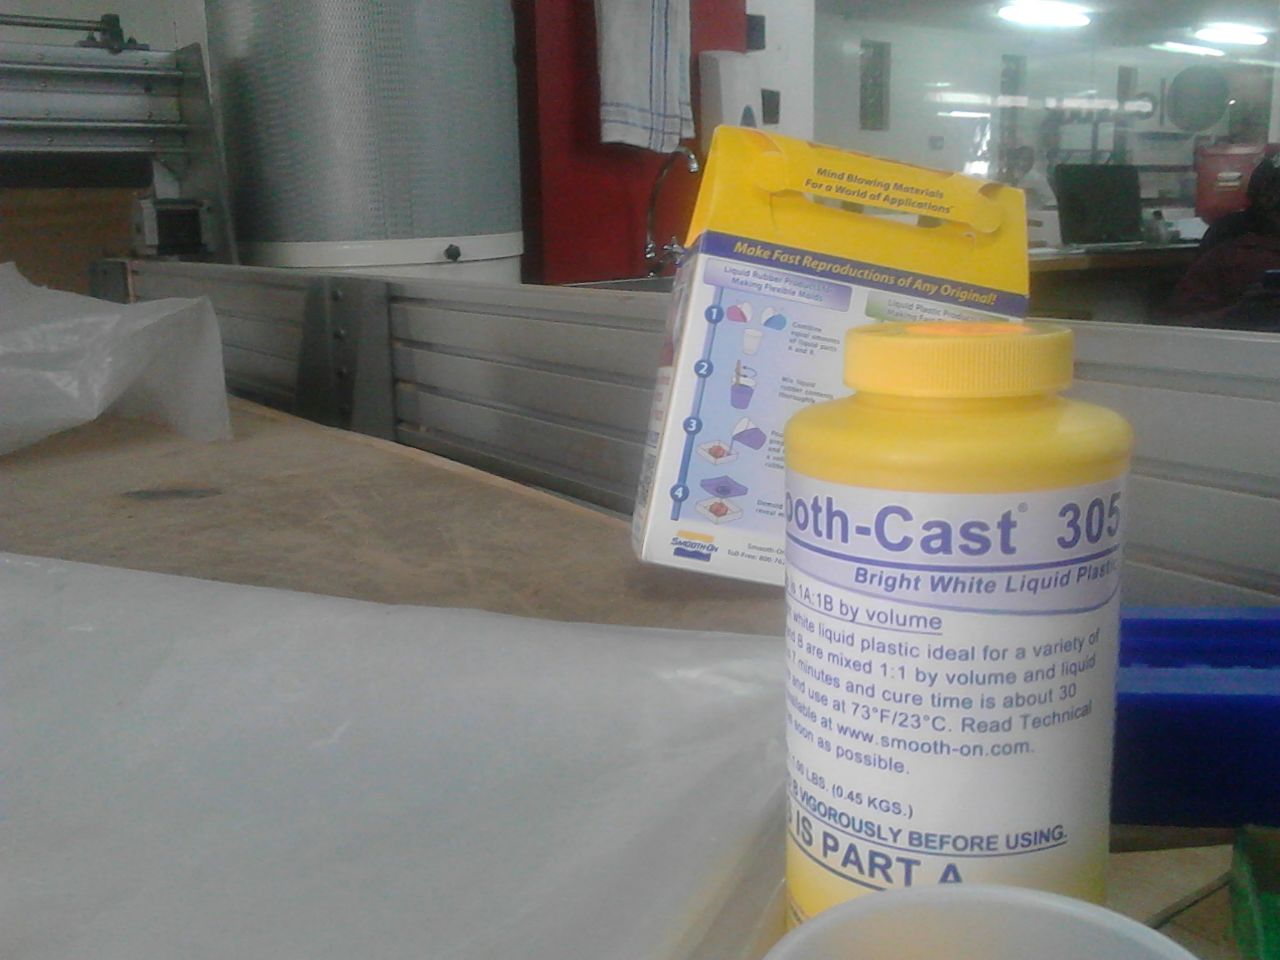
For casting, materials such as Plaster-of-paris, Hydrocal, Forton MGplastics, resins, epoxies, cement among others would be used. For me, I used liquid Plastic. You can avoid using release agent when using cement but for resin, urethane or complicated molds with undercuts, you need to use it. A thinned Vaseline, or barrier coat such as vanish, or paint applied on the mold before casting is very advisable to be used.You may need to build a frame to hold the casting material from overflowing depending with your model/mold. Use the manufacturer's instructions just like for silicone to mix and and pour. Also give time to cure accordingly
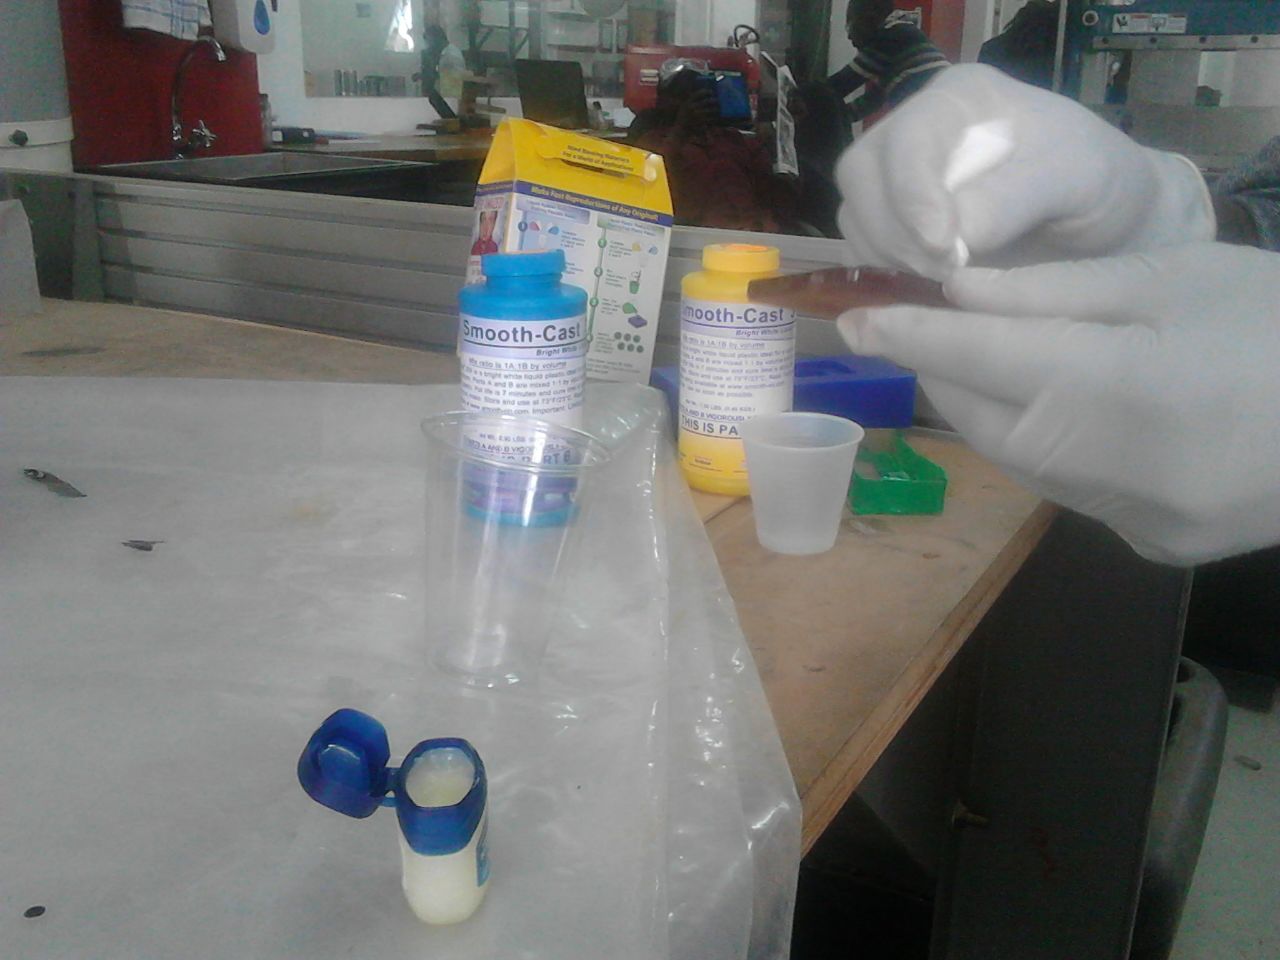
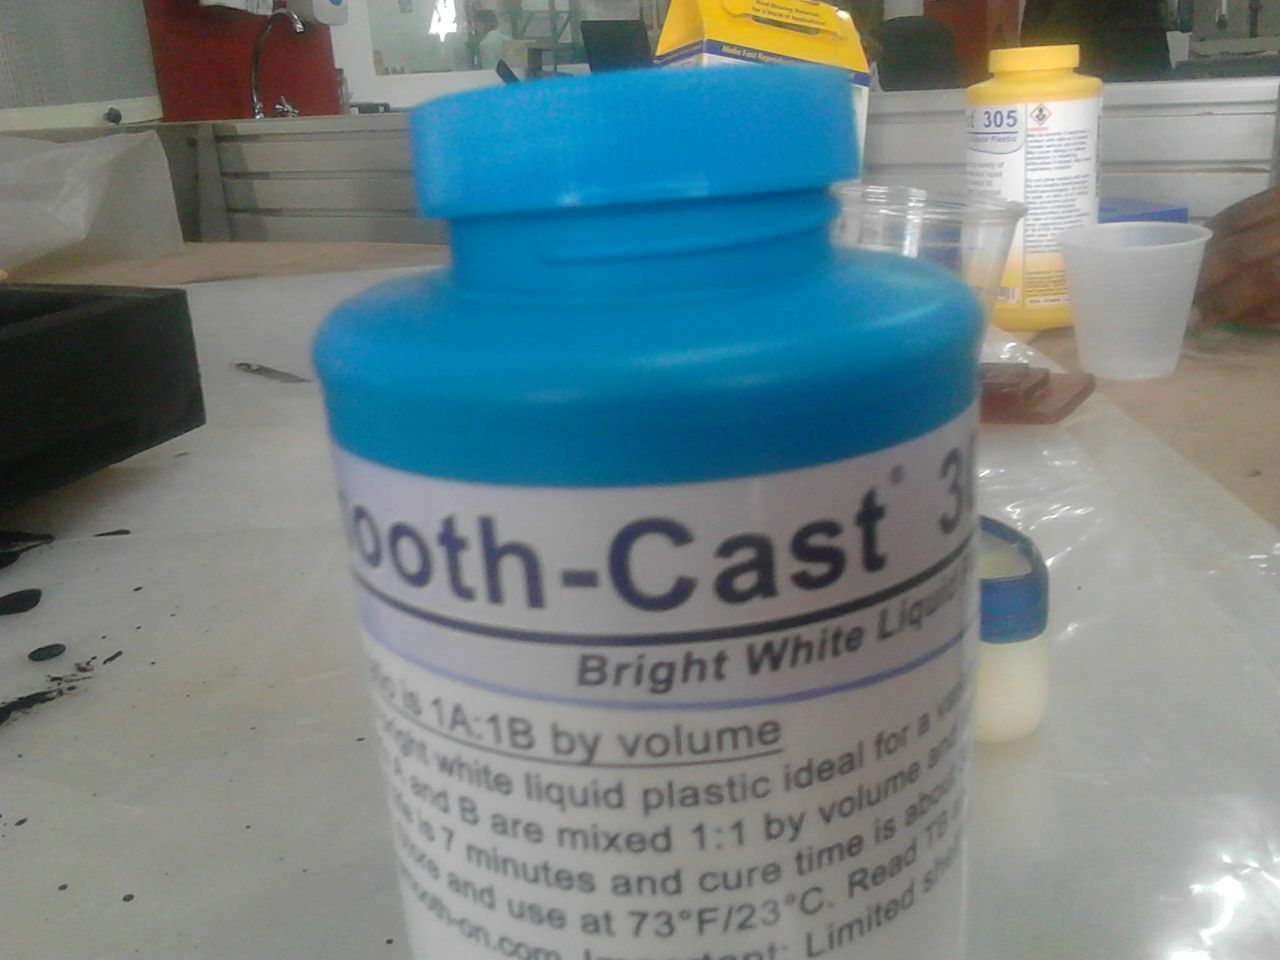
I used liquid plastic and they were also in two parts which then I was mixing
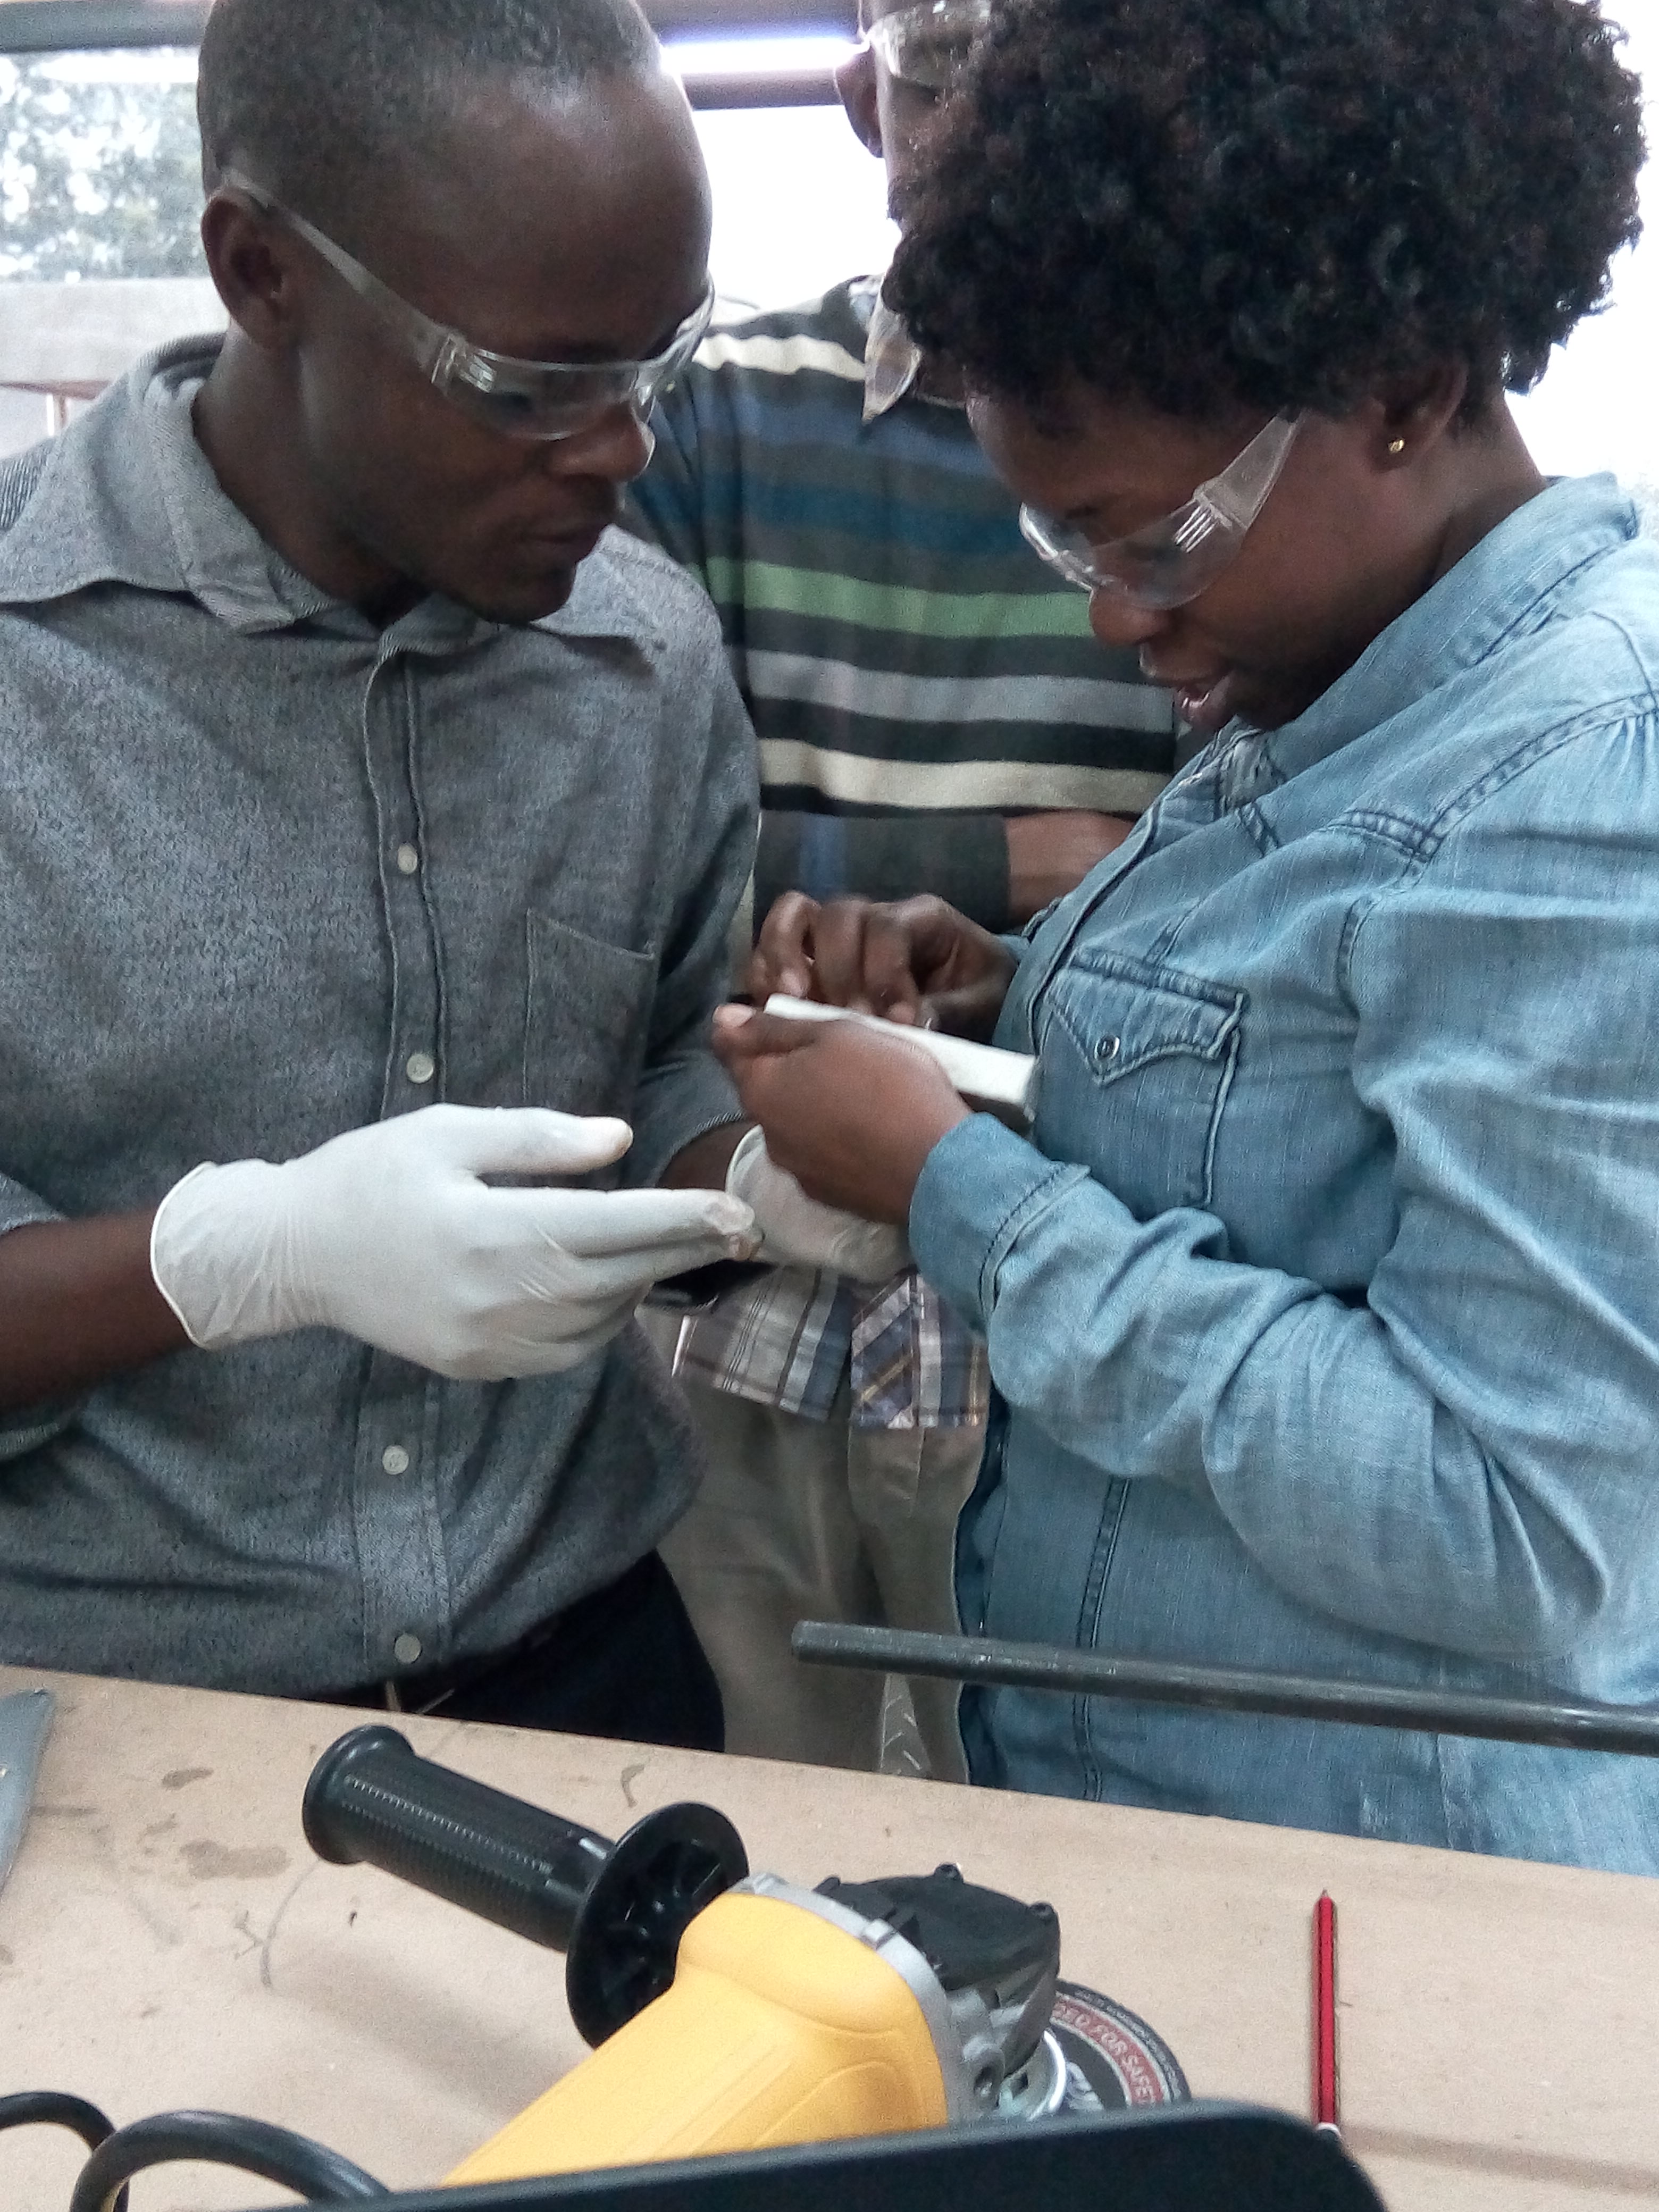
For safety reasons, it is important to wear protectives for the eye and hands but when handling more dangerous chemicals, wear gas masks as well.
Ready to start
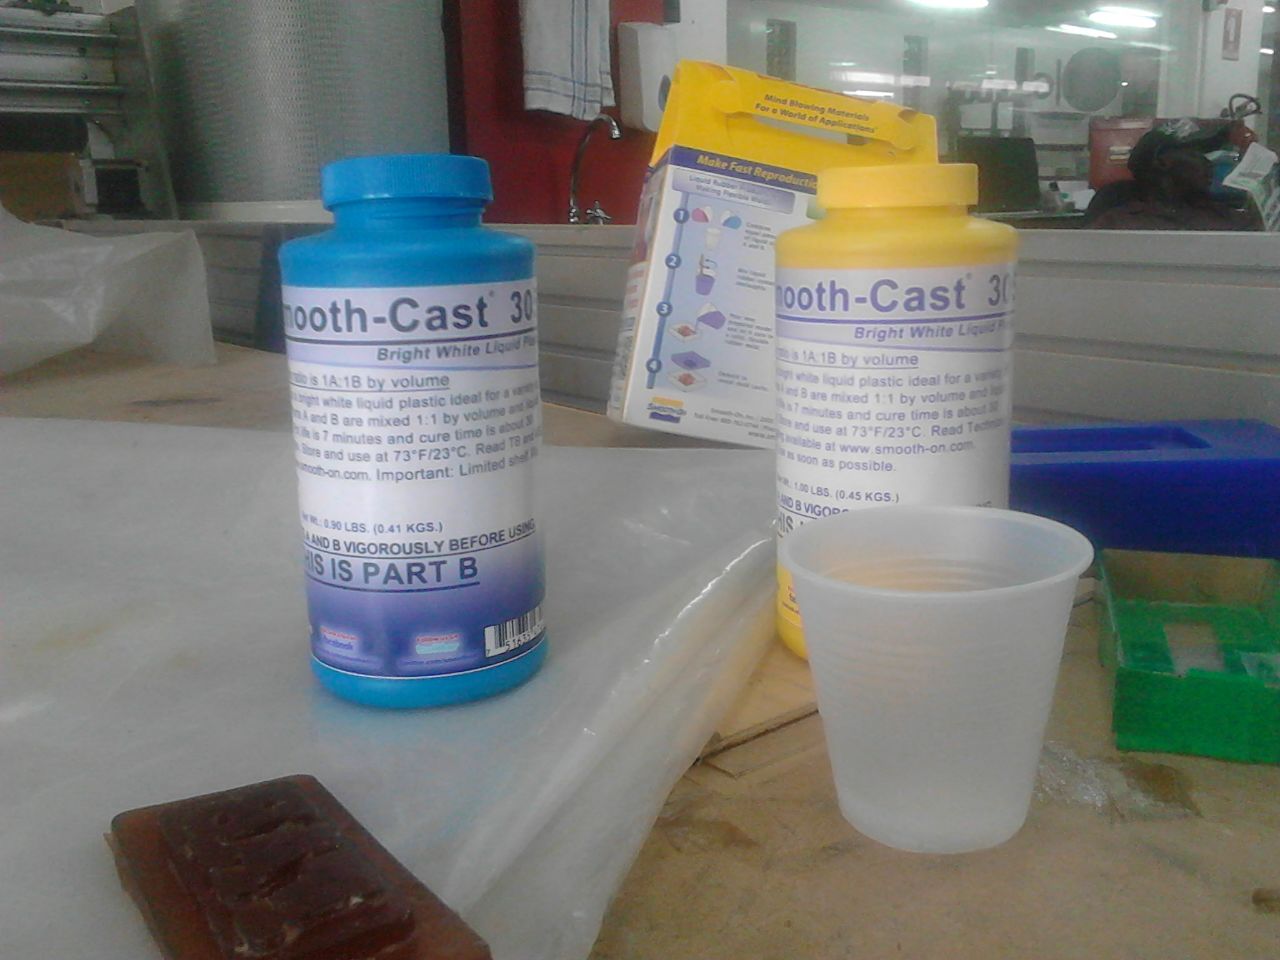
Mixing
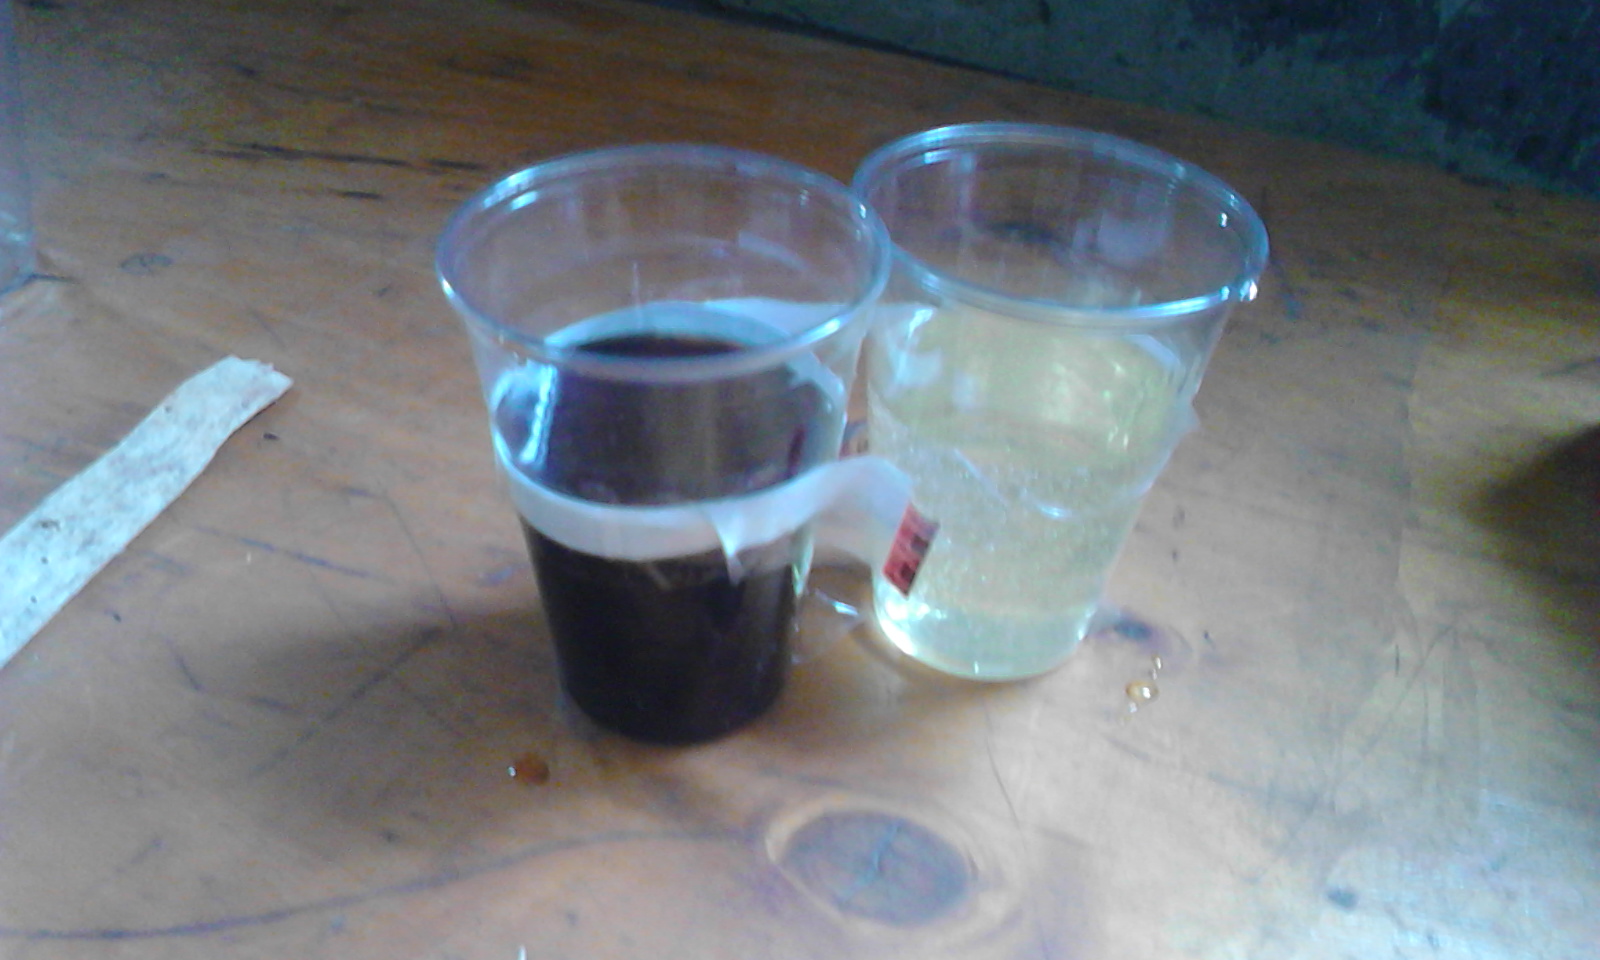
Shake well both bottles before opening to ensure that concentration is distributed.
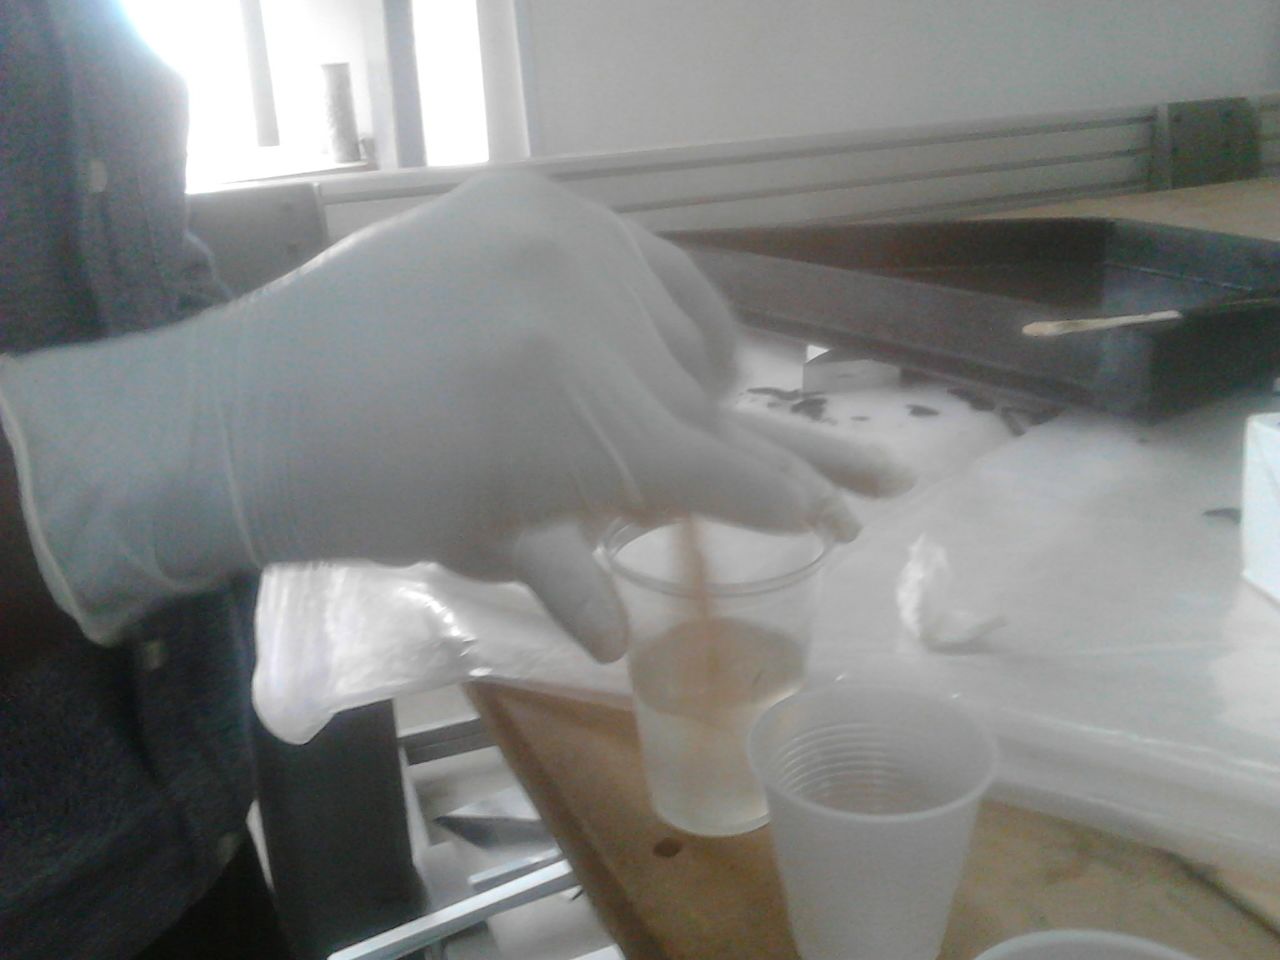
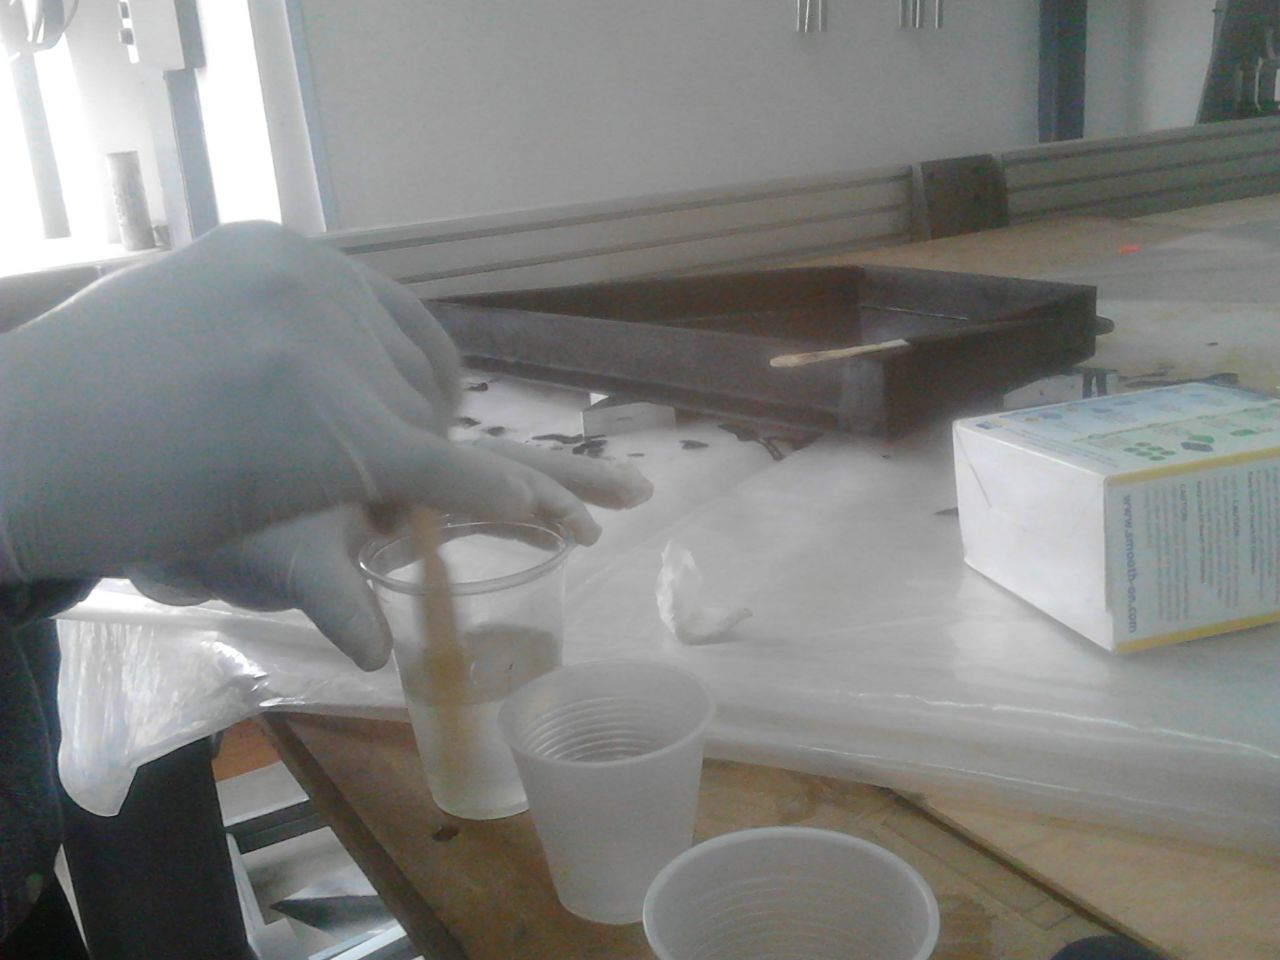
Using the plastic cups, pour equal amount of each compound into separate containers. Now mix them in larger cup
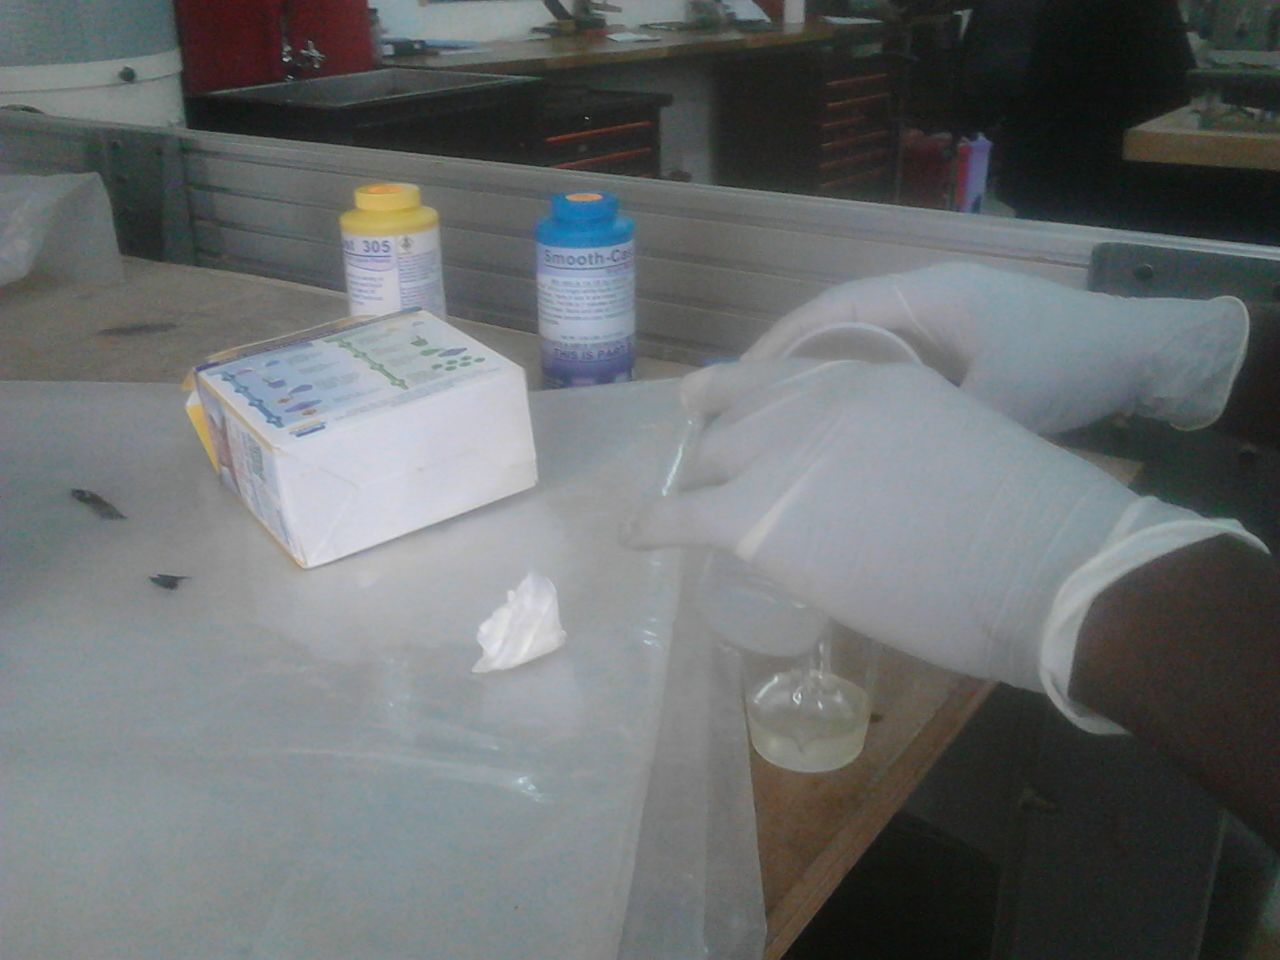
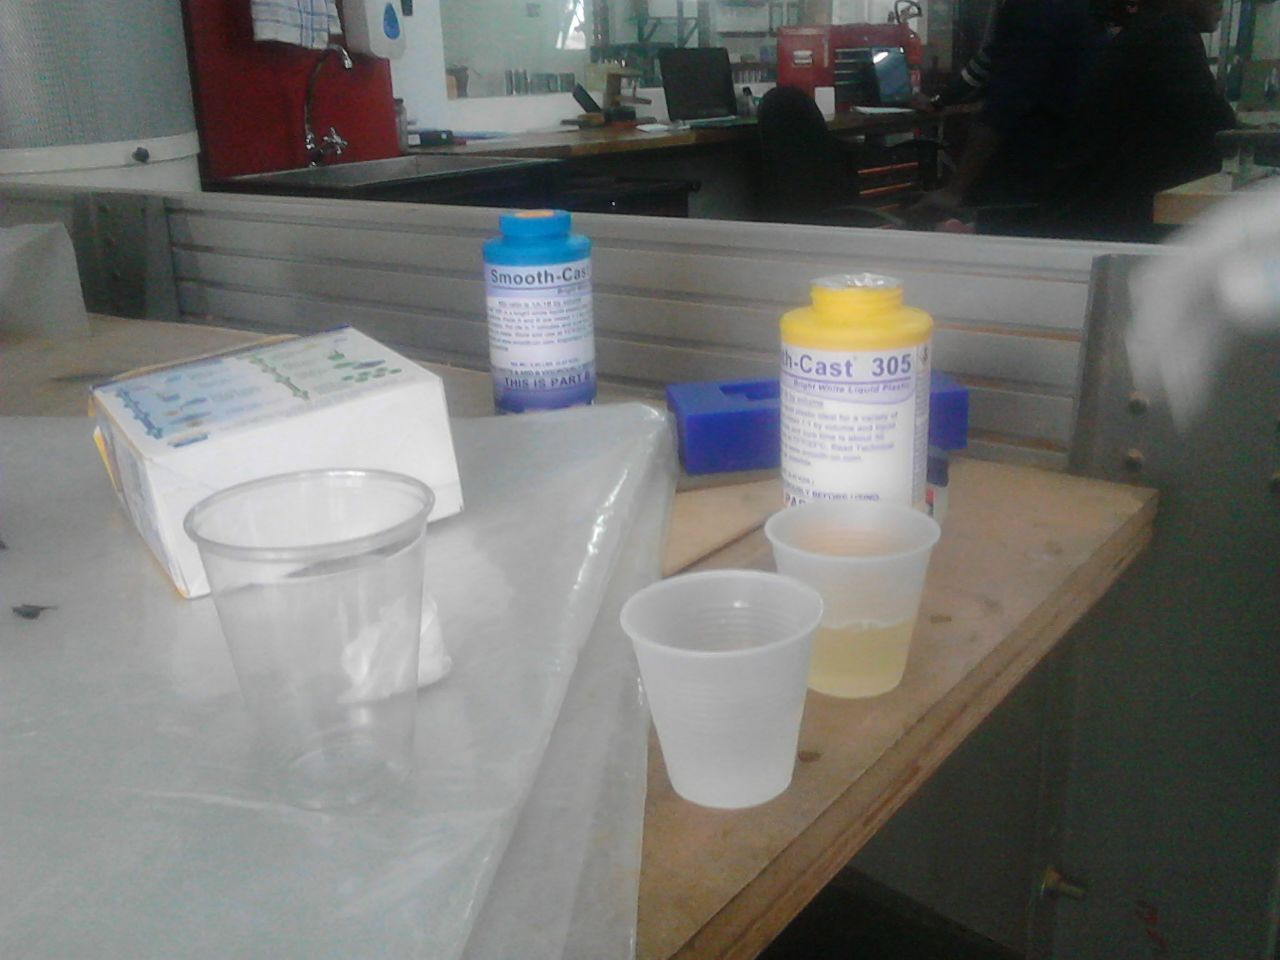
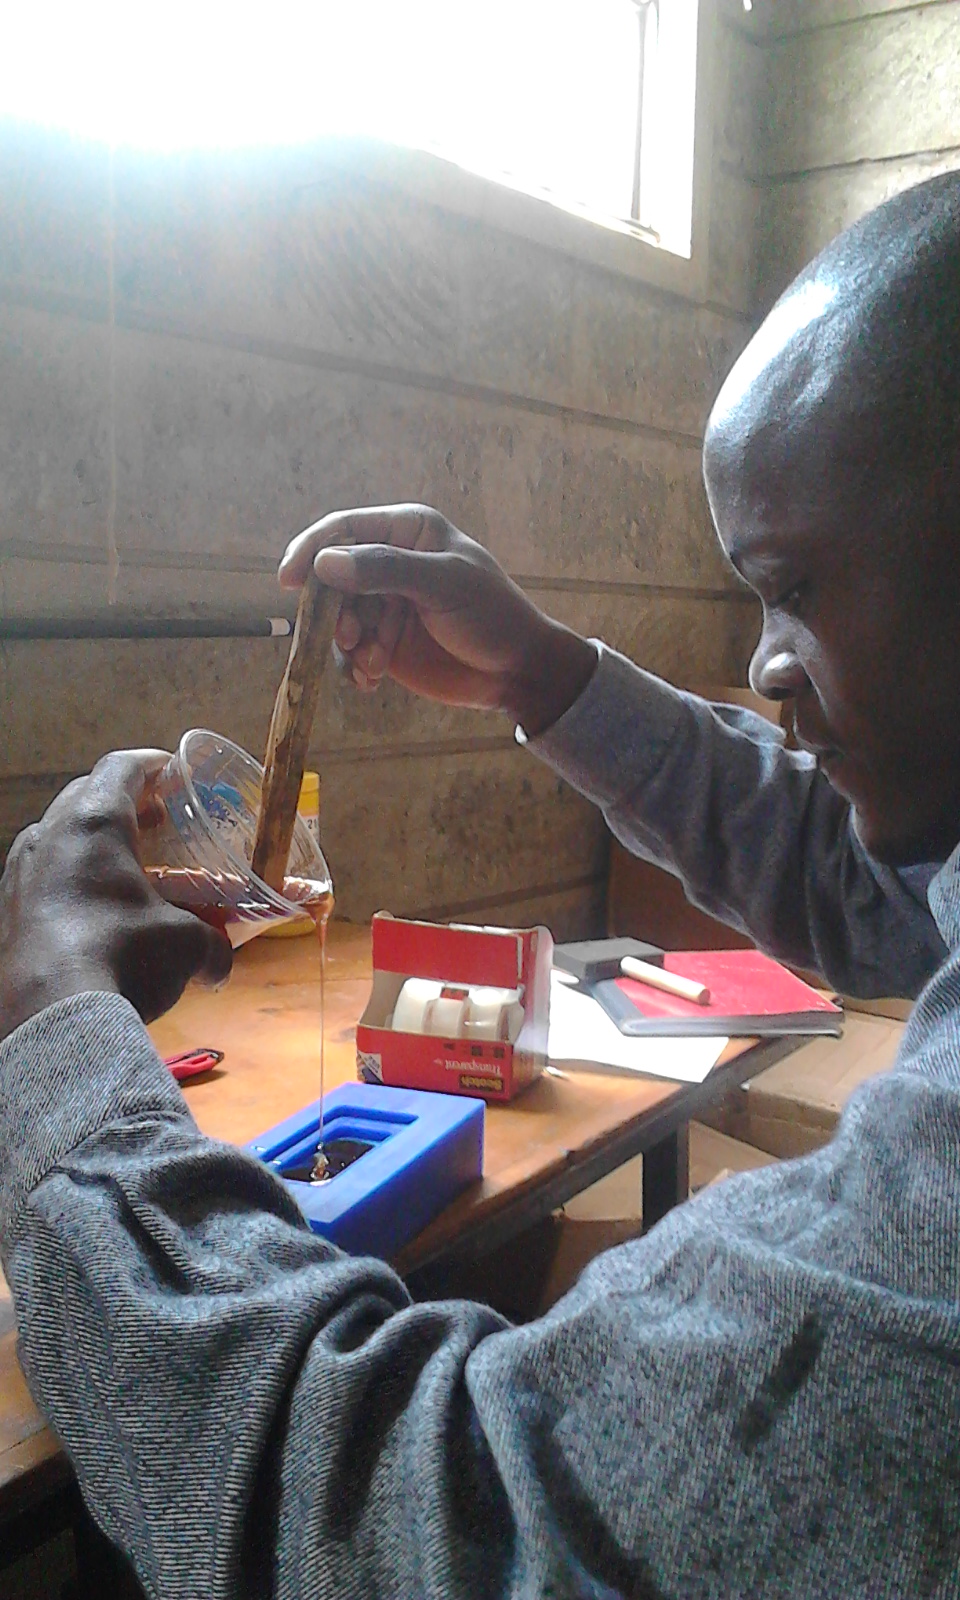
Stirring
Use a long clean stick to stir the mixture before moving to the next step