Week 14
Composites
Assignment
Design and fabricate a 3D mold (~ft2), and produce a fiber composite part in it
Lesson
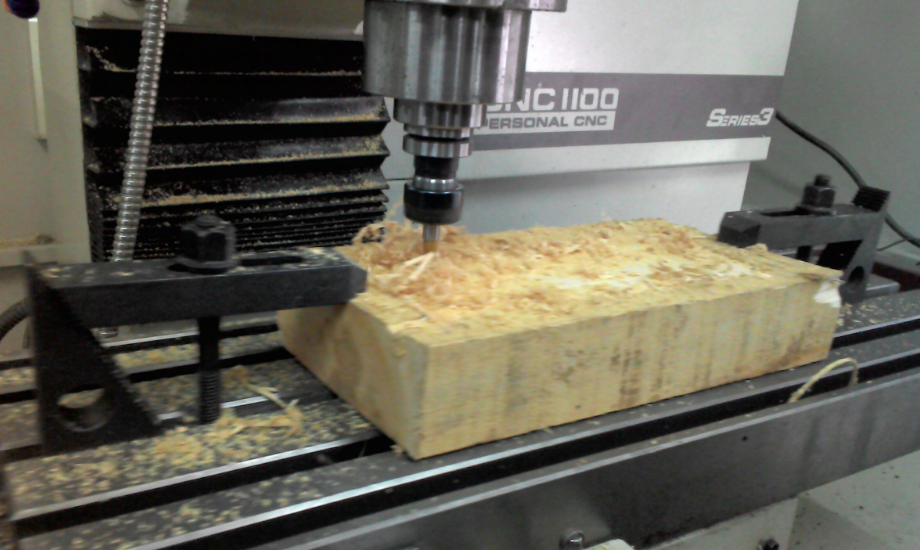
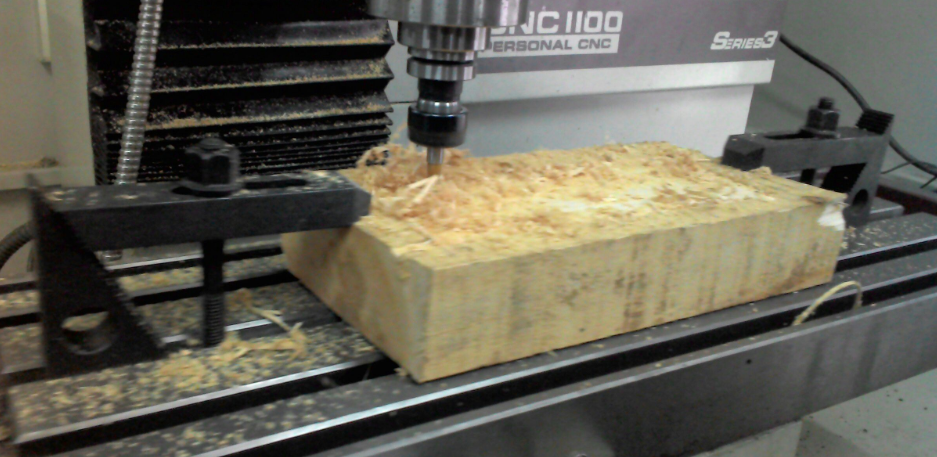
CompositesThis was such a challenging week like many others eventhough I was full of confidence figuring out that Composite and Molding/ Casting are closely related. I changed my initial thought of Map of Africa. I decided to do a skate board however it was to be smaller one since I was using Tomarch CNC Machine to mill it.

I did my 3D design using Autodesk Inventor which worked well. I also had to take it to Fusion 360 since the inventor do not have the CAM which would help in generation the G-Code which would then be used in Tomarch
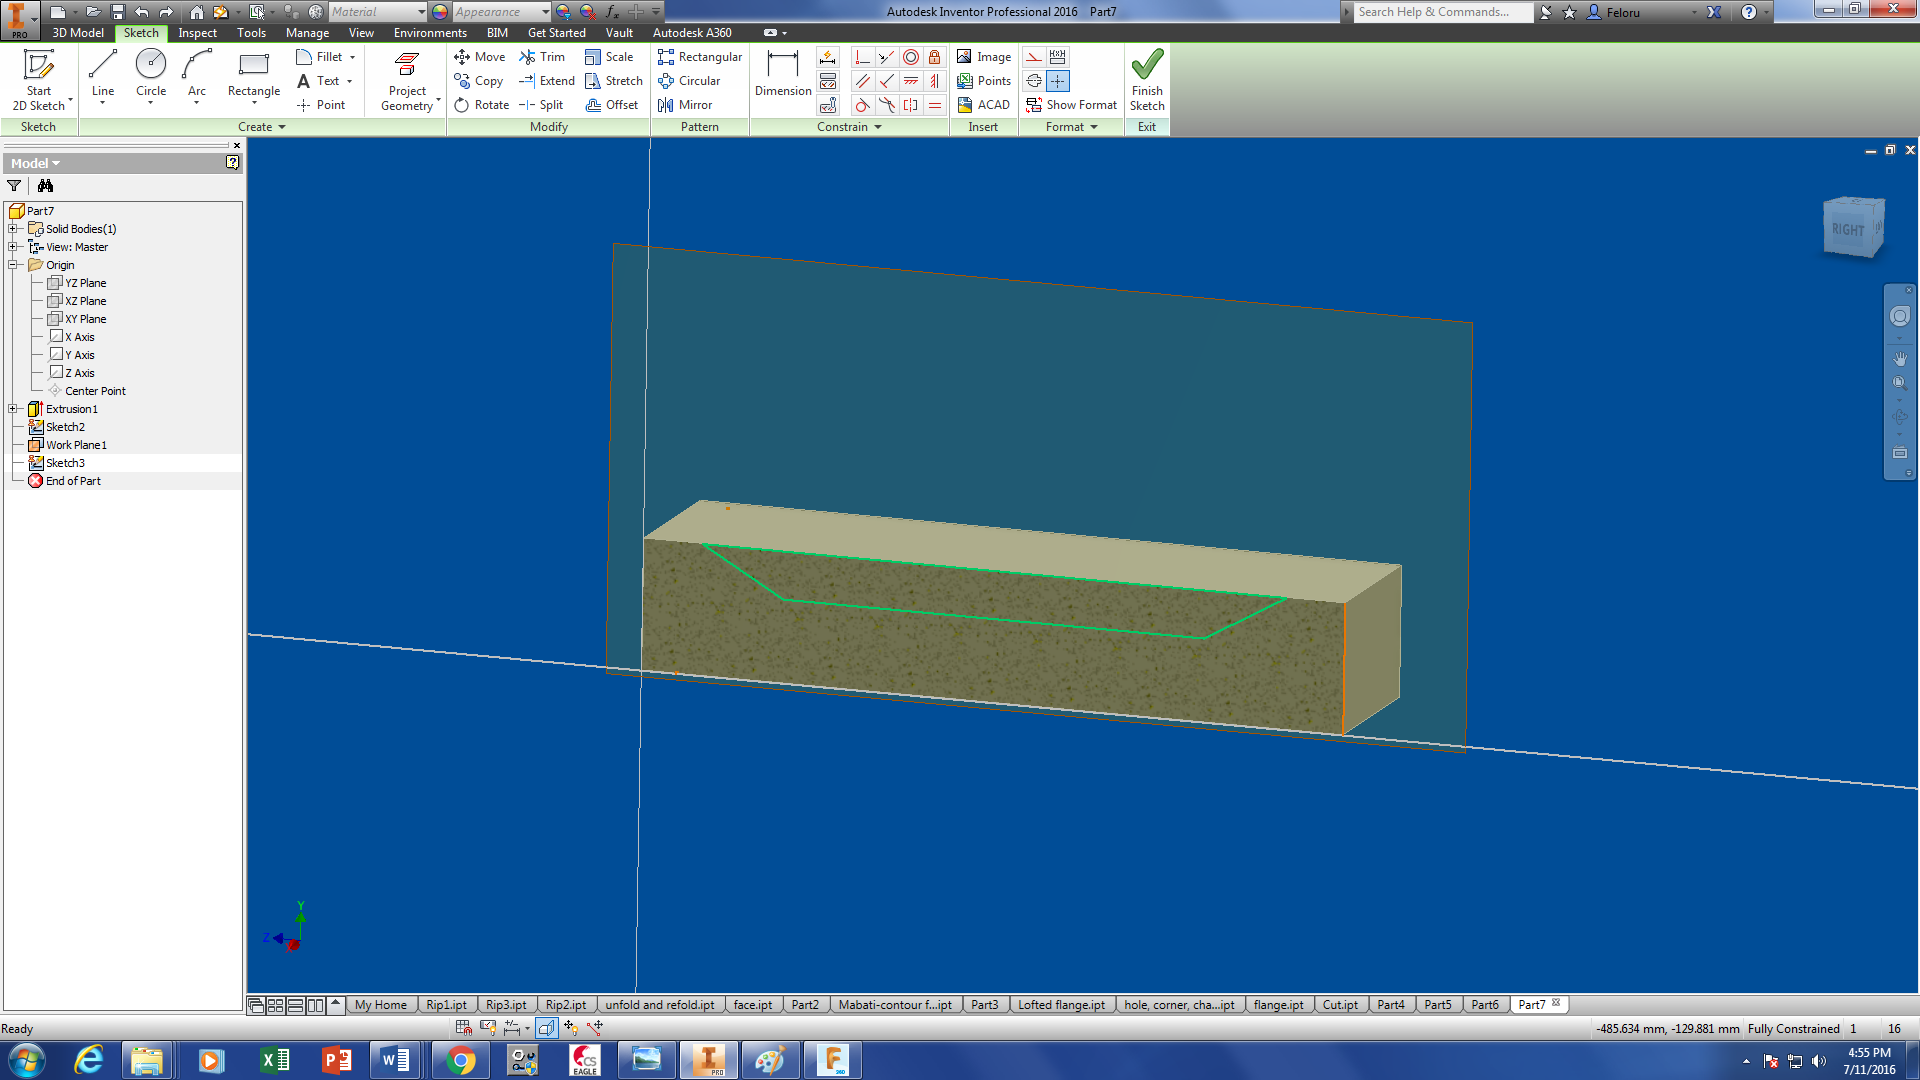
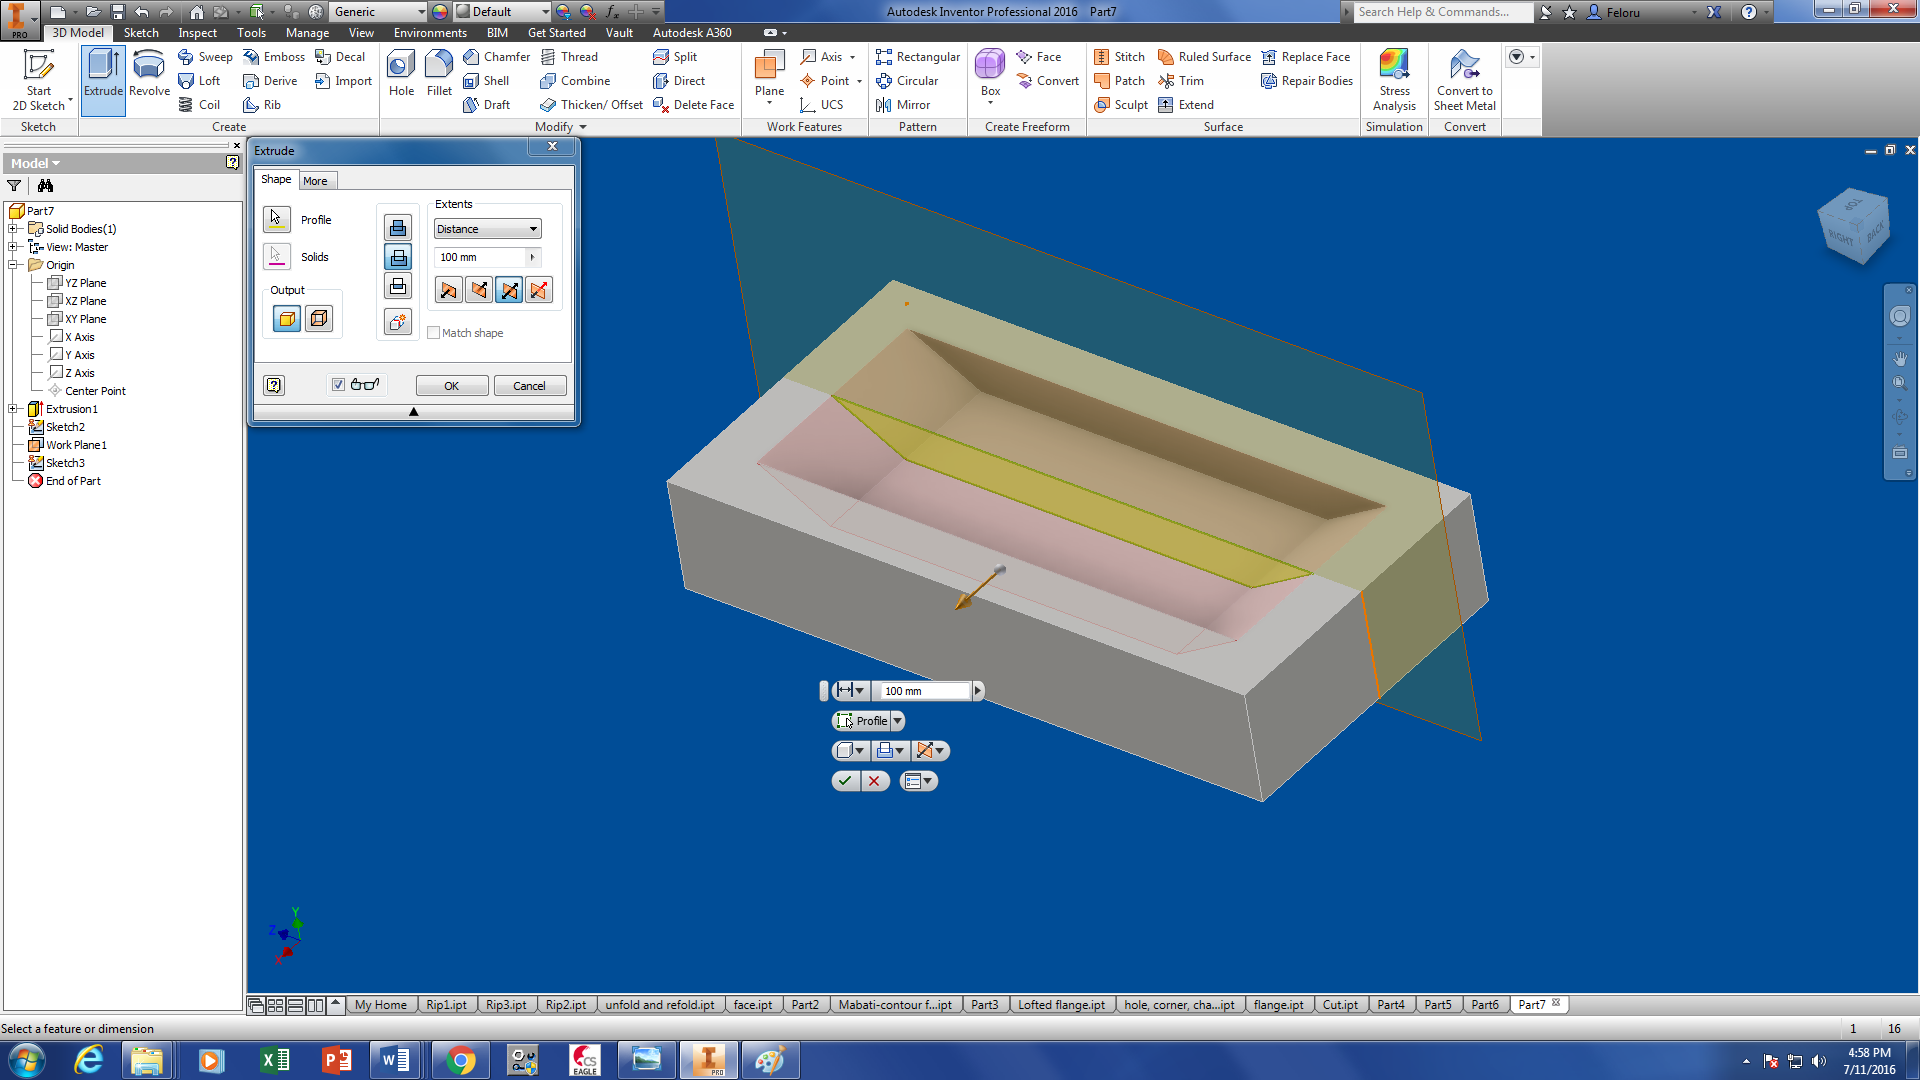
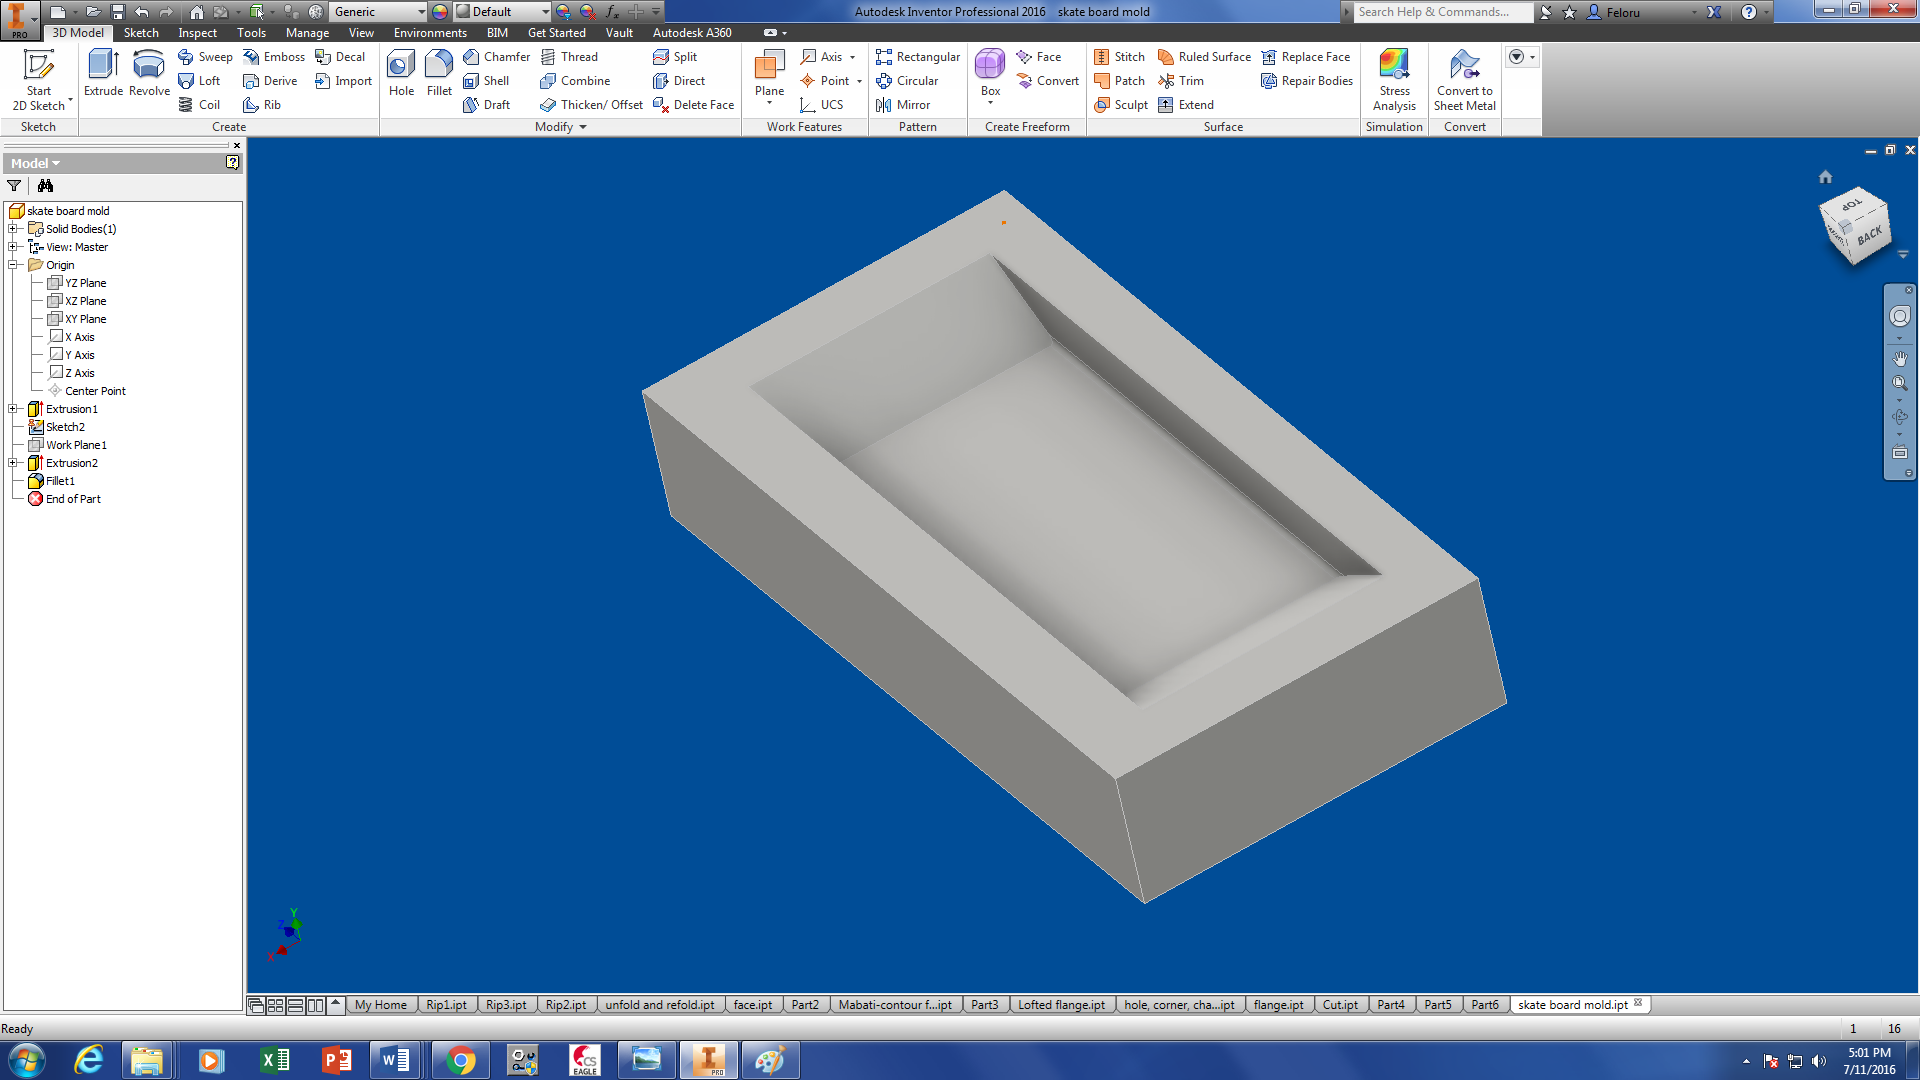
Using the Measurement of 250mm x 100mm x 20mm, I was able to design it so that it would fit in 300 x 155 x 55mm. Finally, this was my design in plan
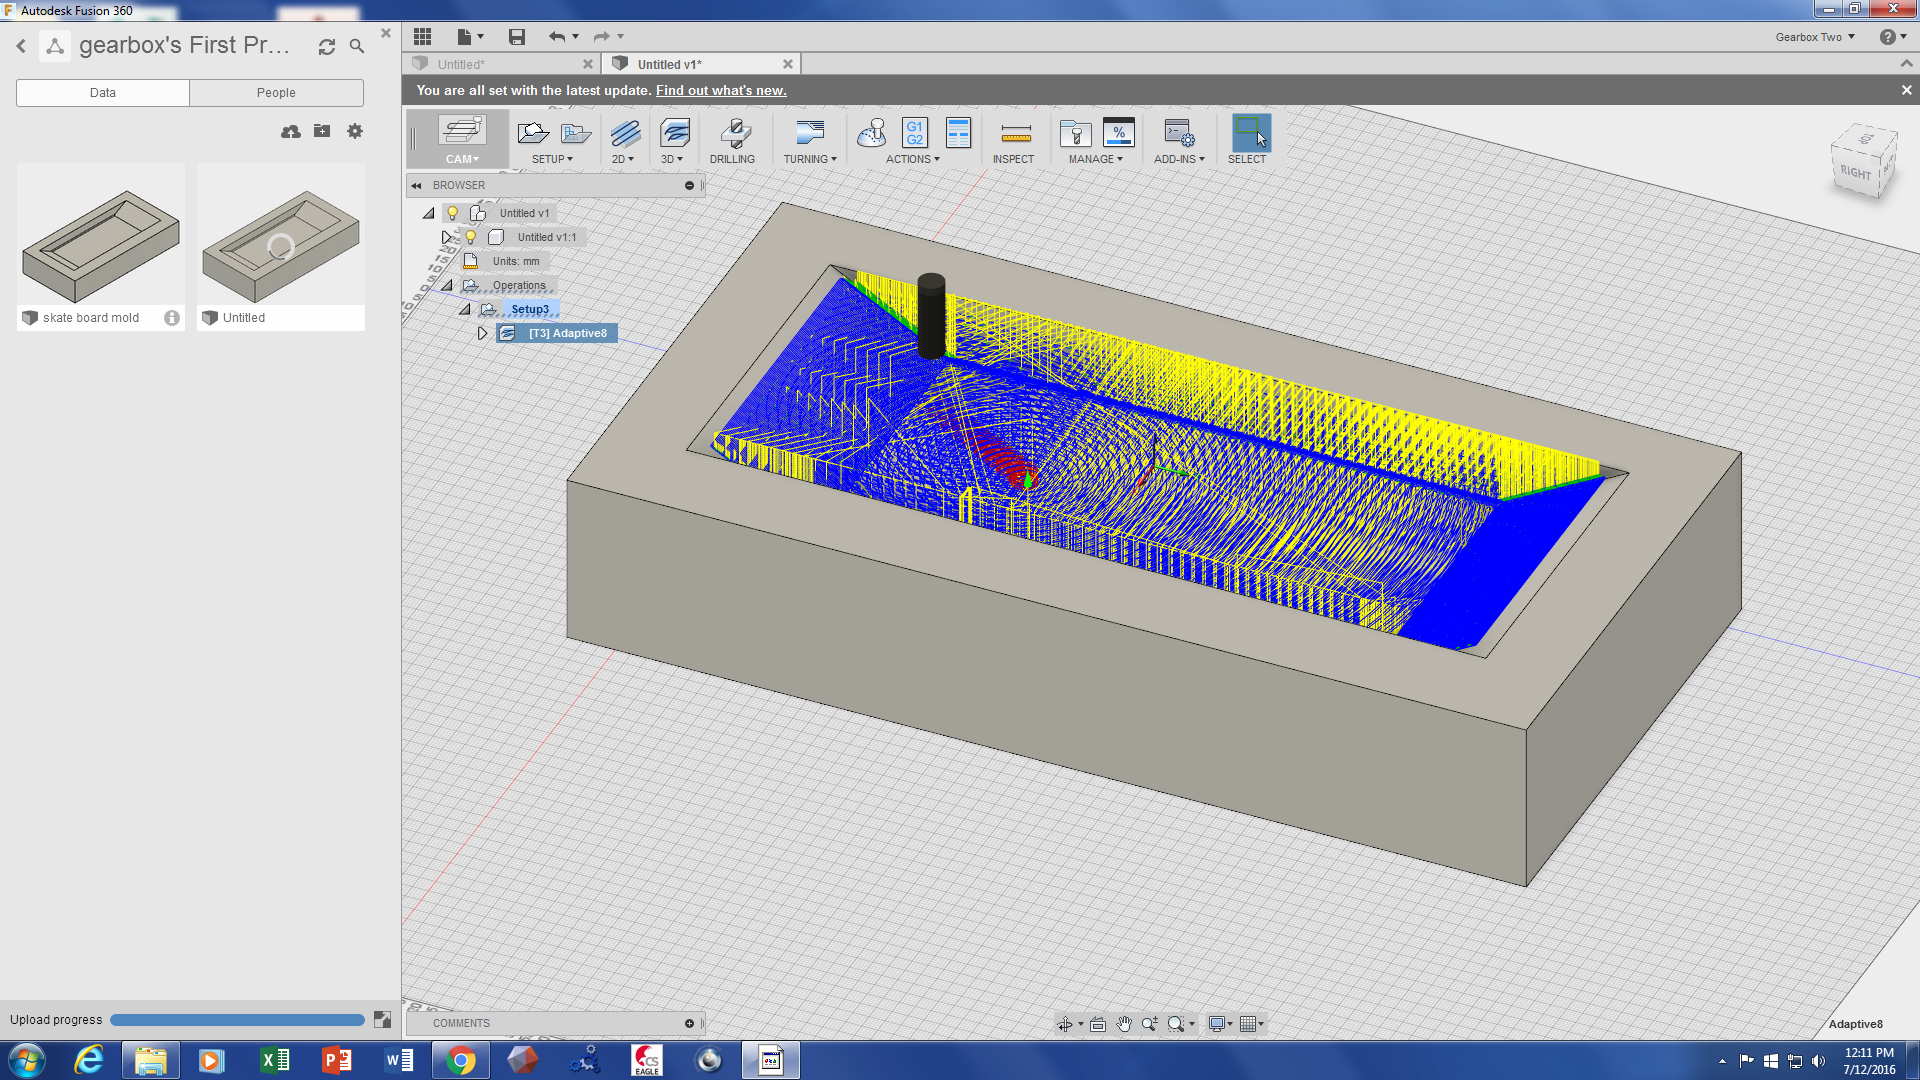
I was able to do simillation to see how my workpiece would be cut
Tomarch Milling
Take safety measures seriously while working with any machine. Make sure you wear eye protective glasses. Never wear loose hanging clothes for they can easily be trapped by the machine tool or any other part causing accident.
- Hold firm your workpiece on the bench to prevent any unwanted movement during operation
As earlier set in your software, select the correct tool and mount it. You can measure it just to confirm for accuracy reasons
Error
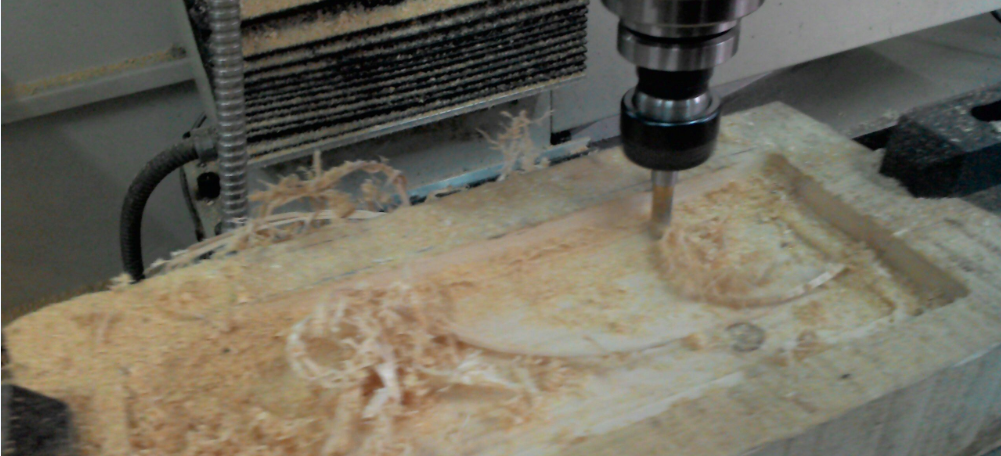
I could not avoid this . I didnt realize that when you generate paths using 2D settings in Inventor, the generated paths howwever assimilate will not be accepted as G-Code hence understood by the CNC machine. The effect of this error was grave as some important part could not be cut as planned. The slanting part was not smoothly done when I used the 3D mode to generate the paths. On simmillation, alot of material was left uncut and that's how I resorted to 2D. Now, instead of getting the slant part, I only got a right angle cut but since there was a long queue for using the CNC machine, I couldnt get a second chance to redore the work as wonted. For that reason, I decided to just go ahead and use the cutout to produce the composite

Composite
I had to read and learn afew things in order to understand better how to do composits. In refence to other pages, I got to learn alot and got how to lay the fibres
Material
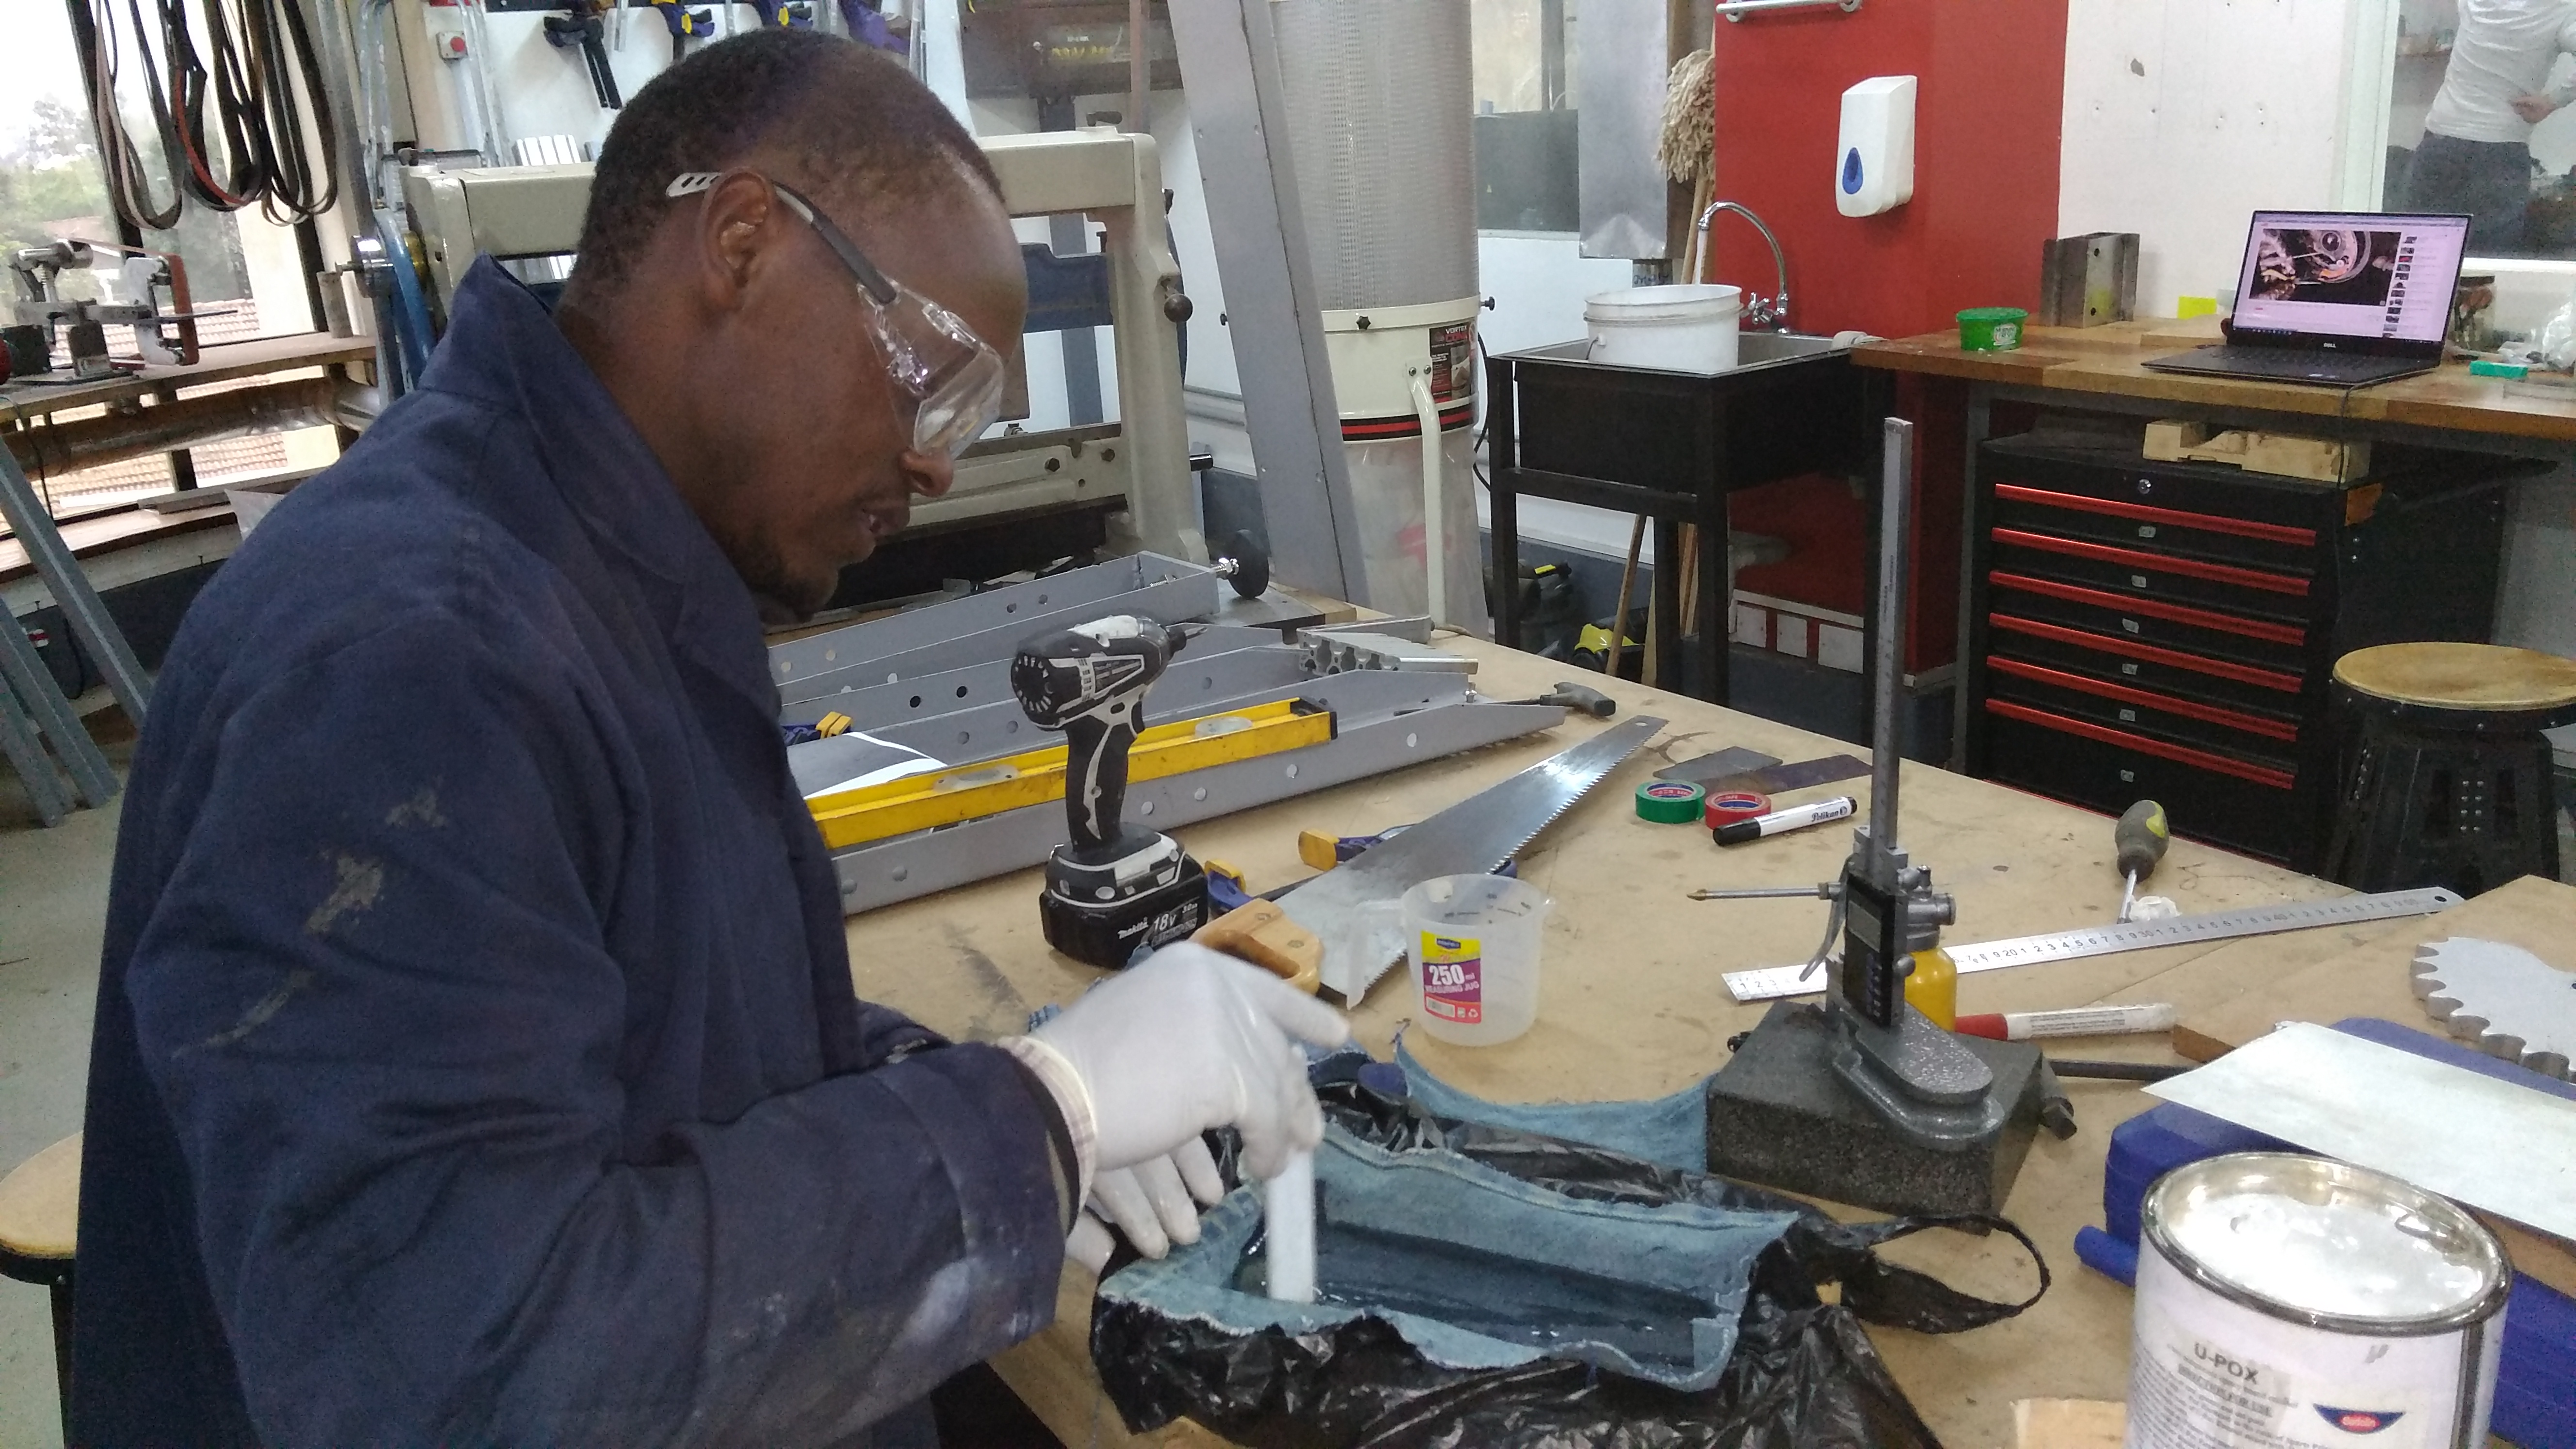
- - Mold (for my case the milled wood
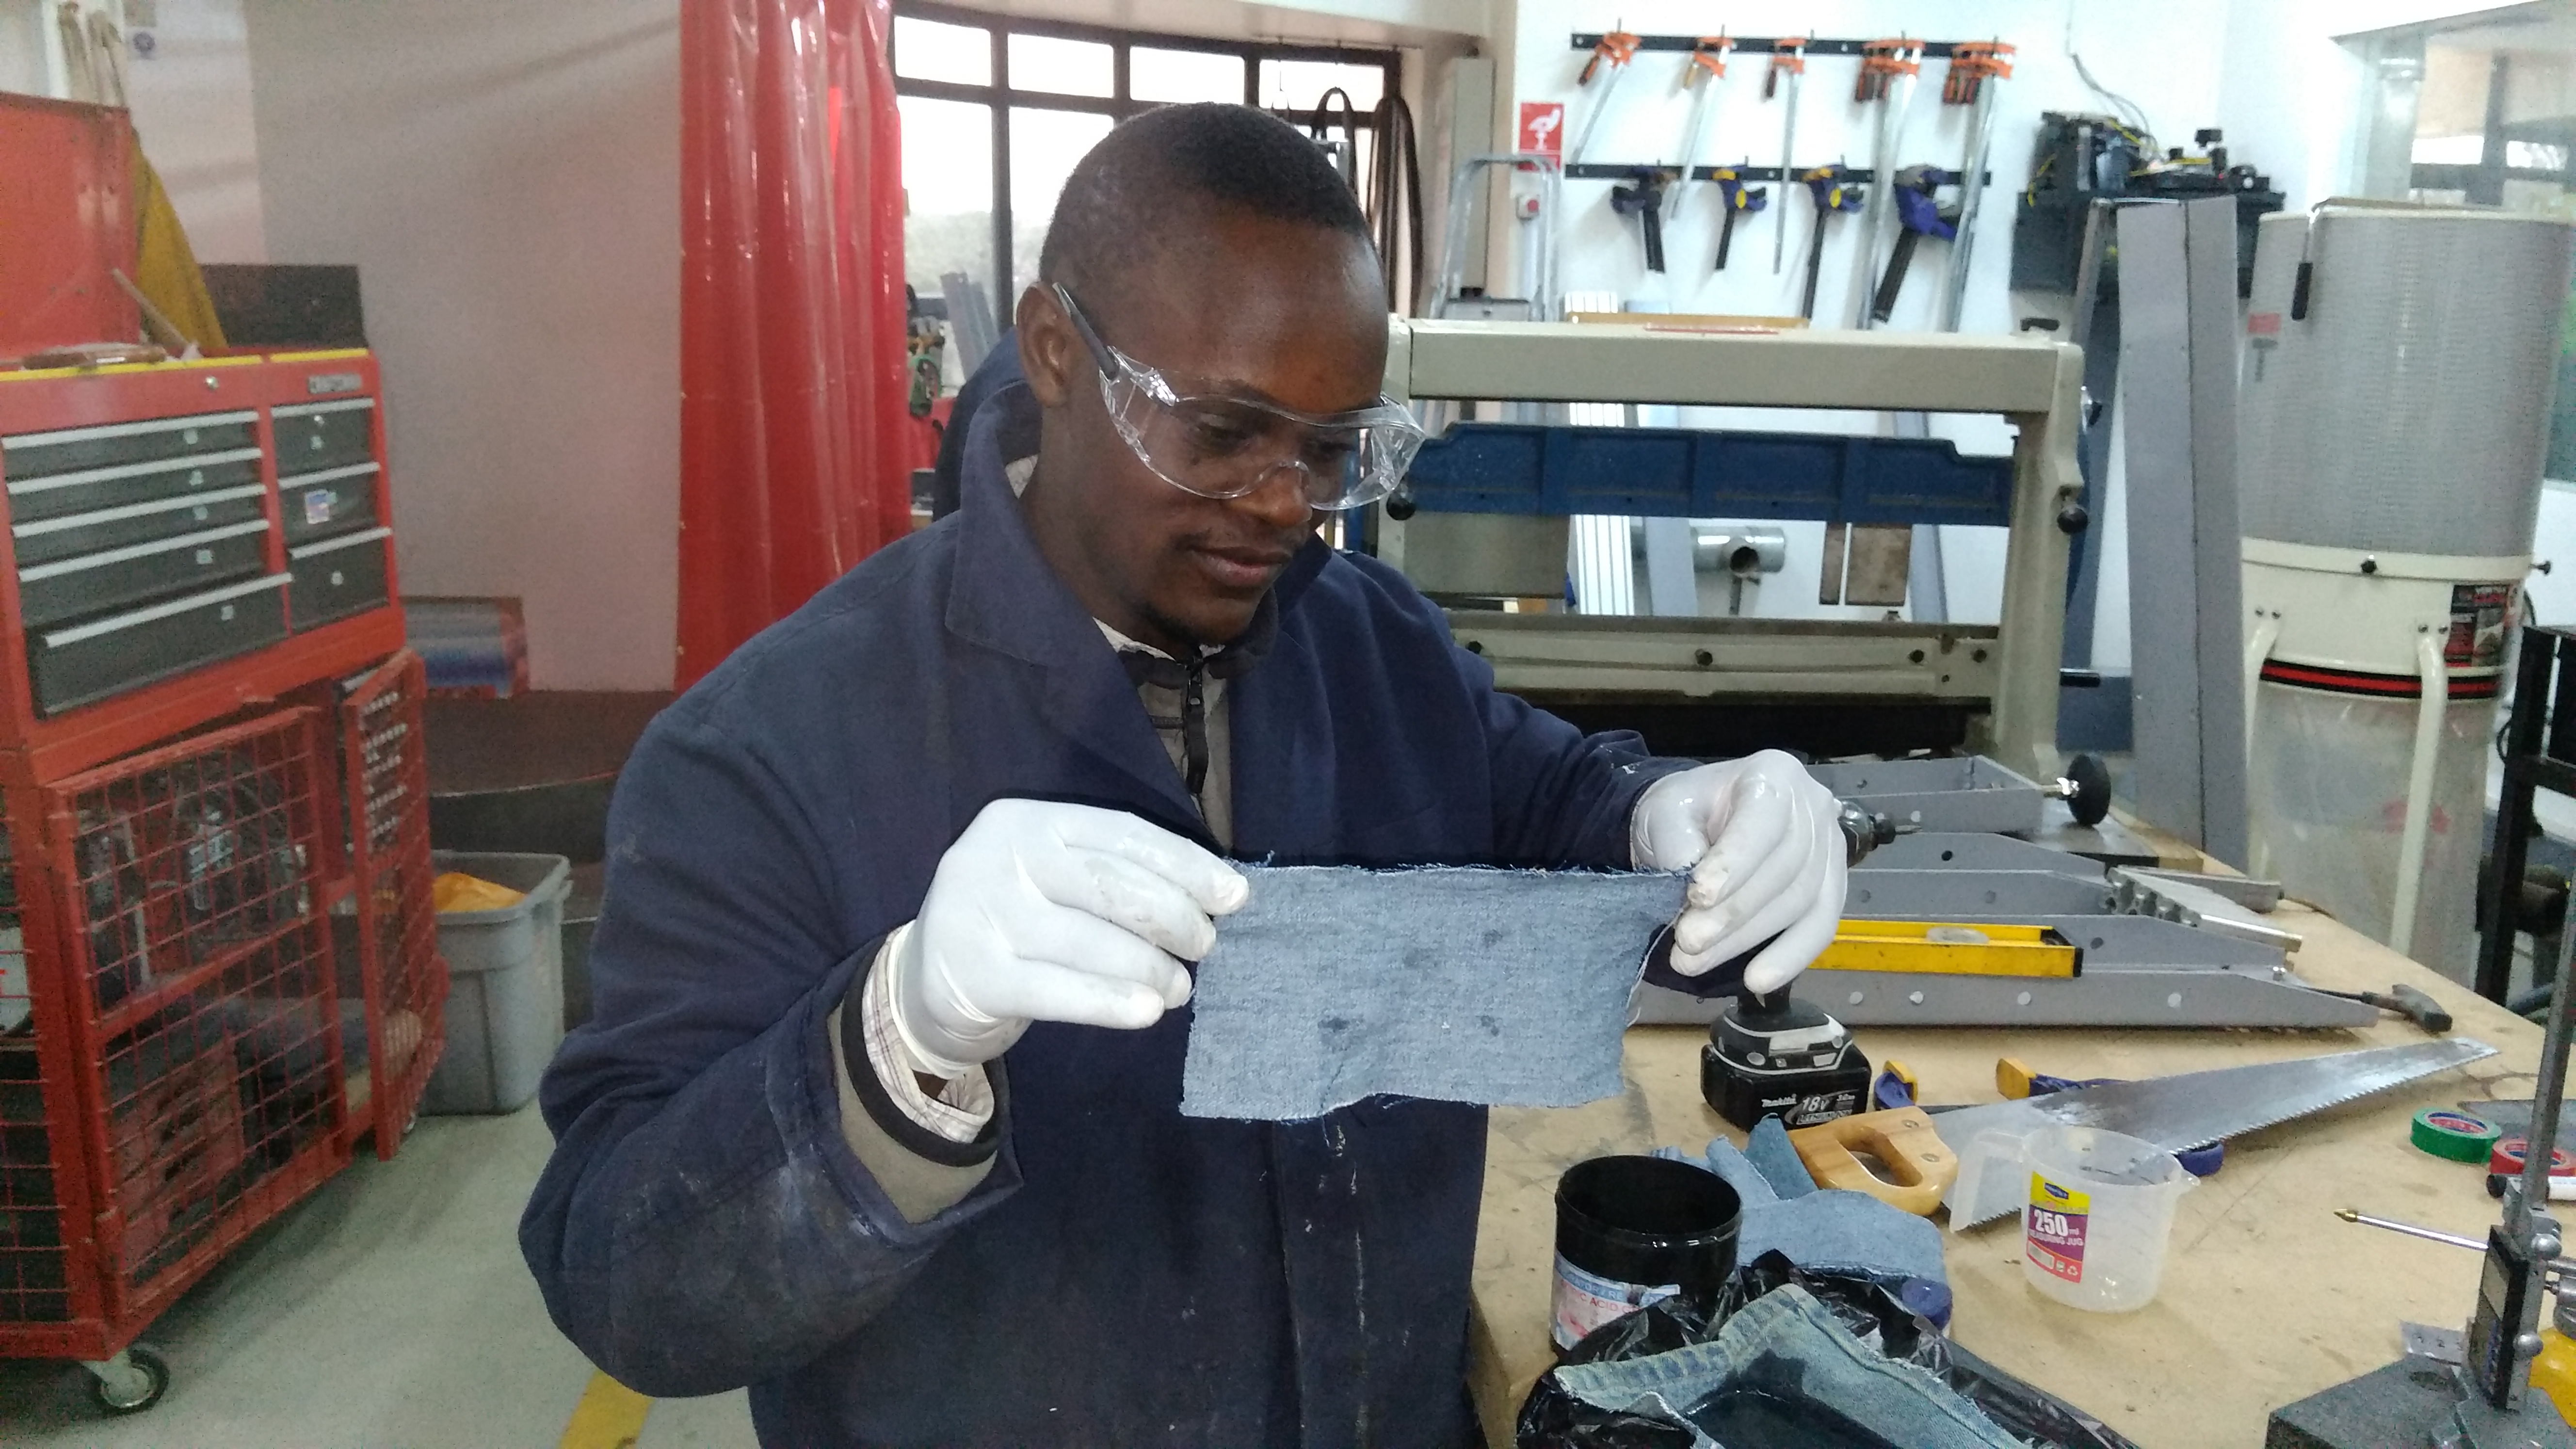
- - Fabric (I used jeans pieces of cloth)
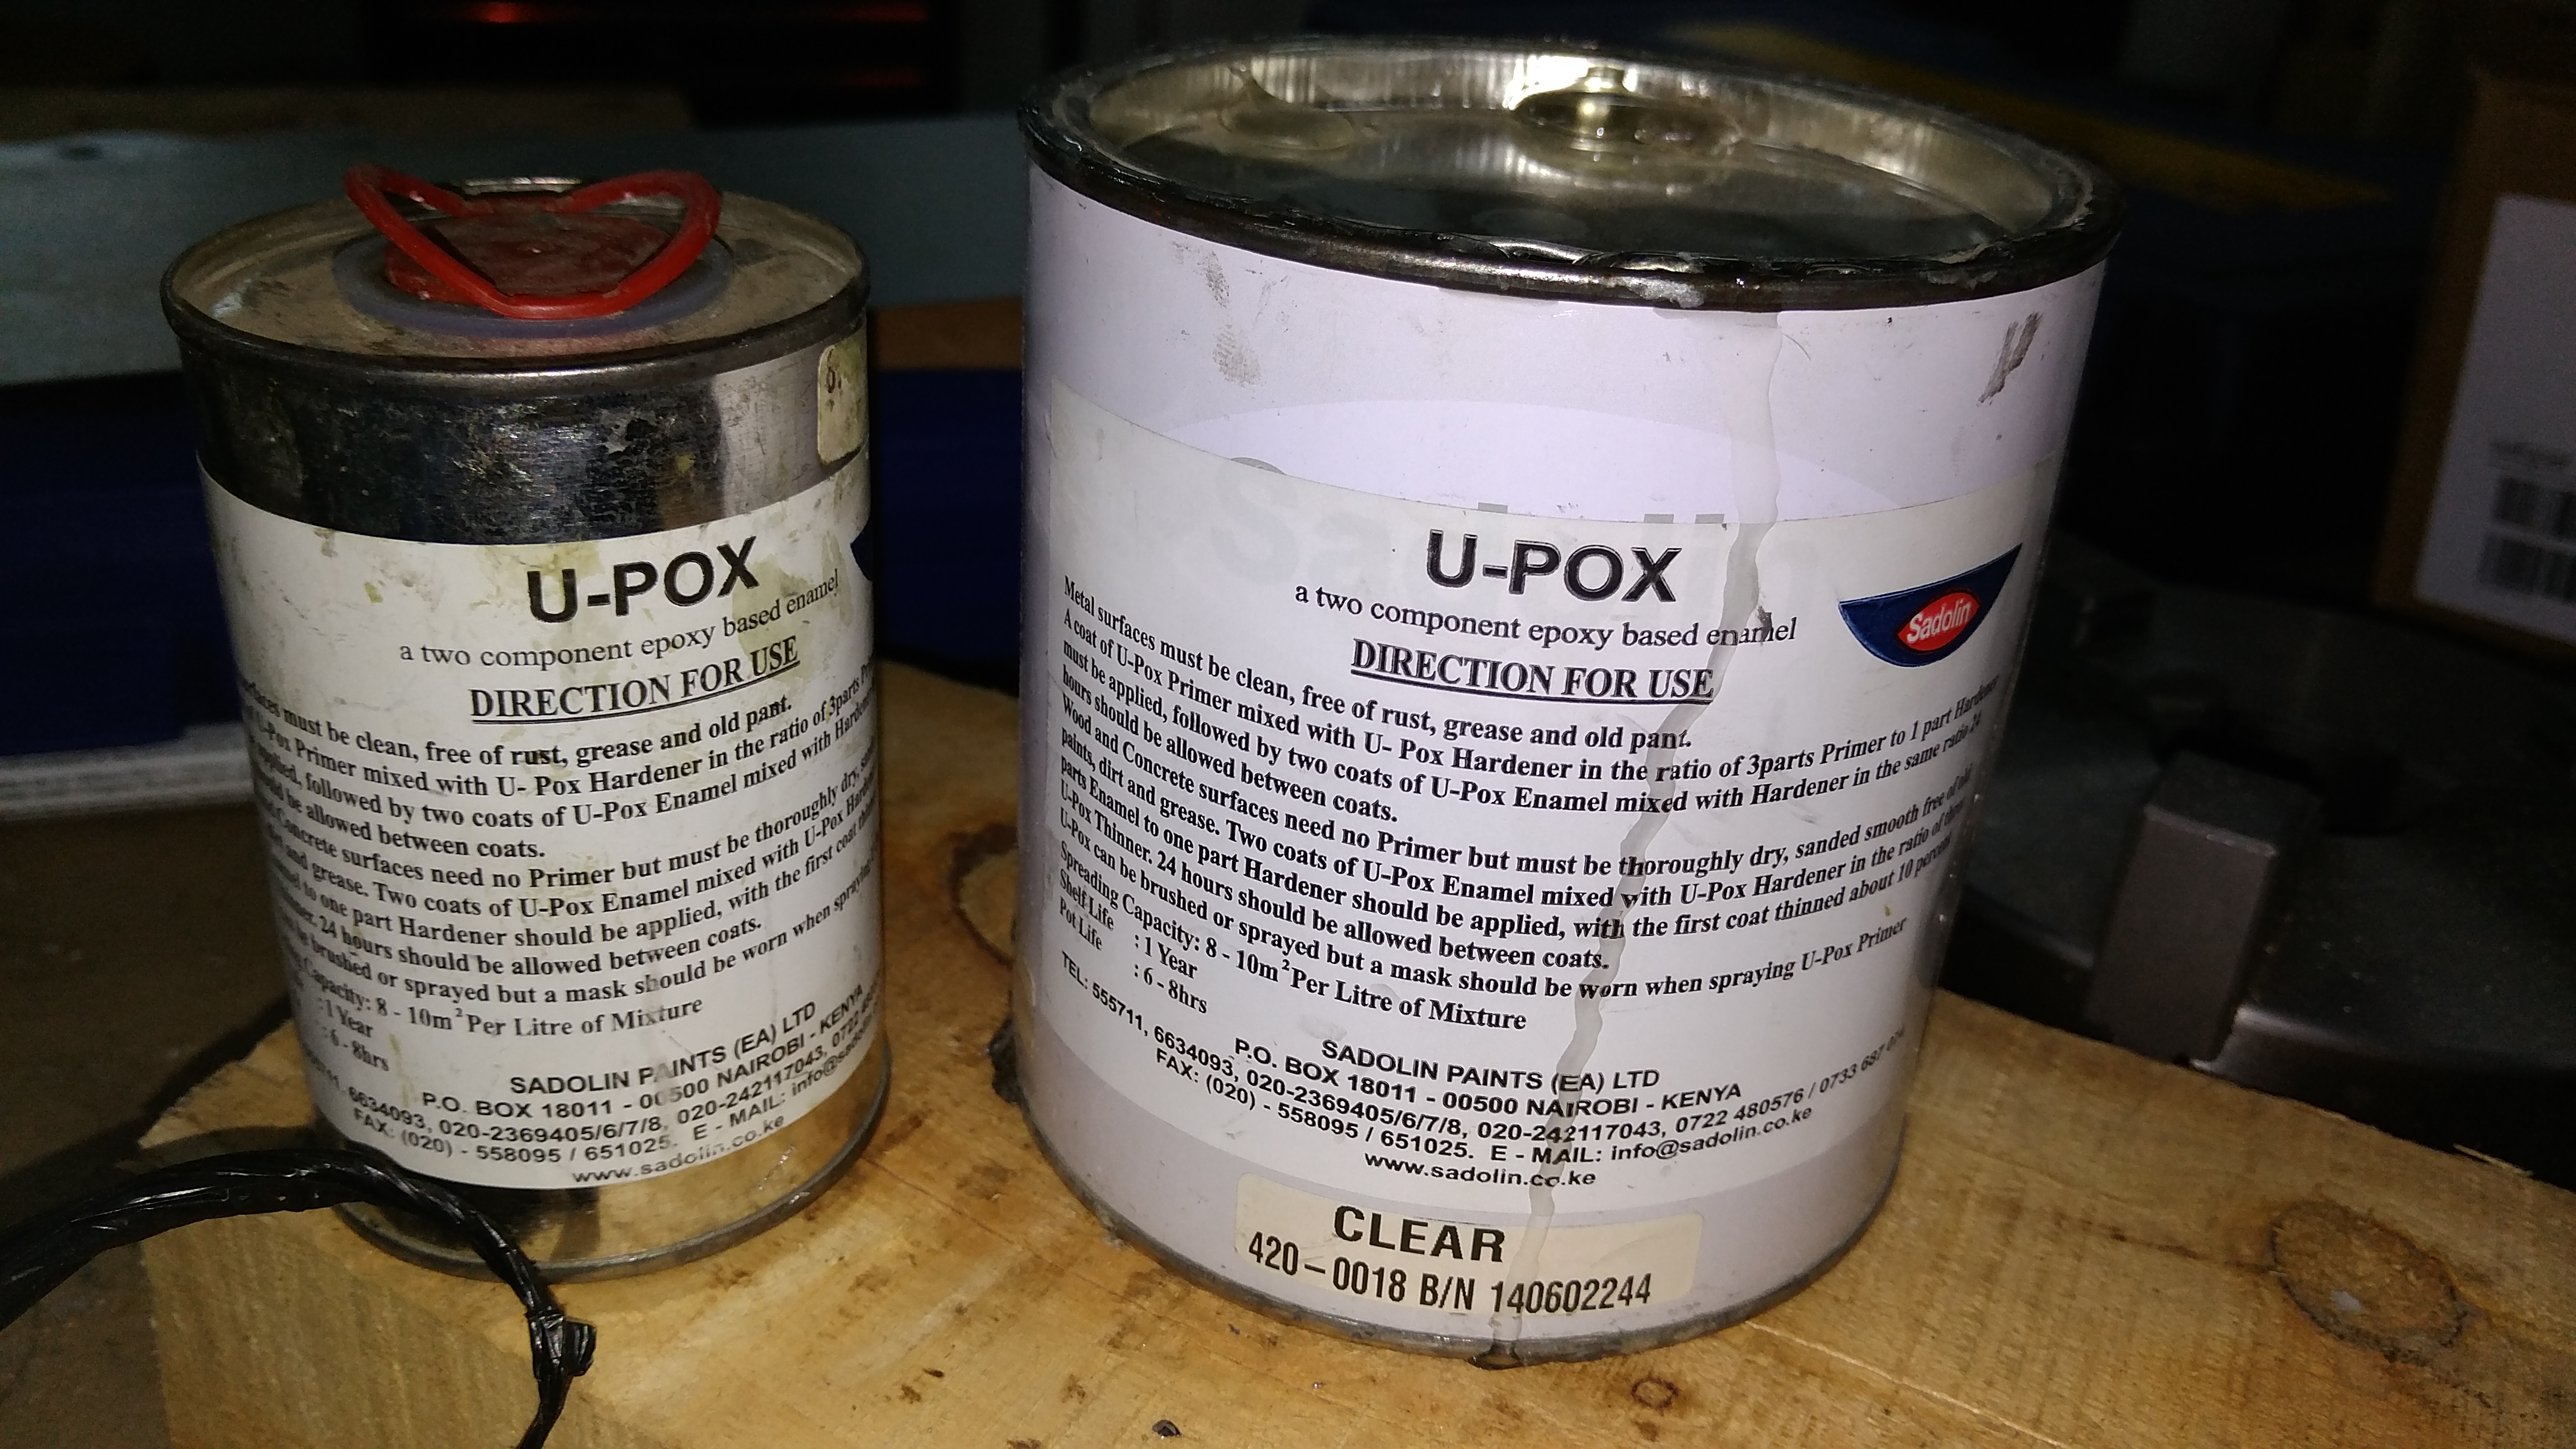
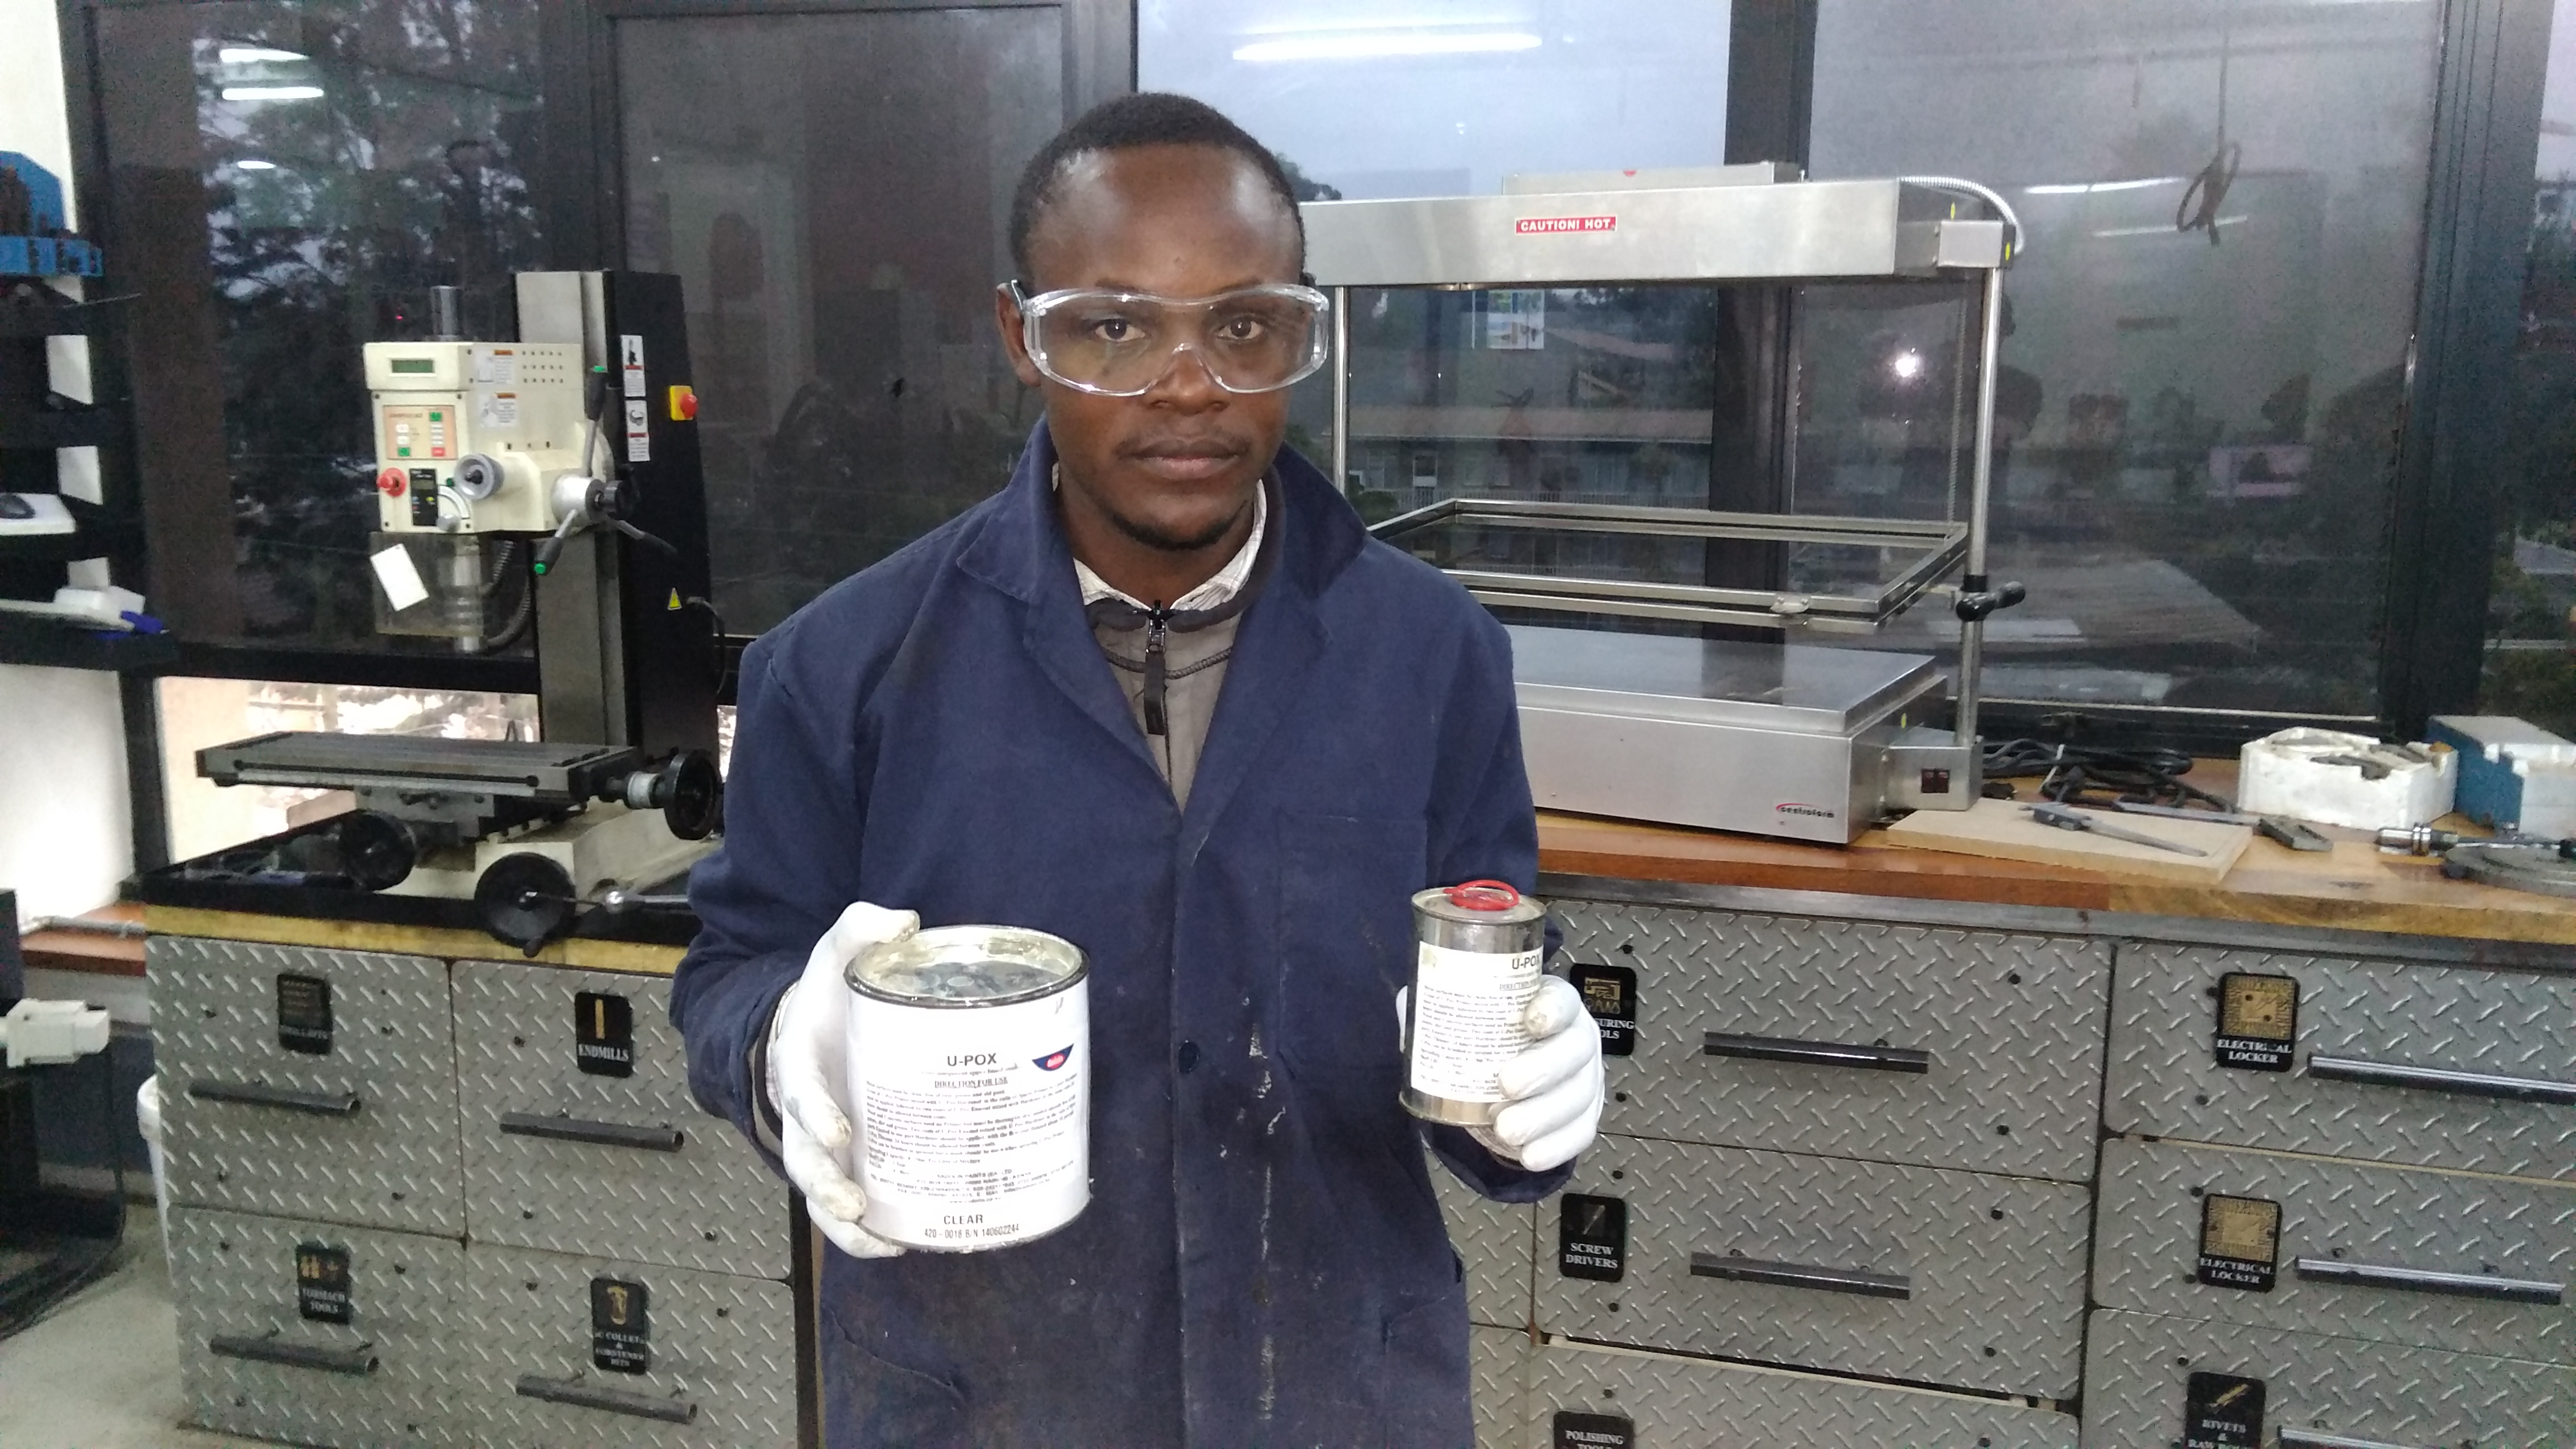
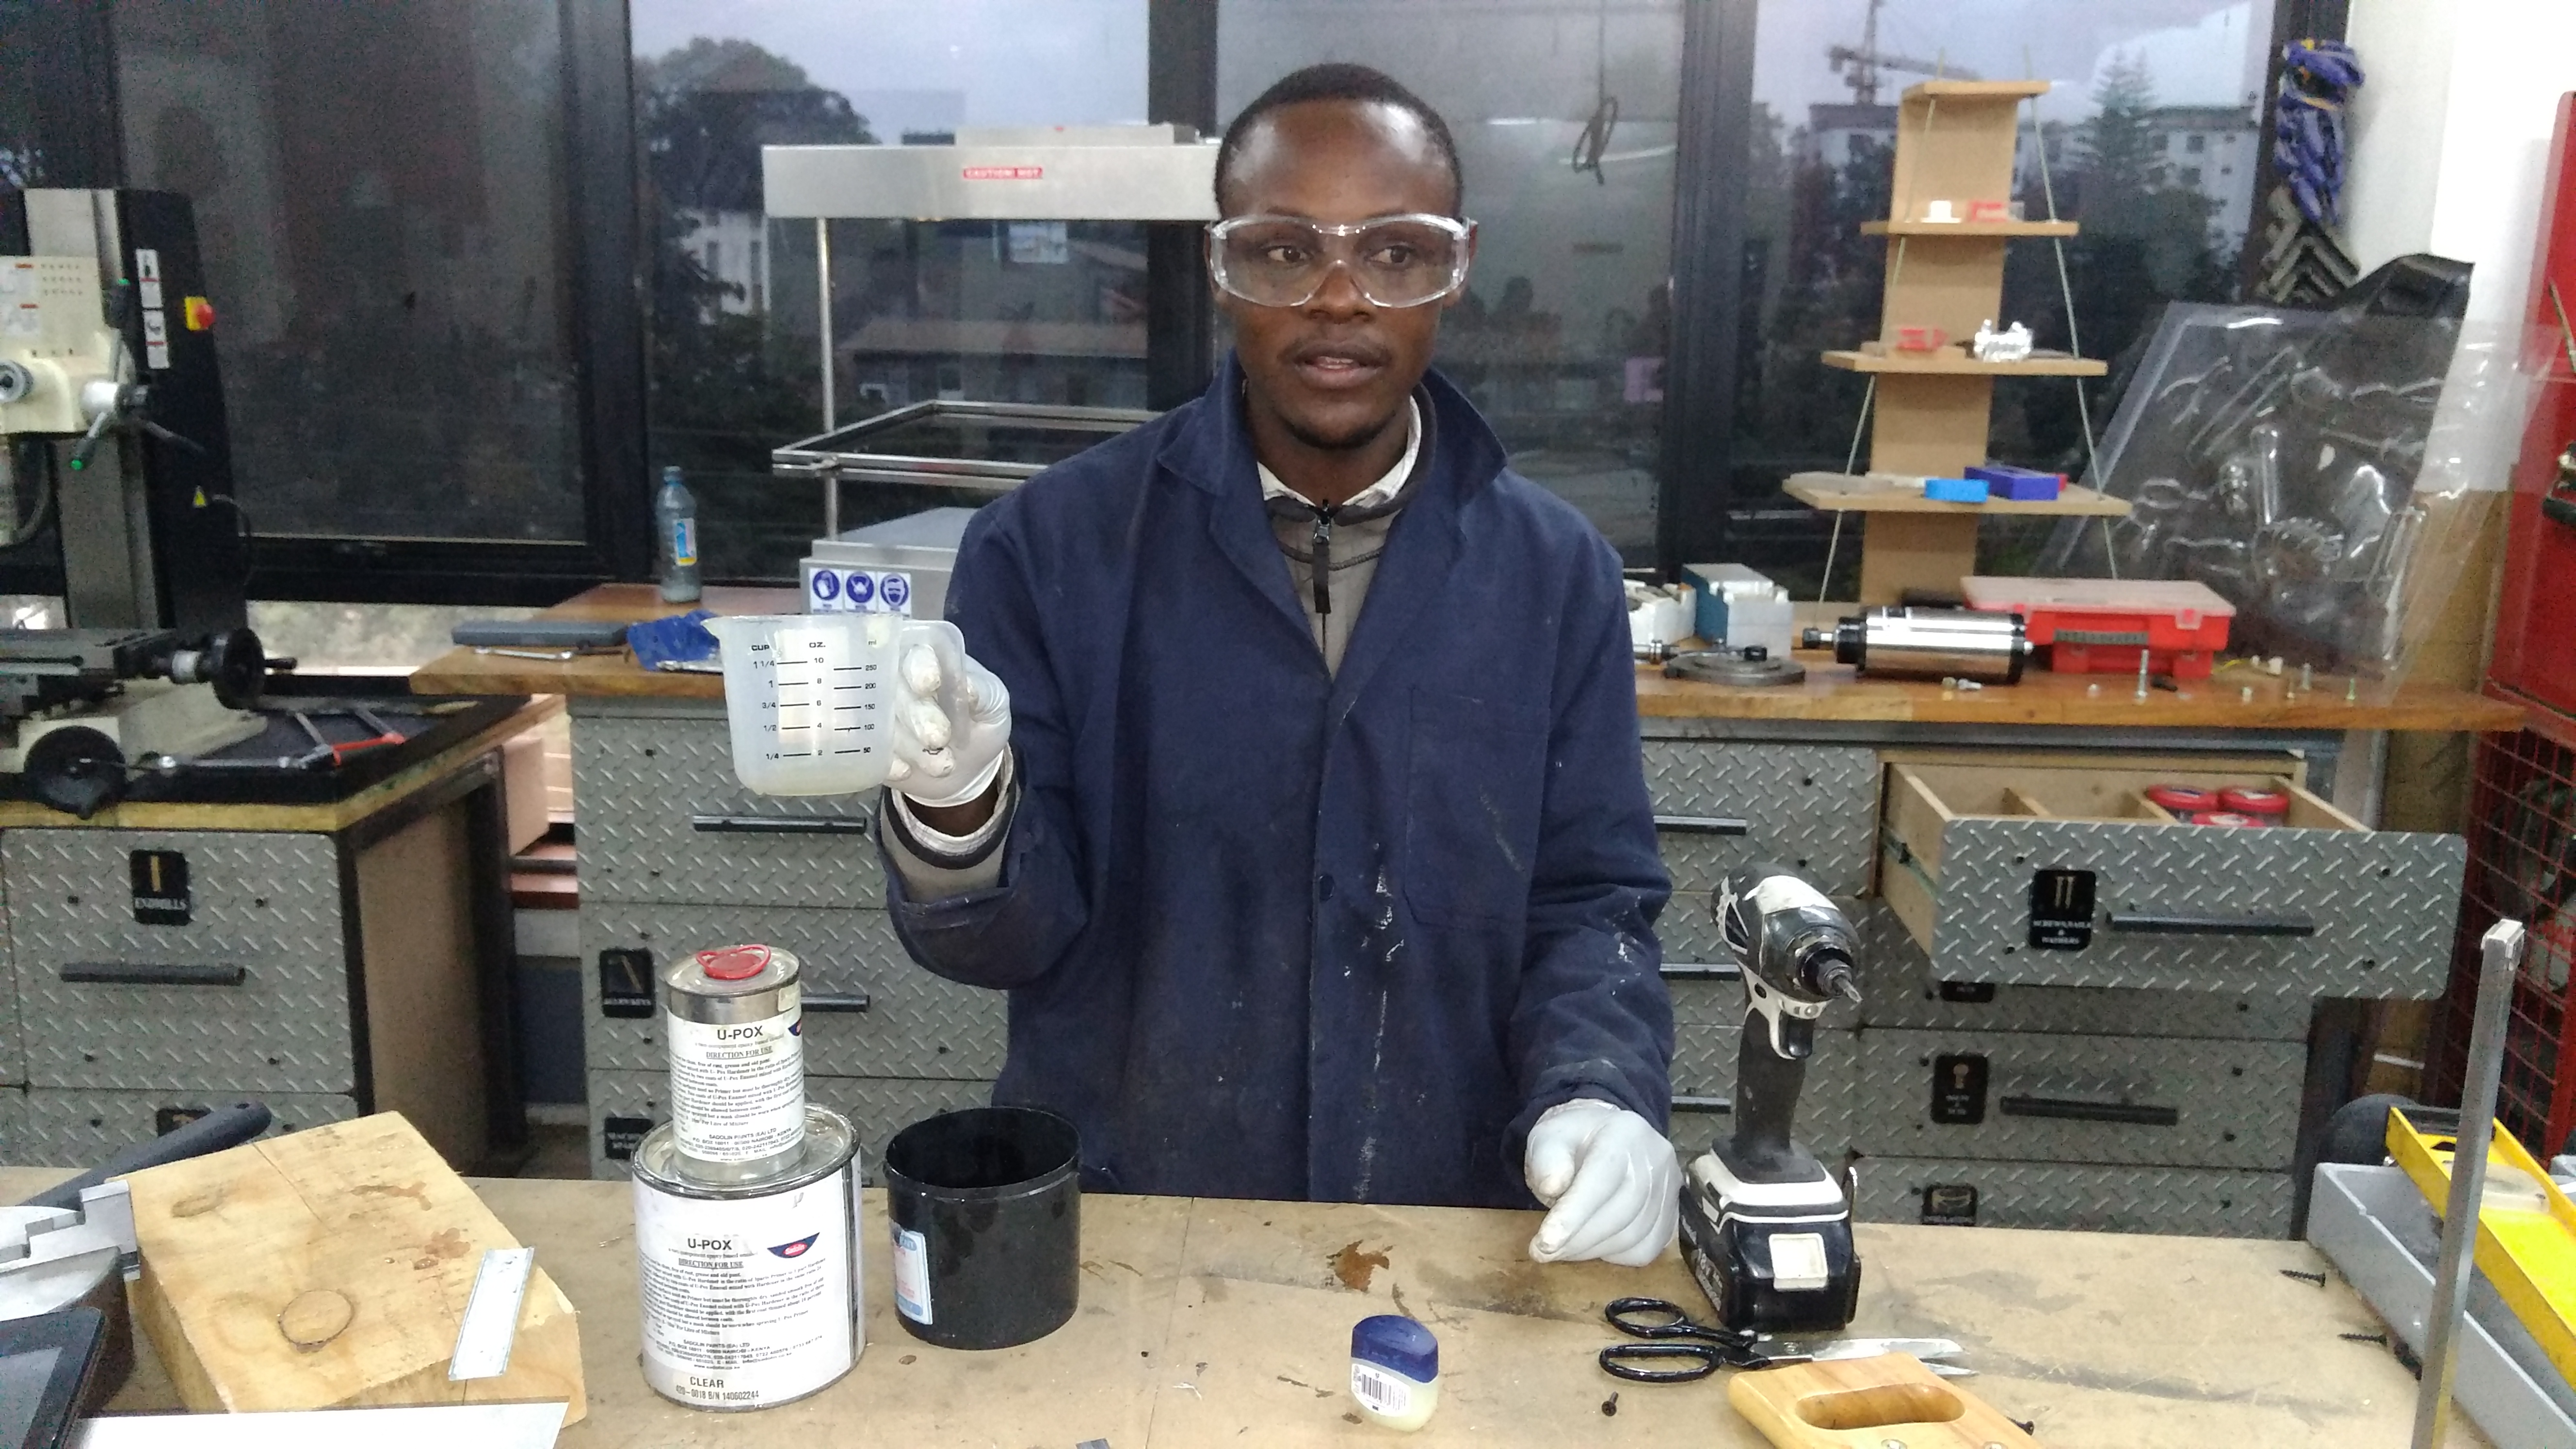
- - Epoxy + Hardener
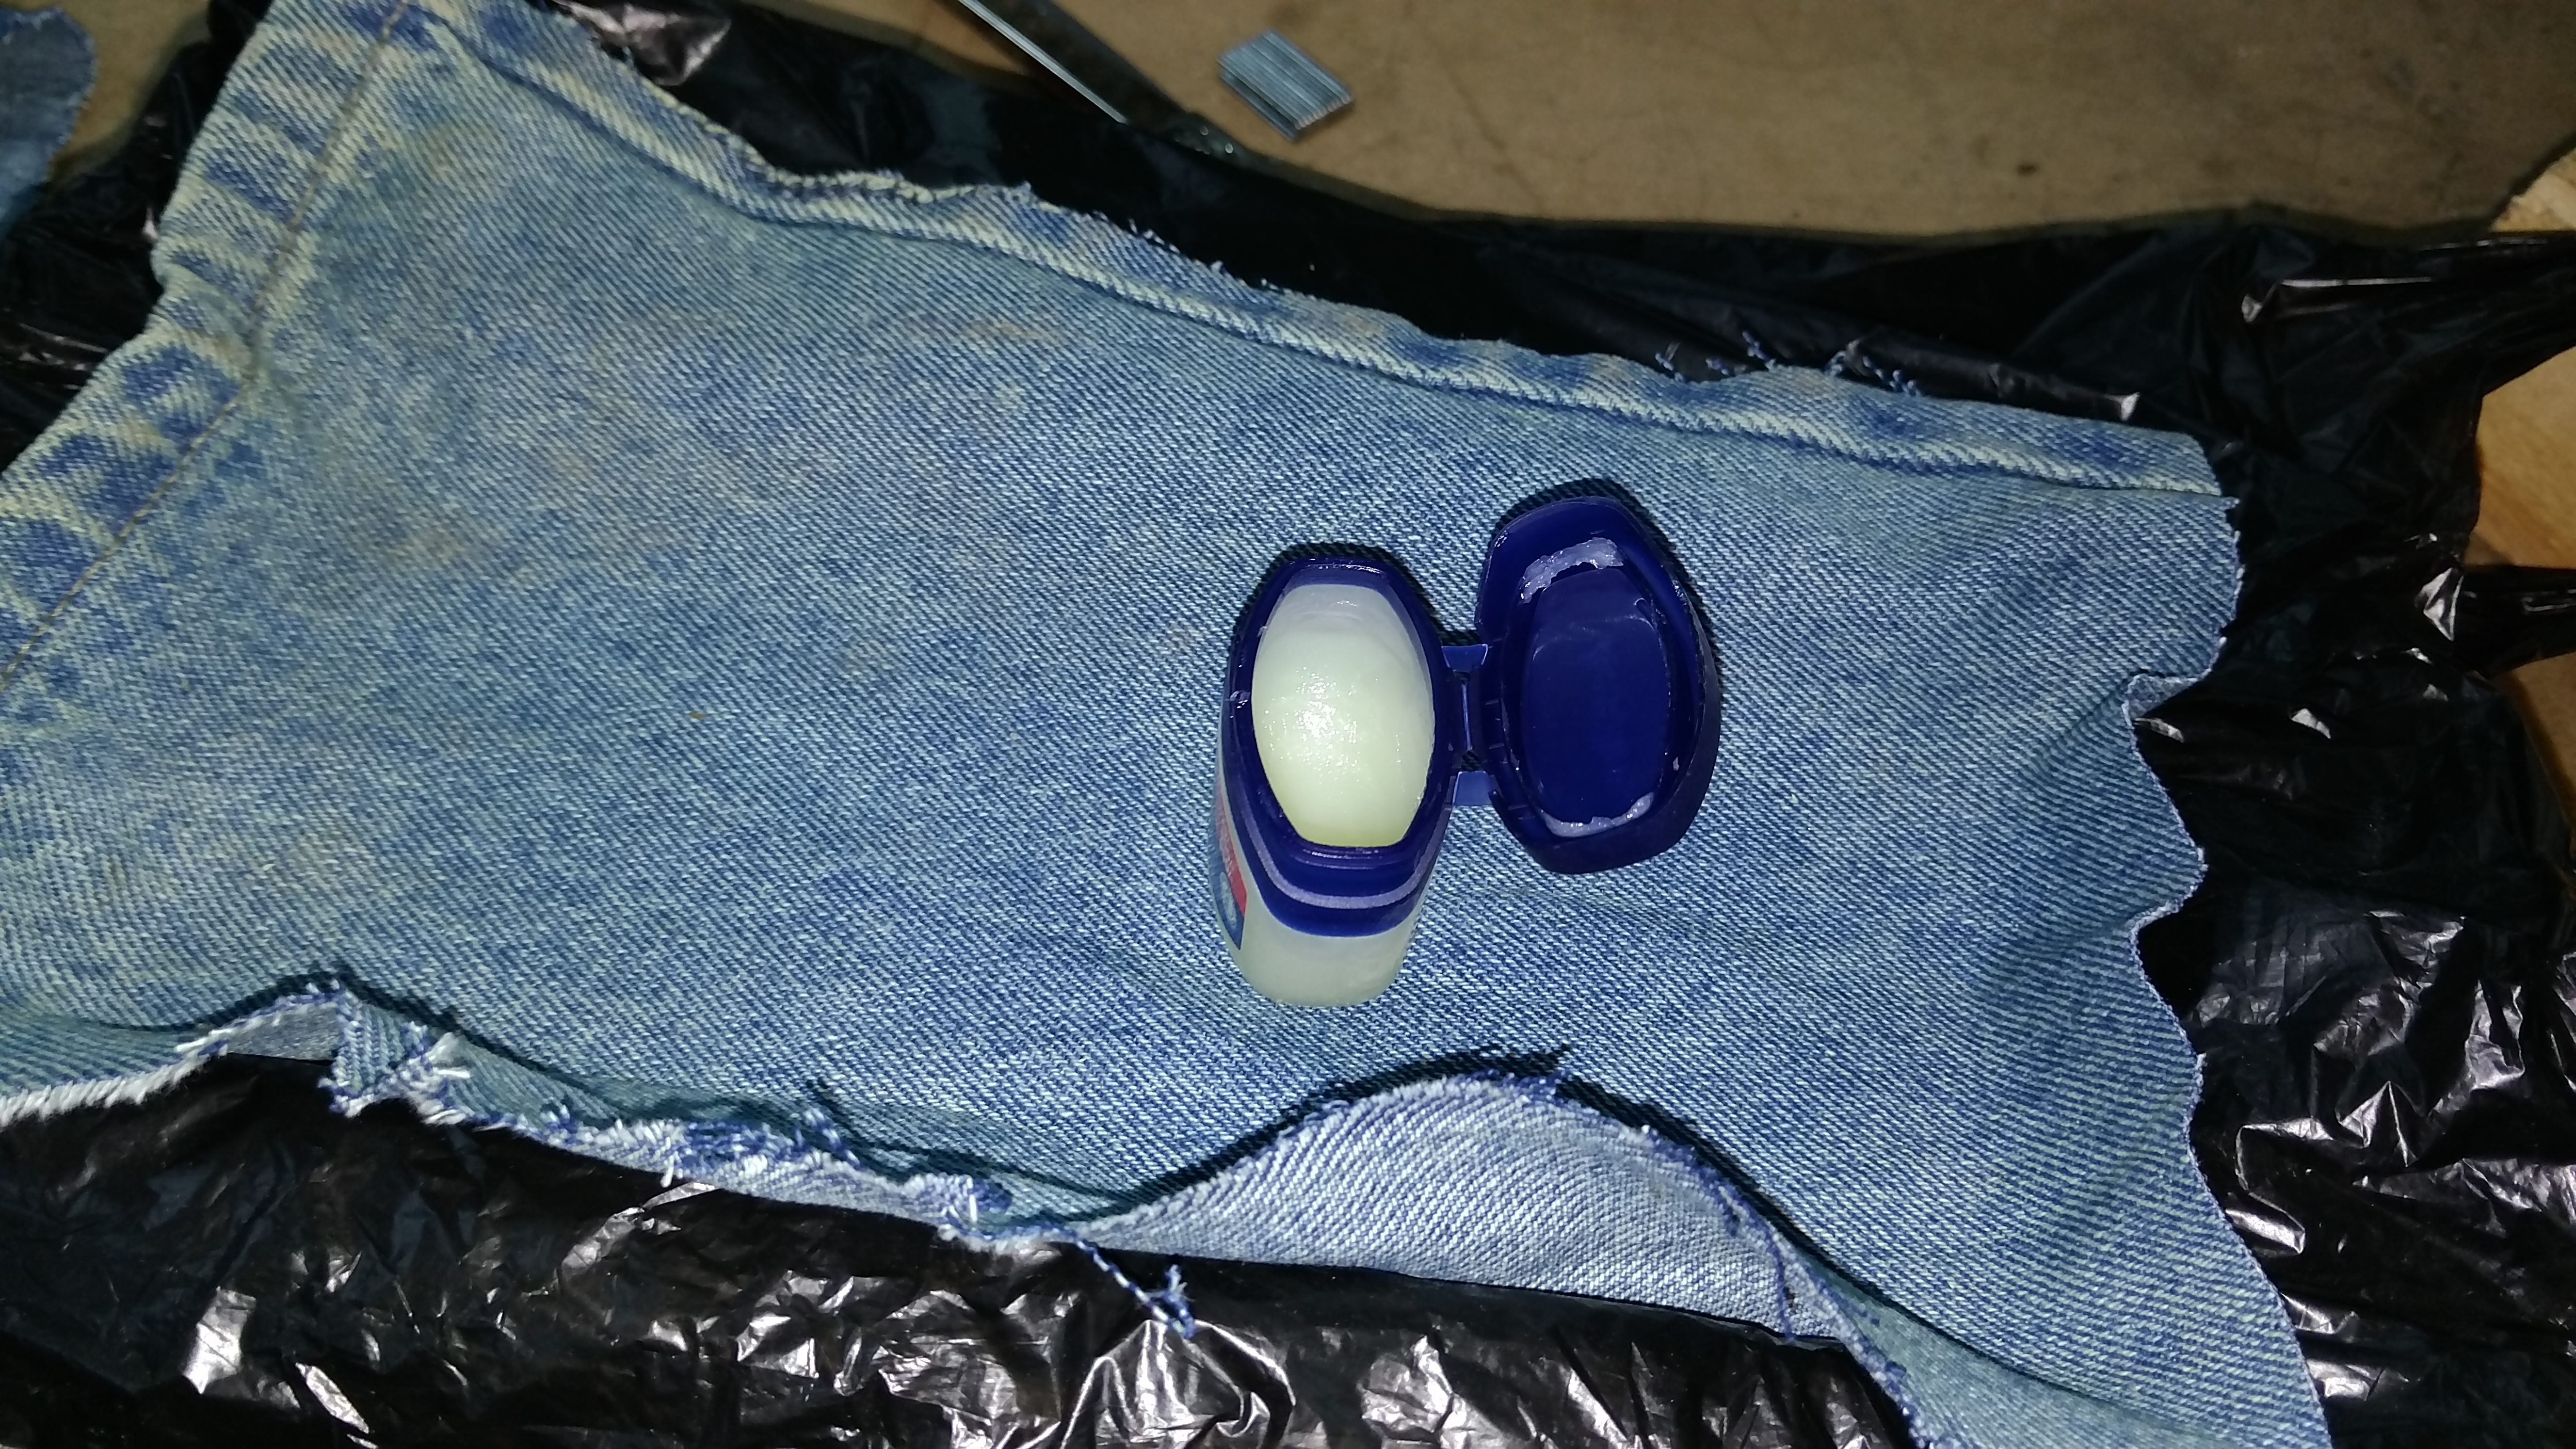
- - Vaseline
- - Polythene paper
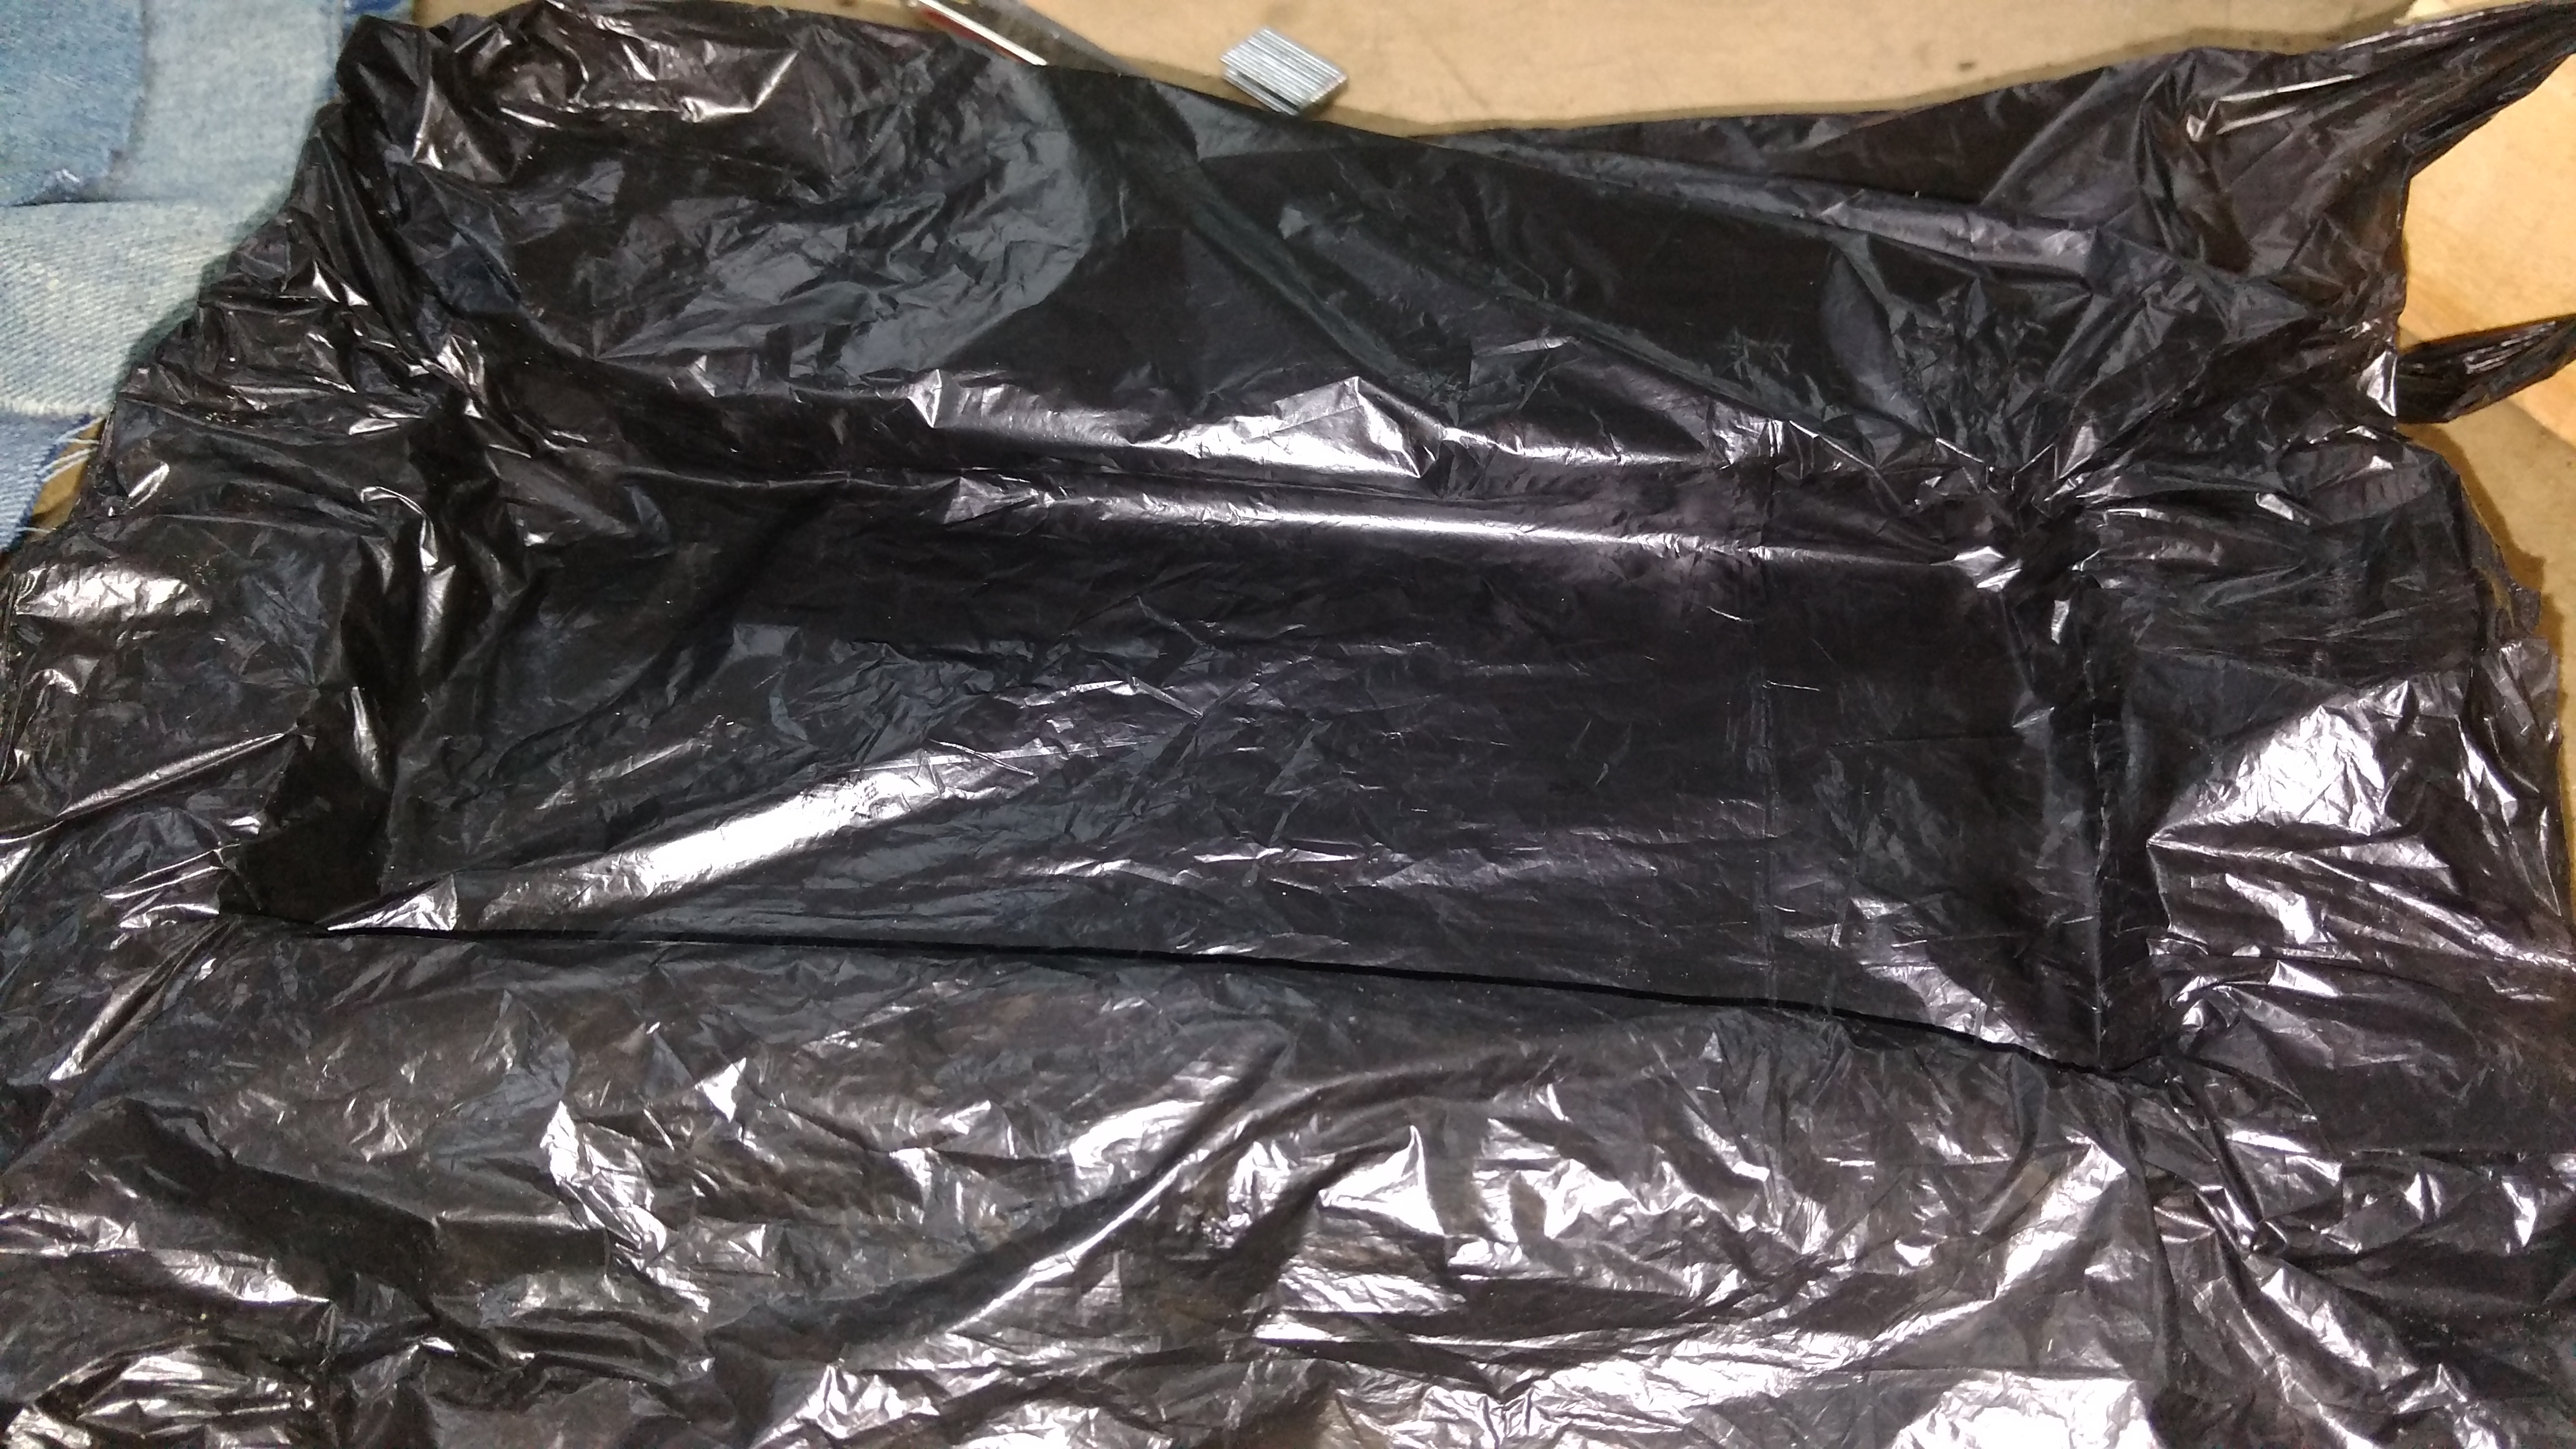
I opted to use old jeans cloth due to availability and the fact that laying it is much easier. The polythene paper and the vaseline were aiding in separation from the mold.
Preparation
- - Lay properly in/on the mold the polythene paper
- - Apply a thin layer of vaseline evenly on the layed polethene
- - Cut into right sizes the fabribs you want to use
- - Use a graduated measuring jar to measure different parts of the mixture
Procedure
- - Using a clean container, mix 3parts of Epoxy and 1 part of hardener
- - Stir well the mixture
- - Now, start by laying the first fabric, then apply a thin layer of the mixture on the top
- - Repeat this process until you achieve the thickness you desired
Curing
Ass directed by the Manufacturer's instruction, I used the ratio of 3:1 but maybe due to the thick layer of about 1.5mm thickness of the layer I used, the drying period which was indicated as 6-8 hours did not work. My composit sat for 24 hours but was notyet hardened. I tried to use a hand blow dry to try make it dry faster but the result was not encouraging at all.
Final Result
By the time I was doing this update, my composite had not hardened the way I expected it to do.More than 30 hours were gone but the the composite was hardly dry