2016
Computer Controlled Machining Mar 9. 2016
This weeks task was to design and cut something BIG. Since we still have our router under construction, we need to postpone the cutting part until later date.
I decided to reproduce the table that I did in Press Fit assignment and CNC it from 12 mm plywood. I also redesigned it with Autodesk Inventor and use HSMxpress cam processor to make the necessary g-code for routing.
Here is how I did the design:
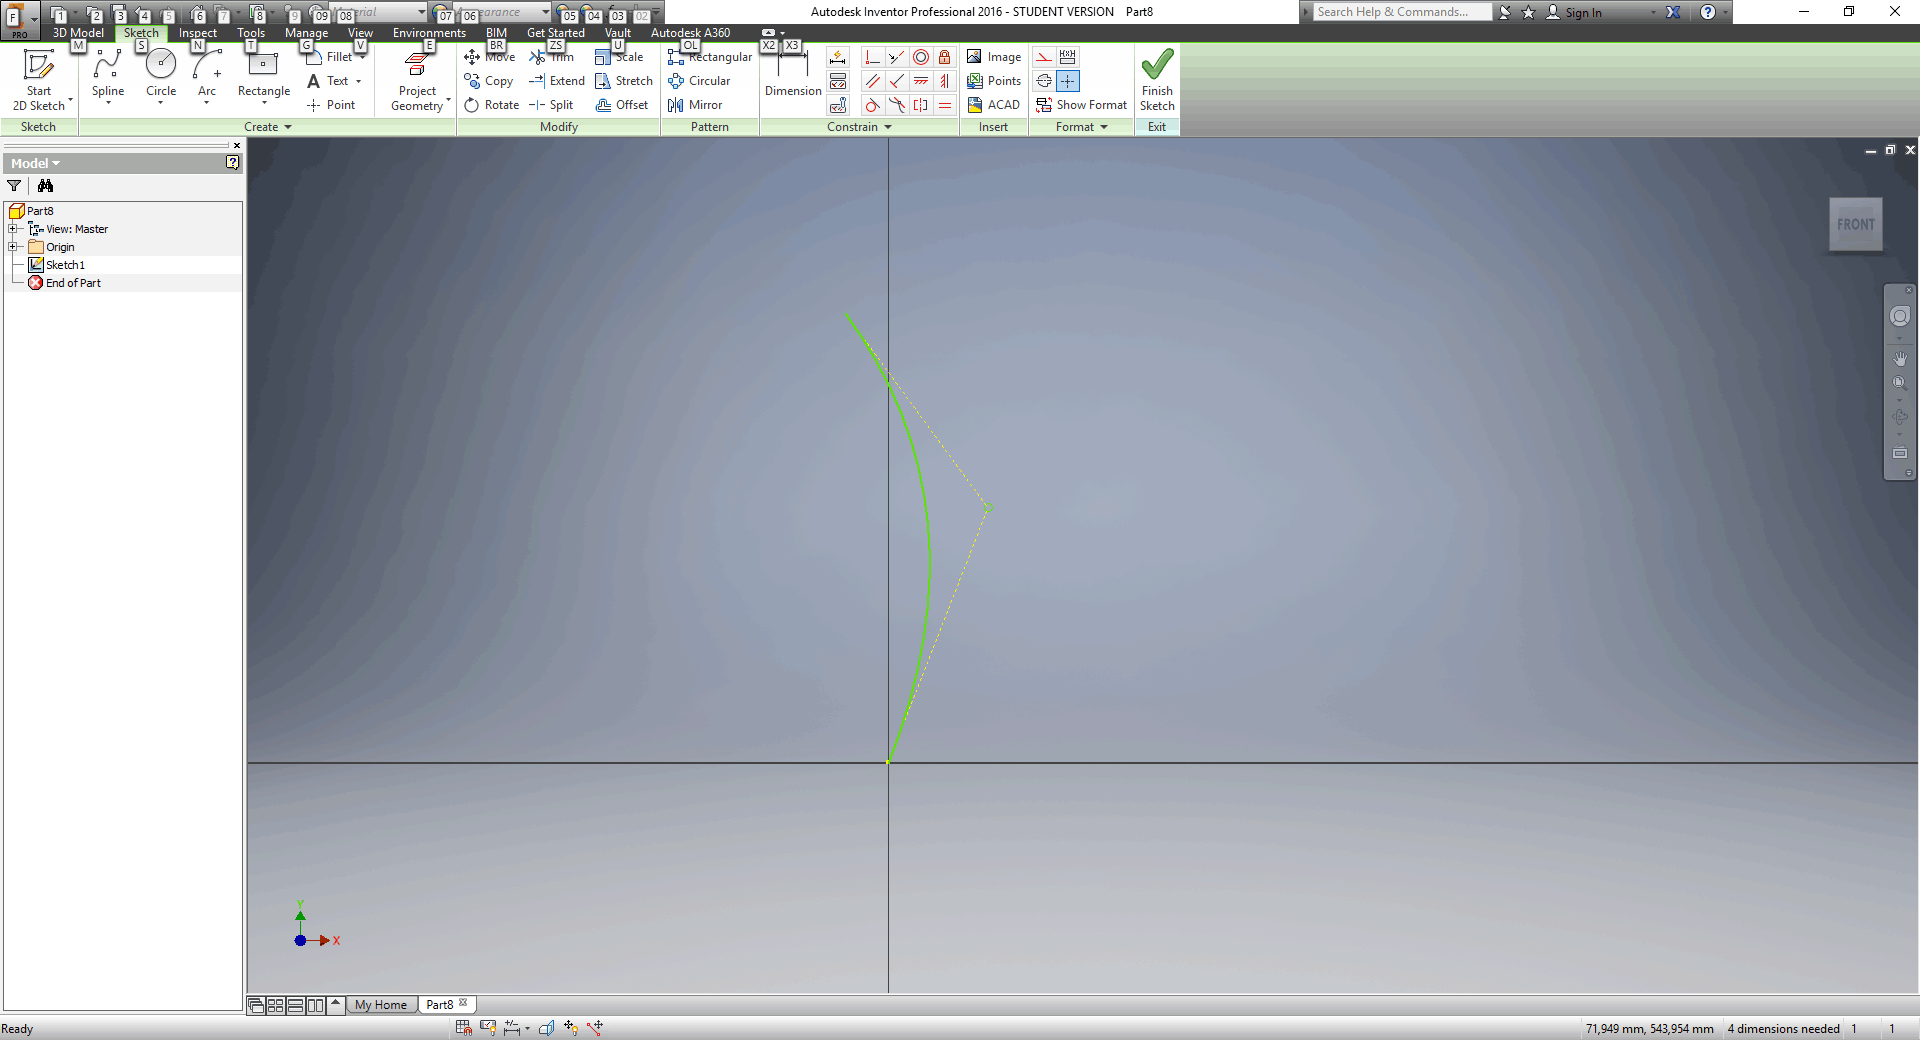
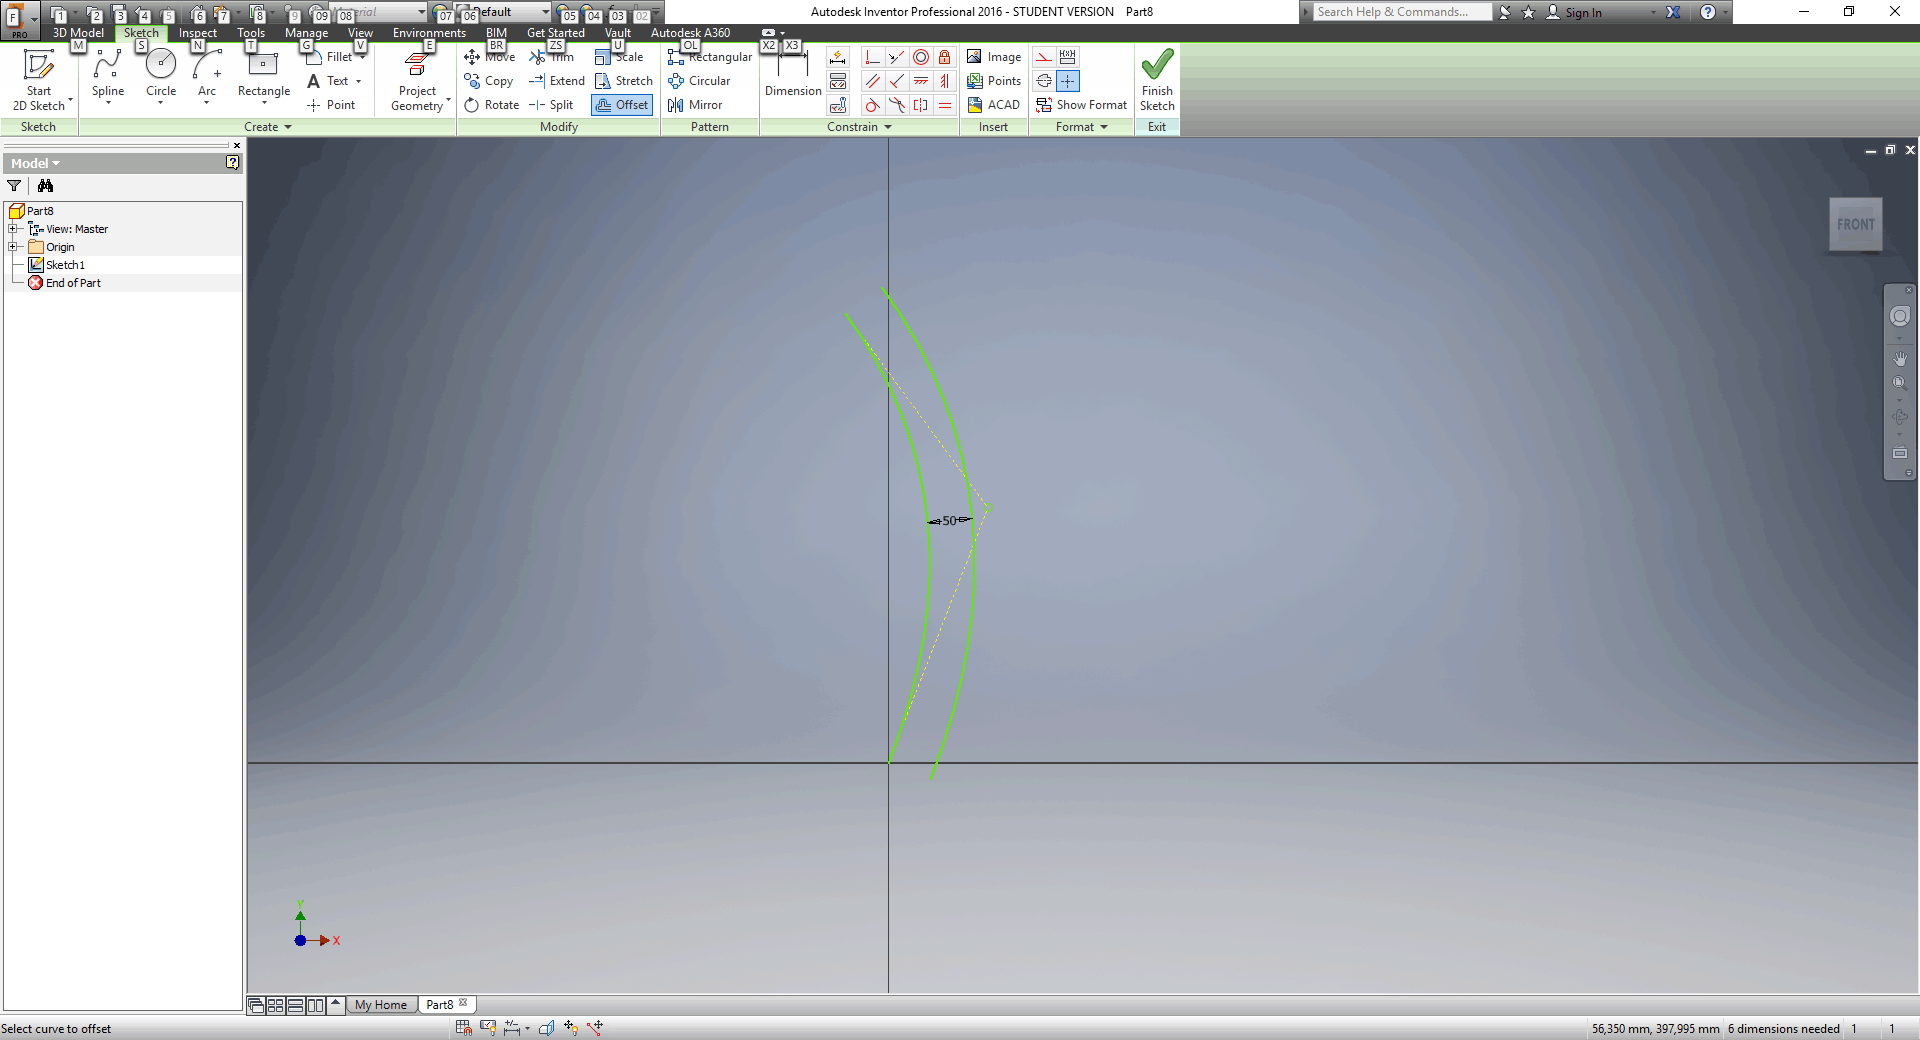
Use spline command to draw arc
Duplicate the arc with offset command
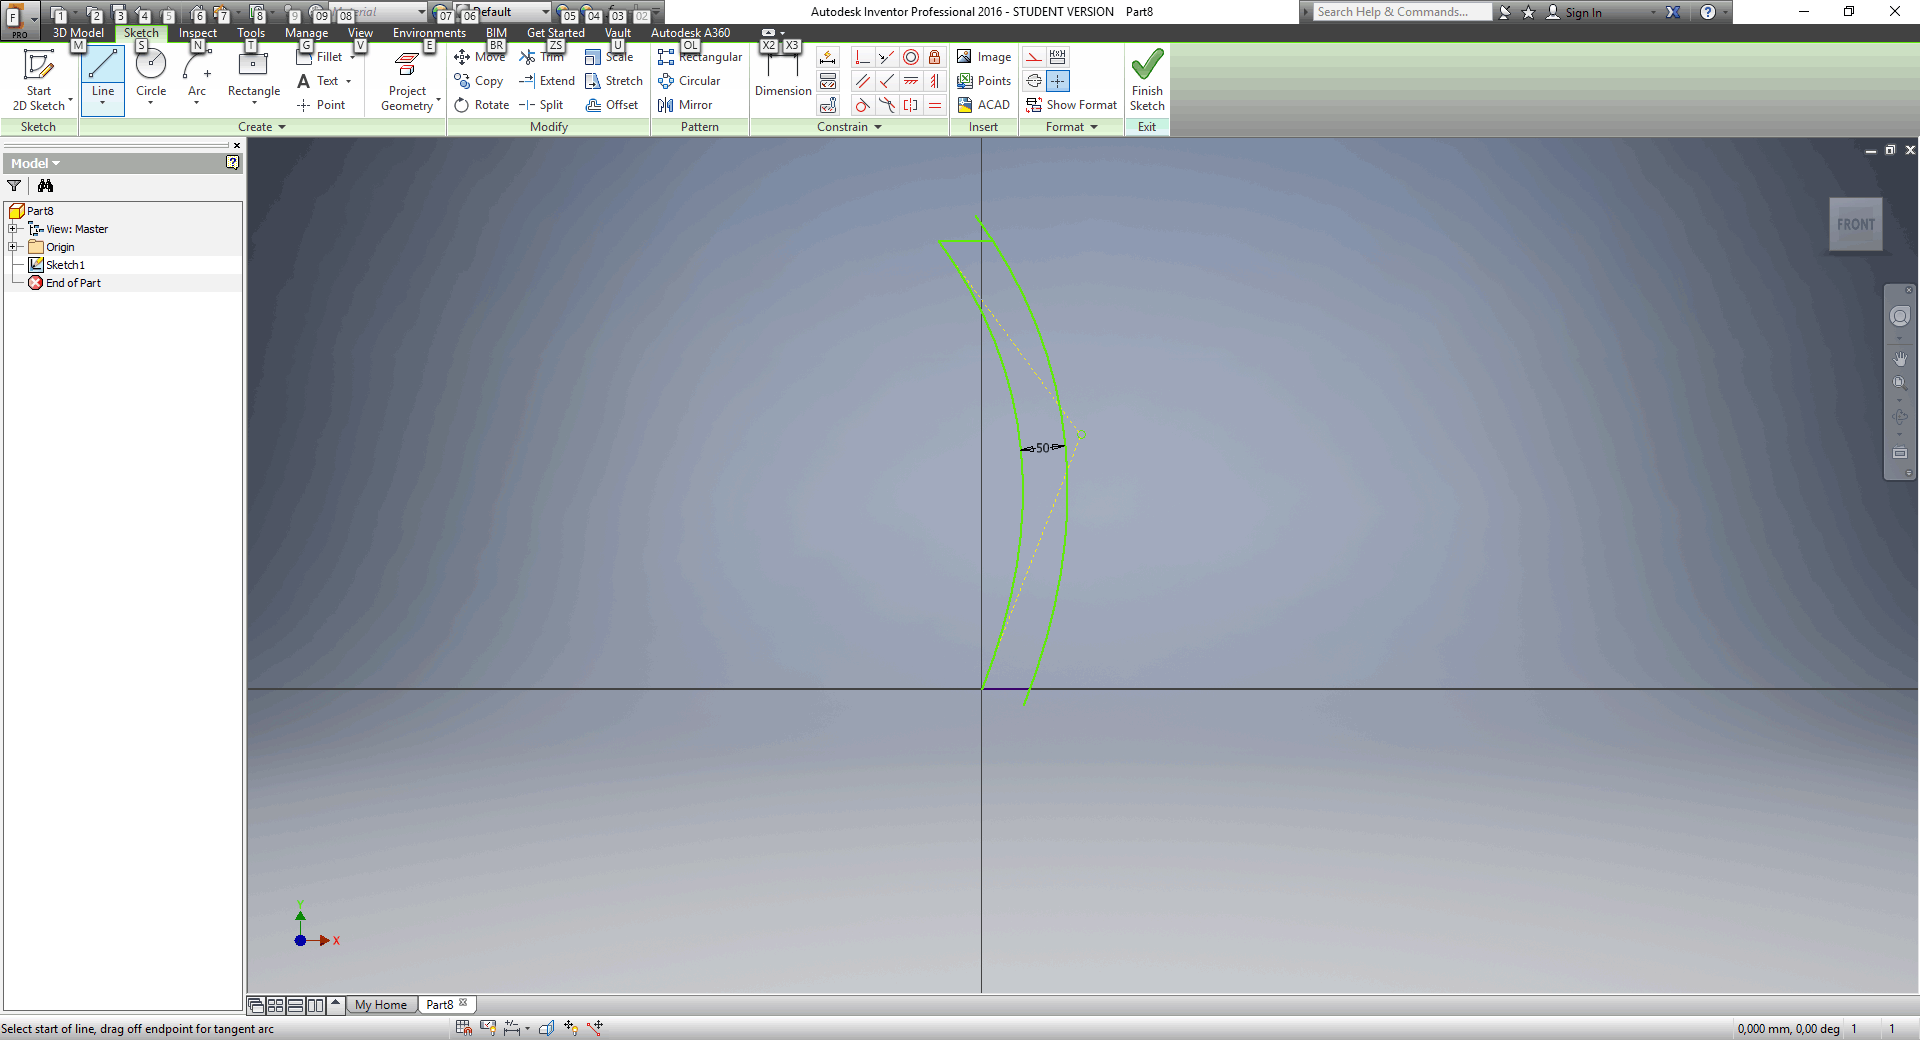
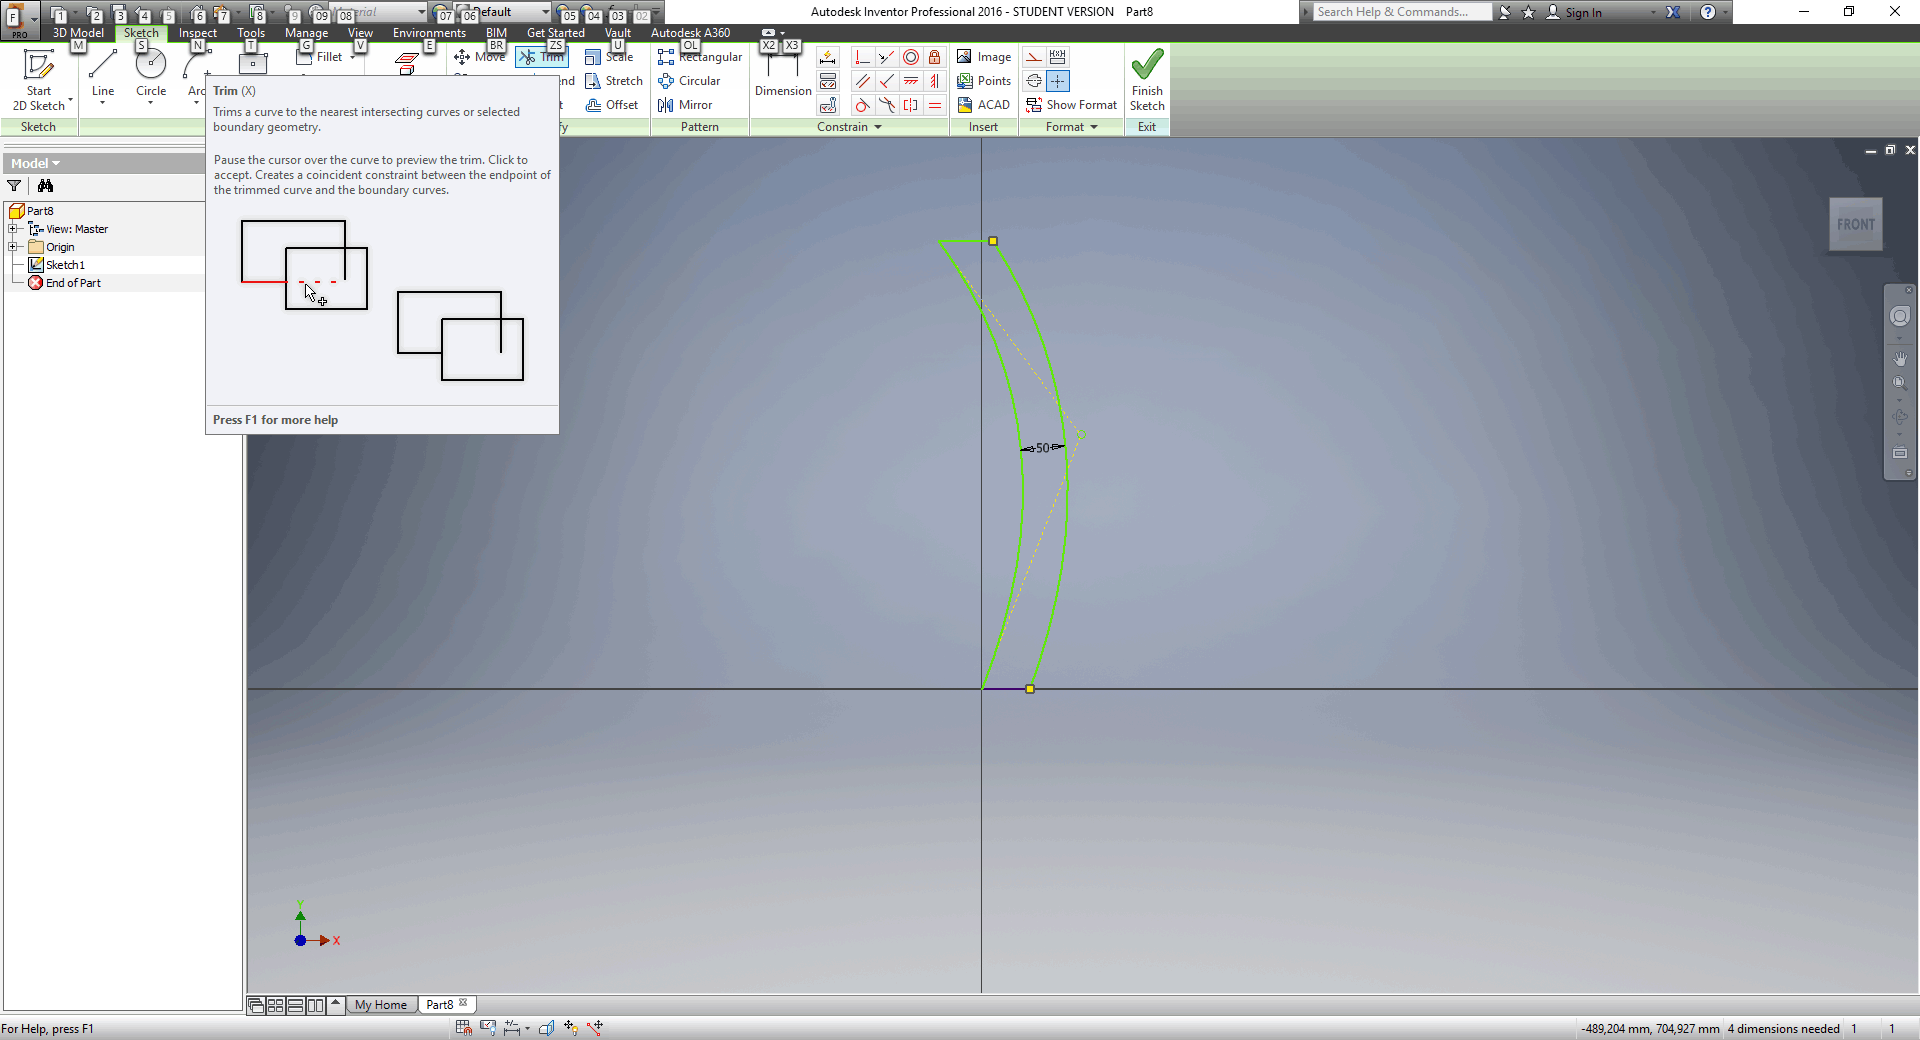
Draw horizontal connecting lines between two arcs
Use trim command to cut excess lines
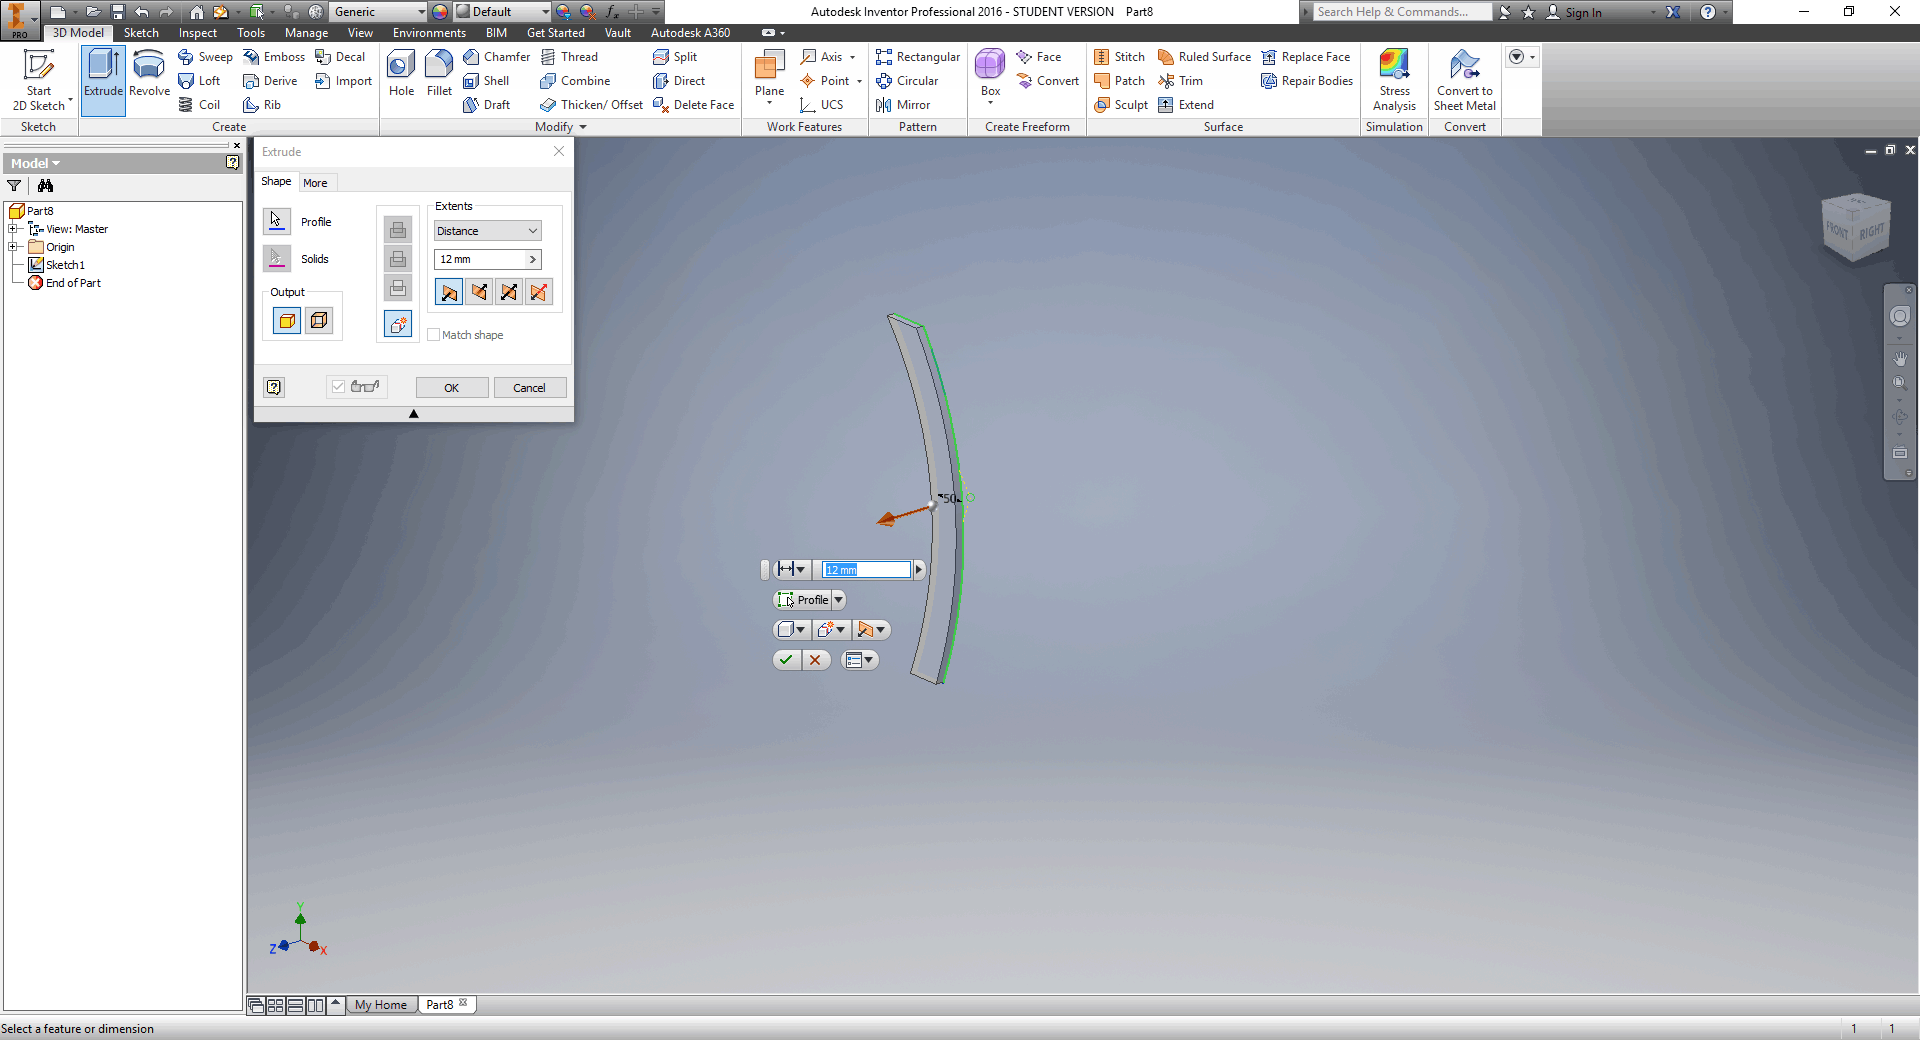

Extrude 12mm
Sketch 12mm high rectangle slot for table top

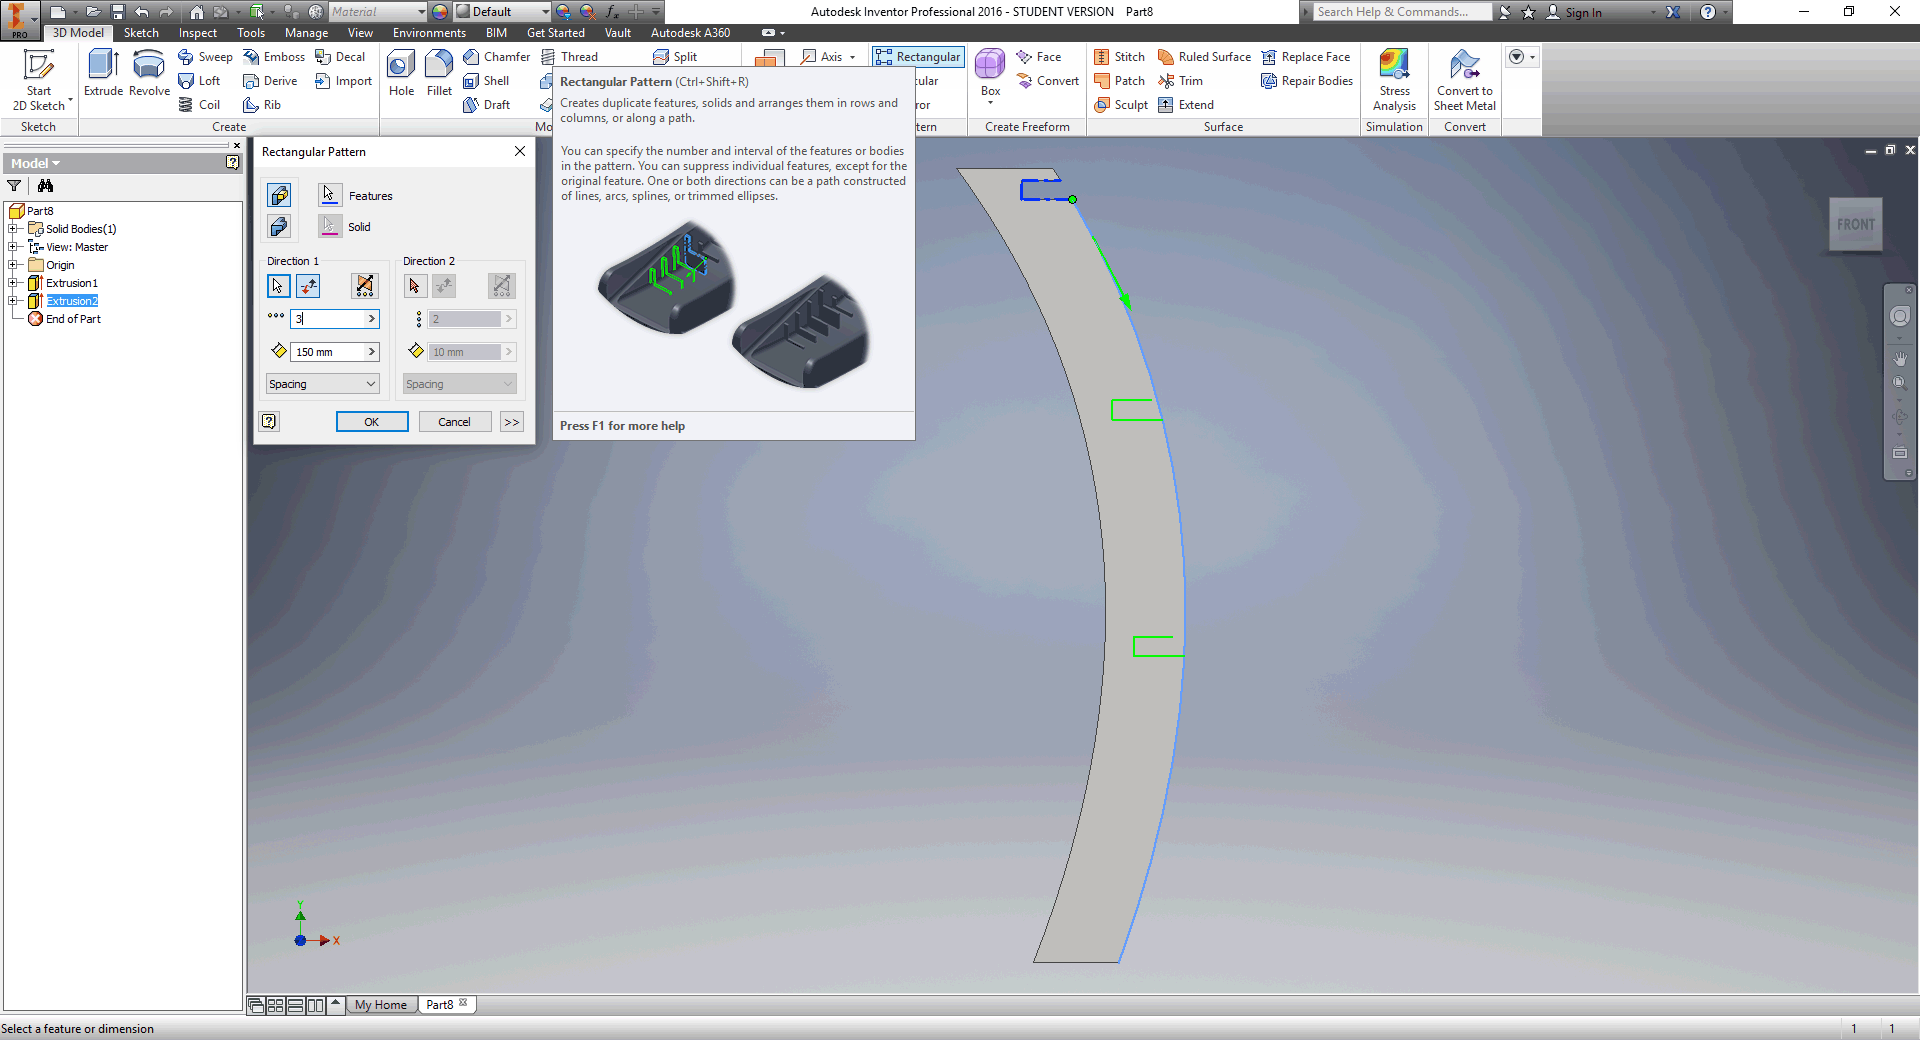
Extrude cut 12 mm
Make linear pattern of the slots along the curve, 3 times
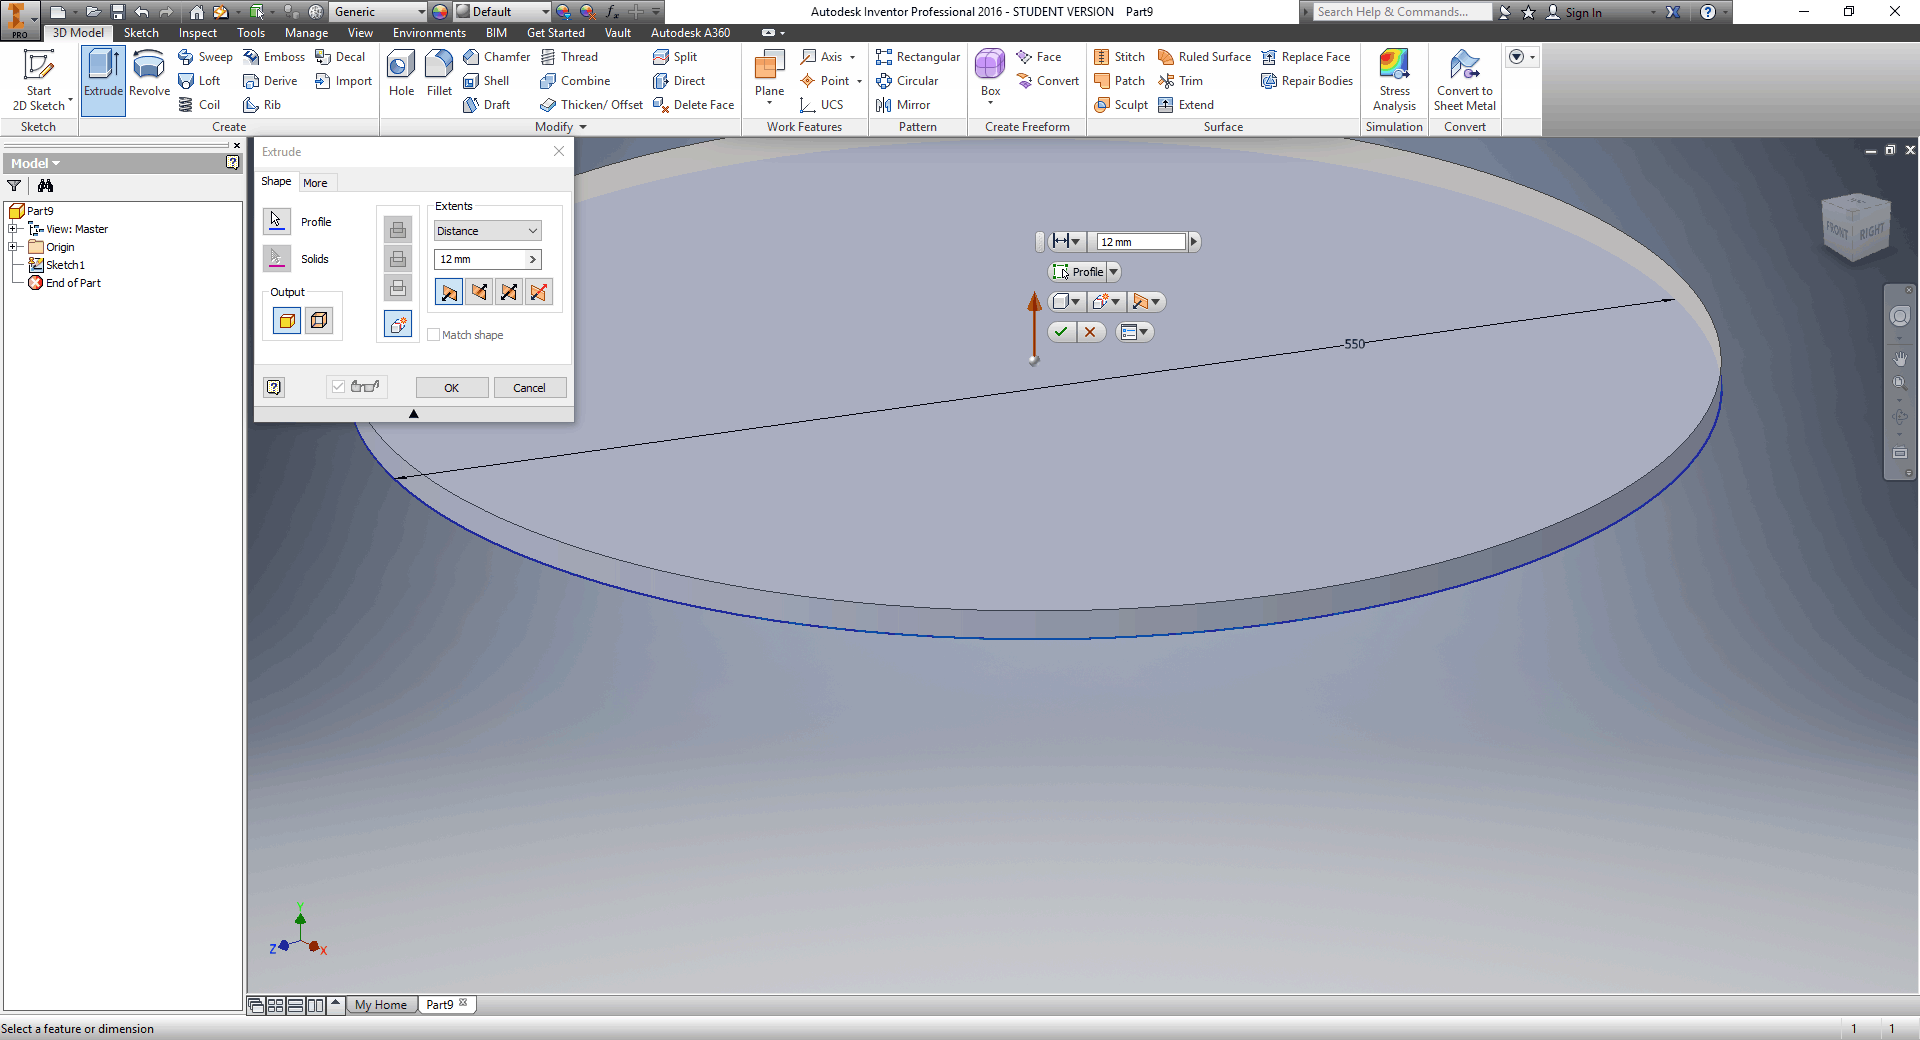
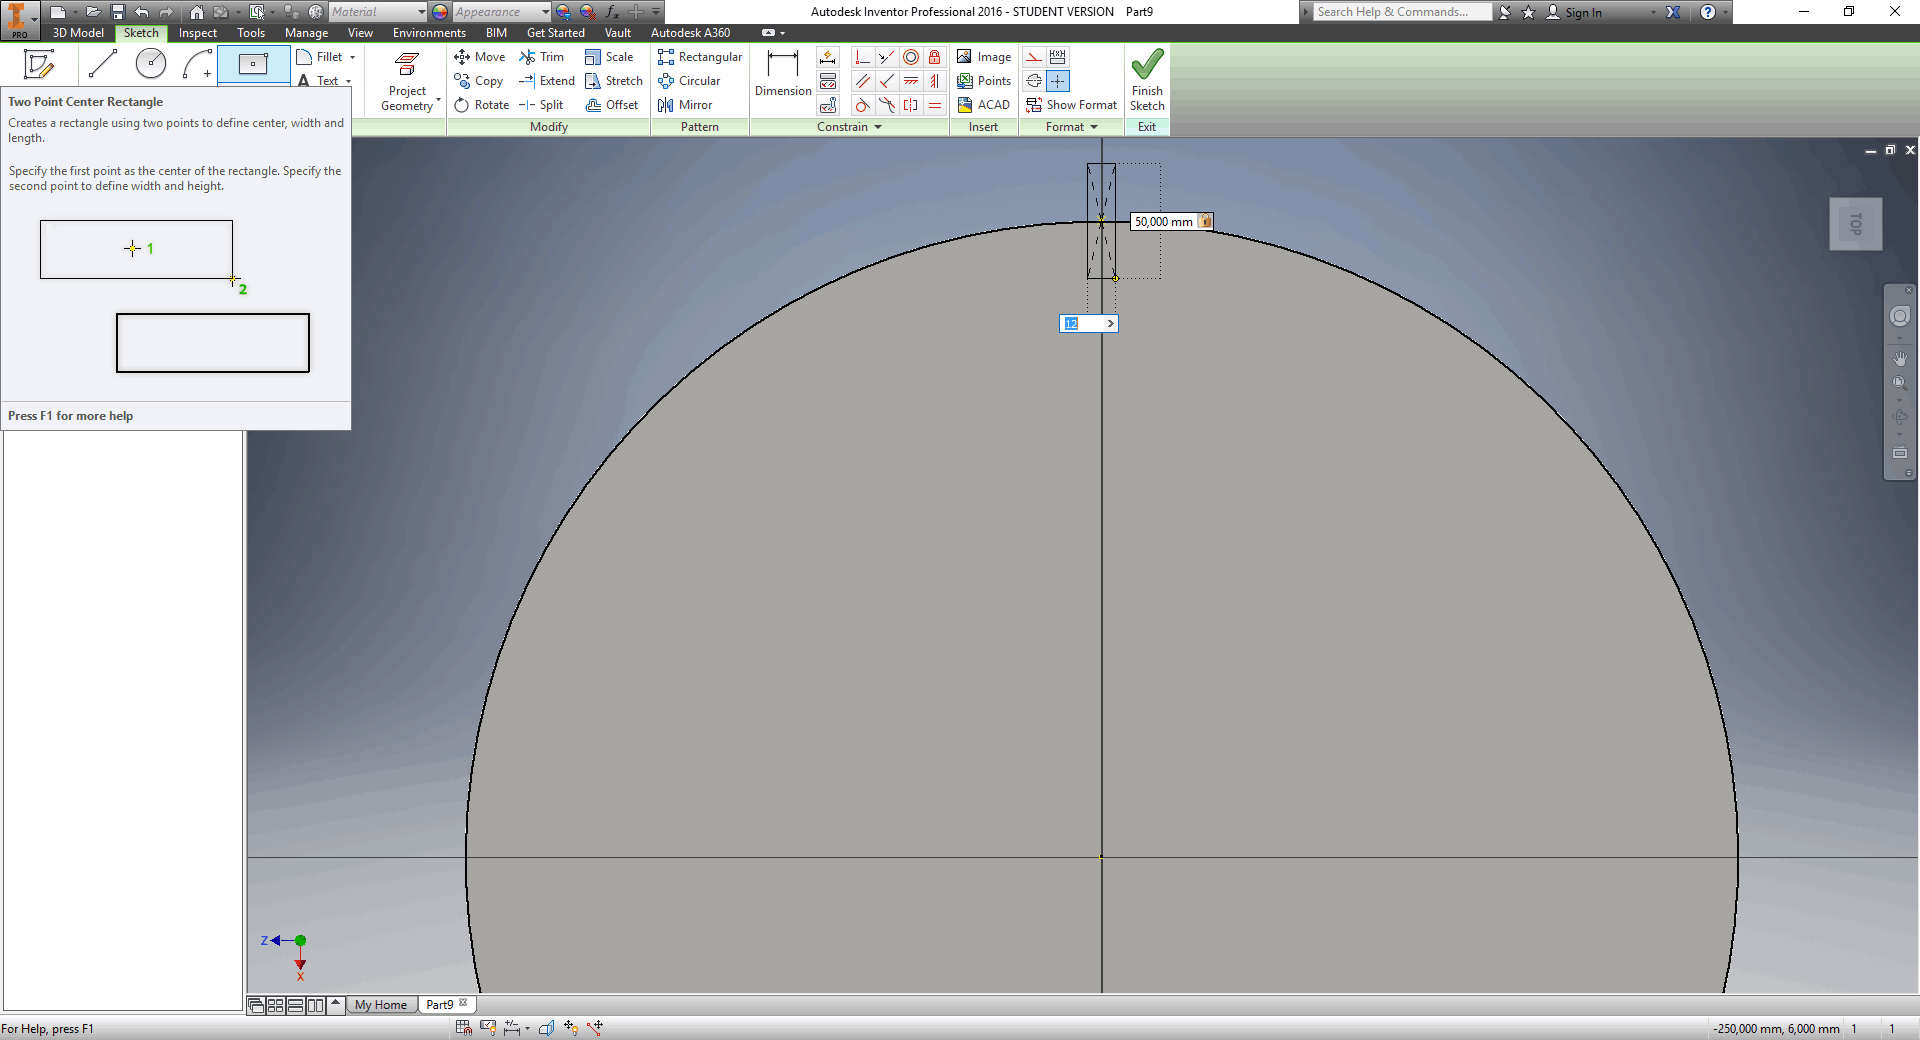
Draw extruded circle
Make a slot as done with the leg

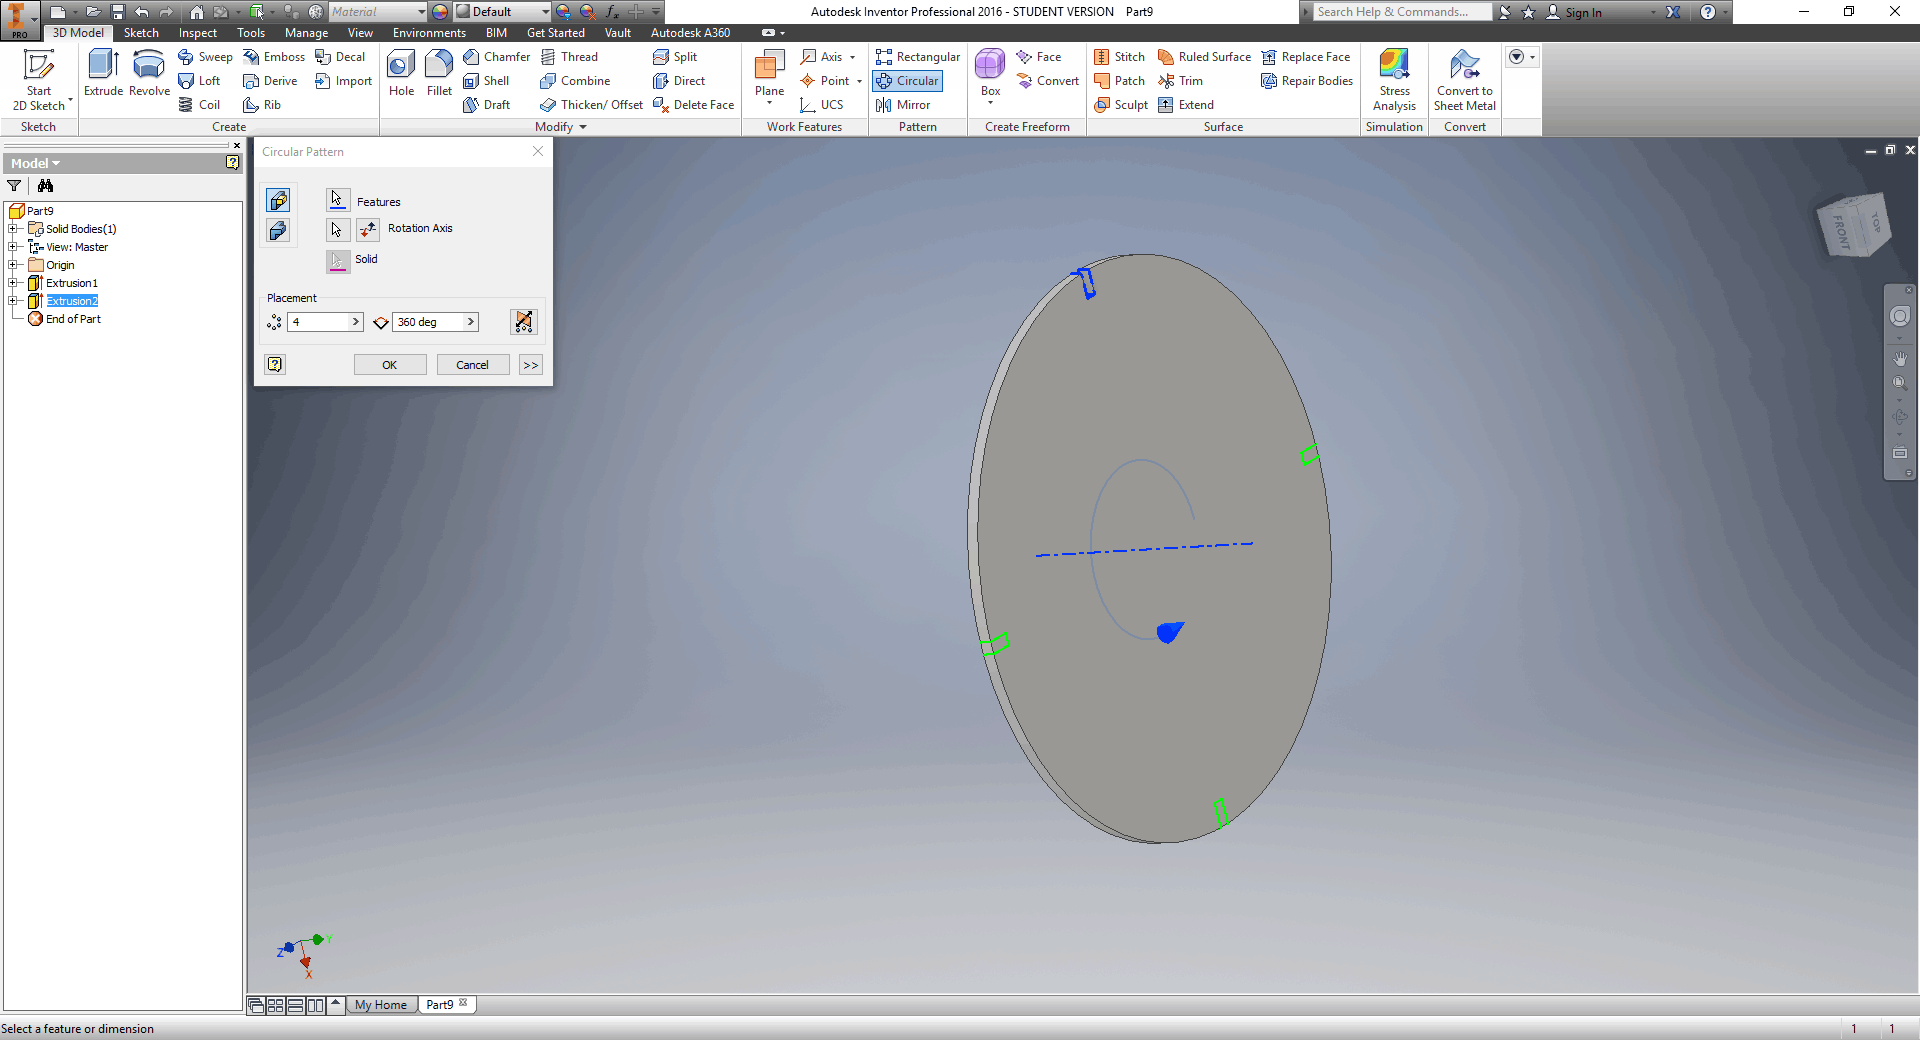
Make circular pattern and select side as the direction

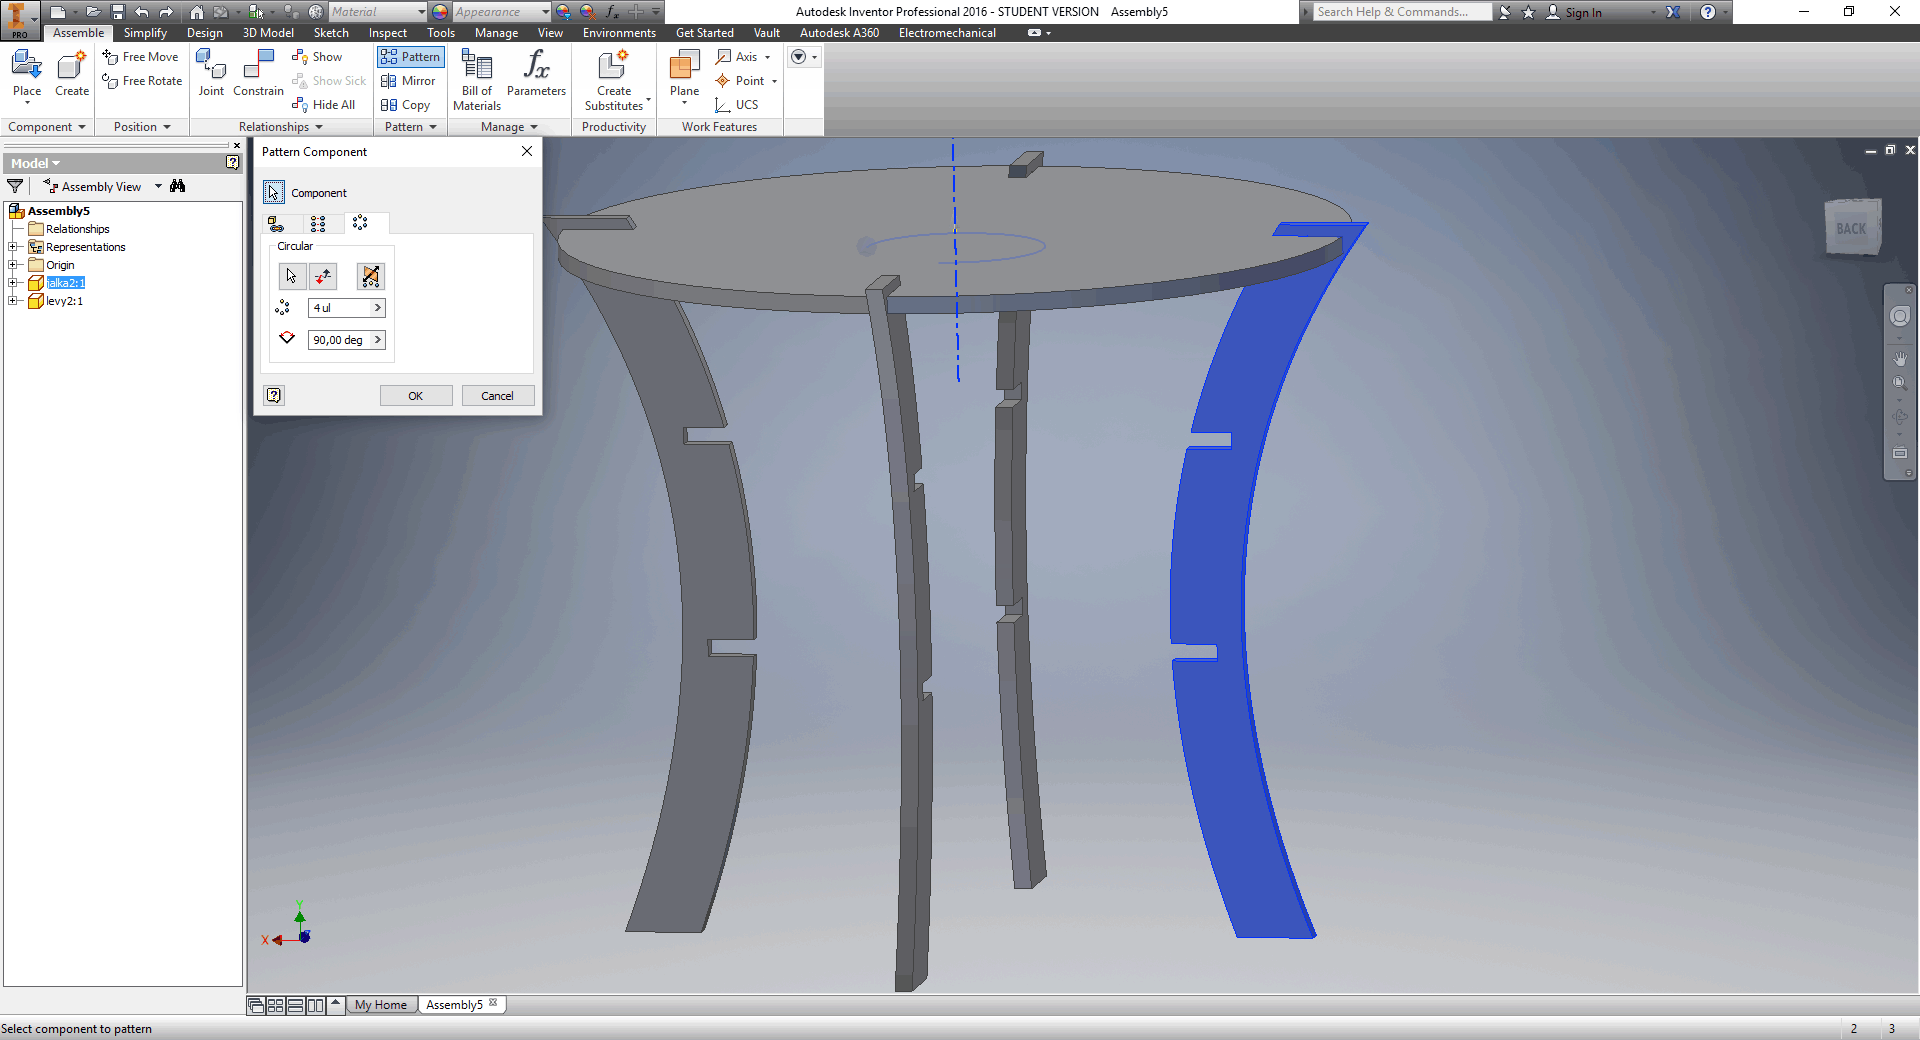
Fit one leg in assembly and with circular pattern 3 more
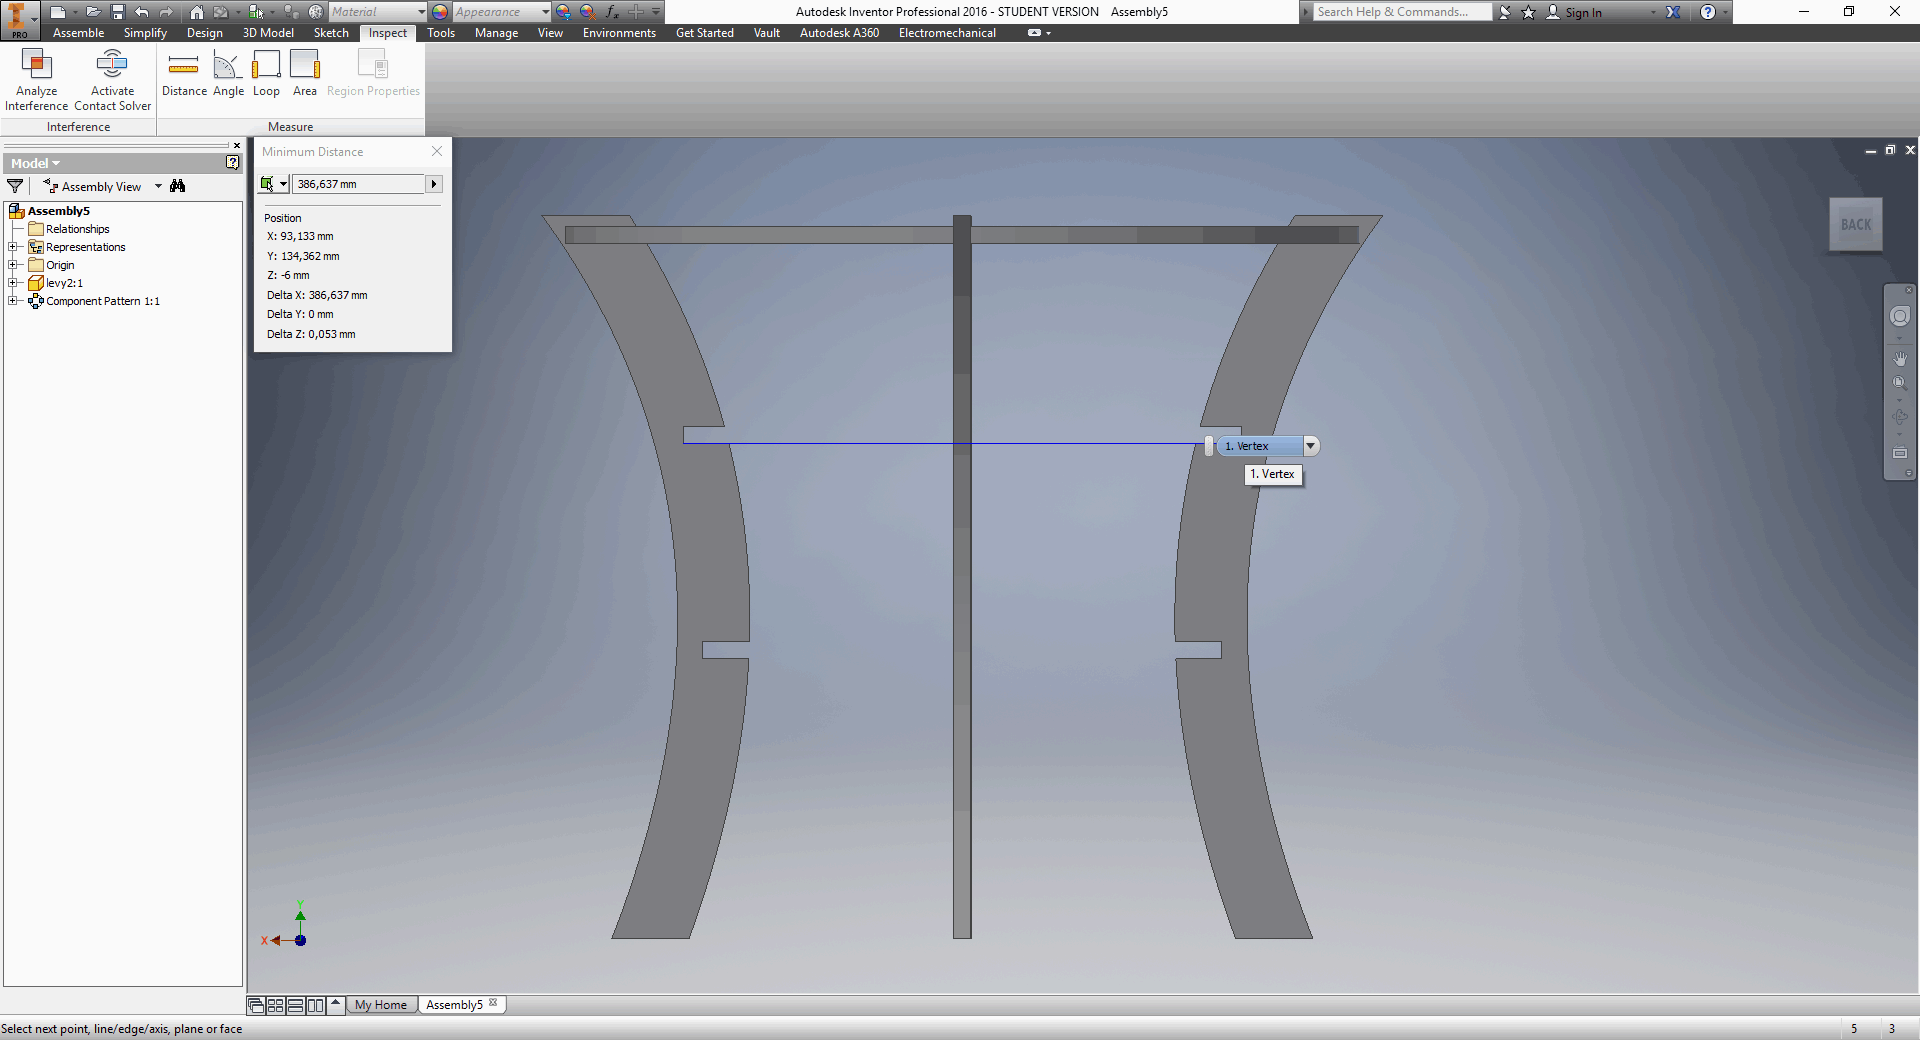
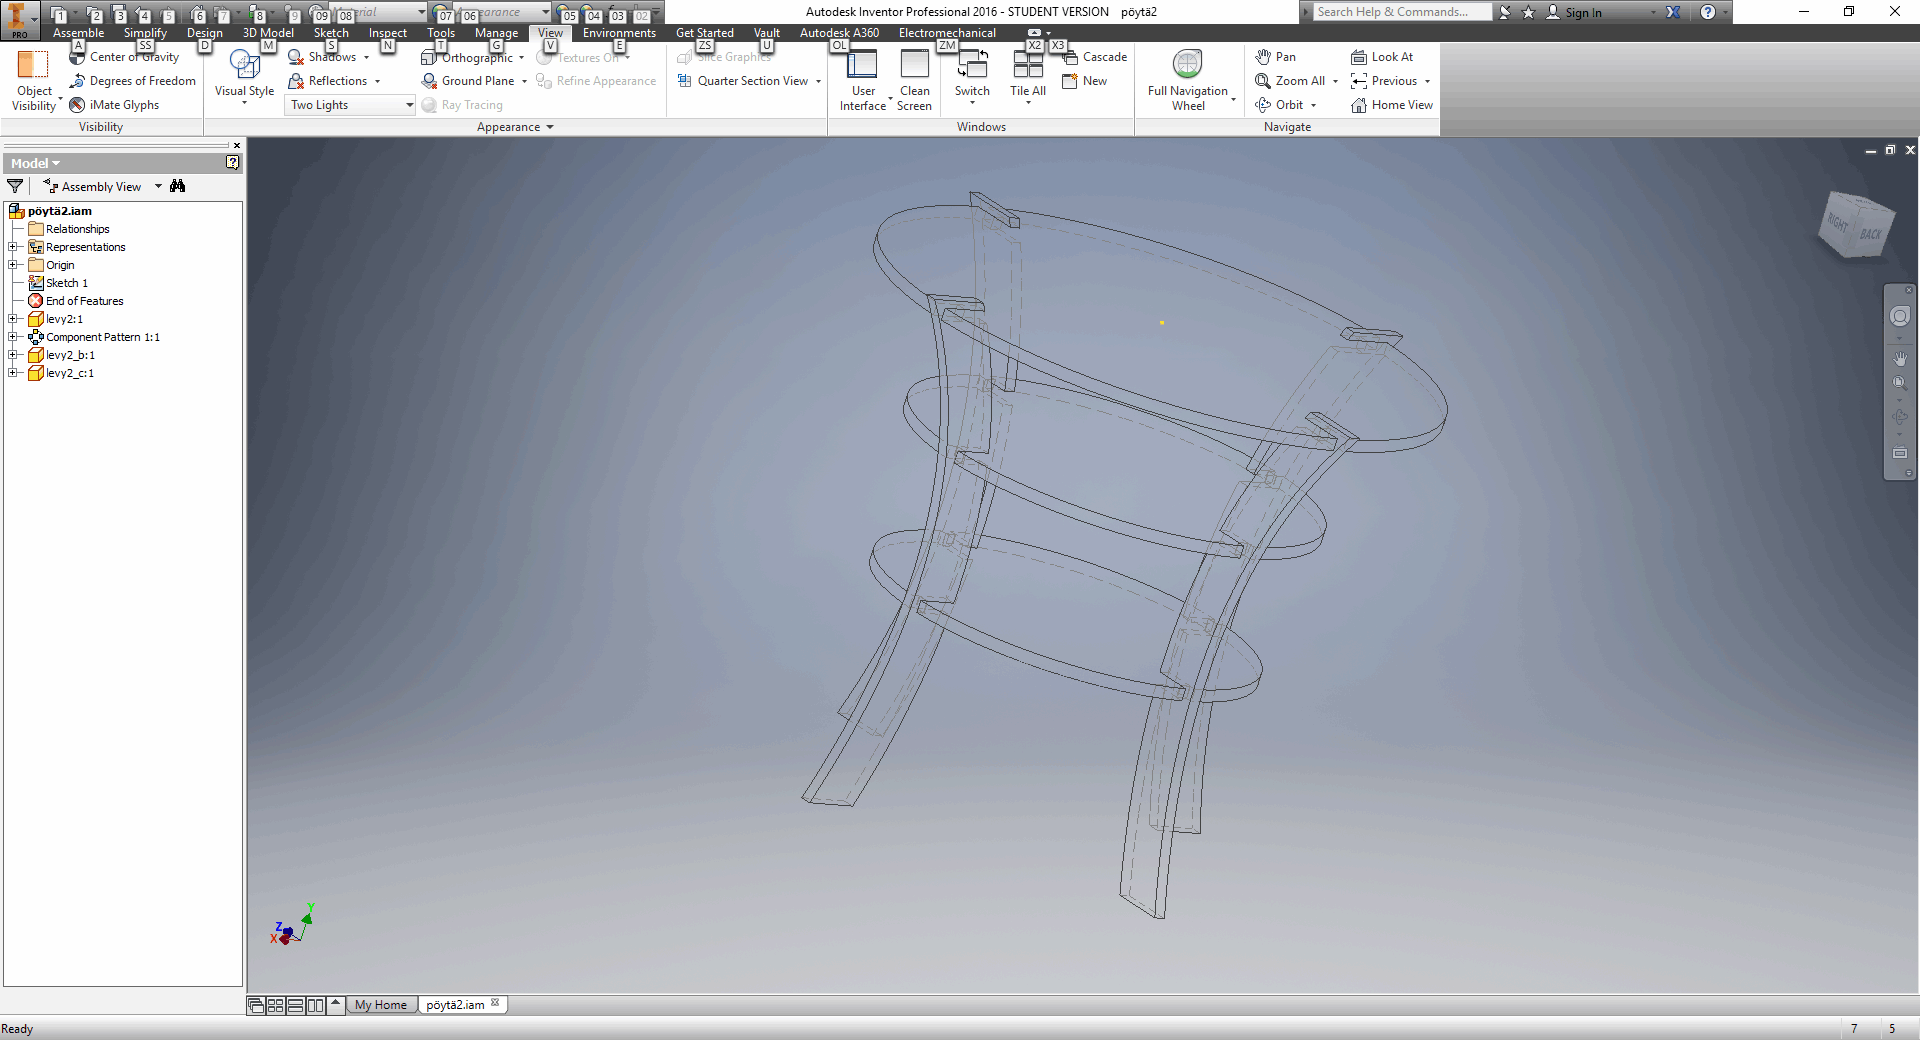
Use measurement tool to figure out the sizes of 2 other disks
The g-code can be done with free Autodesk HSMxpress which integrates to Autodesk Inventor nicely. HSMxpress can also be downloaded as Solidworks plugin.
The plugin is relatively easy to use if you want basic toolpaths generated. The CAM software does tabs automatically which secures the part while it has bee cut by leaving small bridges to the stock. You can vary the space between these bridges. Here are few screen captures

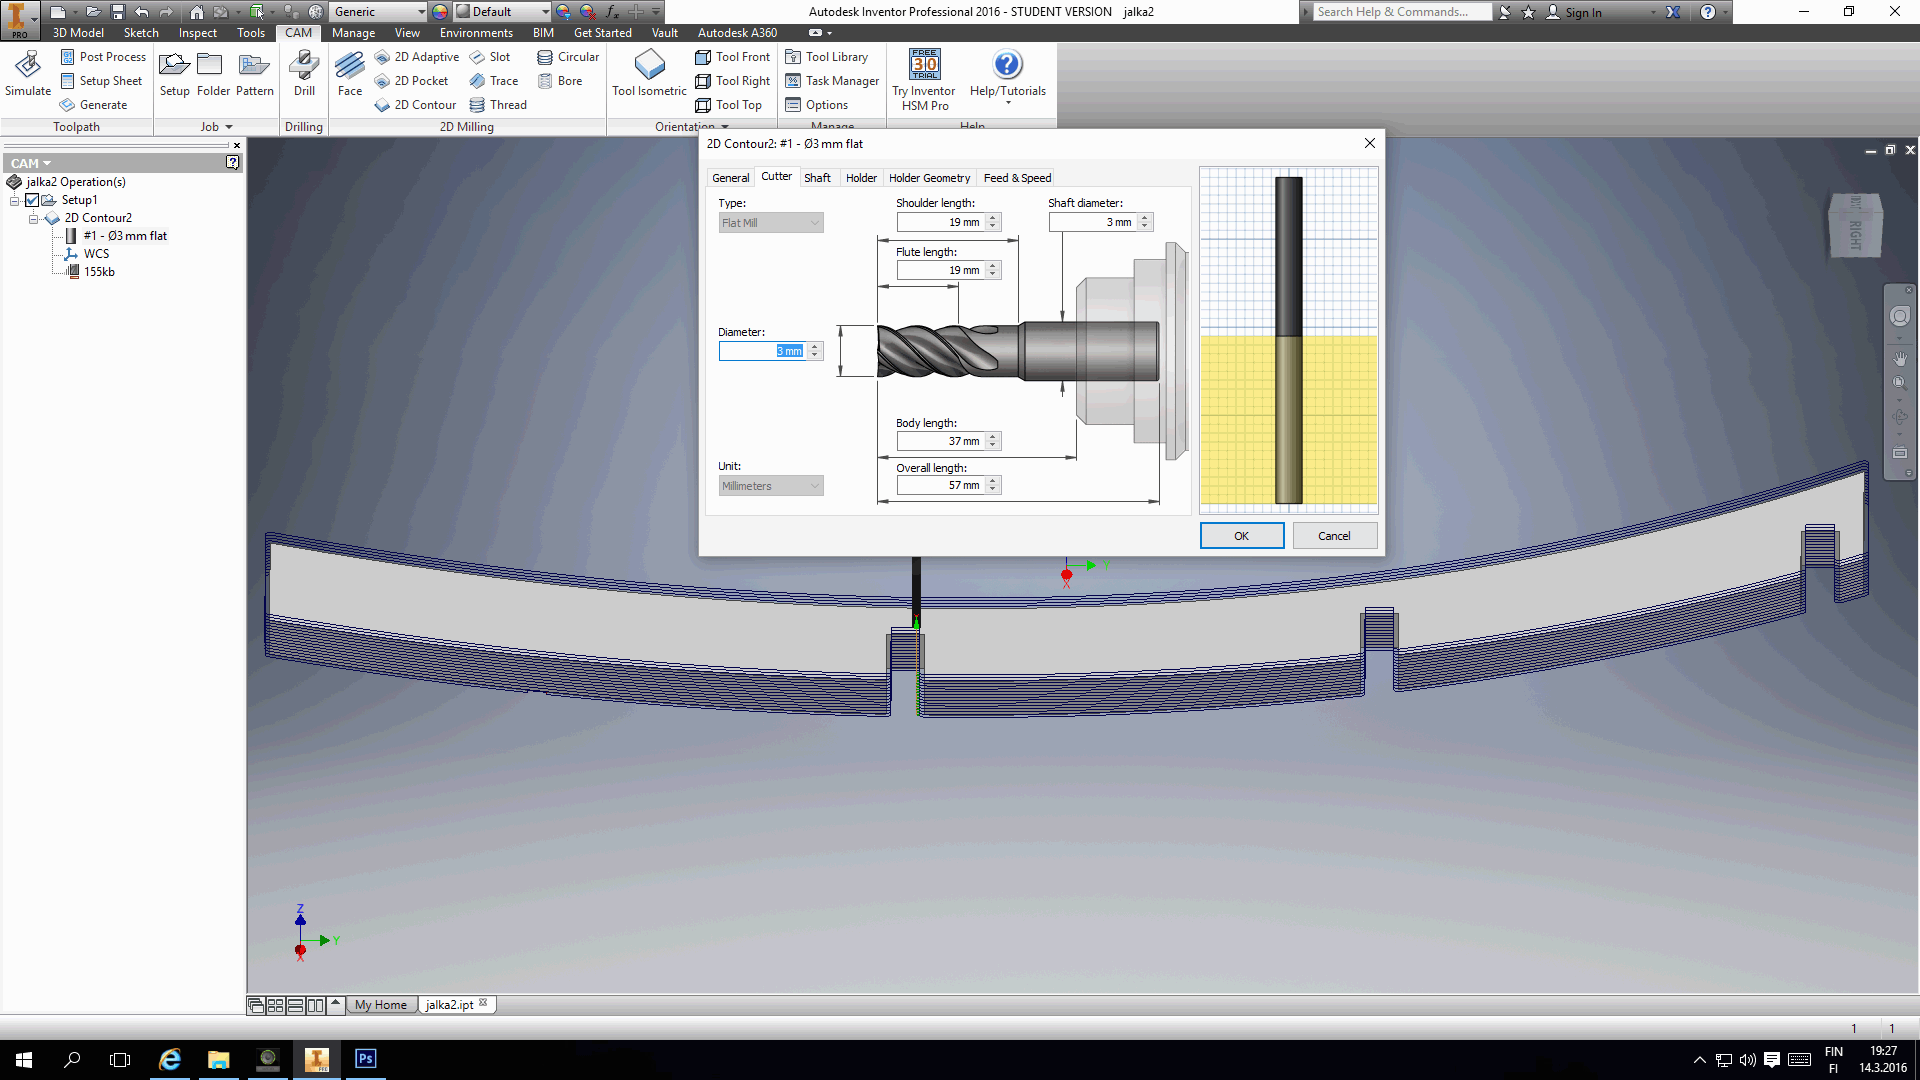
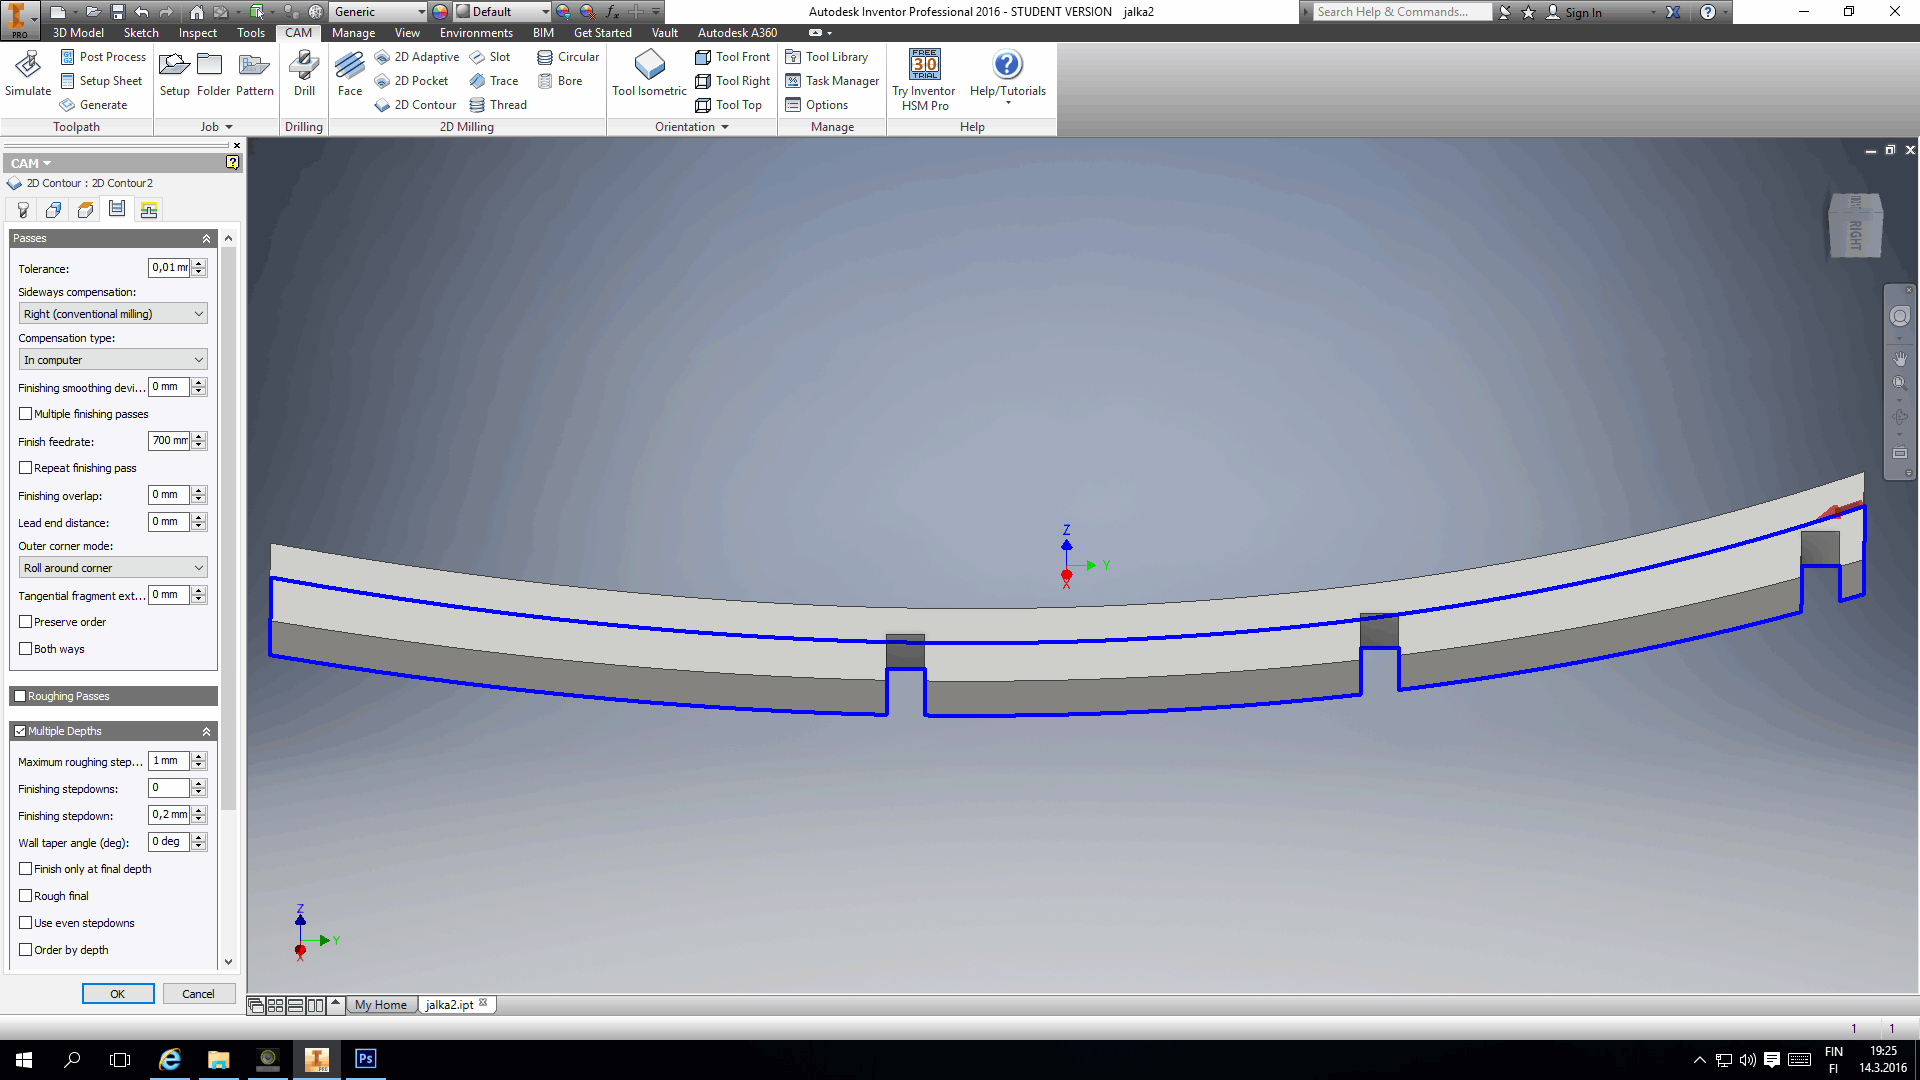
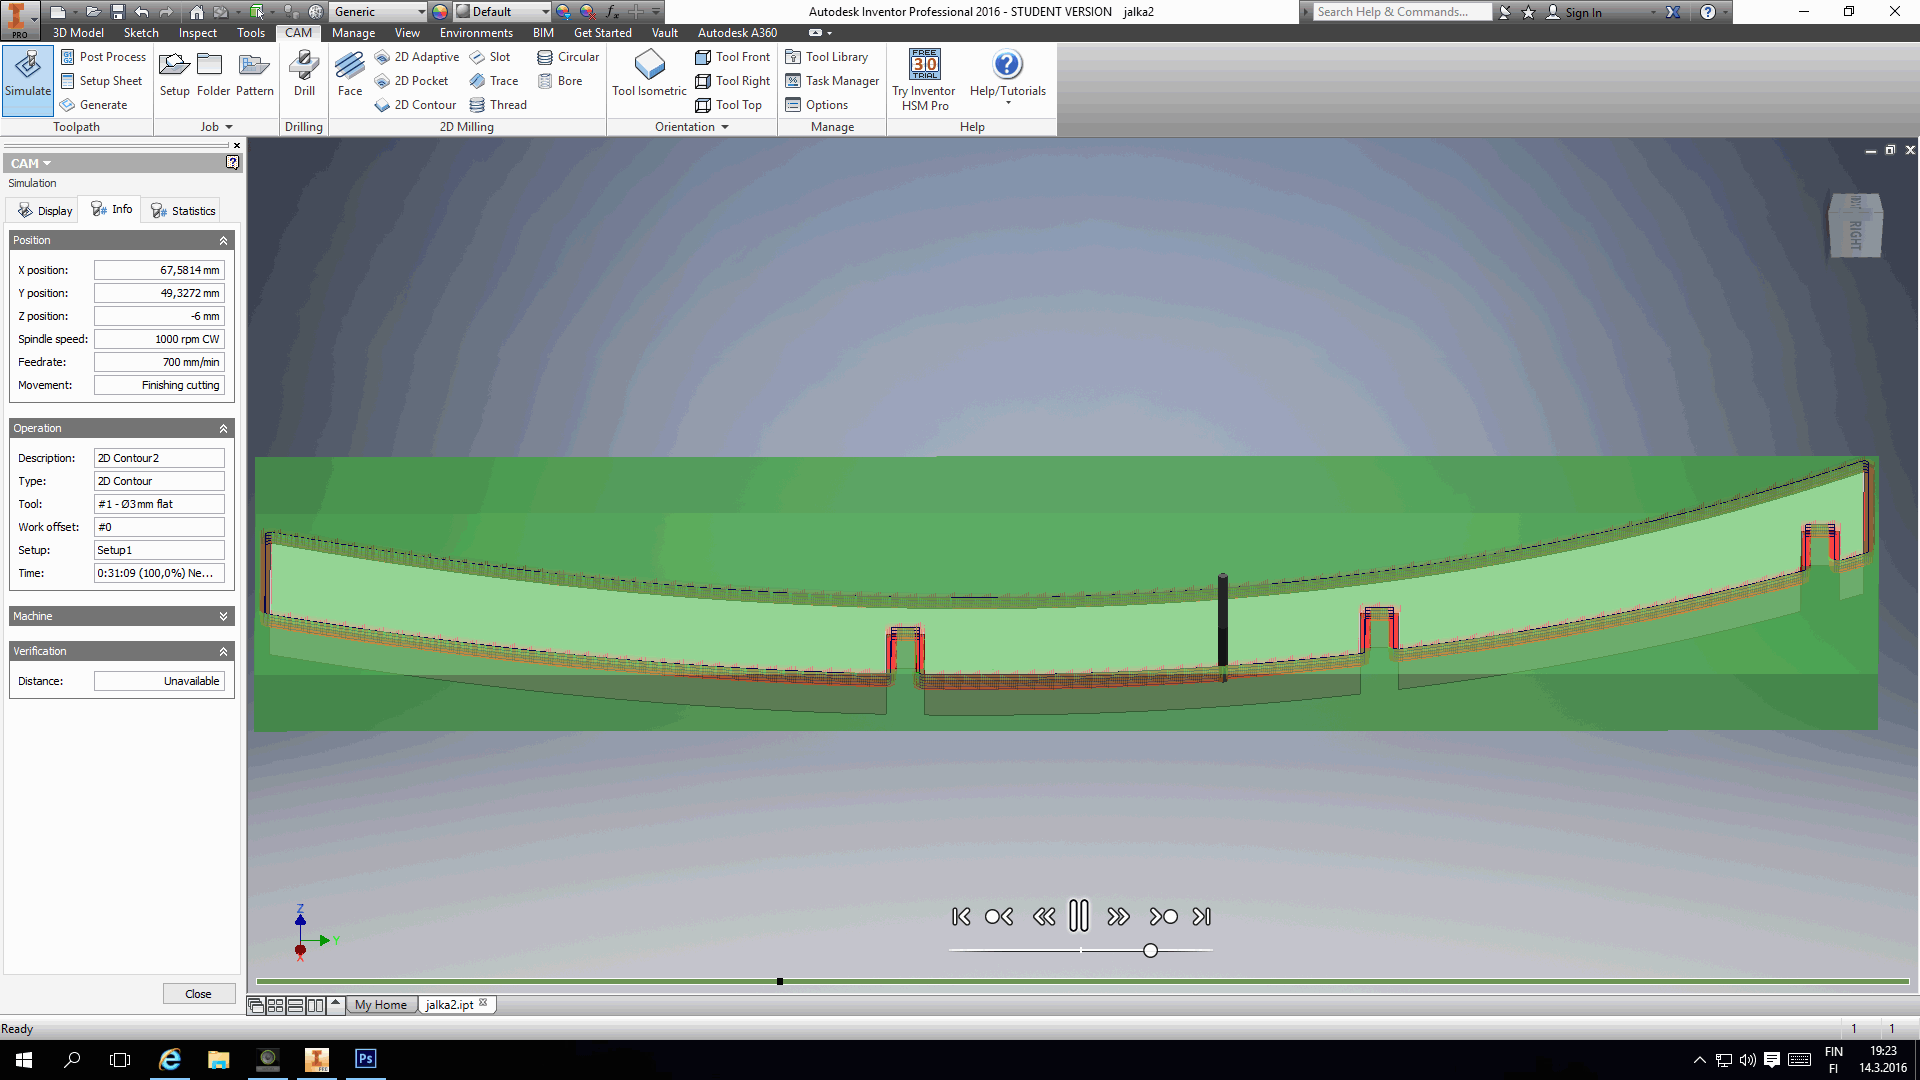

Here is a picture of the generated G-ode for Mach3 and simulated toolpaths.
One thing that needs to be done in the joints is round divots that help the pieces fit together nicely. If they are done like shown below, the divots remain invisible when joint is ready. The flat center help the contact becomes more firm.. The tabs were generated automatically to hold the cut piece in position once cut through the stock. HSMXpress is also available for Solidworks but without automatic tabs option.

Milling of the parts:
The G-code from HSMXress can be opened from Mach3 that was the controller software for our self made router. The files have been edited to exclude machine coordinate commands G28 and tool compensation G43 rows. We restricted to remain under user coordinate system.
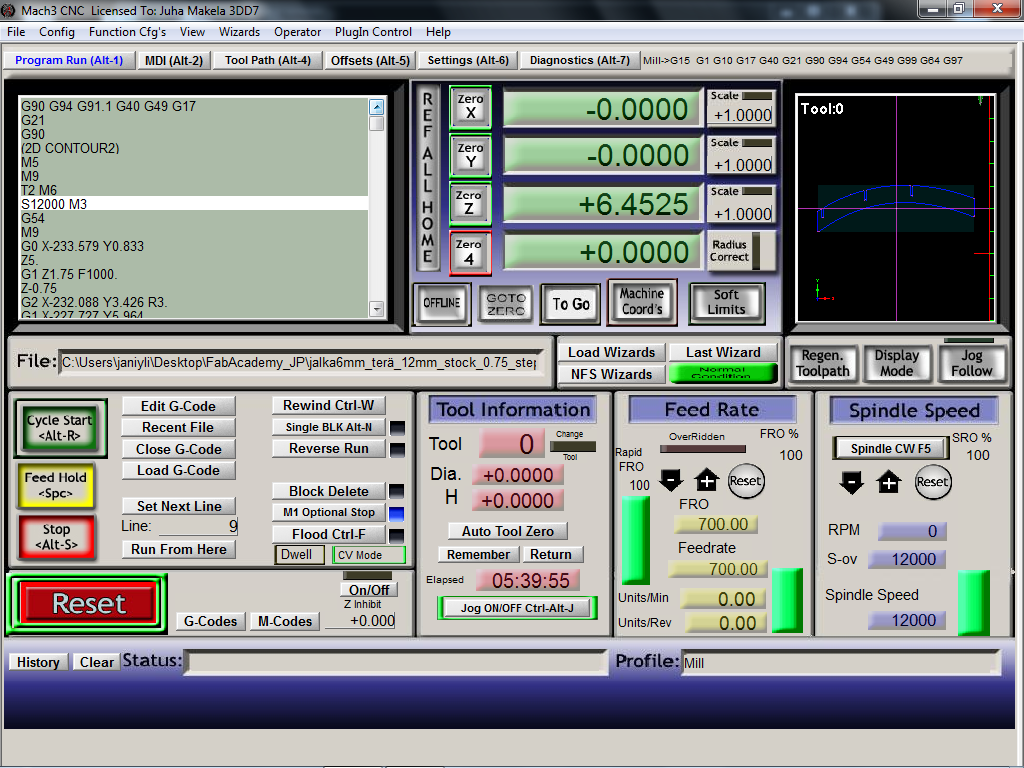
The software is very user friendly. You can jog using arrow keys (X,Y) and PageUp/Down for Z. We needed to reduce our cutting speed to 700 mm/min and depth 0.75mm for hard plywood. Otherwise steps were lost and no consistent cutting was produced. Once slowed down, everything went smoothly. The spindle had 6mm flat two flute bit and 12000 rpm.
Some sanding is needed after the milling is done. Also, some slot filing is needed since 12 mm came out as 11.6 mm.
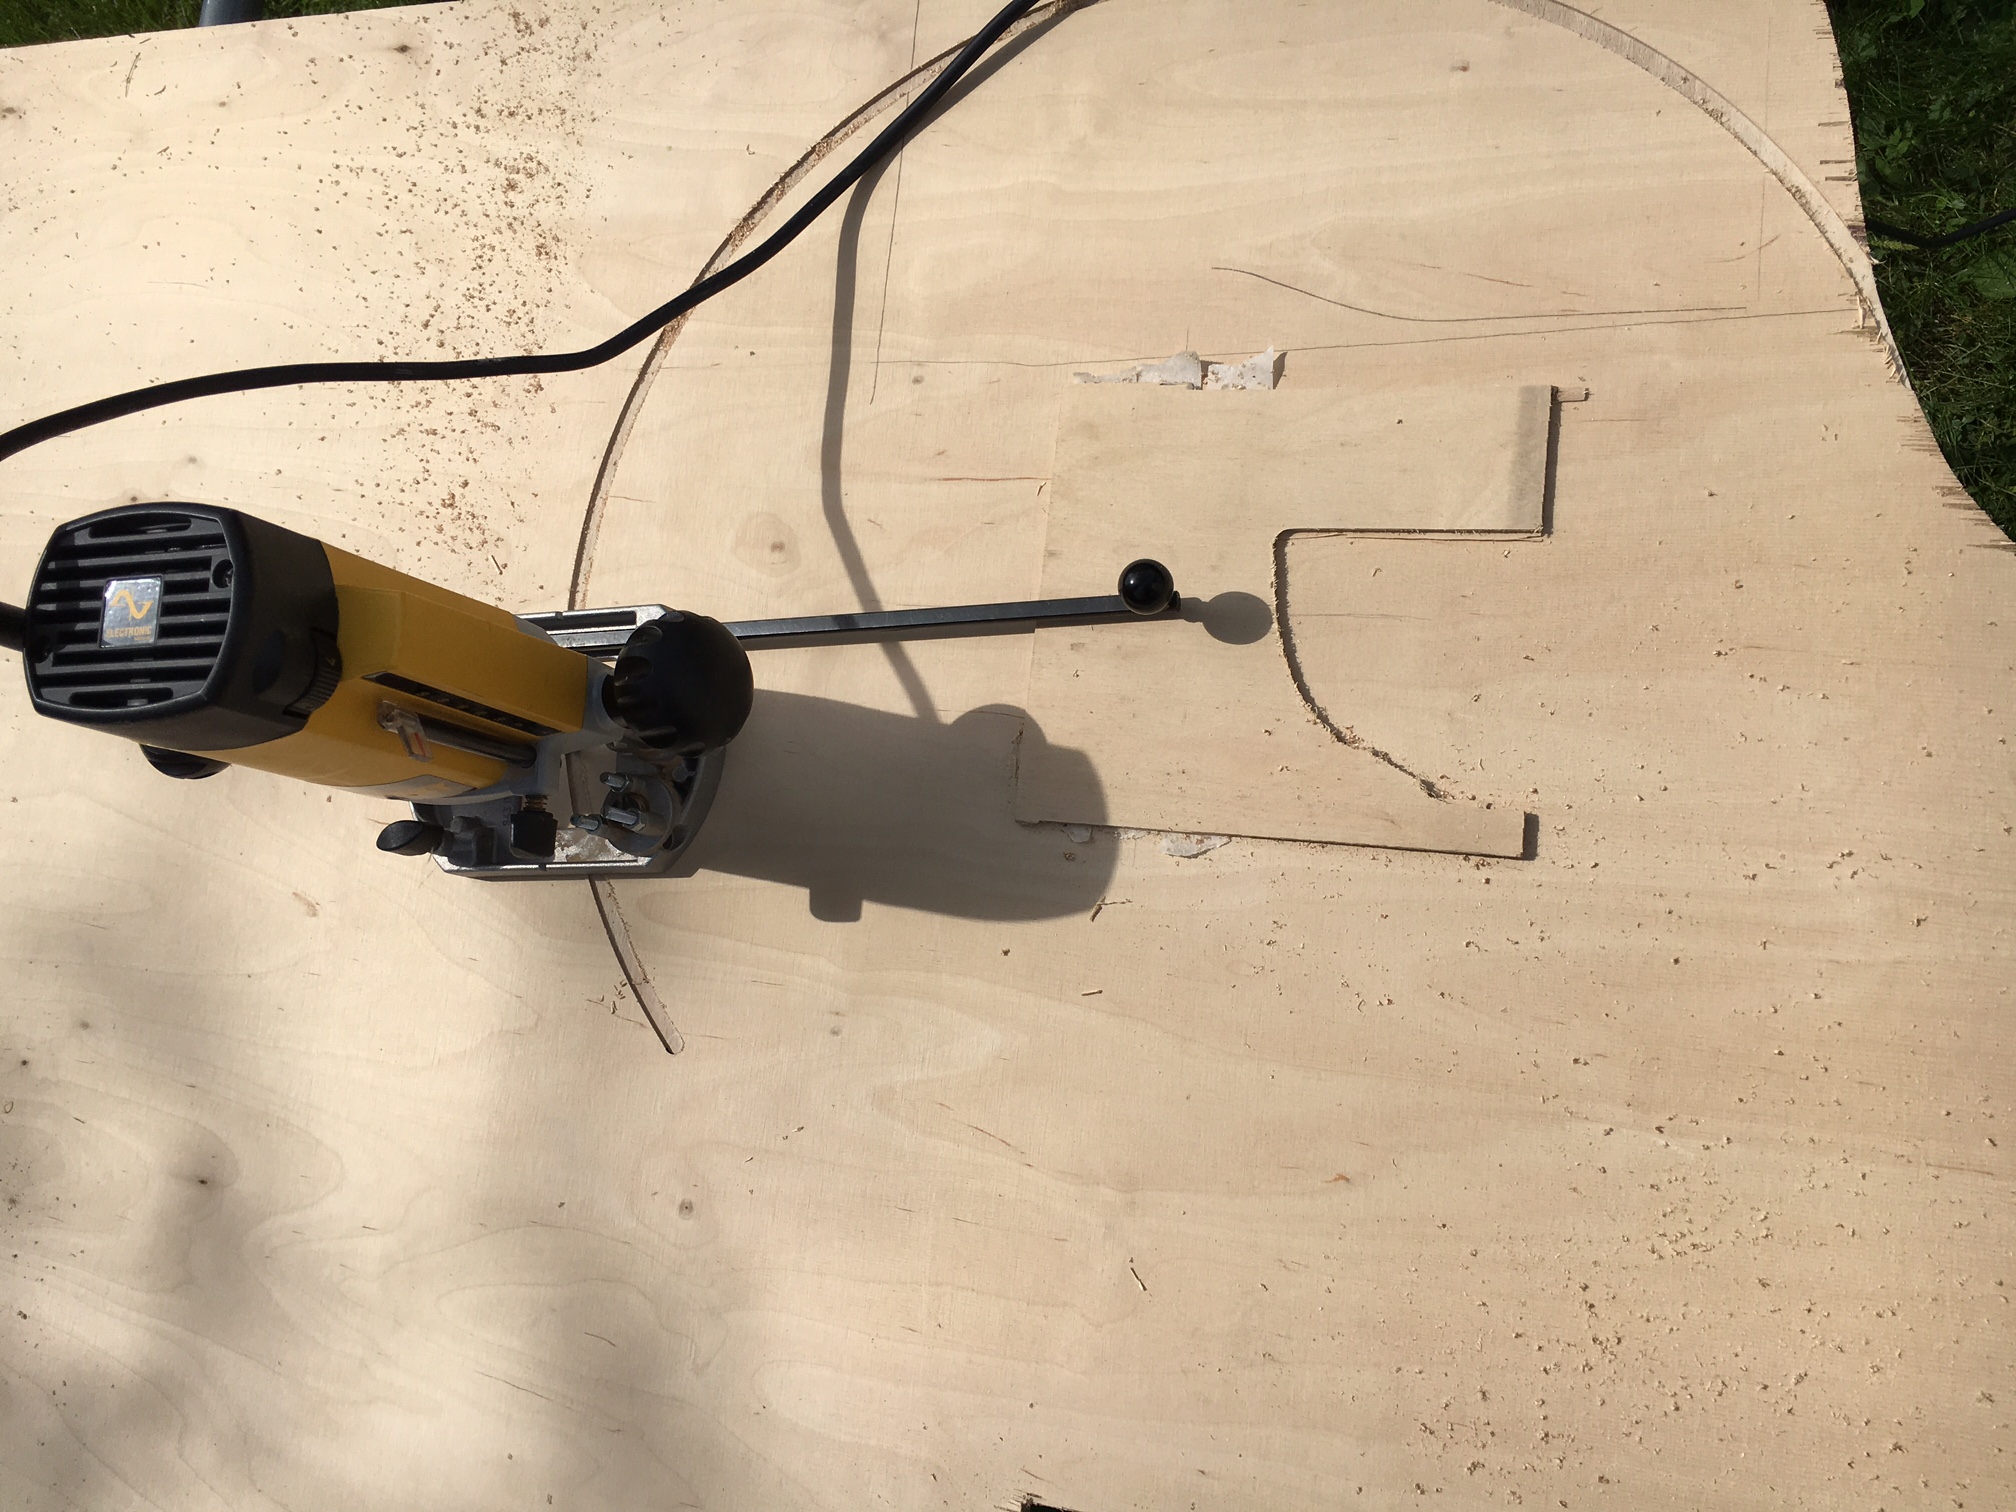
The final product came out OK. The fittings were not quite there and I needed to handroute the final plate with a plunge router because I made a version mistake with my models and did not have access to the CNC router anymore. I did not make the slots to the upper plate and therefore you can see the slot endings of the legs. I have to redo the plate once I have access to the router again.
