2016
Project Management Jan27 2016
Web site
The web site is up and running. I used Netobjects Fusion to build the site. This is mainly due to a reason that I have ~20 years experience of using it. Over the years, the HTML code that the software is producing has improved and currently, the the HTML code is readable which wasn't the case 10 years ago There are plenty of templates available that are easy to deploy. This particular template has been built by my self and the scalable side to side images on some of the pages have been coded using HTML5. The latest version of Netobjects Fusion supports this as well. One drawback of the software is that big sites become slow to publish as it goes through all the pages even there is no changes.
You can start using Netobjects Fusion by creating a New site and using site wizard to select from tens of site templates to build the site. You can later on edit the selected template in any way you want. After the site is ready for publishing, the tool crates the html files which you can either FTP from the tool to the site location or publish to your local hard drive. From there you can use e.g. GIT to push the files to the site location..
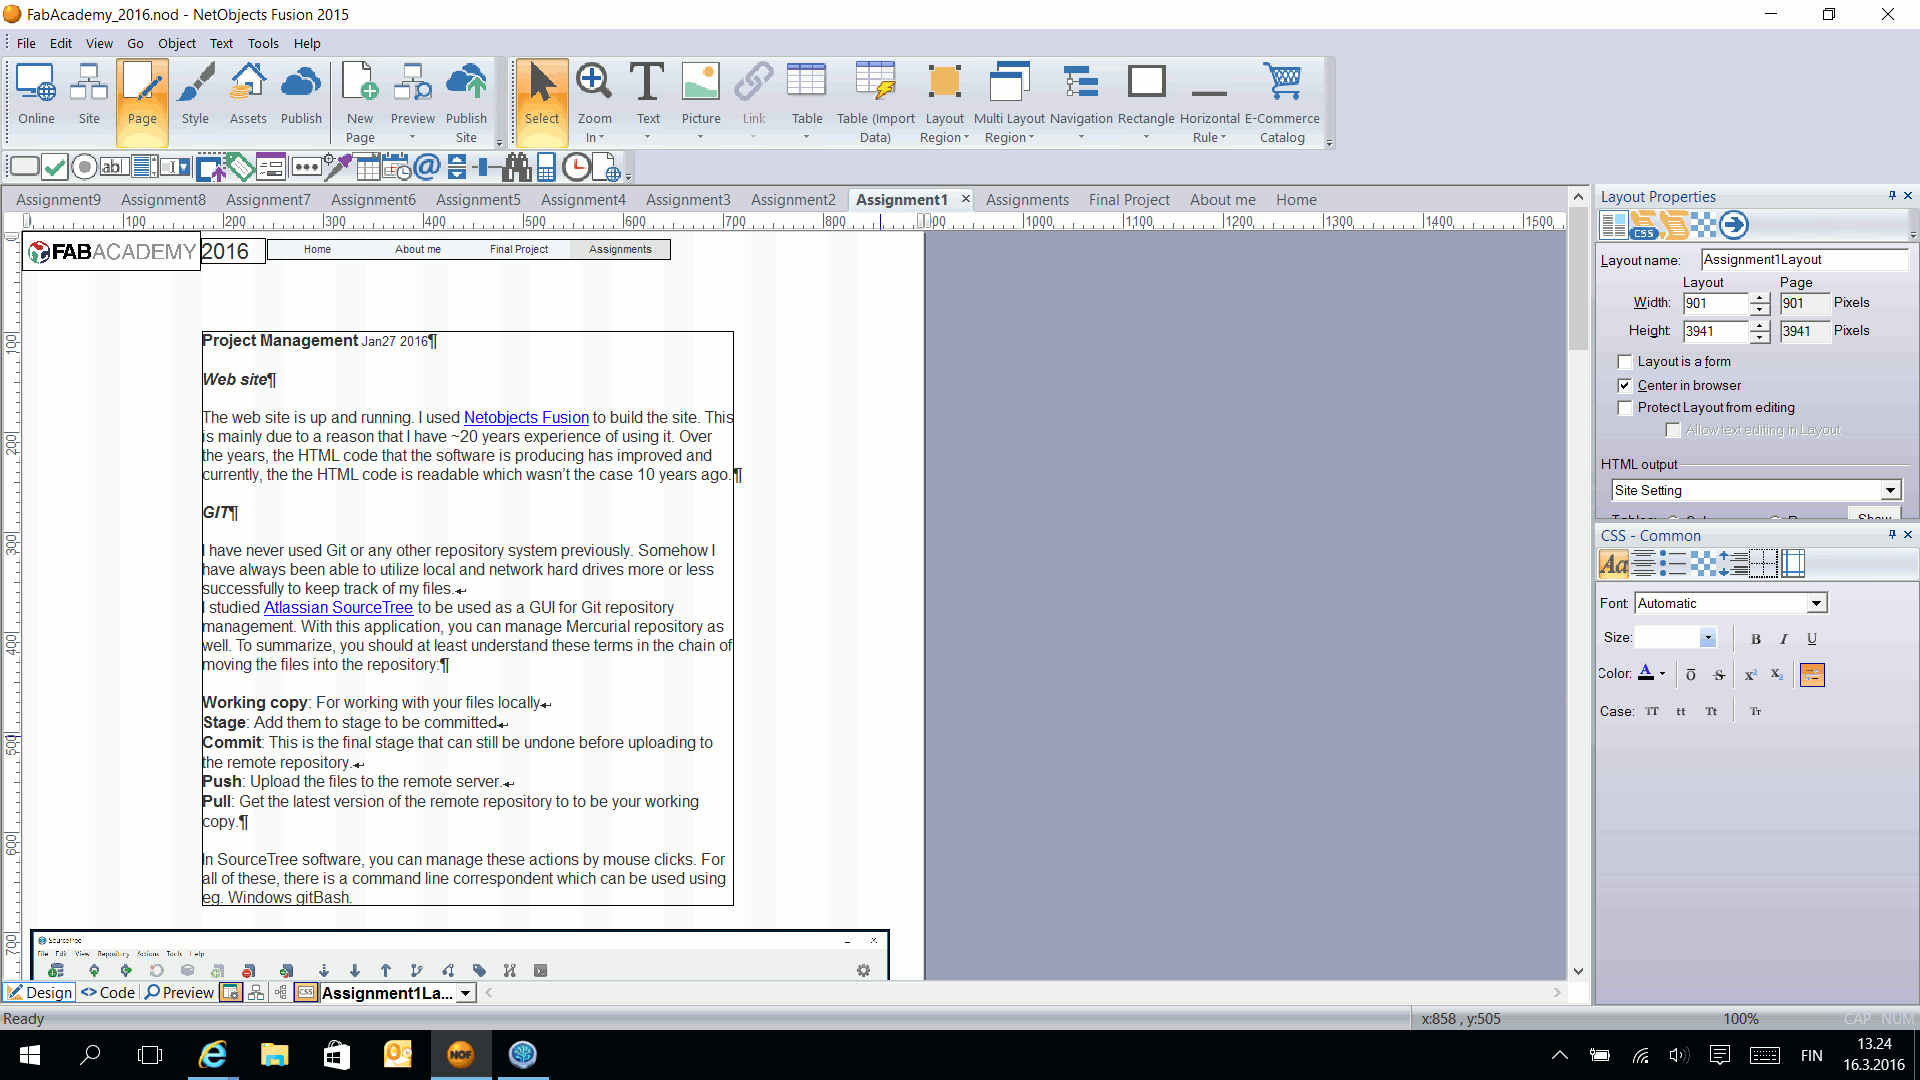
Two steps of creating a new site:


GIT
I have never used Git or any other repository system previously. Somehow I have always been able to utilize local and network hard drives more or less successfully to keep track of my files.
I studied Atlassian SourceTree to be used as a GUI for Git repository management. With this application, you can manage Mercurial repository as well. To summarize, you should at least understand these terms in the chain of moving the files into the repository:
Working copy: For working with your files locally
Stage: Add them to stage to be committed
Commit: This is the final stage that can still be undone before uploading to the remote repository.
Push: Upload the files to the remote server.
Pull: Get the latest version of the remote repository to to be your working copy.
In SourceTree software, you can manage these actions by mouse clicks. For all of these, there is a command line correspondent which can be used using e.g. Windows gitBash.
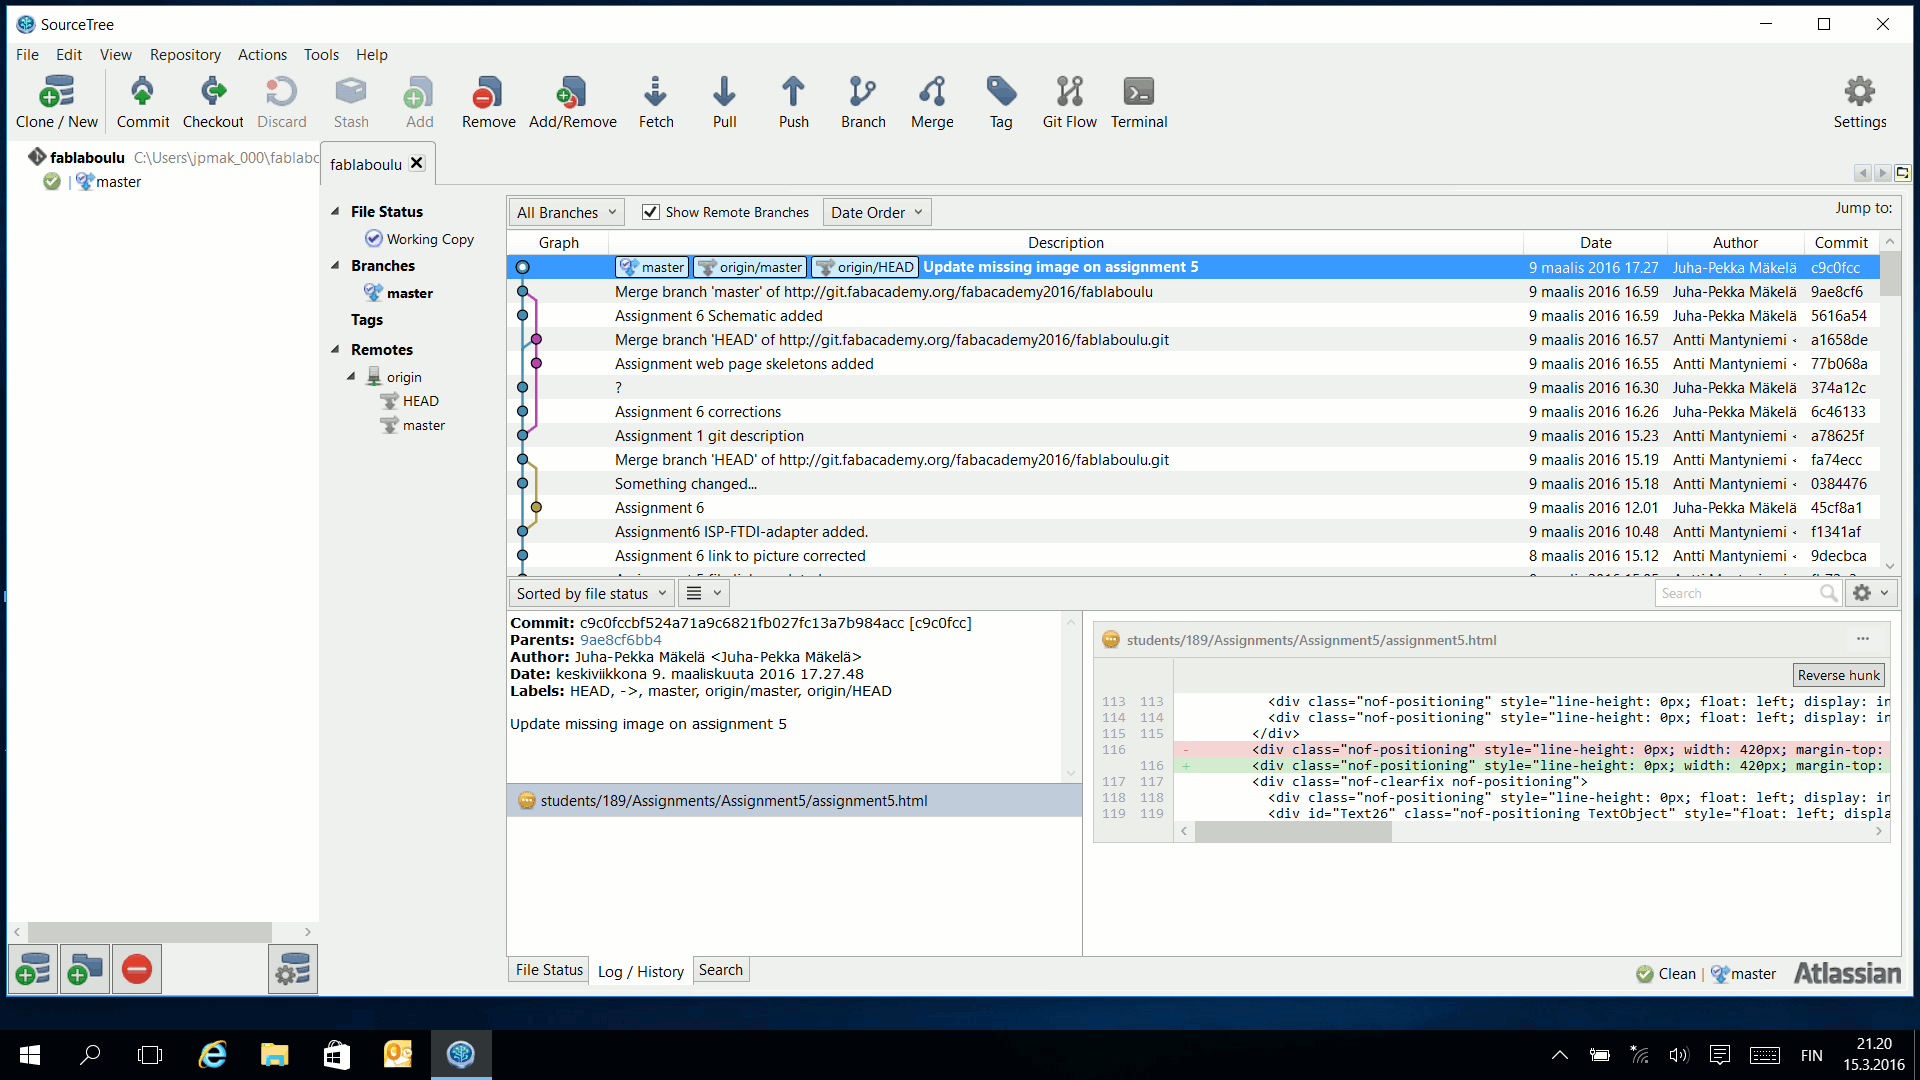
After you have put the credentials, you should update your local working repository by pulling the current situation in the remote end by selecting PULL
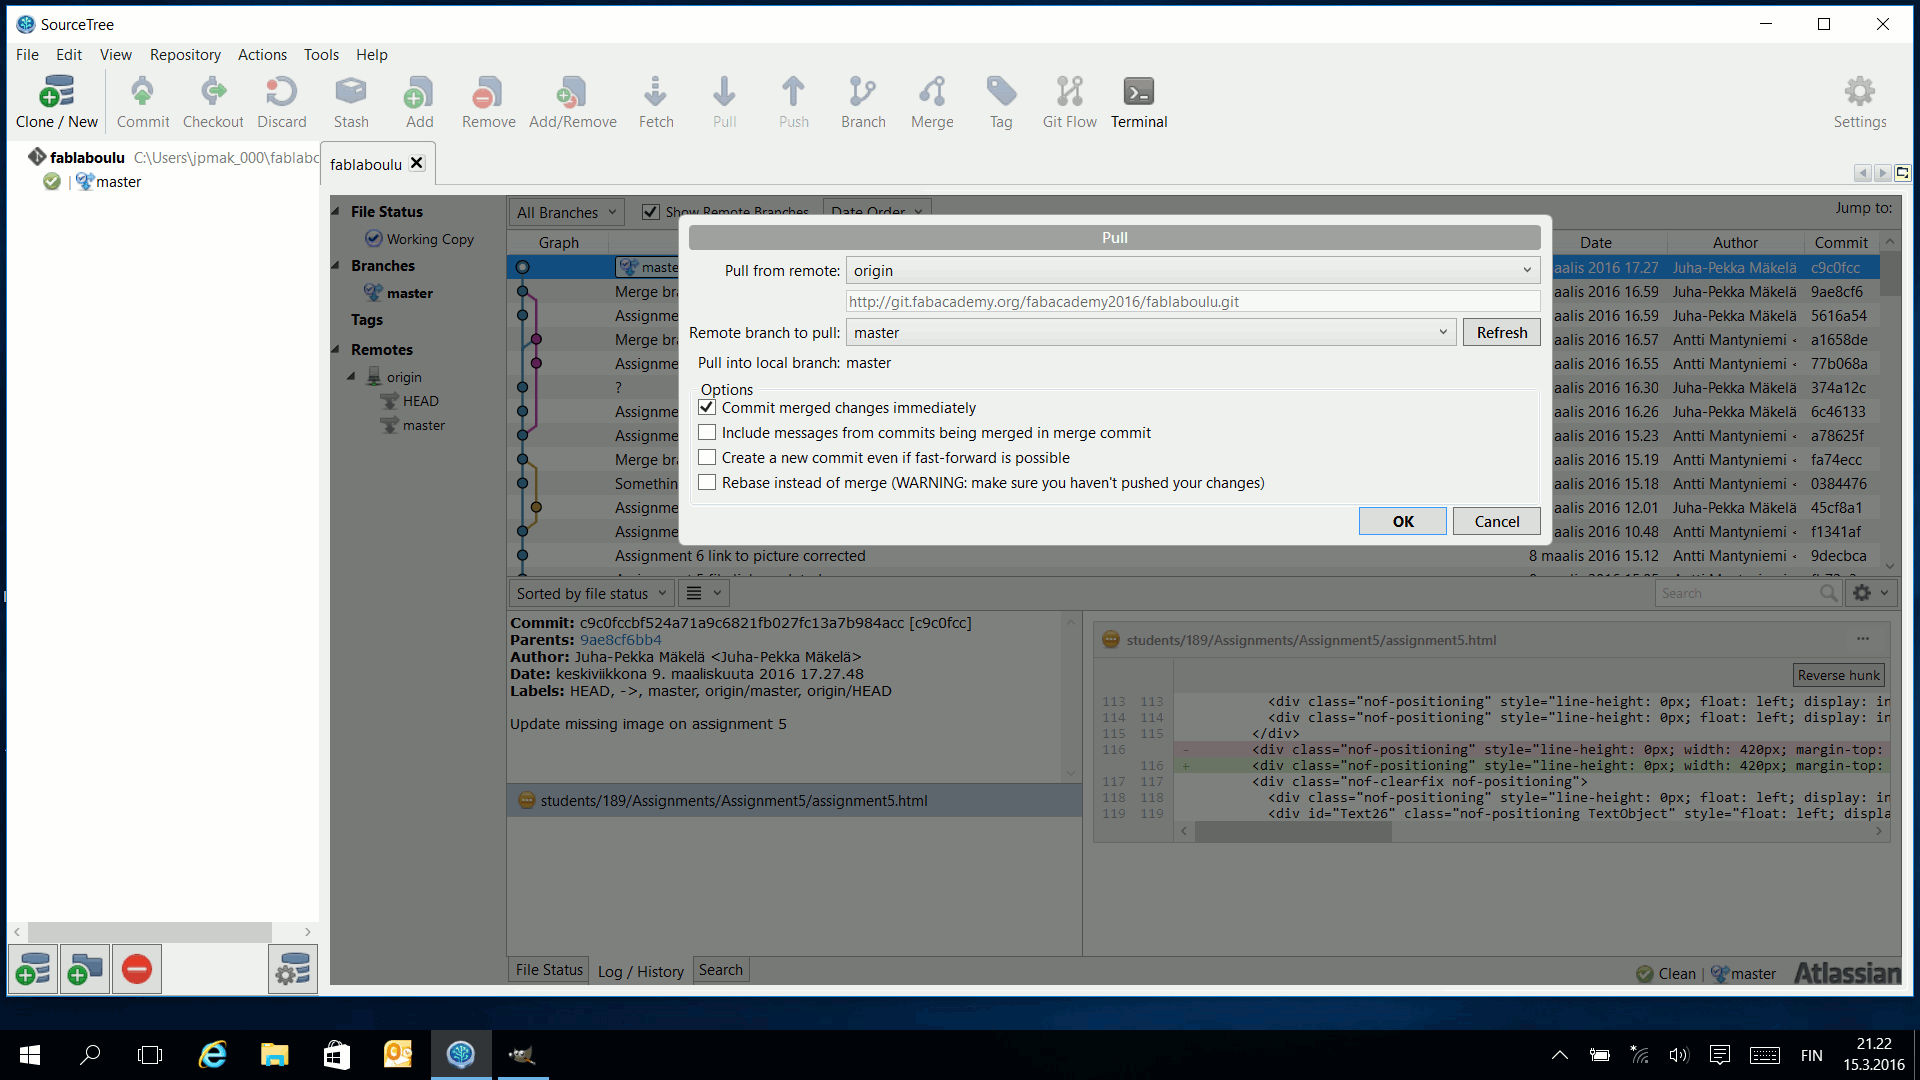
Next phase can be handled with default settings
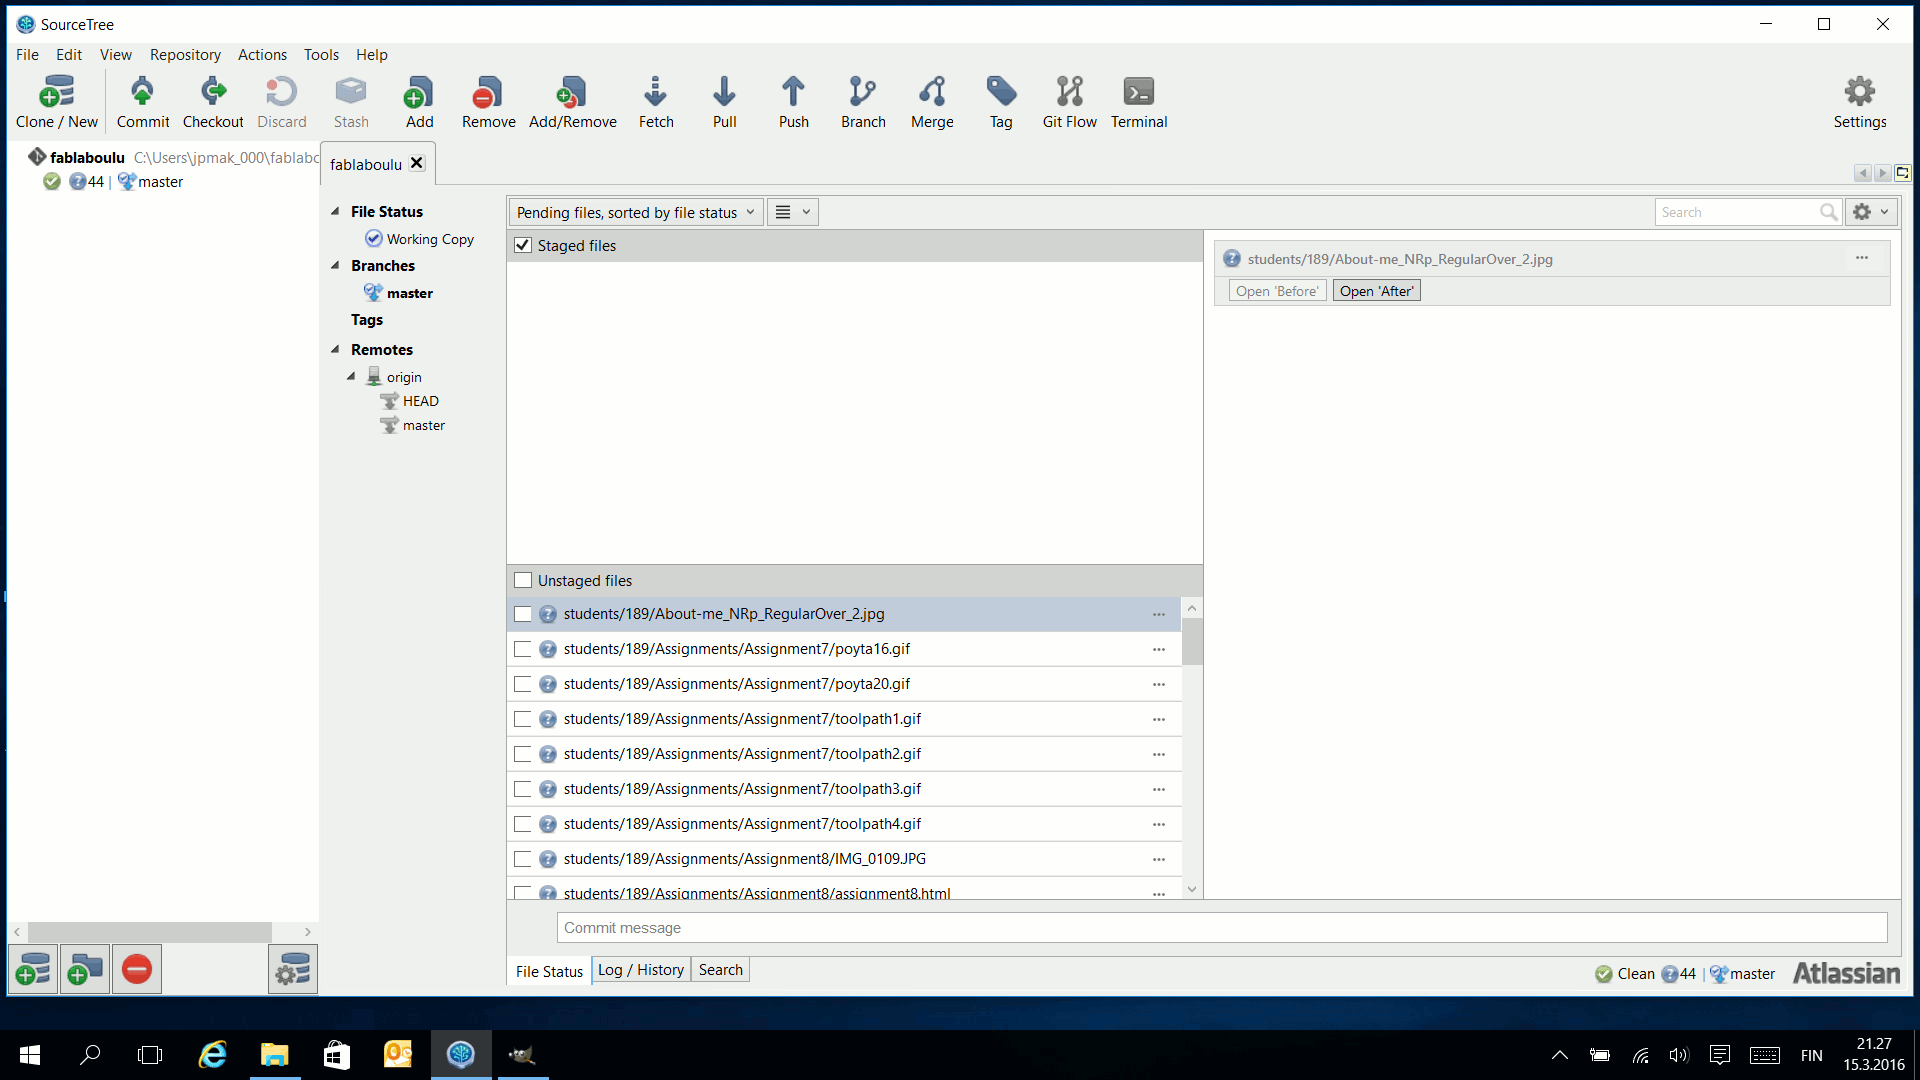
After this, the bottom middle window is showing the files that are changed in the local directory. If everything is fine, ticking the Stage files box, moves alls the files to upper middle window ready to be committed.

Next, you need to press COMMIT button to accept the files to be uploaded
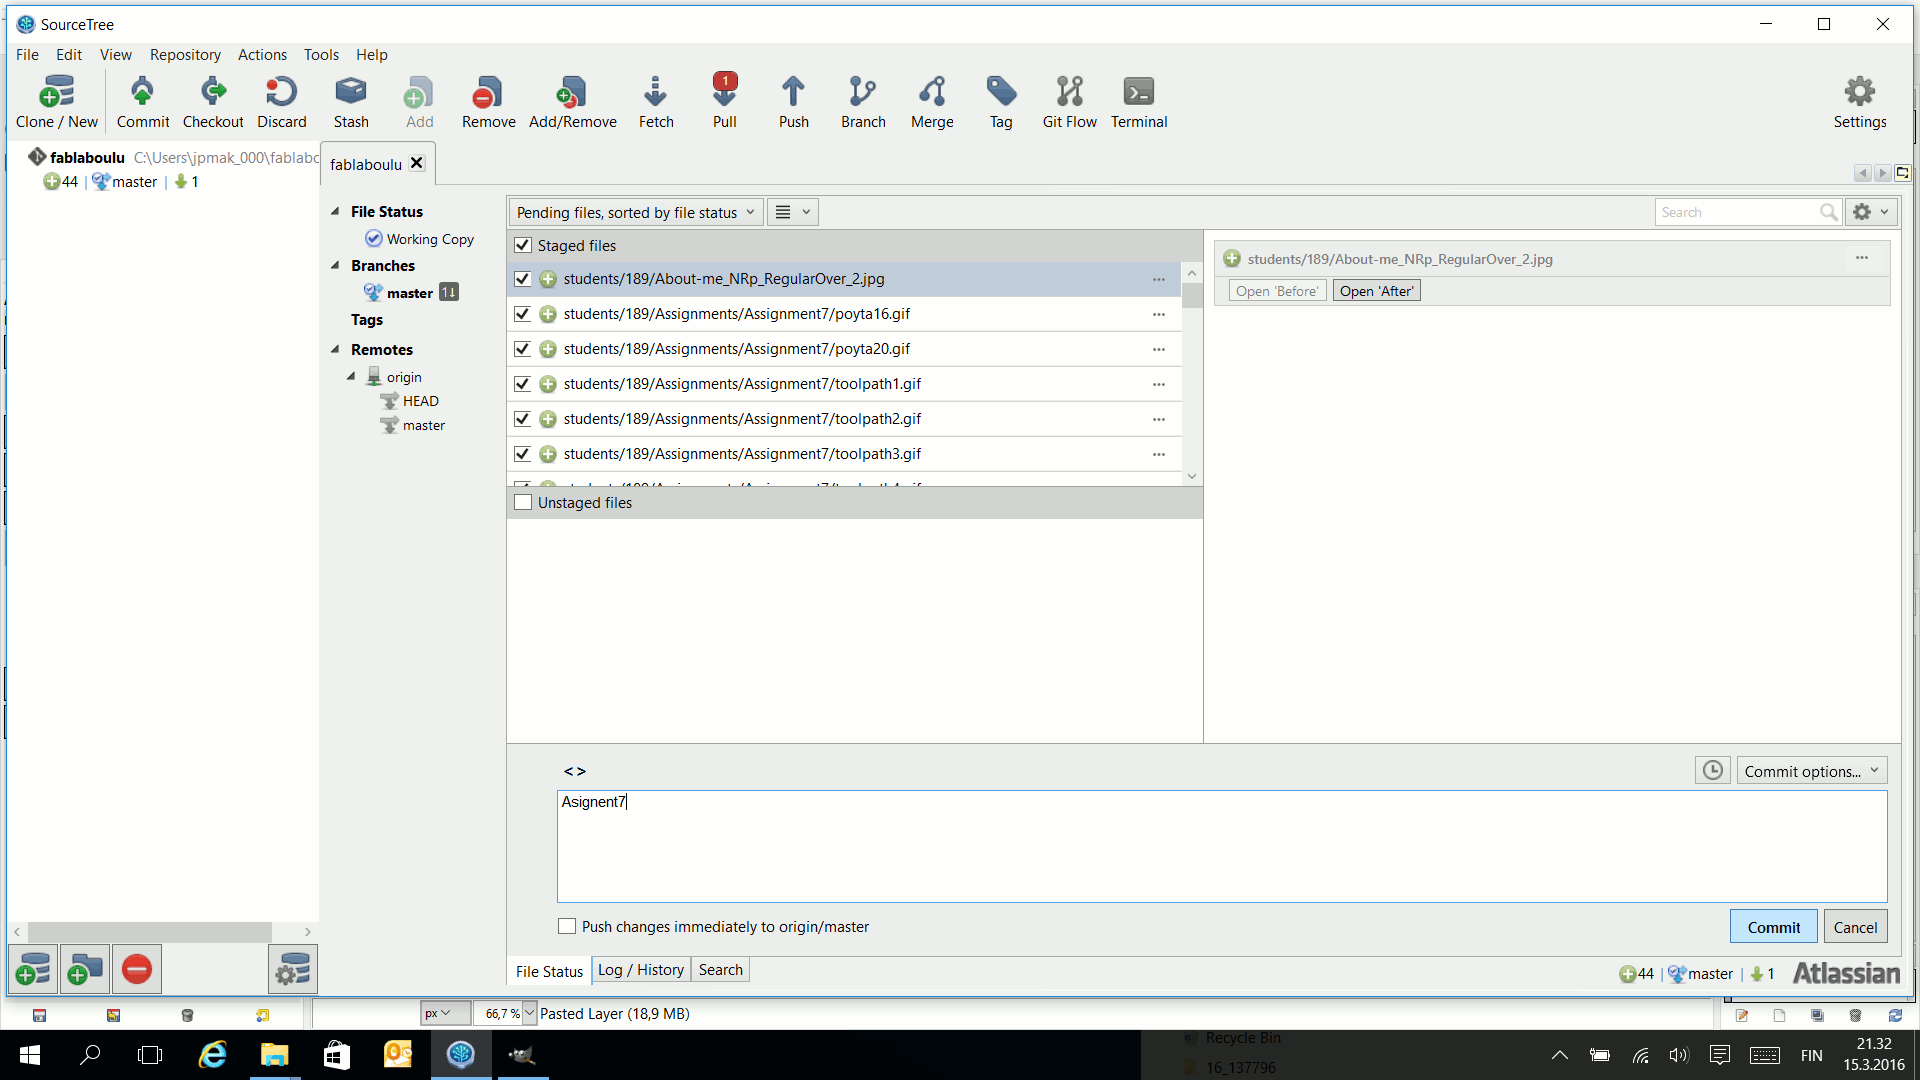
Before proceeding, you can give informative name to this commit.
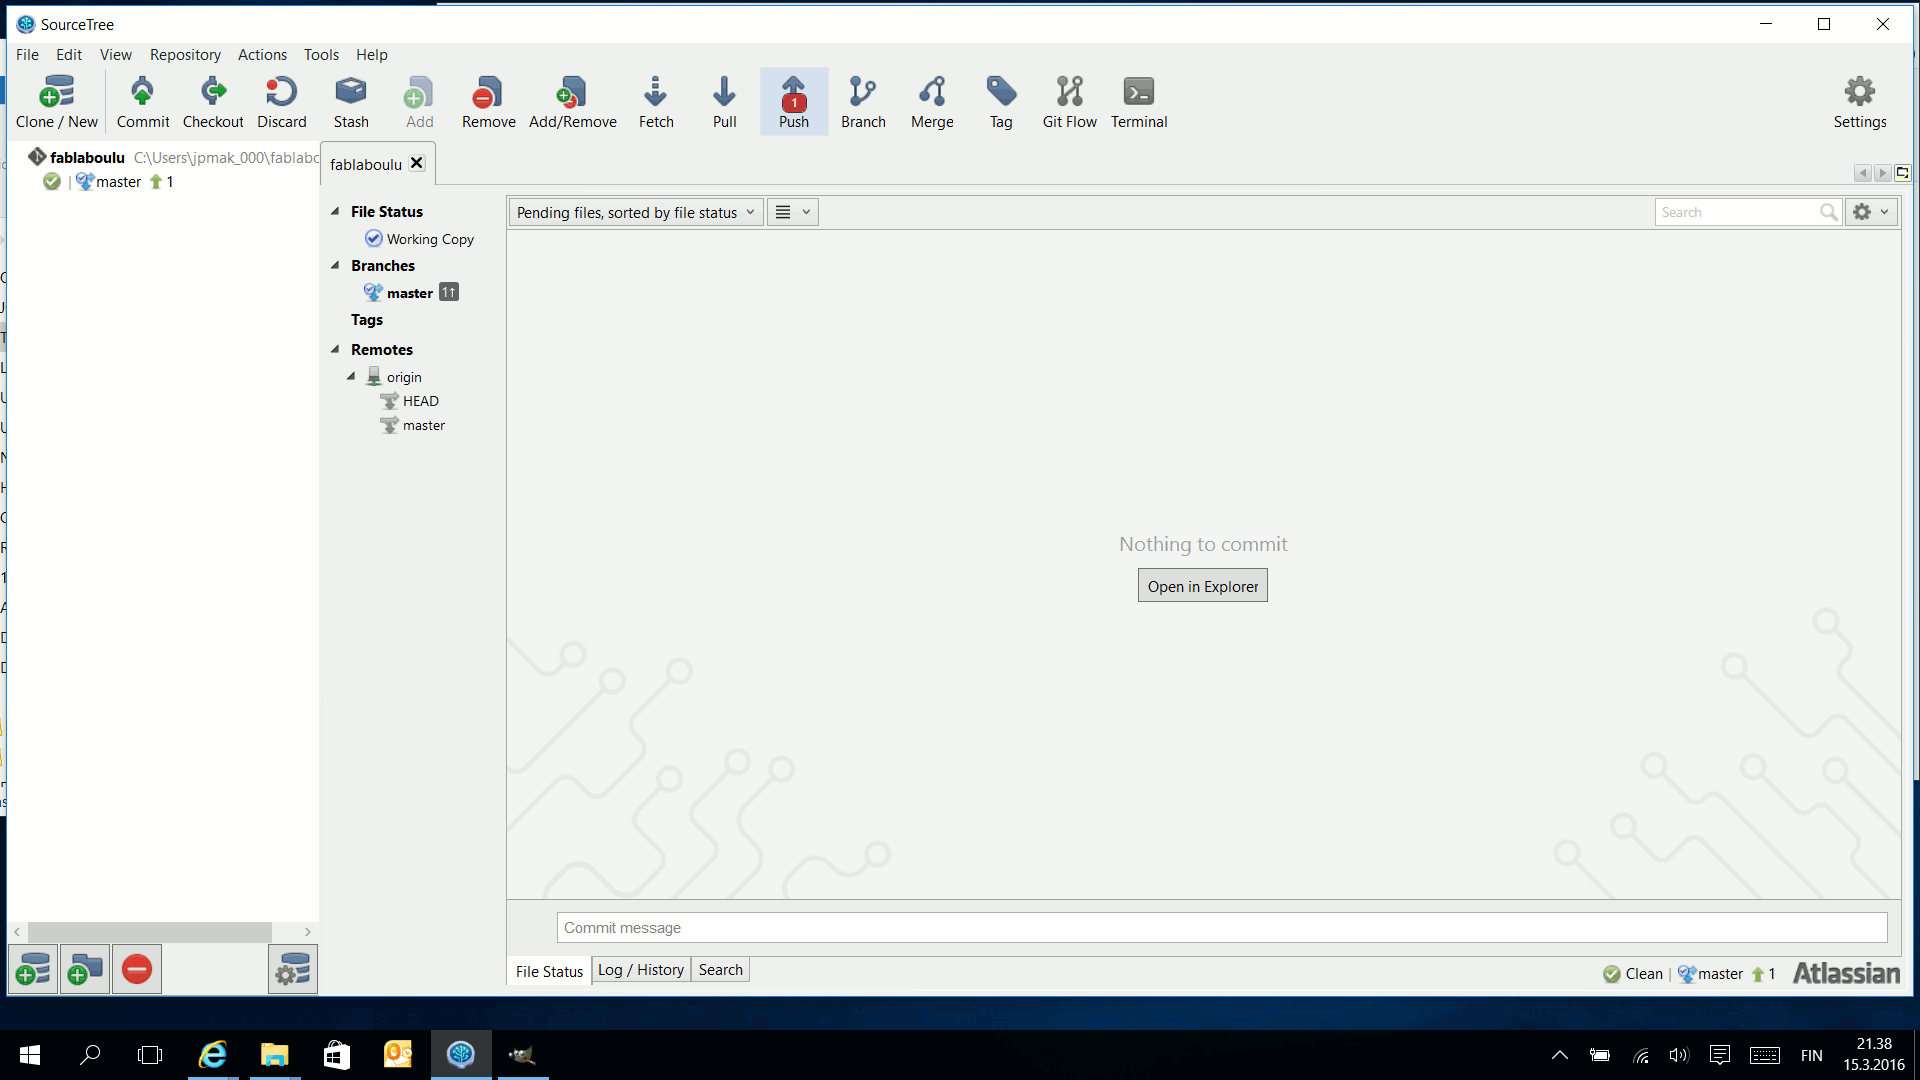
If everything went fine, there should be a red tab on top of PUSH button and by pressing this, the files are transferred to the remote location