2016
Composites May 4. 2016
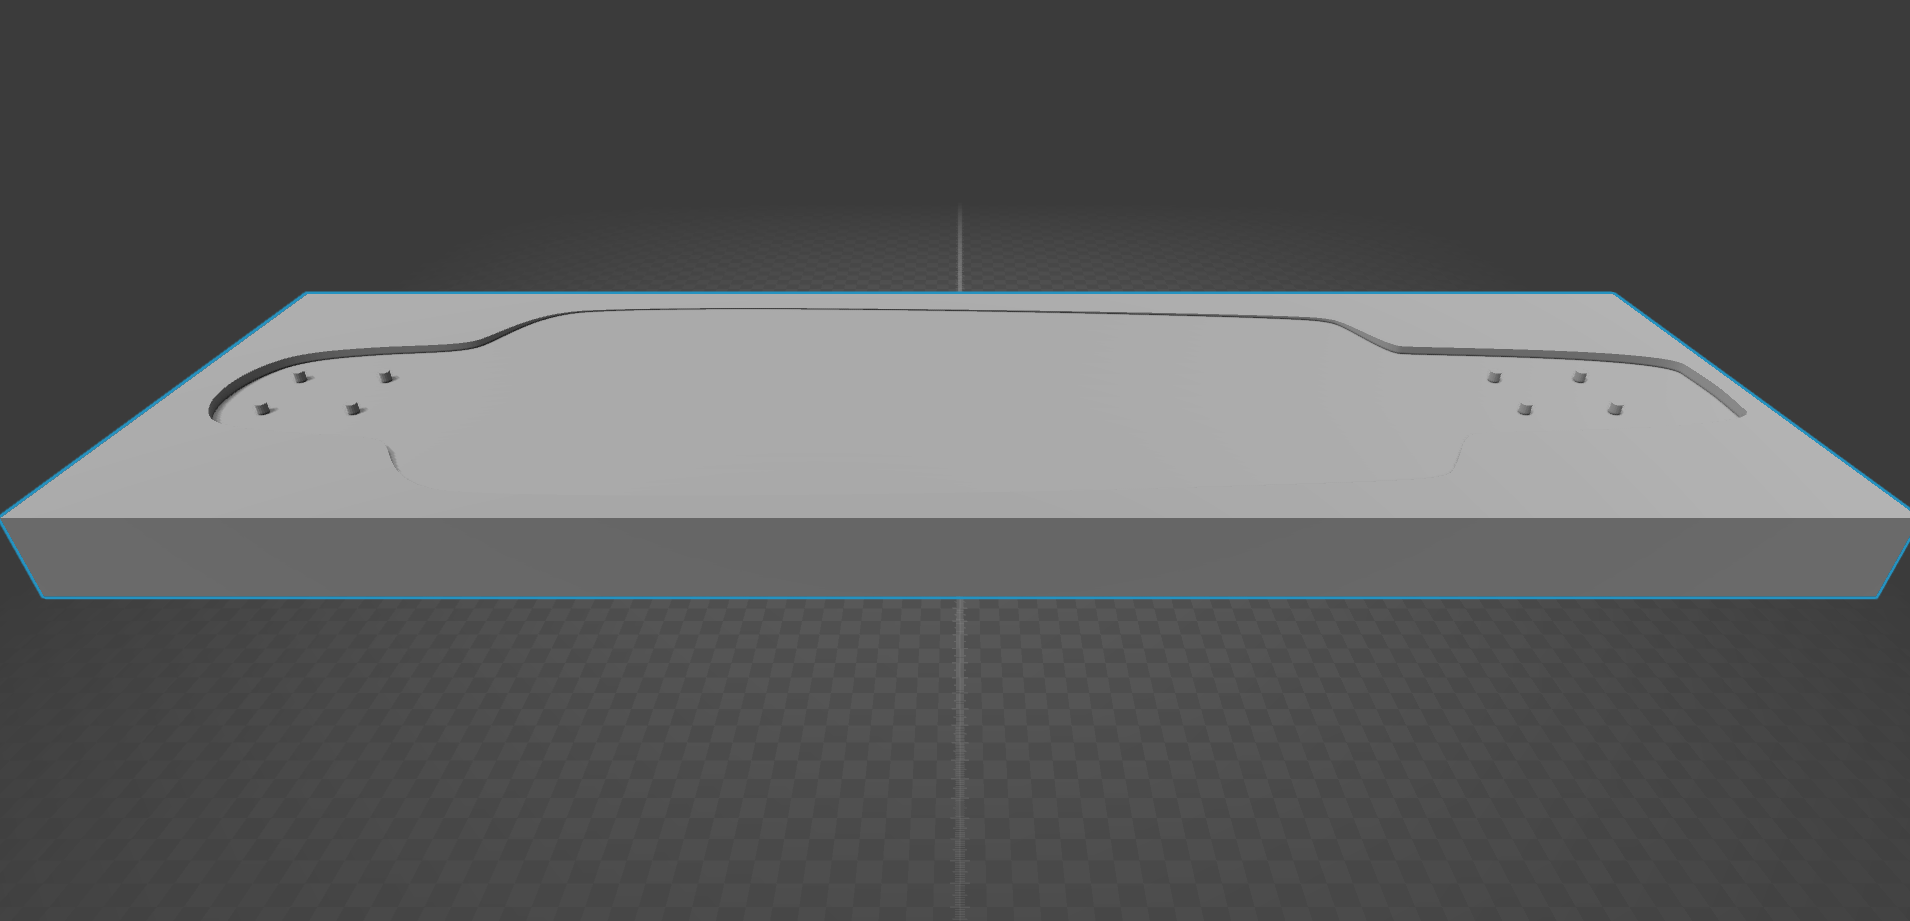
As a composite week exercise, I decided to to a skateboard deck. Or more specifically, a longboard deck. I came across a template here. I used an on-line service for converting pdf to dxf file. There are plenty of on-line services to convert pdf to dxf or dwf files. I just picked the first one. I wanted to make the deck with concave shape which required some 3D editing before the model of the mold for the composite was ready for machining.

I first tried to use Inventor to make the mold model but was not able to do sculpting as required. I then switched to Rhino3d and was able to produce the machinable stl models. I used a surface that I produced from a curved line which I used to cut the board in two halves. See the Rhino files.

Bottom mold

Top mold
Next, we needed to produce the g-code for CNC. I used FreeMILL by Mechsoft. FreeMill is either standalone software (which I used) or plugin for Rhino3D or Solidworks. It is super easy to use and there are many options as machines for g-code. I made mine for Mach3.

You go through and set every part (self explanatory) on the left column and when ready, you select post to generate the code. One thing to remember is the fact that you cannot set the cutting in amount other than what what is in the model. However, you can compensate this with the tool zero setting of the CNC machine if required. The model sides were shallow enough to go with one pass.
Cutting process
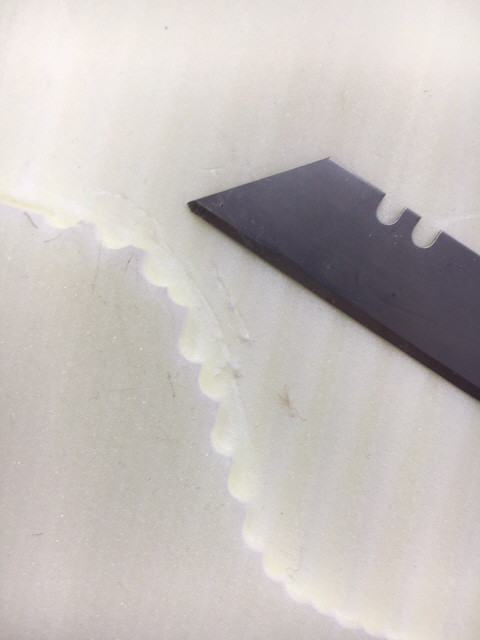
Here are the both sides. The screw taps were not accurate enough ad the overlap of 30% resulted a sides that needed some manual work. I also cut the screw taps away. CNC time approx 3h. I did some side trimming with a blade.


Plastic for excessive epoxy with hole making device
Laser cut purlap. Laser cutter values for cutting 50%-50%-50%. I offset the fabric to be 2mm smaler than the mold to ensure fit.
Applying resin with wood sticks and splints. You need to be quick as the open time is approx. 25 min. Every sheet should be fully covered with resin. I used 9 layers.
After all the layers are piled, a punctured sheet of plastic is applied on top.
After that, we put a sheet of absorbing cotton to take all the excess resin. The same layers of cotton and plastic layers need to be applied to the bottom side mold as well.
Board under pressure. Concerns: Enough layers? Alignment of the molds. the amount of the epoxy resin.
As shown above there is not enough thickness. The reason for not rigid structure is threefold; not enough material, not enough resin, and not enough pressure. At least doubling the amount the layers is required. 9 layers generated approx 6.5 mm thickness. Also, there might have not been enough pressure because the molding structure and not enough material in between. Also, the cloth was dry on some points which indicates the lack of resin applied.