2016
Casting and Molding Apr 20. 2016
This week we got to do some casting of plastic objects. I started my designing process by thinking an object that could be used for my final project as well. I came up with an idea of guitar pickup bobbin that could be used with my pickup coil winding machine. After some thinking I thought we came up with a solution of splitting the object for two sided mold. I started to mode the bobbin with Inventor.

After a while I realized that my assumptions of workable molds were incorrect. If you do the cut, you need to place the parts the cut side facing to the bottom of the silicone mold. So, next idea please!
Somewhat related object would be a cover for the pickup. The structure of the cover is a cup-like meaning that the splitting method would not work with this one. I designed initial mold wax models where the molds would be inserting types where one side of the mold would partially go inside the other leaving a gap for the plastic.
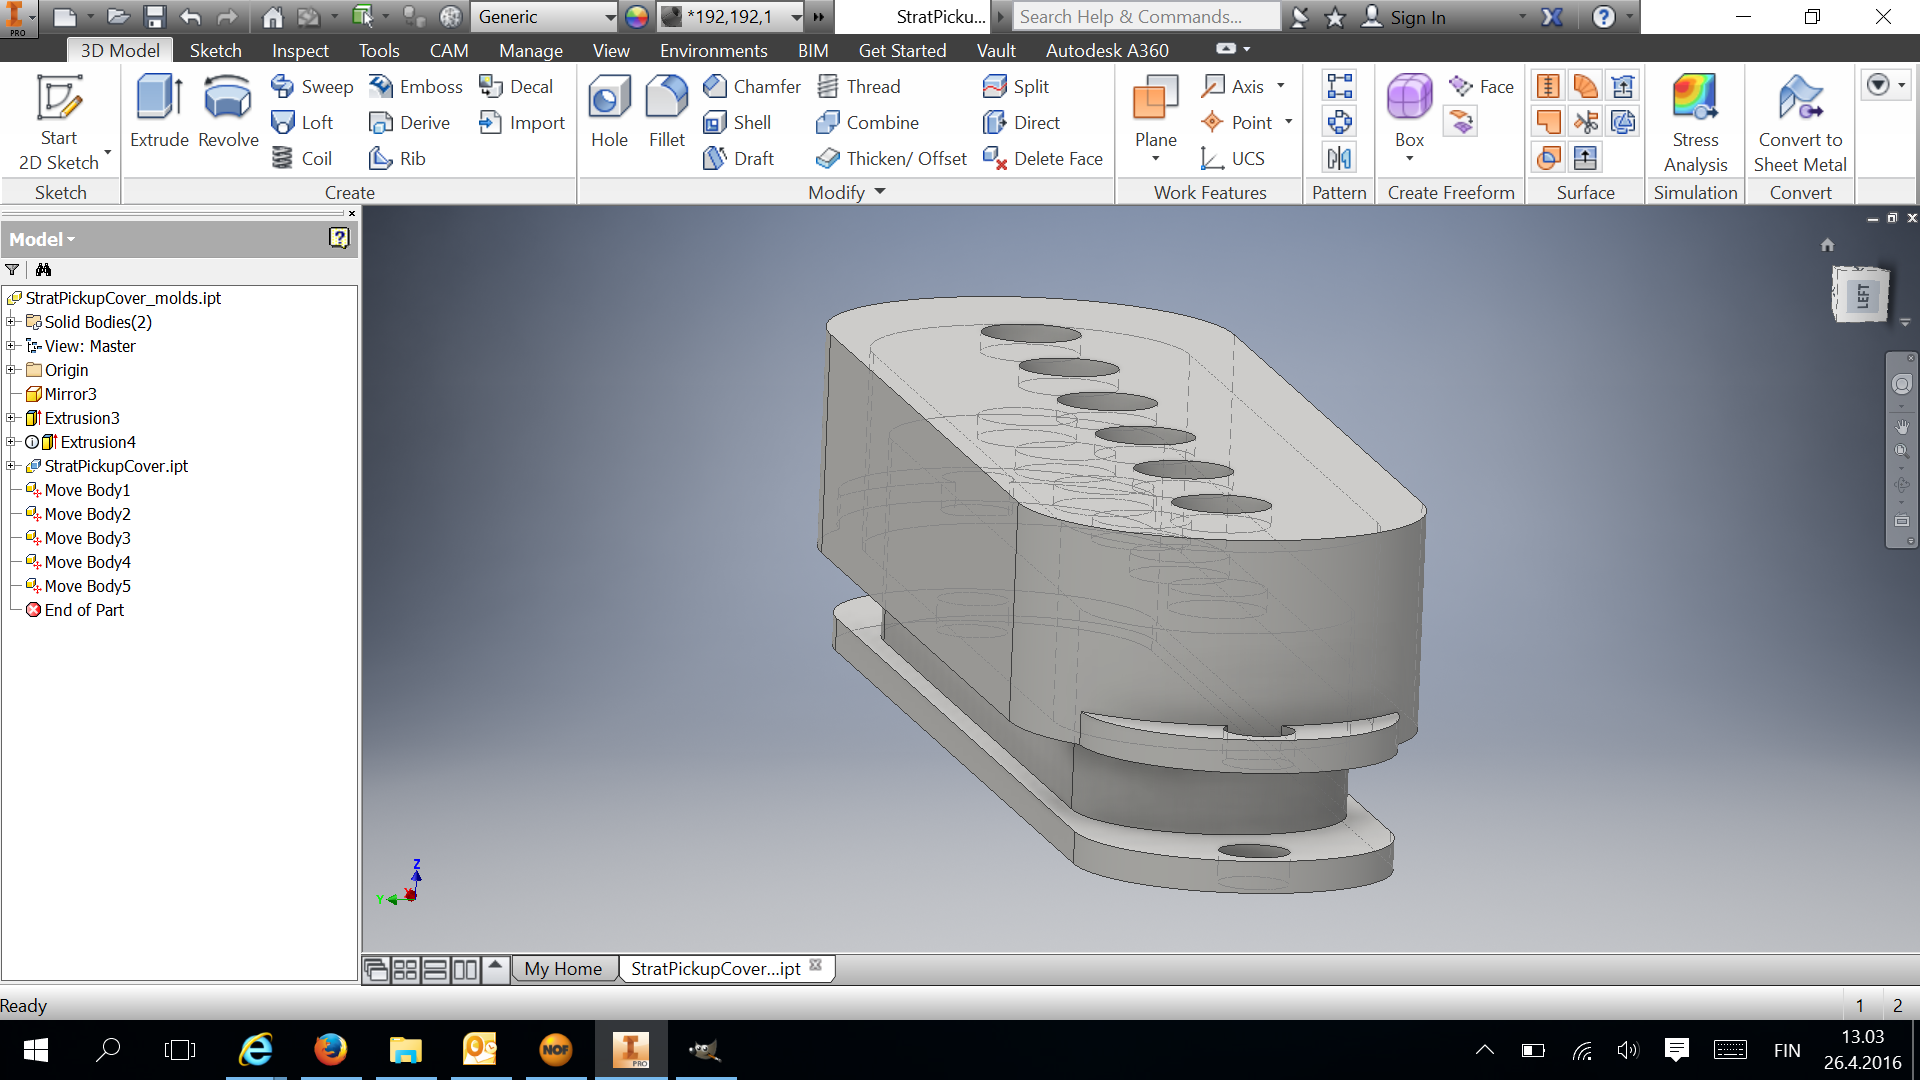
This approach seemed difficult for the given time left until the review so I decided to pick something that teaches me the whole process of molding and casting in a given time period.
From Thingiverse, I picked a model of K9, the robotic dog from TV series Dr. Who. I found a STL model that I imported to Rhino3D and made it splittable solid with these instructions:
- Apply Mesh > Mesh Repair > Fill Holes to all component meshes
- Apply Mesh > Mesh Repair > Unify Normals to all component meshes
- Join all component meshes with Mesh > Mesh Boolean > Union
- Enter "MeshtoNURB" at the command line to convert mesh to solid
After this, I was able to make a split to the model by drawing a surface to a plane I wanted to make the cut and using split command. Then, I created a box 3mm down from the split plane upward. This negative value is, however, not necessary since milling is only done to the level of the cutting surface anyways and no bottom thickness is needed. Then, by using Shell command, I made the box empty except half of the model. as shown below. After this, I did the other part of the mold by making the box towards negative direction along the Z axis.
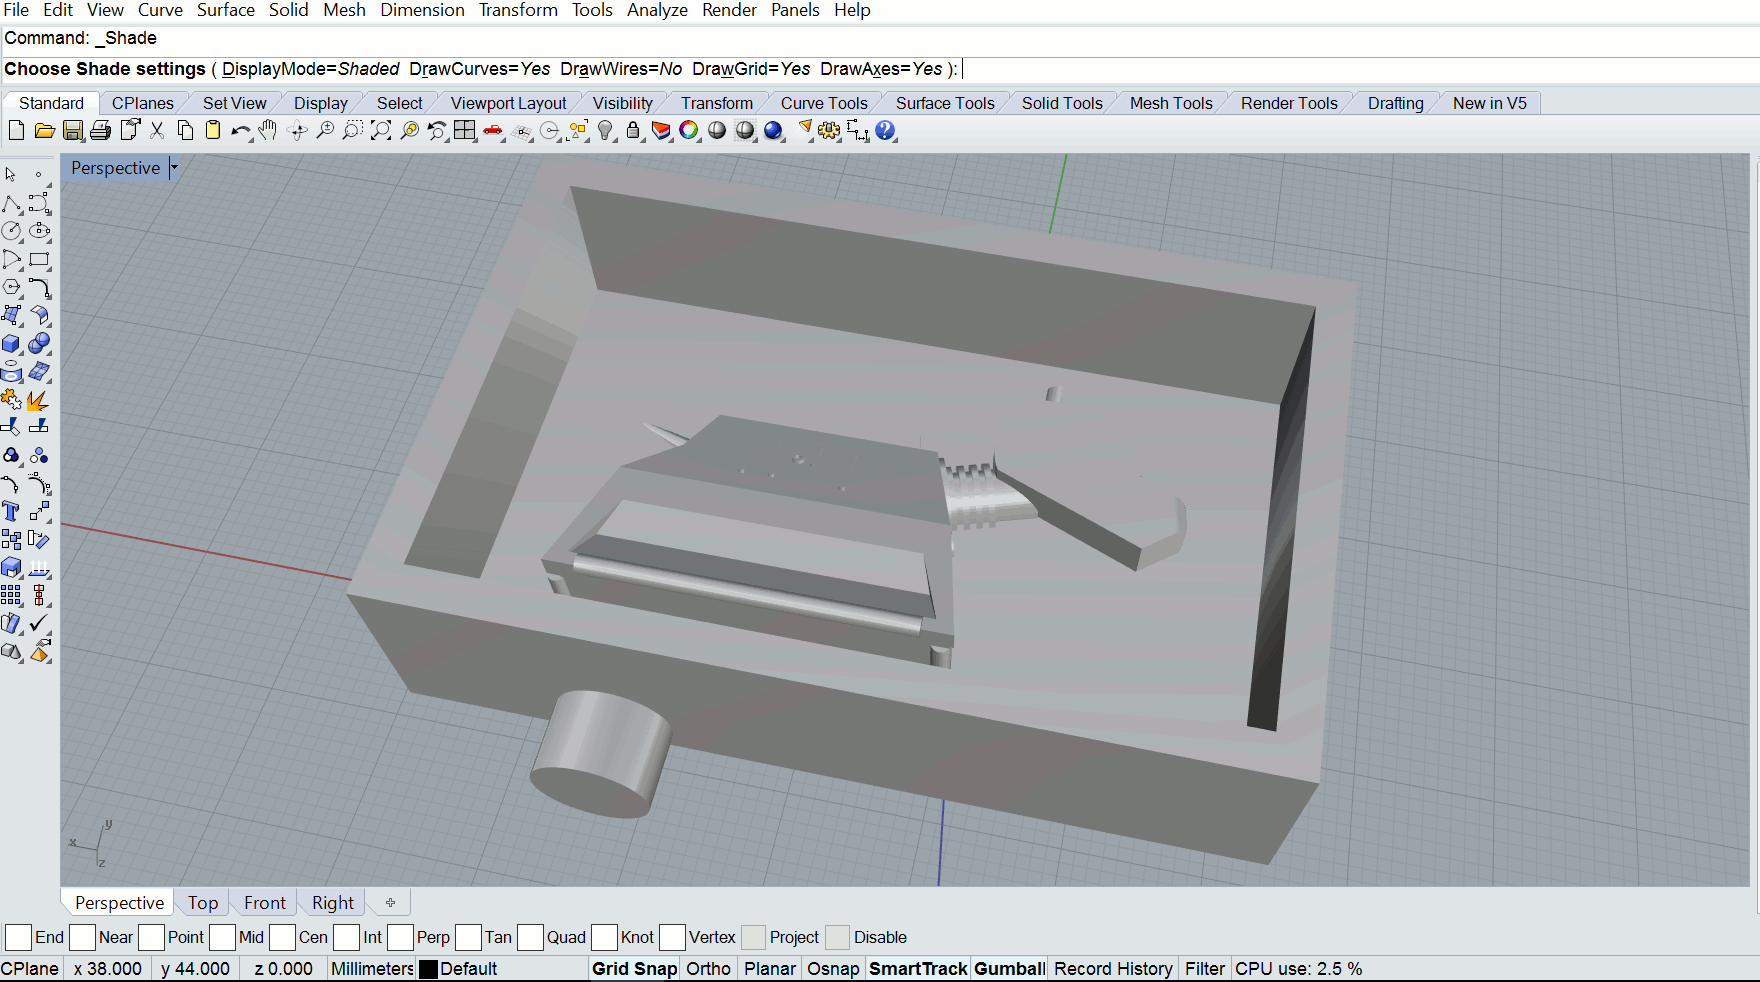
I used boolean union command to make the sides combined. The boolean operation did not go through with the other half and it had non-manifold edges which I removed using Netfab basic. after exporting the stl from Rhino.
Next, I did the milling with Roland SR-20. and using Roland Modela Player 4: Here are the steps used for setting it up:
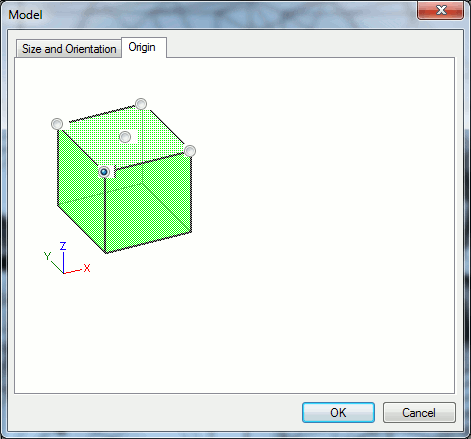

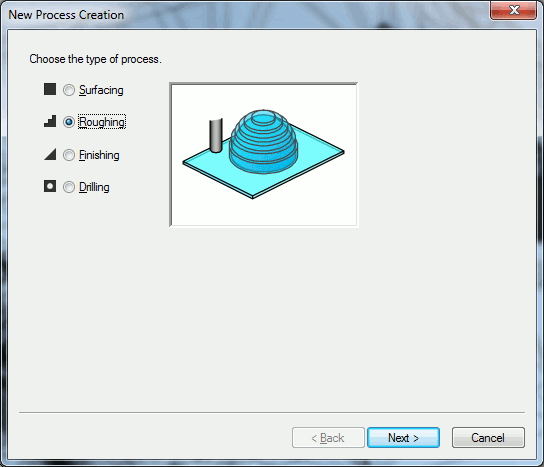
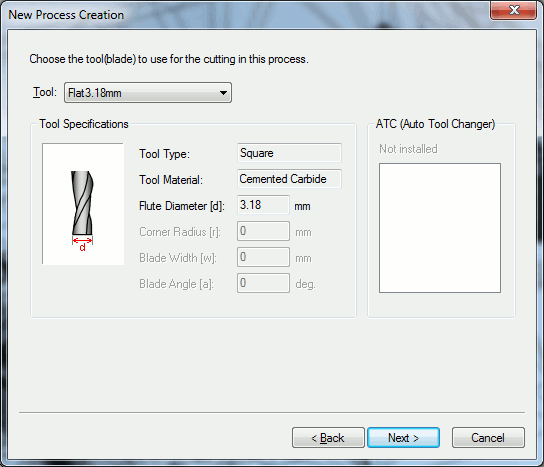


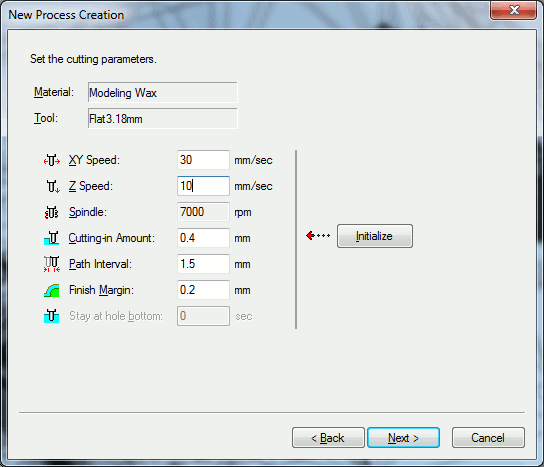
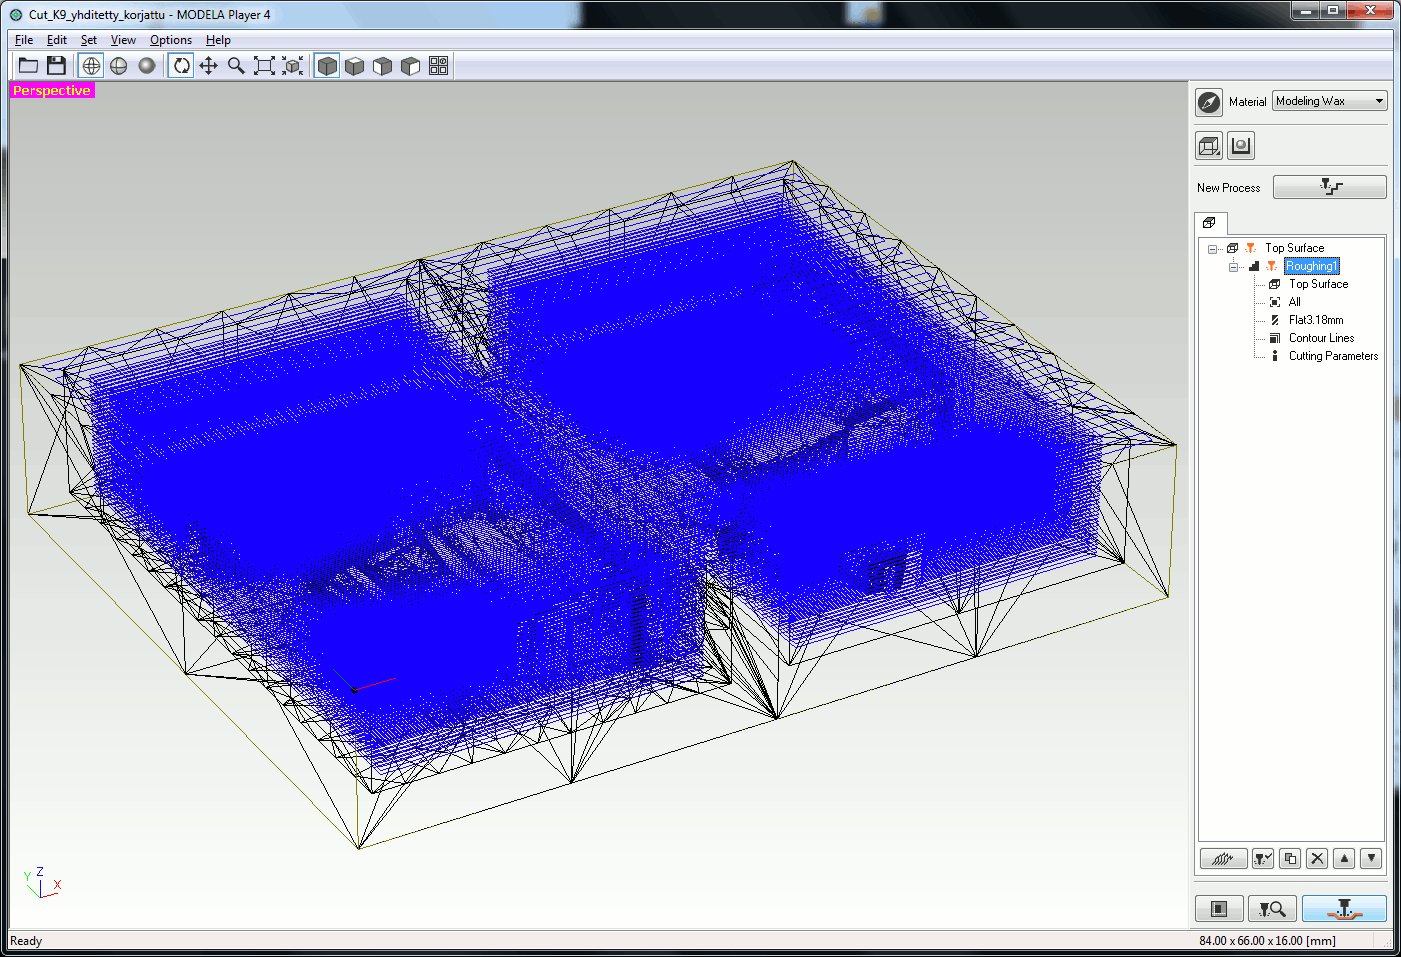
The toolpath can be simulated in File - Cut preview

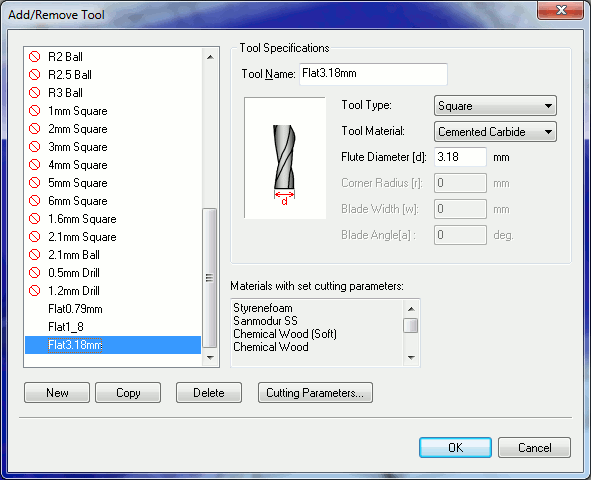
We needed to do a tool in Modela Player. This was done by copying a tool that was visible in the tool selection list when making the tool paths and changing the parameters according to the new tool. We were not able to make the tool visible in the list if we started from scratch. We also set the marginals to zero since we did not need angeled sides and did the fine cutting with same 1/8” bit but with more overlap than when doing the rough cut and reduced speed to 16 mm/s.


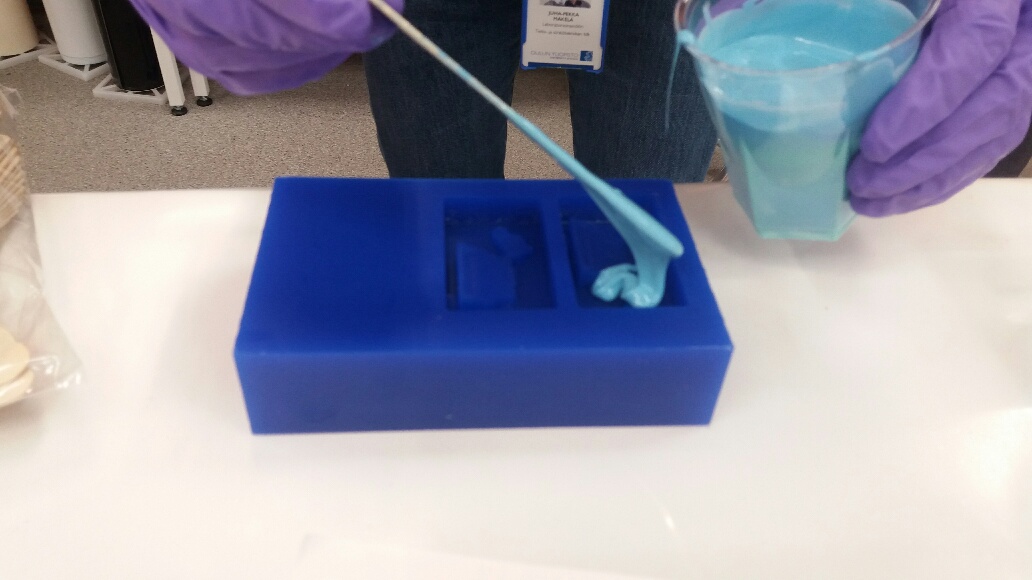
Preventing bubbles by brushing the initial layers of silicone rubber
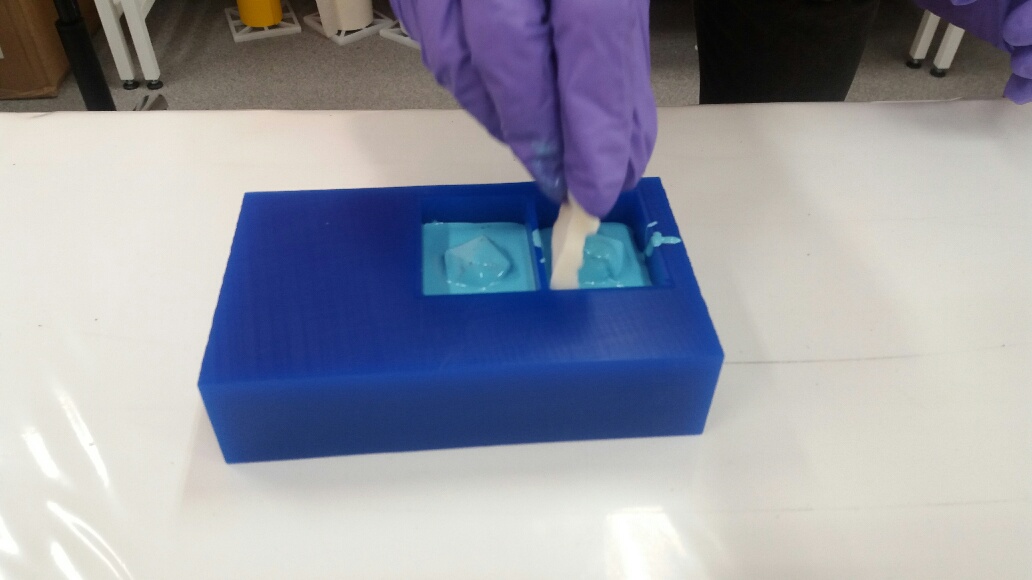
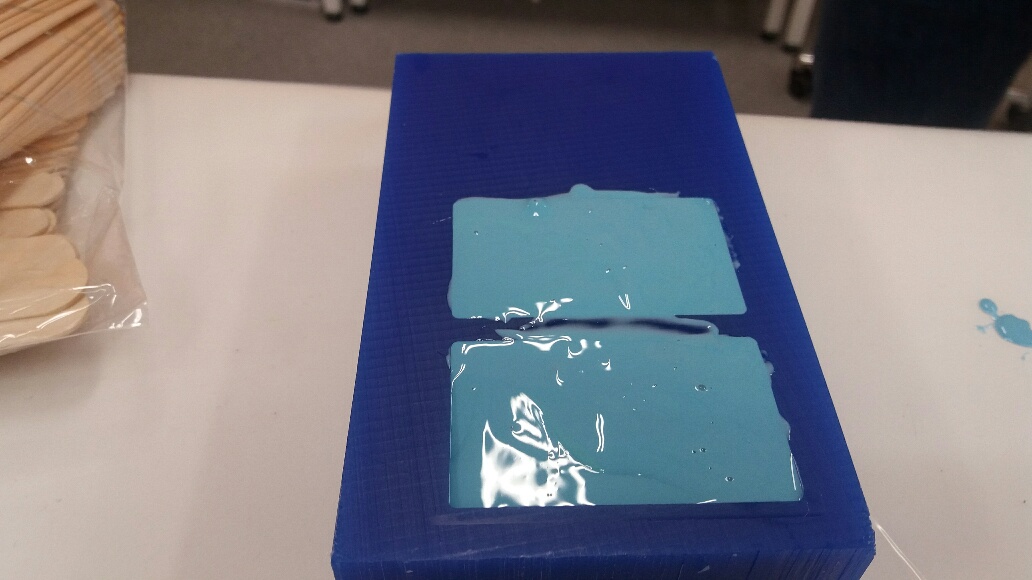
Oomoo 25 mold filled with Smoothcast 310. I tried the mold without air vent and relative big filling hole

A hole for air needs tp be added to the mold (see the bubble. Can be done afterwards with a knife.

Files: Model cut1, Model cut2, Mold in 3dm (big file), Mold in STL (big file),