
WEEK 12 – MOLDING AND CASTING
Weekly assignment
Design a 3D mould, machine it, and cast parts from it
This week I've been very busy with extra-academy tasks, so I had few days to work. For this reason I made only a two part mold (bivalve).
What I made for this assignment is a "smiley brass knuckle". I want to specify that I'm not a violent person and I don't want to promote violence. But I like when opposite concepts (like a funny smiling face and something made with the intent to hurt) coexist in the same thing creating a contrast. I found this object well representing the idea, so I wanted to make it.
Designing the mold
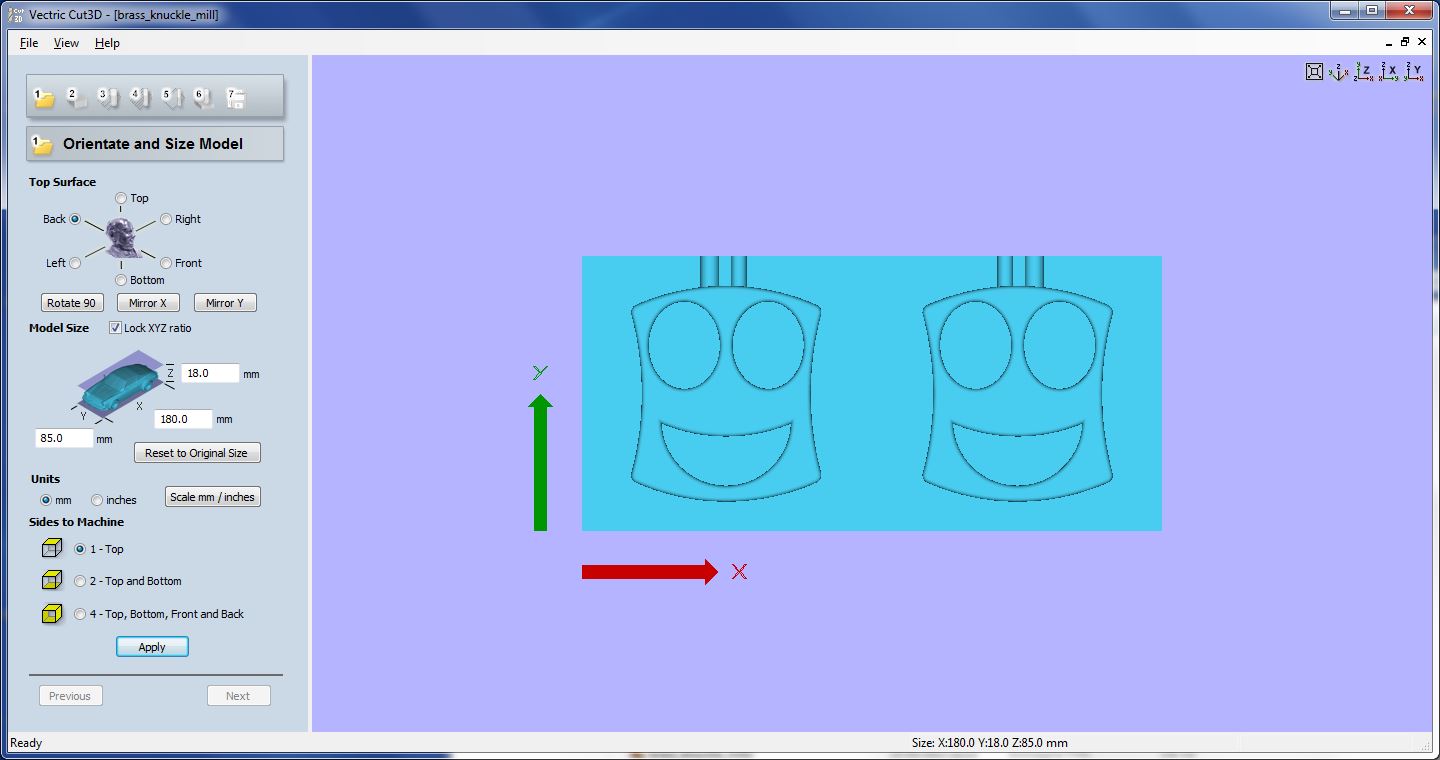
As usual I started making a 3D model of the object.
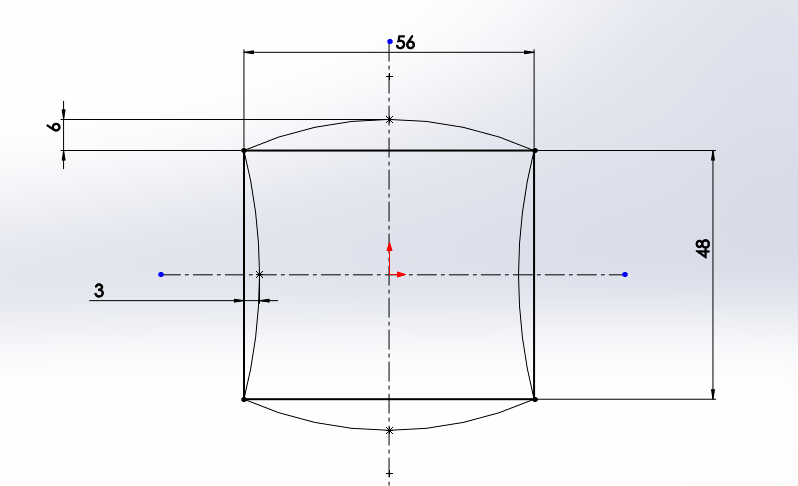
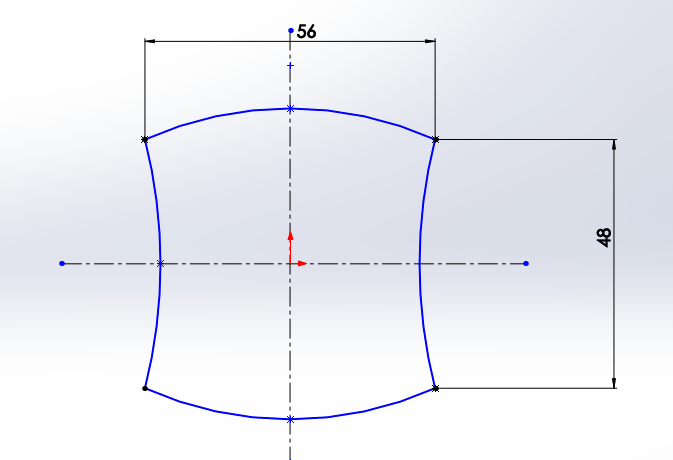
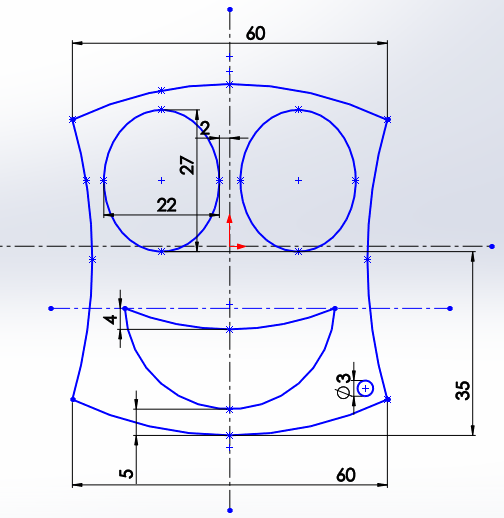
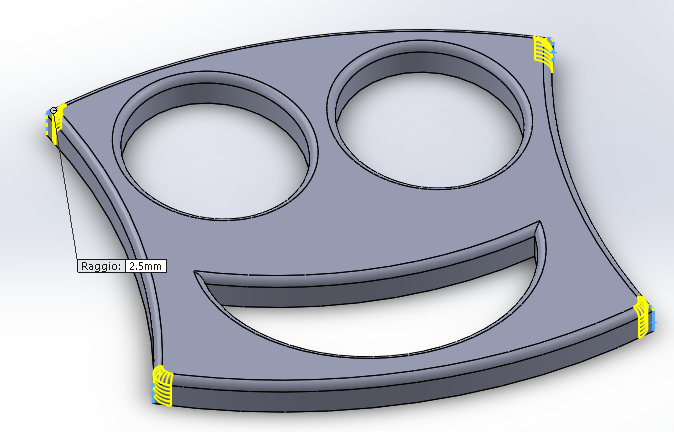
I needed two specular part, so I splitted the final shape and laid the two part on a frame. My object is symmetrical, so I only had to mirror the little hole at the bottom.
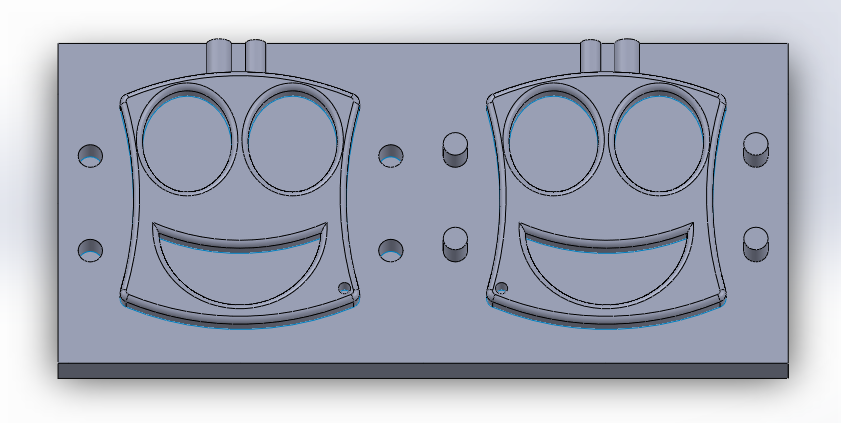
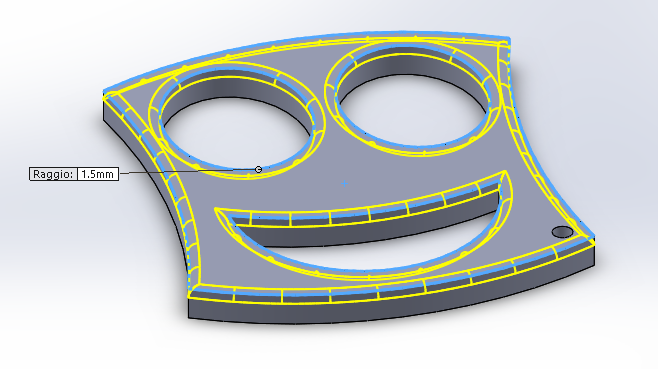
I also added registration marks to align the silicone mold pieces, and two cylinder to create holes for the casting process (one is a sprue, the other is a vent)
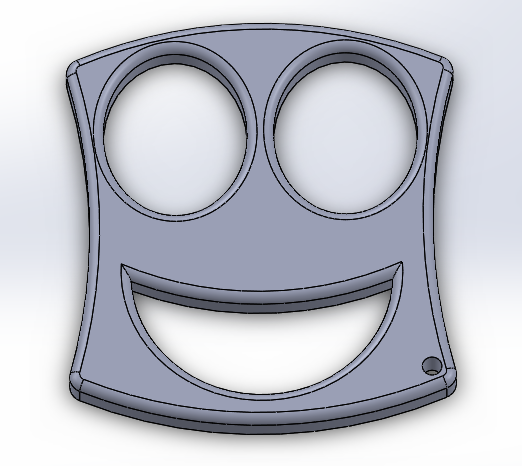
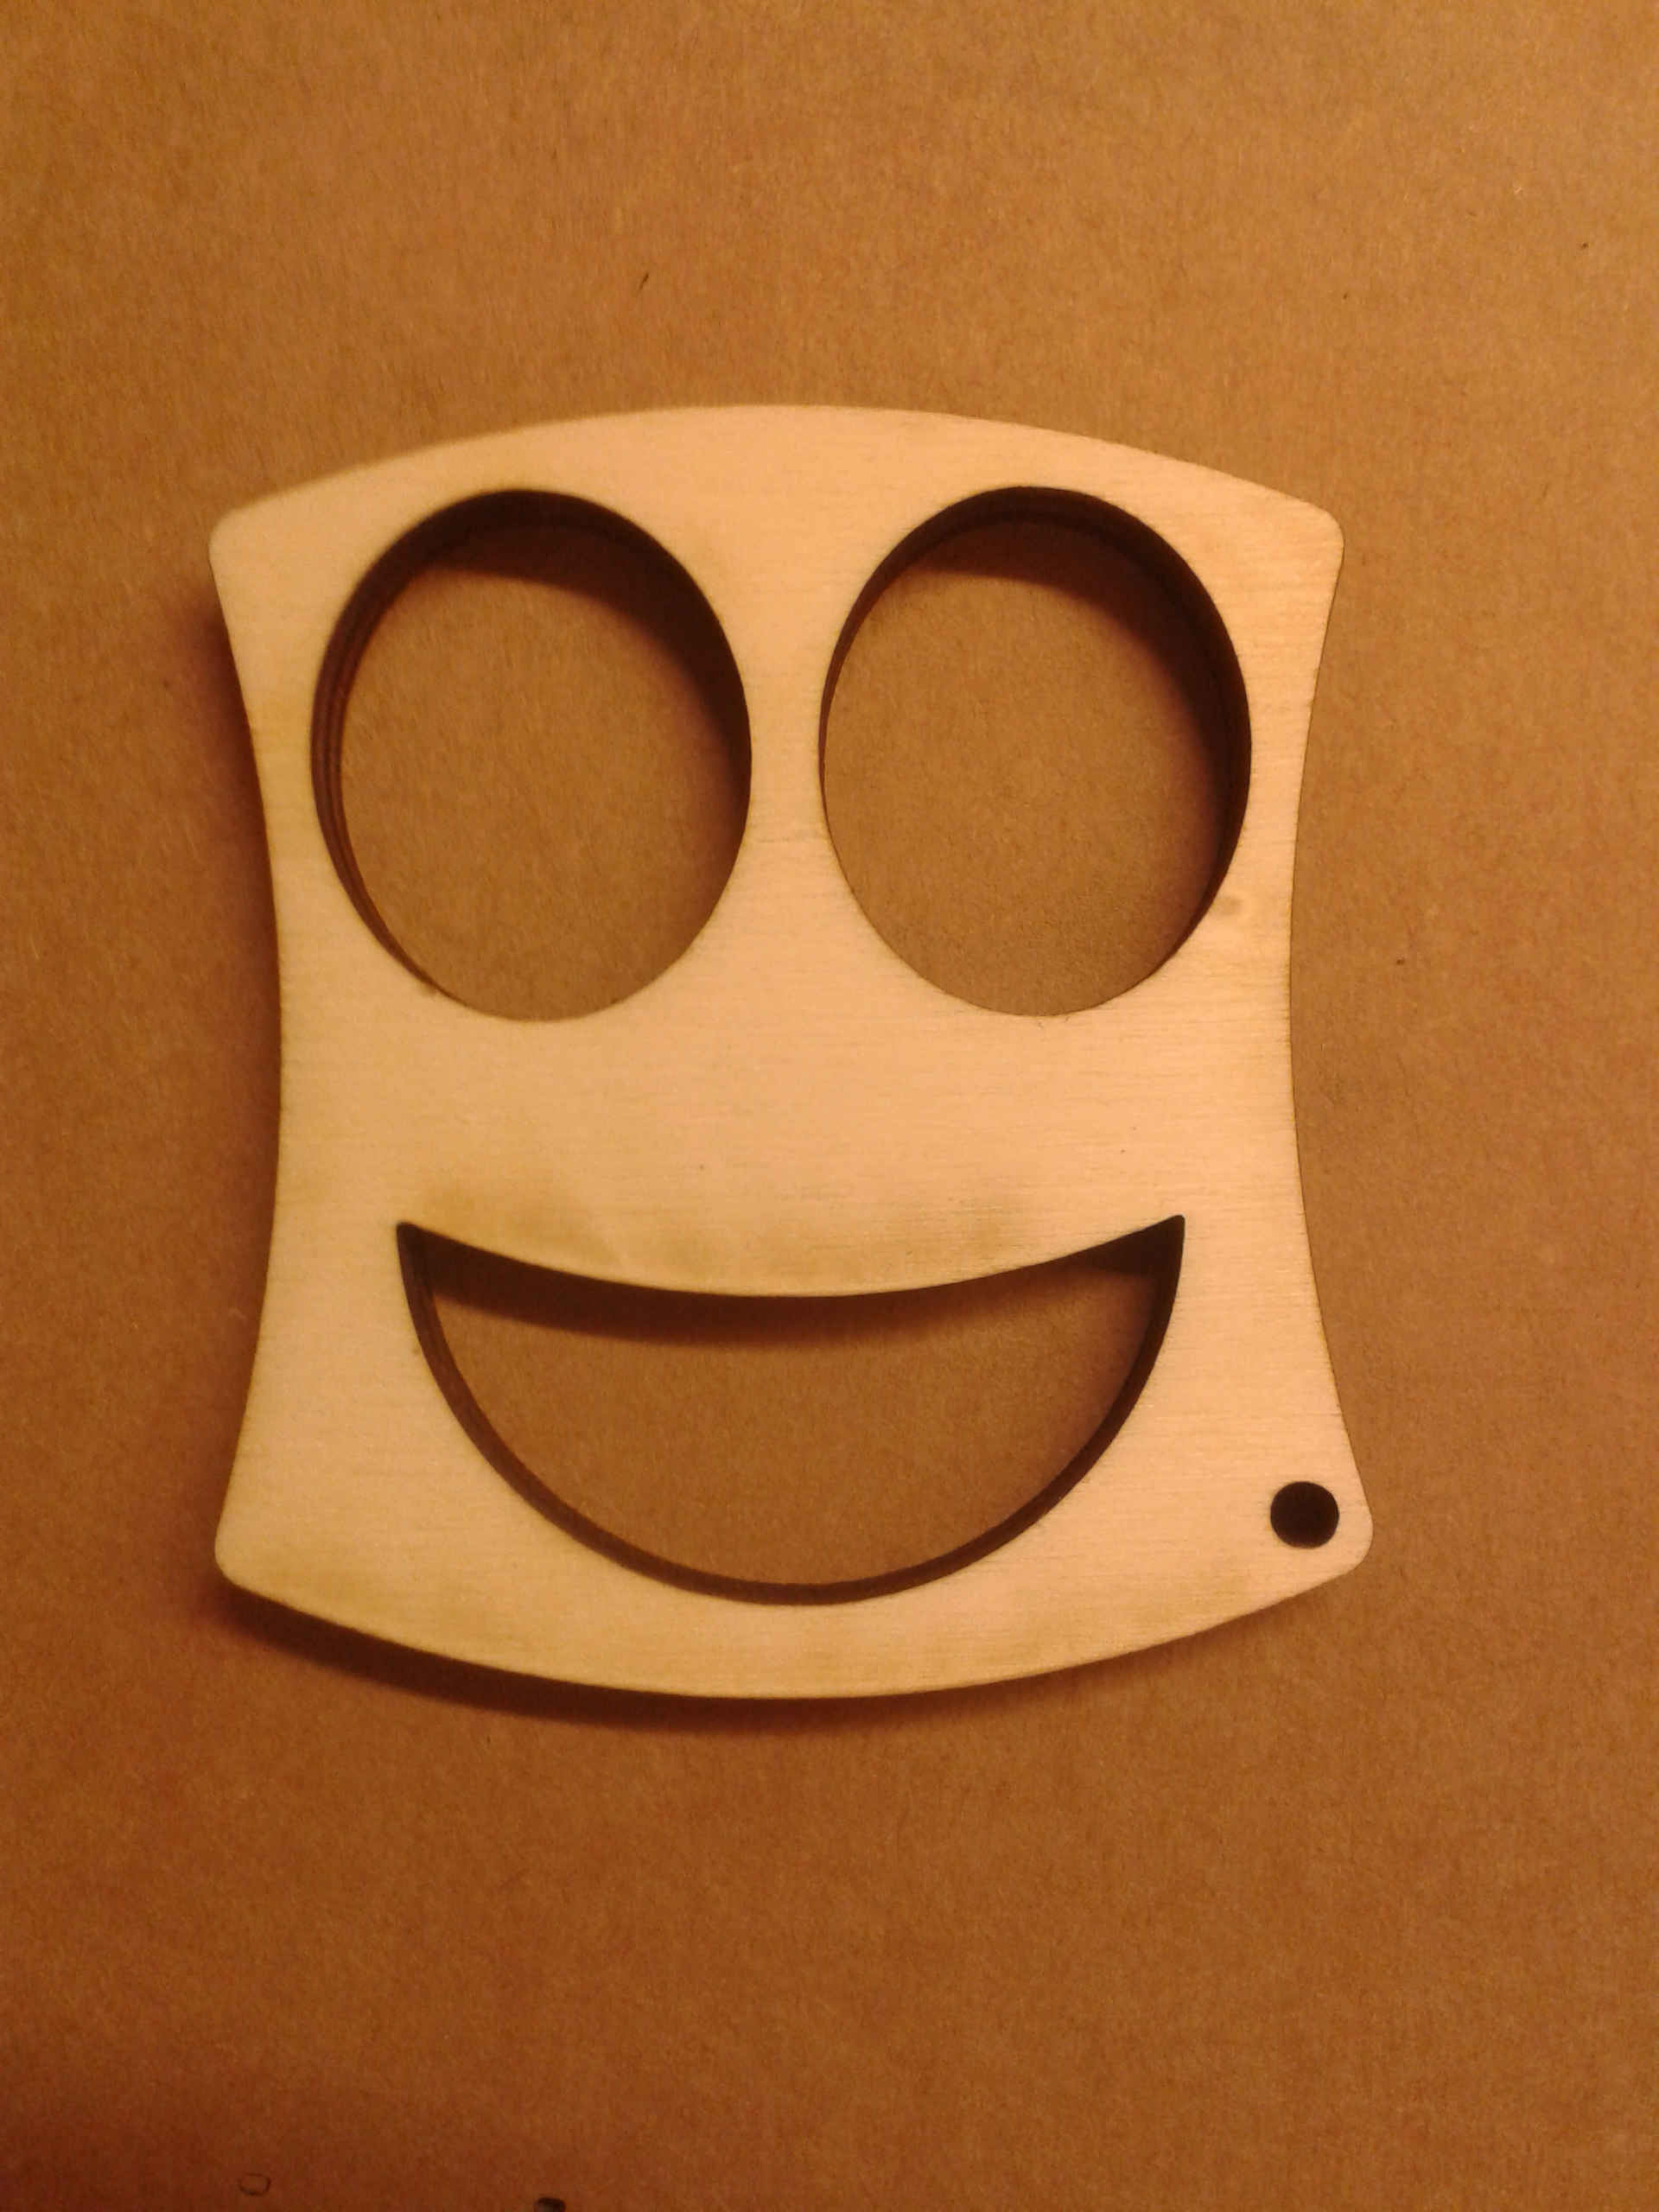
Before to go on with the work I wanted to be sure about model size, so I laser cutted it on plywood
Milling the wax
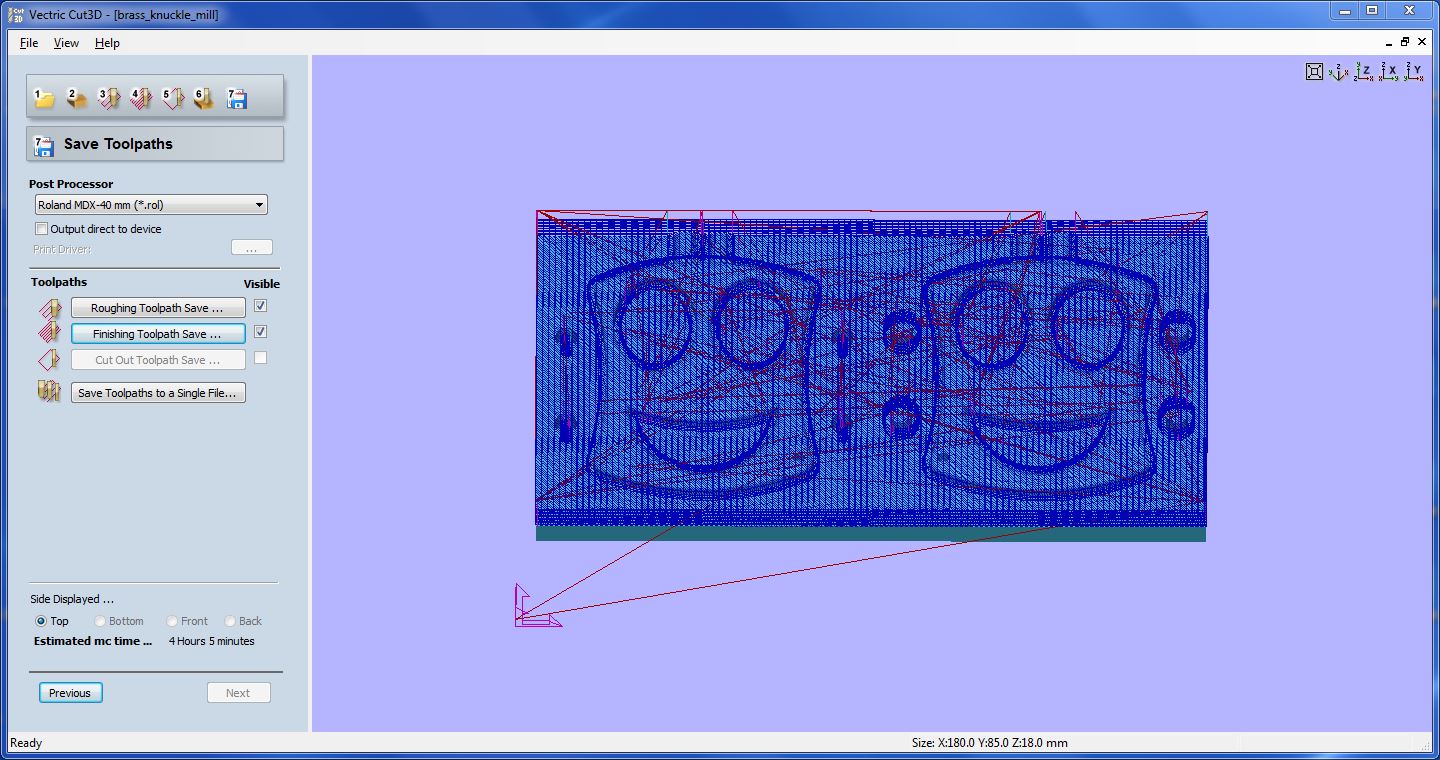
I milled the positive of the mold into a machinable wax block using a Roland SRM-20. To prepare the file I used Vectric Cut3D in which I opened the .stl version of my model
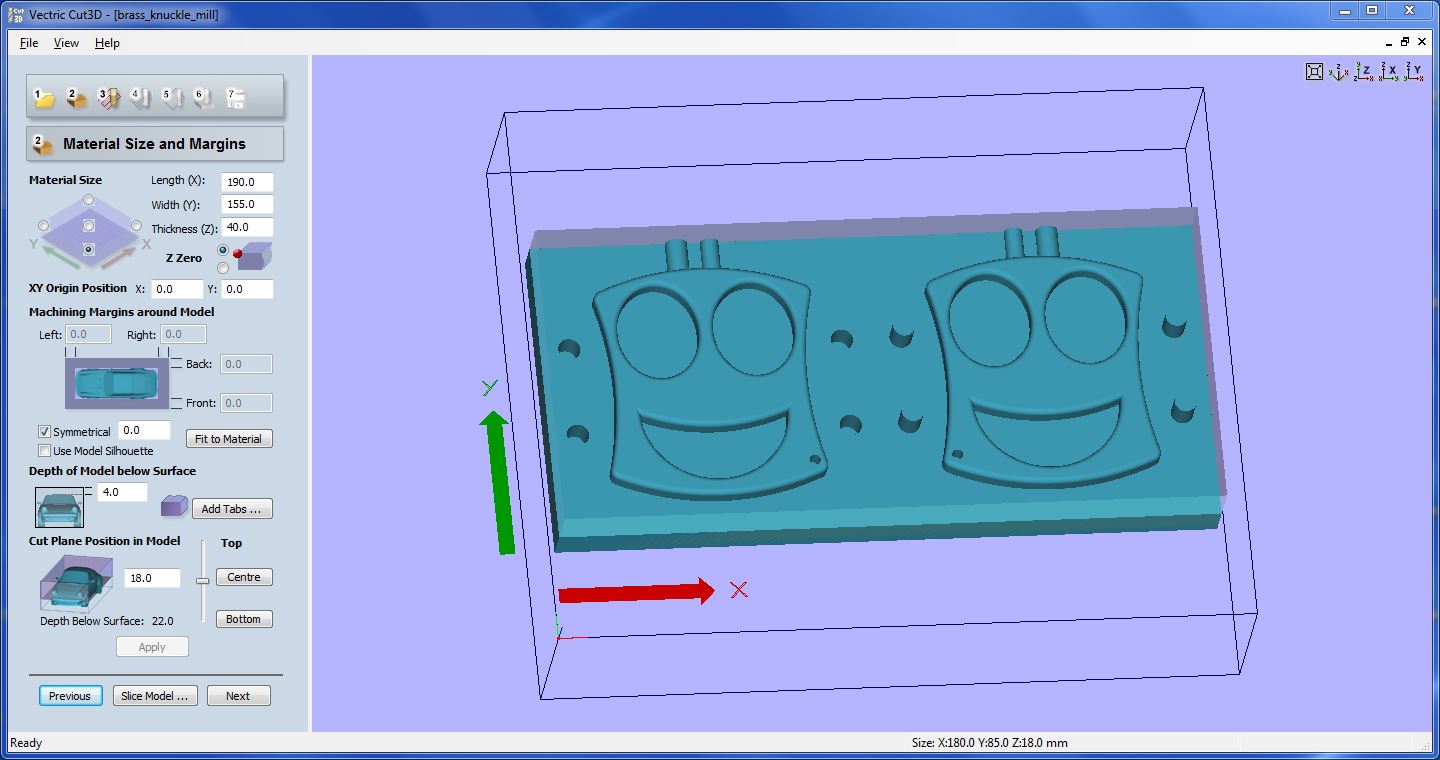
In the "depth of model below surface" parameter I set 4mm to create a surface in the back side of the silicone mold.
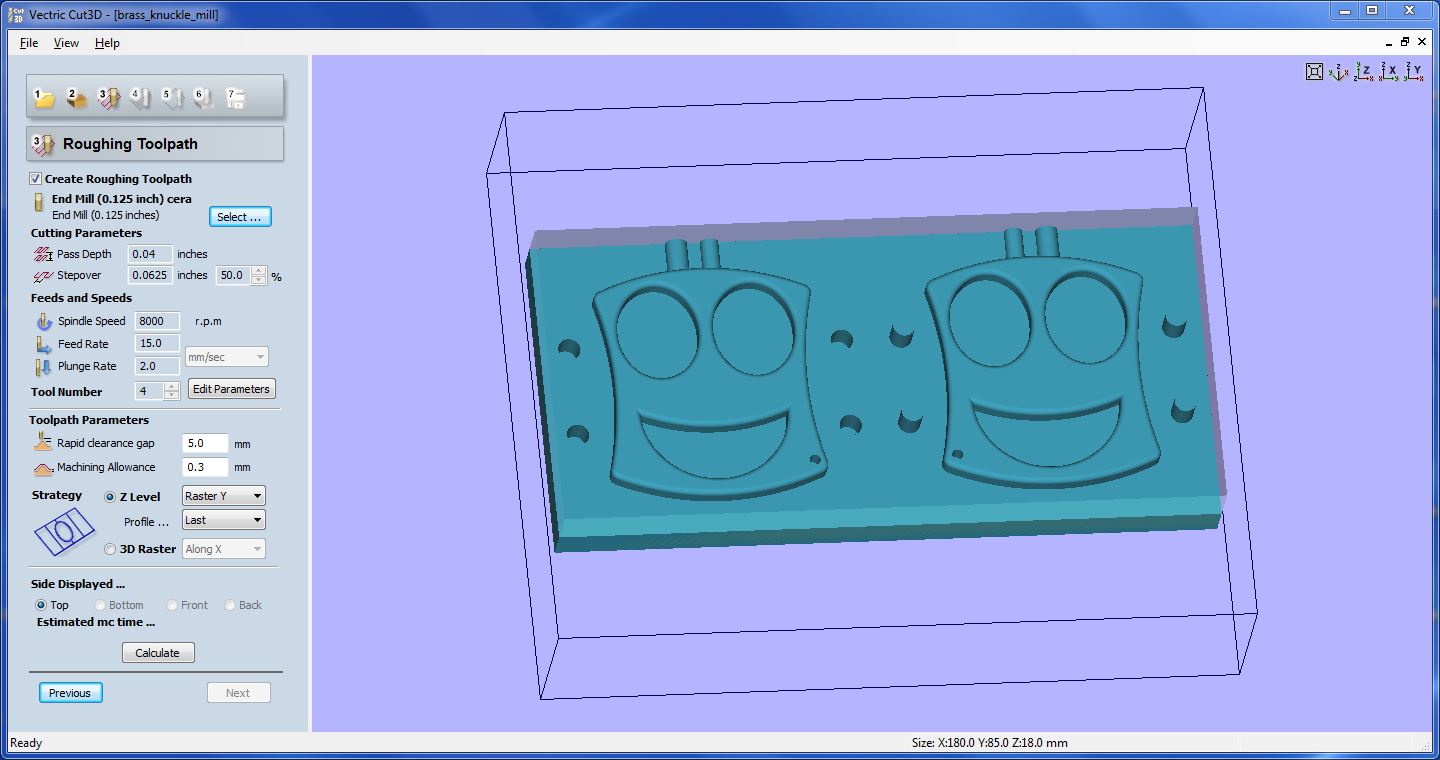
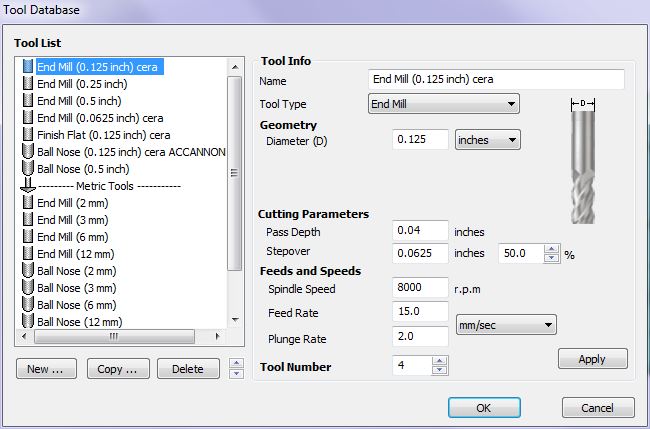
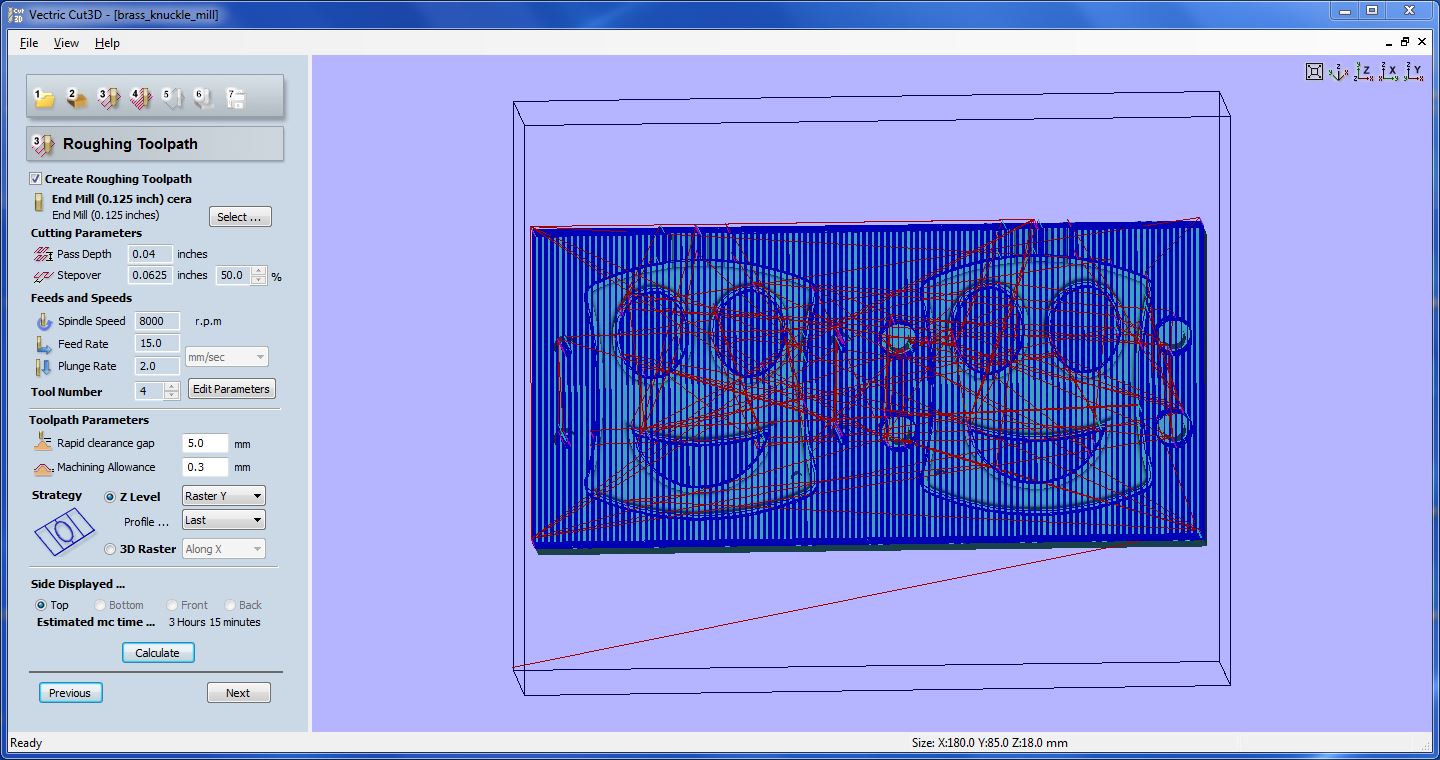
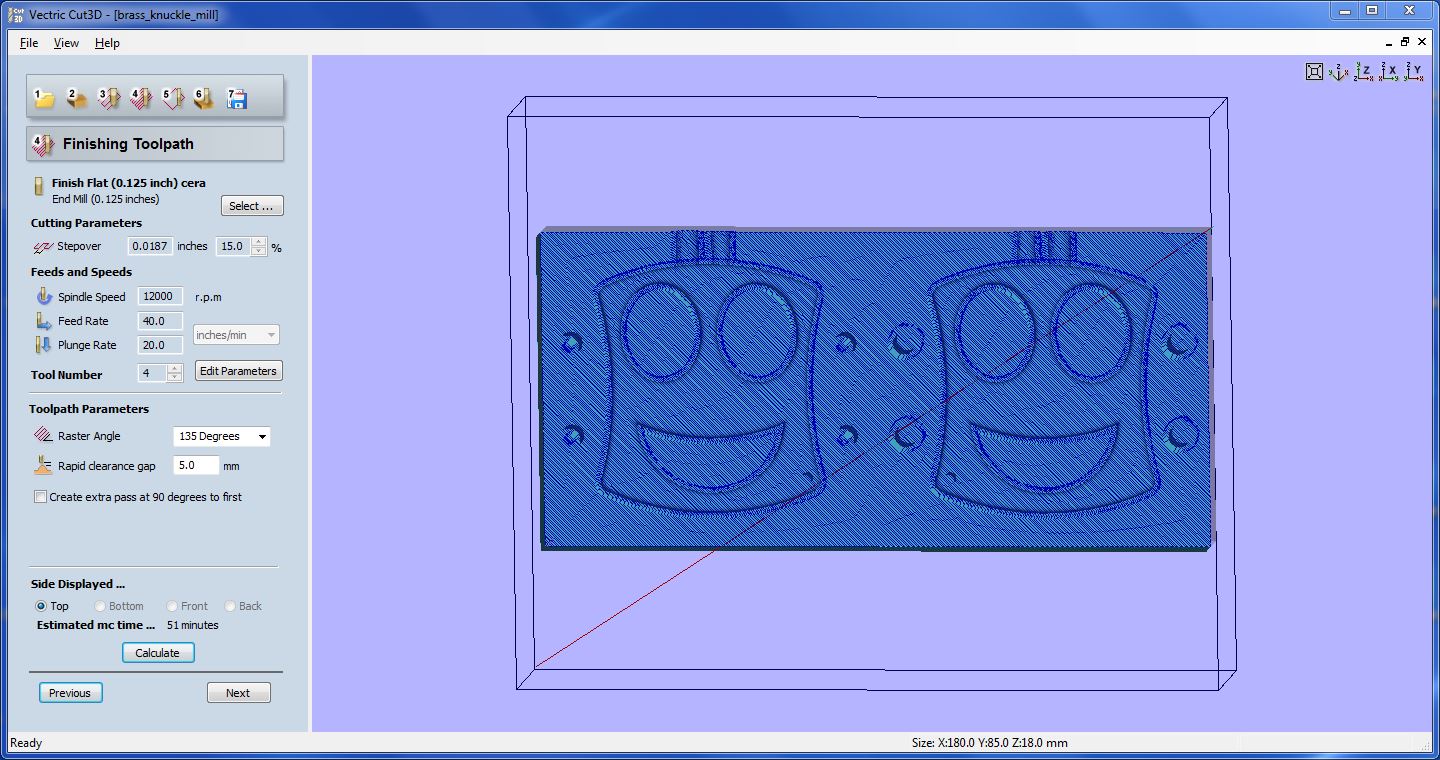
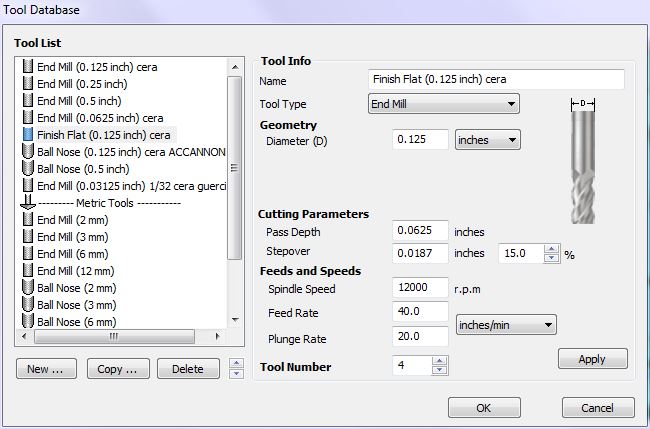
I used the same end mill for the roughing and the finishing toolpath, but with different setting
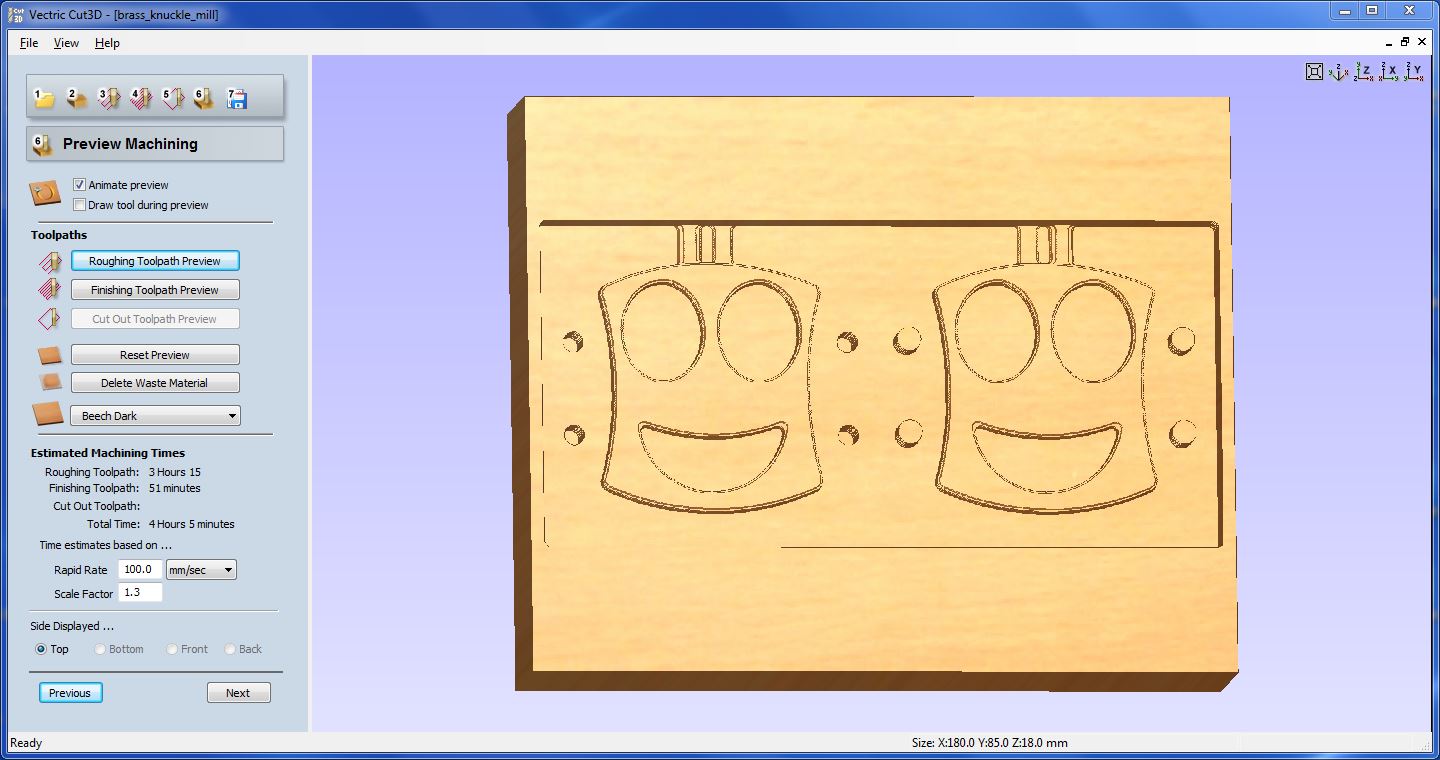

Once I've seen the preview of both toolpath I created the .rol file which I needed to machine the shape
To make the milling I followed the same procedure of everytime (you can find it on previous weeks)
Since I used the same mill for both toolpath I didn't need to re-position the plate, I only had to add the other file and press cut
And this is the result
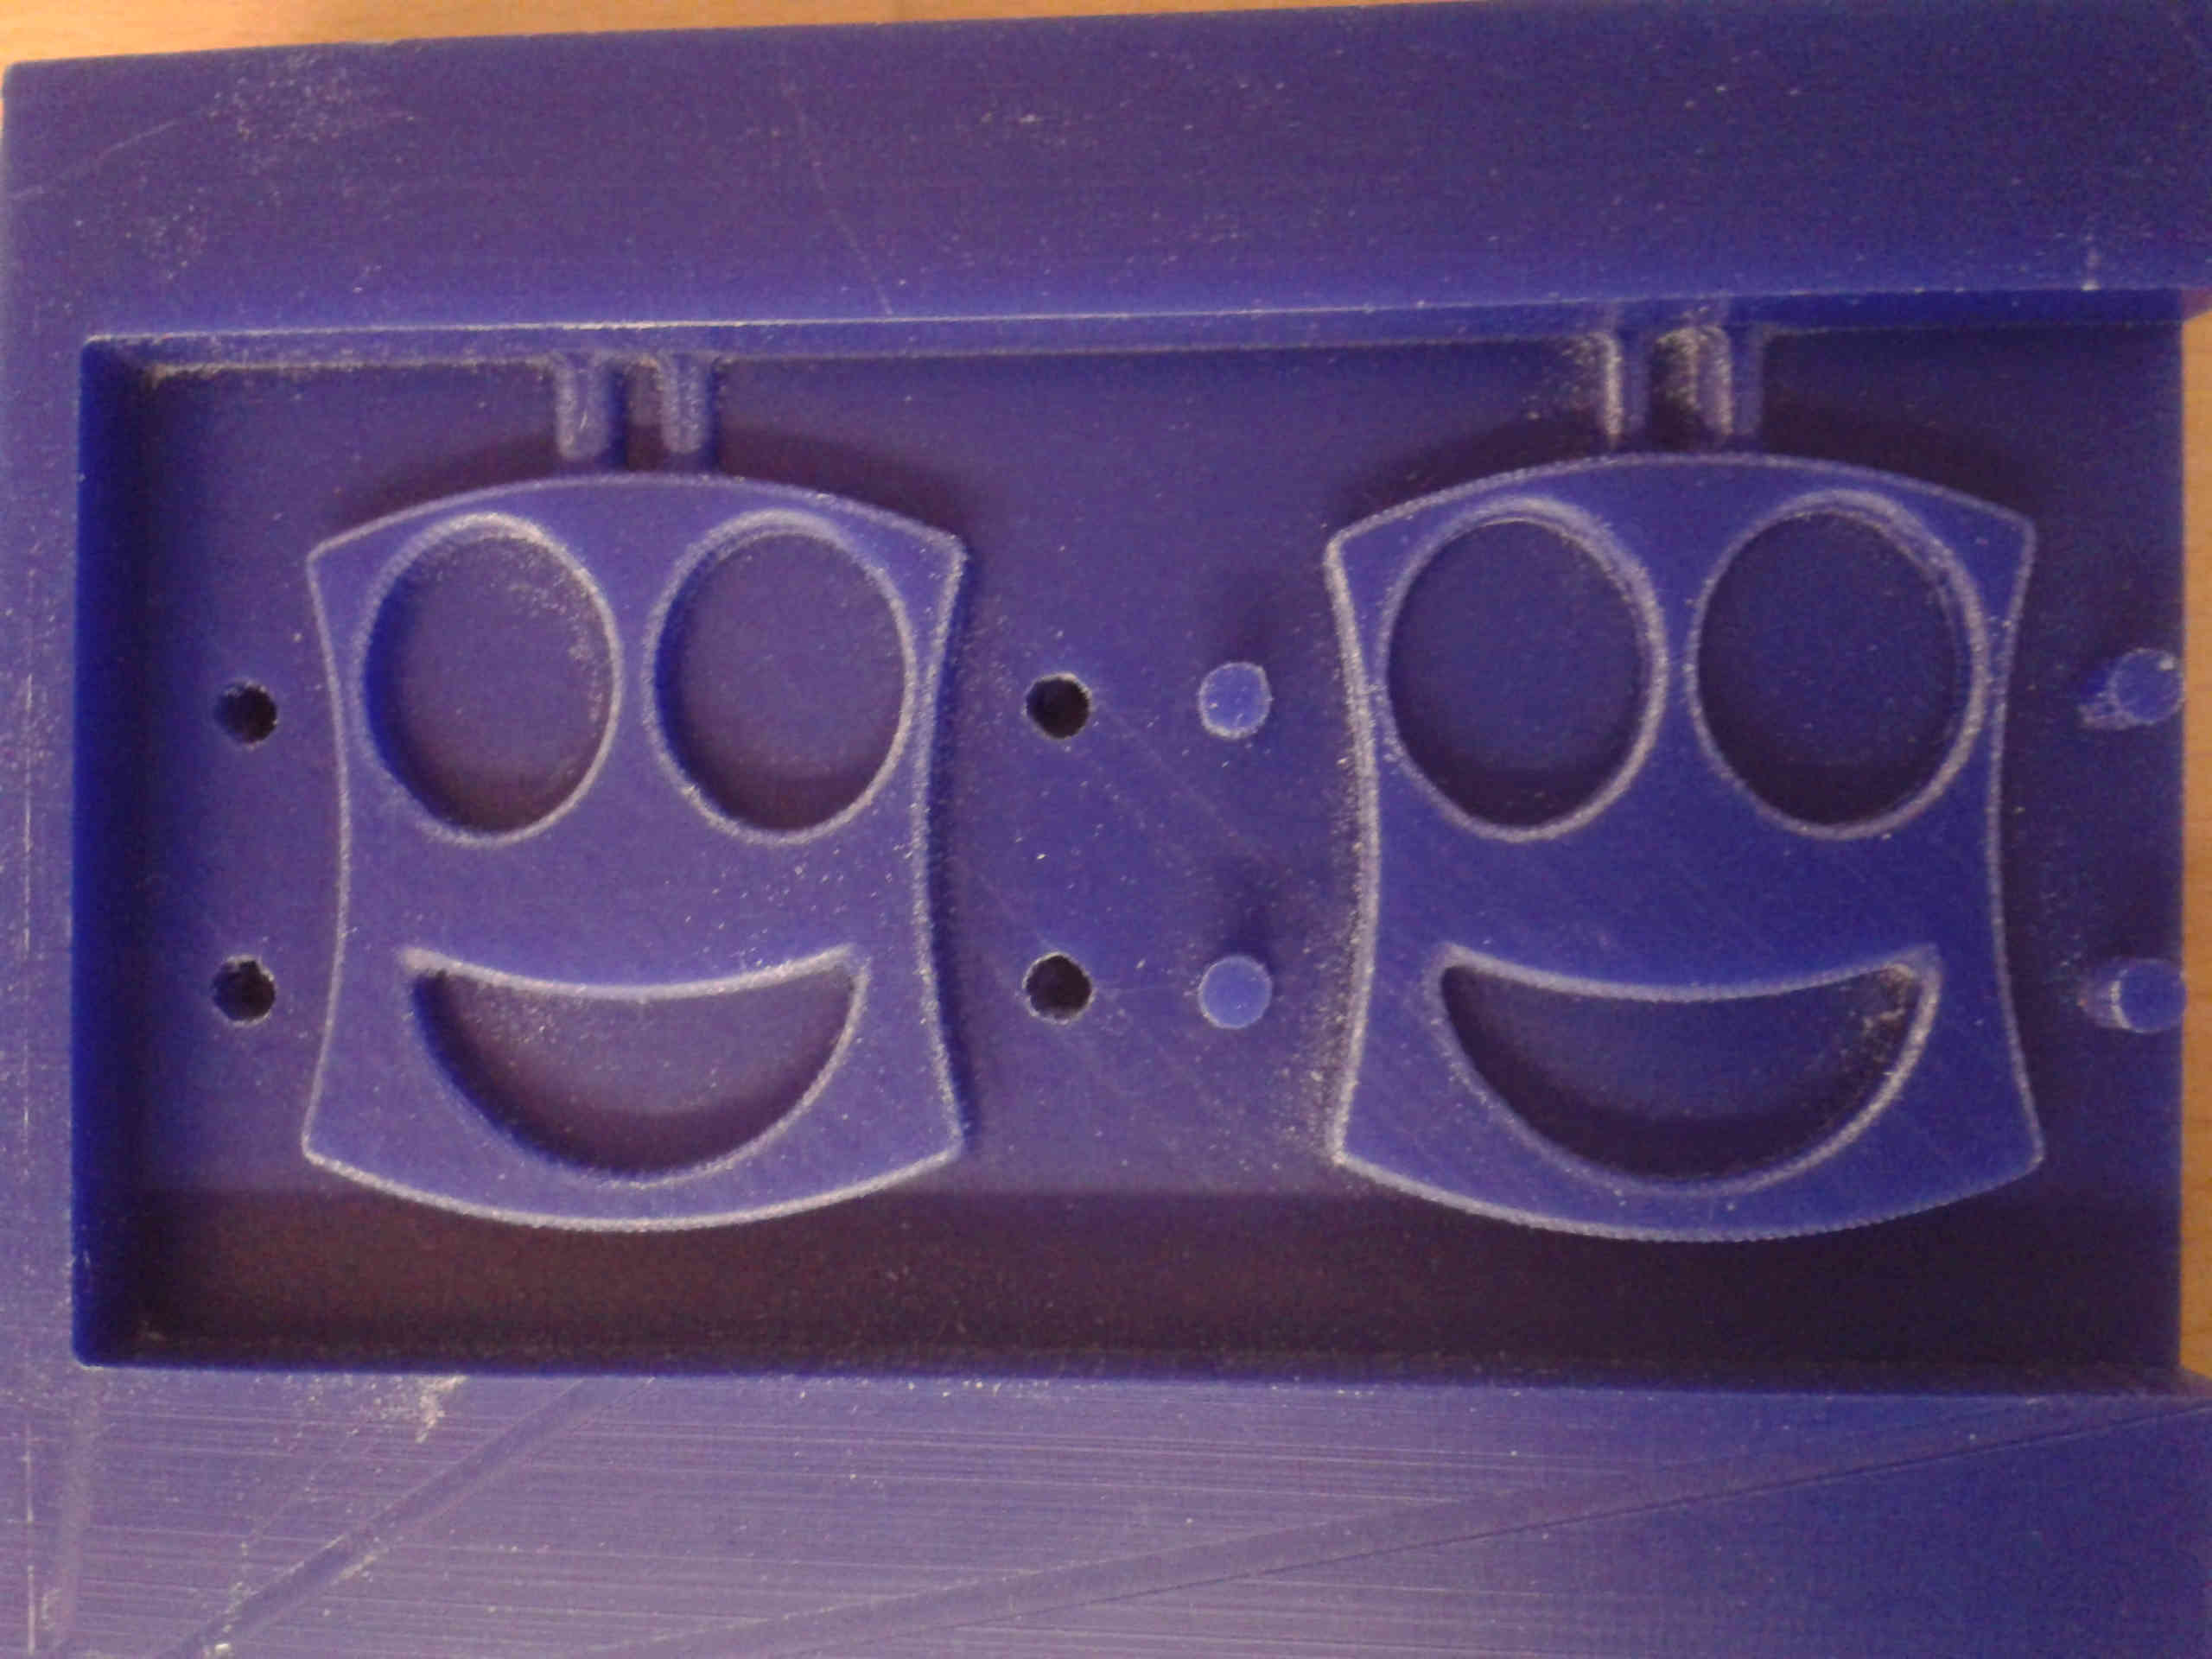
Next time I want to try two finishing toolpaths (45 and 135 degrees) instead of one, in hopes of gaining a smoother milling, maybe using a ball nose end mill
Making the mold
To make the mold I used this silicone
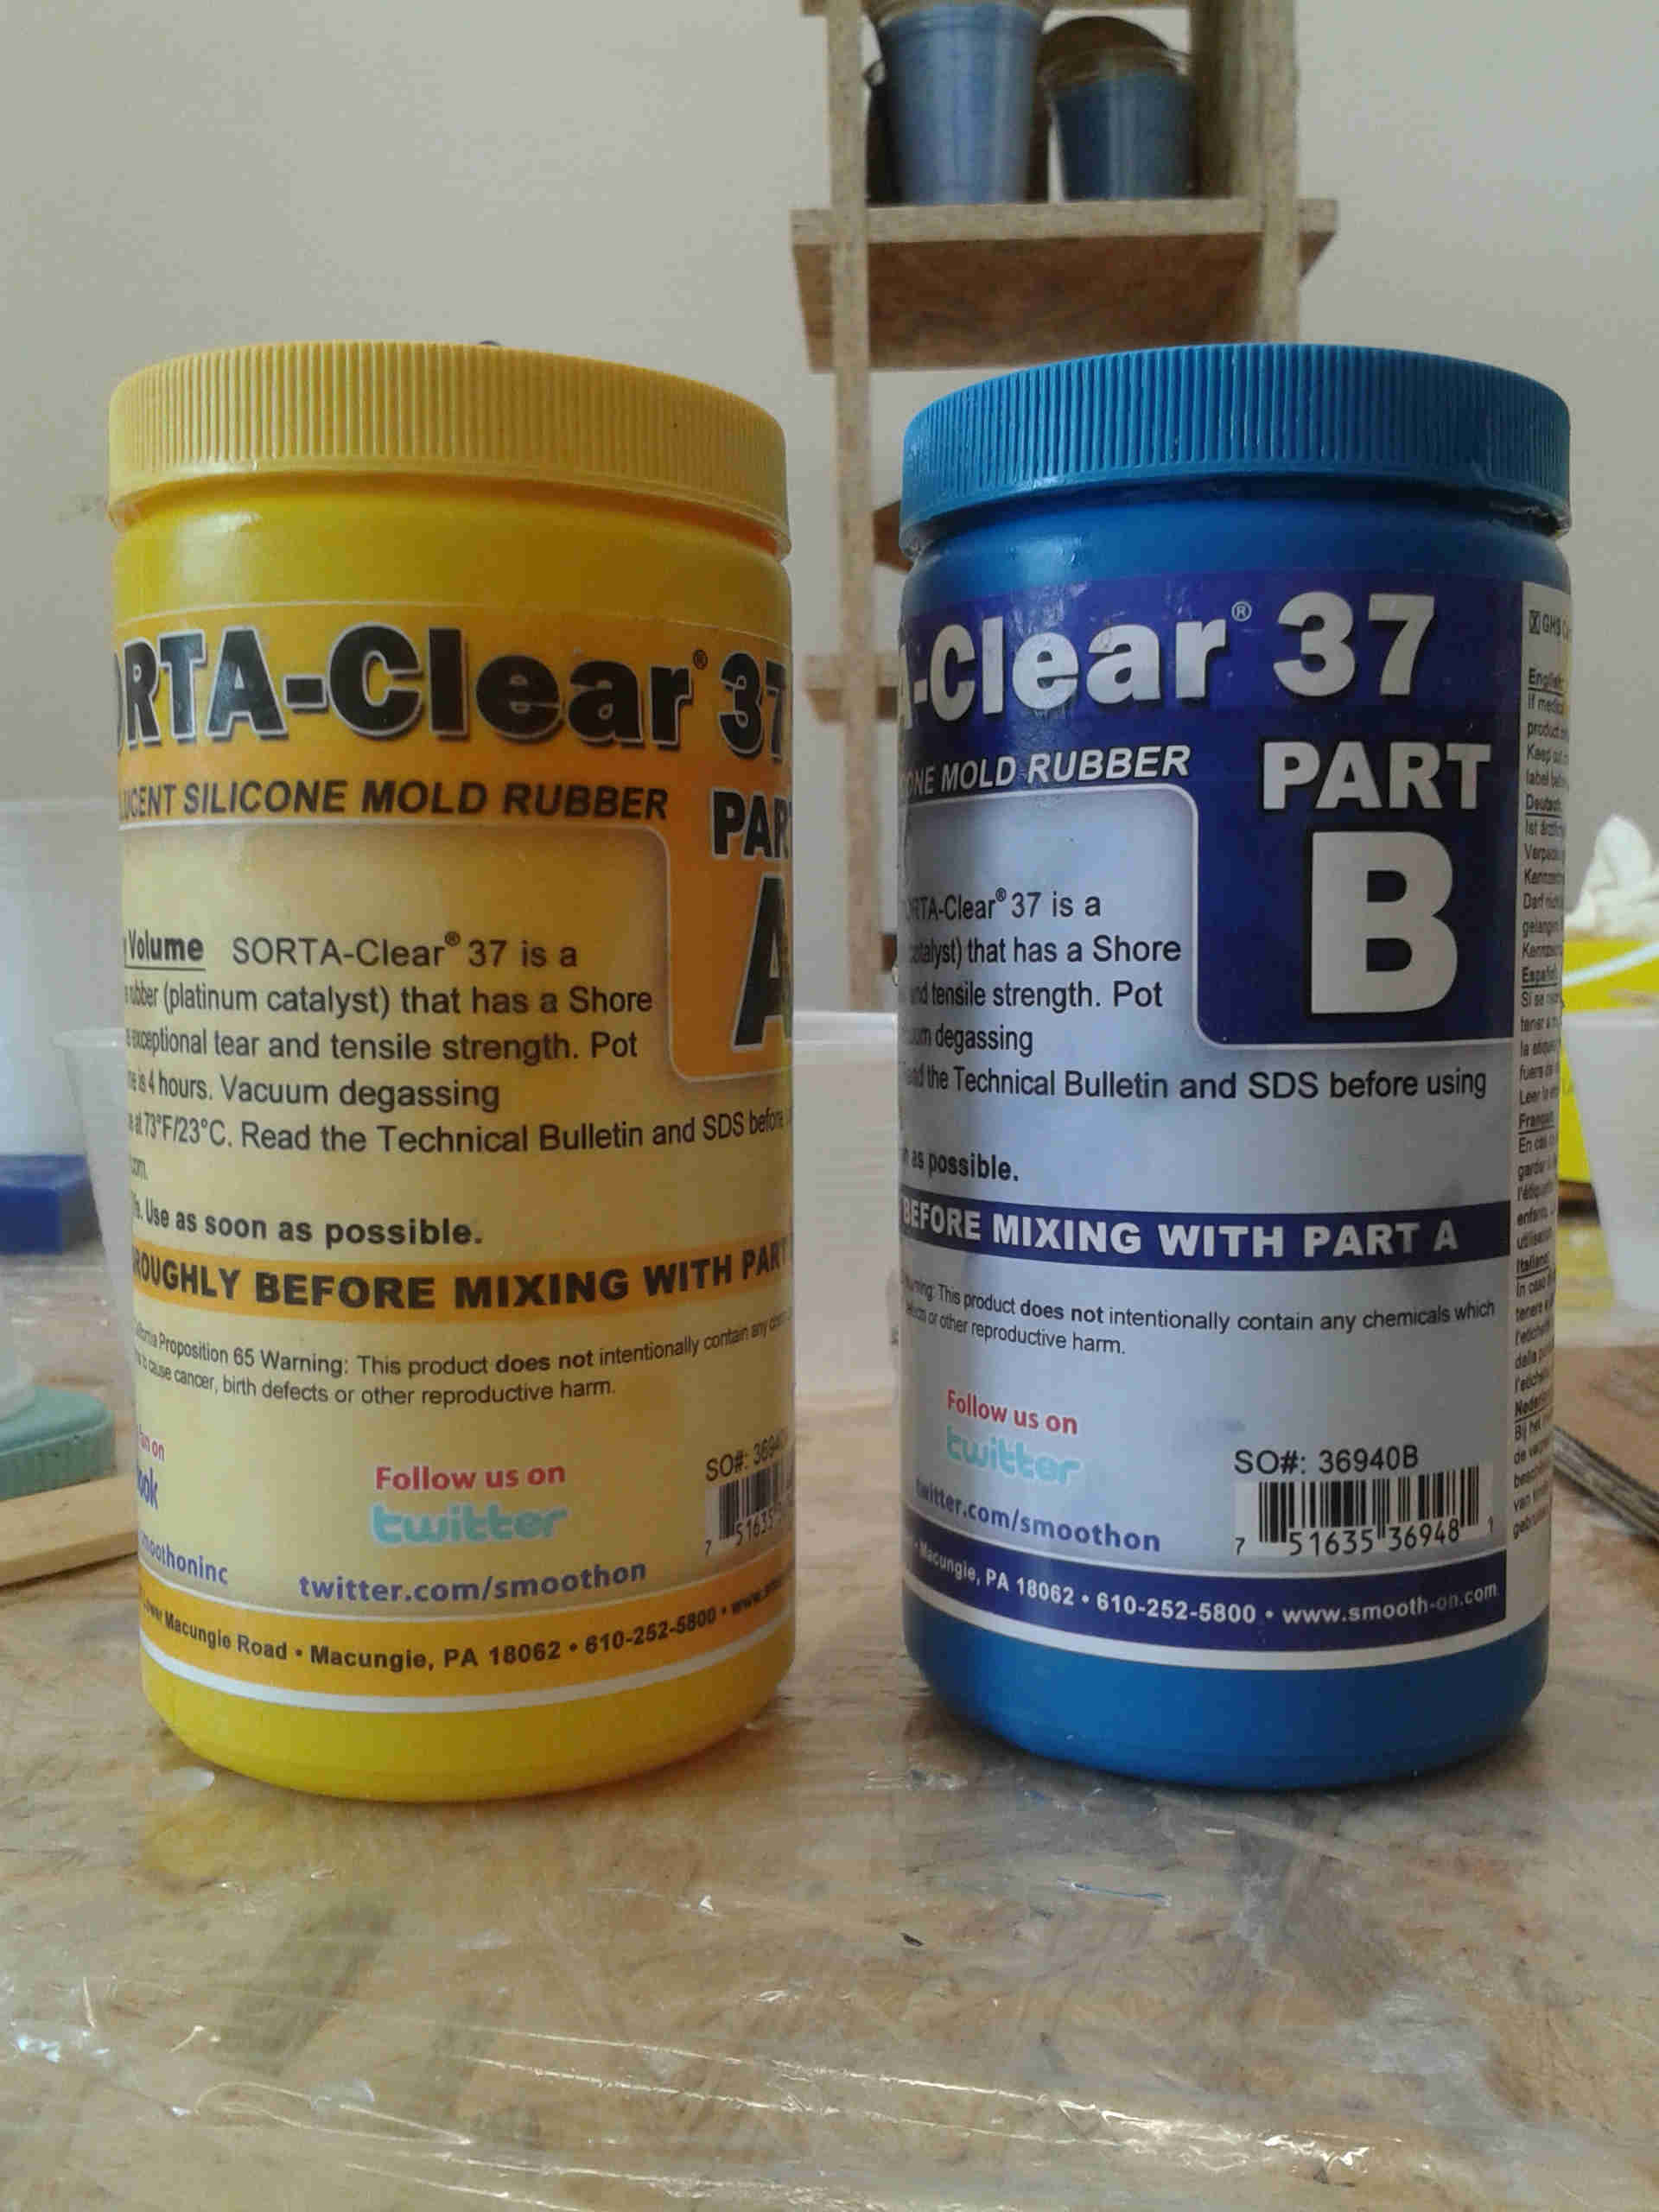
It is made by two different parts you have to mix in equal proportion
Once prepared the mixture I poured it into the wax
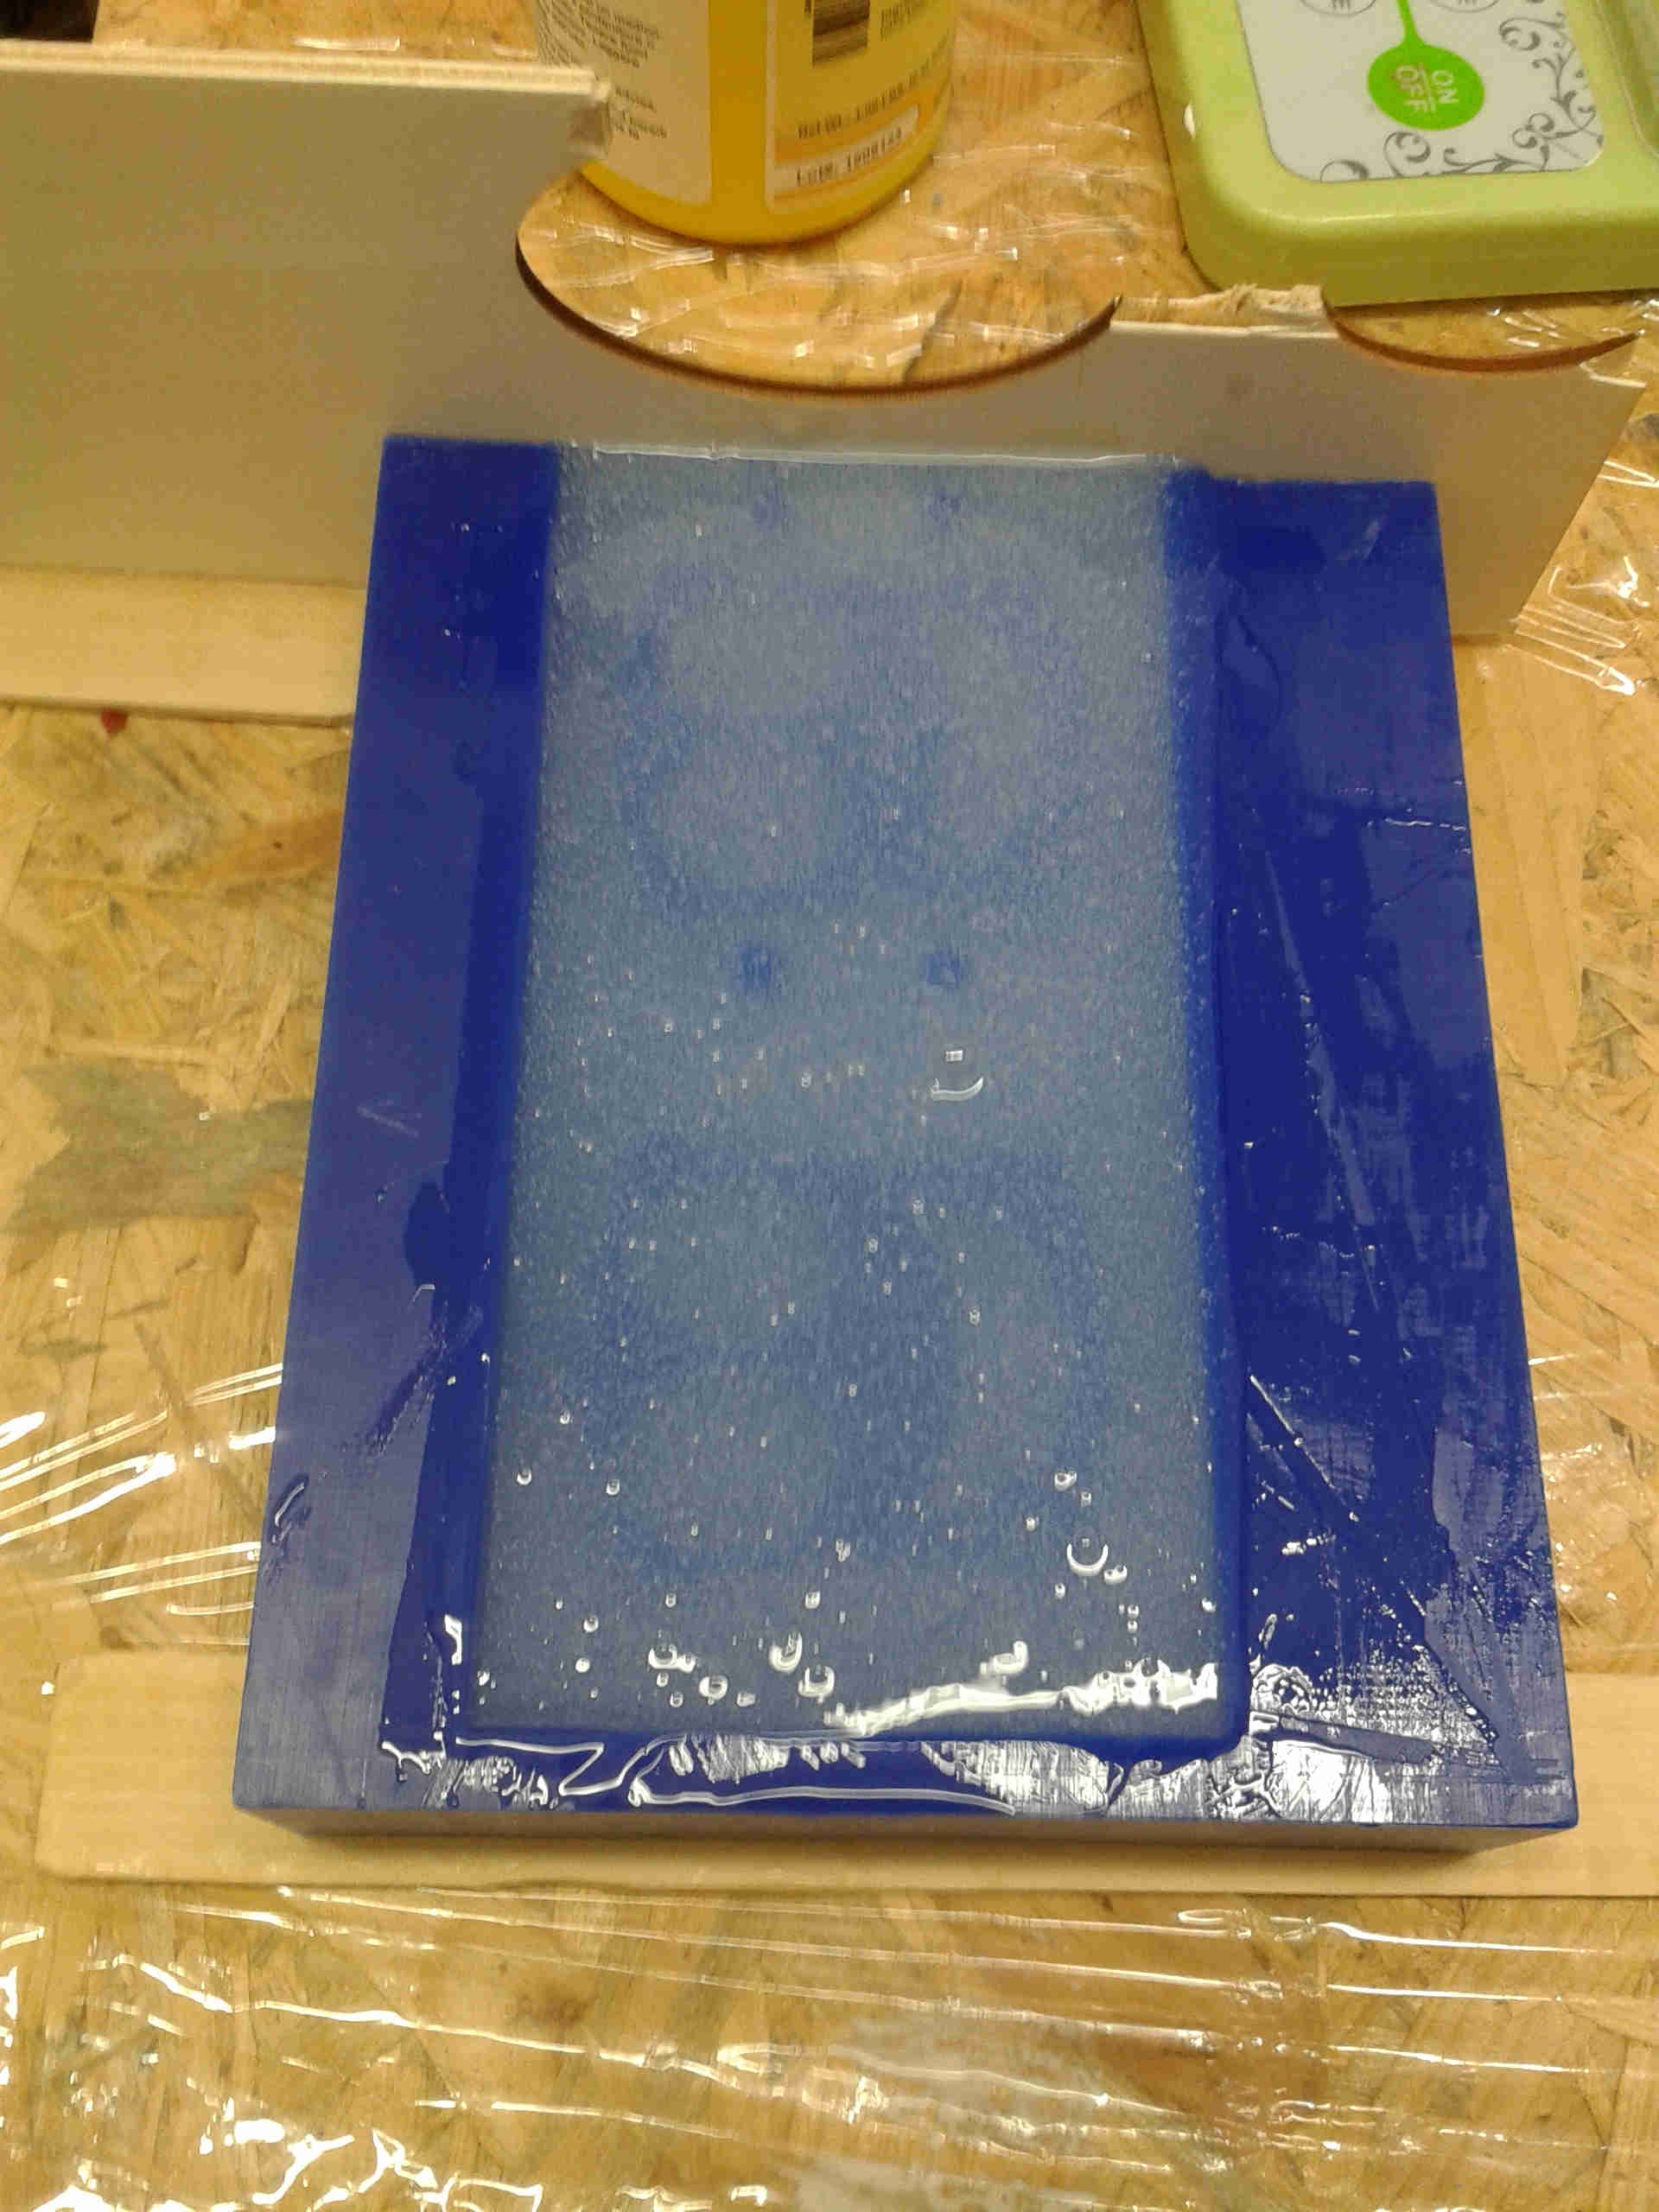
And I waited it hardened. To be safe it's suggested to wait 4 hours before remove it
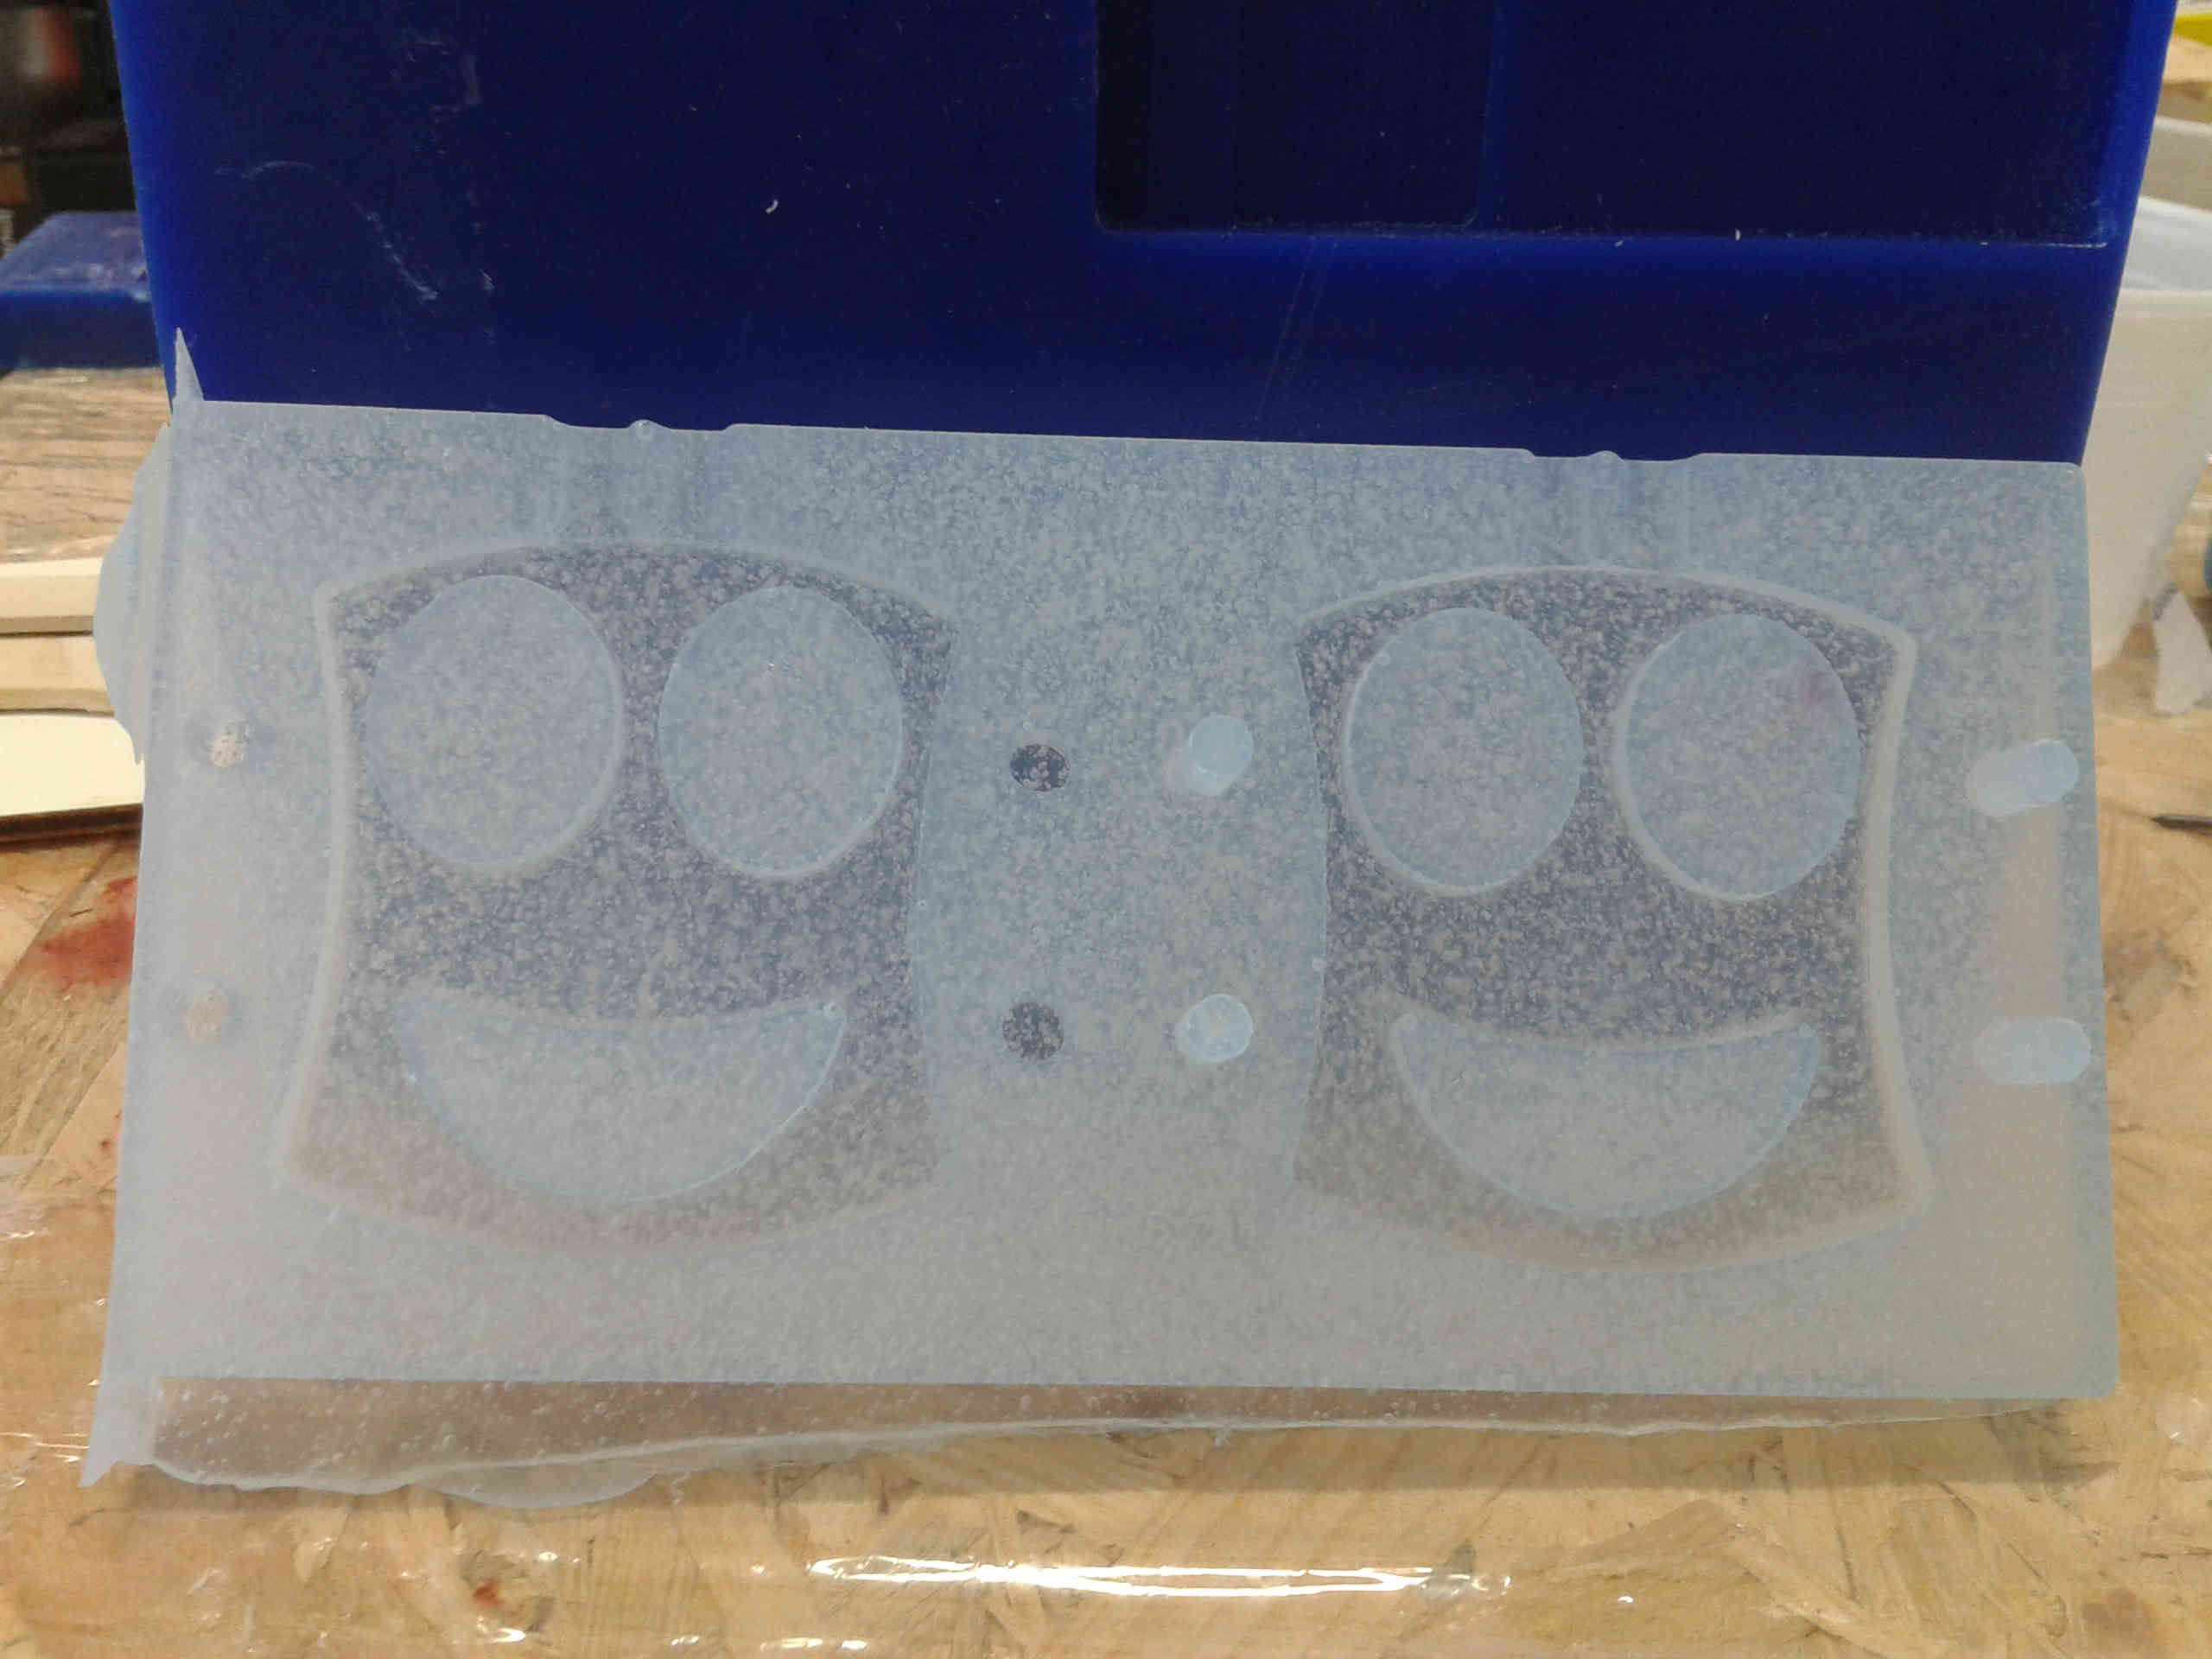
And this is my silicone mold
Casting the mold
To cast my mold I used a liquid plastic
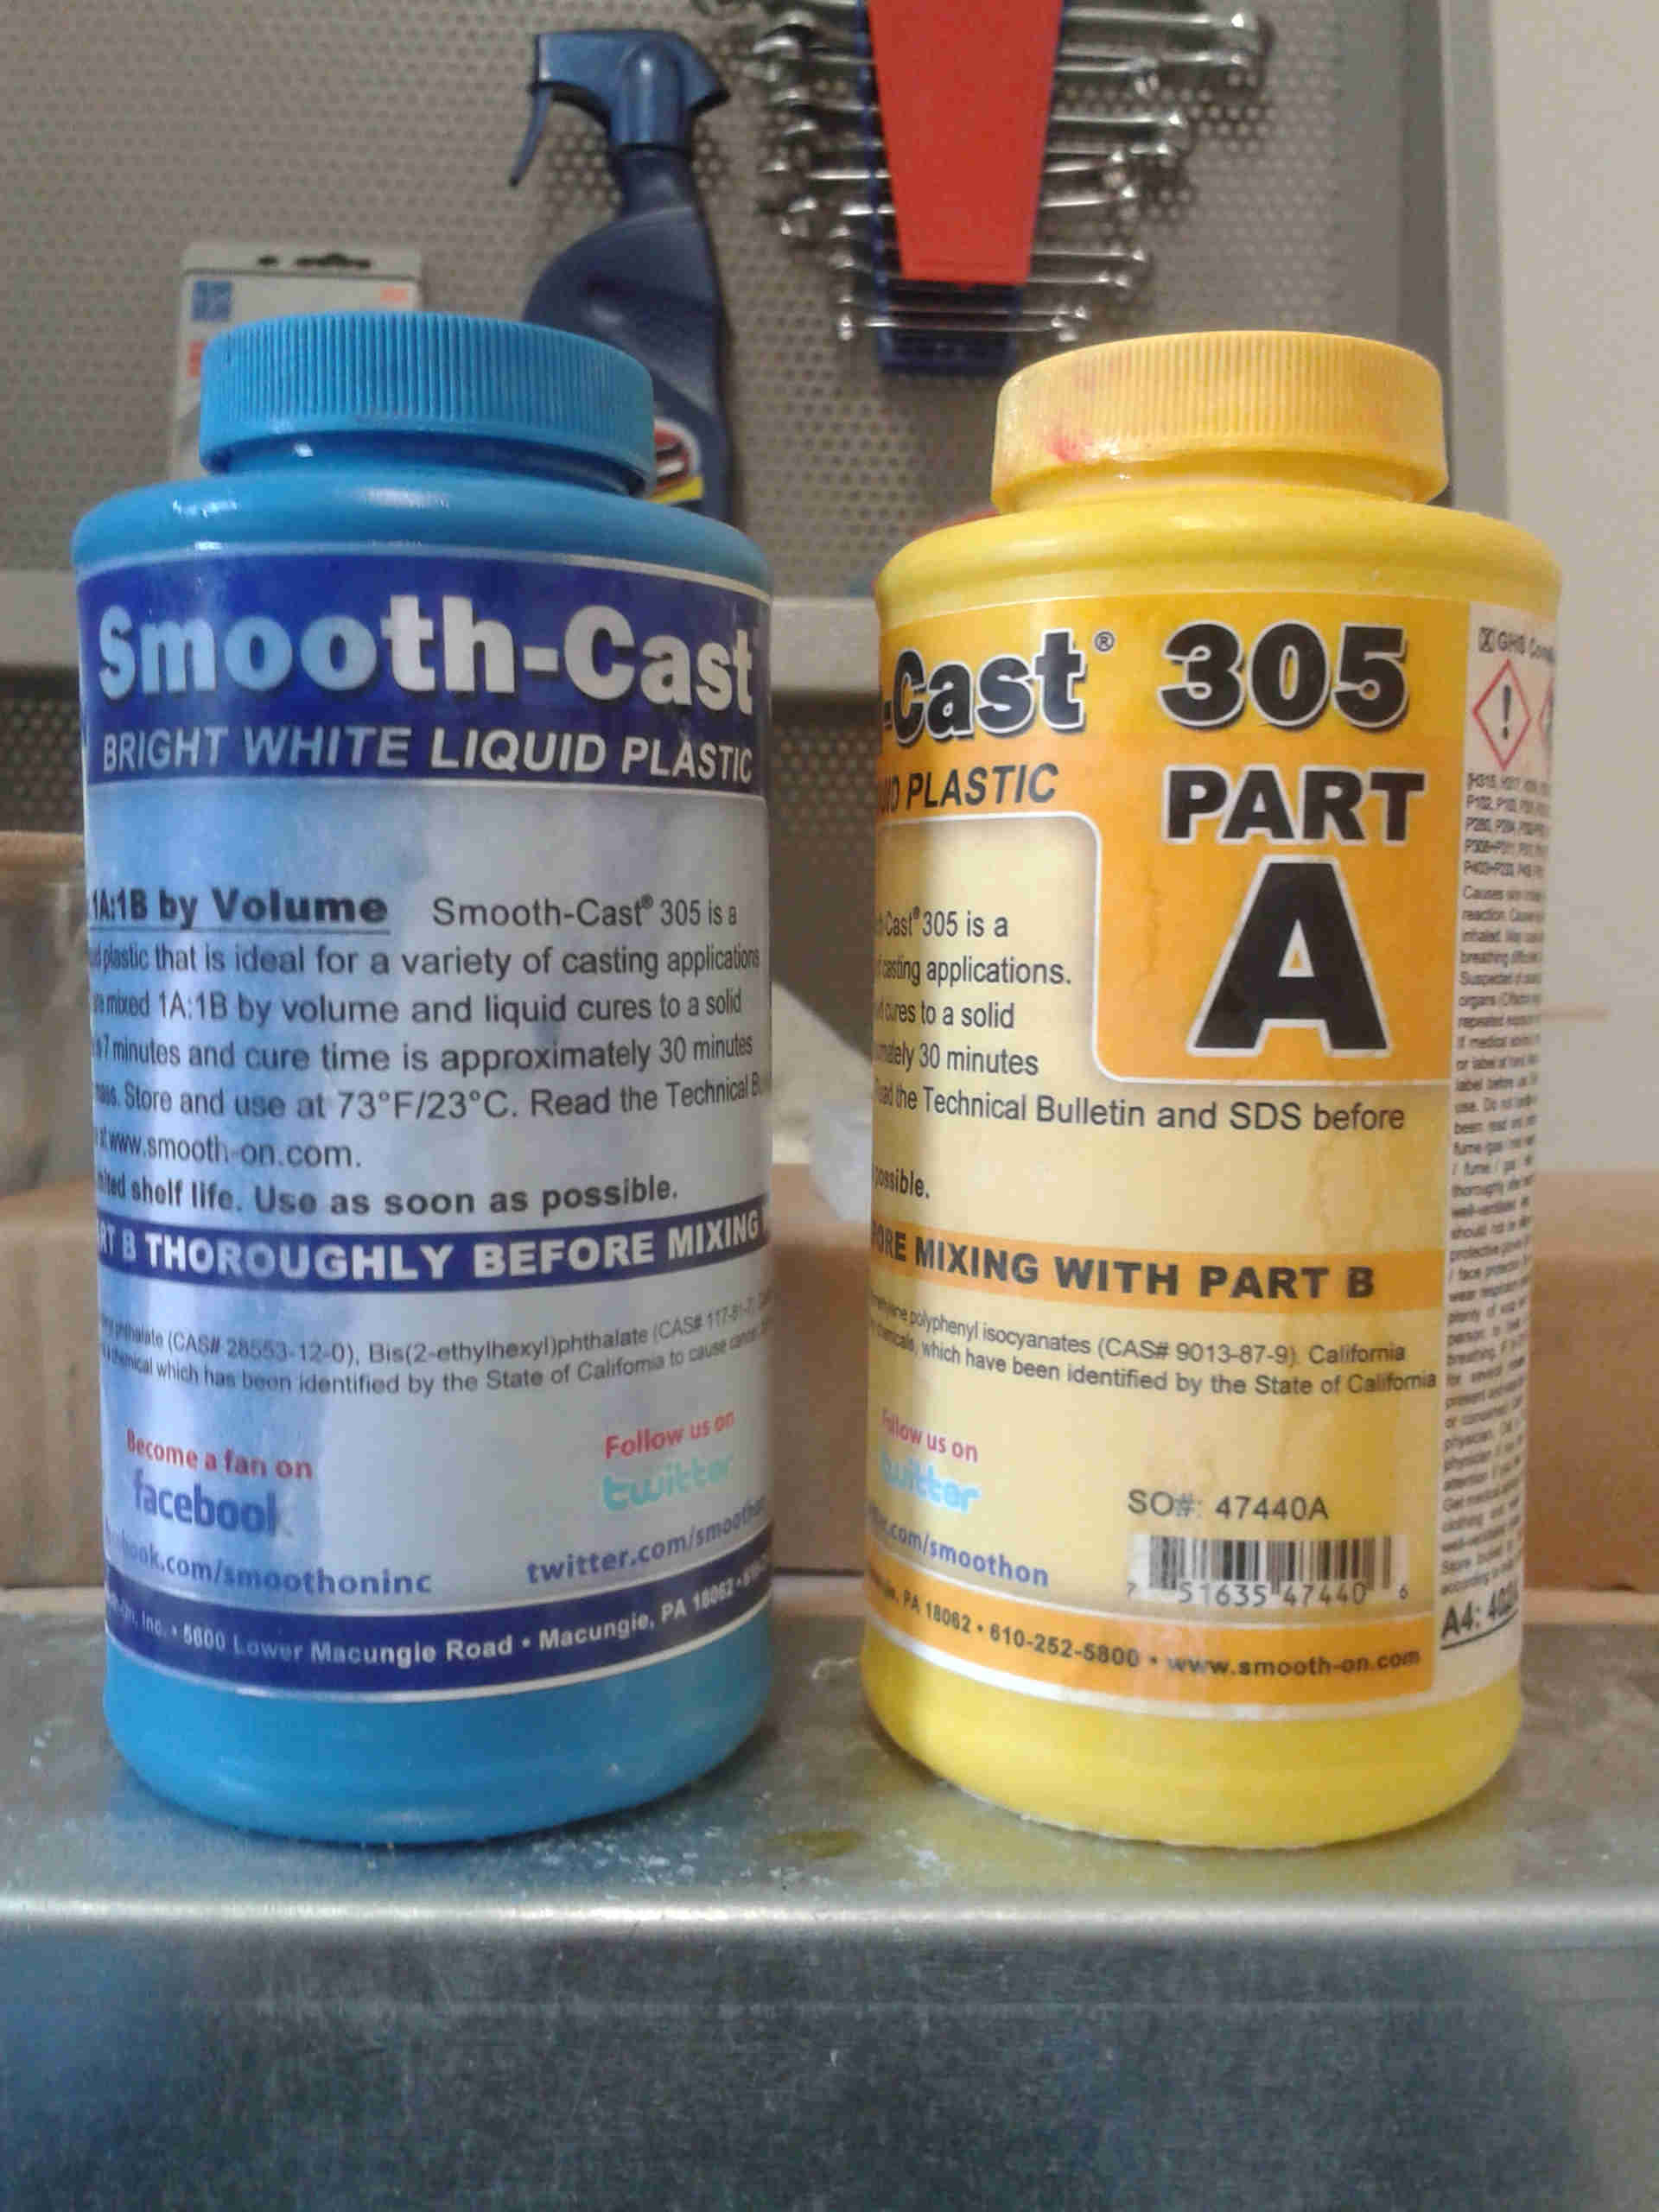
Like the silicone also this is made by two parts which need to be mixed in equal proportion
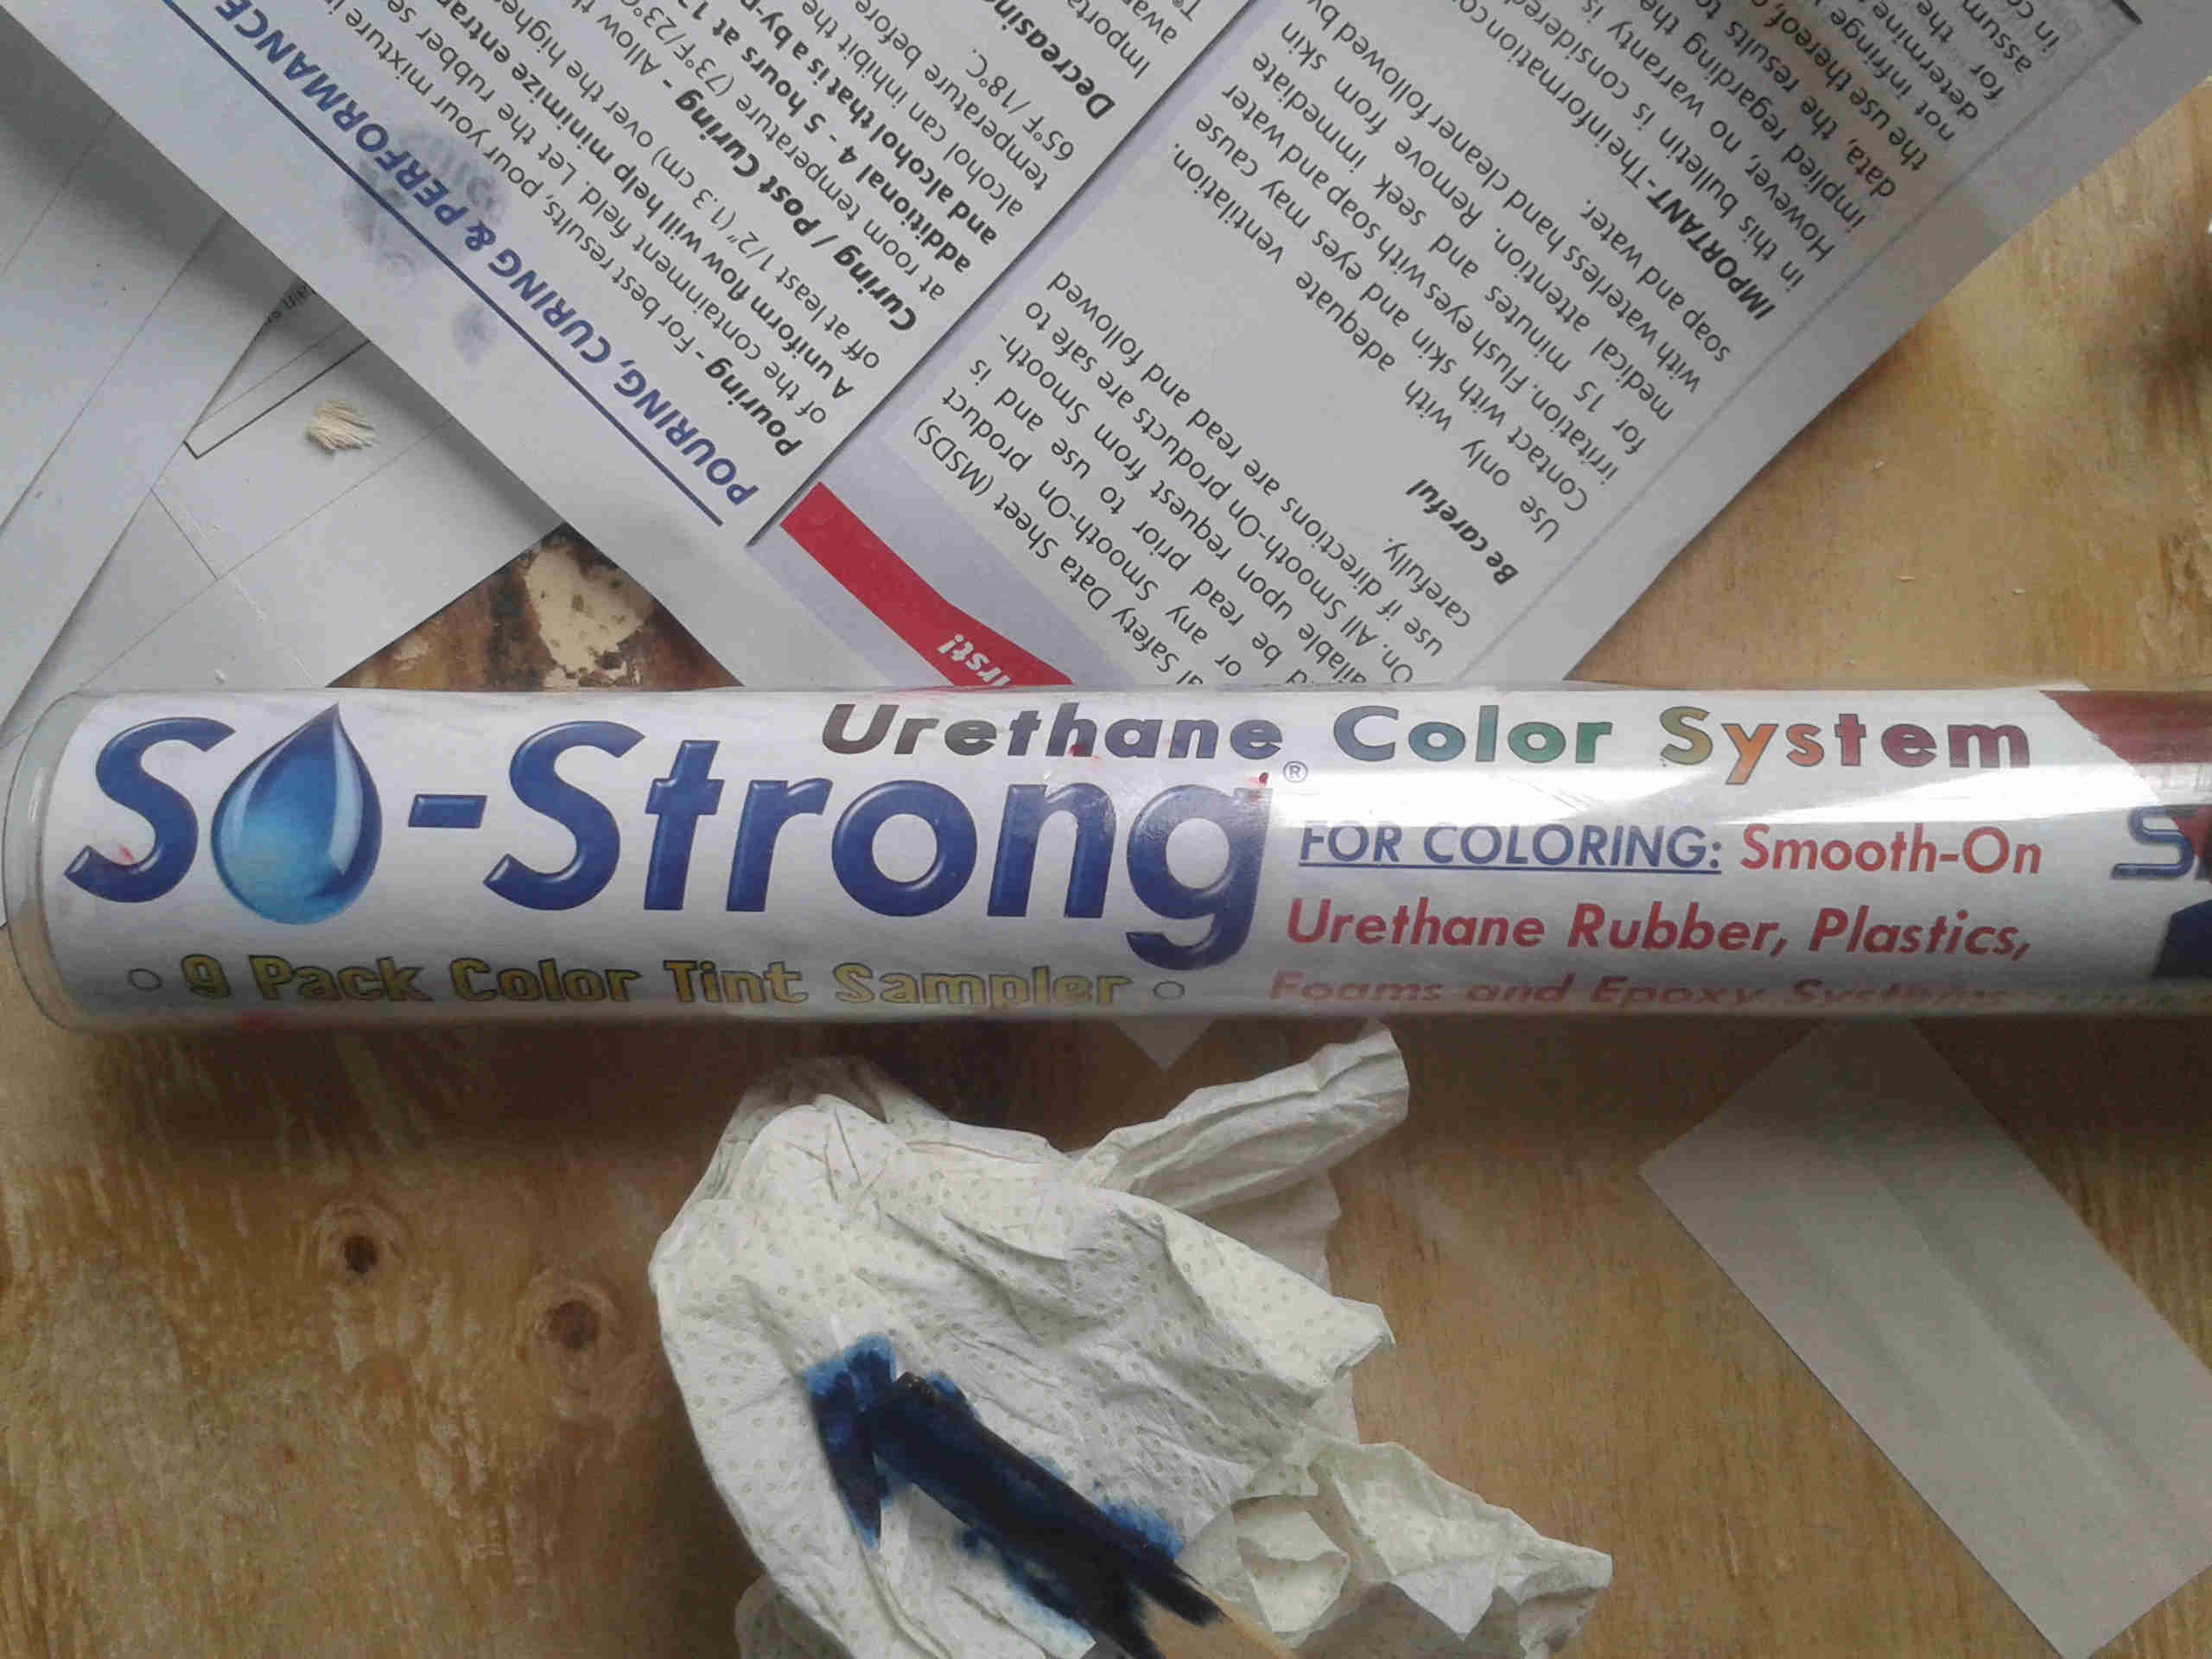
I also added few drops of color into the plastic mix to give to the final object a well-finished look
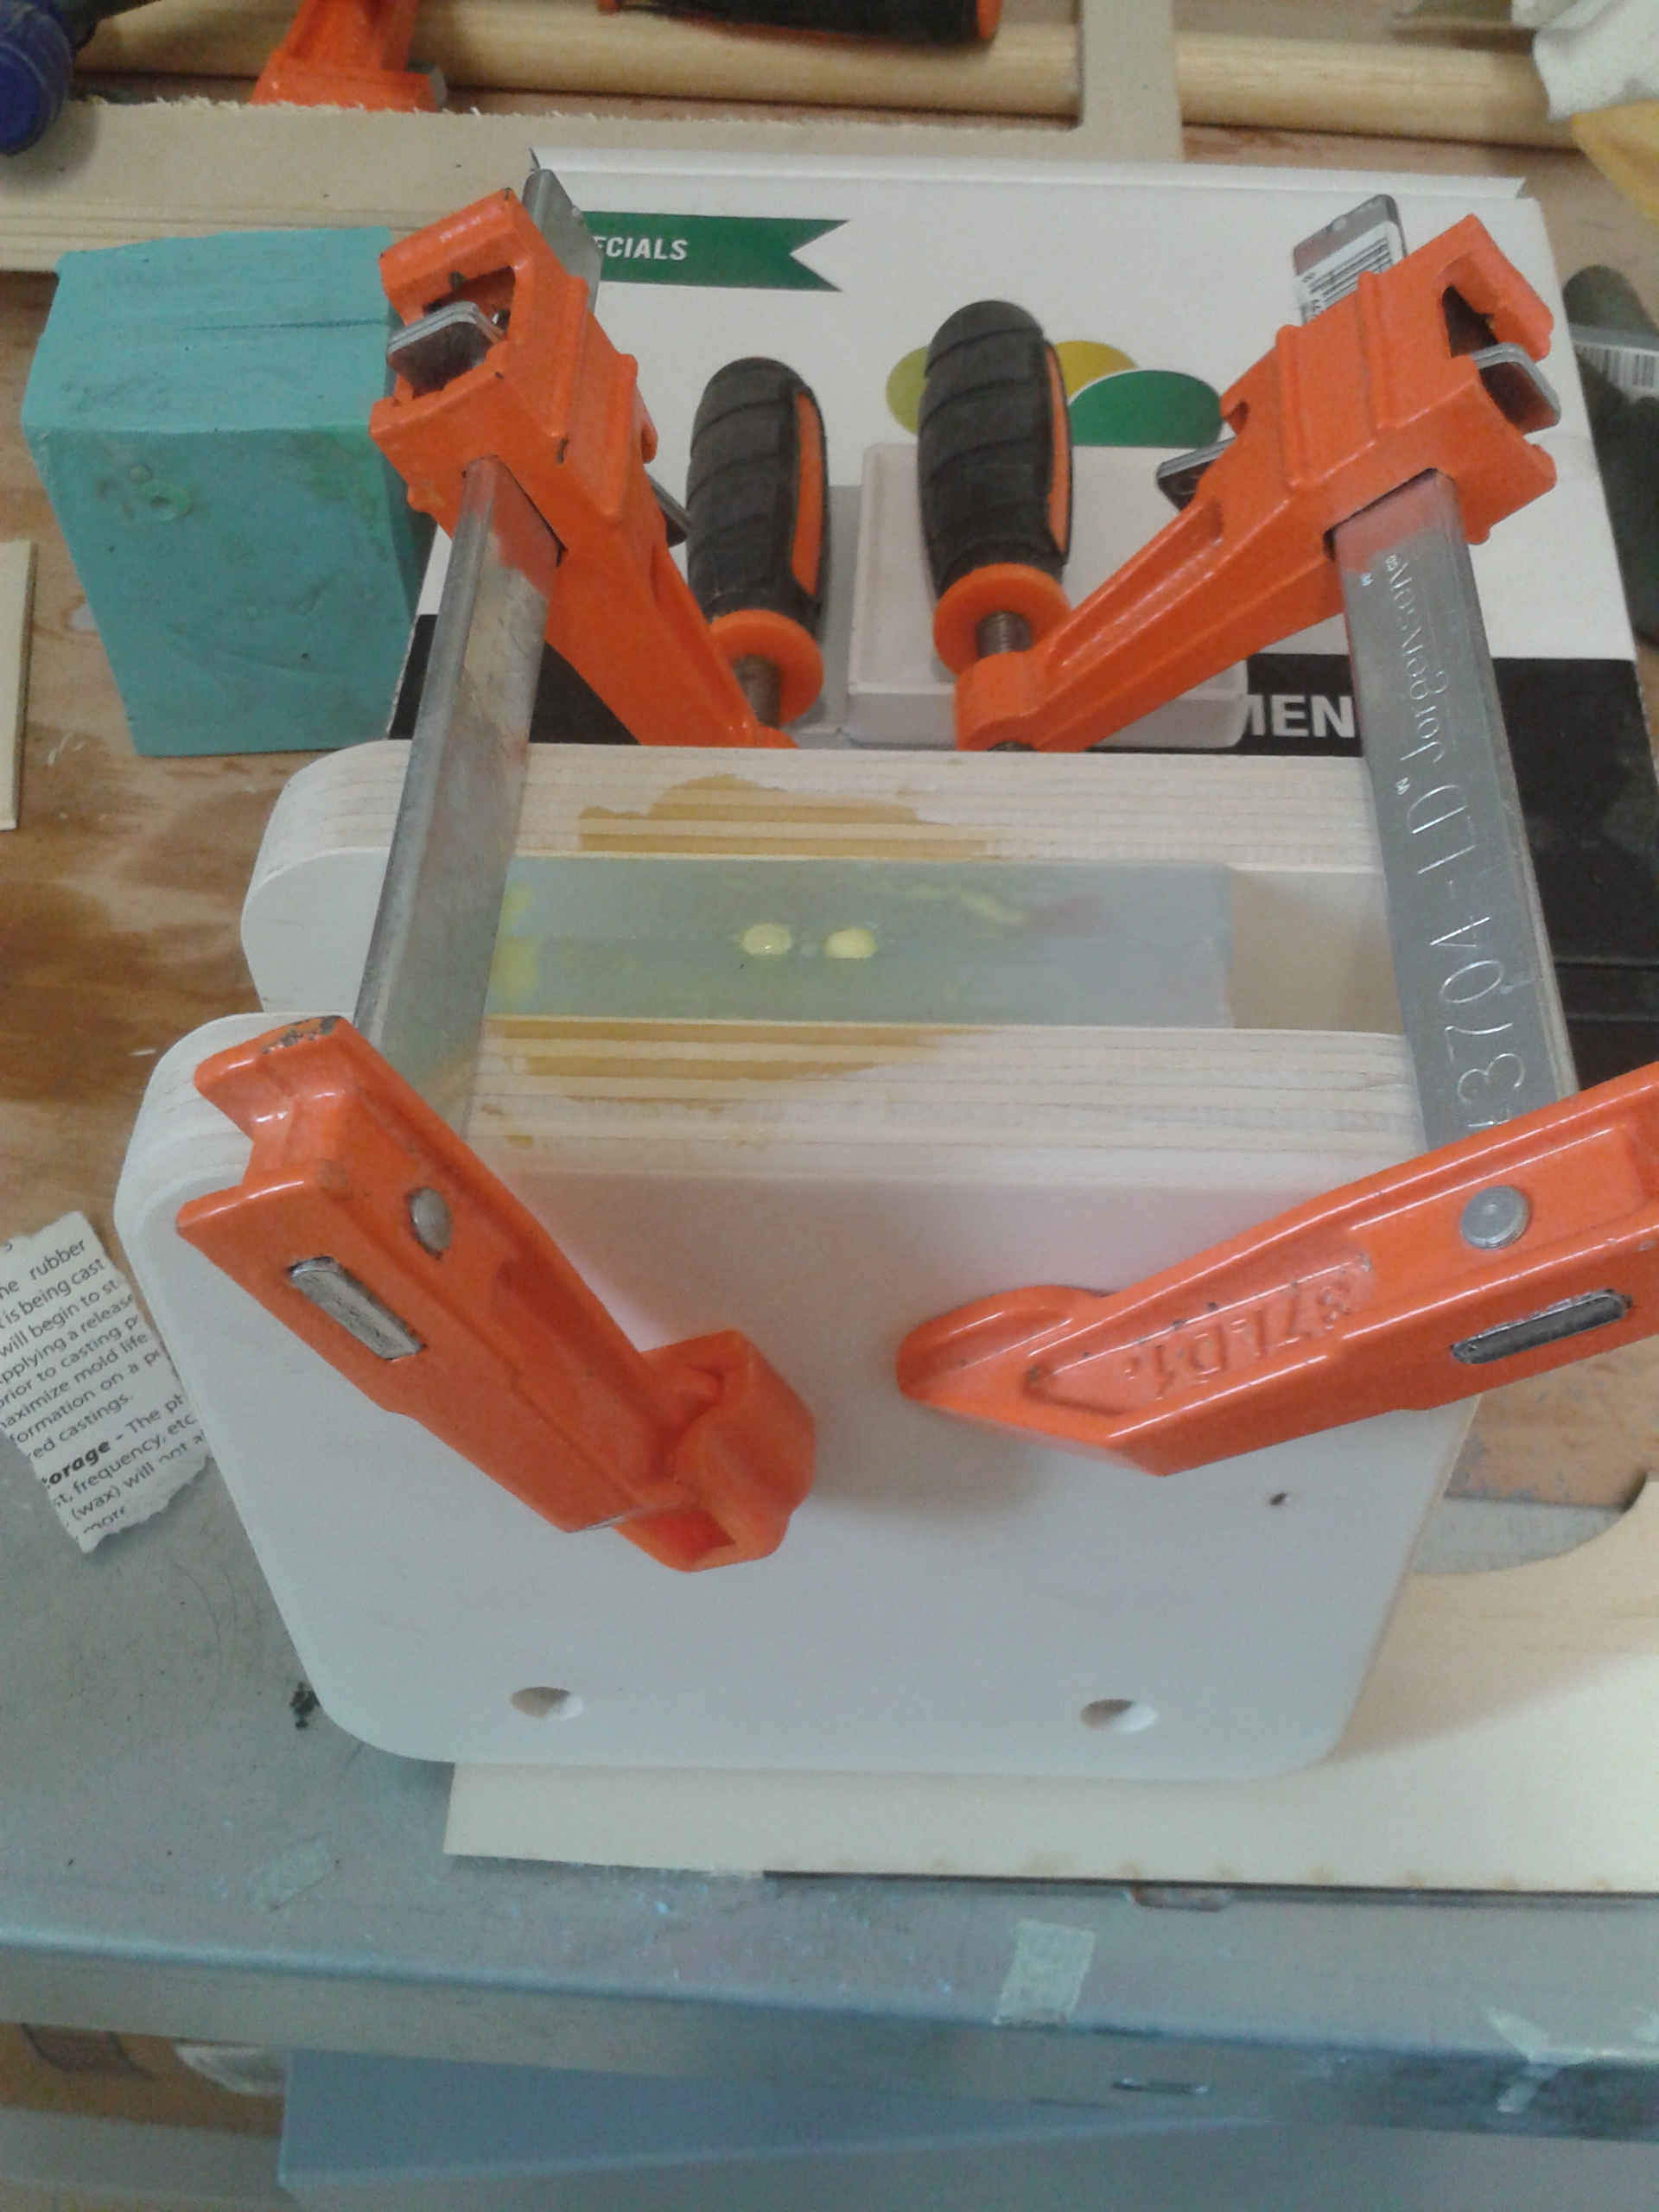
I created this structure to keep the mold pieces together and pour the plastic in it. Then I waited the cure time
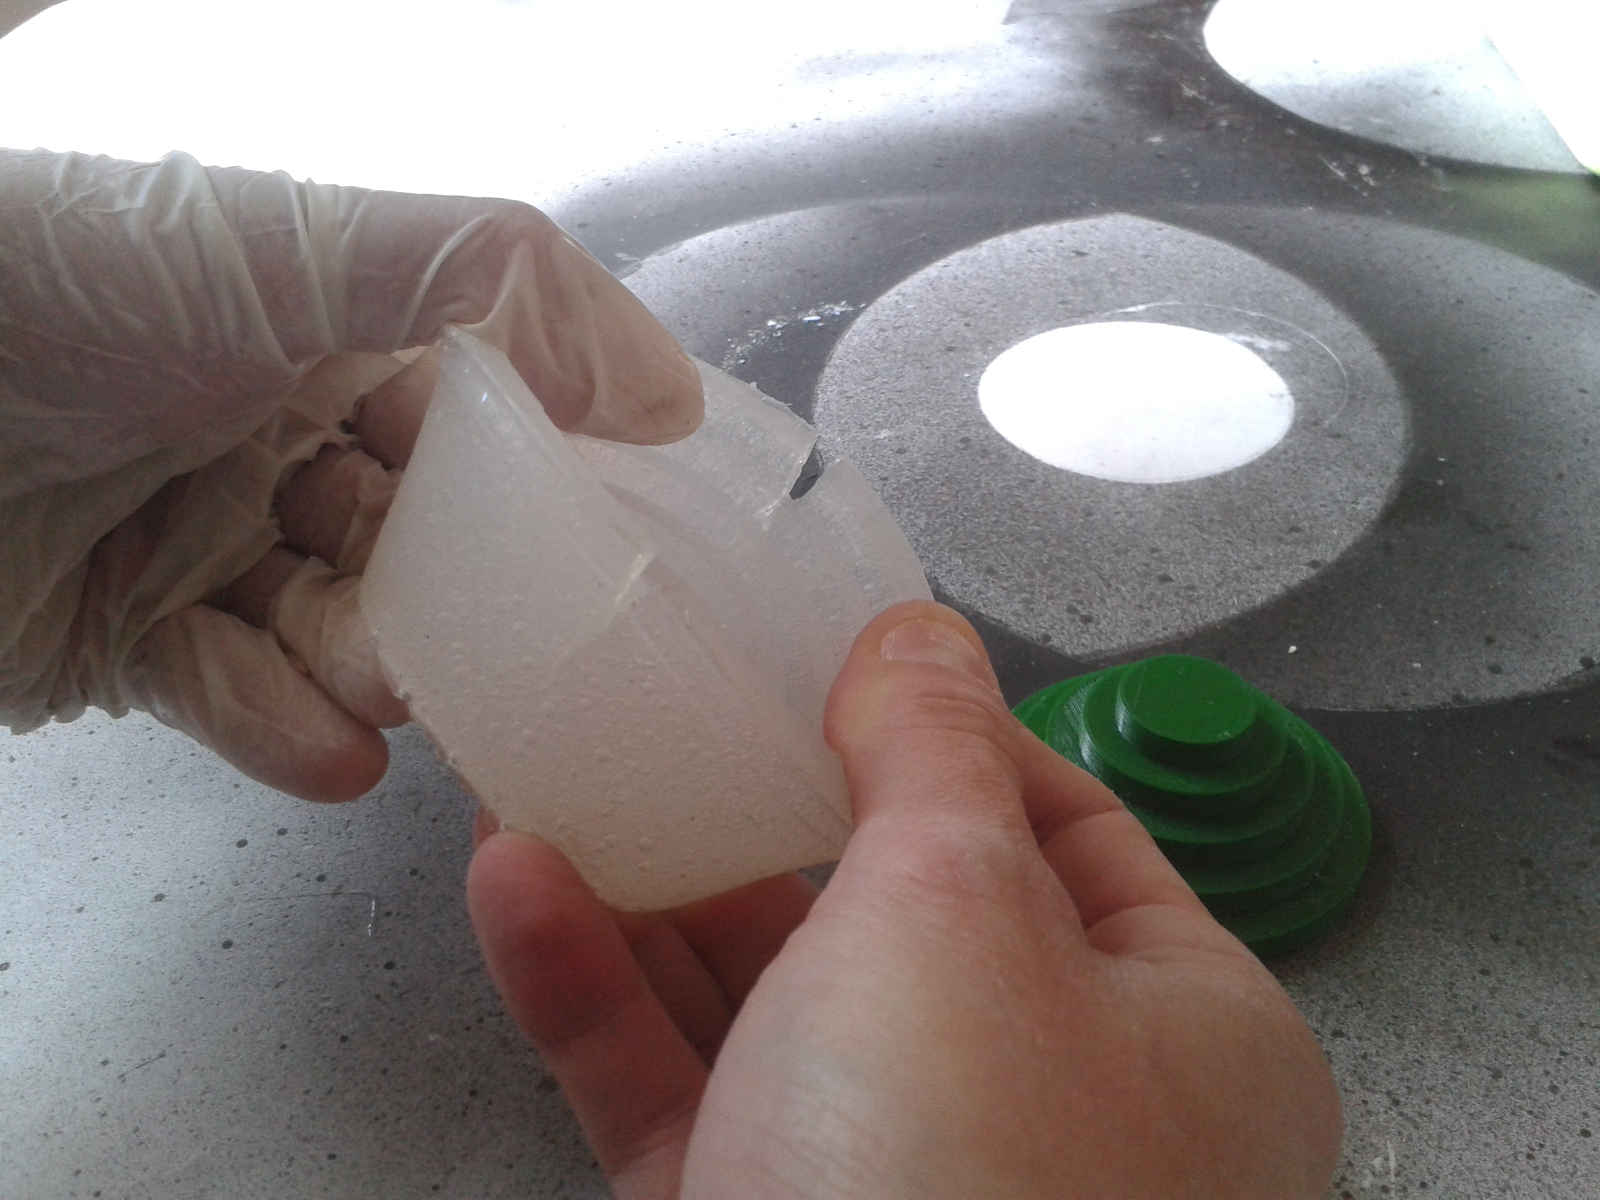
Now I was ready to remove the model from the mold
And that's what I gained. I only need to remove the cylinders on the top

Oops! Only when the work was finished I notice that the little hole I put on the bottom of the model it isn't in the final object... I found when the mistake happened, the hole is present in the Vector Cut3D project until I made the preview of the milling, after that it disappeared I don't even know why. Maybe because it's too tiny
Casting wax: making candles
In addition I was interested in casting wax to make candles
Browsing on the internet to get information about this practice I found tha it's possible to melt and reuse wasted candle wax, and pour it to make new once
I think that this is very eco-friendly and I wanted to try it
Melting wax
On DIY sites around the web I found how to melt wasted candles. It's suggested to do it with indirect heat (bain-marie method) with the intention of don't burn wax
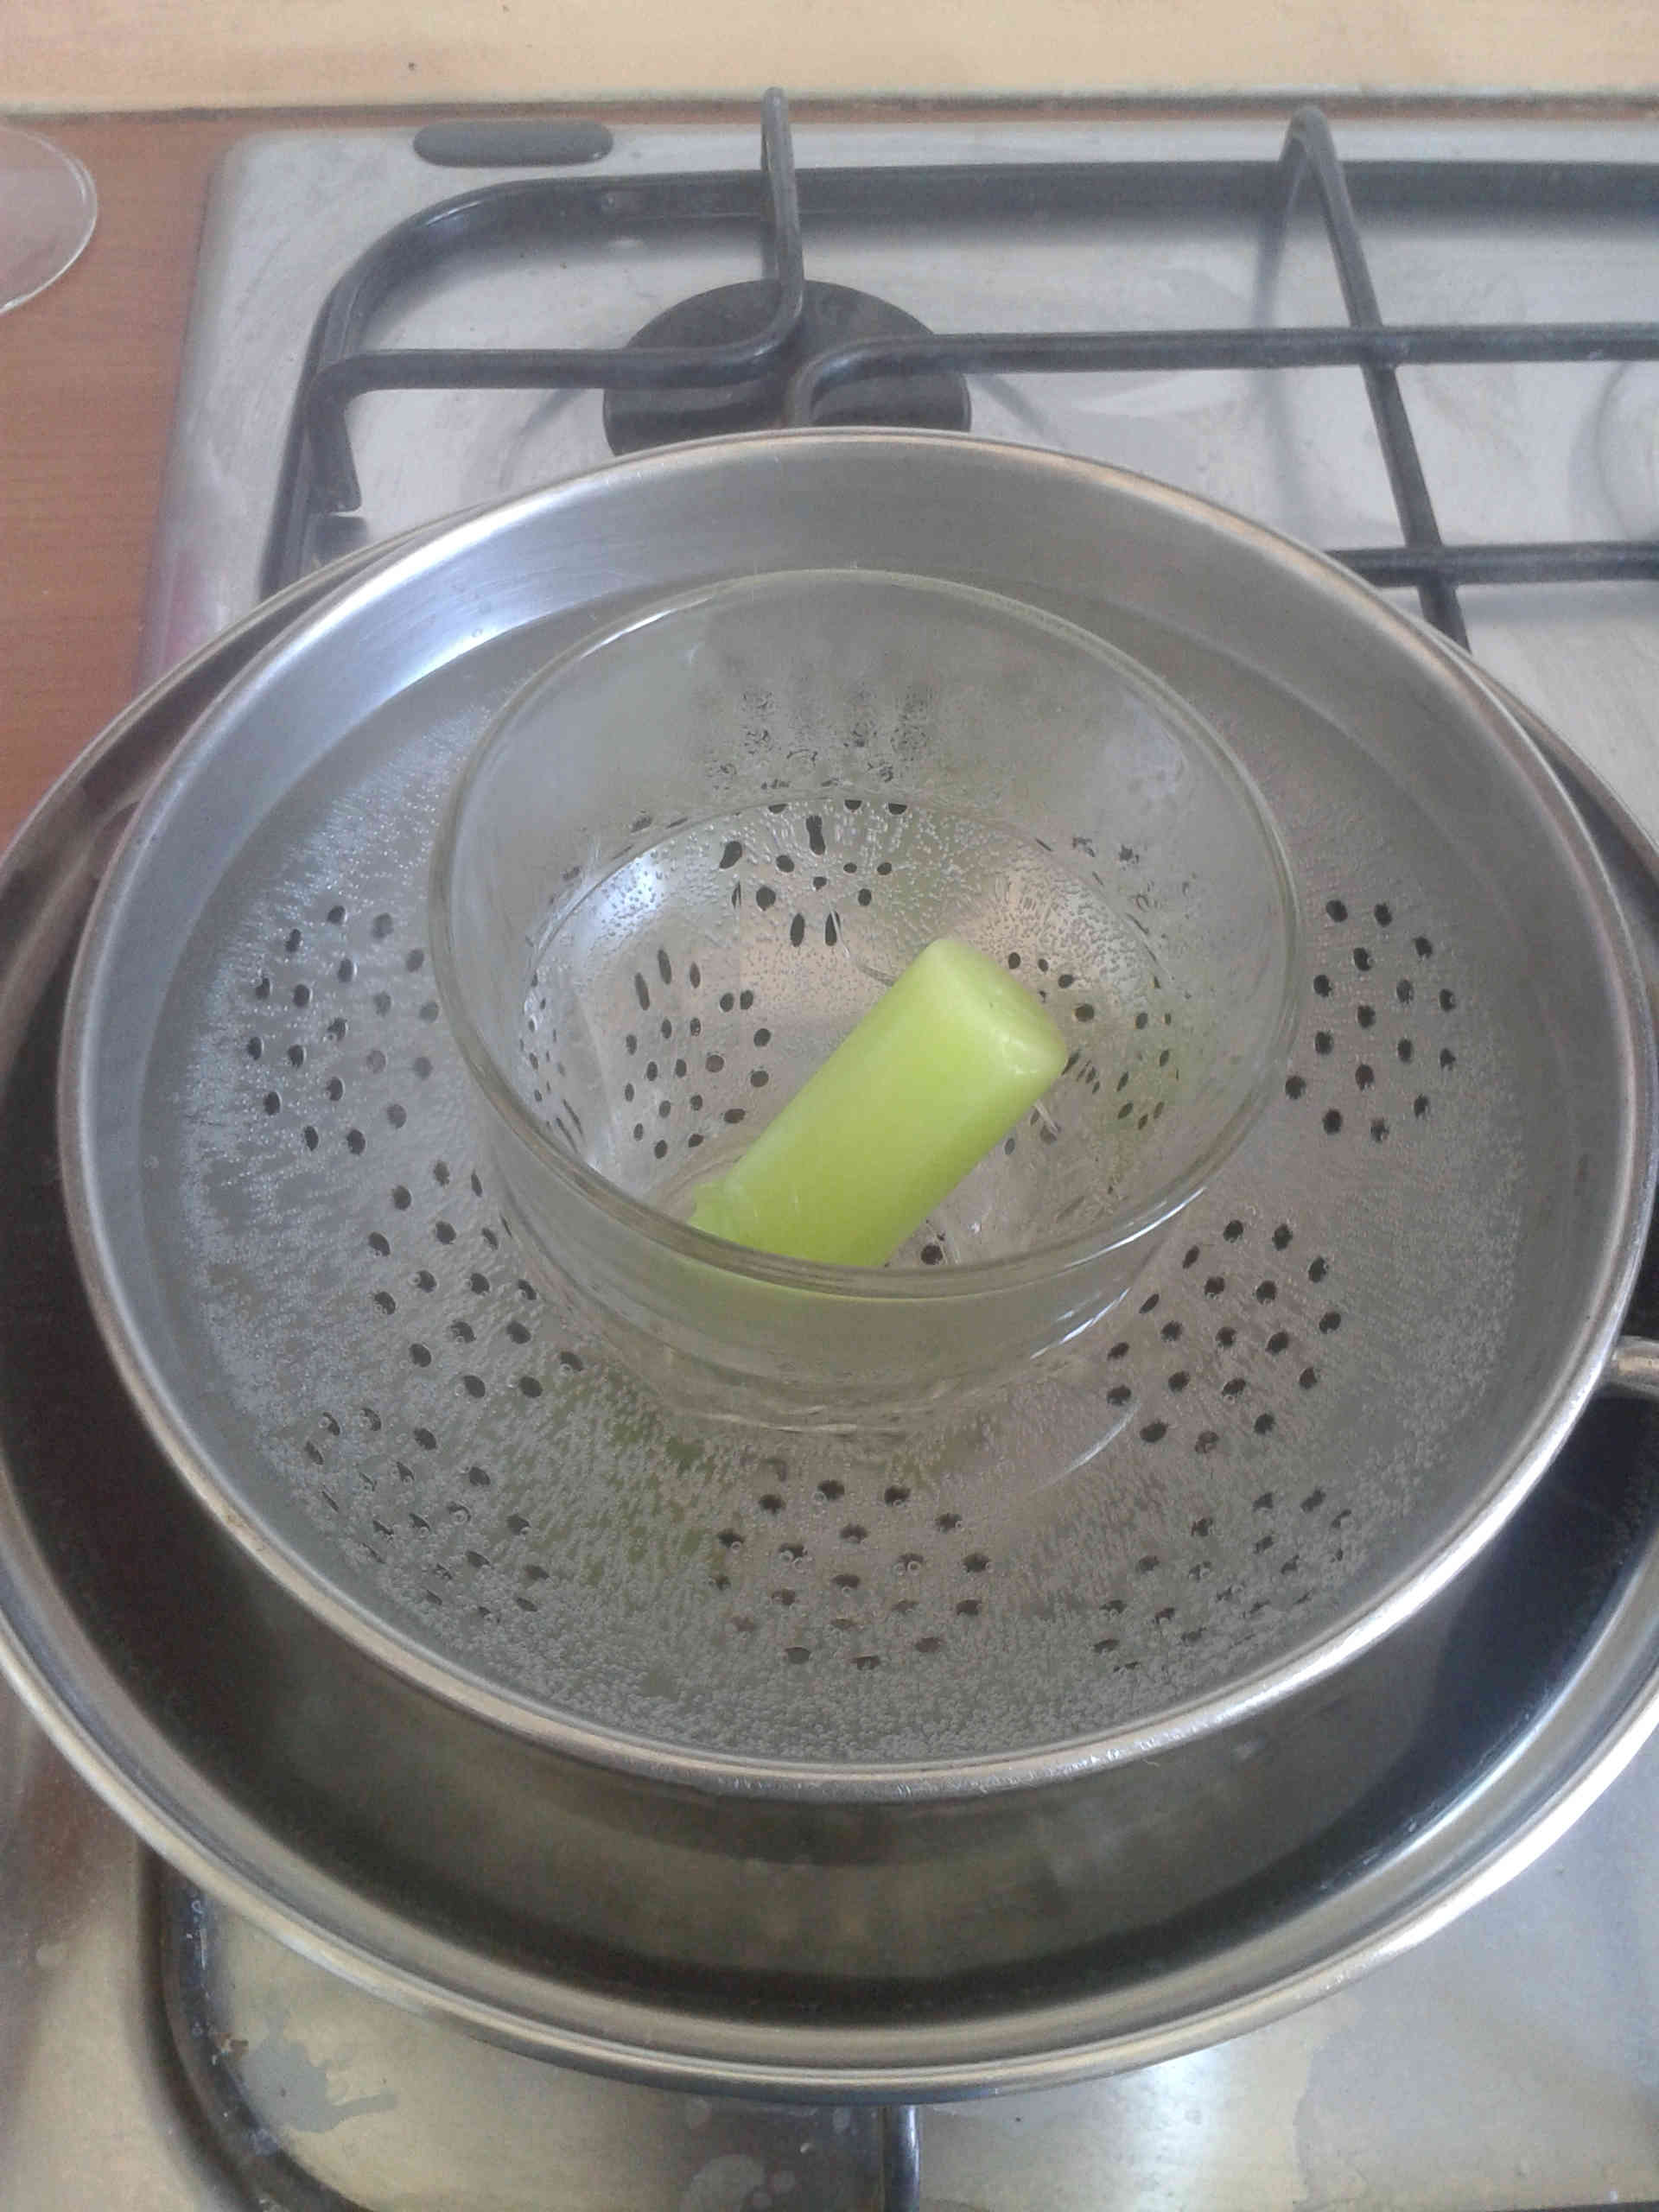
Suggestion: if you use a glass container (as I did) put it in the water before it warms, if you immerse it while water is already boiling it could break
This wanted to be only an attempt to see if the method worked, I didn't want to wait untill I made a specific mold, so I asked Silvia for her mold, a one part mold easy to use. Thank's Silvia! ;)

Then I modified it based on my need. I removed the central cylinder so my cast won't have a central hole, and I added a hole to insert a wick
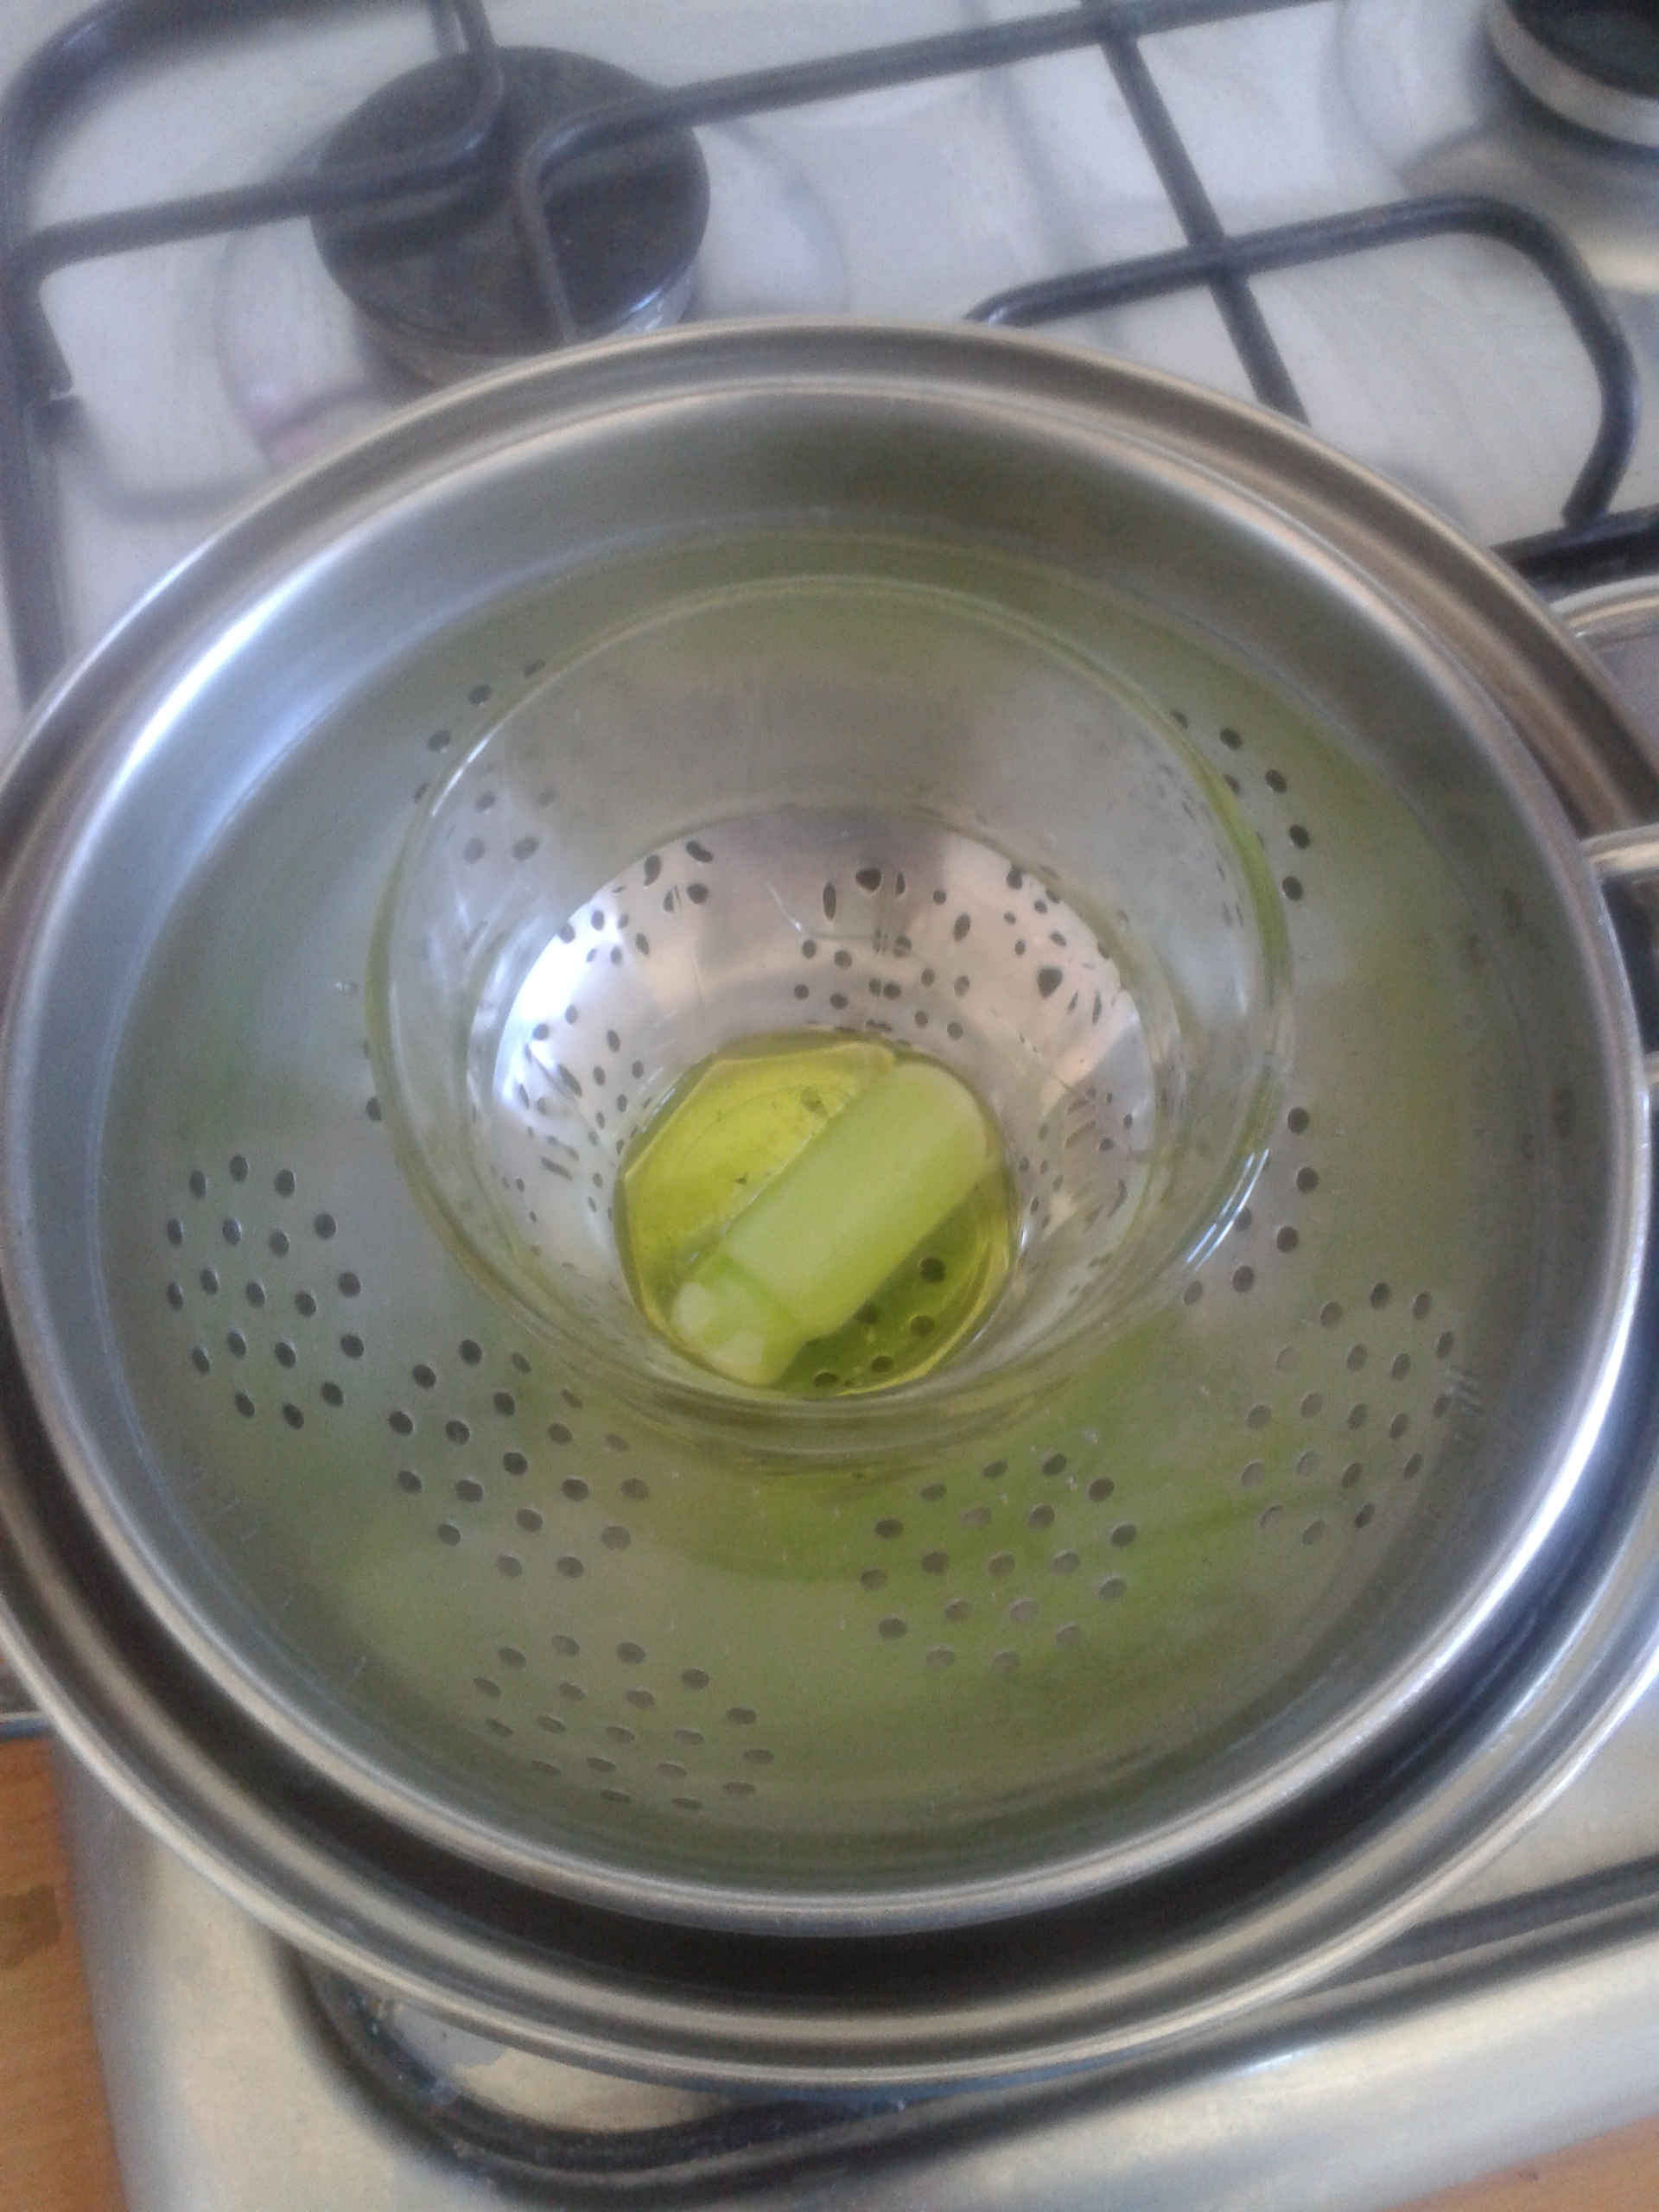
Before to cast I left the mold cooling in the freezer for 30/40 minutes to contrast the melted wax heat
And that's the cast
This is my candle kit
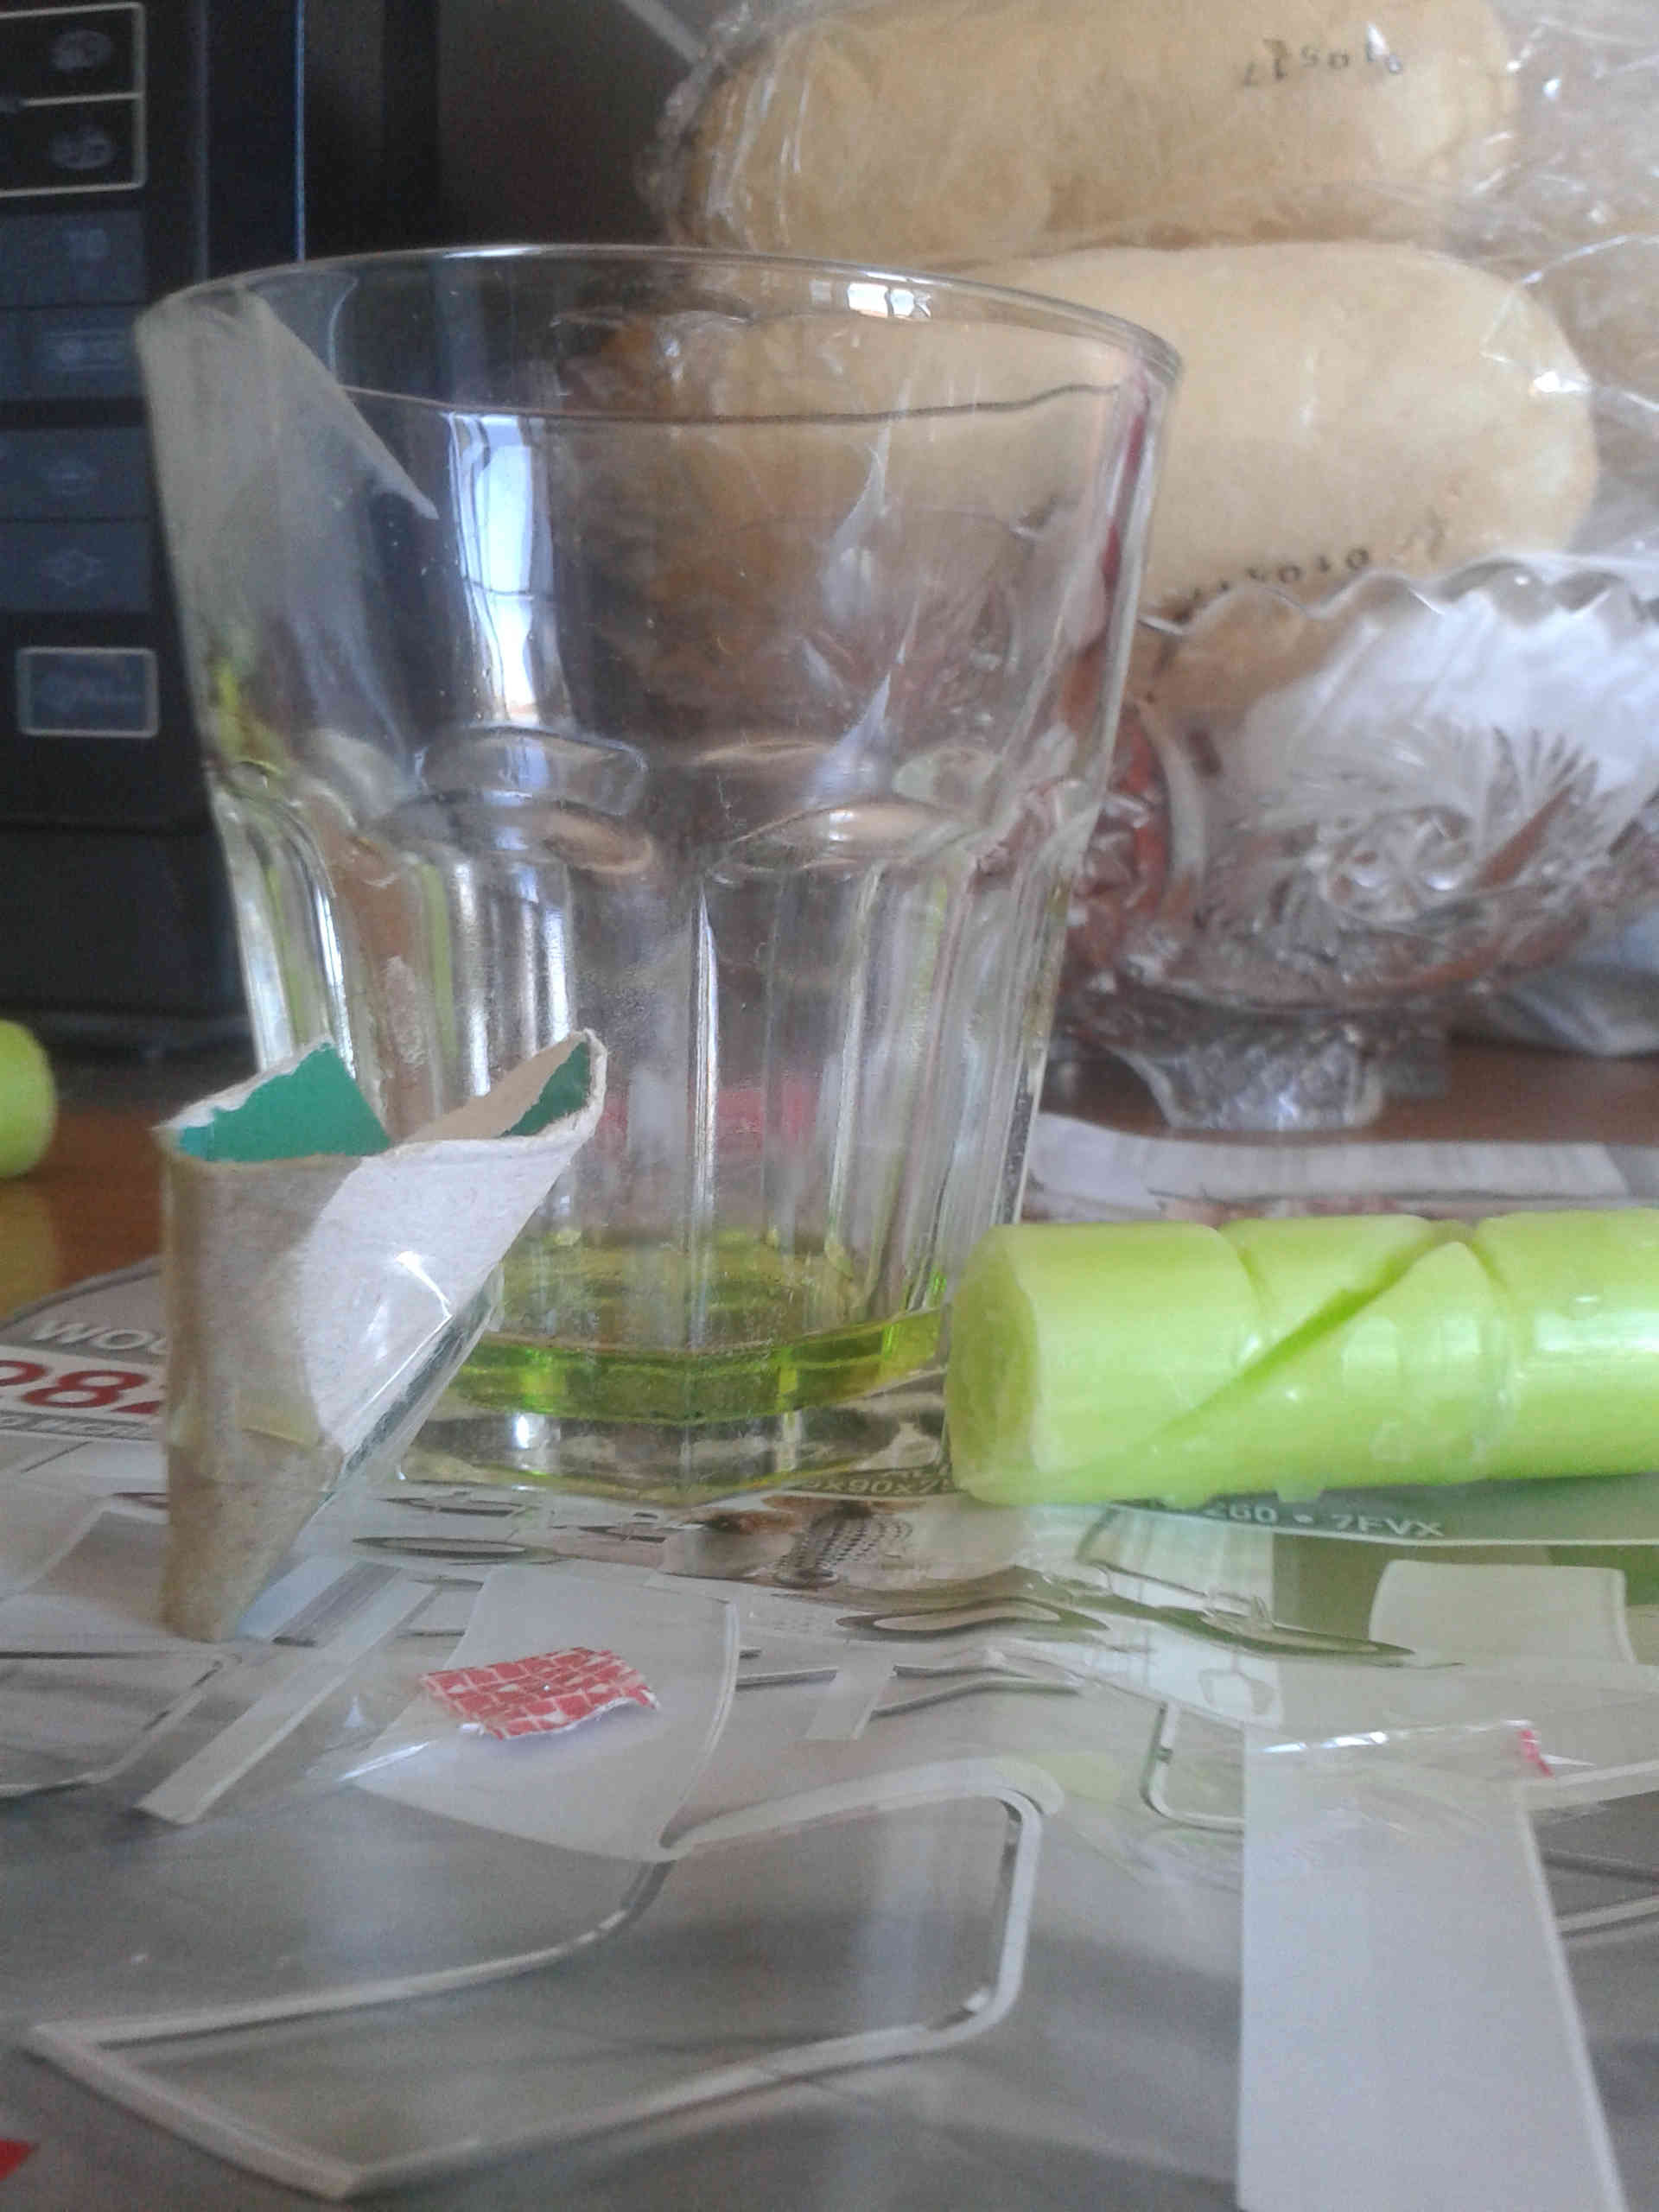
As you can see I made a paper cone to pour the wax in the mold
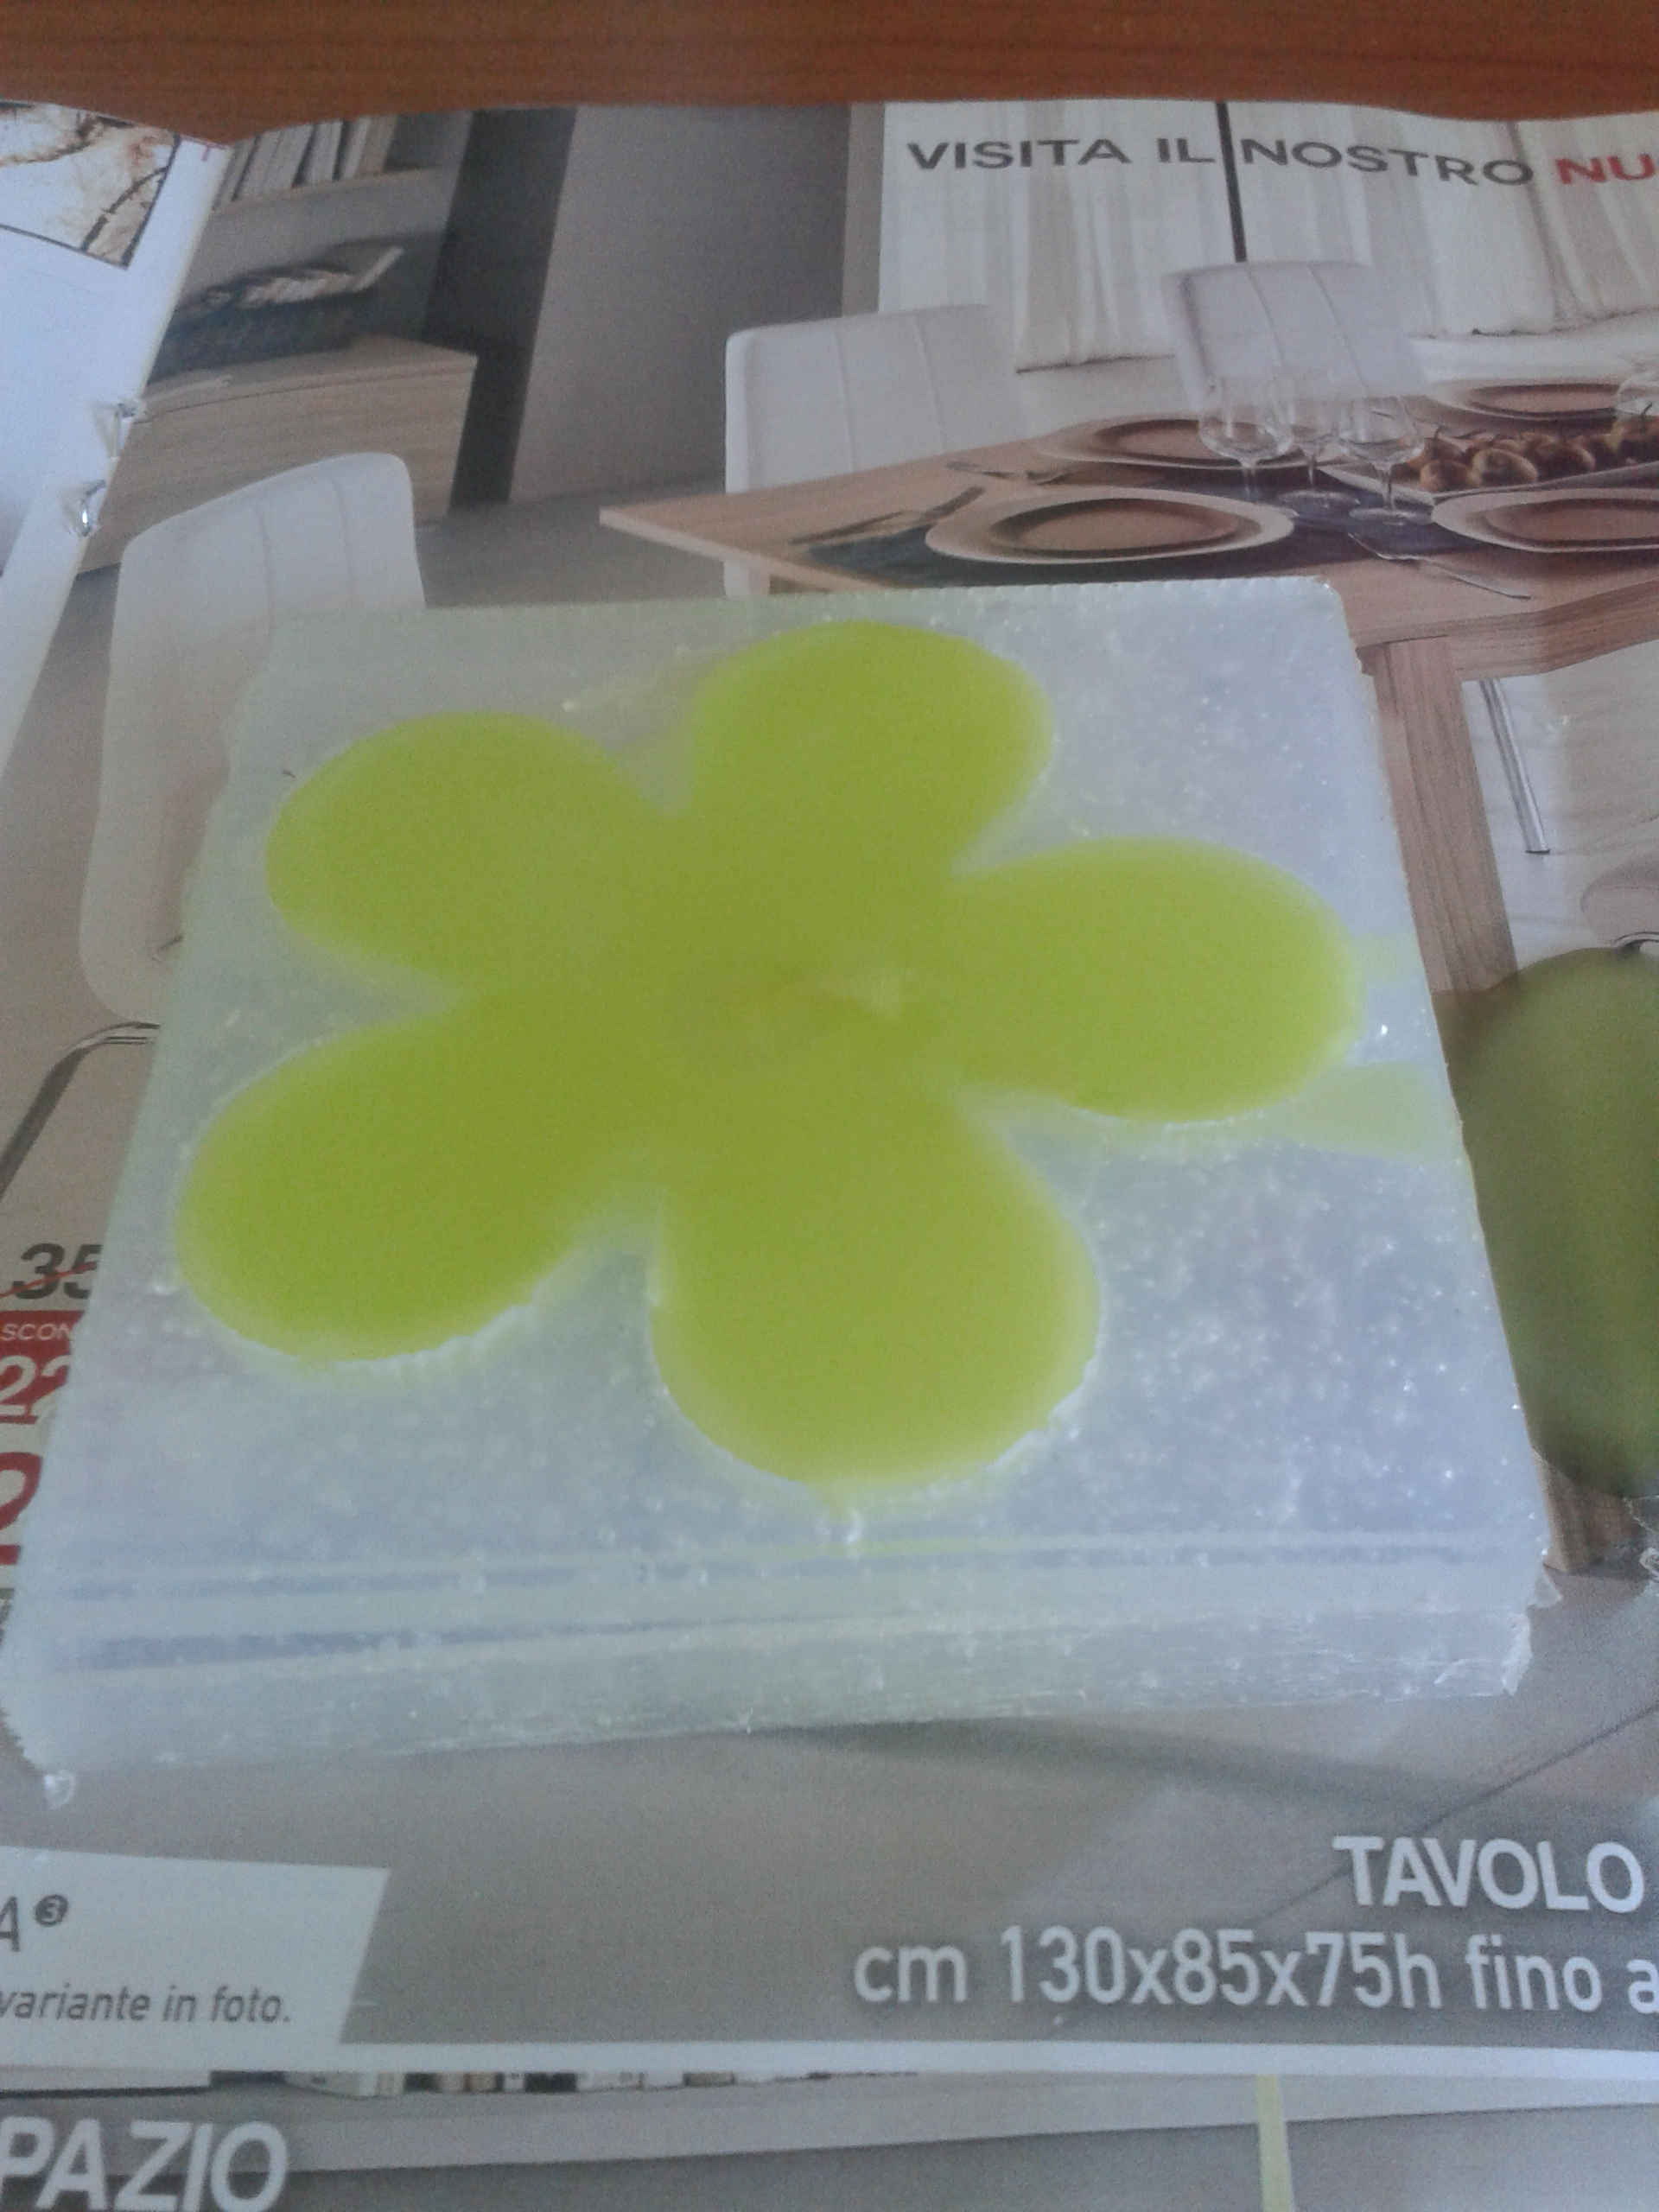
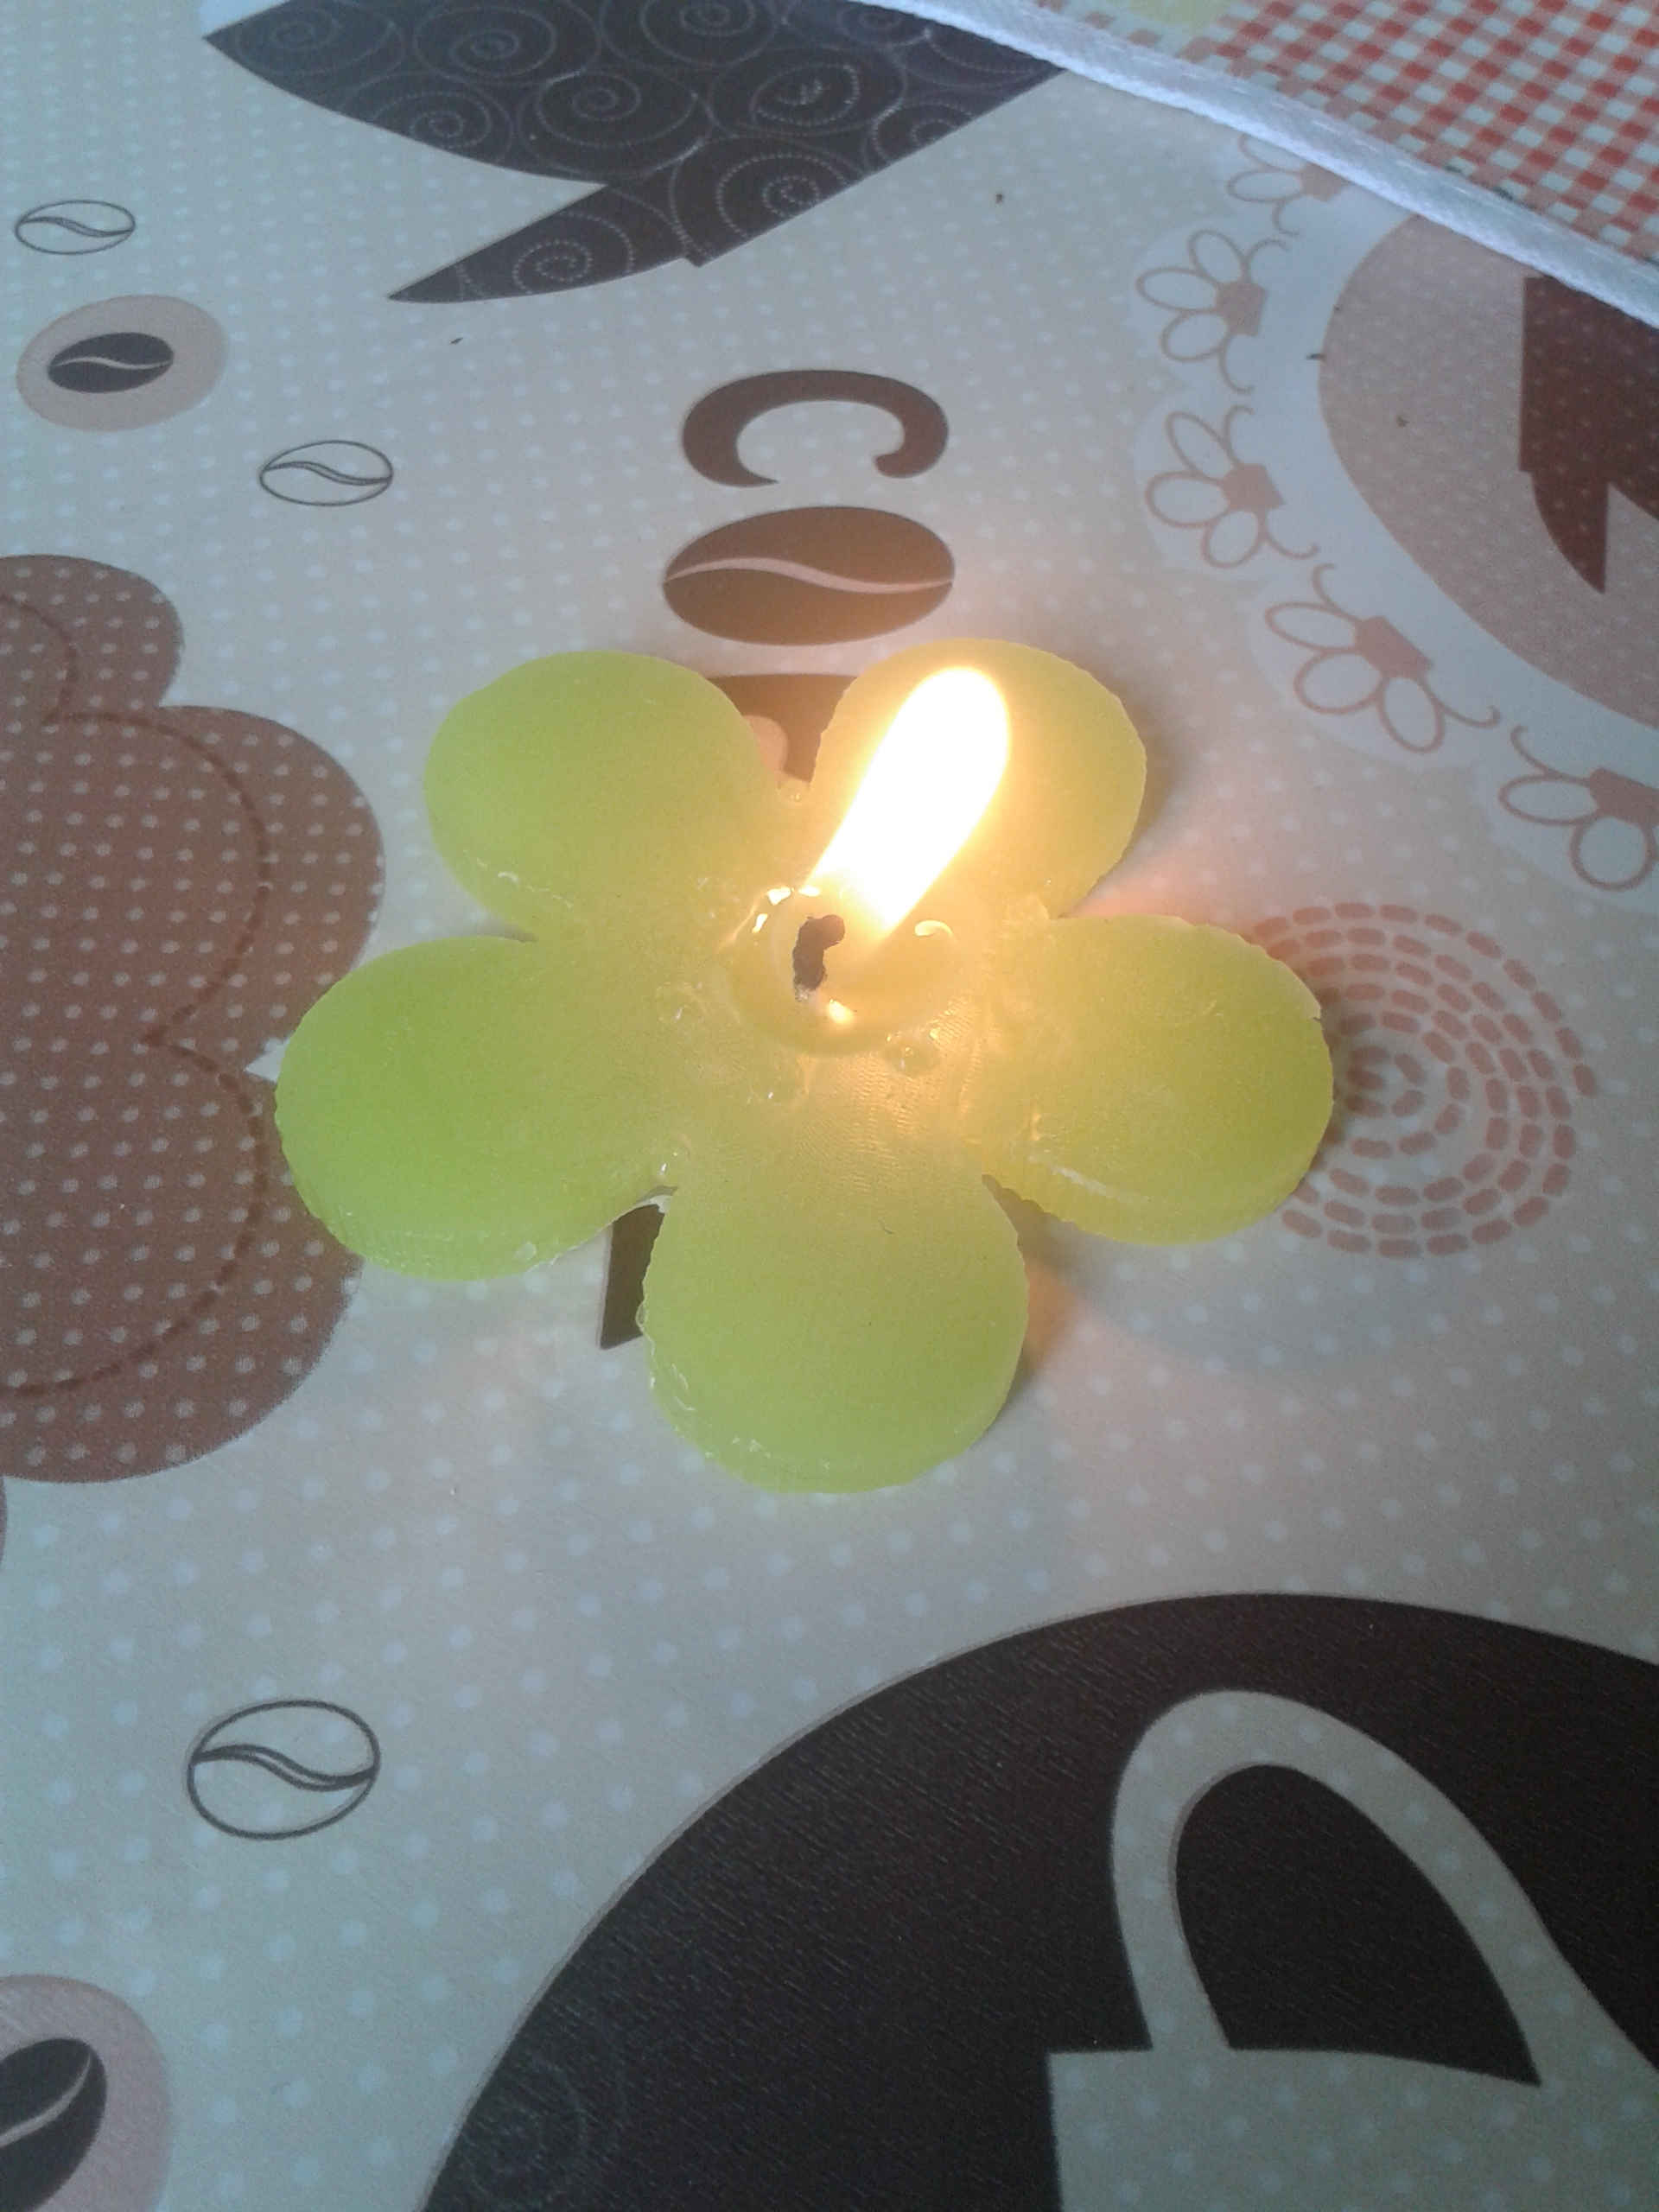
And the candle...

Now I would like to design a specific mold for candles, maybe trying a four part mold...
Update
Mold for multicolor candle
I didn't make a four part mold as I announced, because it would have taken too much time to think at the design
Instead I made a silicon mold for making multiple color candles
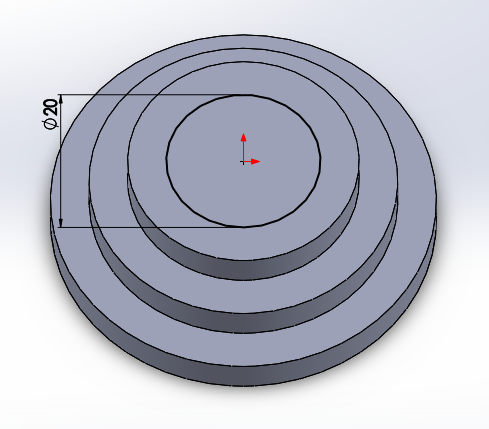
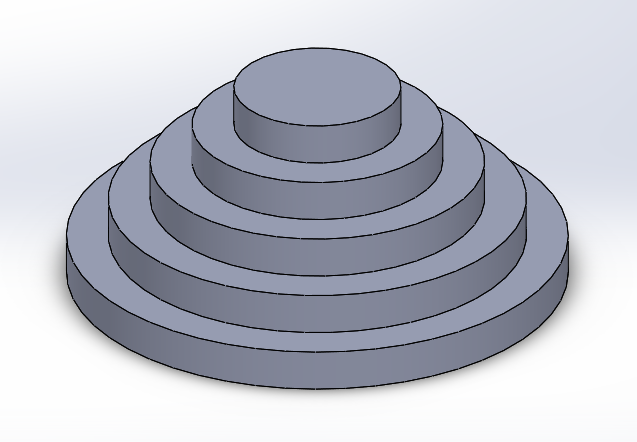
I started by designing a shape with different layers, any of whom would be filled with different color wax

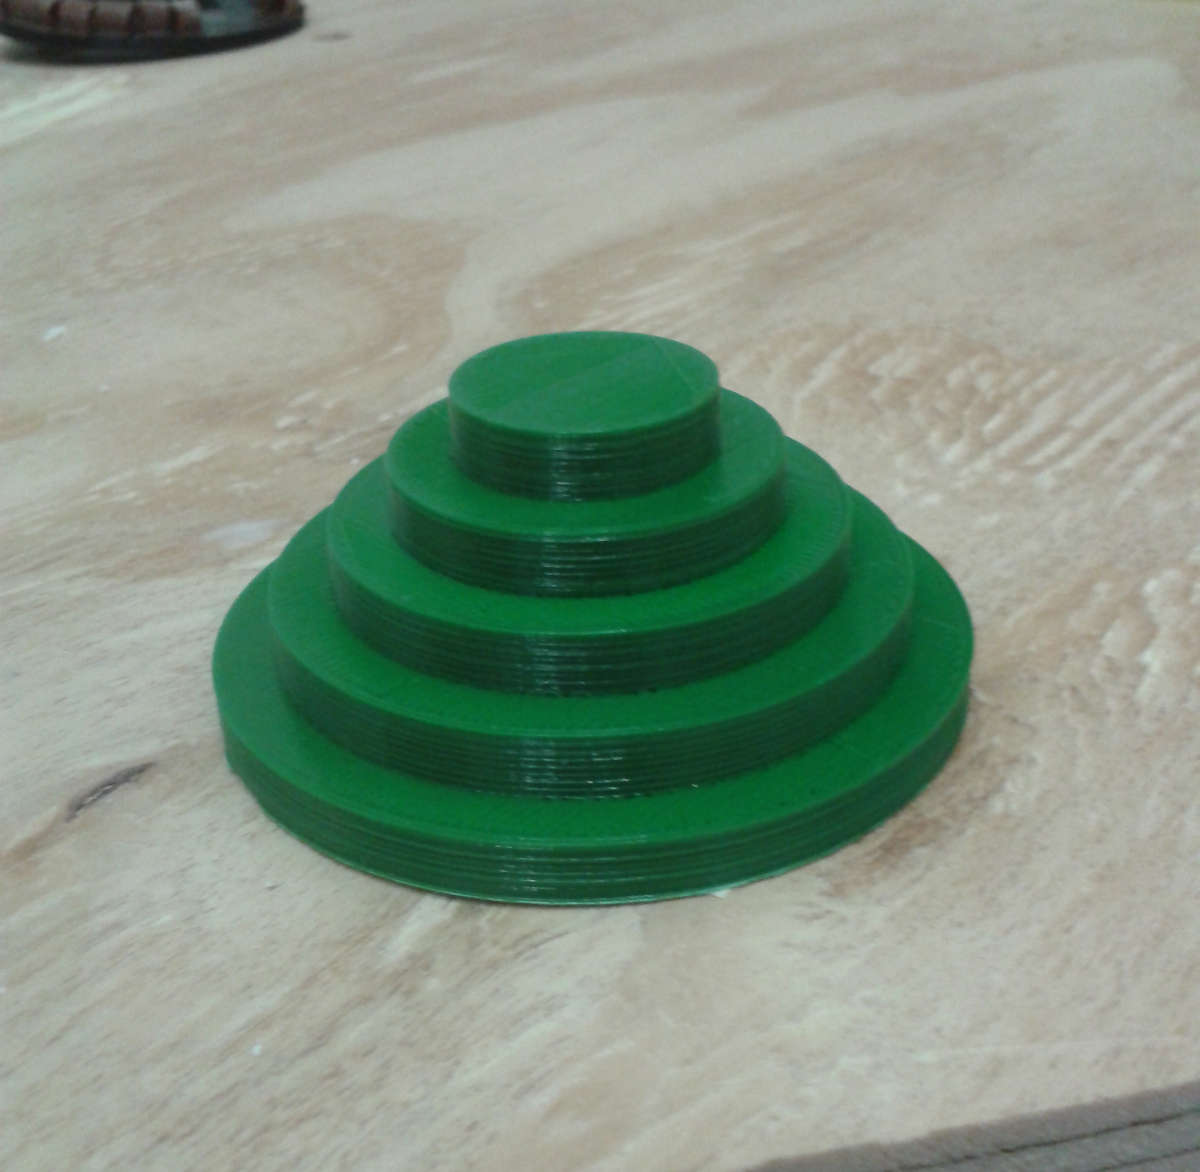
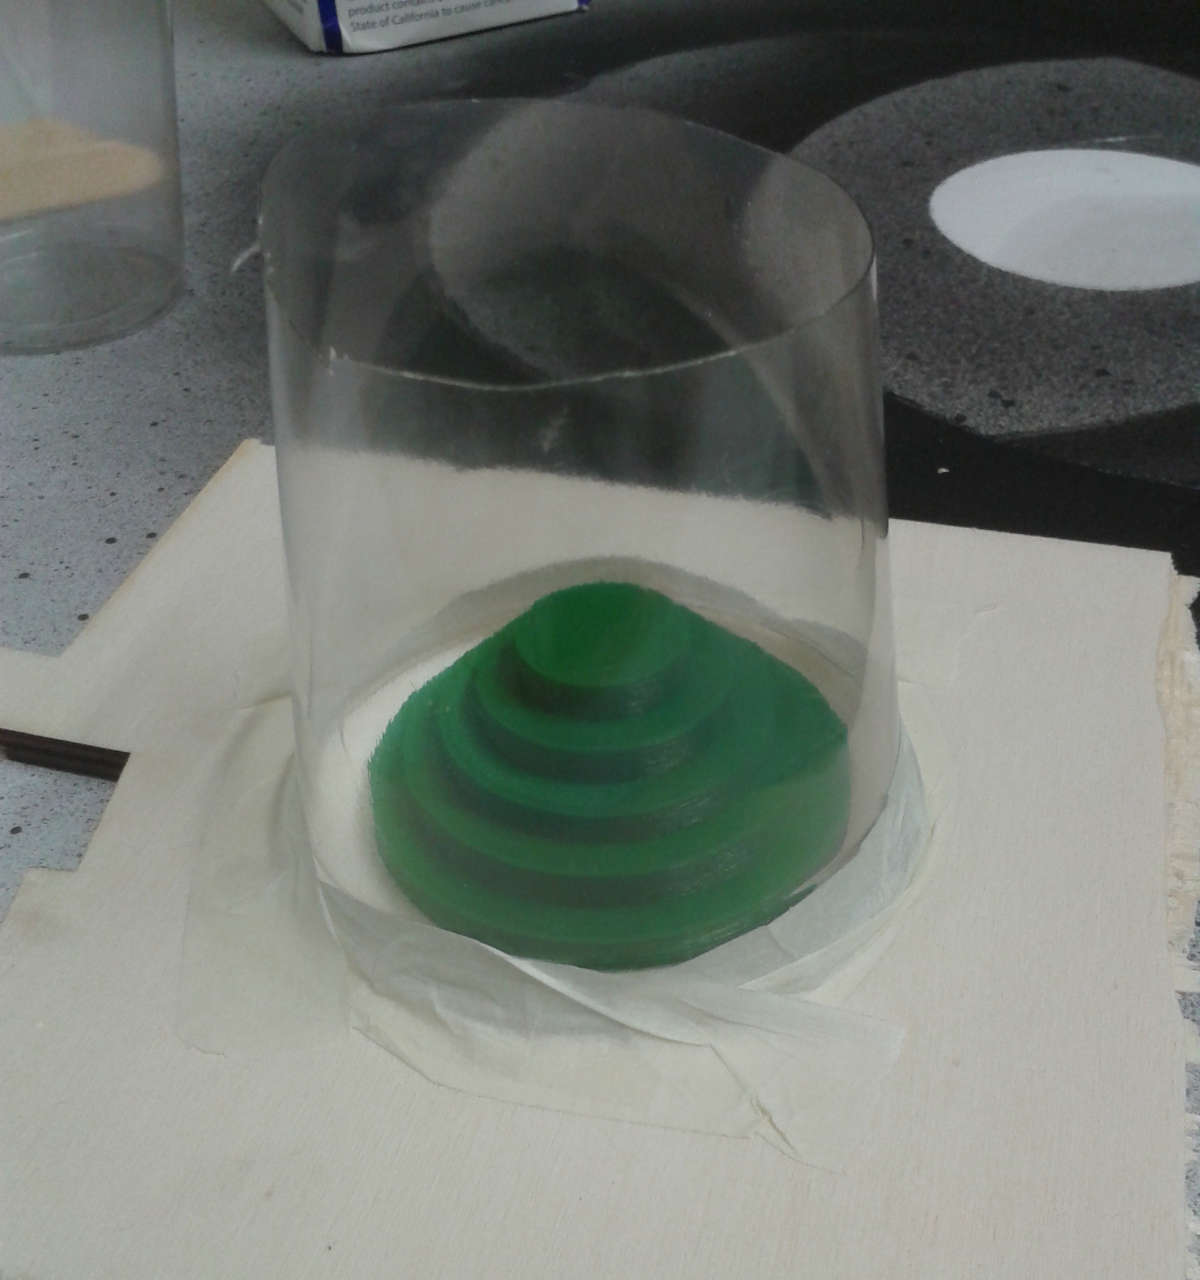
And then I 3D printed it
So I prepared a container (cutting a plastic glass in half) in which pour the silicone
Before I attached the plastic model to a wood board
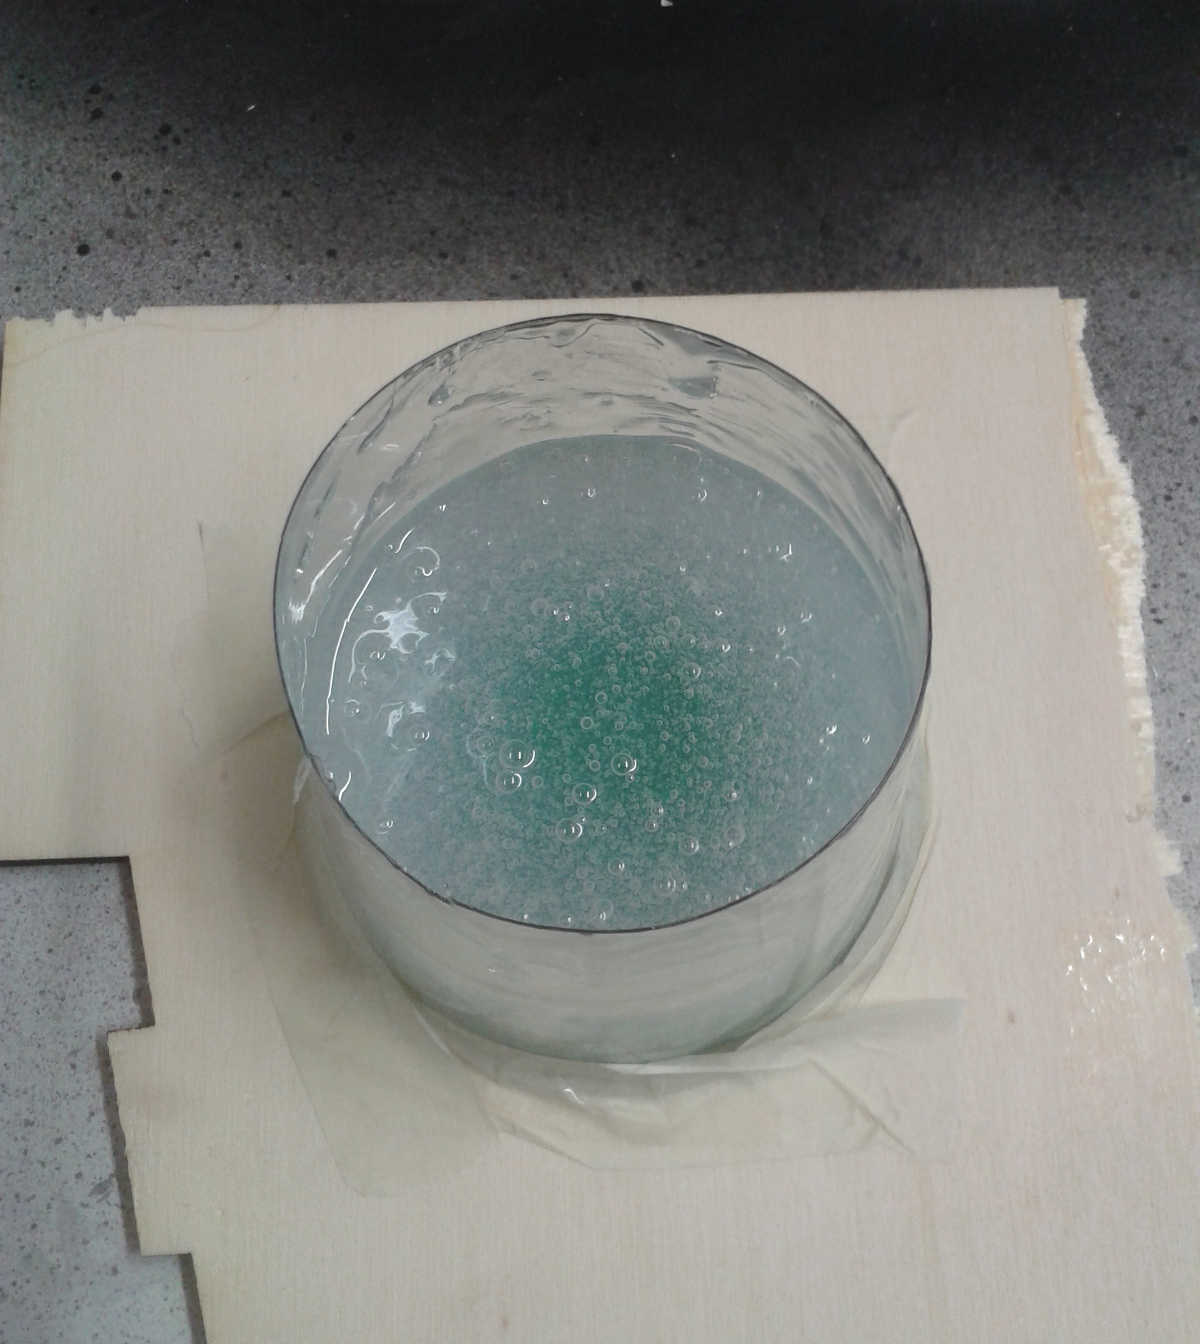
Then I poured transparent silicone in the structure. I've chosen this kind of silicone because I wanted to be able to see through it when I was casting wax, in order to stop at the right level and change color
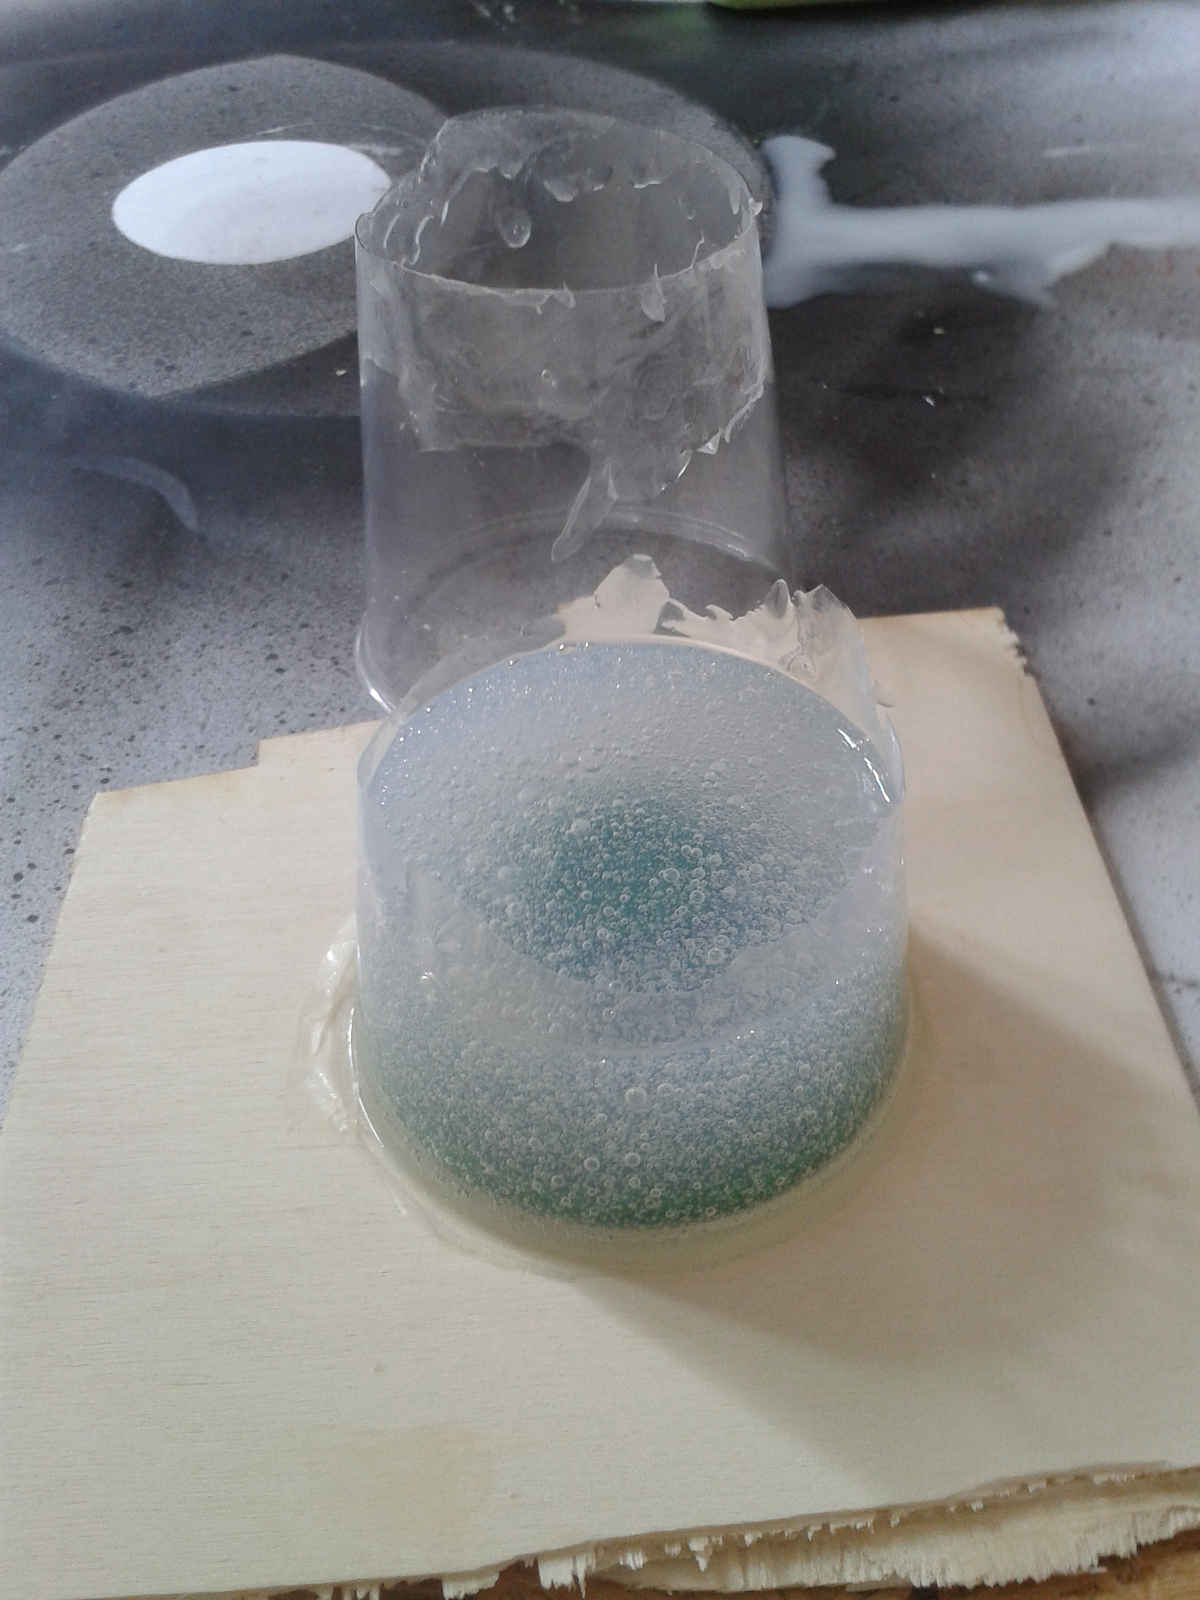
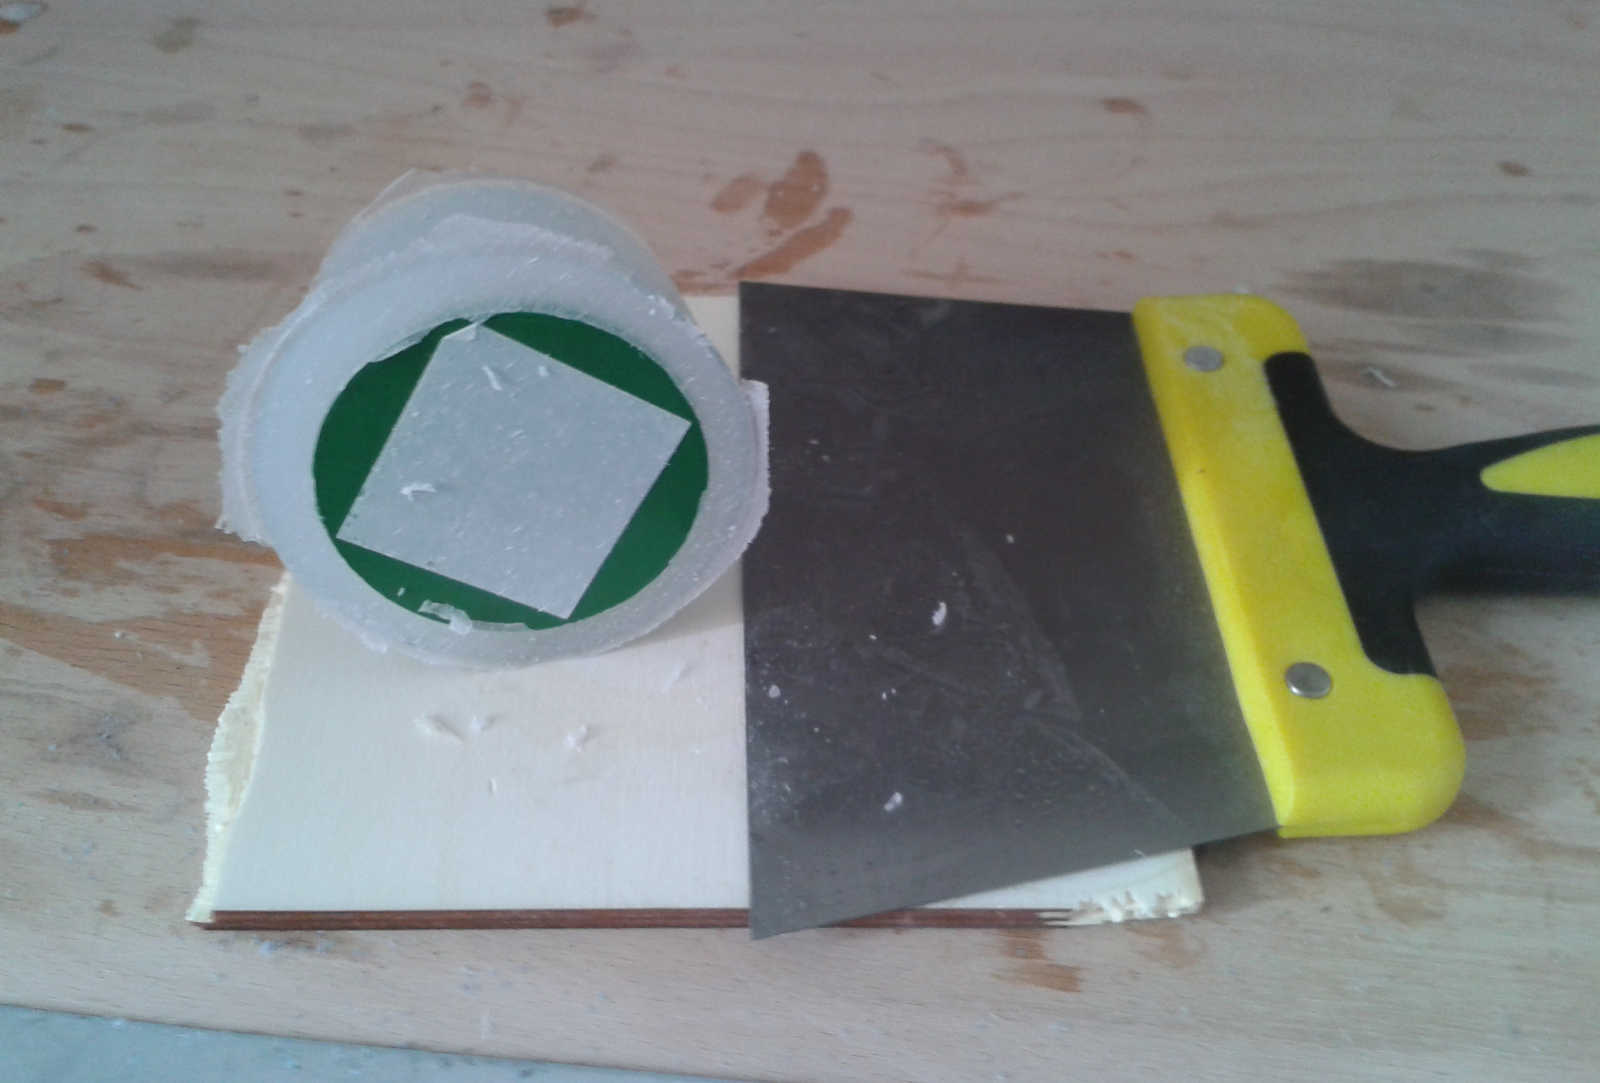
Once it was ready I separed it from the model. To do it easily I made two little cuts at the bottom
At the moment I didn't even try it, but I'm curious to do it as soon as possible
Download my design file here