4th Week, Electronics production
This week was about electronics production, a subject I was remotely familiar with, so I basically started from an almost zero level of understanding. The assignment was to produce a fabISP, and program it. My lack of understanding was not a problem thanks to all the detailed tutorials in the fab academy sites, so the assignment took me no more than one day, leaving me plenty of time in the week to study in more depth about electronics, in an effort to understand a little more how the little board I produced can do so much staff.
To make my fabISP I downloaded the files from the fab academy website. After I modified slightly the traces.png in Photoshop so that on its empty spaces my initial letters would be carved (I.M.) and used fabmodules.org to get the right settings, I milled my pcb on the Monofab machine without casualties. (By casualties I mean drill heads or boards). Here you can find a very nice tutorial from the fabacademy archives that I used for this assignment.
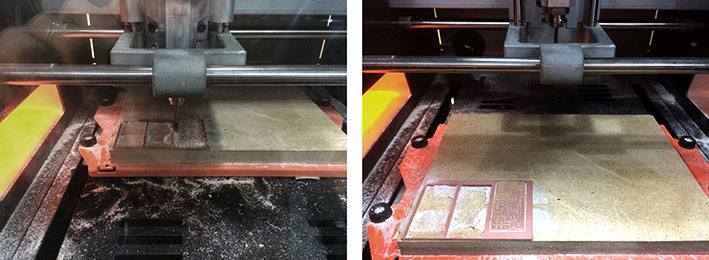
The settings for the monofab were taken from this tutorial, and they can be seen in this screenshot.


Then came the soldering process, which was not very easy, but not as difficult as it had been presented to be either. Again without casualties (the burns on my fingers don’t count as such) I managed to properly solder all the components on the board, except from the two diodes I had installed in the wrong direction, but fortunately when the mistake was identified, it was easy to fix.


When the board was ready I used to multimeter to check roughly if I had any wrong connections, and everything seemed to be fine, so I could proceed to its programming using the terminal.

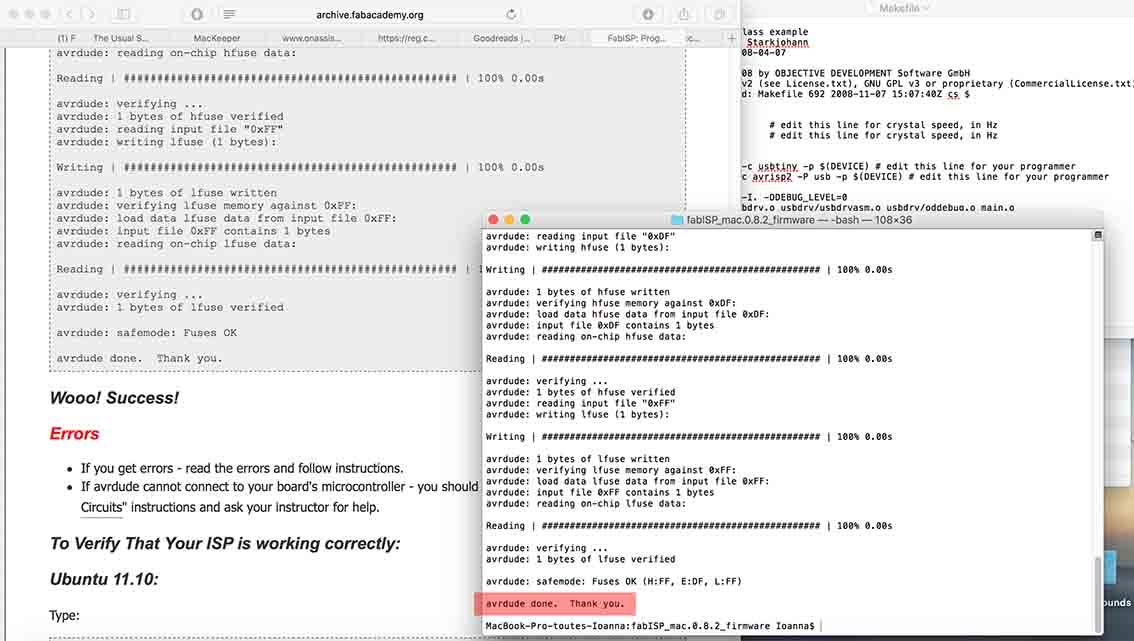
Thanks to the tutorials again, this was a very easy process. The tutorial I followed for the programming of the board can be found here.
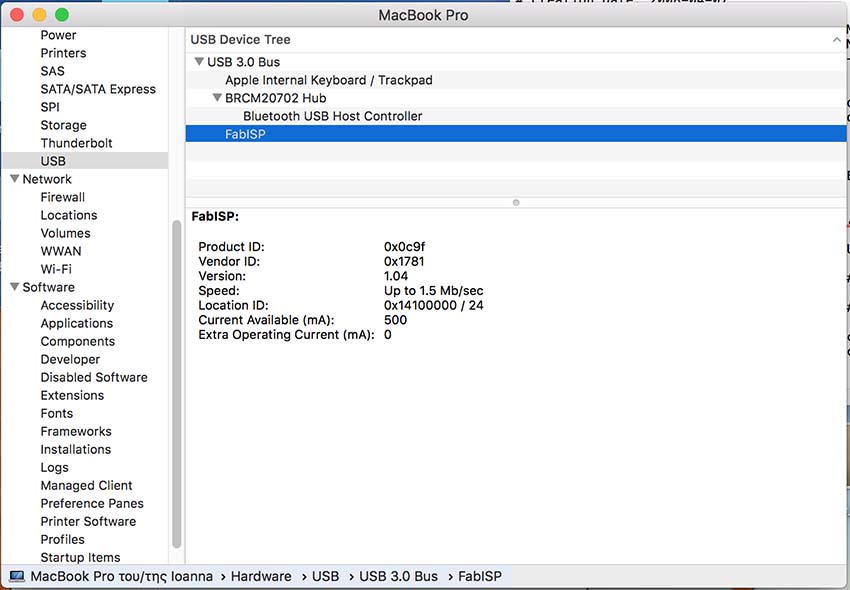
When everything was ready, I made sure my computer recognised my PCB as a FabISP on the System report, which it did.

Lastly I removed the two jumpers so that the board could not be reprogrammed, and here’s the final result.
