12th Week, Molding and casting
This week we focused on molding and casting. Neil started the week with an overall lecture explaining the types of molding, the techniques, the materials and additives used, and various ideas and considerations about the process. The task of this week was to design, mill and cast something. I am not familiar with molding and casting, so this was a first time experience for me, which turned out to be very enjoyable and interesting.
Santi did a very nice and informing tutorial on the whole process of molding and casting which was very helpful for us beginners.

More details about the wax model we used in Barcelona FabLab can be found here.
Molding and casting Necklaces
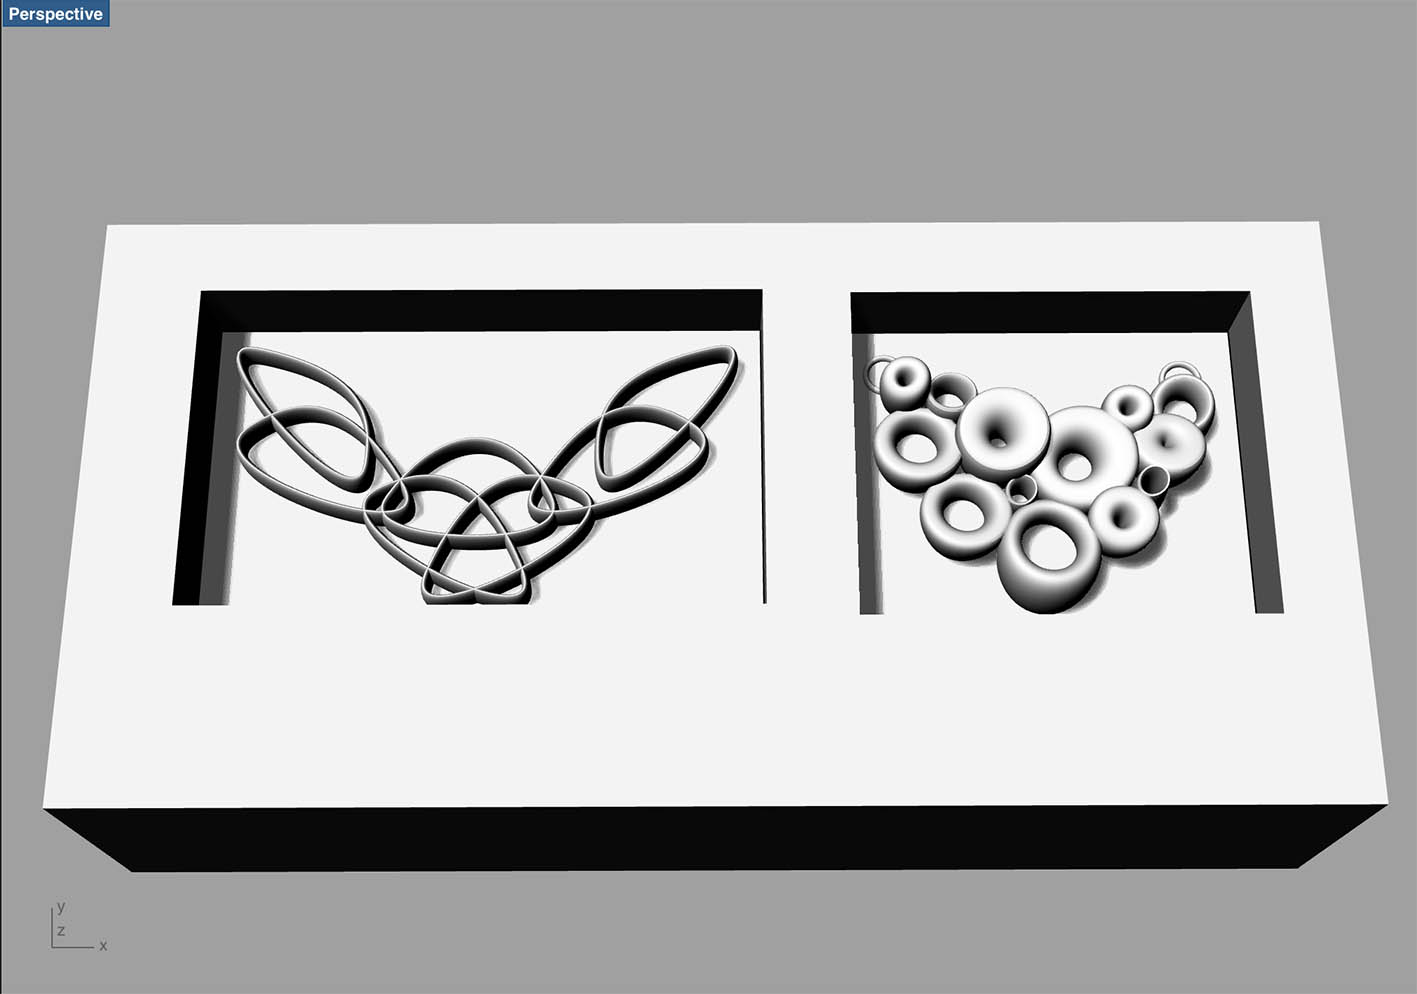
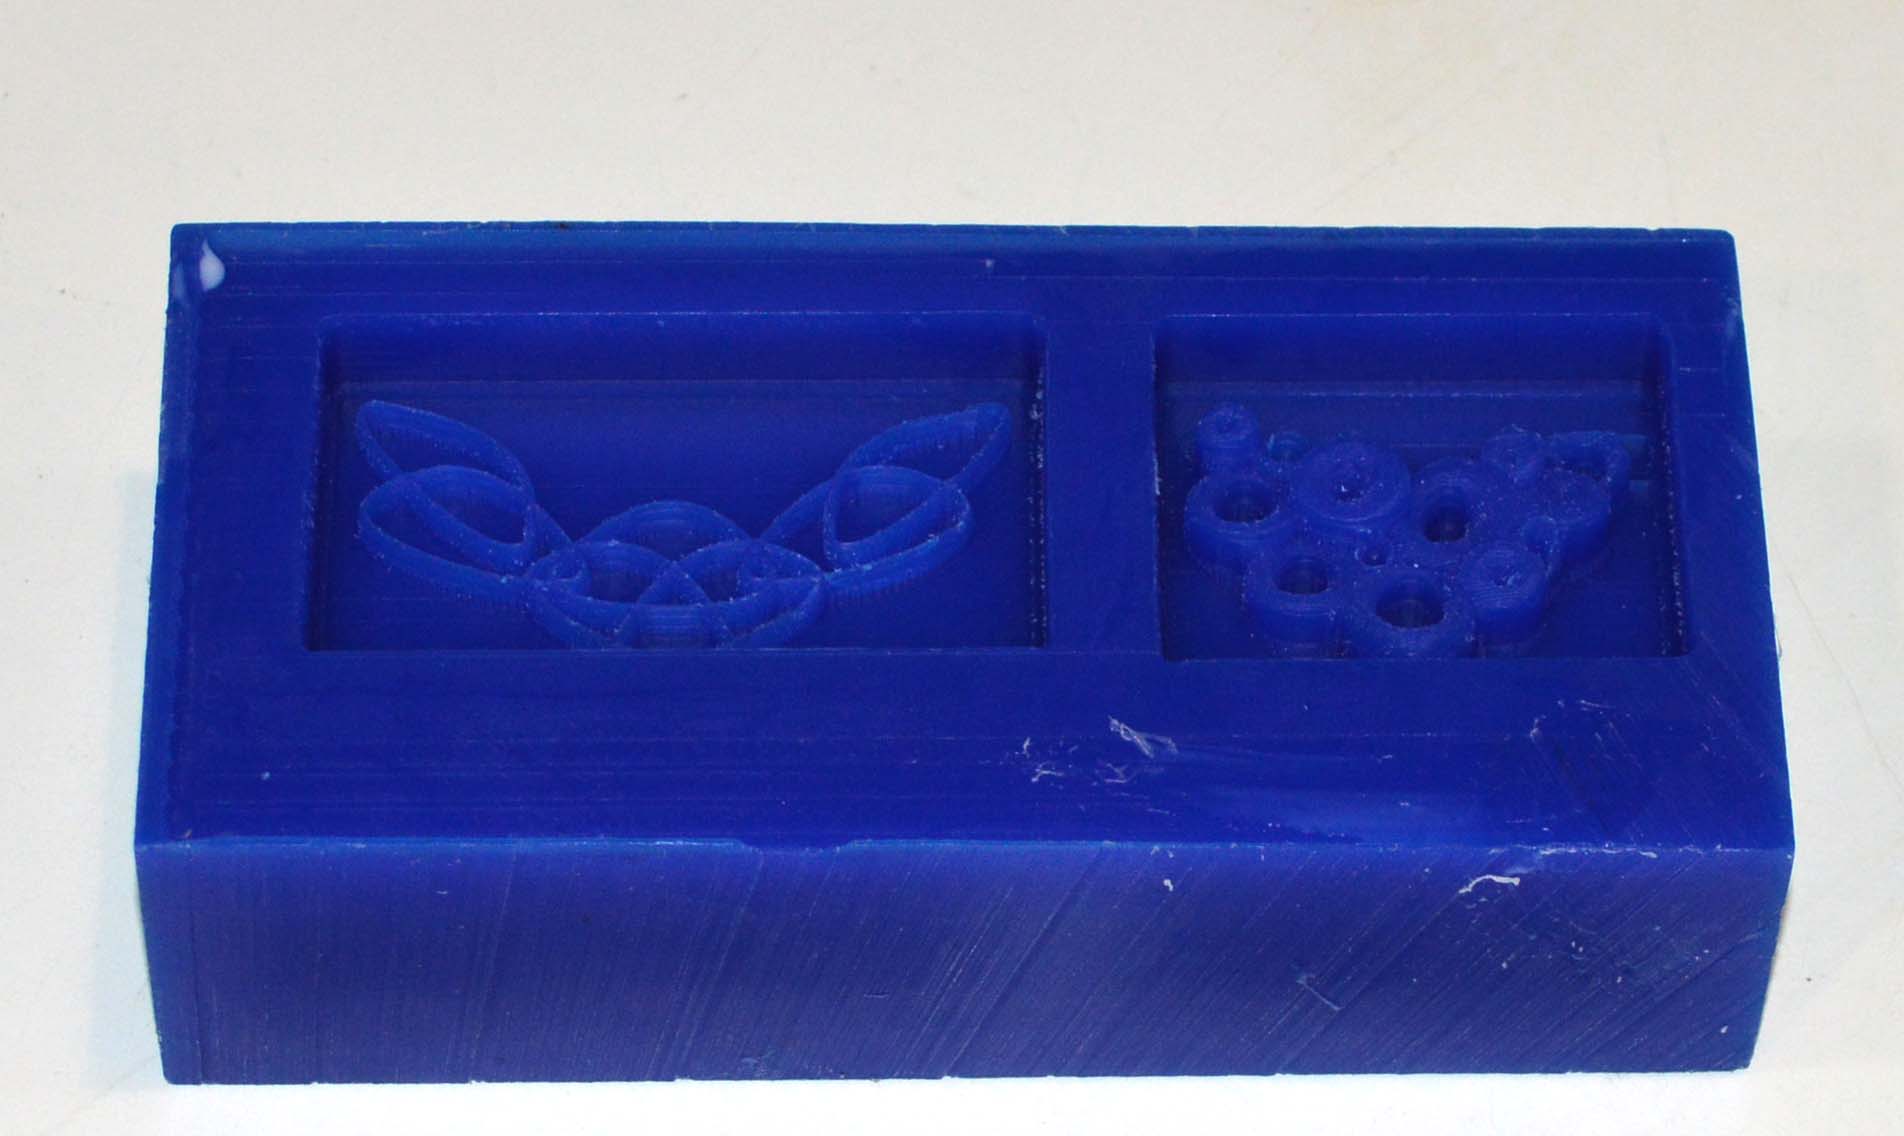
I wanted to make something that would allow me to test the abilities and the tolerances of the materials, so I downloaded two necklace models from Thingsgiverse ( bubble necklace and smooth necklace, as they are named by their creators), and I designed the moulds in Rhino in order to be able to mill them.
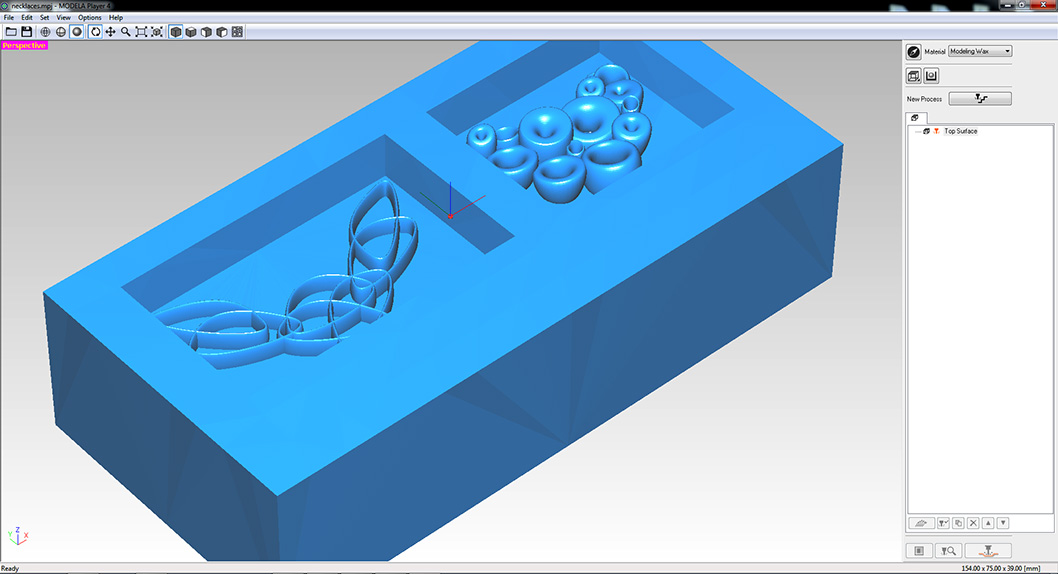
I exported the models as .stl files and imported them in the Modela software in order to calculate the path for the Monofab machine. There is a very useful tutorial in the Fab Academy archives which explains the software in detail. Having read this tutorial, creating the tool-path for my one-sided molds was an easy process.
Importing
the model
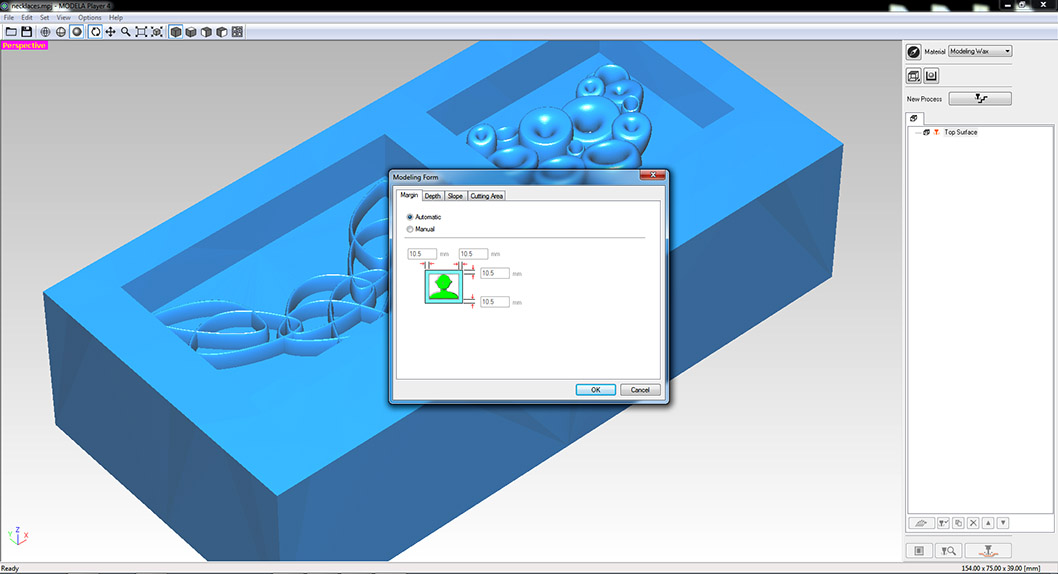
General
Parameters
Roughing
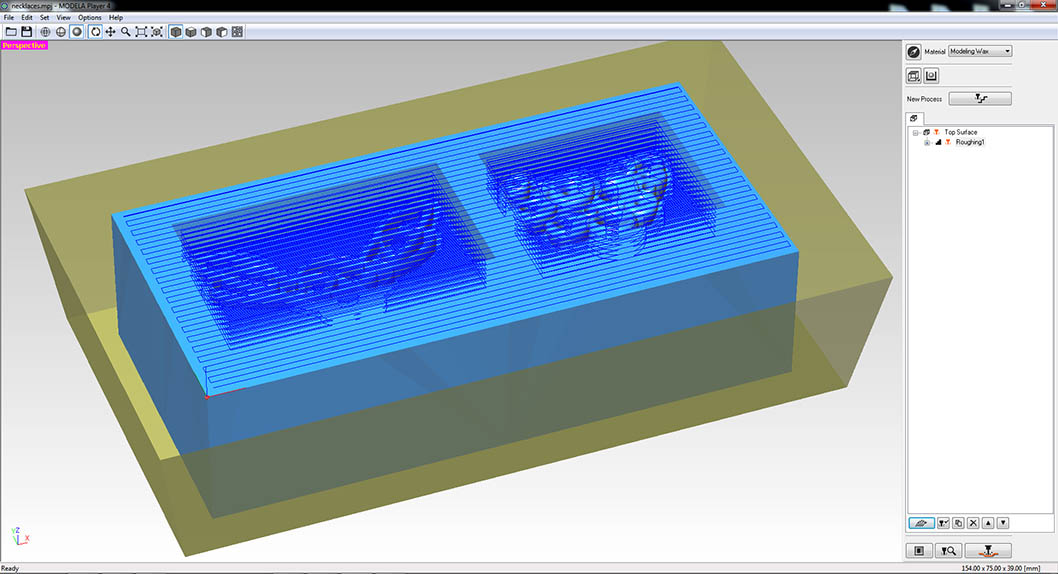
Roughing is the first part of the 3d milling process, where using a thick tool, a lot of material is removed fast, but without good resolution.
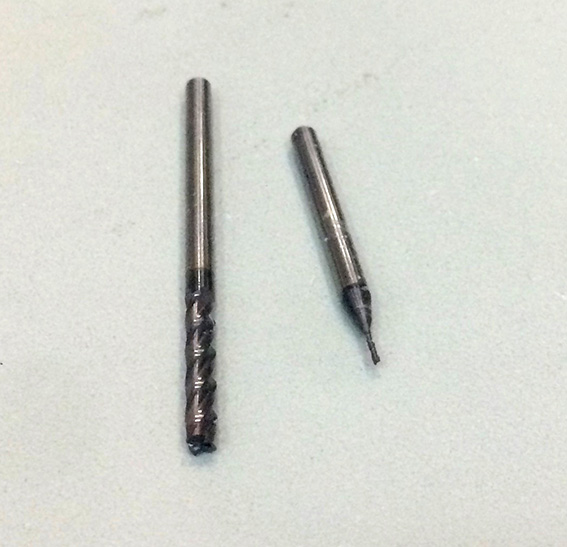
Finishing
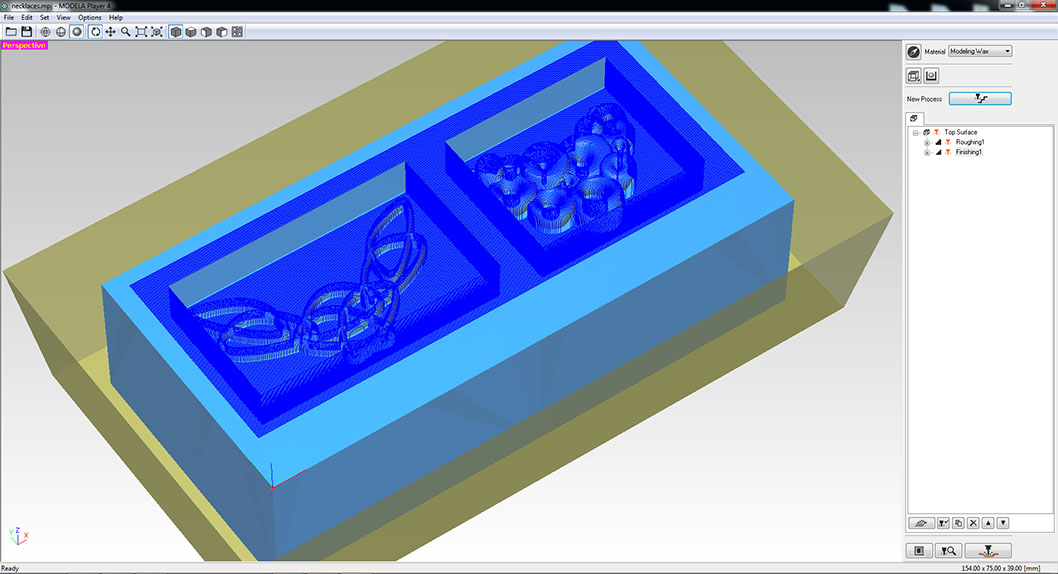
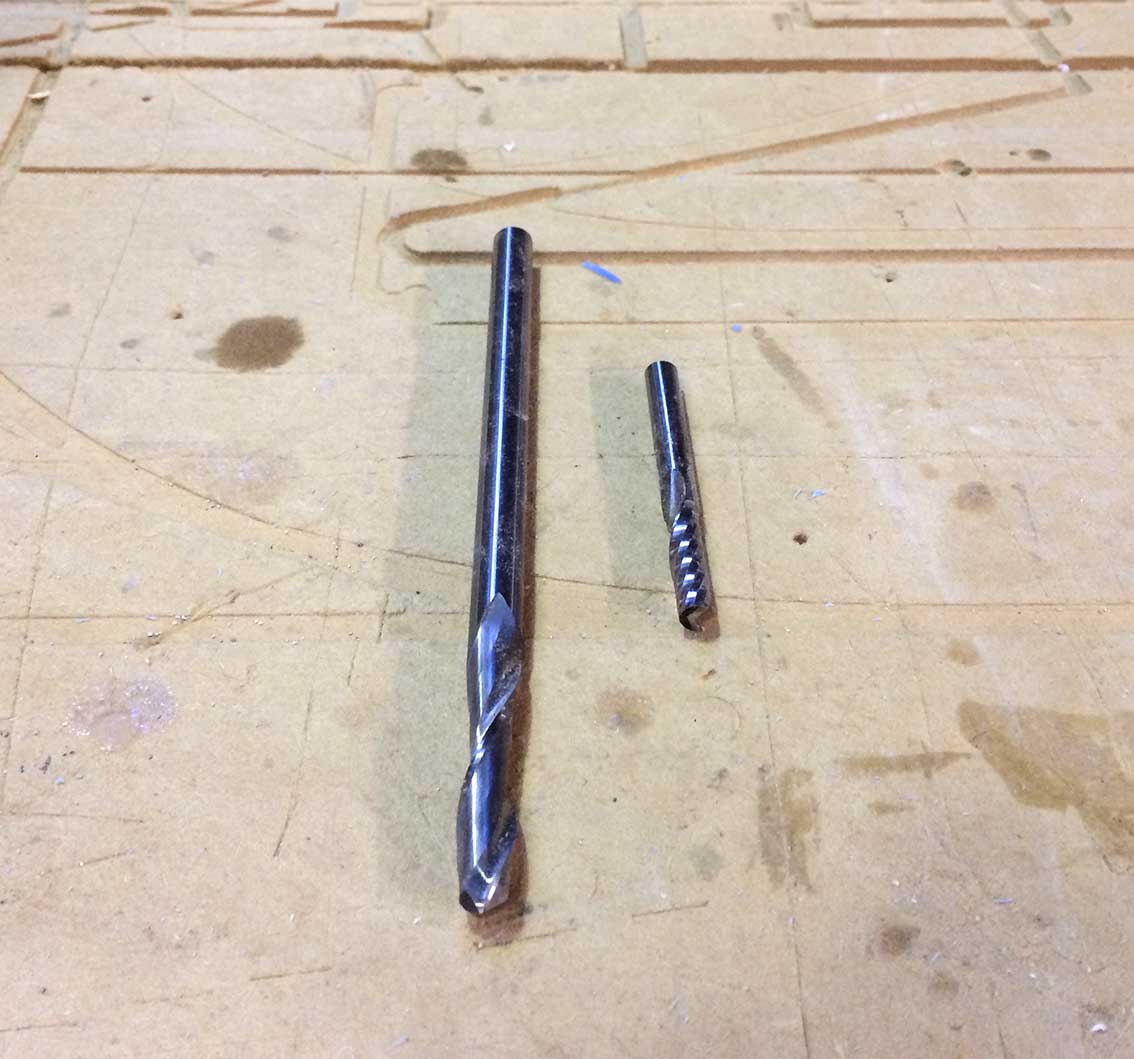
Finishing is the second part, where using a thin tool, the details of the mold are milled. This is slower, but it has better resolution. Here are the two tool used for the roughin (the thick one), and for the finishing (the thin one).
The piece of wax is glued inside the Monofab machine with double sided tape.

The rough cutting removes a lot of material fast, but gives a result of low resolution.
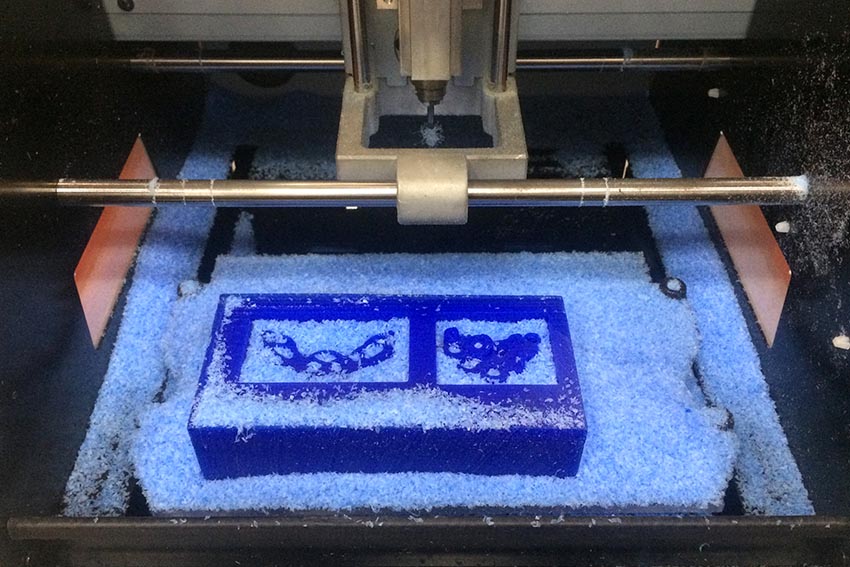

Then comes the finishing which uses a thinner tool, removes material very slowly but gives a much higher resolution final surface.
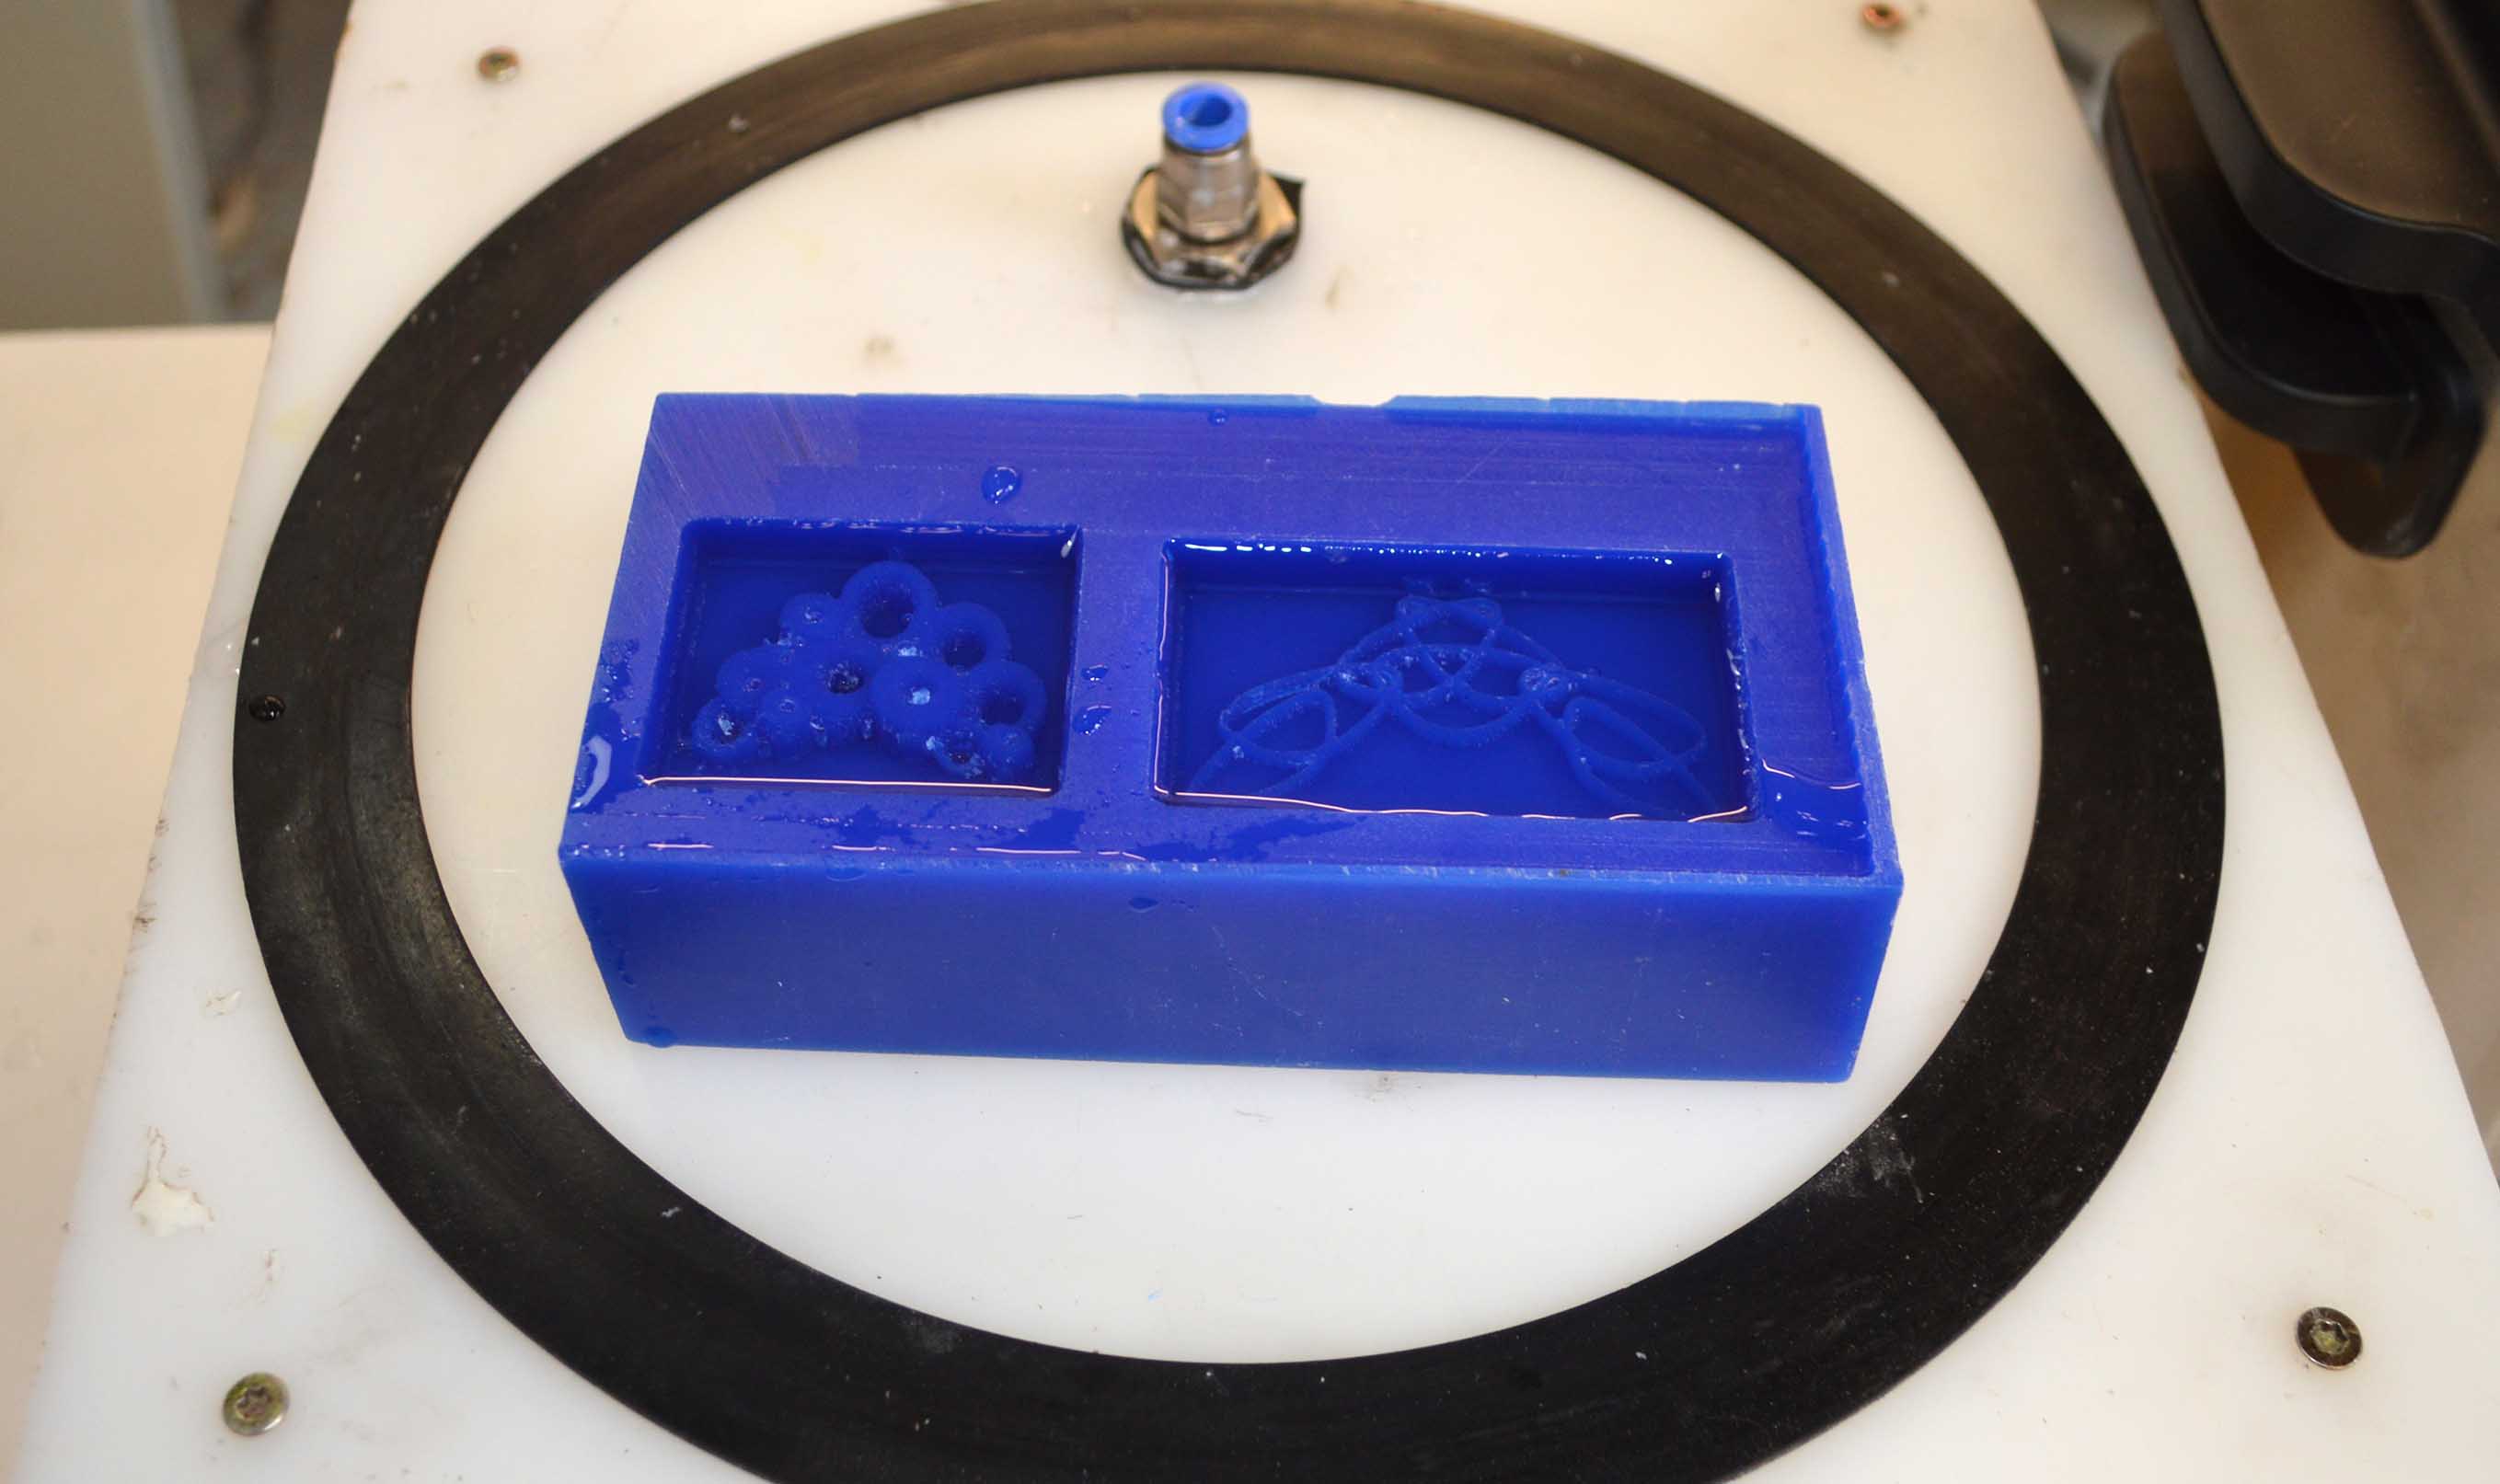
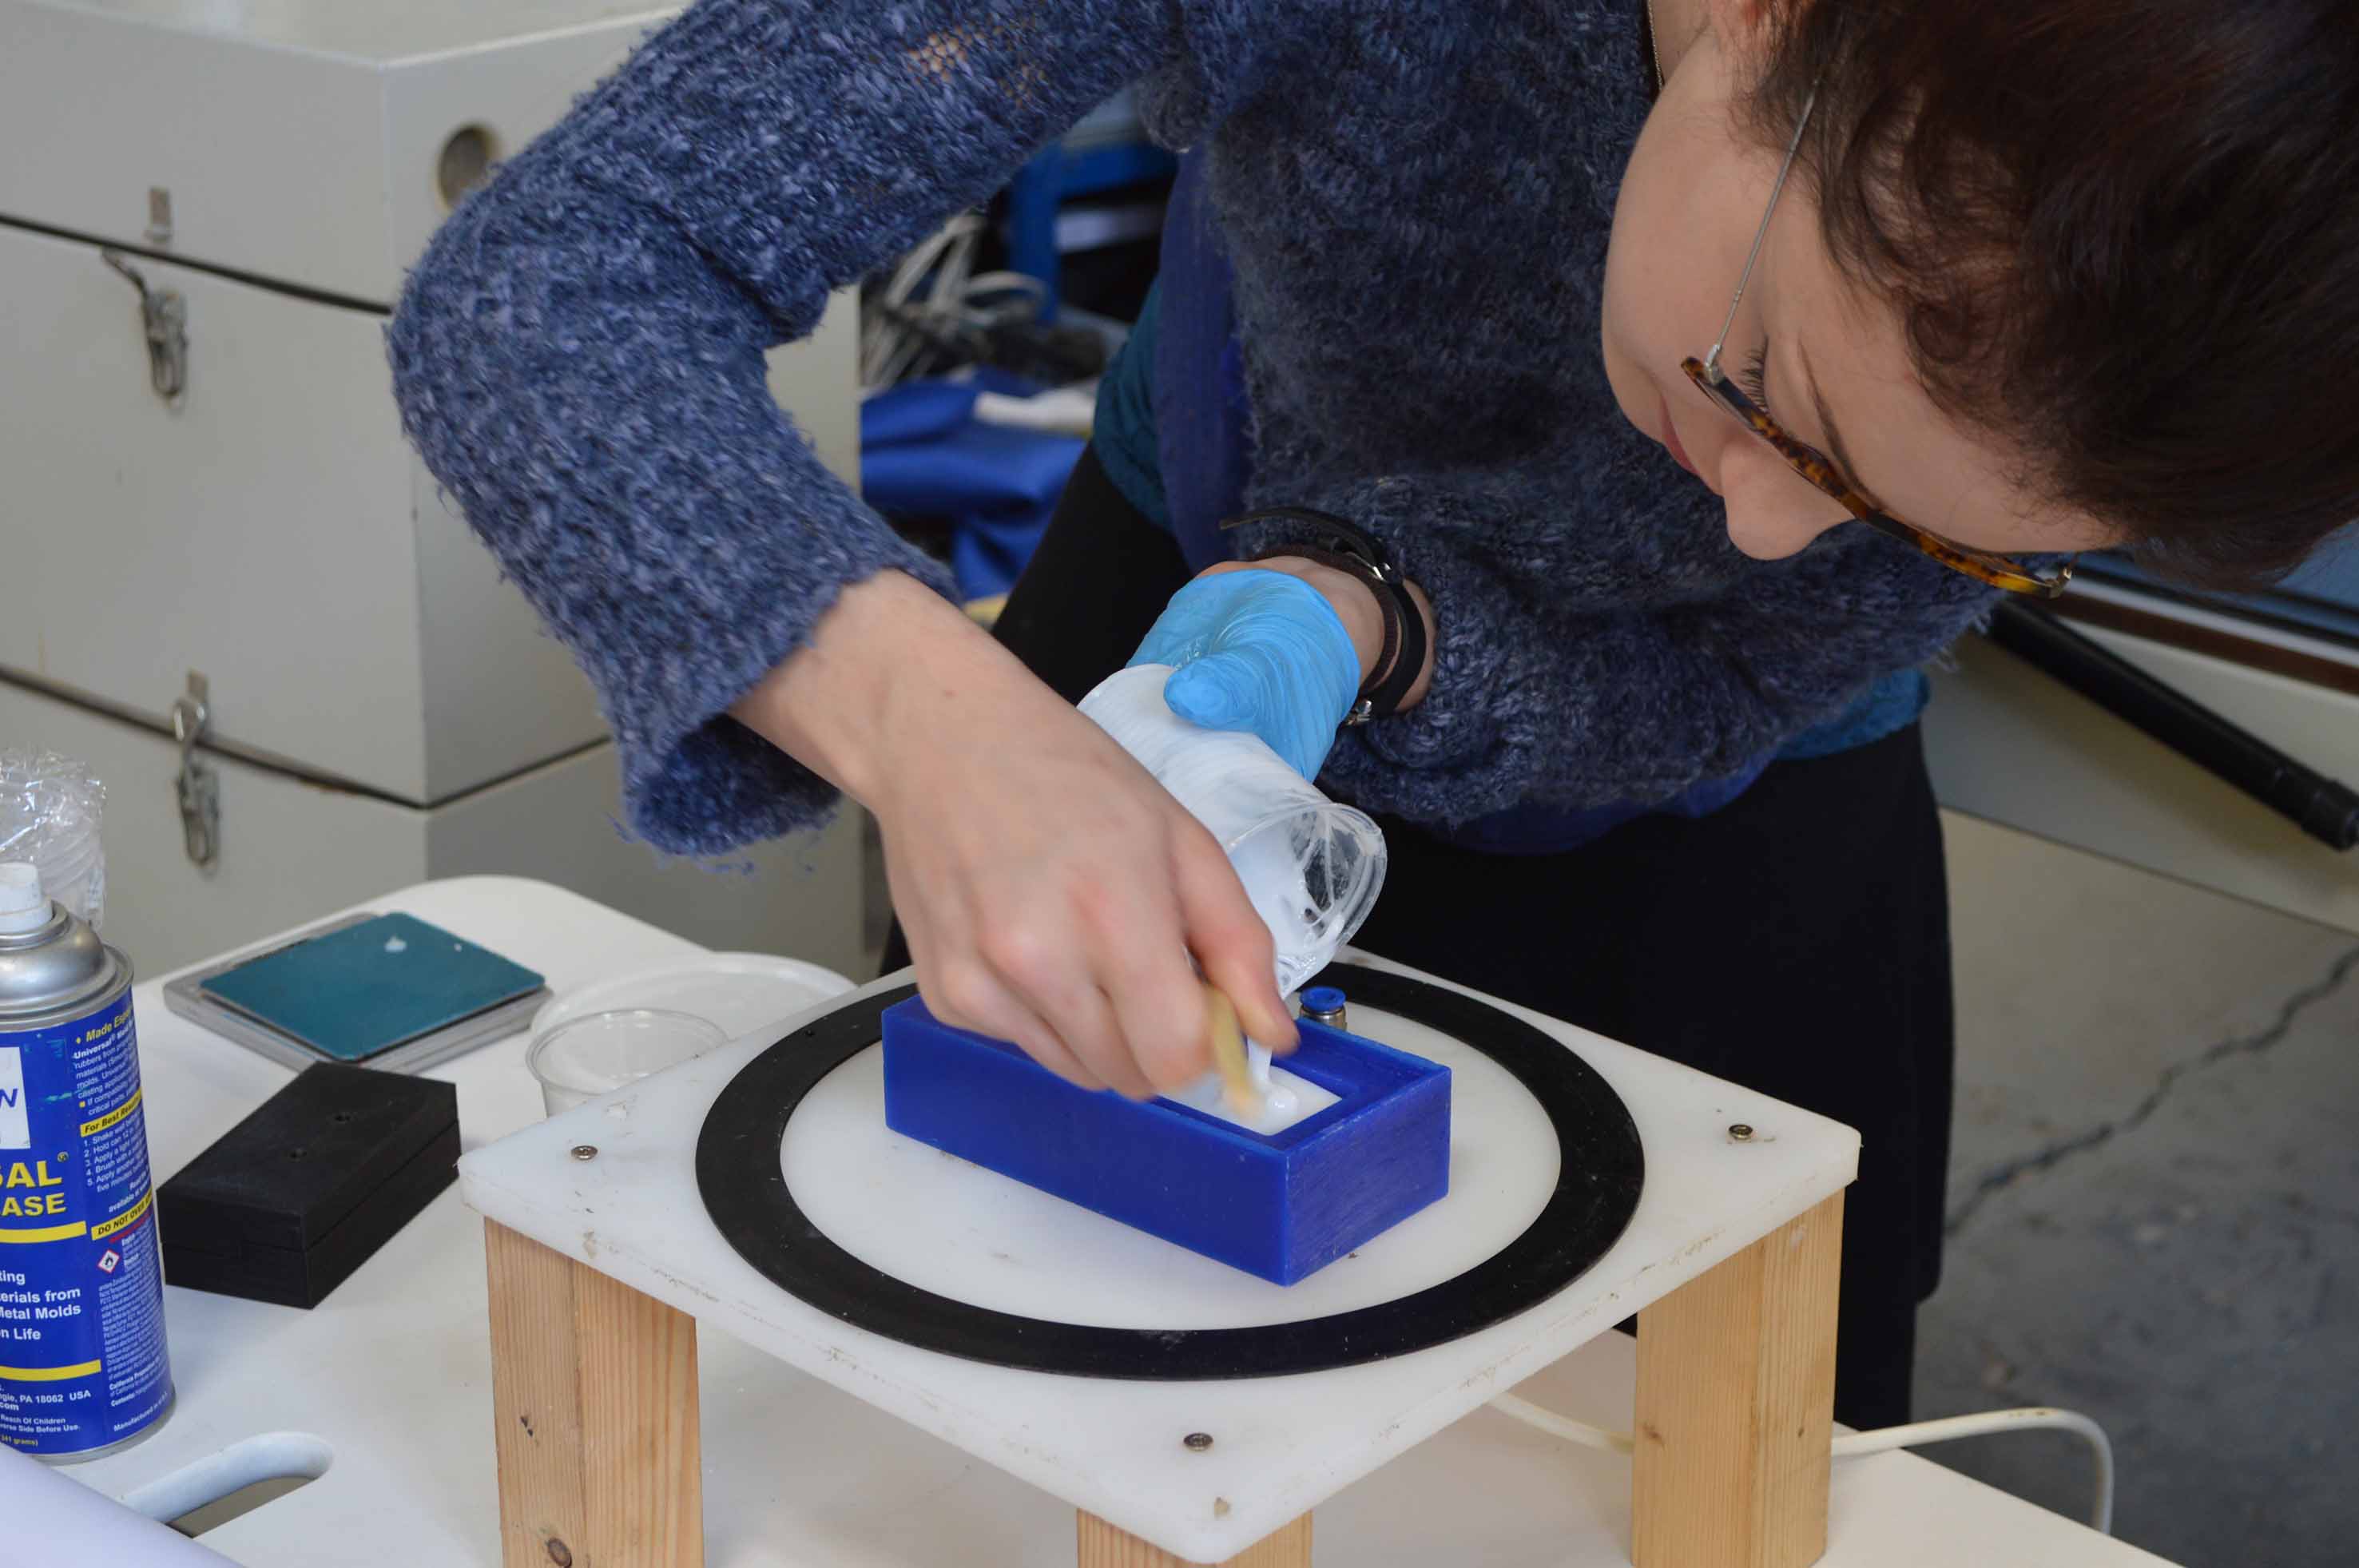
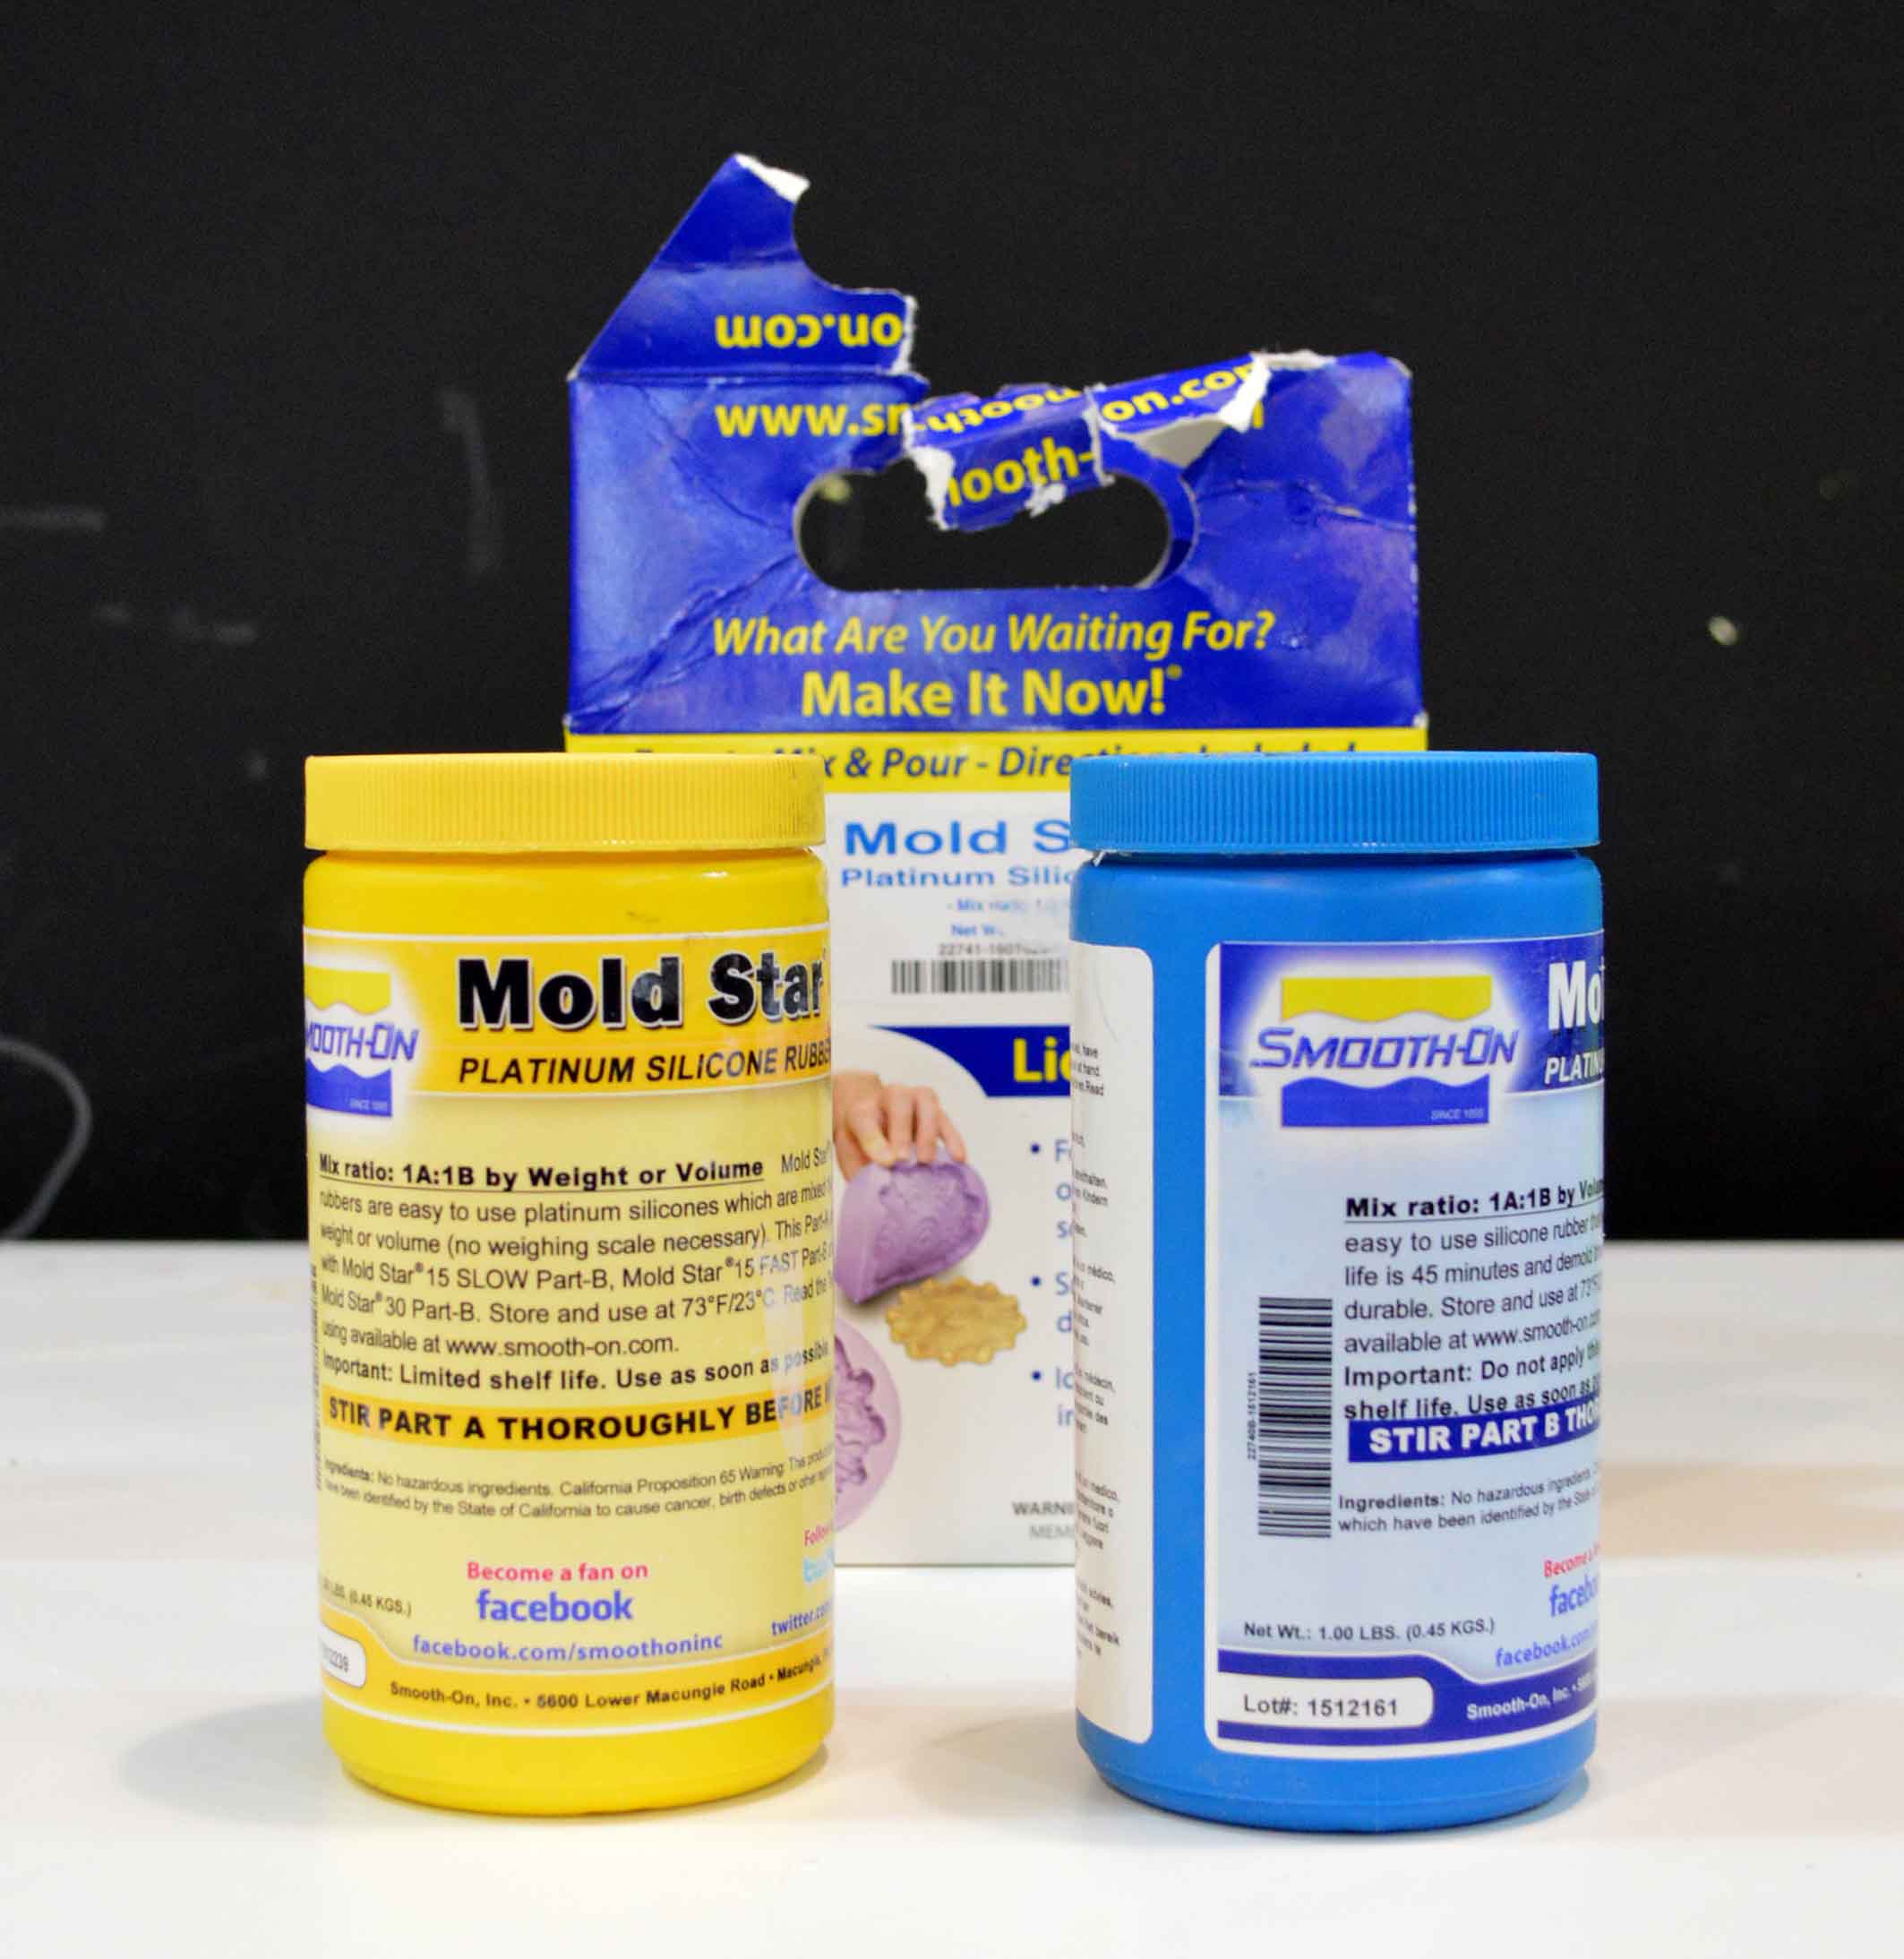
Then I cleaned thoroughly the moulds. In my first attempt I decided to use silicone and its catalyser.

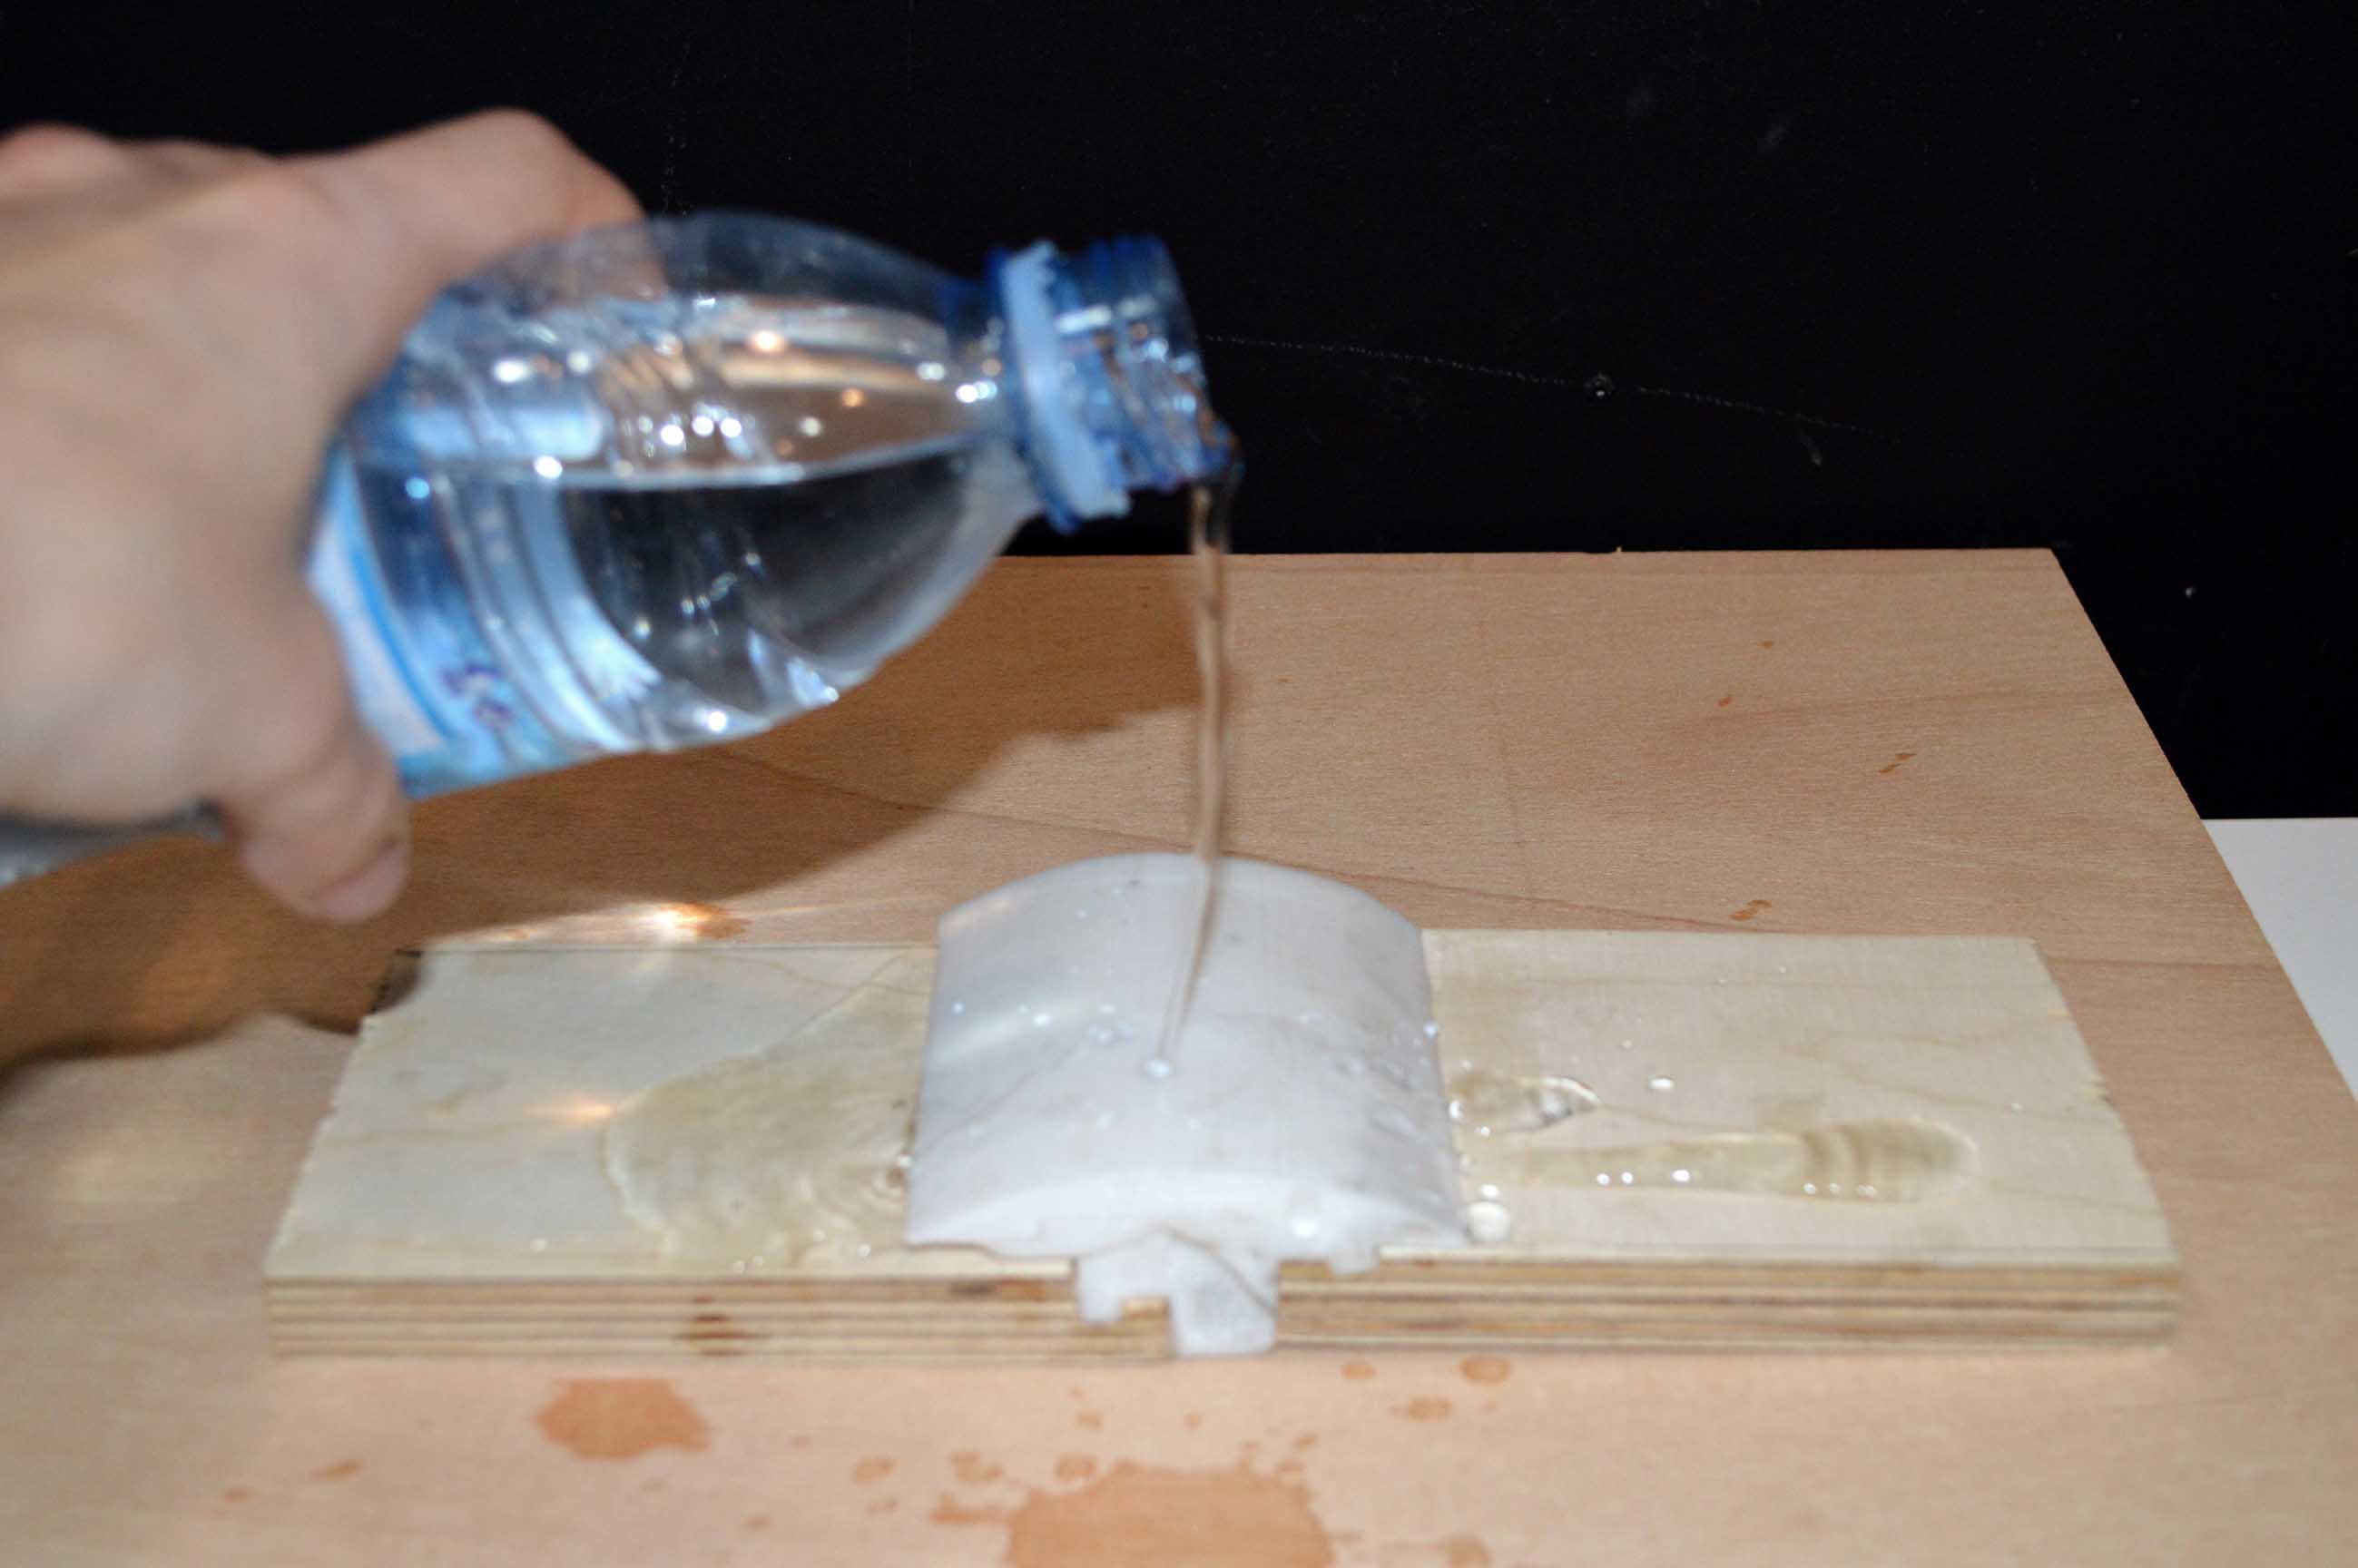
I used water to calculate the volume of material I would need.
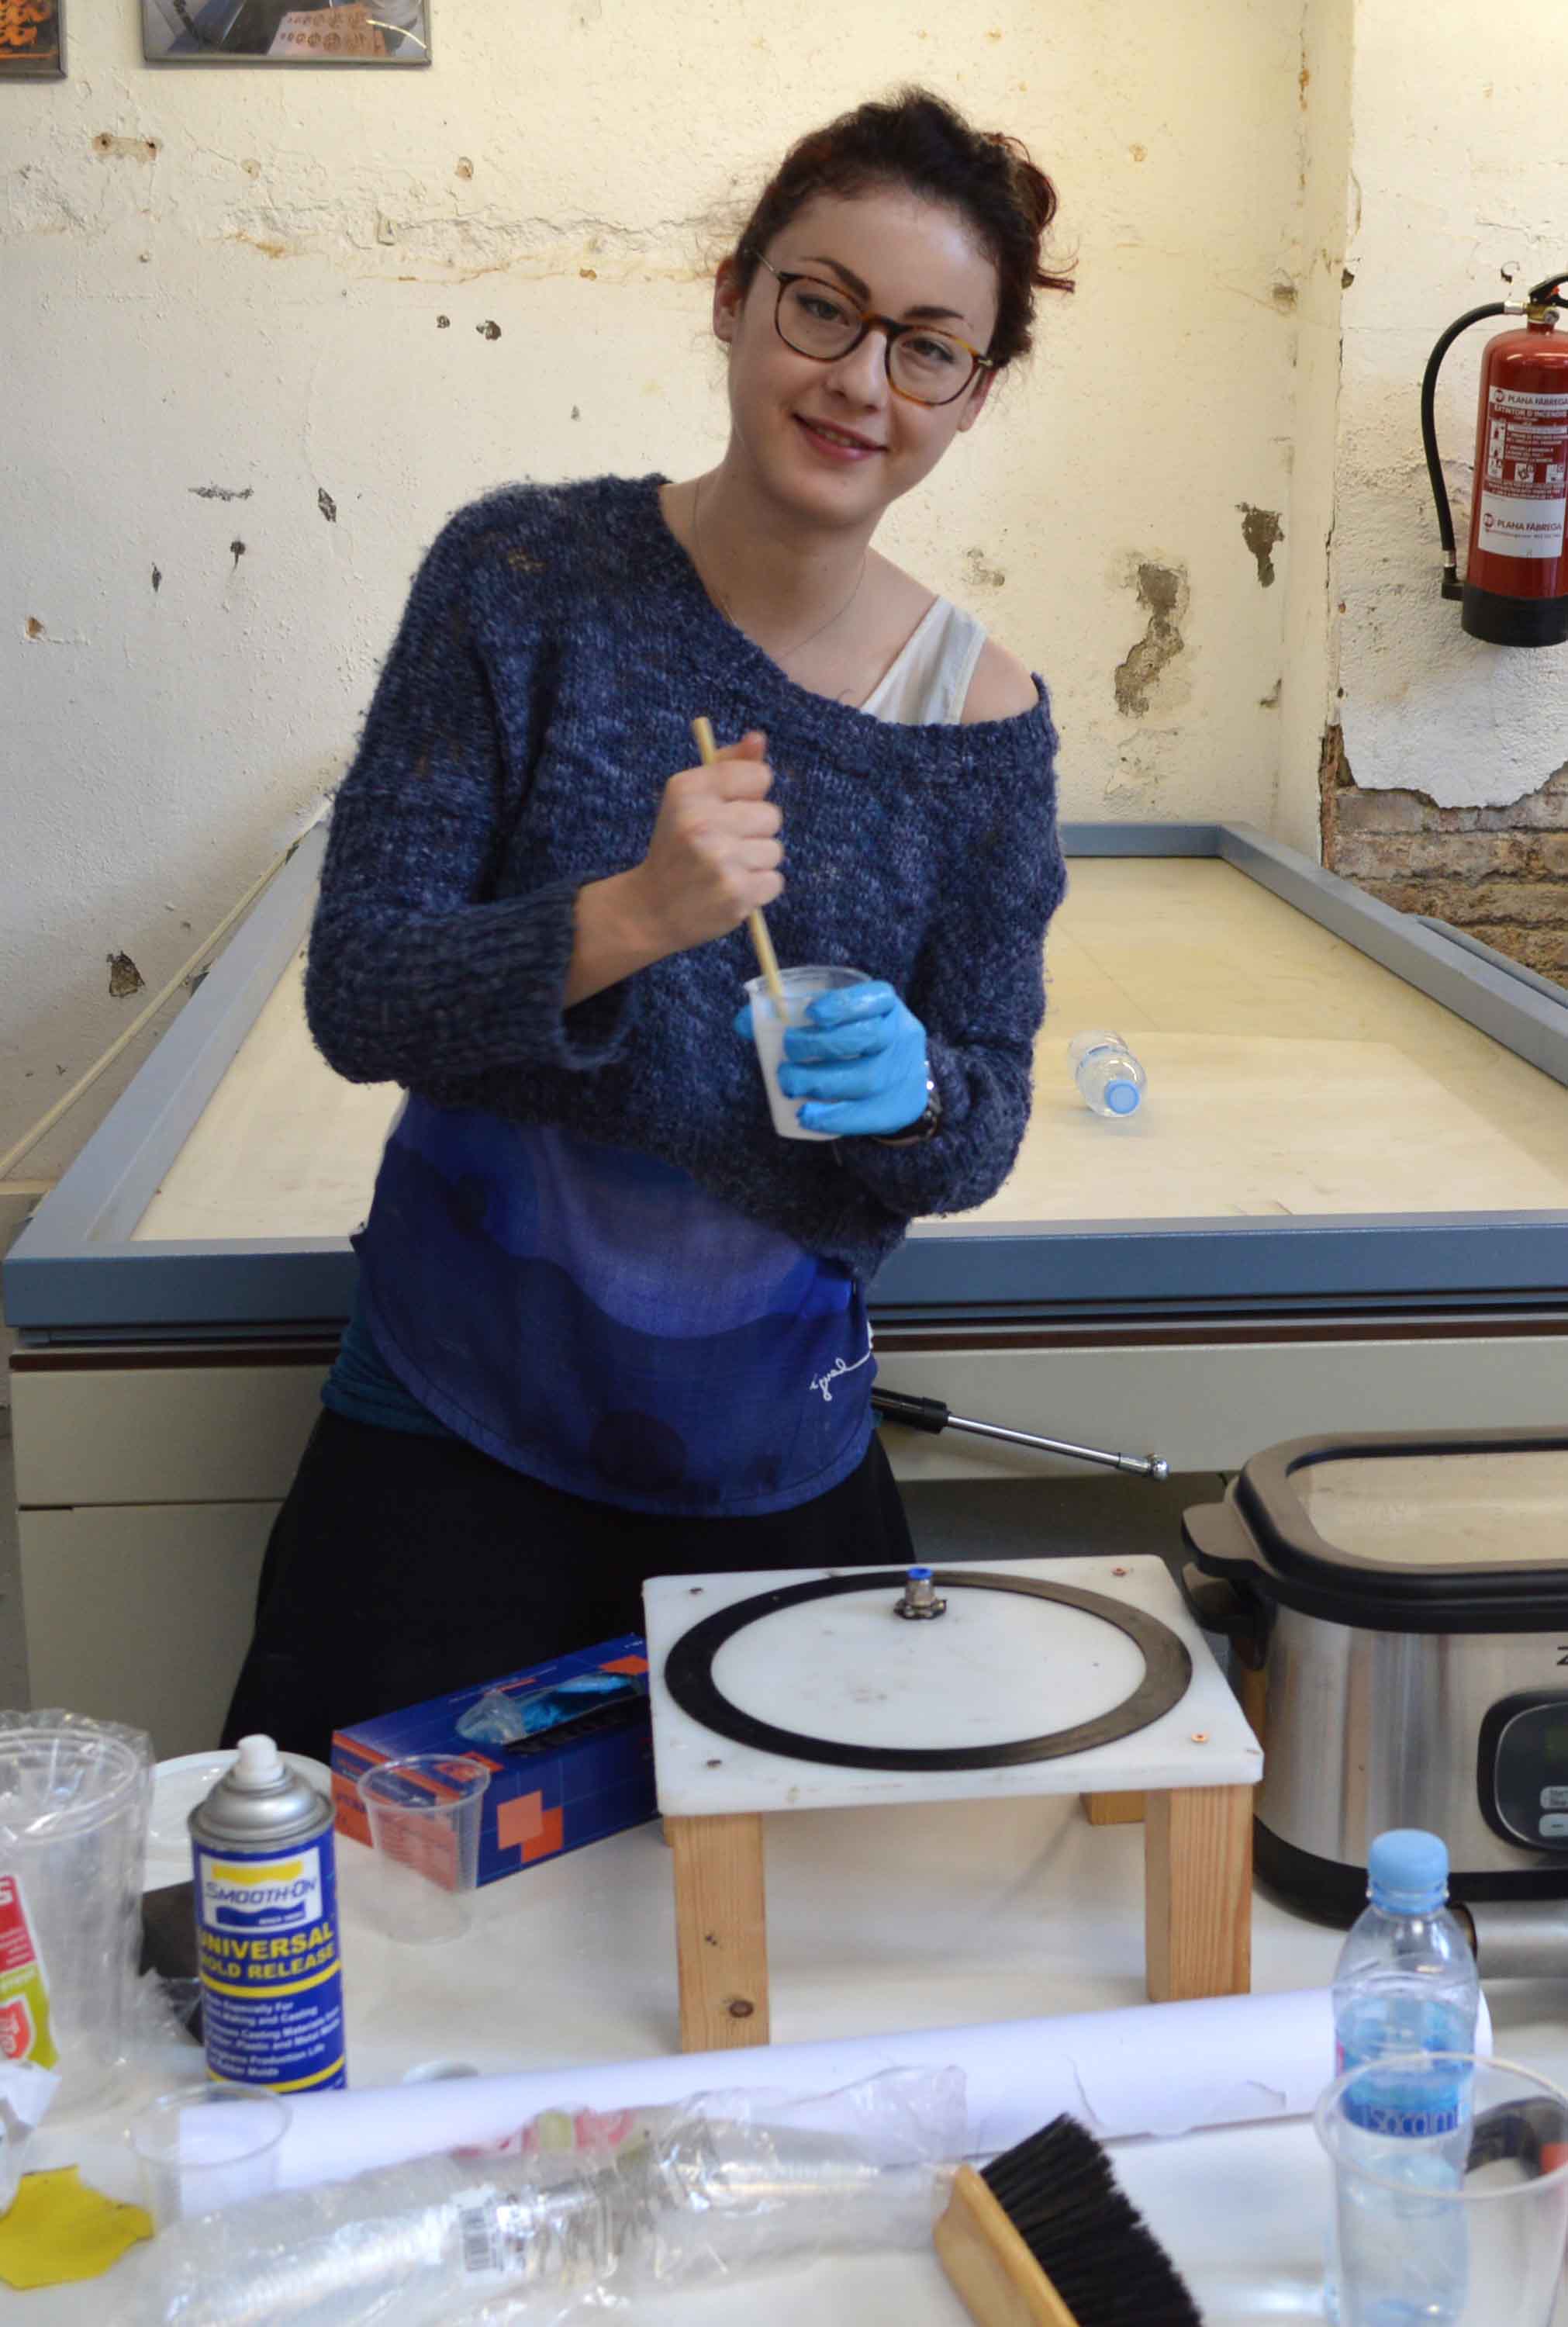
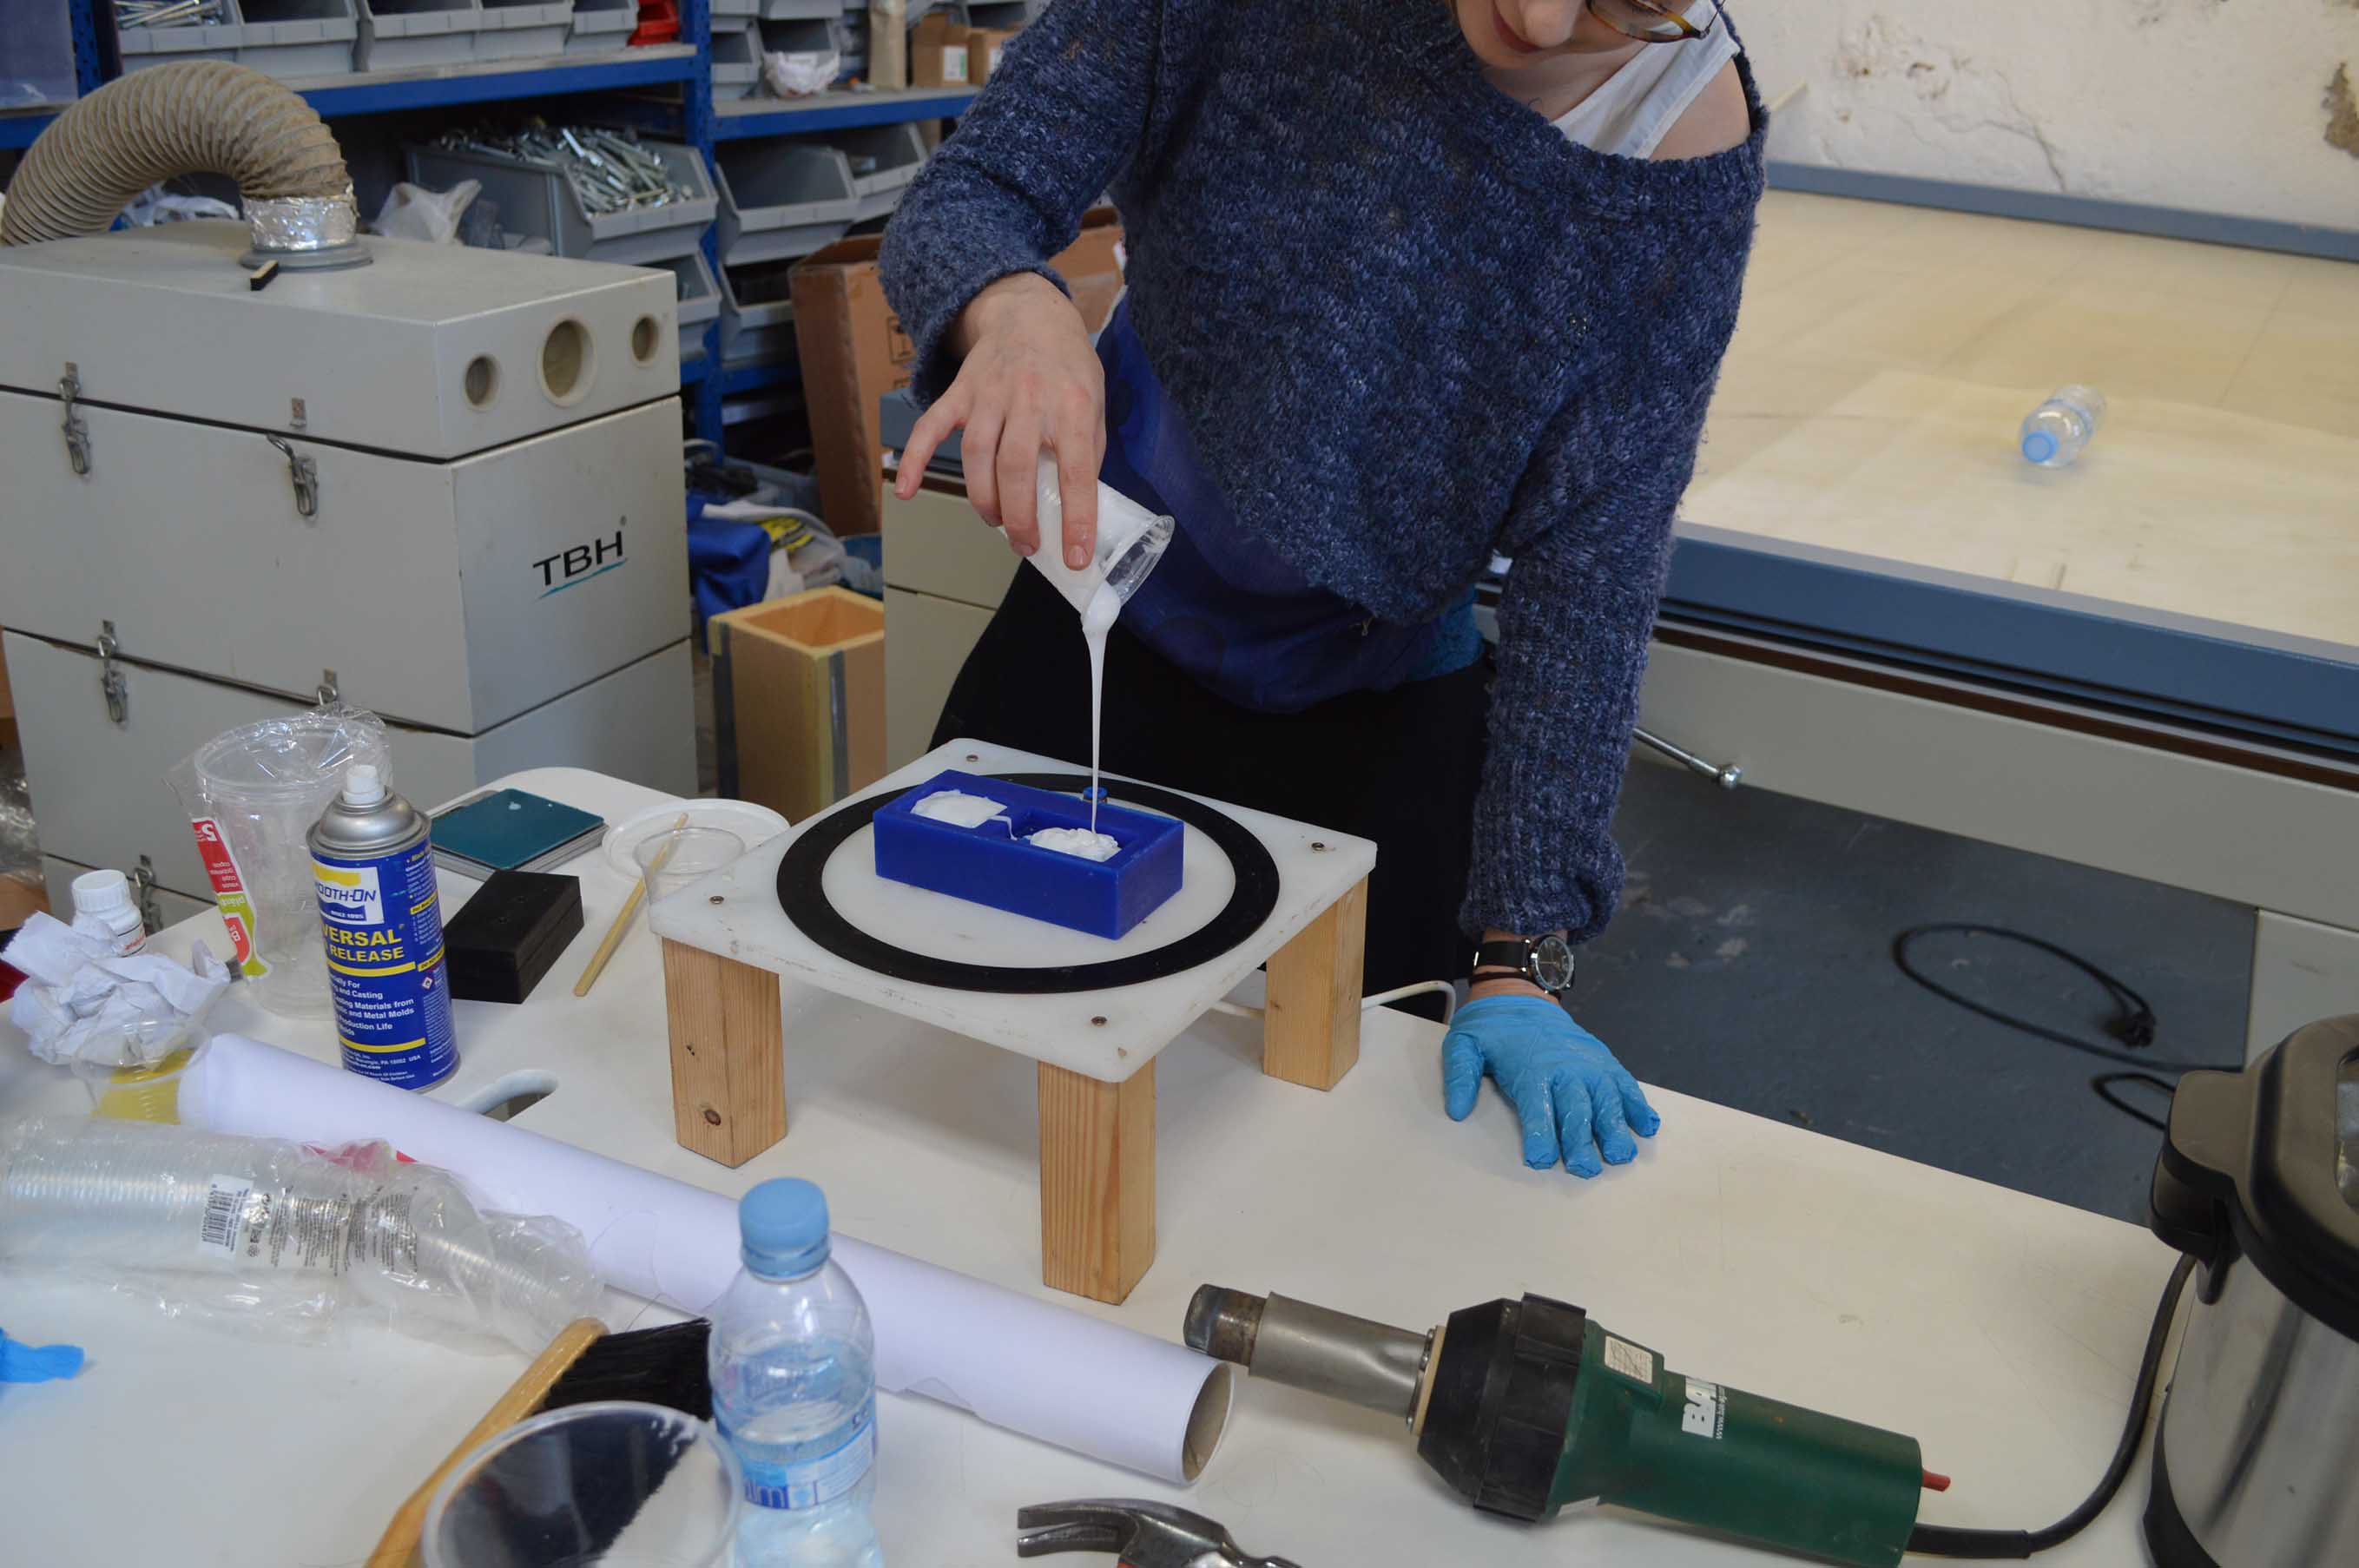
I carefully calculated the quantity of each material.

I then mixed the materials, poured them on the mold and used air and vibration to extract the bubbles.

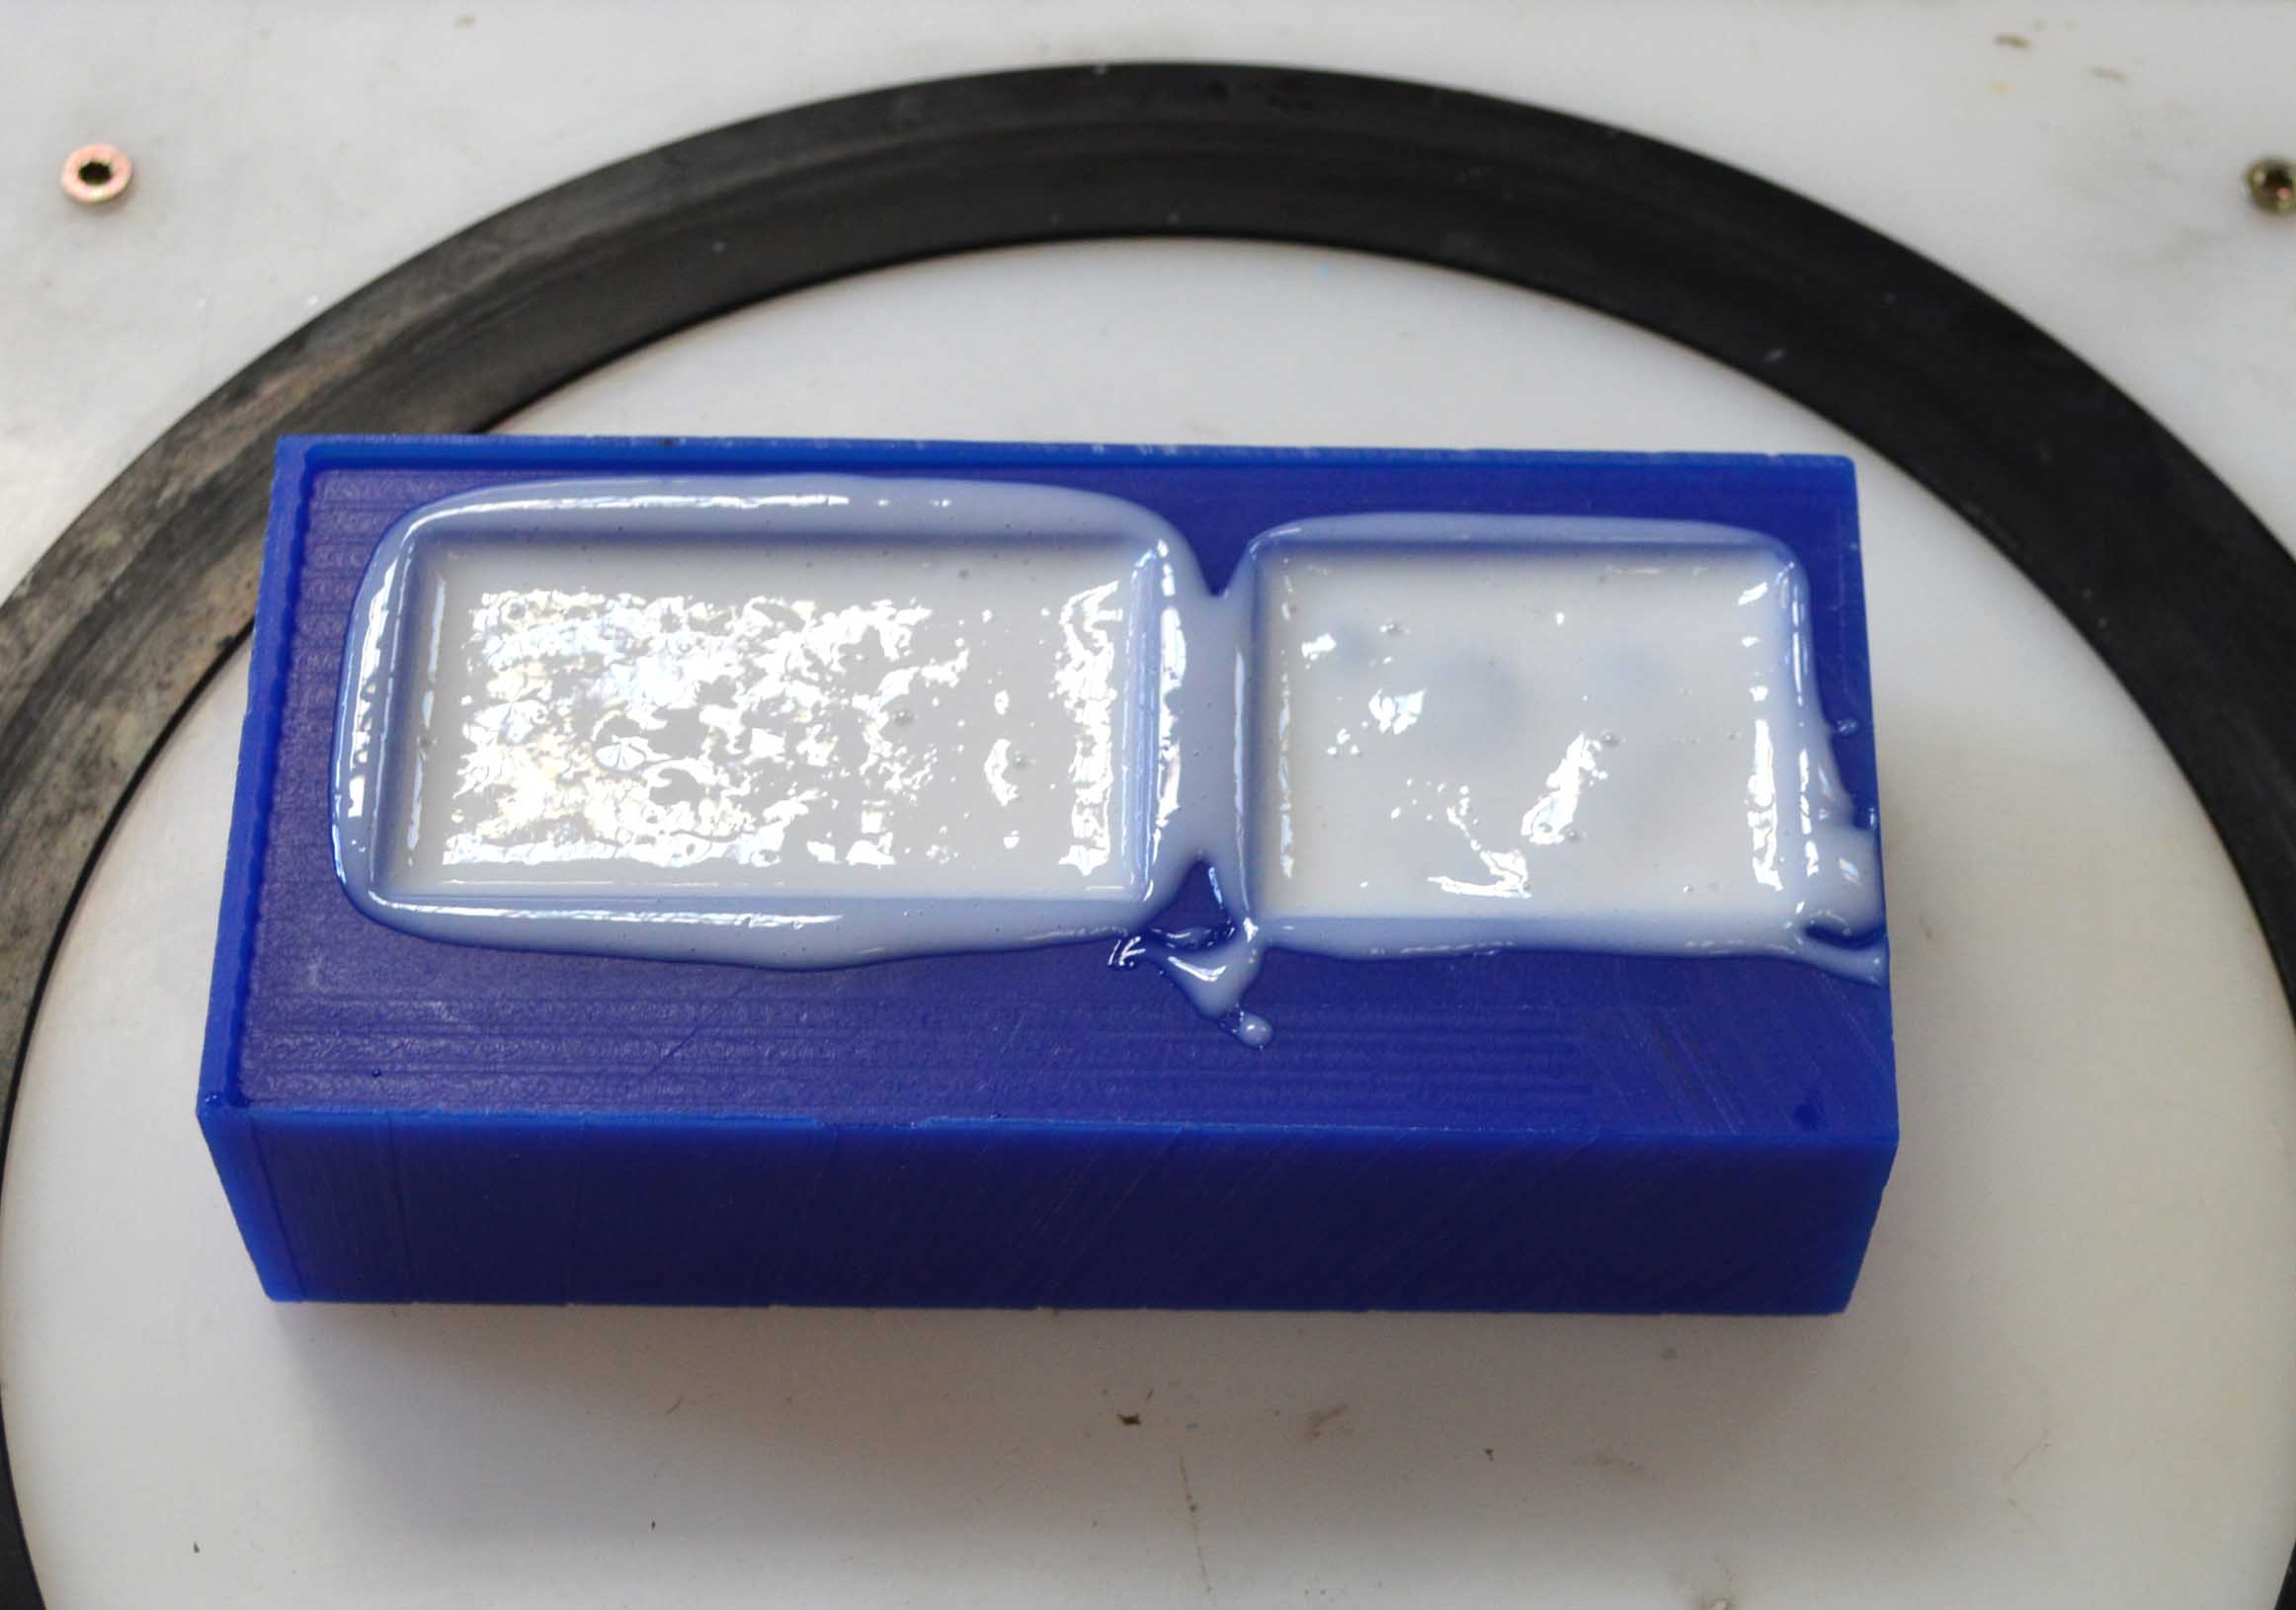
Two hours later I extracted the silicone, and here’s the final result.

As the final product would be easy to break, I decided to use liquid plastic which would ensure that the pieces don’t break.

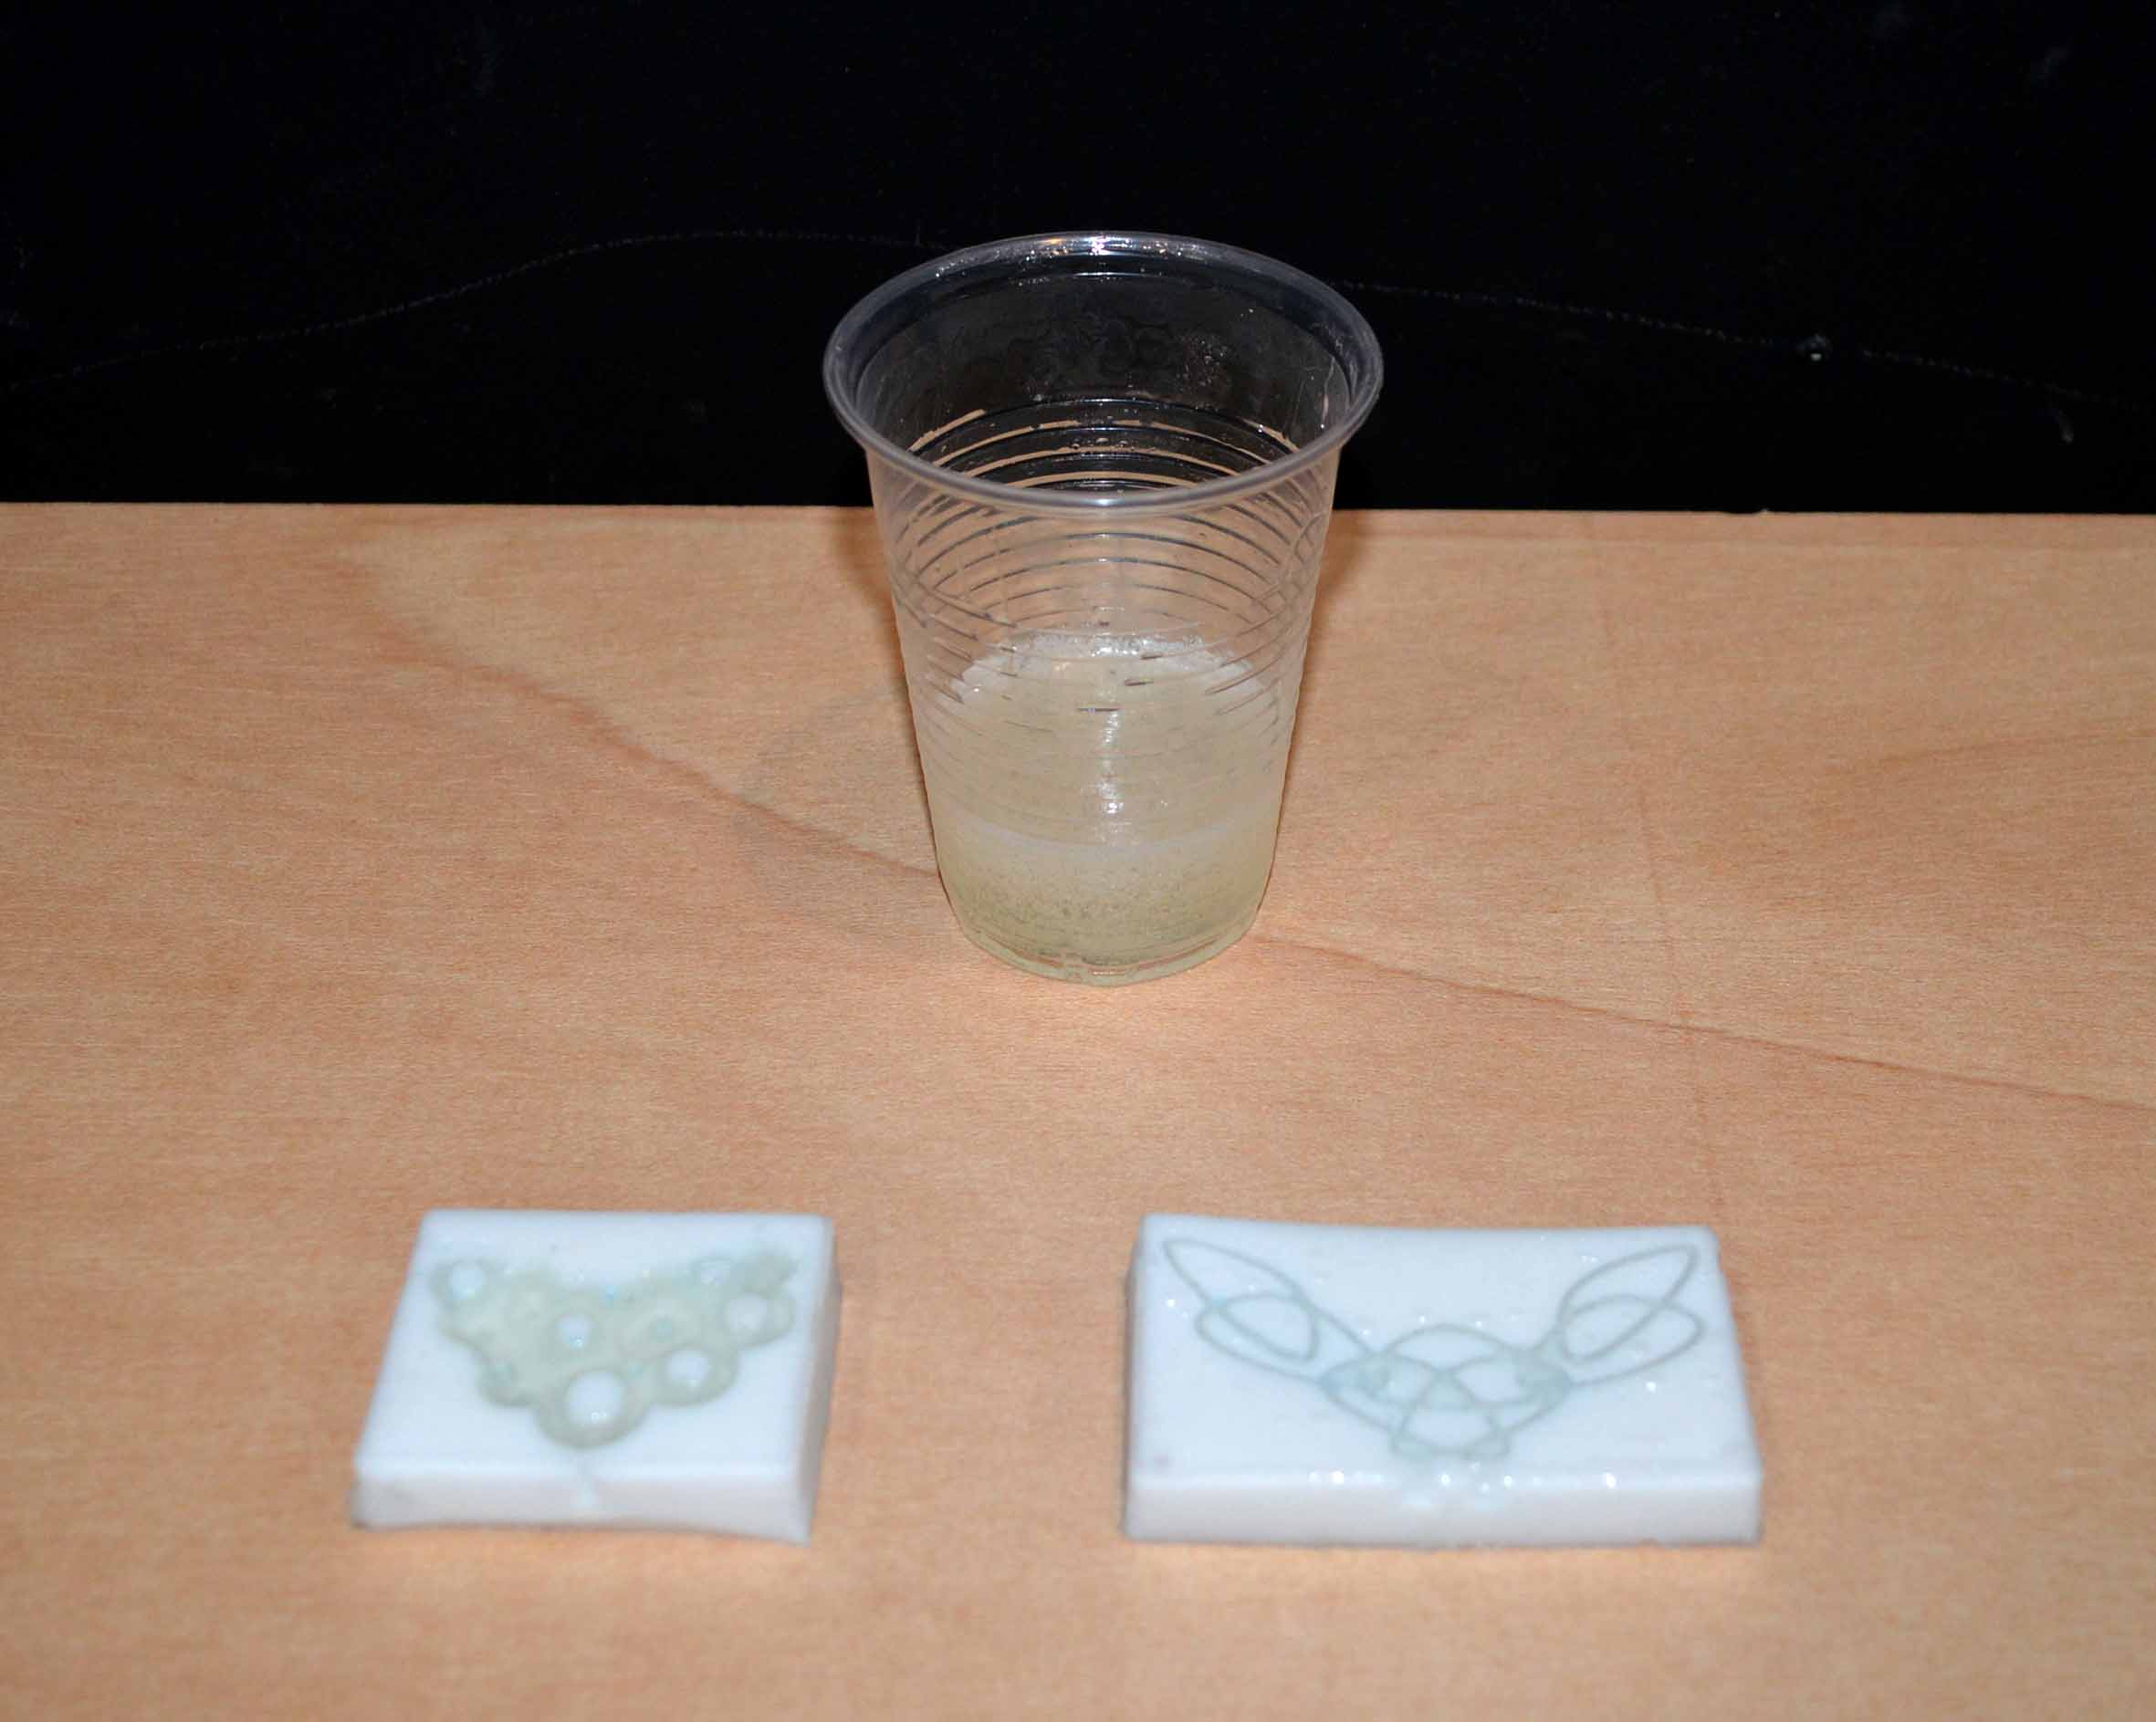
Finally, when the plastic had become completely rigid, I extracted it from the silicone mold. We can see that a lot of bubbles are left inside the plastic.

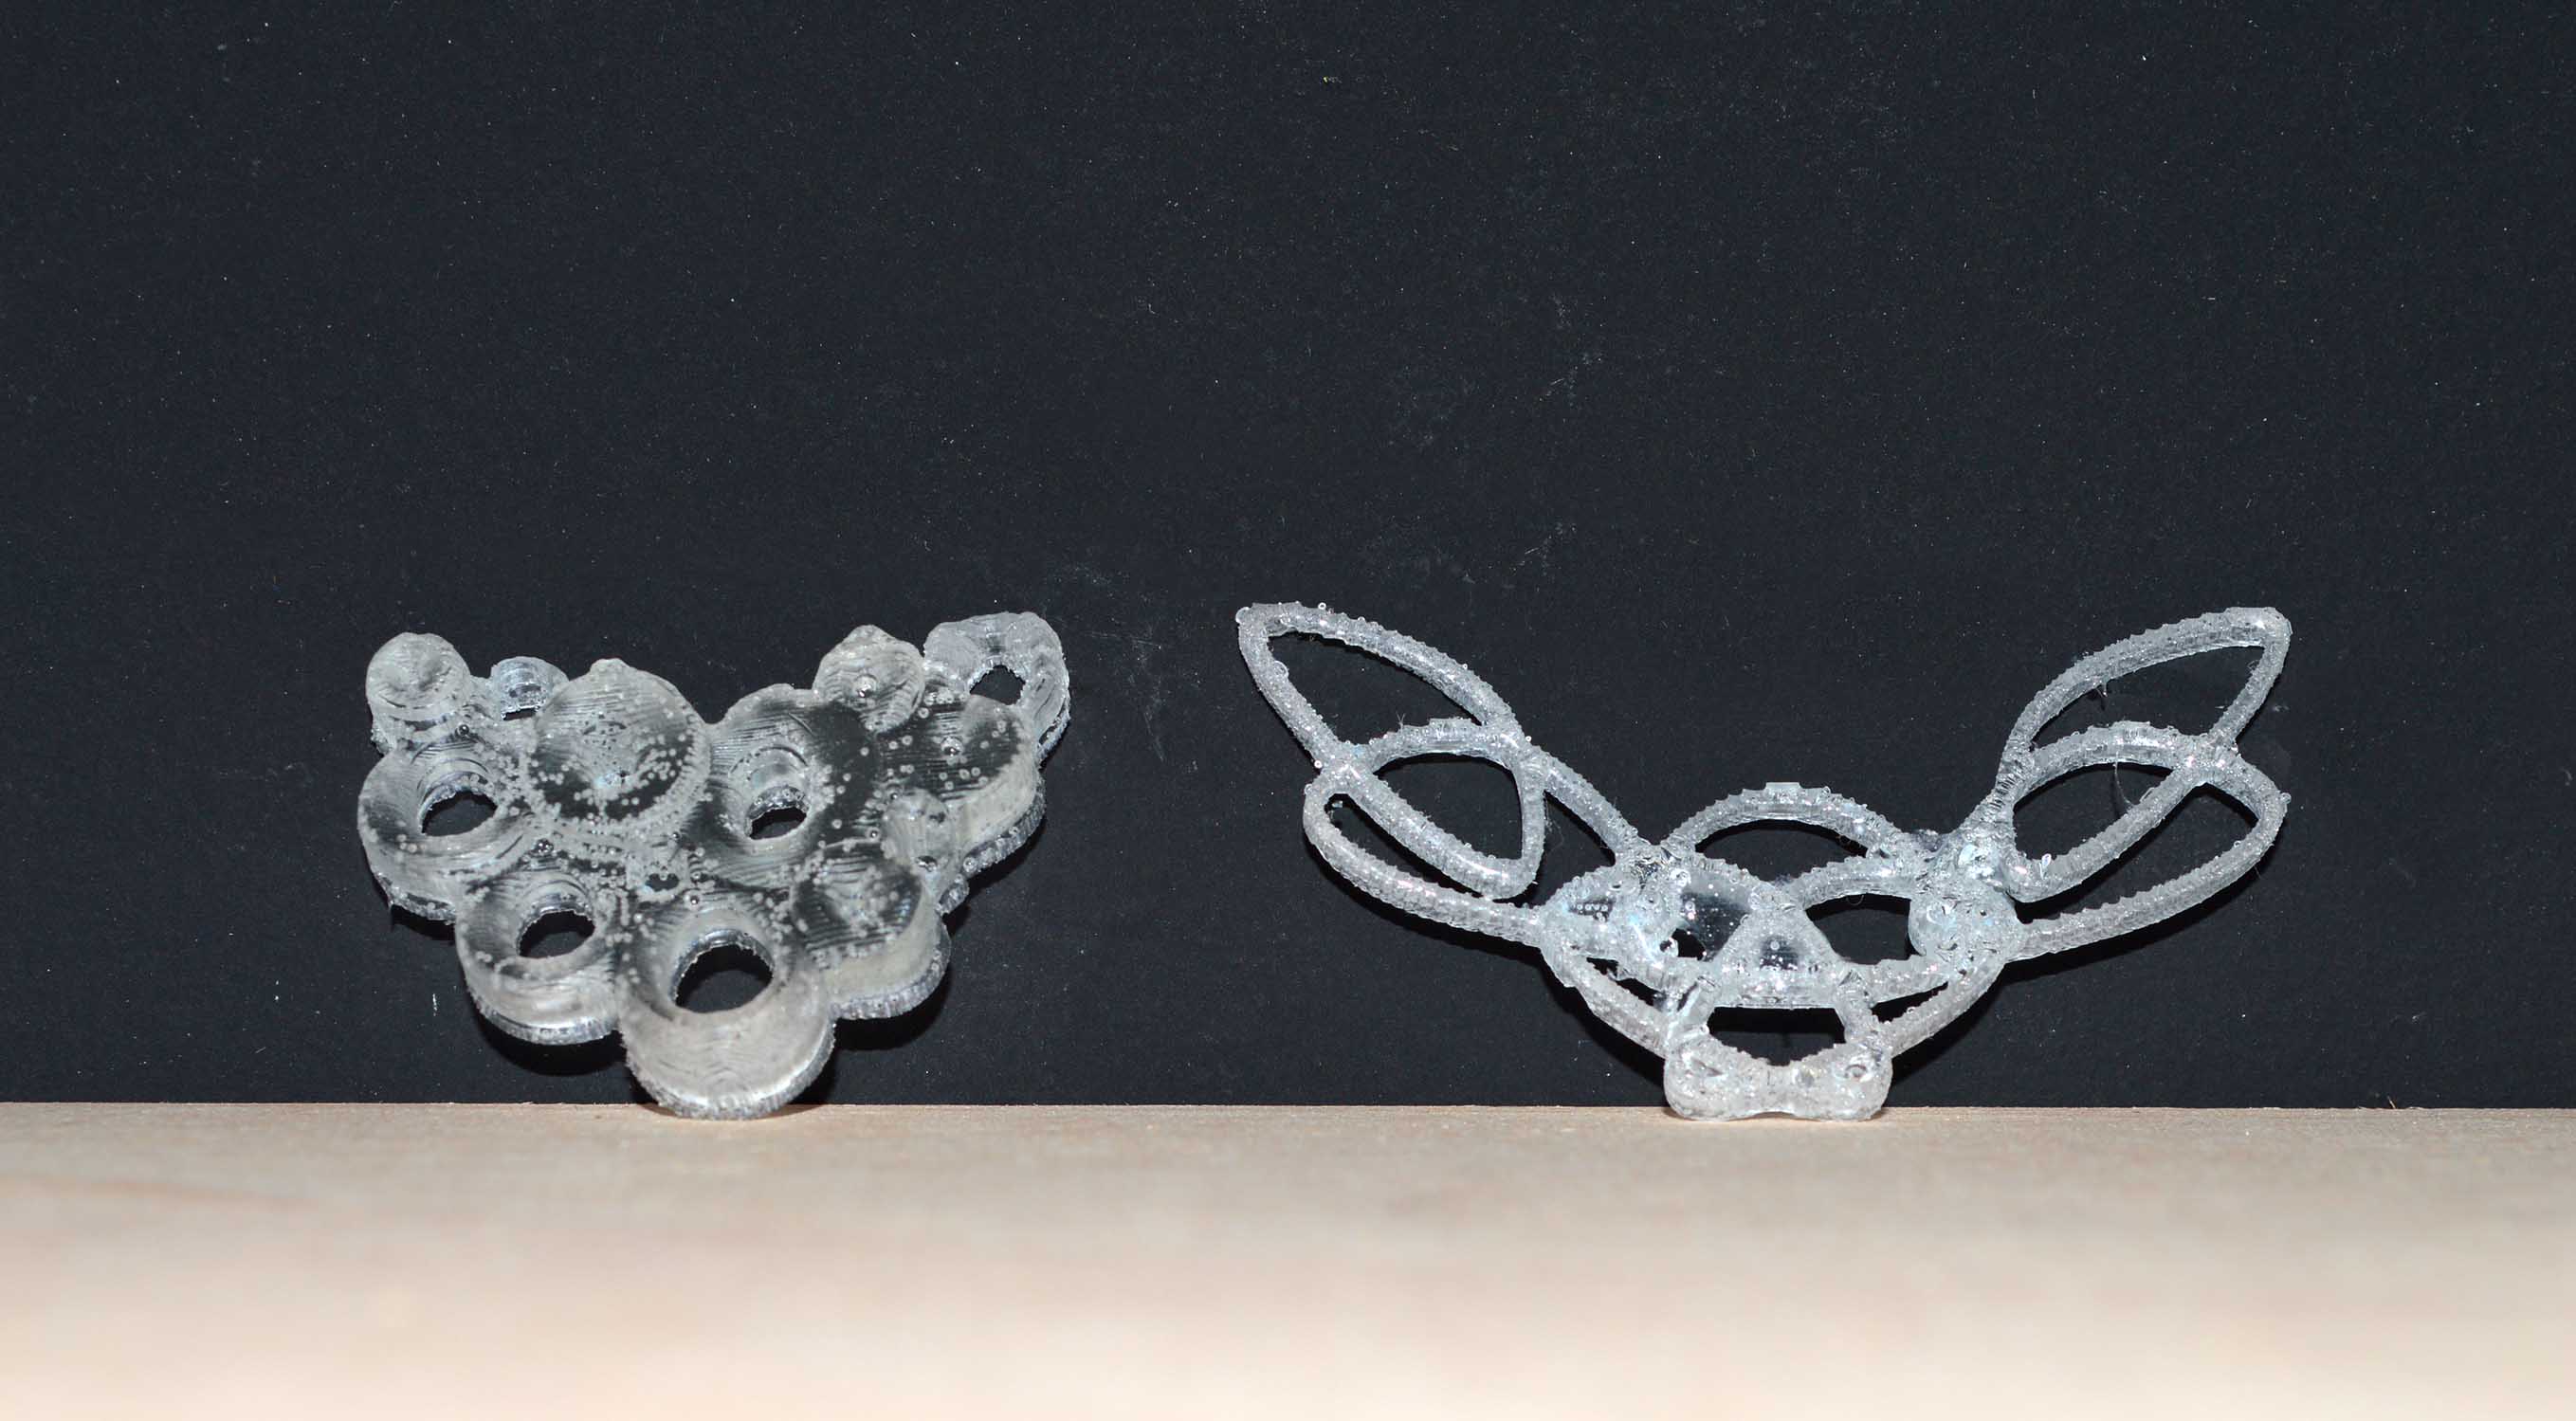
In fact, when I tried to sand the thinner one, it broke. It was too thin, and the bubbles had not been properly extracted from the liquid plastic. But let’s not dwell on the misfortunes of this journey.
I also experimented with rubber instead of silicone with more or less the same final result.

Here you can download my necklaces.3dm.
Roughing and finishing on the Shopbot
Roughing and finishing seemed a very interesting way of making 3d surfaces, so I also wanted to experiment on wood using the Shopbot to see what I could make.
So I found a scrap of good quality plywood, and I created a pattern. I used rhinoCam (3d axis milling) to calculate the tool-path.

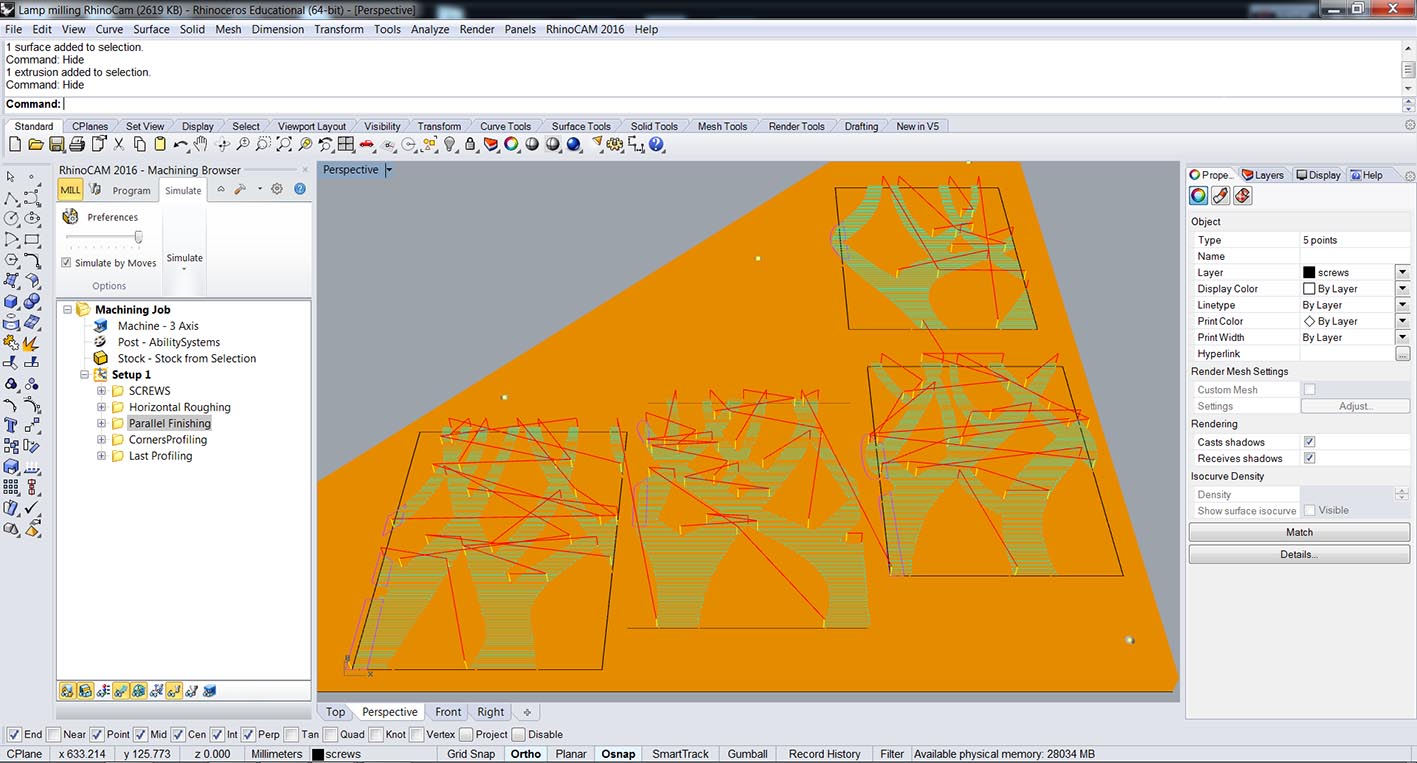
The tool used for the roughing was a 6mm flat mill, and for the finishing, a 6mm ball mill.
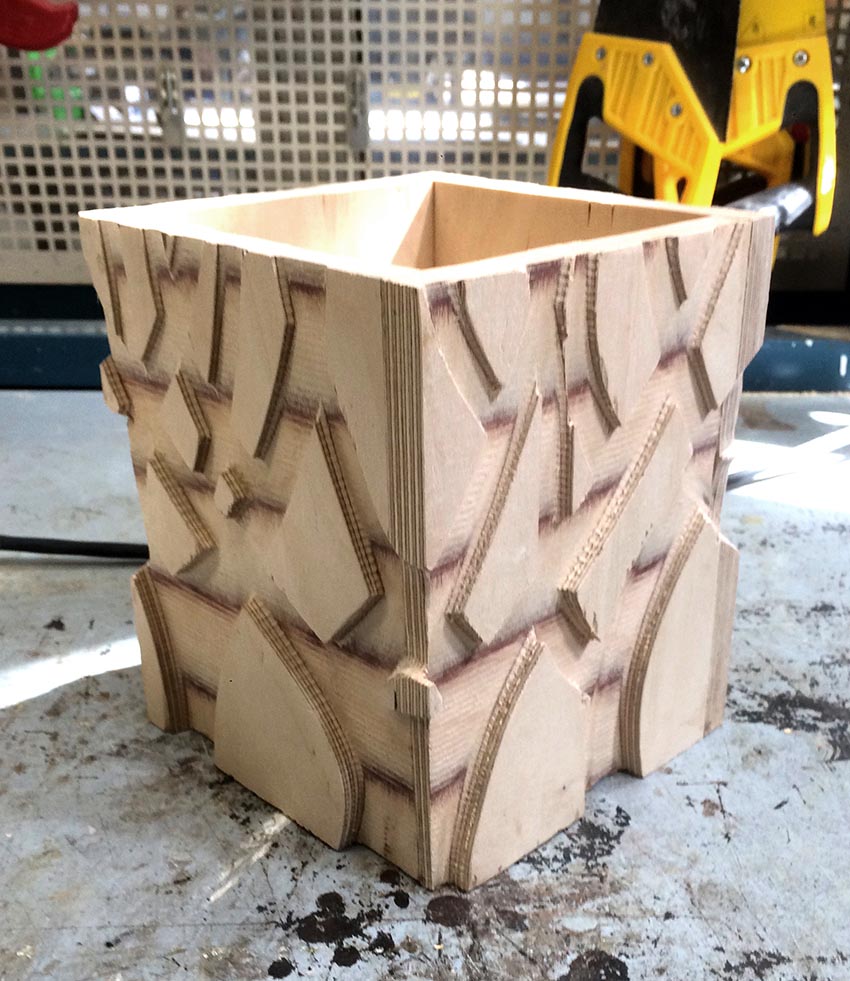
Here’s the final result


Using silicone as a useful final product
During this fist experimentation with molding and casting I was fascinated by the material of silicone, and its capacity to act both as a mould and as a final product. Its material properties: malleable, lightweight and water resistant inspired me to use it as the actual material for a detail of my final project, in which I am designing an opening roof.
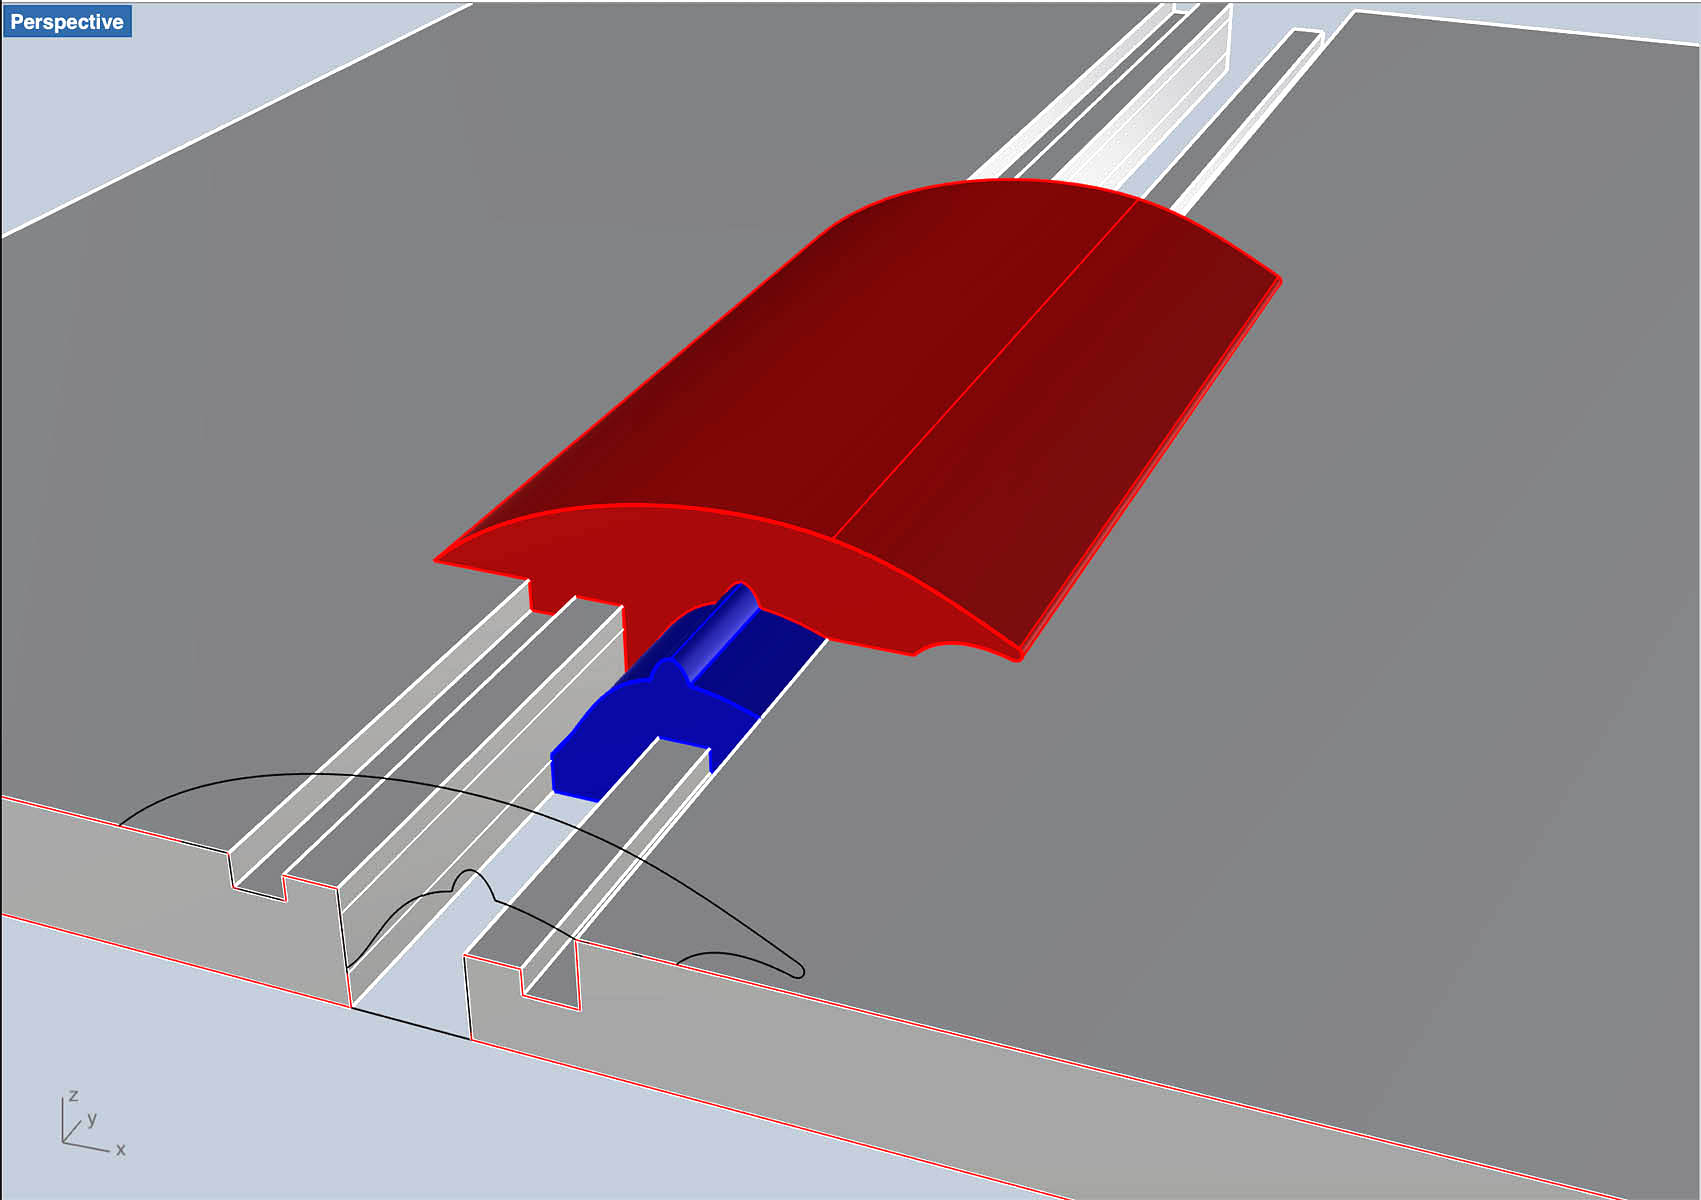
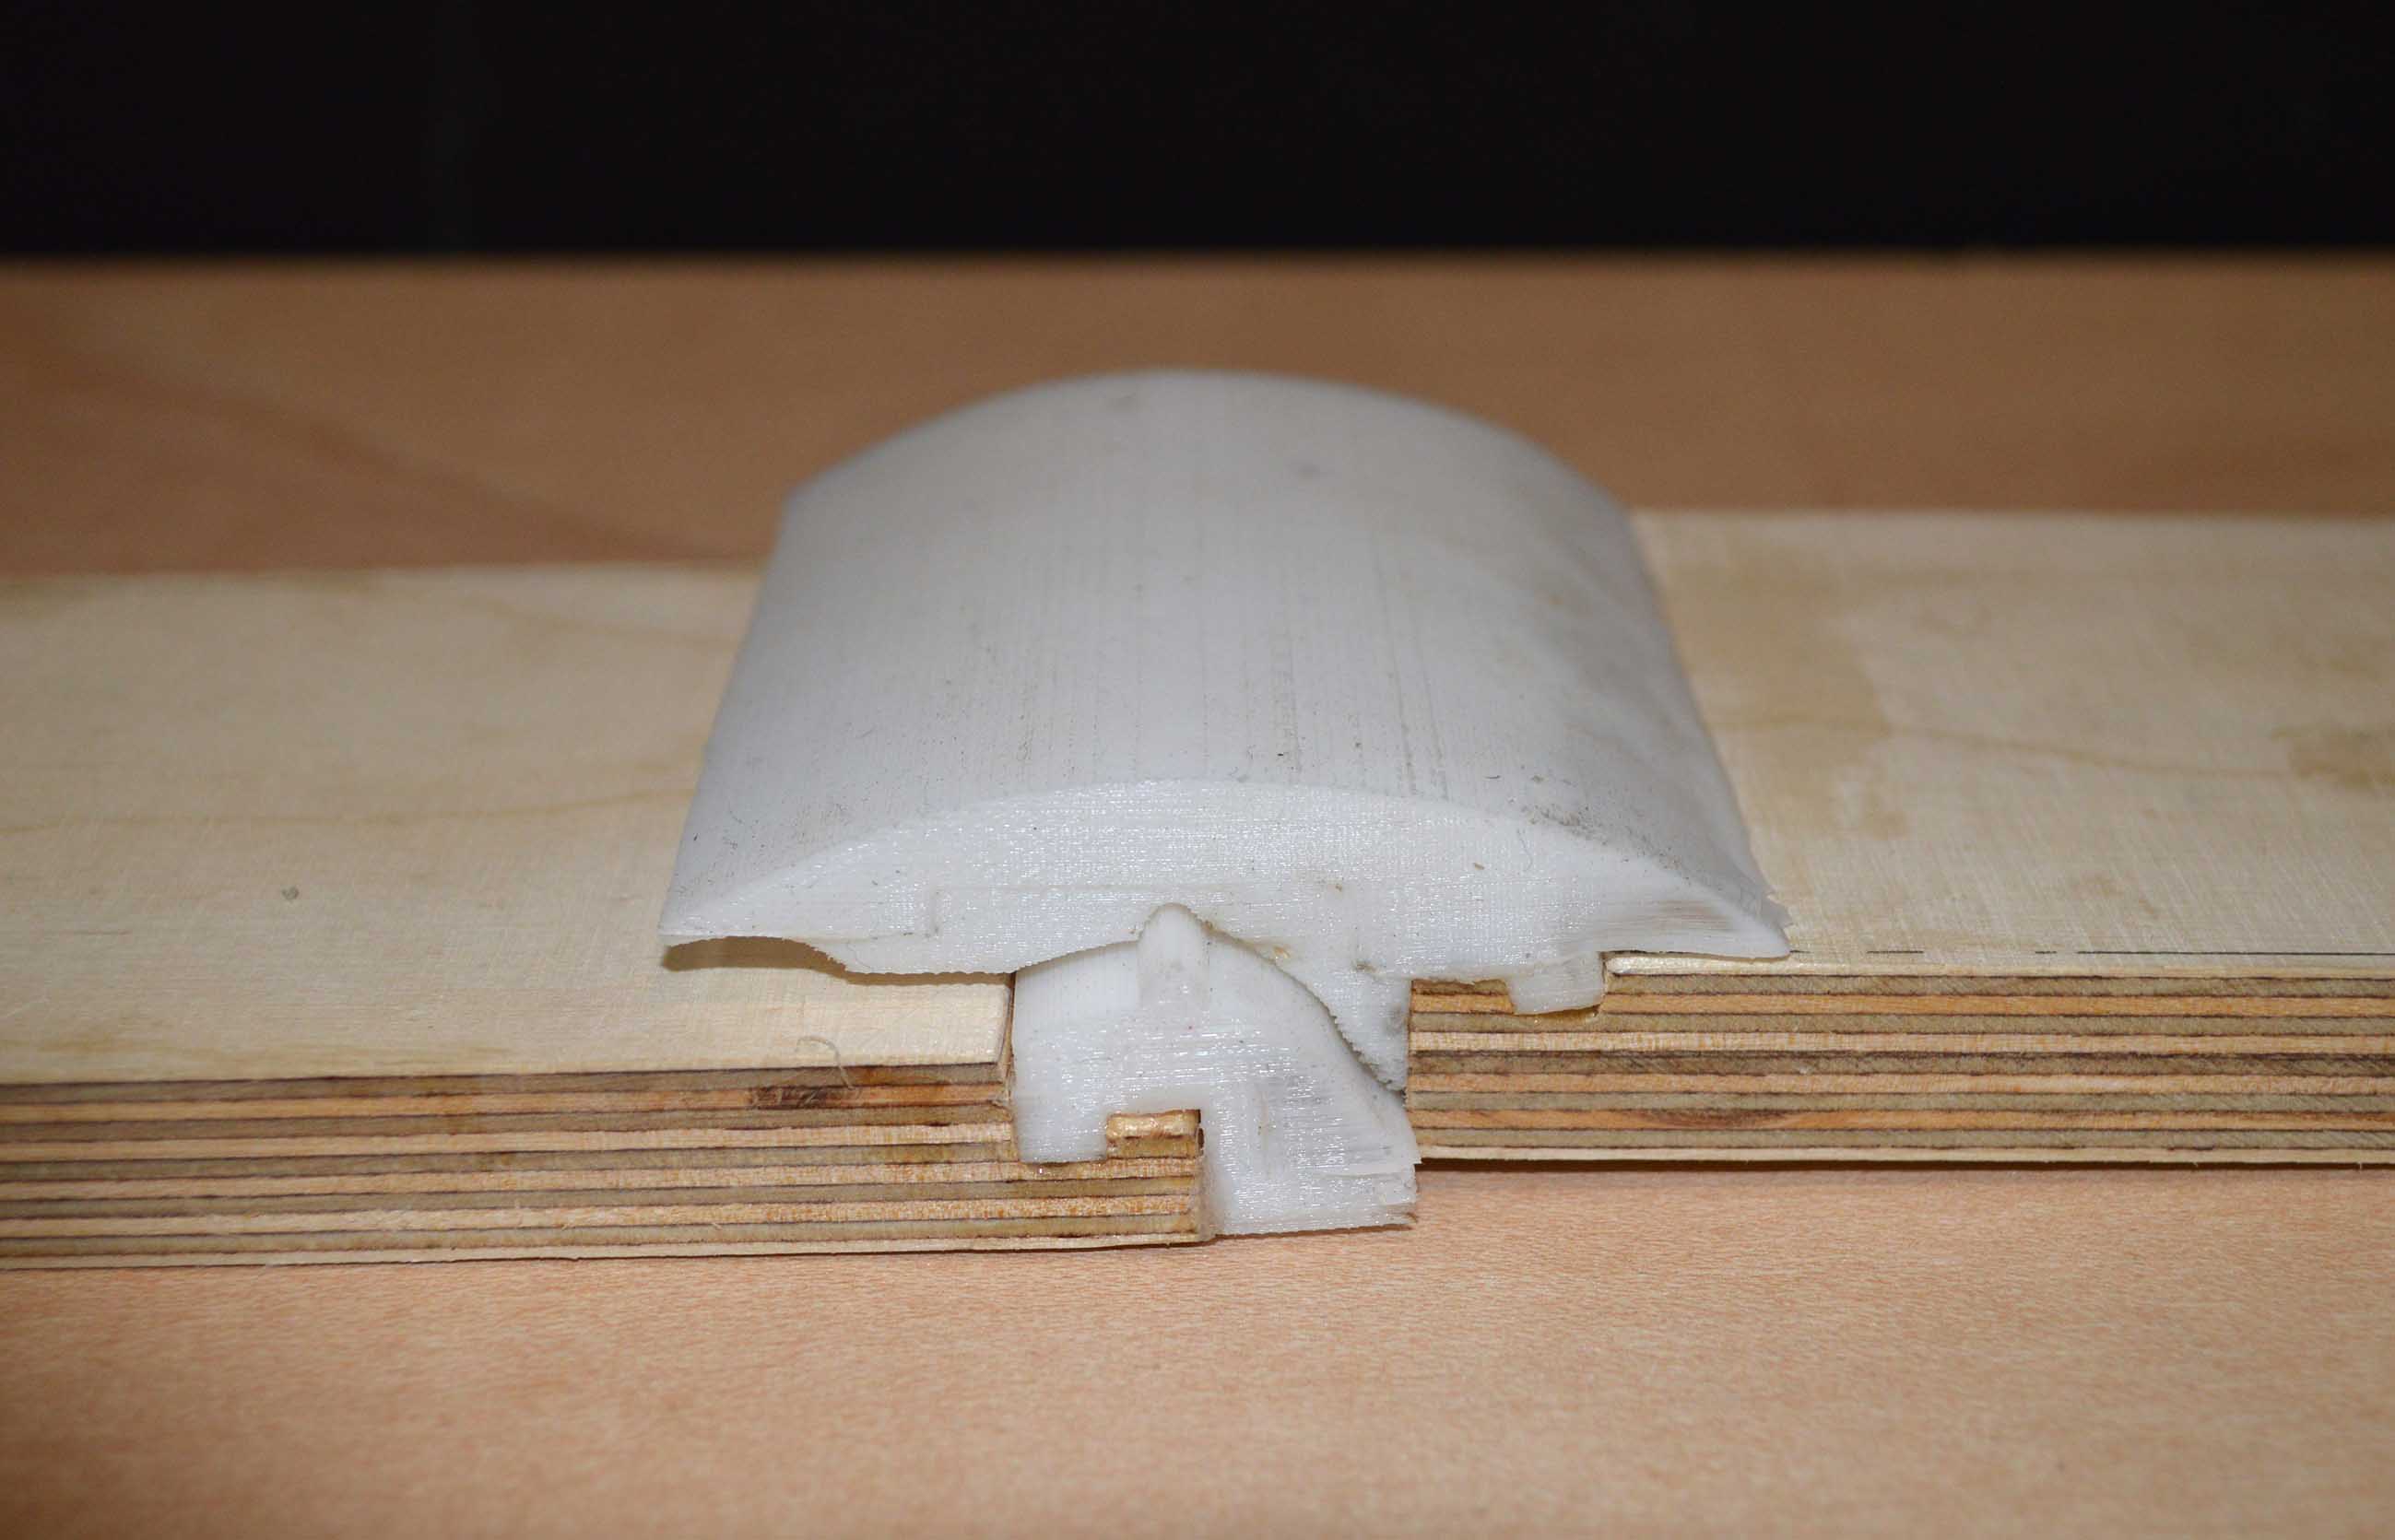
My idea was to use the silicone to make the connections between the movable pieces of the roof, so that when the roof is closed, it is air-proof and water-resistant. In the picture you can see the 3d of the total roof I am imagining (only a small part of which I intend to construct) where I have highlighted the position of the connection.

For that I designed a joint, on which I put a lot of thought, so that two neighbouring pieces do not let air or water pass through when they are closed. This is the design I came up with which consists of two pieces, the upper (red) and the lower one (blue).
In the design process I had two main goals in mind: the first was that the joint would close as well as possible to avoid air or water penetration, and the other one was that each piece should be able to be constructed by a mould consisting of maximum two pieces, otherwise the production process would get more complicated.
Creating the right mould for my design was not an easy process, both because I had never done this before, and because the geometry was quite demanding. I put a lot of thought on the creation of the moulds, but even so I was absolutely not sure wether they would work or not when put together. Still I made a leap of faith and begun the production process.
Mold A
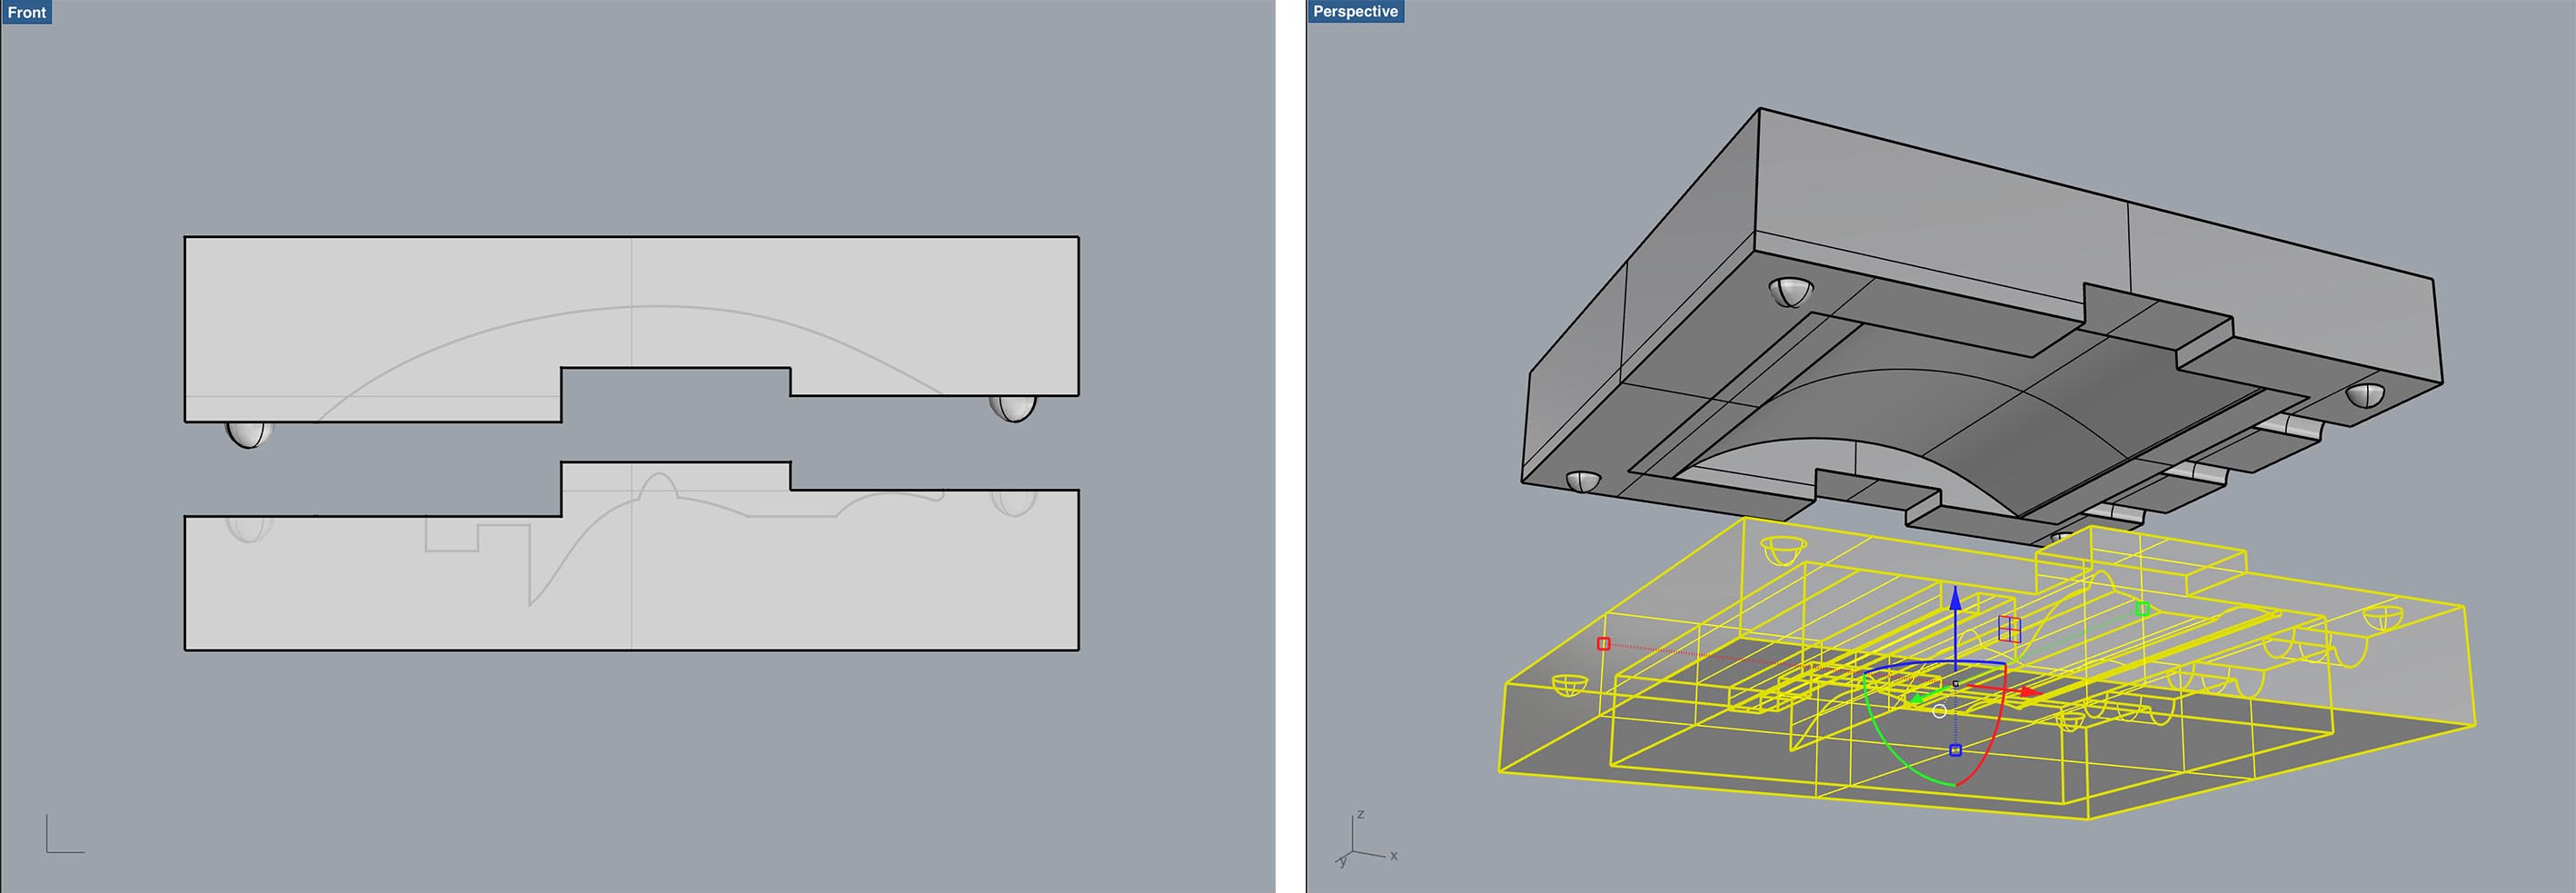
Mold B
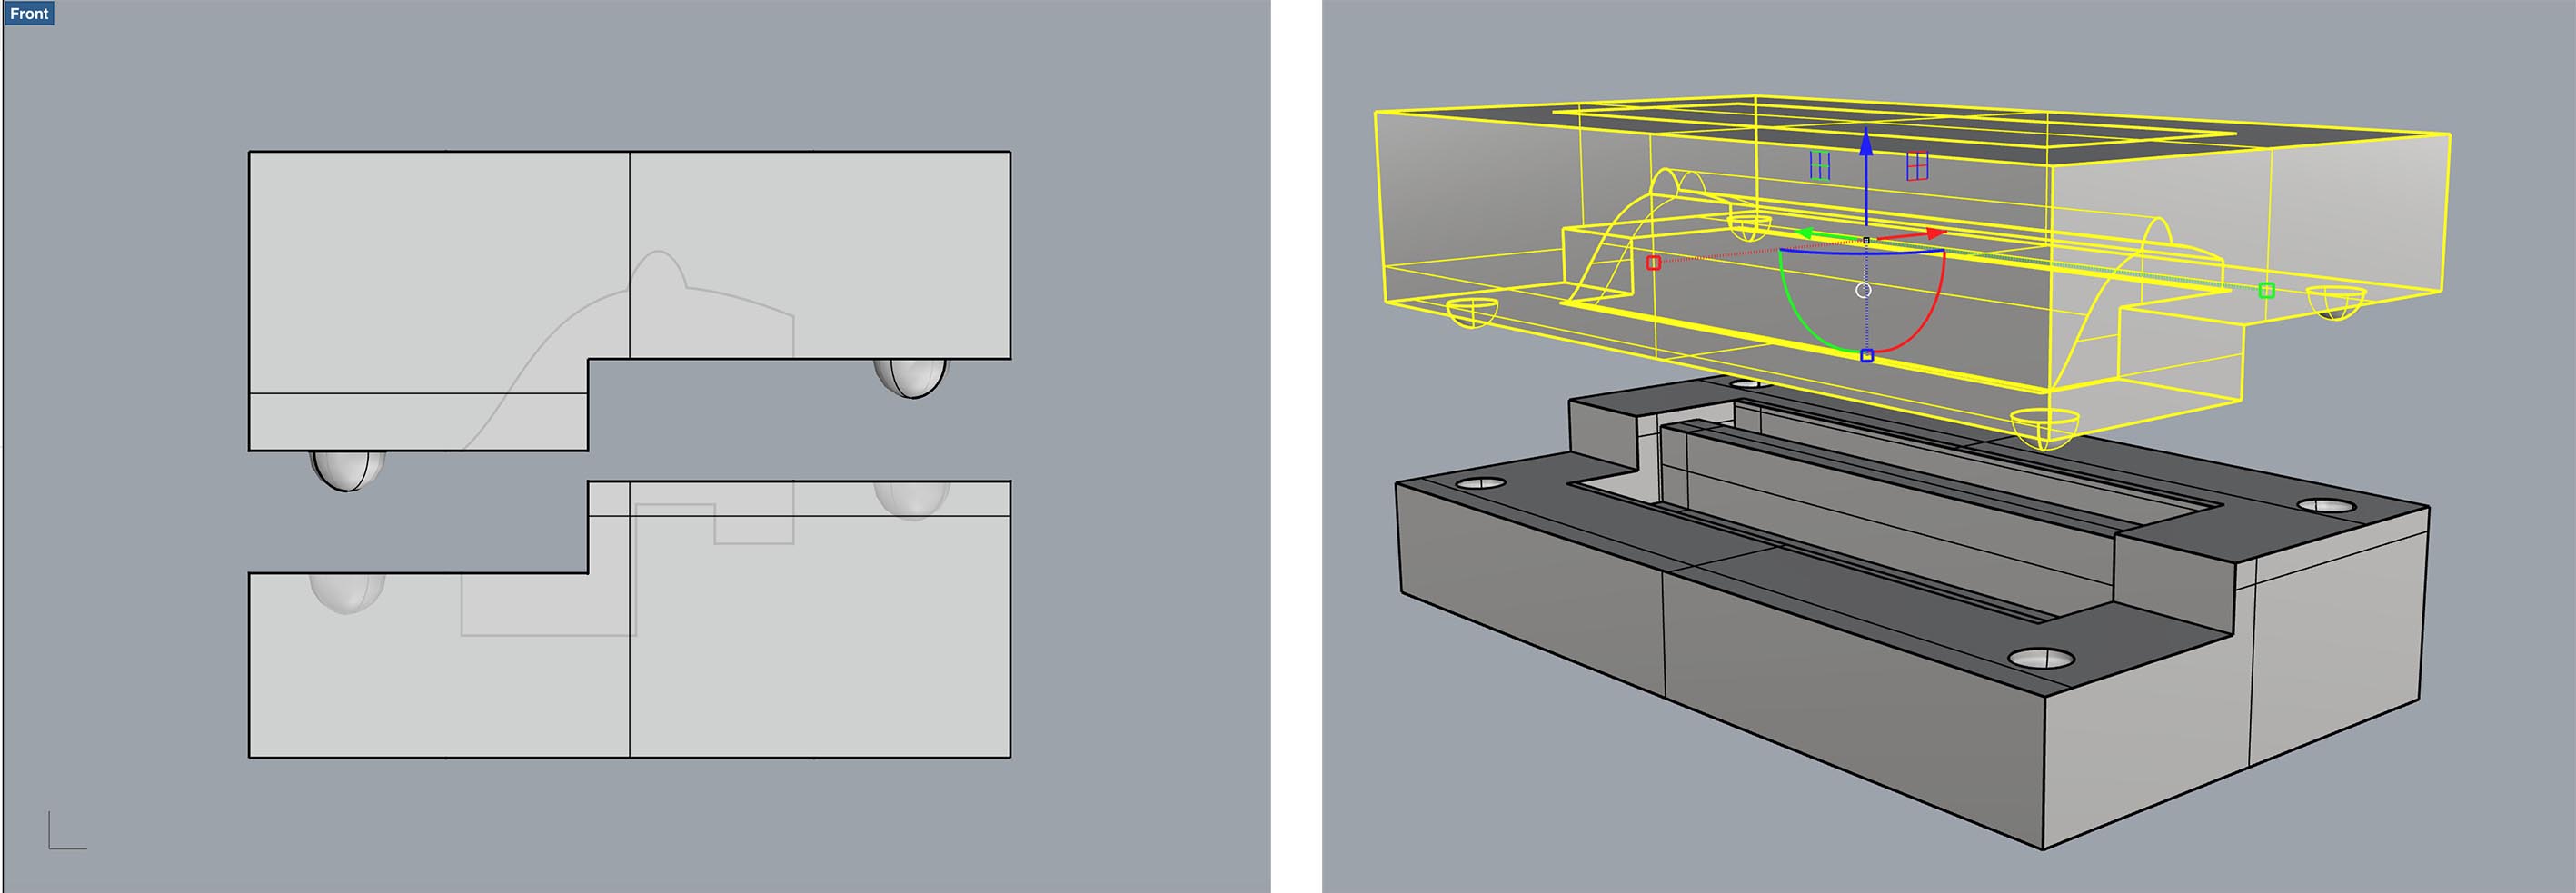
Here you can download my Rhino 3d file.
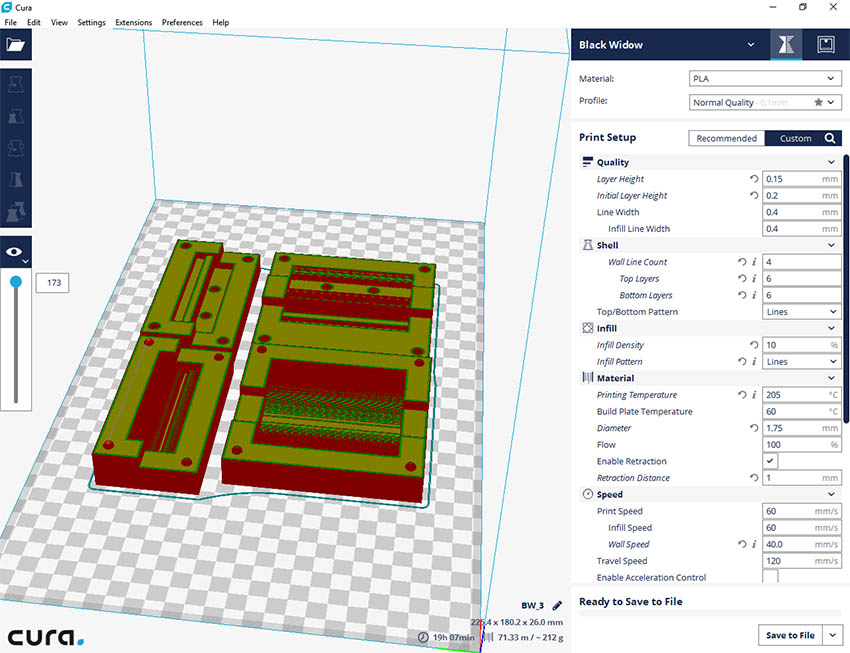
I decided to 3D print these molds, because to mill them I needed more wax than what was available in the lab at that moment. On the following screenshot you can see the parameters used on Cura software for the 3d printing of the moulds, which was done on a "Black Widow" 3d printer.
Here's the final result


I also decided to 3d print the object, and then make the mold out of it, but it ended up being a much more difficult (and expensive in terms of materials used) process than I expected.