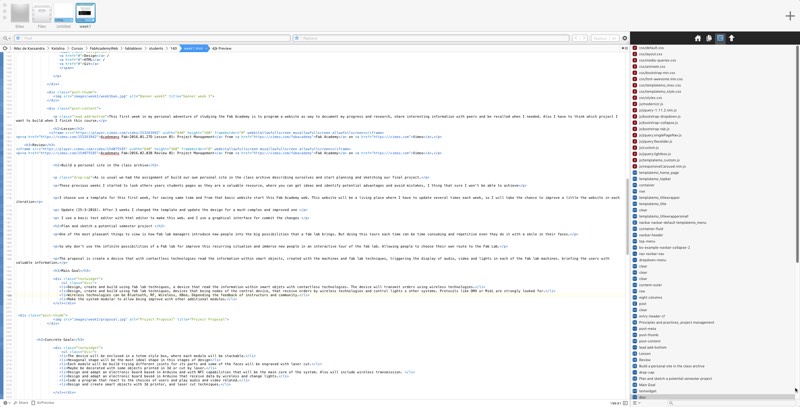
Principles and practices, project management

This first week in my personal adventure of studying the Fab Academy is to code a website as way for documenting my progress and research while I'm doing the assignments, share interesting information with peers and that can be recalled when I need it. Also I have to think which project I want to build when I finish this course.
Sections / Lesson and Review / Personal Web / Git / Project
Lesson
Academany Fab-2016.01.27D Lesson 01: Project Management from Fab Academy on Vimeo.
Review
Academany Fab-2016.02.03B Review 01: Project Management from Fab Academy on Vimeo.
Build a personal site in the class archive
As is usual we had the assignment of build our own personal site in the class archive describing ourselves and start planning and sketching our final project.
These previous weeks I started to look others years students pages as they are a valuable resource, where you can get ideas and identify potential advantages and avoid mistakes, I thing that sure I won't be able to achieve
I choose use a template for this first week, for saving same time and from that basic website start this Fab Academy web. This website will be a living place where I have to update several times each week, so I will take the chance to improve a little the website in each iteration
Update (25-3-2016). After 3 weeks I changed the template and update the design for a much complex and improved one
I use a GUI based program called Coda as is more easy with code completion, color highlights and so much other little tweaks.

Version control with Git
This year we don't have to fight with Mercurial, and the webs for students are now version controlled by Git in with the web Gitlab You have to generate ssh keys to make secure connections

Also I use a program to make easy the use of git commands like commit. It's named Tower
The first weeks I was alone in my supernode, but later as Fab Asturias was shutdown I share my space with my classmate Luis Díaz so I also learnt better to be careful with heads and make before pull than push
You can see how we work at the final of Fabacademy

I didn't use SourceTree a lot as I'm fine with Tower, but if you need a free good app this is nice an very similar. My classmate Marta Verde make a little tutorial.
Plan and sketch a potential semester project
One of the most pleasant things to view is how Fab lab managers introduce new people into the big possibilities that a fab lab brings. But doing this tours each time can be time consuming and repetitive even they do it with a smile in their faces.
So why don’t use the infinite possibilities of a Fab lab for improve this recurring situation and immerse new people in an interactive tour of the fab lab. Allowing people to choose their own route to the Fab Lab.
The proposal is create a device that with contactless technologies read the information within smart objects, created with the machines and fab lab techniques, triggering the display of audio, video and lights in each of the fab lab machines. briefing the users with valuable information.
Main Goal

