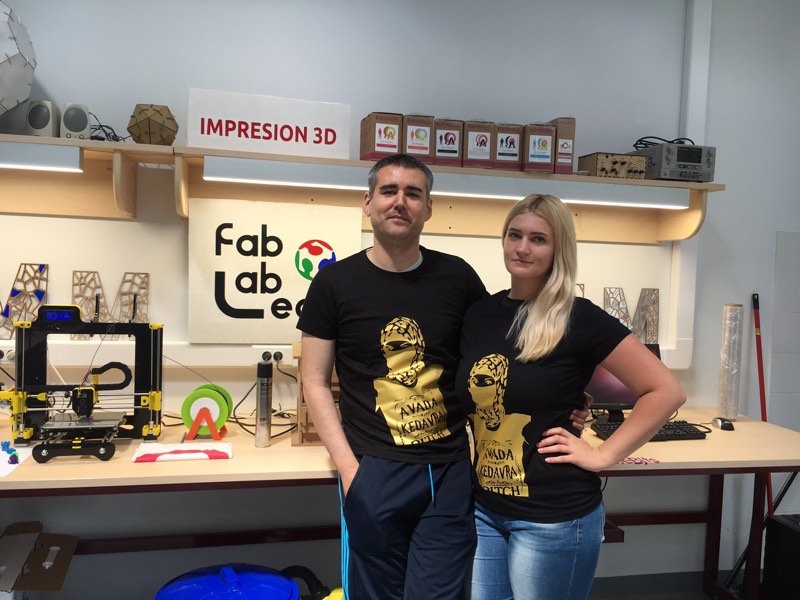
Computer Controller Cutting

I still have some little problems with my workflow. Even as topic of parametric design is not overcomplicated for me, I’m still much newbie to many programs and the newer versions of some programs I was used to work. I just installed, opened and look around OpenSCAD, QCAD, Autodesk 2015. I didn’t open Grasshopper or SolidWorks, and others like ONShape or 123make I didn’t even download to try them.
As I don’t feel confident in any of them that have make me uncomfortable. I need more time to get used to one and start doing little things. Of course I saved the tips and tutorials that have appeared in the mail list.
Sections / Lesson and Review / Kerf / Previous Experience / Stages during the use of the Epilog laser cutter / Lattice Hinges / Vinyl Cutter
Lesson
Academany Fab-2016.02.10D Lesson 03: Computer-Controlled Cutting from Fab Academy on Vimeo.
Academany Fab-2016.02.17B Review 03: Computer-Controlled Cutting from Fab Academy on Vimeo.
Kerf Testing
I have done a little research about the solutions and ideas that previous FabAcademy students have done the previous year, as are the most recent for getting examples for working with programs.
You can learn and acquire lot of information, tips, how to solve problems and a important thing that is how good workflows attack the different sides of the problems you can encounter.
One useful thing is to make a kerf test of the material you are going to cut, I choose to make it like a comb style object, where each split has a different separation.
After cutting 2 of these combs, and testing which holes fit better. We found that for our card box of 2,98 mm of width, the best was 2.5 mm separation, that was a kerf of 0.25 mm, that have to be done for the offset of some materials. This kerf is for the laser machine of my Fablab León and this type of material have been stable a couple of years, with not degradation.
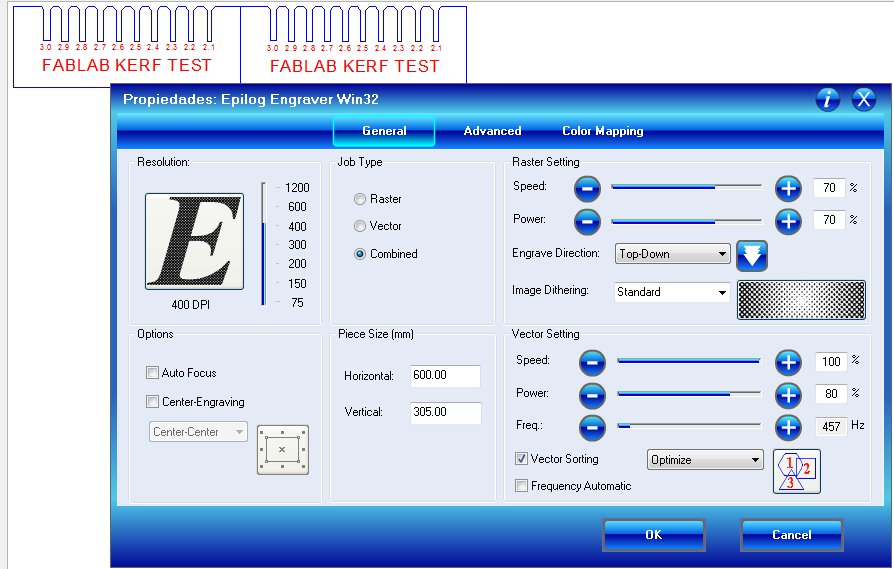
Here you can watch how the Epilog Laser of FabLab León cut the kerf tests
FabAcademy 2016 - Cutting Kerf test from BjLanza on Vimeo.
Lessons from the past
In the FabLab we have the project of a previous fellow student of FabLab León Javier Contonente a icosahedron made of triangles. He did a beautiful much complex design after these test. But I choose as I had this problems to practice designing and adding to the triangles, squares, pentagons and hexagons to the set, plus 108º and 120º connections.
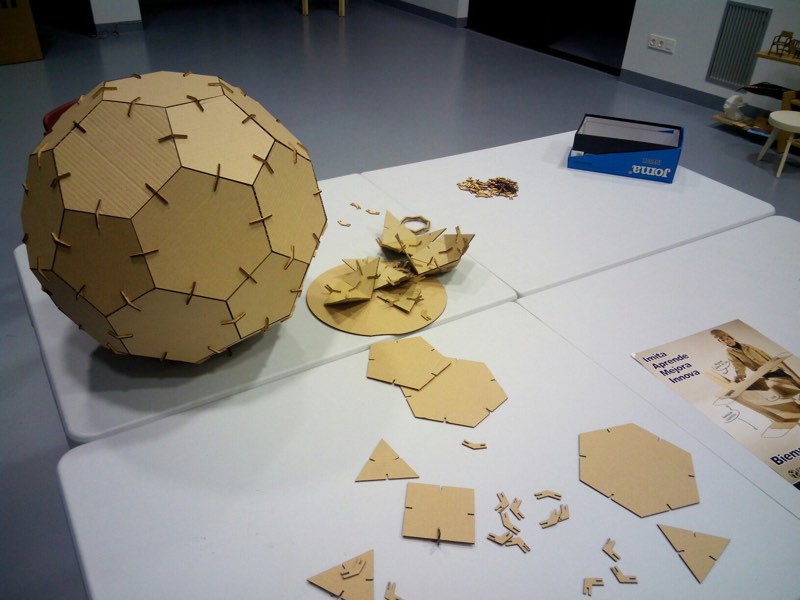
The aim was to build a truncated icosahedron, also know as the shape of a football ball. As for me is lot interesting for video mapping.
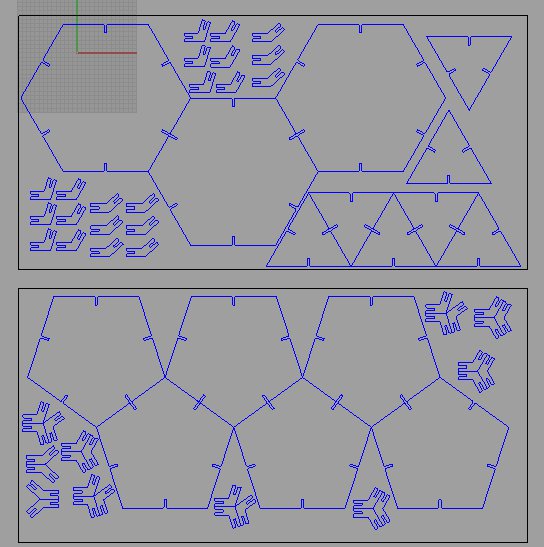
After valuable lessons of my FabLab Guru Nuria Robles with Rhino. After check that the kerf of design of Javier Contonente didn’t change. I use one side of the triangle to build with polar matrix commands the other shapes. Then join in one shape for laser cutting.
I cut one sheet of samples of the shapes, also with engraving. With the previous parameters of the kerf test. Vector Setting (Speed:100%, Power: 80%, Freq 450 Hz) and raster setting are both Speed and Power to 70%
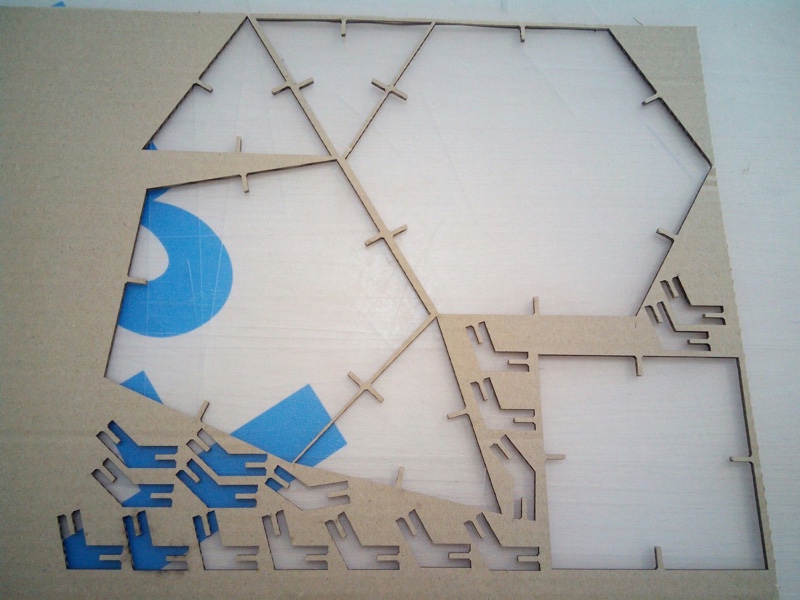
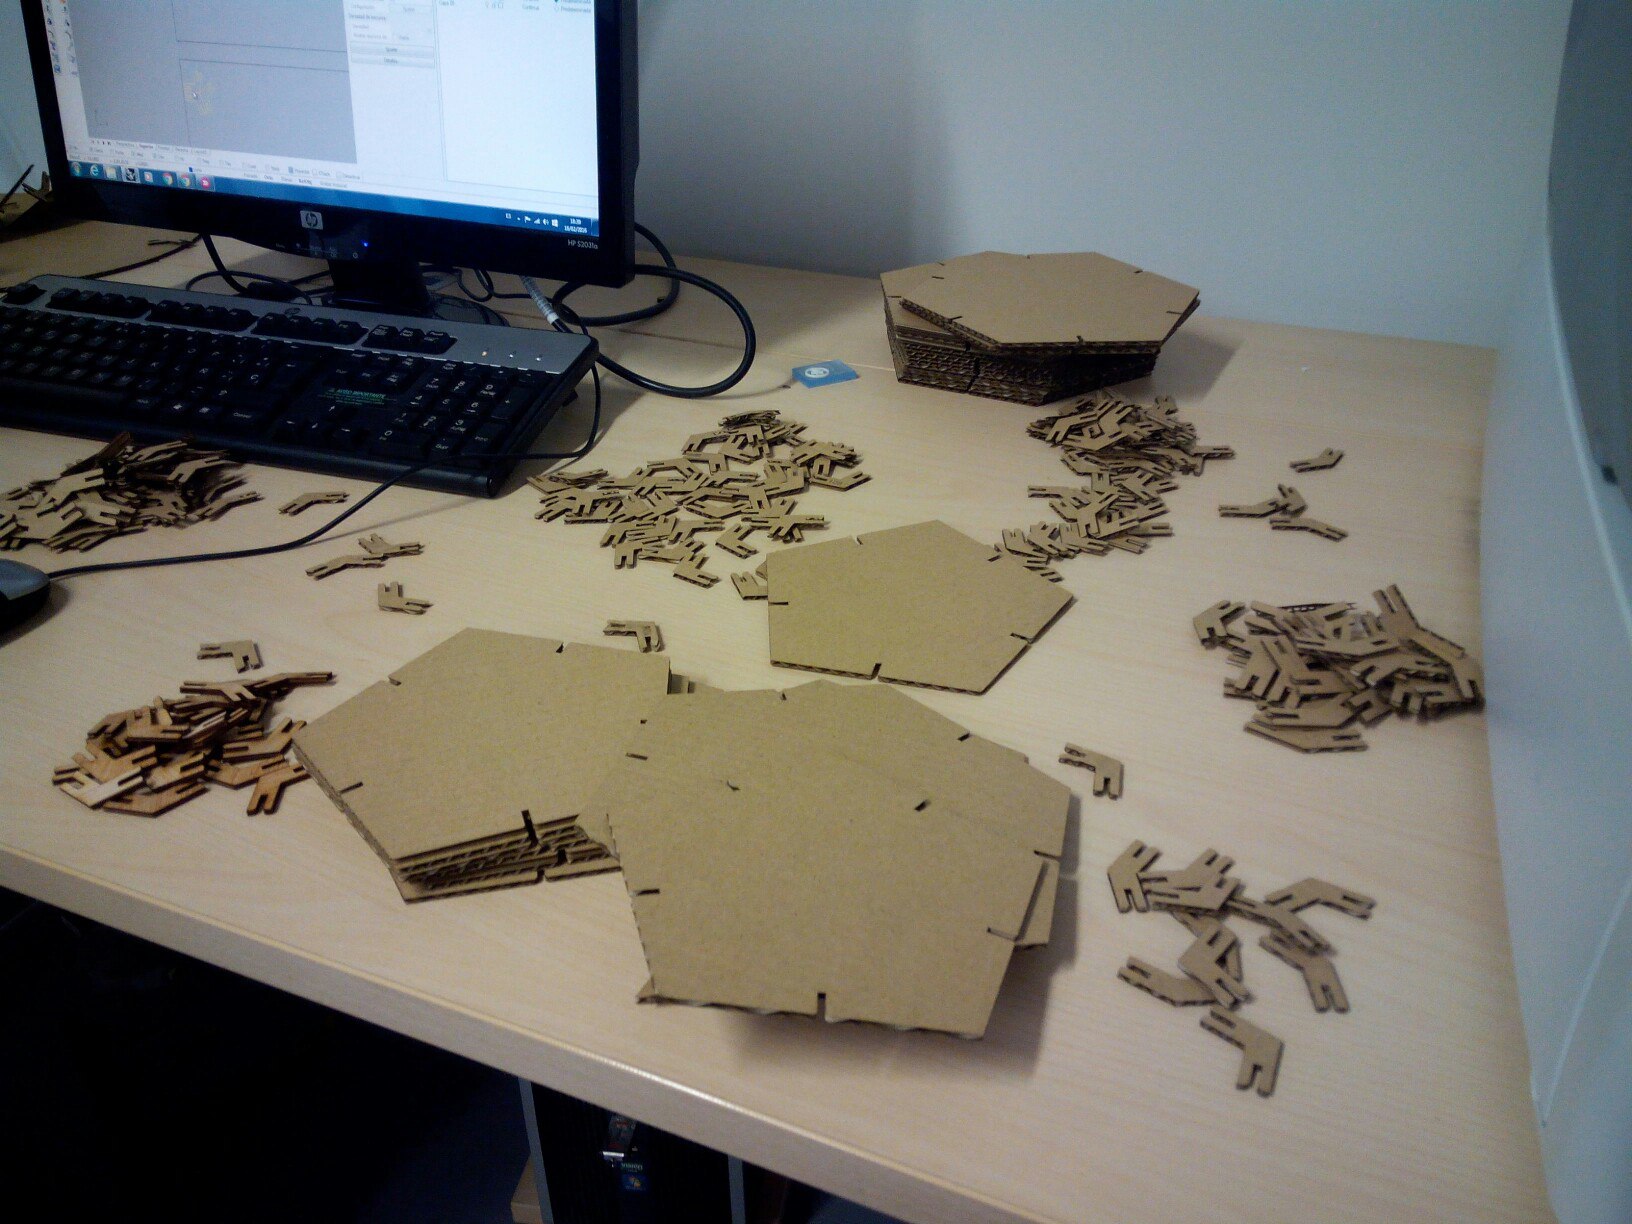
Then I joined the same shapes in more complex polylines to be more efficient when I do the laser cutting. Then I proceed to cut the 20 hexagons and 12 pentagons that are required. It took around 3 panels of card box
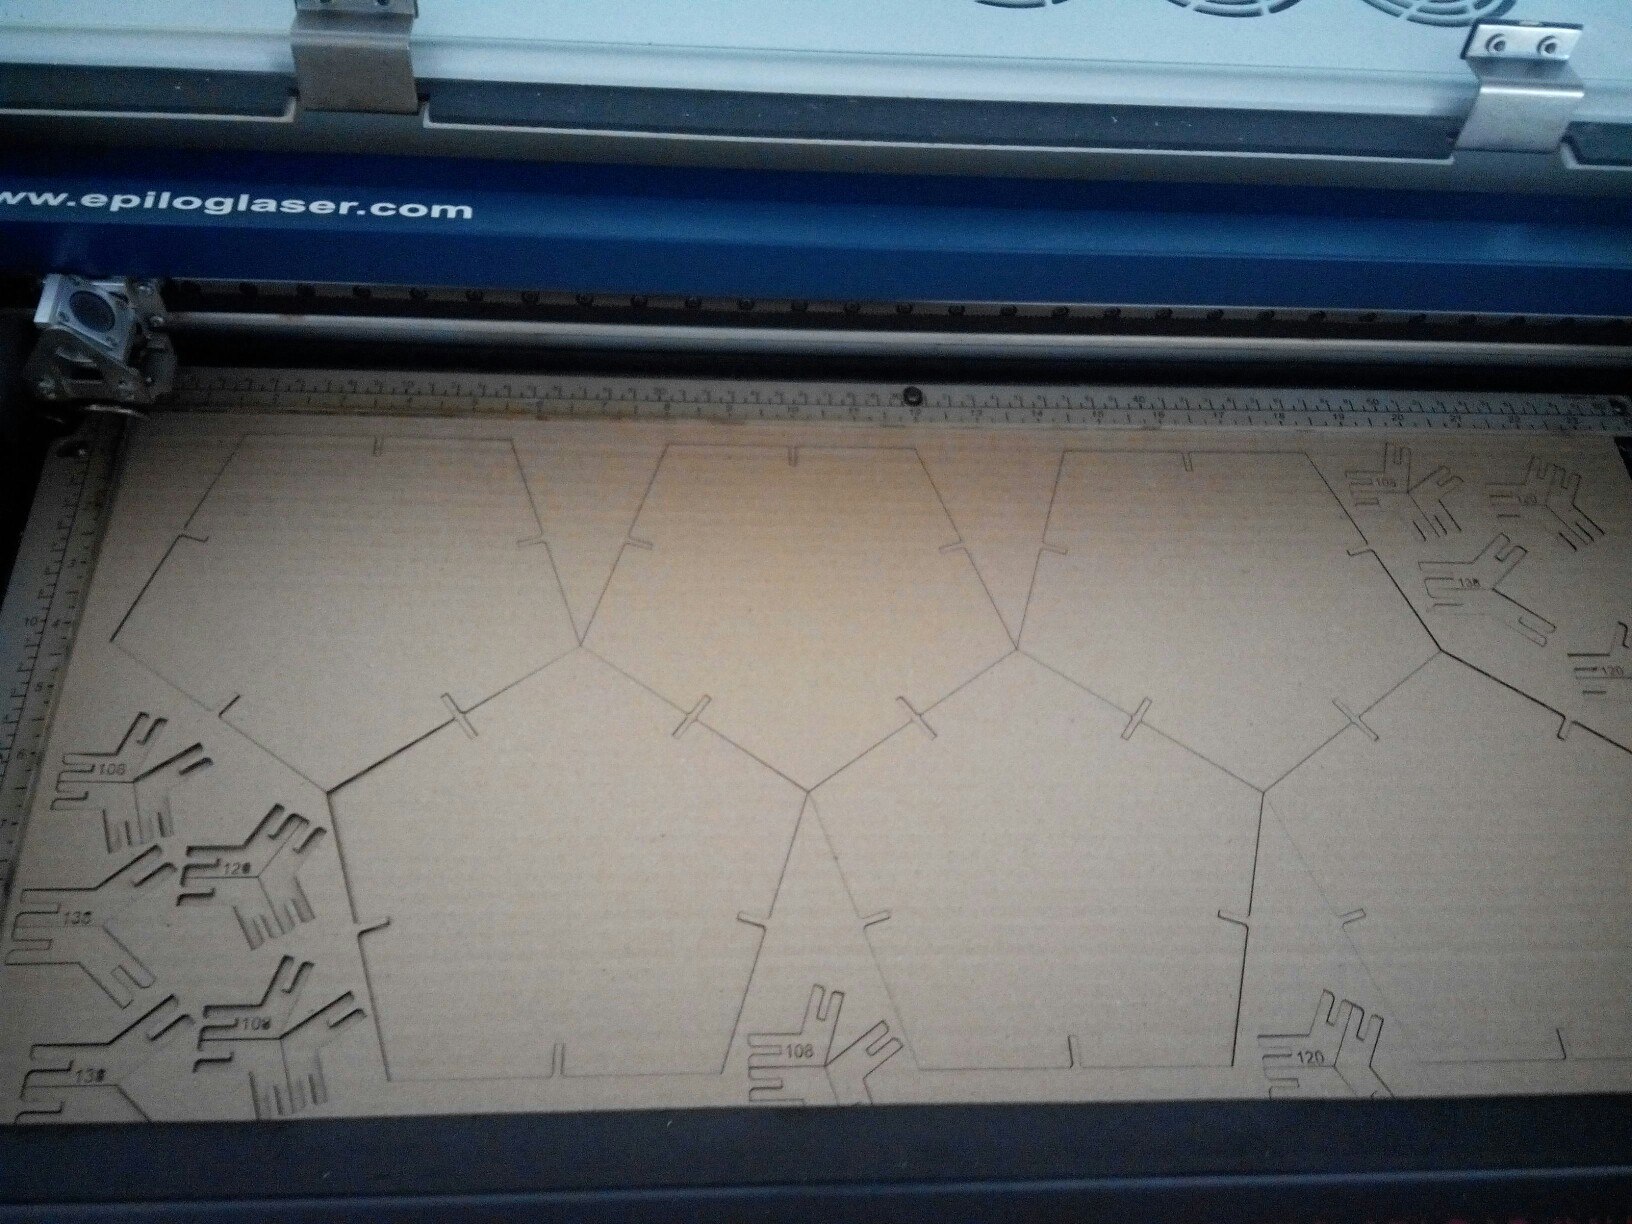
You can watch a video of the Epilog laser cutting the parts
FabAcademy Laser Cut from BjLanza on Vimeo.
After some checking the V shape unions in card box were not useful, as outer layers were easily blend and crush. So after having the advice of Nuria, we cut the joins in MDF.
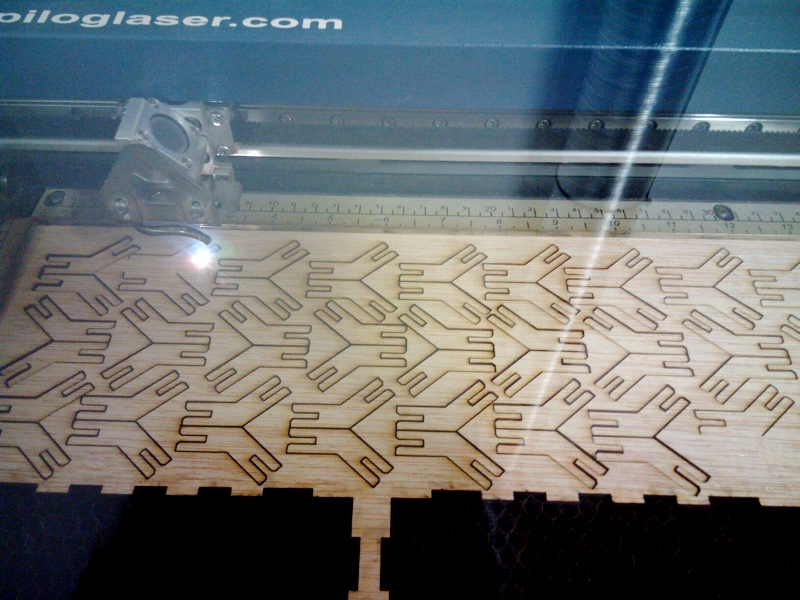
They are much more durable and strong without needing any retouch. After check that the most useful join was the original shape one and not the 108º and 120º. I build the Truncated icosahedron with the help of Nuria.
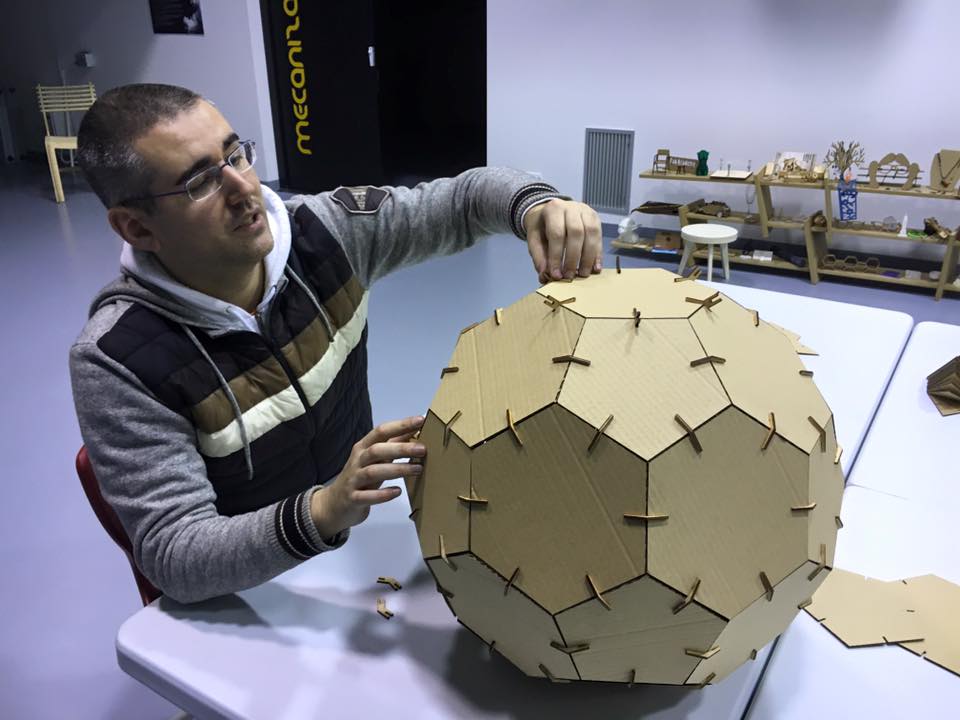
Stages during the use of the Epilog laser cutter
- Make sure all safety instructions are followed, power on and exhaust fans on
- Save design as PDF file, ensure line thickness is 0.01mm (recognized as vector cut and not raster engrave)
- Print PDF and adjust speed, power and frequency parameters to suit cardboard cutting
- Manually adjust focus of laser by using guide, helpful when using cardboard if sheet is slightly warped
- Send job to be go and on Epilog press Go button
- Wait for 15 seconds after job has finished to cool down
- Remove pieces and clean bed
Lattice Hinges
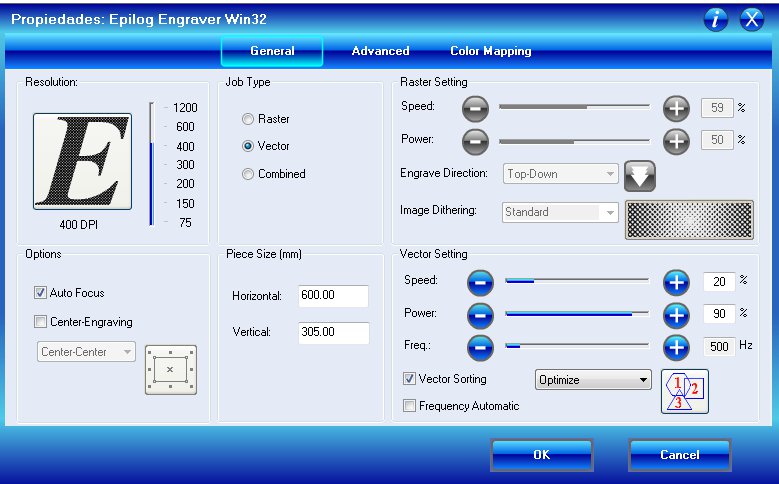
Also my instructor Nuria introduce me to the advantages of the lattice hinges, So I decided to cut a couple of examples I found here
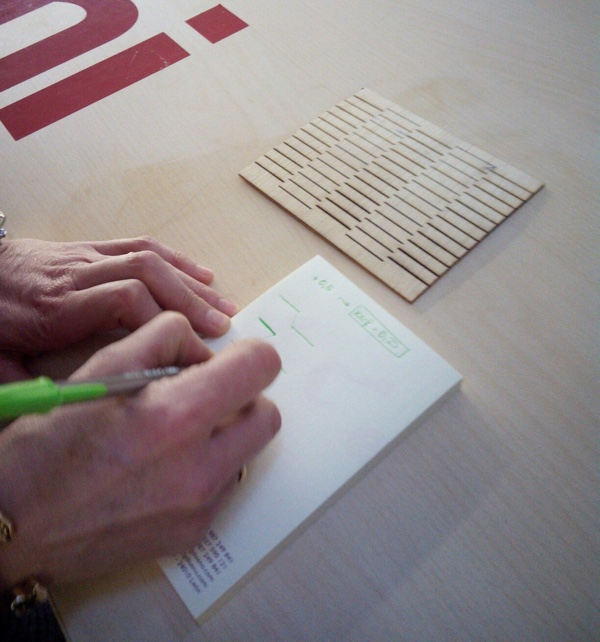
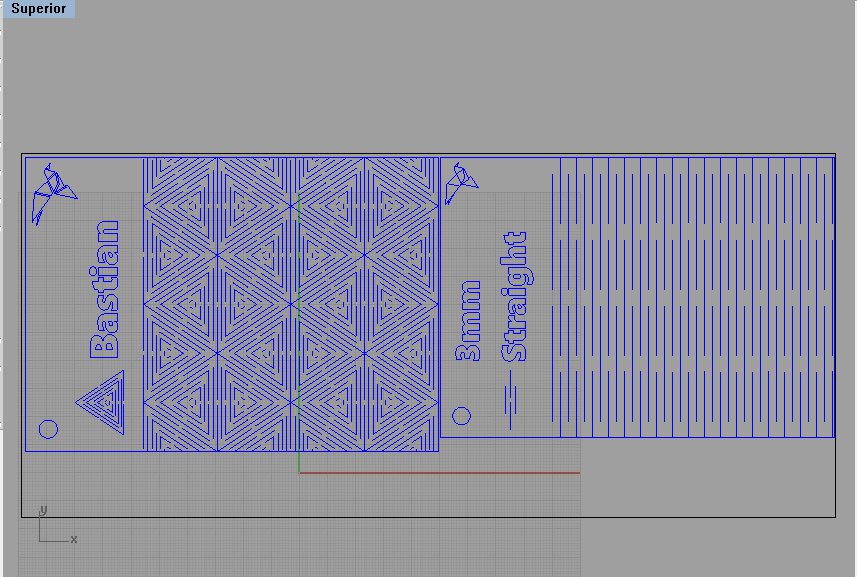
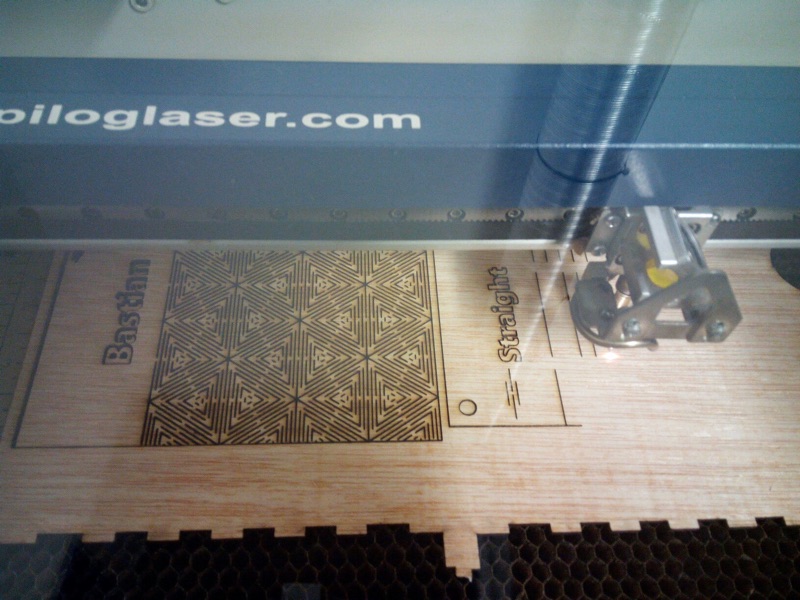
These are the parameters for the Epilog driver
FabAcademy 2016 - Lattice test pattern with laser cut machine from BjLanza on Vimeo.
Vinyl Cutter
This assignment was easy as with my graphic designer background I had a little experience with vector design even I did much less printed material than multimedia.
I choose one funny photo of my girlfriend. As I know that I have to share this photo with everyone I choose one which she has the face covered.

Raster / Bitmap part
I used Pixelmator, but you can use any bitmap retouch program. You extract the object you want to trace from the background.
Usually with the “Pen” tool, that make a mask with bezier curves. This mask can be converted to a selection that allow you cut the image. And leave the background transparent.
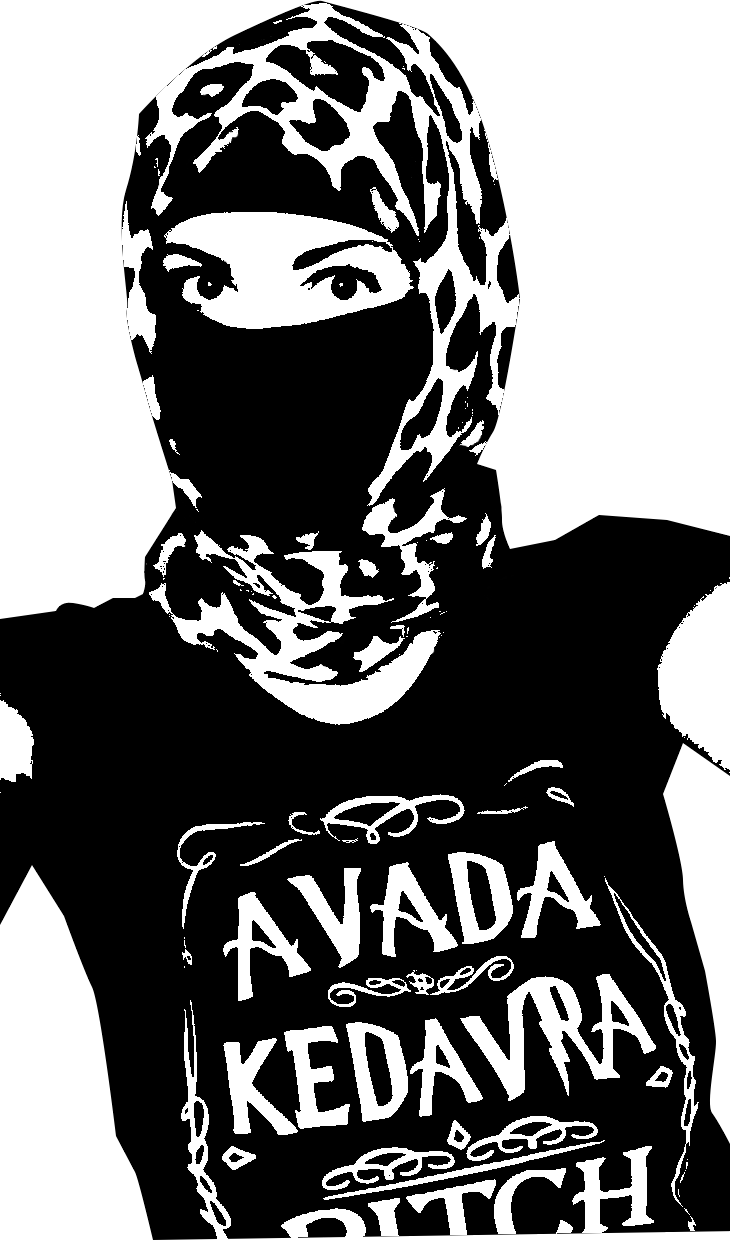
Then you convert to greyscale or black and white. Then you use level, curves and contrast panels to flatten and reduce the difference between whites en blacks and made the colors more uniform.
You can retouch the image with stamp, brush and eraser tools to fix difficult zones, and make them also more uniform, avoiding complex edges.
After all of this, you save the image for trace it in a vector program.
Vector / trace
Inkscape can be used as program to convert the pixel bitmap image to mathematical vector curves.
With a simple step and choosing some options, you have a vectorized copy of your picture, as we can see in thistutorial.With a simple step and choosing some options, you have a vectorized copy of your picture.
Sometimes this image have lot of points that made the vector very complex. Inkscape can simplified for you. But many times is better clean up by yourself. More time consuming but better results.
As in this assignment I’m just going to cut vinyl of just one color i prefer this simple tutorial. Even using vinyl of different colors, most of the time you just have to split your design in several layers for cutting each in a different vinyl.

Roland Vinyl cutter
FabLab León has a Roland Cutter as like many others Fablabs. It’s easy, efficient and with good results. After a little training with the specifications of the machine, some safety advises and loading the machine with the roll of white vinyl I cut a couple of examples.
I didn’t peel and paste this examples, as I wanted to paint over them before peeling.
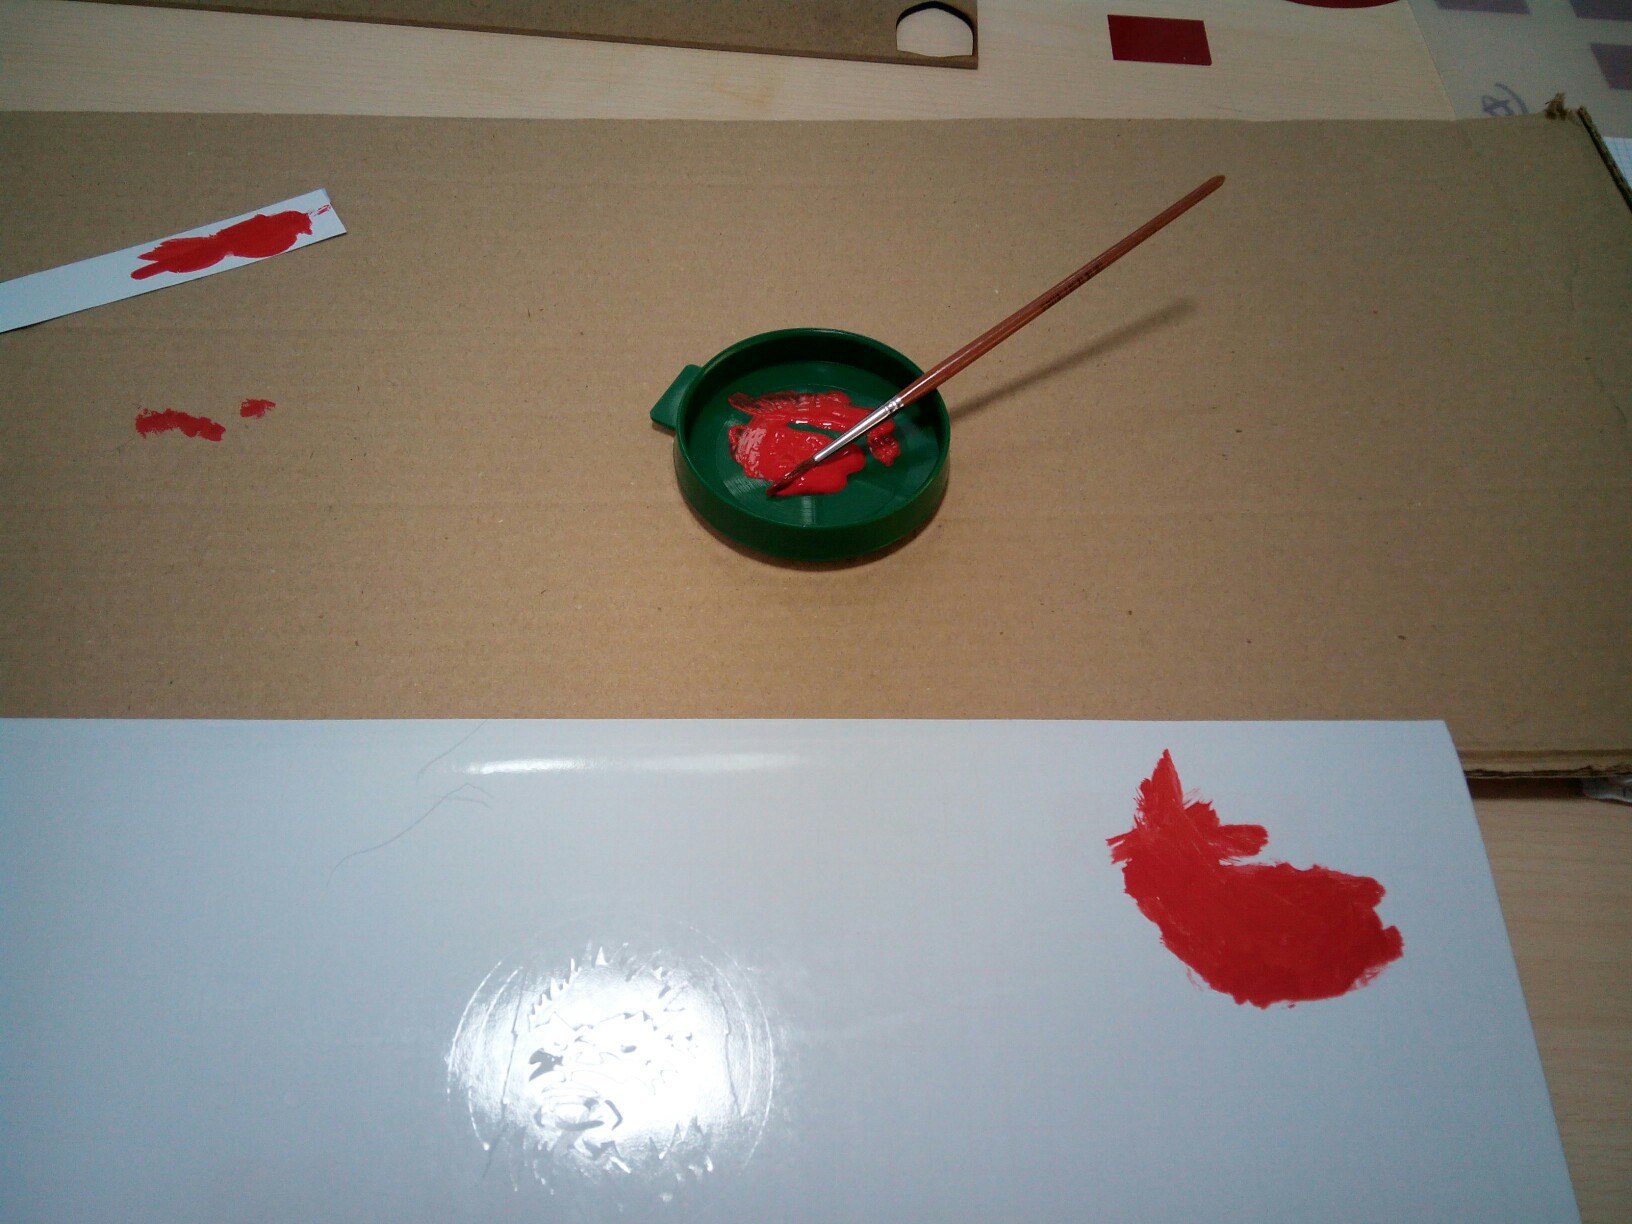
I have made a little example with a Death Star vector, it wasn’t bad but if you scratch a little with the nail, the paint will peel off. So I'm looking for some improvement.

Vinyl in T-shirt
First I made a test of the traced image in normal vinyl.
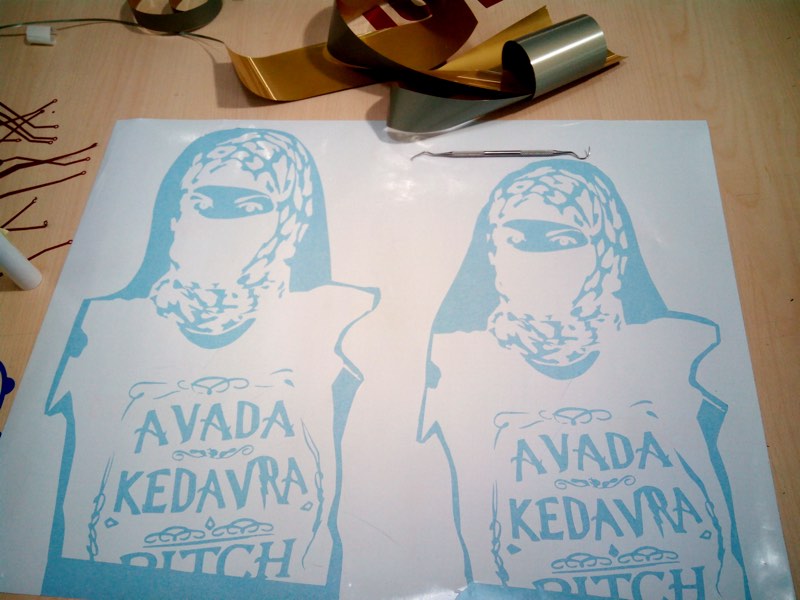
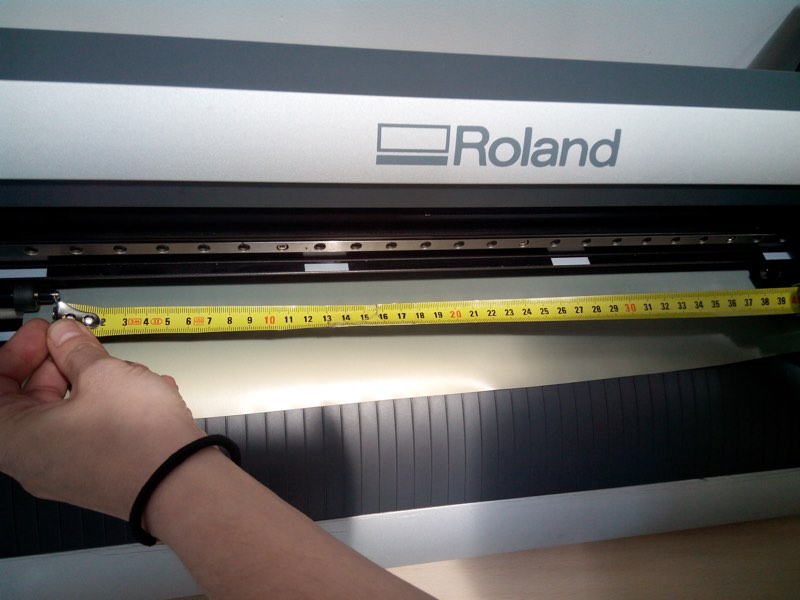
You have to measure the distance you have, for adapting the design to the existing vinyl.
You need to put the fixation rollers of the machine always inside the white zones, then the Roland will measure the width of the vinyl roll.
You can make bigger designs but the heat iron of the Fab lab is 38x38 cm of heat zone.
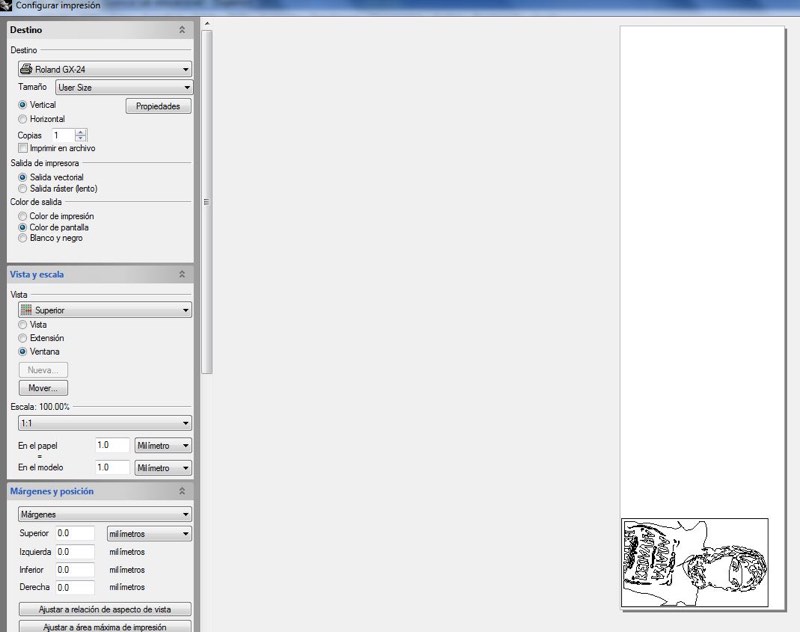
DON'T FORGET THAT IS YOU USE TEXTIL VINYL SURE YOU WILL HAVE TO MIRROR THE DESIGN!!!!!!!
Then you can send your drawing to the printer driver.
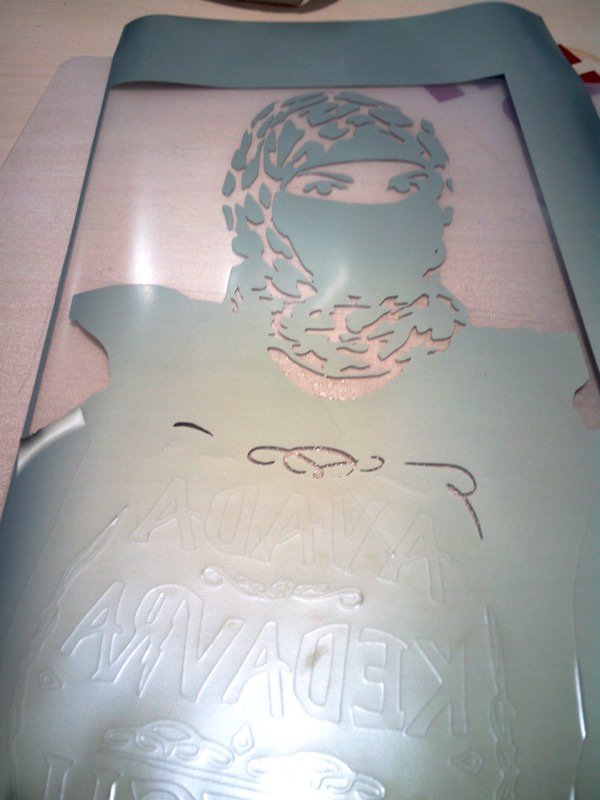
You can see here a video of the Roland cutting vinyl of the golden T-shirt
After being cut you have to peel off the useless vinyl.
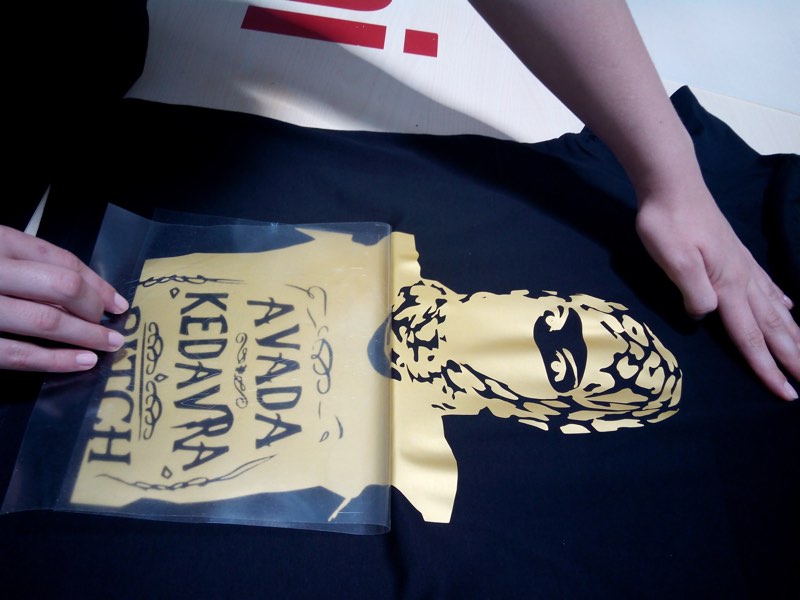
Then you need to place the vinyl above the t-shirt before ironing.
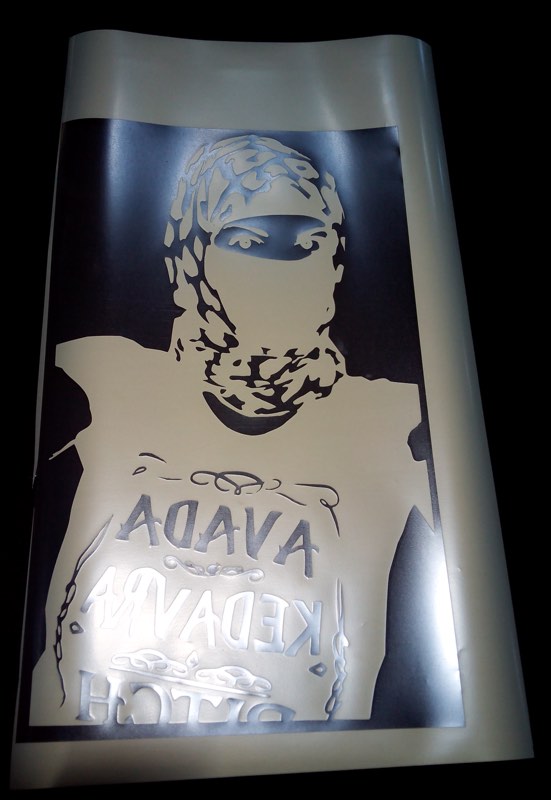
After ironing you can remove protective plastic.
After that you can play to matching couples
