Design a 3D mold, machine it, and cast parts from it
This week’s assignment was to design a 3D mold, machine it, and cast parts from it in as many different materials as possible. I decided to use the 3d model i made in week 2, a lightsaber in Fusion, for the cast. So my next step was to design the mold and i decided to use Tinkercad to do that.
Designing and machining the mold
To start with i saved the lightsaber from fusion as a STL file, and then i imported it to Tinkercad. After that i duplicated the lightsaber and rotated the copy by 180°, next i drew two boxes, about 2-3cm bigger, around the lightsabers. Next i aligned the lightsabers in the middle of the boxes and made two joints on each bow, one male and one female, to stick the rubber molds together. Then i made a paraboloid at the end of both the boxes, to make a hole to pour the material in, and walls around the box to have some depth in the rubber mold and in the end i grouped everything together.

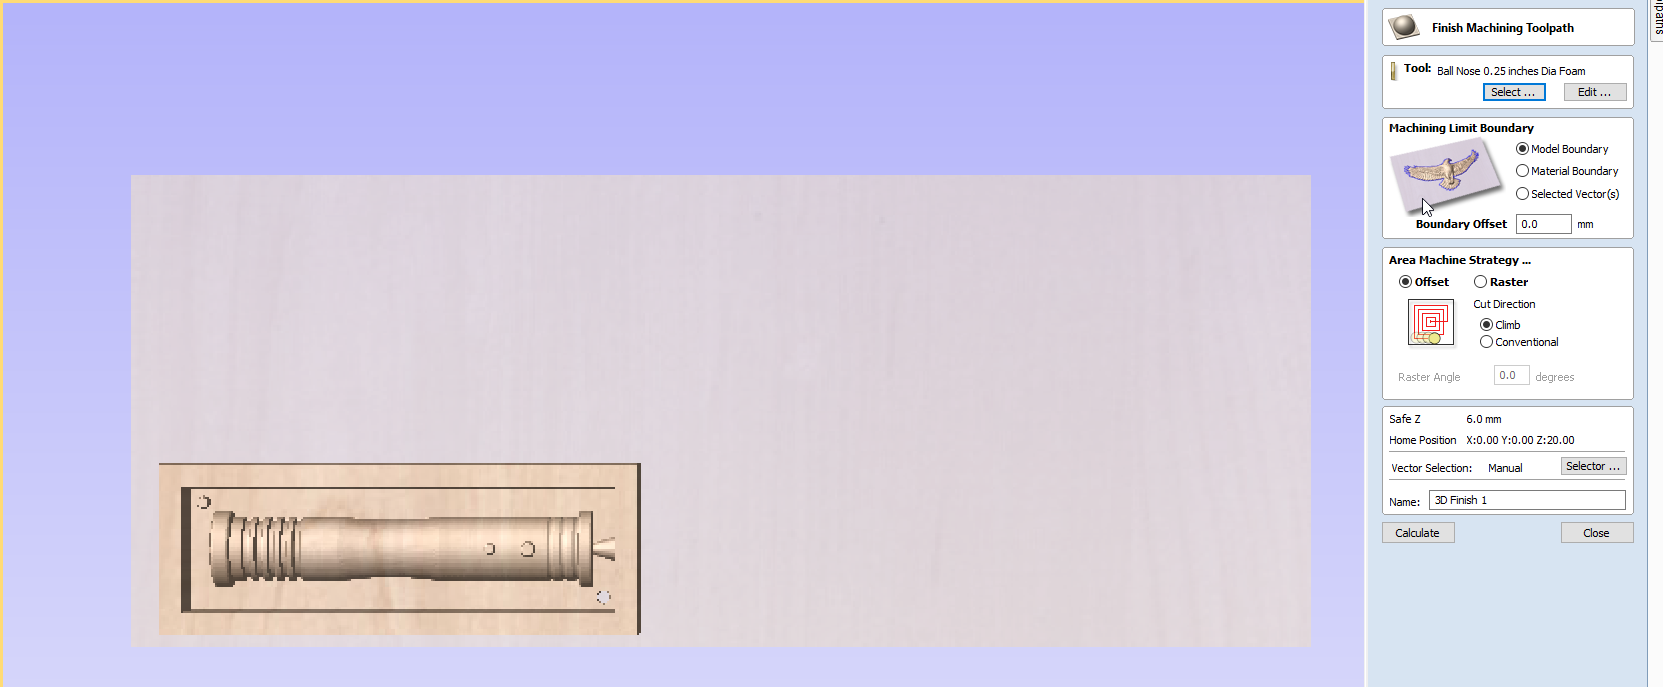
My next step was then to save the tinkercad file as a STL file and import it to Vcarve Pro to get it ready for the shopbot machine. In Vcarve i made two toolpaths, first a 3D roughing toolpath and then a 3D finishing toolpath, and then i saved the toolpaths as shopbot files. In the finishing toolpath i changed the stepover percentage, in the tool menu, from 40% to 11% to get a smoother surface on the mold.
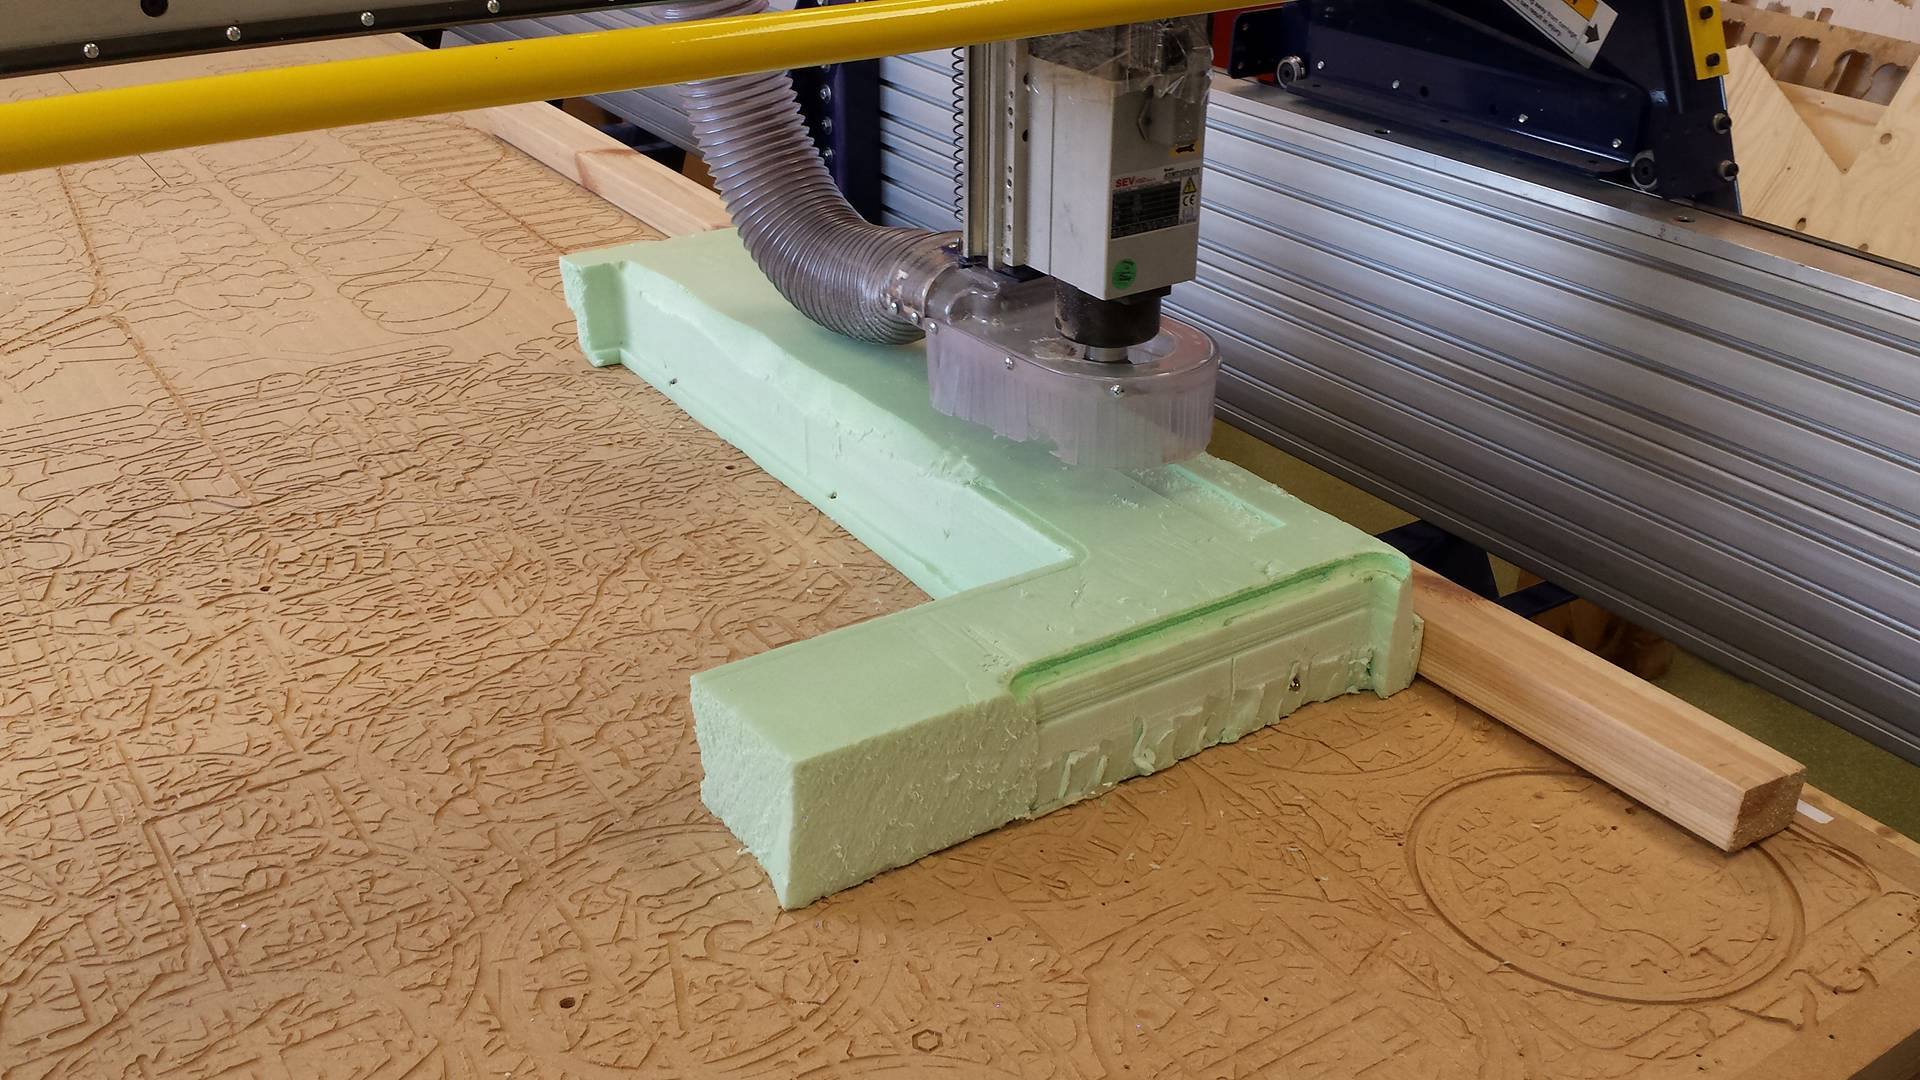
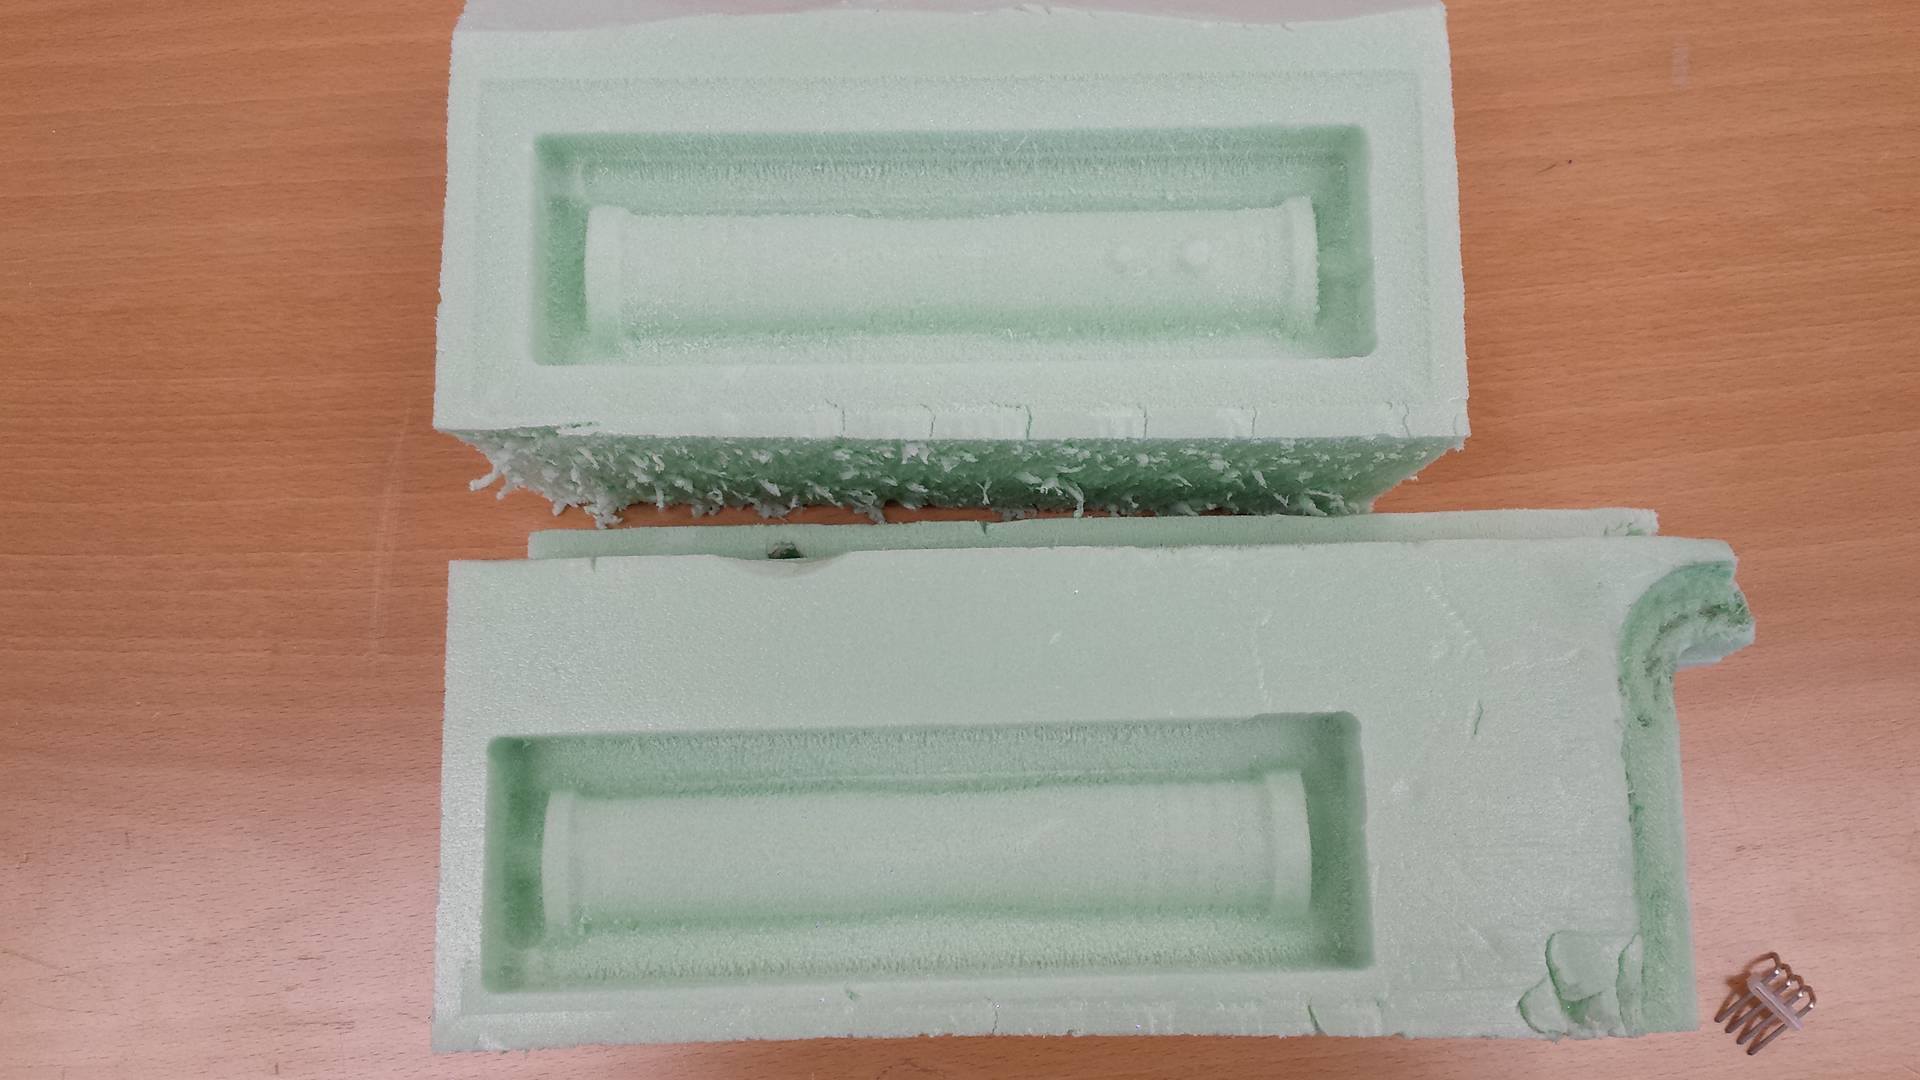
I was going to mill the mold out in foam, so before the milling i fastened the foam to the shopbot plate with screws and one wooden plate. Then after some time when the milling was over i cut the molds out and the next step was getting it ready for the rubber mold.
Making the rubber mold
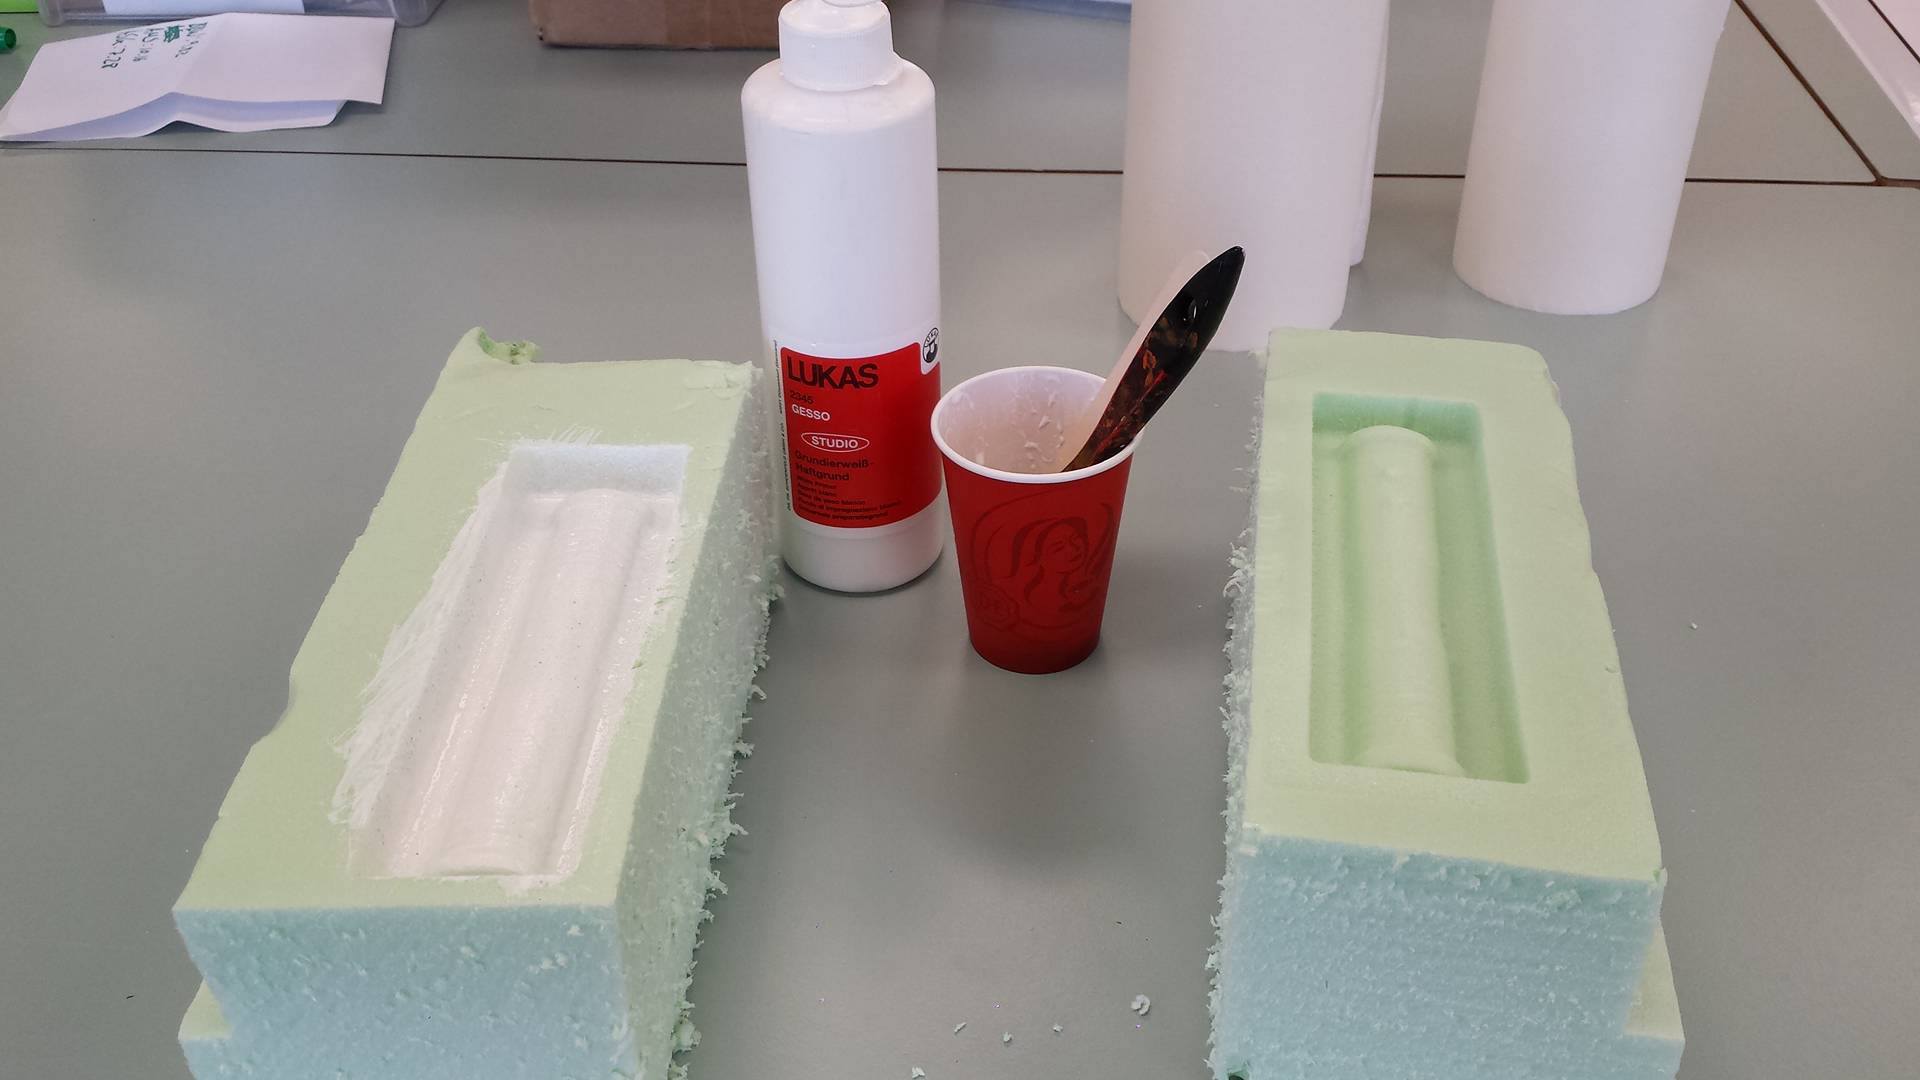
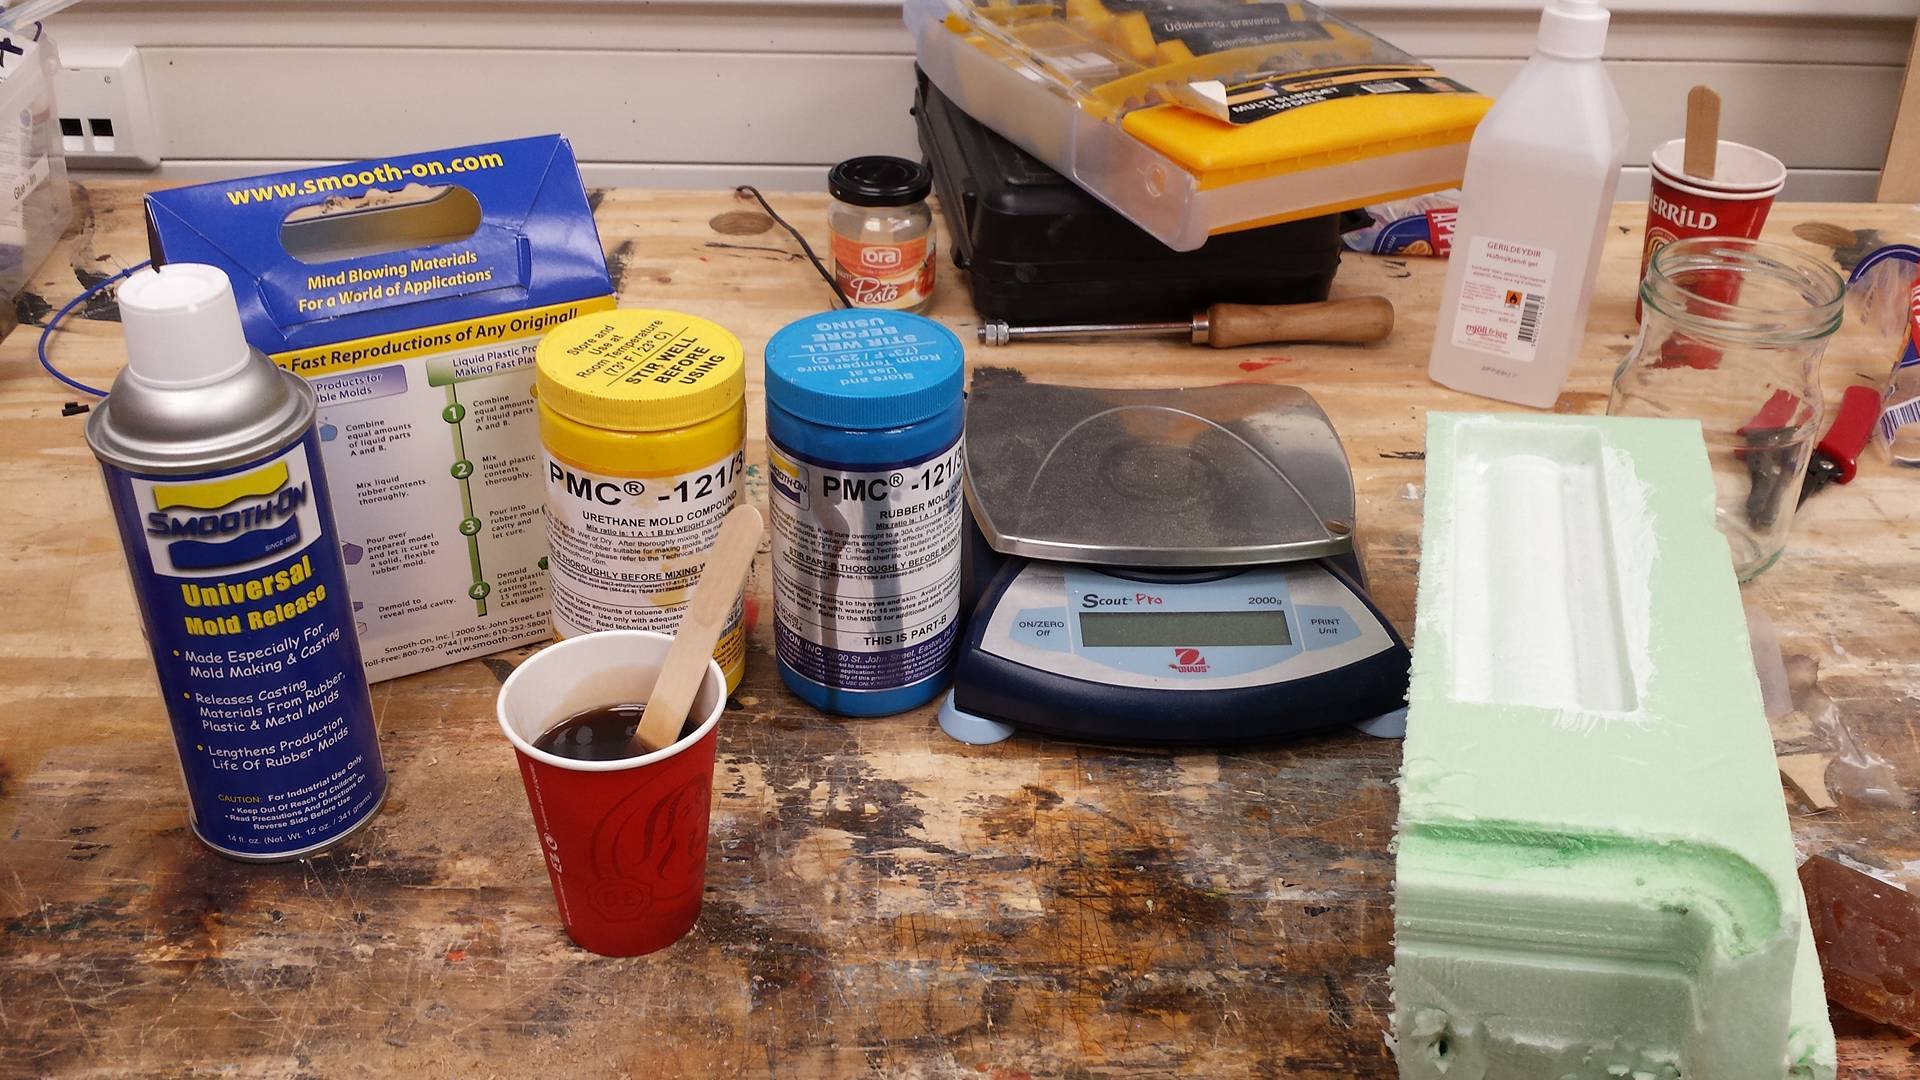
The first thing i did after the milling was to make the foam more dense, because the it had quite a lot of small holes in it, i did that by blowing on the foam with a hot air gun. But be careful not getting too close to the foam with the gun or it will melt which happened to me so i had to make another top part for the mold. I also painted the foam with a thin layer of Gesso to make it denser and allowed it to stand for maybe 3 hours to dry. Next i had to mix the liquid rubber mold, i used the one from smooth-on. I combined equal amounts of liquid parts A and B, then i mixed the liquid rubber thoroughly and before pouring it in the foam i sprayed the foam with a universal mold release from Smooth-on and then poured the liquid rubber carefully in the foam mold and allowed it to dry for about 16 hours.
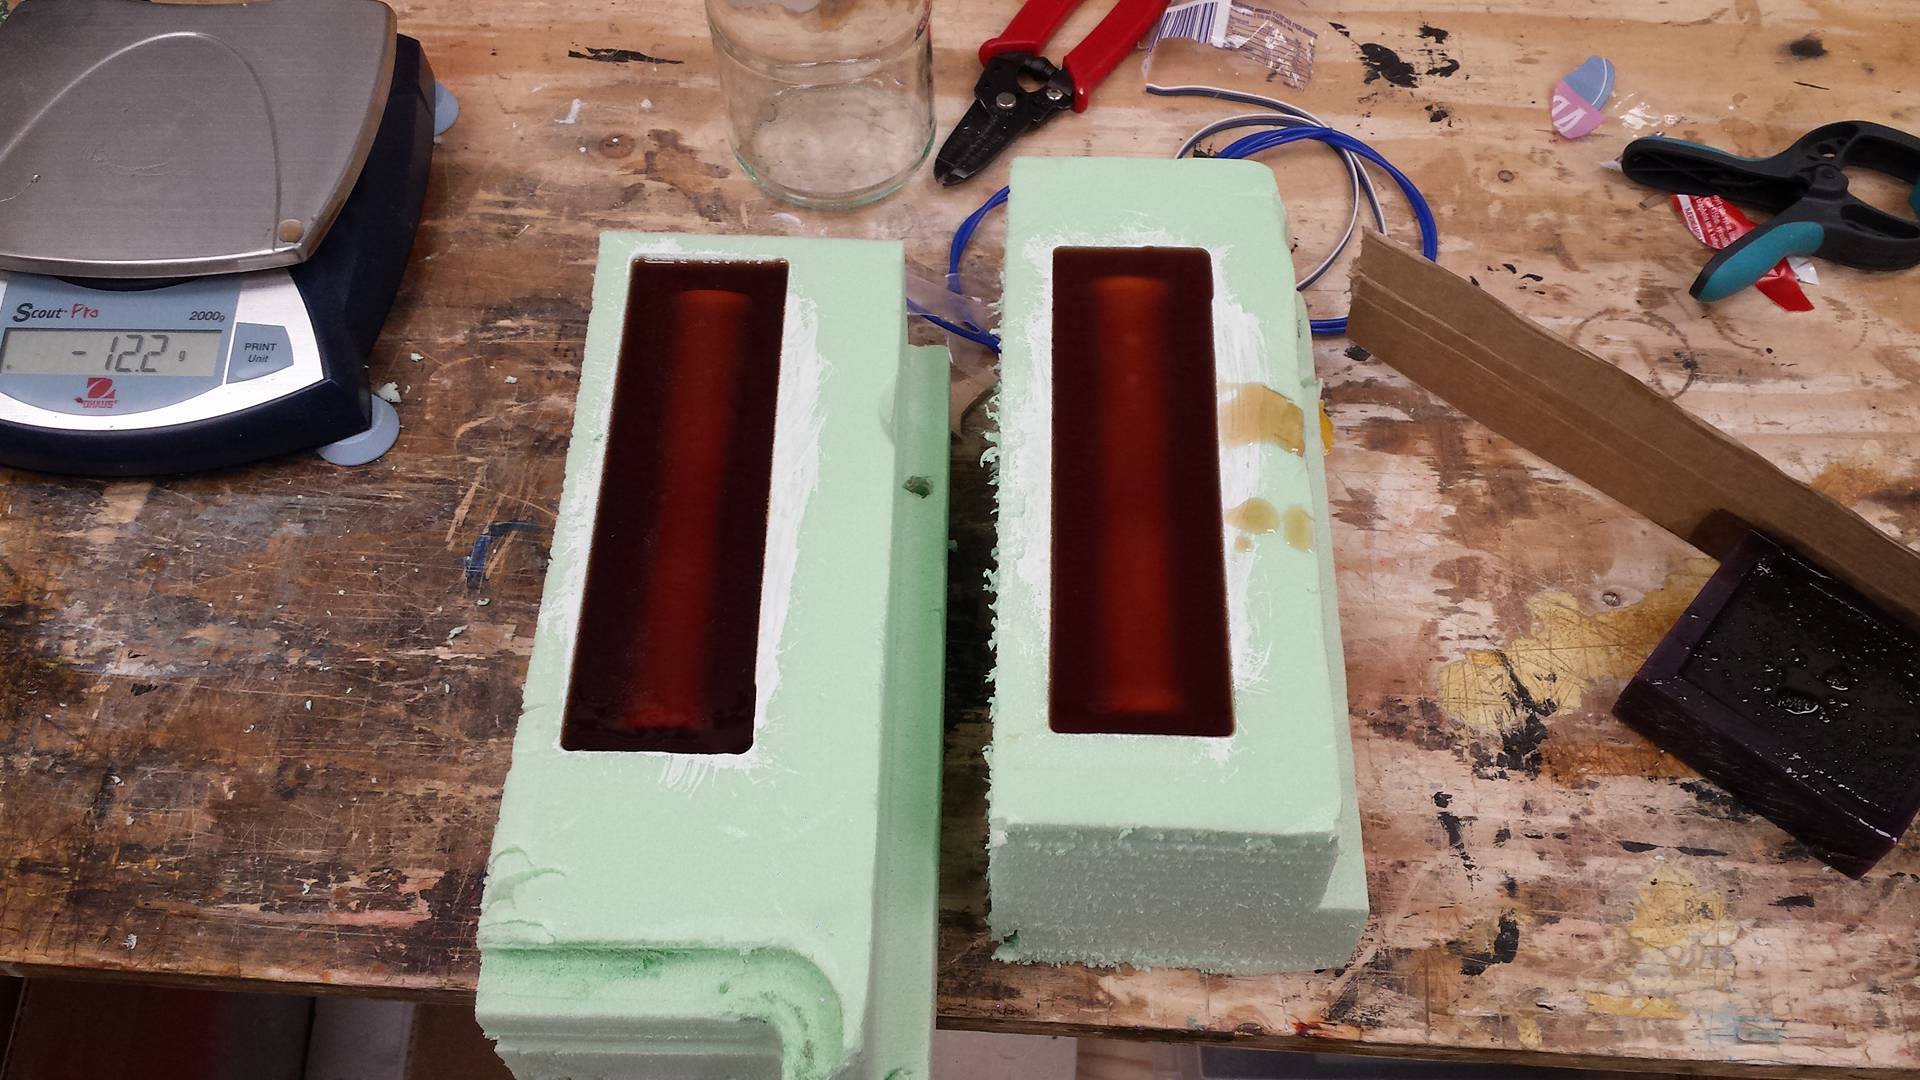
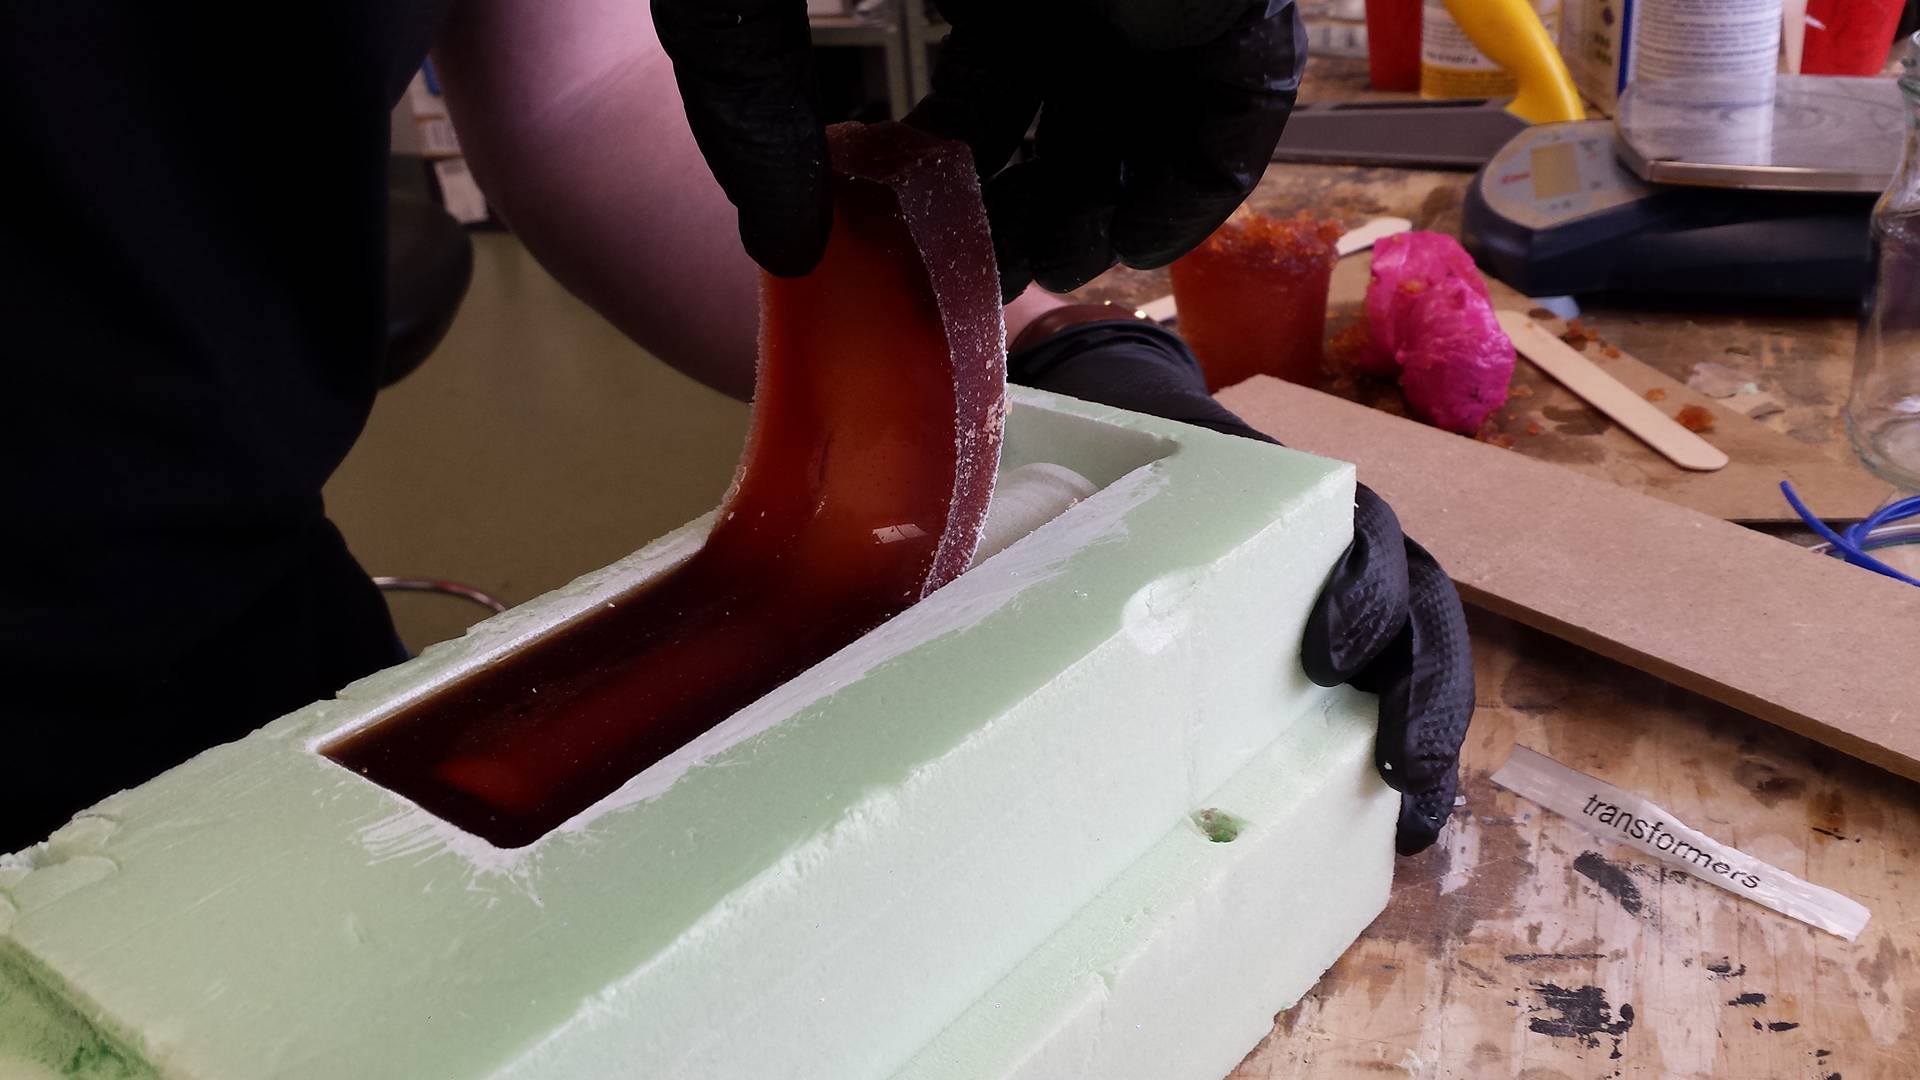
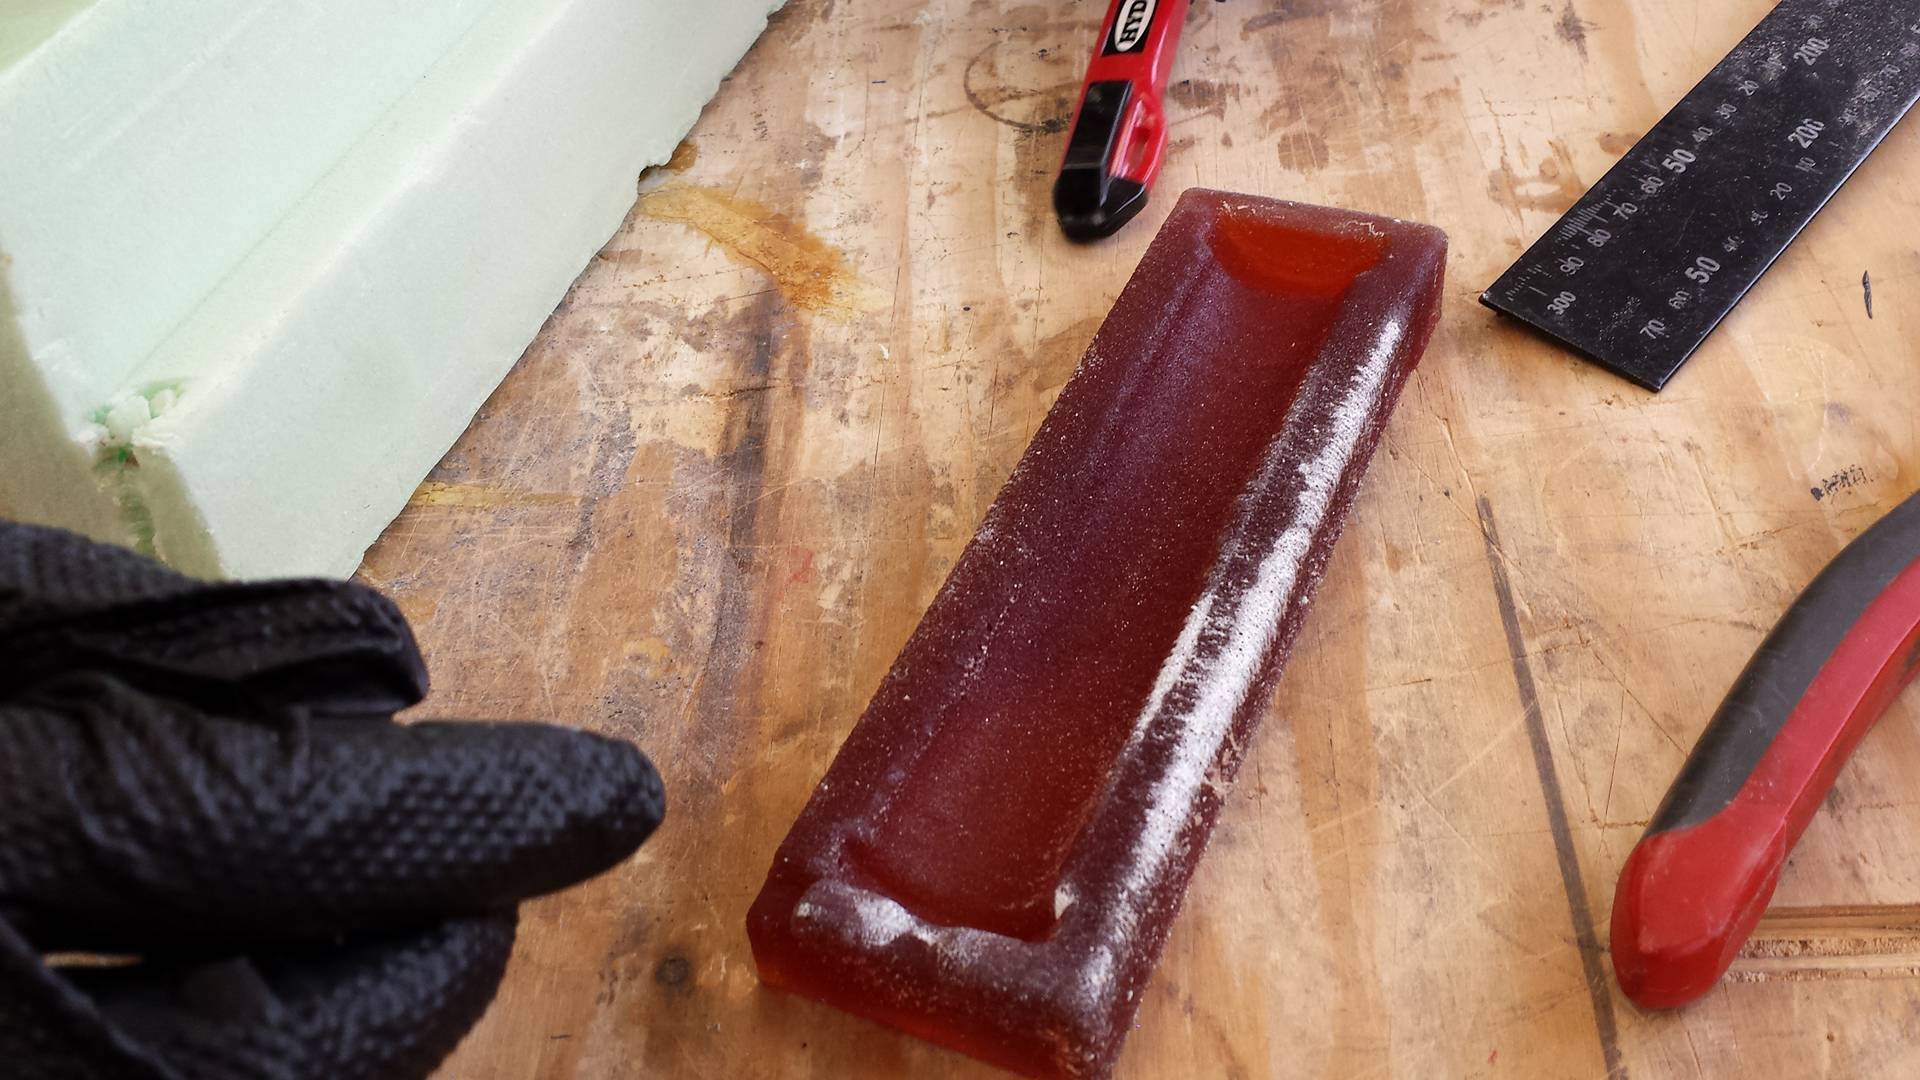
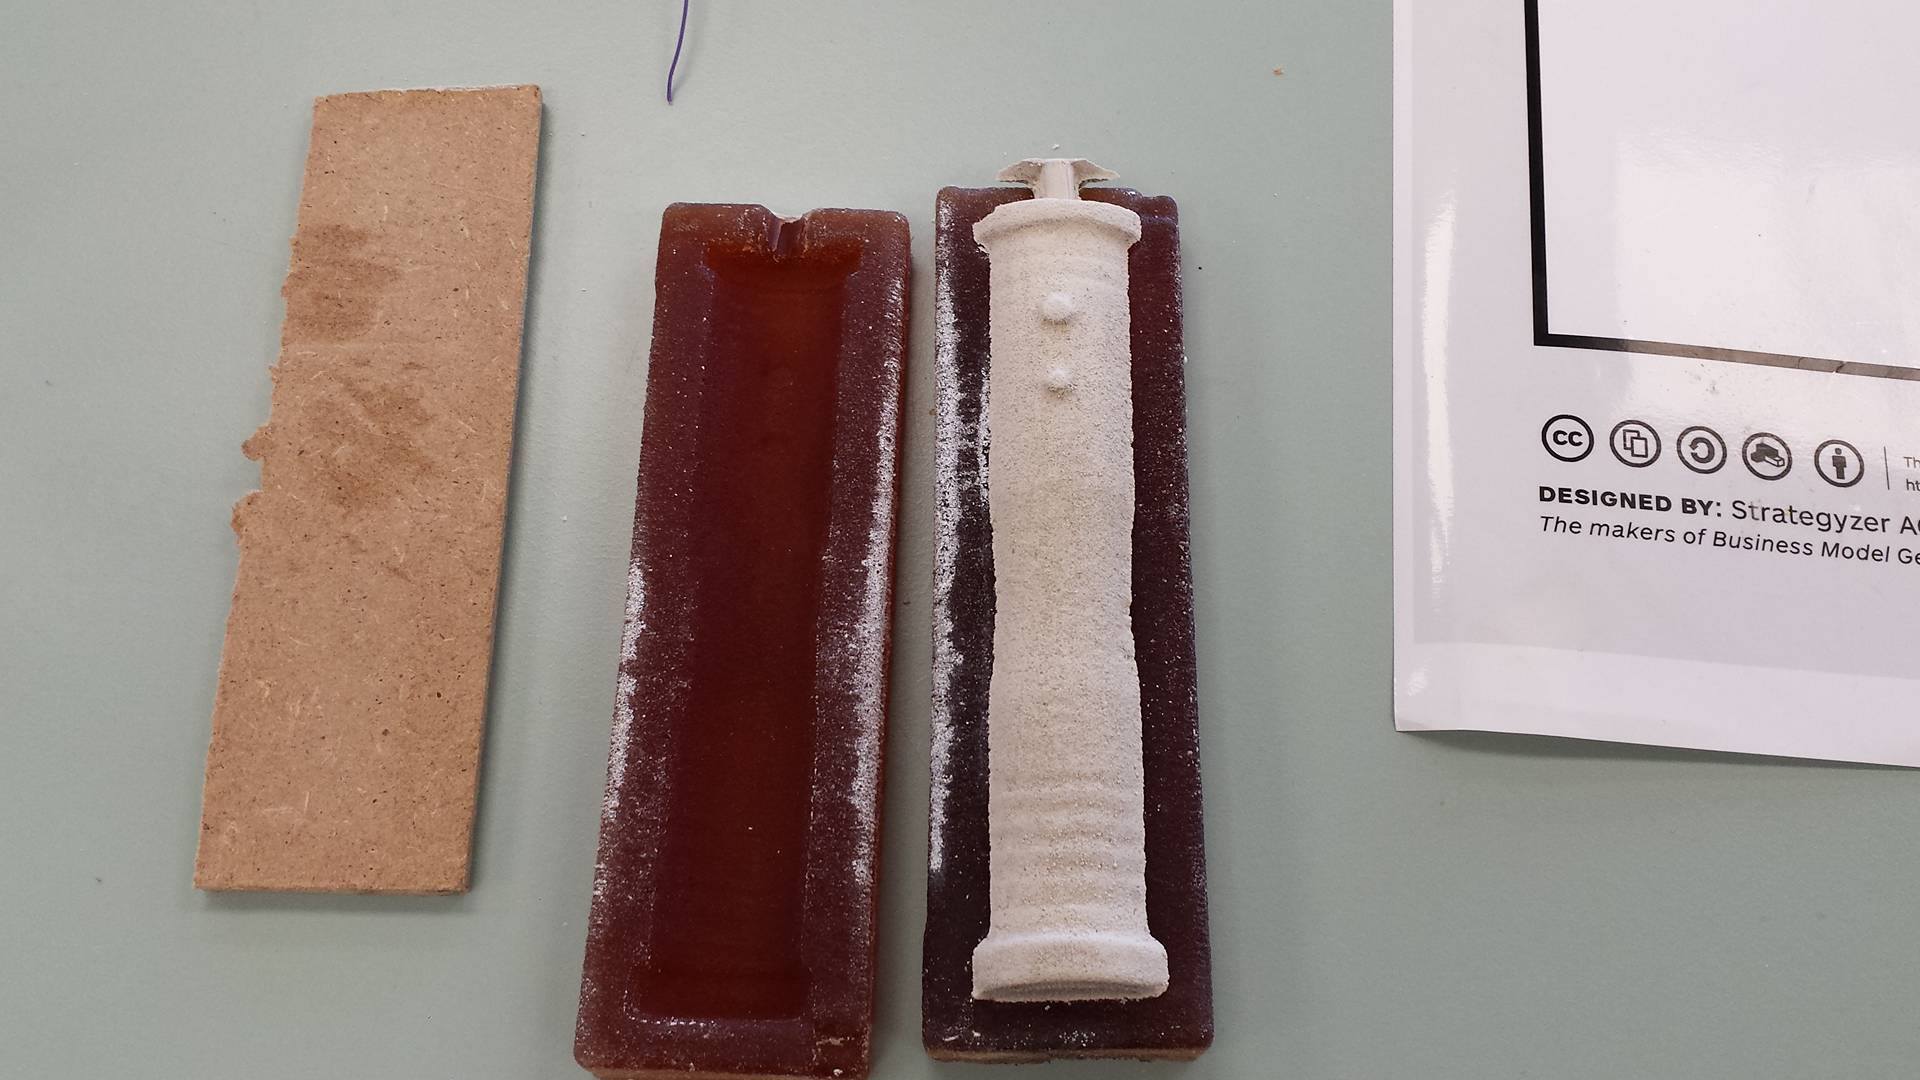
The next day the rubber mold was ready and i was pretty pleased with the outcome except for the joints they were unsuccessful.
Making casts in the rubber mold
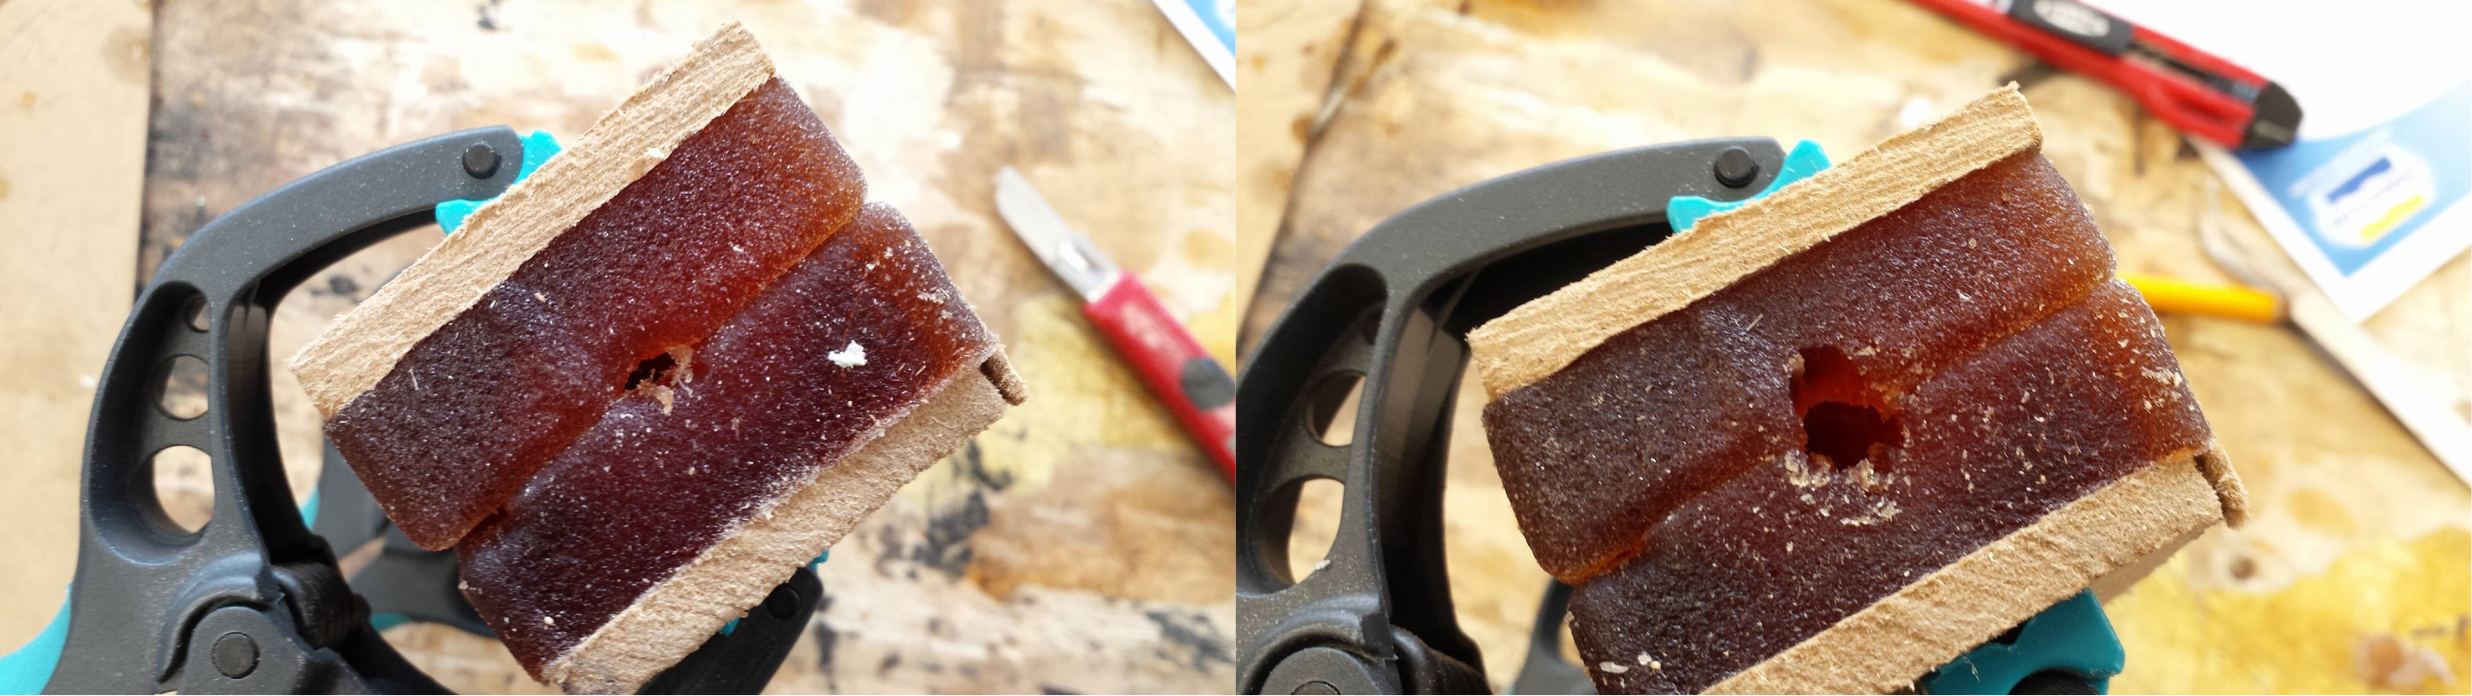
Before making the hydrostone cast i had to enlarge the hole for pouring the hydrostone in, i simply did that with a knife and because the joints on the mold were unsuccessful i had to stick the two rubber molds together with clamps.
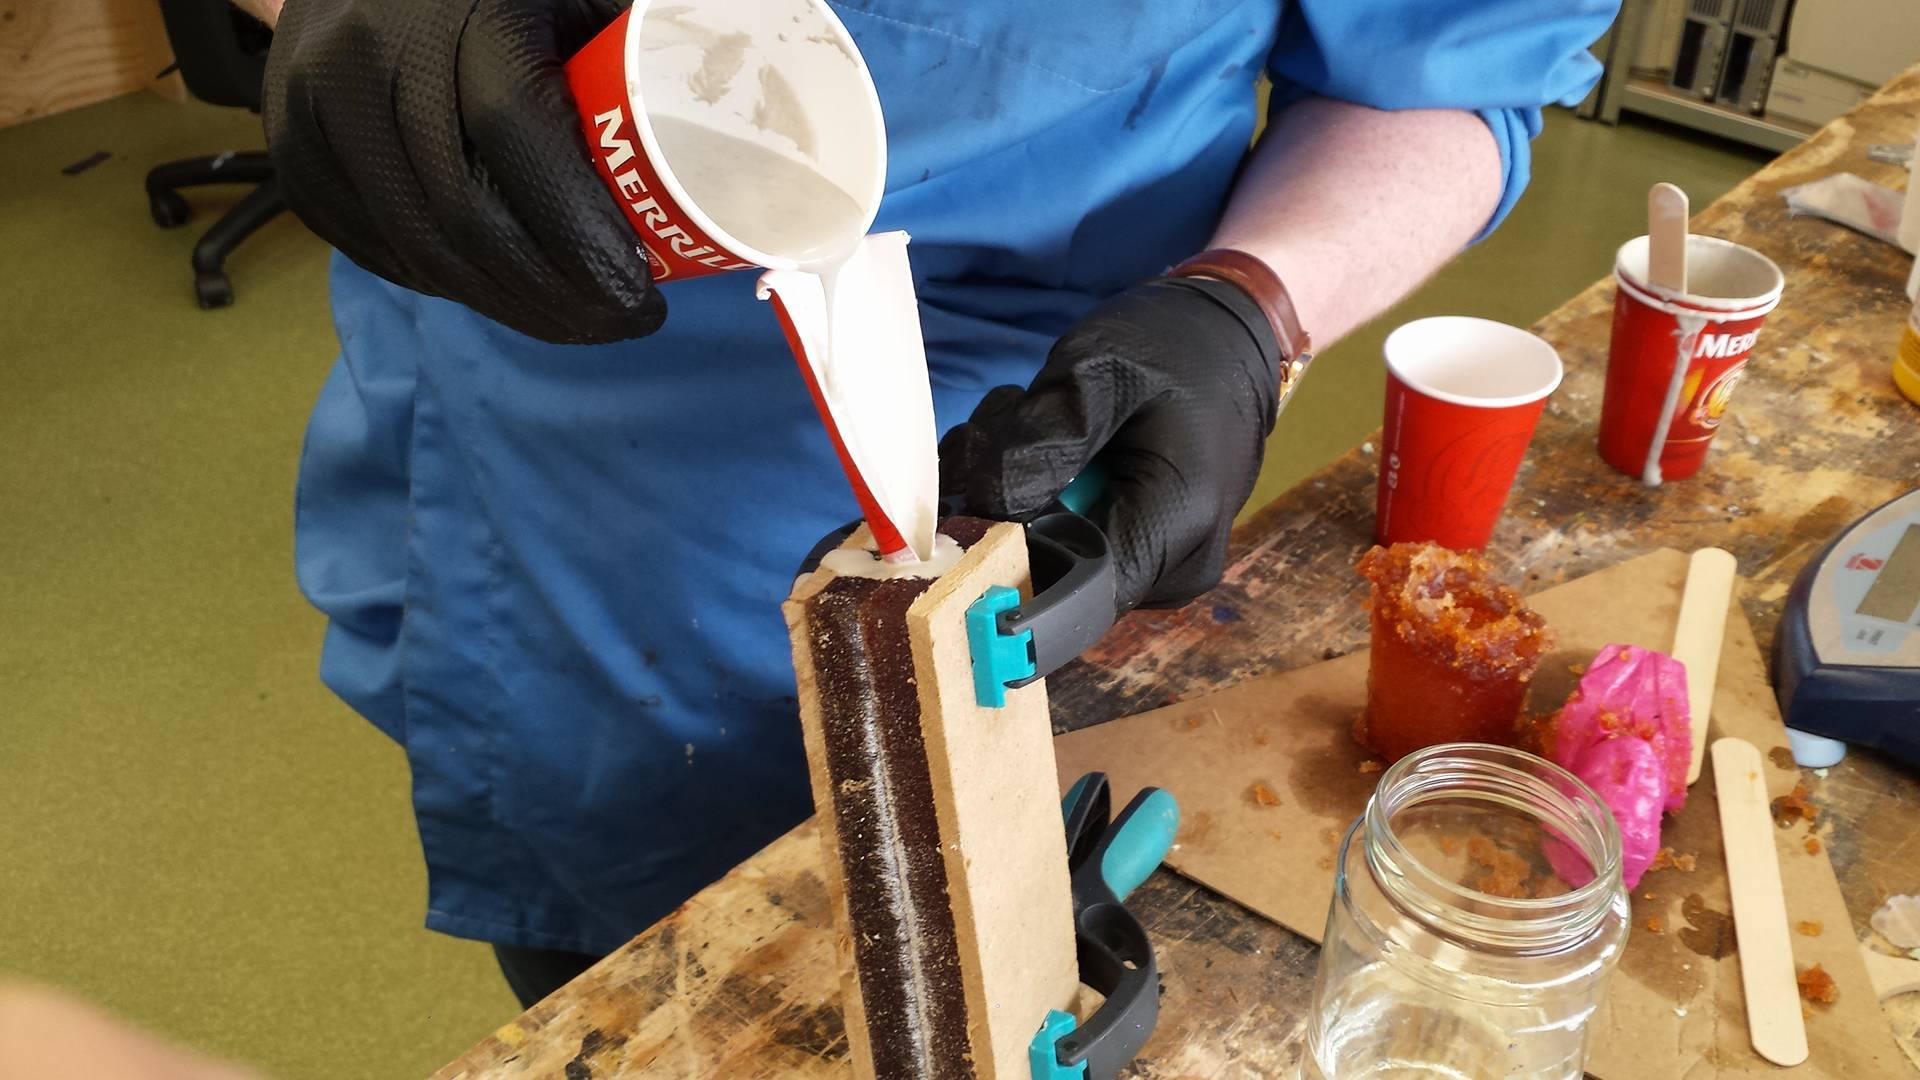
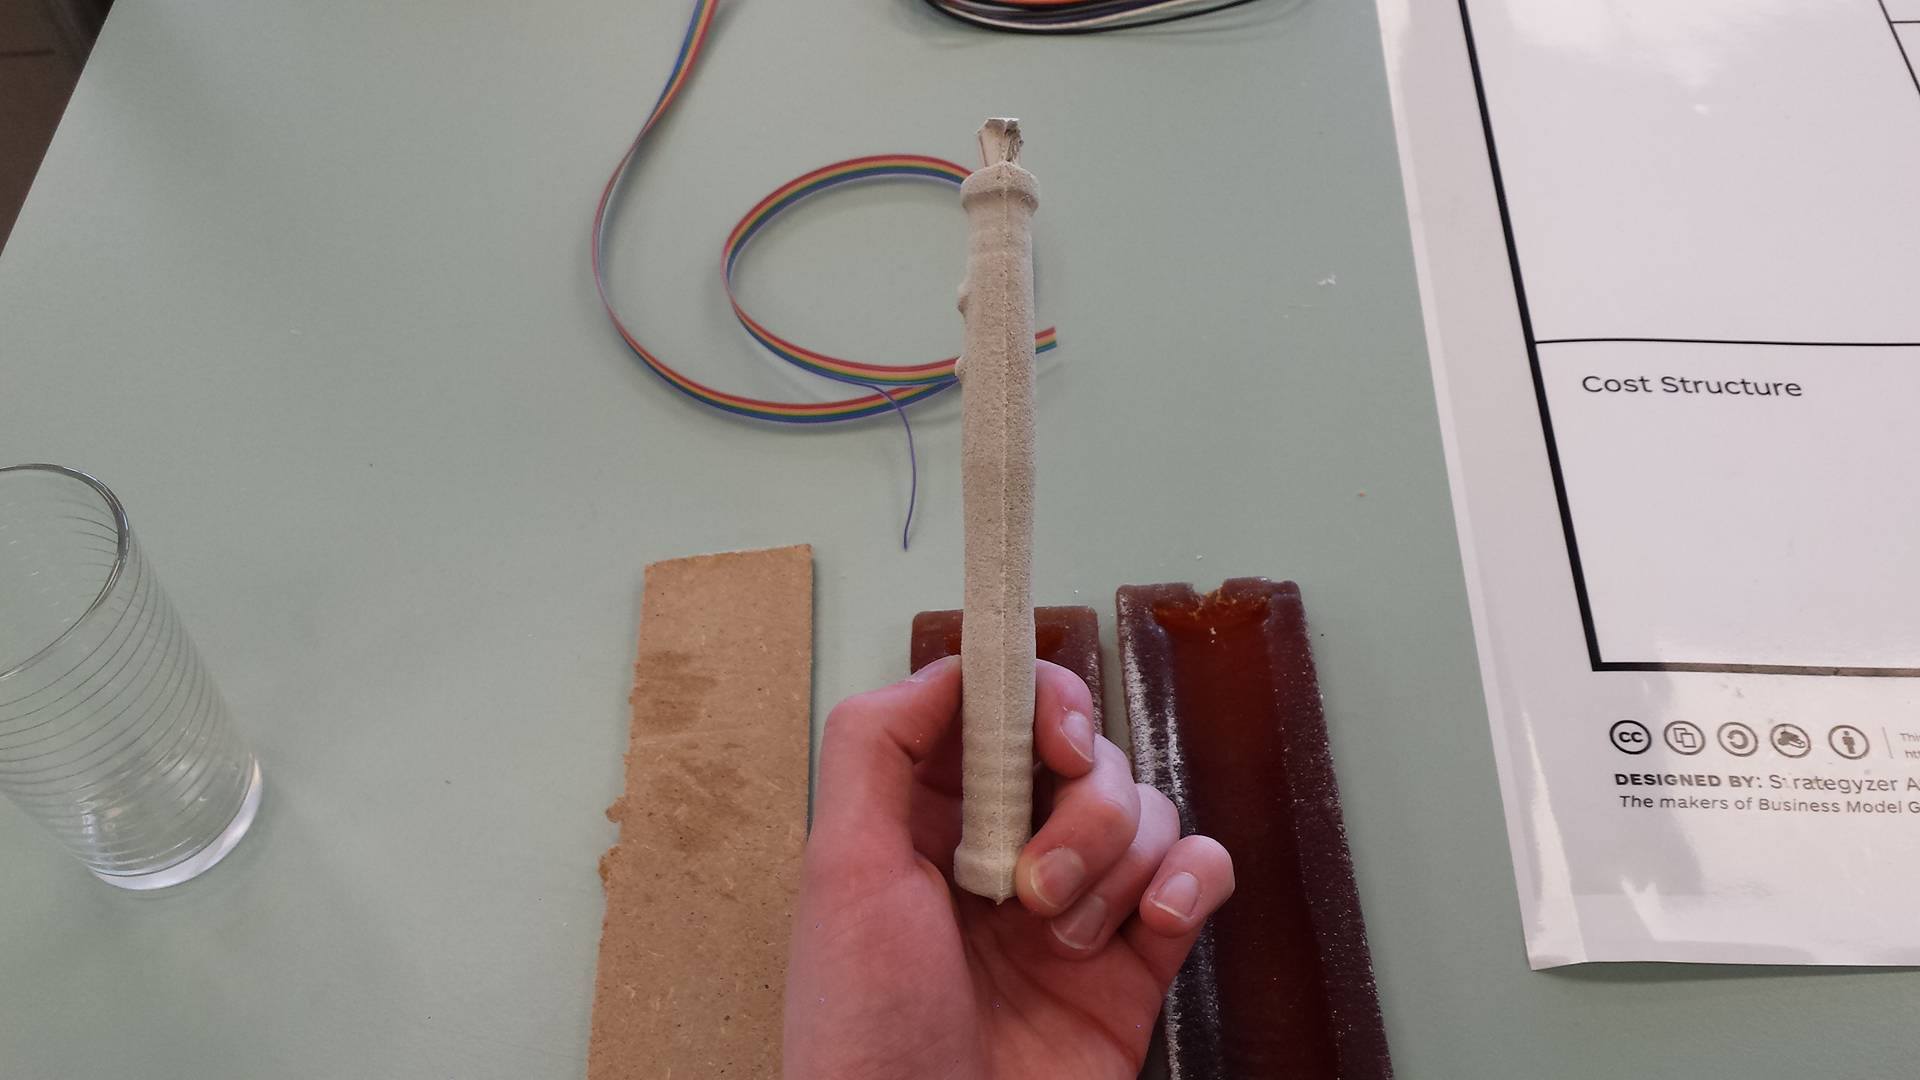
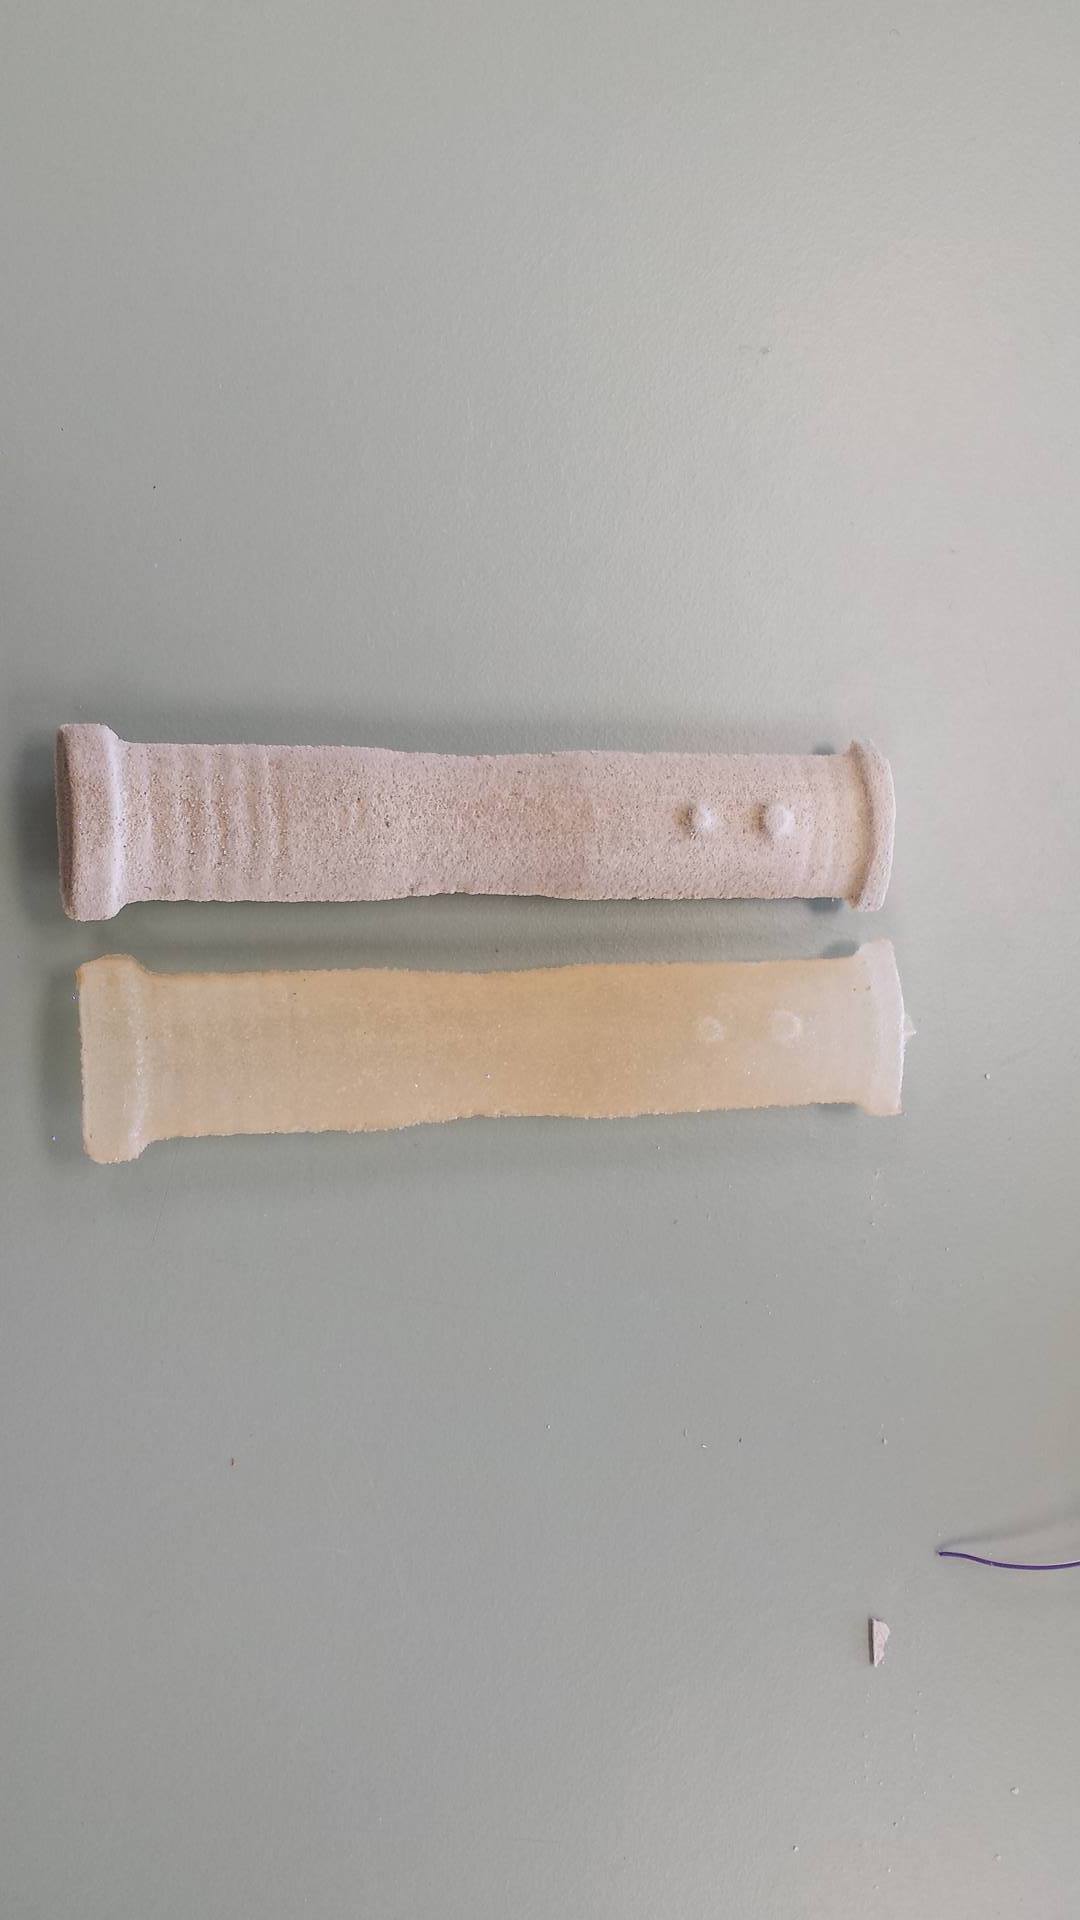
So now i mixed the hydrostone powder with water and poured it into the rubber mold and after about 30-45 minutes the hydrostone lightsaber was ready. I must have stretched the saber a little bit in tinkercad because it came pretty flat out of the mold, i’ll have to watch out for that next time i’ll make a mold.
I also made a plastic cast of the saber, the mix i used for that was also from Smooth-on and is mix like the liquid rubber. I’m fairly pleased with the outcome but the saber is of course way to flat, but everything else was successful.
Files
Lightsaber top partLightsaber bottom part
Shopbot File 1
Vcarve File 1
Shopbot File 2 2
Vcarve File 2